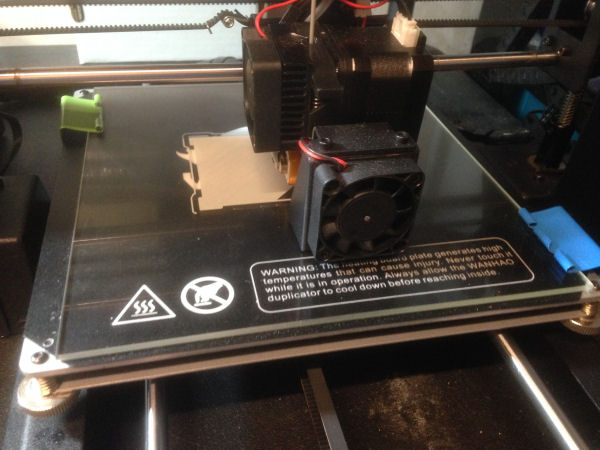
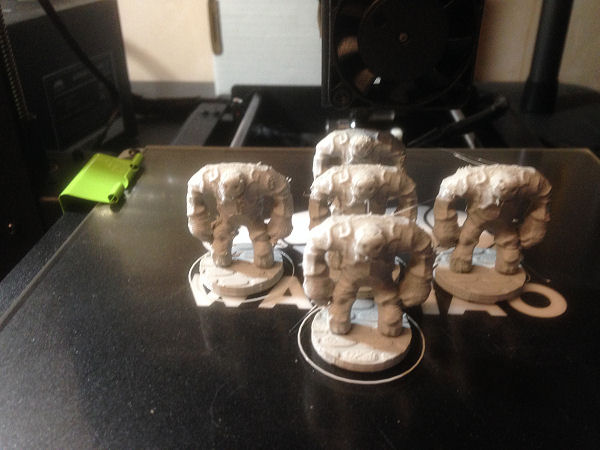
Captain Noodles is mesmerised by the new printer printing its first job.
|
Why I chose my printer
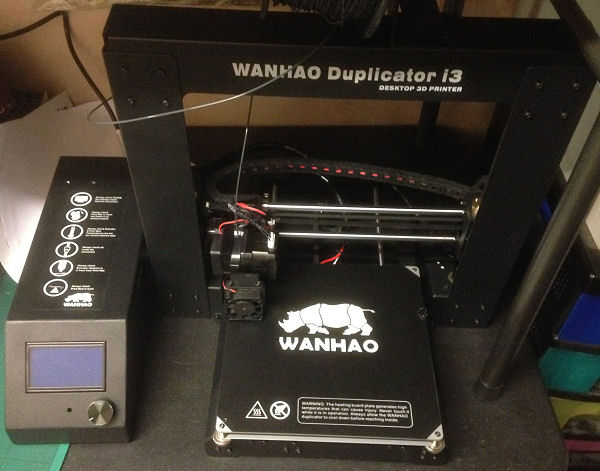
I chose the Wanhao i3 because of the price. There are cheaper printers but they came supplied in kit form and I didn't want the hassle. Unboxing the Wanhao you are confronted with one piece of assembly, joining the build plate assembly to section that holds the print head which involves a couple of screws (allen key provided), and about four electrical plug-in connections to complete, each clearly labelled. The final job is to level the printing bed. This sounds scary but isn't. It's a simple matter of using the thickness of a piece of paper to get the printing head the right distance from the printing plate. The plate has a screw adjusted spring at each corner which sets the distance. The whole process takes about 10 minutes the first time and about 5 minutes on subsequent occasions once you know what you're doing. Because the printing plate moves during printing the vibration can loosen the screws and the plate will need adjusting every few days. The machine is ready to print in about 20 minutes. Starting to print
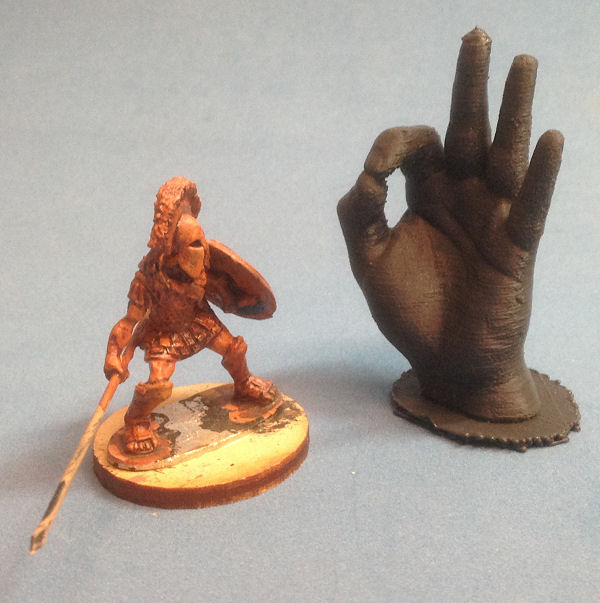
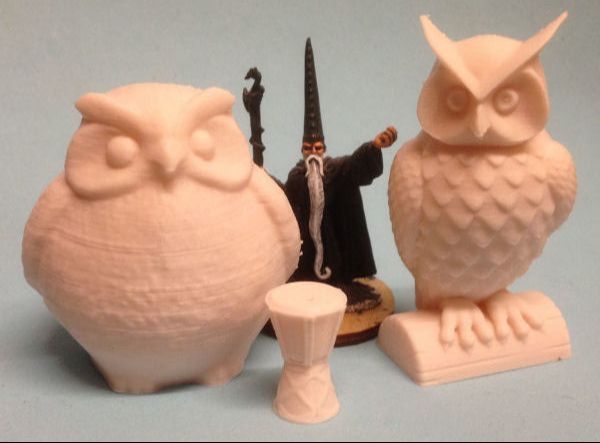
My printer wasn't ready to print in 20 minutes of course, I'm not that lucky. It wouldn't read the SD card so I couldn't print anything. A call to the supplier got a new motherboard posted out the same day (for free of course). "Will you be able to fit it yourself? There's no soldering" "Oh yes, I'm sure it won't be a problem." I replied thinking that actually it was going to be a big problem as I'd never done anything like fitting a motherboard before. I managed to fit the motherboard without major problems of course. The internet is a big help for things like this. While I was waiting for the new motherboard I experimented with connecting the printer directly to my computer via the USB port. This didn't work at all. Windows didn't recognise the printer. Further investigation on the internet showed the way round this was to either modify the motherboard (wasn't going to happen as it involved soldering and stuff) or buy a Raspberry Pi which will run the printer. This was an option I seriously considered as I've wanted a reason to buy a Raspberry Pi for ages. However it was going to be more money than I wanted to spend right then so I just waited for the new motherboard. So, back to the printing. The Wanhao comes with a mini SD card containing a version of Cura (slicing software, more on this later) and the gcode file to print a hand making an 'okay' sign so you can see how well your printer performs. It's a simple menu choice to select the file on the card you want to print and press the button. The temperature and print settings are included in the gcode so I just sat back and the printer worked its magic. About 90 minutes later and I had a plastic hand! Getting hold of things to print
Because I'm not a whizz with 3D design software I needed to find things that other people had designed for printing. There are plenty of people selling 3D designs for the gaming hobby. A quick google found lots and lots. Before I spent money though I decided to go with some free designs. I found several I liked the look of on Thingiverse and subsequently I've found other sites that offer a similar service. Preparing files to print
The designs I find online need to be loaded into Cura to prepare them for printing. Cura slices the object into layers for the printer based on some parameters such as layer height, infill and what kind of supports the object will require during printing. Cura comes preloaded with the settings for the Wanhao but everything is customisable. As I've progressed I've changed most of them to suit my particular printer and what I need from the finished prints. I found lots of advice online about the settings. Every time something didn't go quite as planned I'd search for people who had similar problems and see how they fixed it. Usually this involved changing some settings. Once Cura has prepared the object you can save it to the SD card in gcode format which the printer can read. Tricks to preparing things for printing
There are several things I've found that help with printing files: Tall, thin objects like the tops of the posts on these Viking tents can deform because the plastic hasn't had enough time to cool before the printer drops another layer of molten PLA on top. This can cause melting and the part will collapse. Printing more than one at a time and placing the objects further apart will alieviate this as the travel time between them will allow the layers to cool. Another solution is to have a single taller object off to one side that the printer has to travel to and then come back. Pillars are good for this. The Wanhao i3 doesn't like finishing the very, very top layer of some objects. Mostly this isn't a problem since each layer is only 0.1mm but sometimes it does make a difference. The way I counter this is to put a taller item in with the print job. This means the top layer of the items I want to ensure print properly is not the top layer of the finished job.
For example I wanted to make sure the rowlocks on my boats printed properly so I placed taller barrels and crates around them. Printing
Watching the Wanhao printing is mesmerising but prints can take a long time. I usually set it printing first thing in the morning before I go to work so I can come home to some new toys and last thing at night before I go to bed so I can wake up to some new toys. At weekends it burbles away behind me as I paint or build stuff. I like to watch the initial ten minutes or so to see everything's going okay. At this stage I can tell if everything's going to be ok. Improvements to the Wanhao i3
There are many, many mods that people have designed to make the Wanhao i3 a better machine (not that it's bad to begin with but nothing's perfect). Many of them can be printed by the machine itself which I think is pretty cool. The first mod I've added is a glass build plate. I was having problems with my prints adhering to the build plate. They would peel at a corner and subsequently warp or come away completely leaving the machine to obliviously carry on printing into thin air. This caused huge piles of plastic spaghetti to greet me in the morning or when I returned from work. I've found the PLA sticks to the glass brilliantly. Just to be sure I also add a spray of 3Dlac (basically rebranded and expensive hairspray) which gets sticky when the build plate heats up but loses its stickiness once it cools again allowing the finished print to come away clean. The glass plate also gives a glass smooth (of course) bottom to each print which makes joining multi part things together a breeze. Although the 3Dlac costs about £10.00 a can it lasts for months and months and is better (as fast as I'm concerned) than trying to experiment to find the correct hairspray. I got my glass plate already cut to size from eBay. Be sure to buy proper Borosilicate glass to avoid it cracking from the heat. I just laid it straight on the existing plate and secured it with two bulldog clips. I had to readjust the bed height of course since I'd added 3mm to its thickness. I also found to my cost that the 'bargain' PLA filament I'd bought wasn't any good at sticking either to the plate or to itself so I changed to Hatchbox PLA which was recommended. Some people have no problems with cheap filament and good luck to them but for me the possible savings don't out way the risks. Even 'expensive' filament only uses a few pennies worth per print. If you enter the cost of your filament into Cura it tells you how much each job will use and what it will cost you. Here's my glass build plate held in place with a couple of bulldog clips.
A new 3D printer
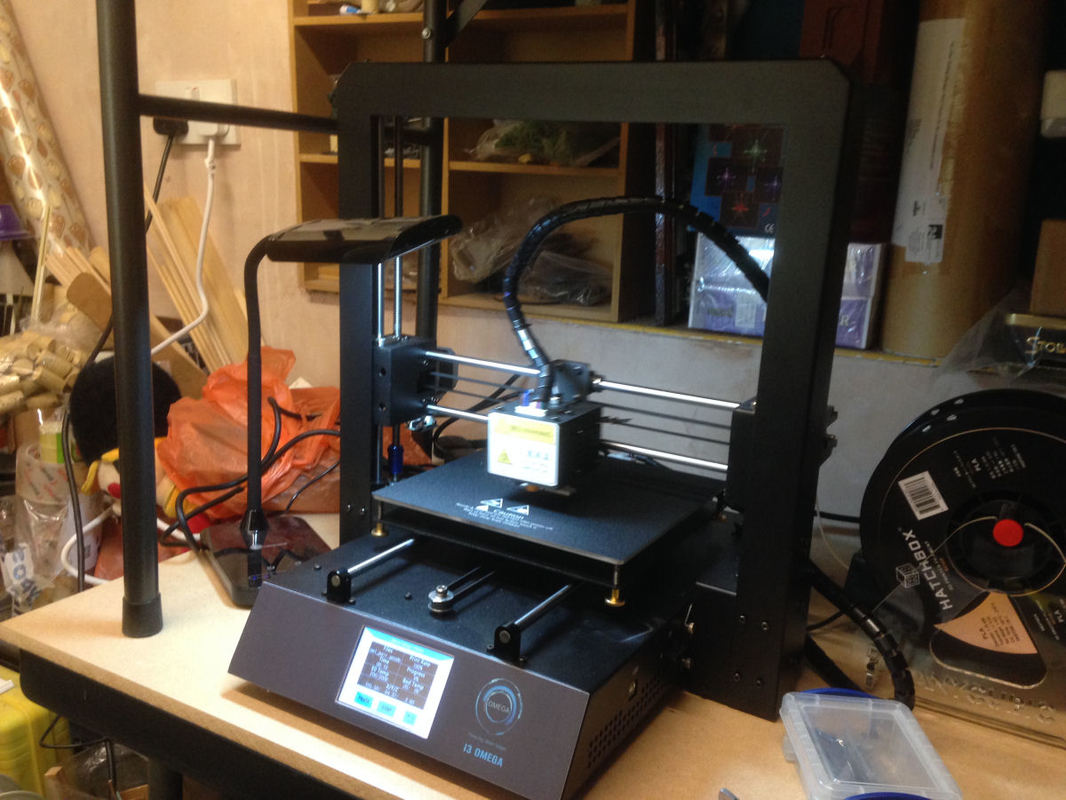
I bought another printer because my Wanhao i3 kept developing faults. I'm on my third motherboard and it still isn't running. I think I got a dud one. I chose the i3 Omega which costs £399 and is an upgrade from the model I bought first time around. It has several improvements and performs much better. Far better than the modest price increase warrants. It comes with a really good build plate that PLA sticks to like glue. I found it stuck too well and stuff was actually difficult to remove so I installed a glass bed which, with a spray of 3DLAC sticks everything when it's warm and releases them when it cools (5 mins and a re levelling of the bed to fit it so done in under 15 minutes).
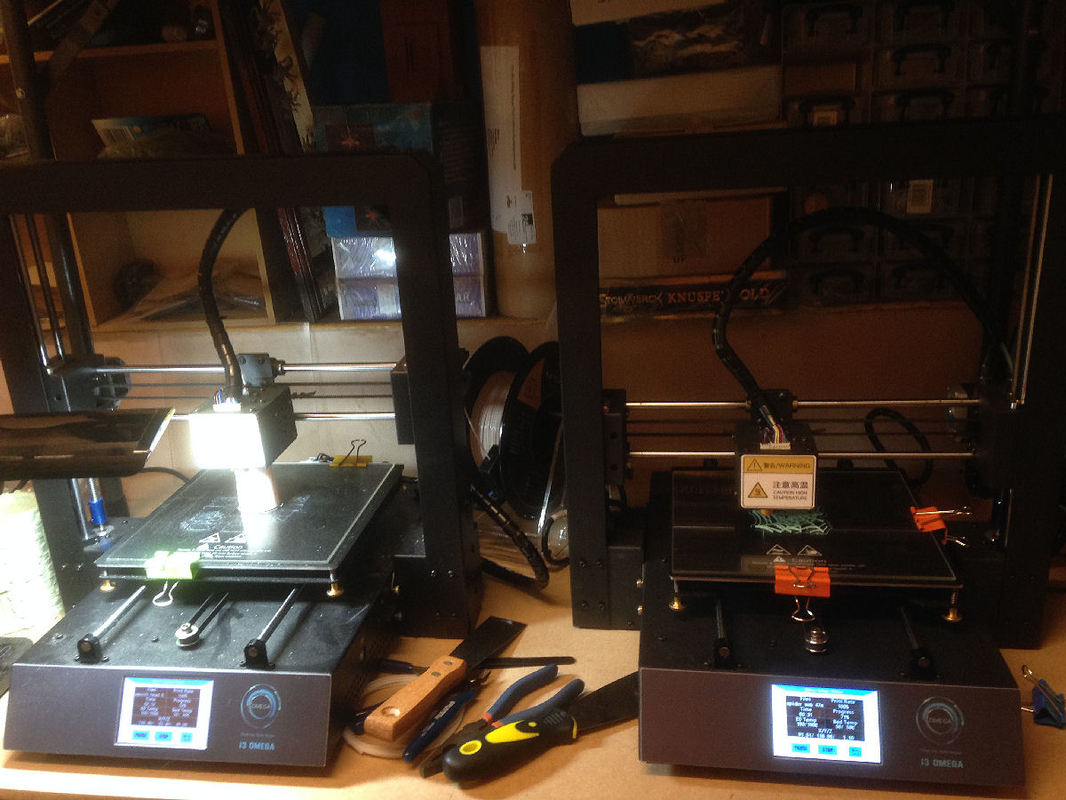
It prints faster than the Wanhao i3. It finishes the top of prints properly unlike my Wanhao (I won't tar them all with the same brush, might just be my one that doesn't finish the tops). It has a bed levelling sensor and much longer adjusting screws so there's more room for adjustment and the initial set up took about 10 minutes. For a newbie this would be a great help, the original adjustment on my Wanhao took a lot longer because I didn't know what tolerances I was actually looking for. It was nerve wracking. It has a filament sensor so if you run out or have a jam it pauses the print. It will restart where it left off. The Wanhao has nothing like this. It has a better frame with 8 bolts holding the print head perpendicular to the base. The Wanhao has 2 bolts and is notoriously difficult to keep squared (I settled for nearly square). It has a better cooling fan that's aimed properly at the print head. It has a colour touch screen instead of a dial controlled menu. It doesn't have a separate control box or the awkward bloody cable that accompanies it. I has a flashing blue LED underneath (I don't know why). The version of CURA it comes with isn't as good as the one I have from the Wanhao but this is a personal preference, it works fine I just can't find some of the more advanced settings. It doesn't have it's profile loaded into CURA which was surprising. I assumed it was the Wanhao with extras and that seems to be working fine. I've had my i3 Omega for a while now and I've produced lots of lovely prints with it. Based on its success I traded my old Wanhao i3 in for a second Omega.
Here they are in full production mode. |
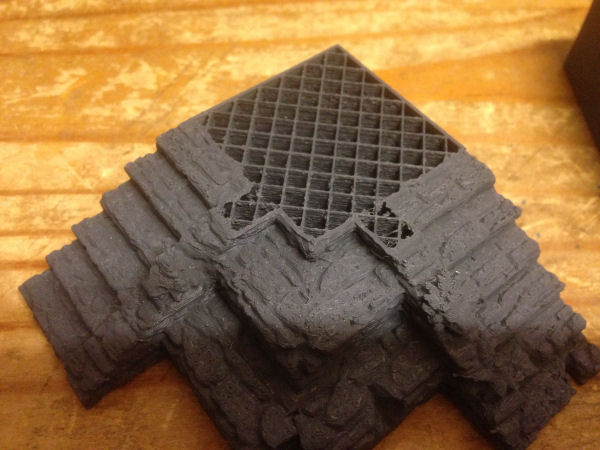
Here you can see the honeycomb of the 20% infill pattern.
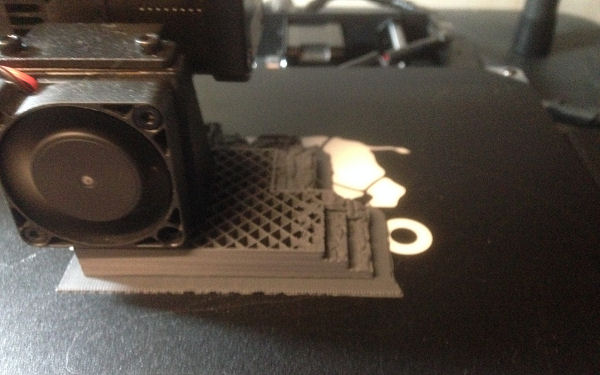
The surrounding mat that this piece is being printed on is a raft. Rafts are usually used so a tall, thin object will be more stable but I was using it here to aid adhesion to the build plate.
Rafts are printed with a very weak join to the actual printed object so they can be snapped off easily after printing. 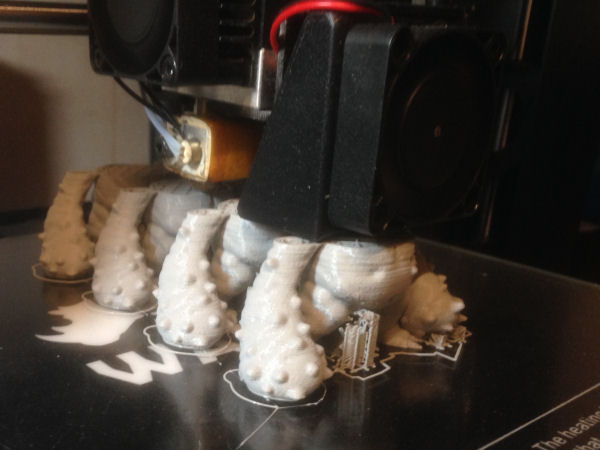
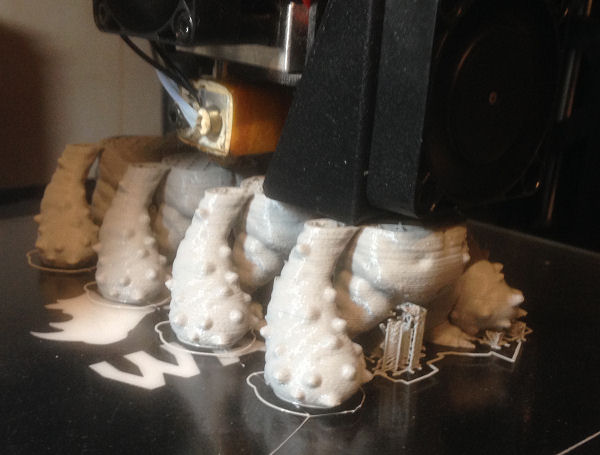
The strange structure between the cave lurker's legs is a support. This is a lightweight matrix of filament that supports parts of the objects with nothing underneath them. It comes away easily from the finished print.
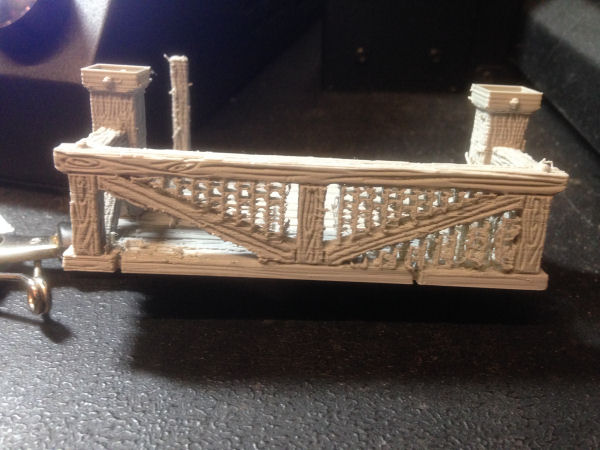
These supports are so the top rail of the balustrade could span the gap between the uprights.
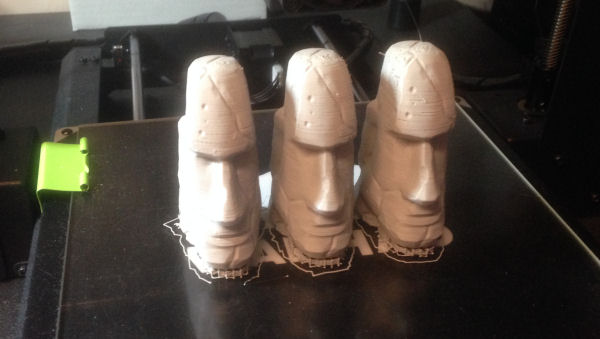
More supports under the chins of these stone heads.
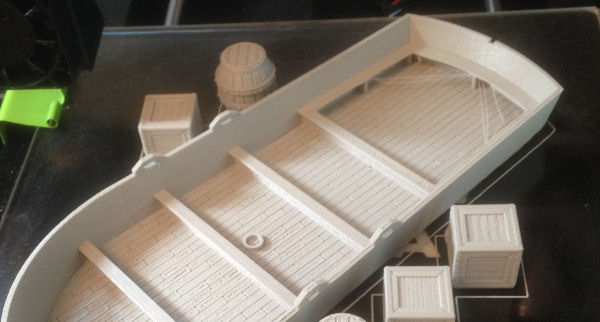
This boat was printed without supports and you can see where it's left strings of filament as it spanned the gaps between the legs of the rear seats. These are easy to cut away.
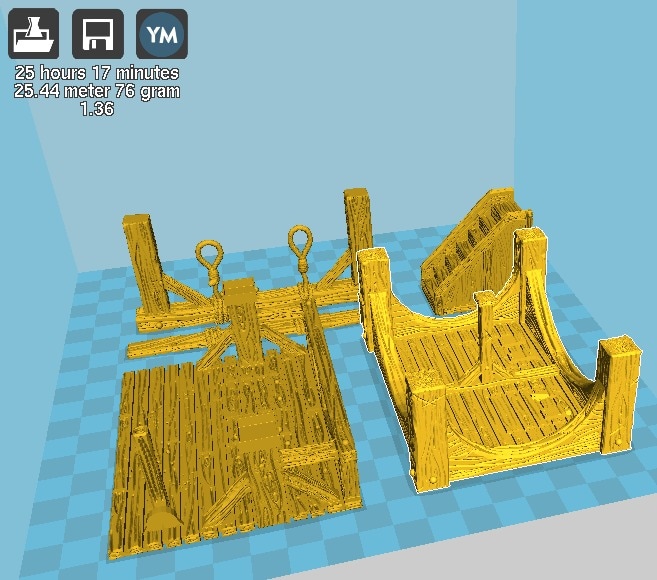
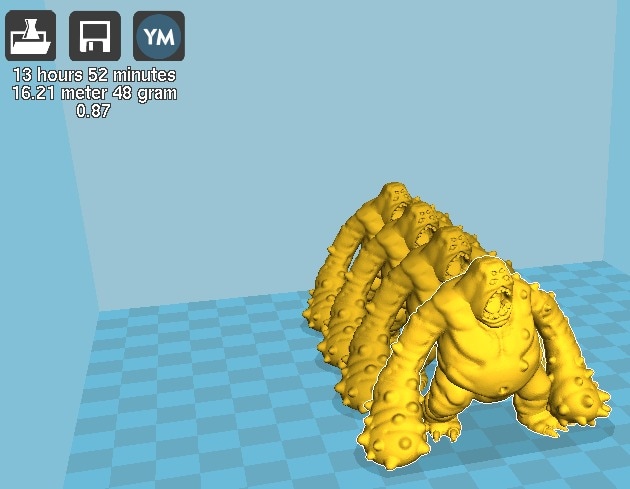
This is the Cura screen where you can load object files and arrange them for printing. The top left readout shows print time, amount of filament and the cost of the finished items.
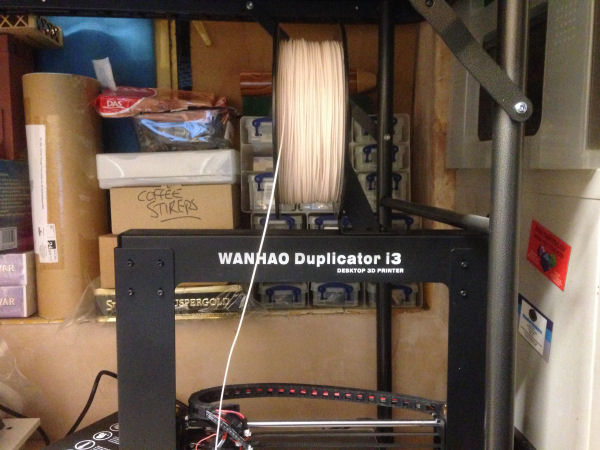
The filament is held on a spool. This is a 1Kg spool.
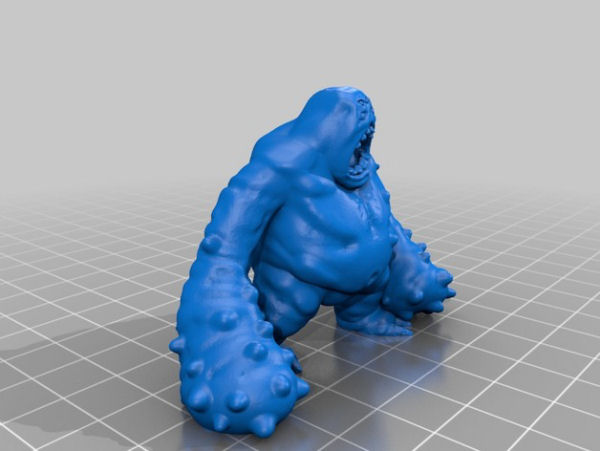
Here's the design file of the cave lurker that I downloaded.
The Cura file where I put four together for printing.
Printing...
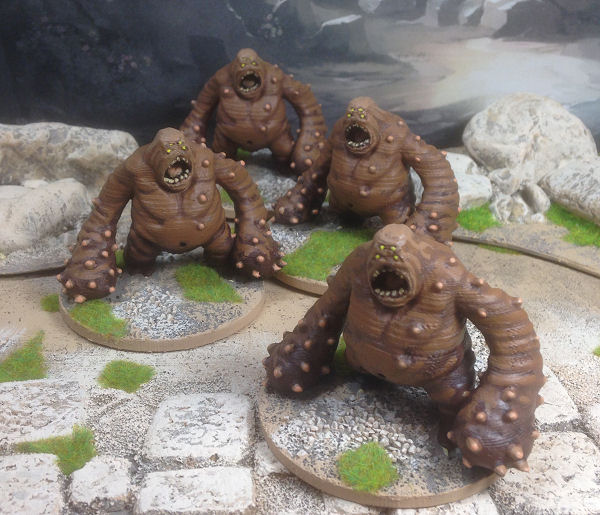
And finally painted and based ready for the tabletop.
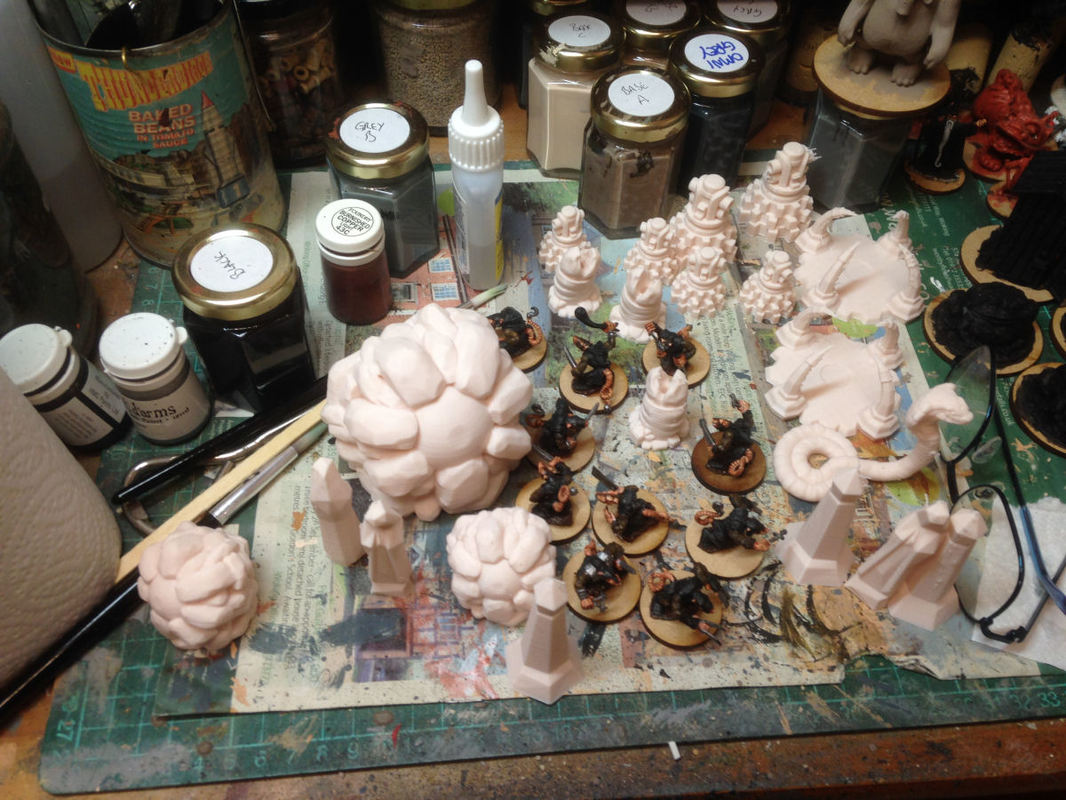
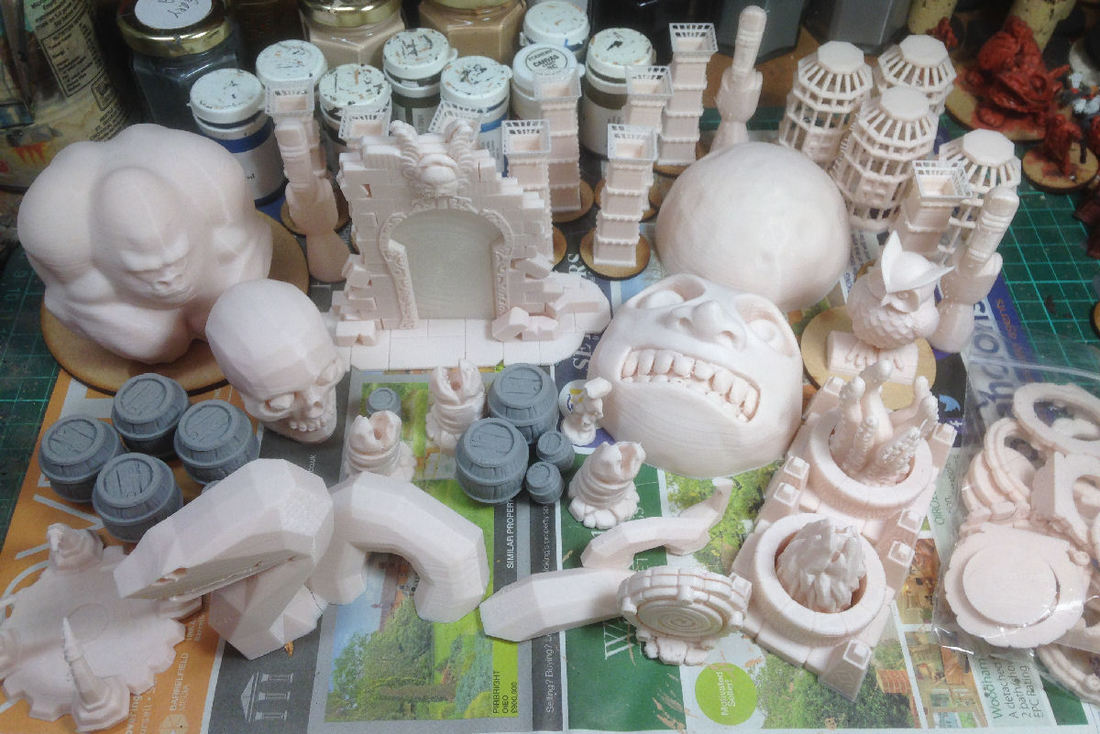
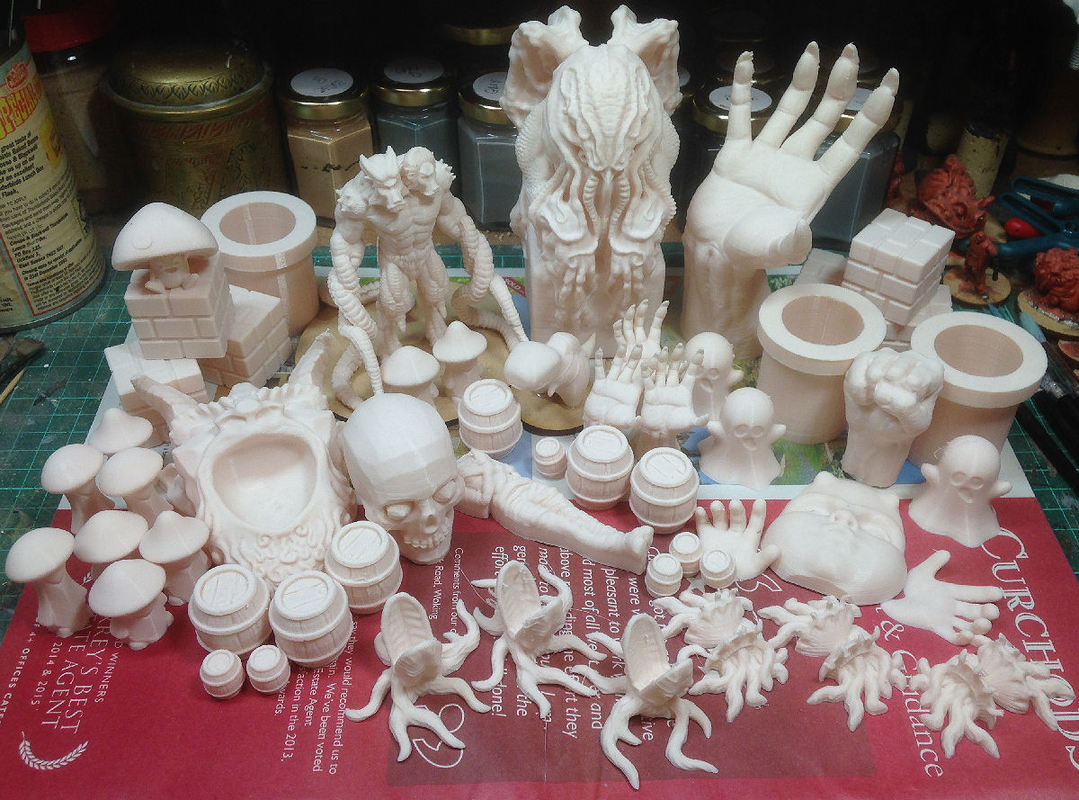
Below are some things I've printed with the new i3 Omega printer.
|

