|
Building the Arena
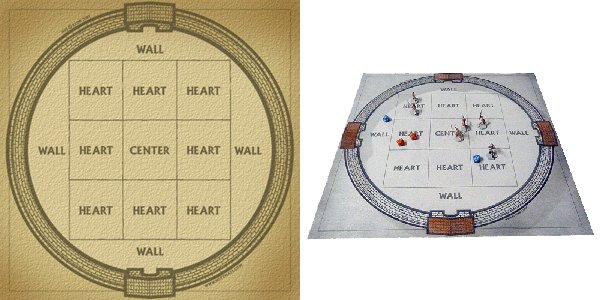
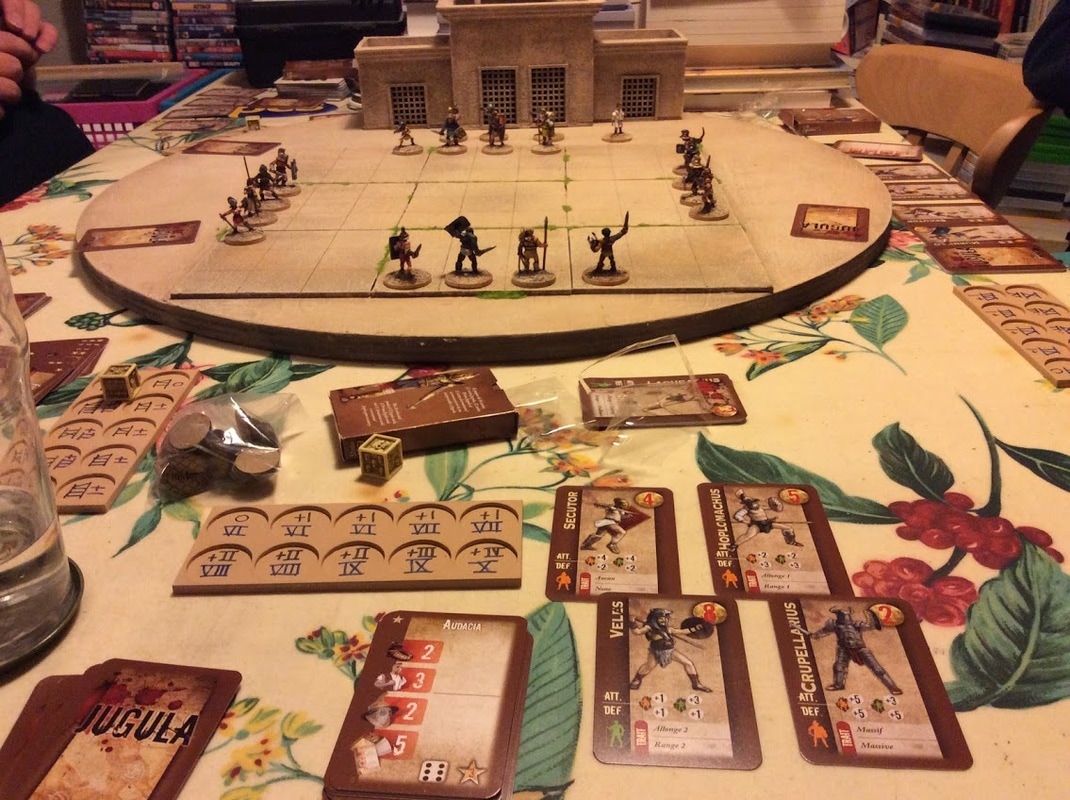
This arena is designed for using with Two Hour Wargames' Red Sand Blue Sky and needs to have nine main central areas and some surrounding space. Other than these simple requirements I could pretty much do what I wanted. Here's a Hotz ArtWorks printed map of an arena for the same game: I decided very early on that I didn't want a classic walled arena. I used to have one and I always felt that the wall got in the way and moved the players' viewpoint too far away from the action. After all, you want to feel you're in the arena if you're playing a gladiator surely?
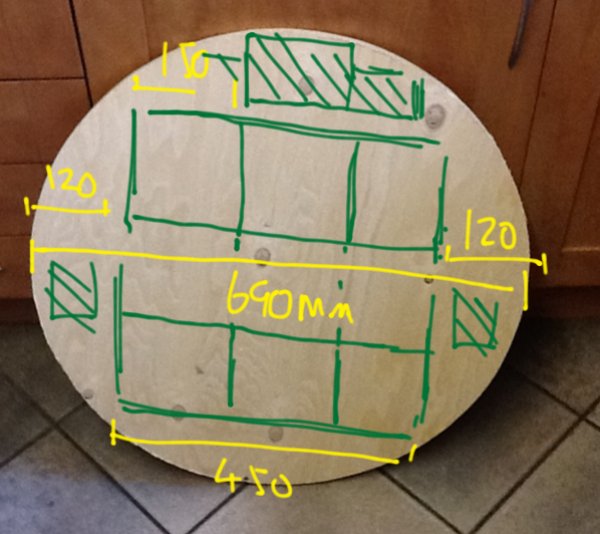
In the end I went for a circular board to give the impression of the classic arena. I originally looked for a circular tabletop, Argos used to do a very cheap 60cm chipboard one, but I was offered an off cut from my school's drama department for free which was a little larger at 69cm but would do the job. As it happens Argos no longer do the table I wanted anyway. Here's an early photo of the board that I've marked up with my plans. The main squares would be cork to avoid any drawing on the playing area. I wanted a naturalistic look but still needed the grid. I also decided that putting a set of buildings/spectator stands at the rear edge of the board would add to the feel and possibly also supply some dice rolling areas and somewhere to keep unused figures during a game. This pretty much remained the plan but was refined as I went along. The cork squares were originally cut to 150mm but this looked a little too big and, by reducing them to 120mm each and moving the entire grid down to the bottom edge of the board, the front edge during play, I created more space at the top, the rear edge, for my buildings.
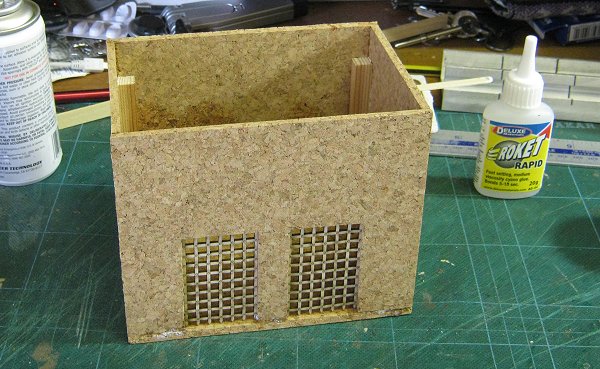
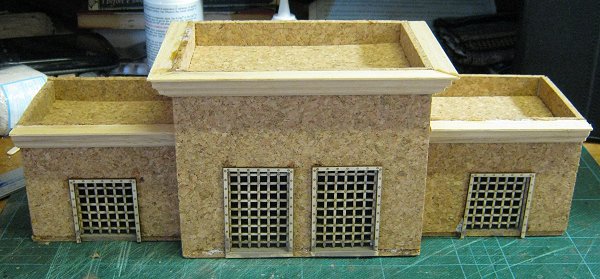
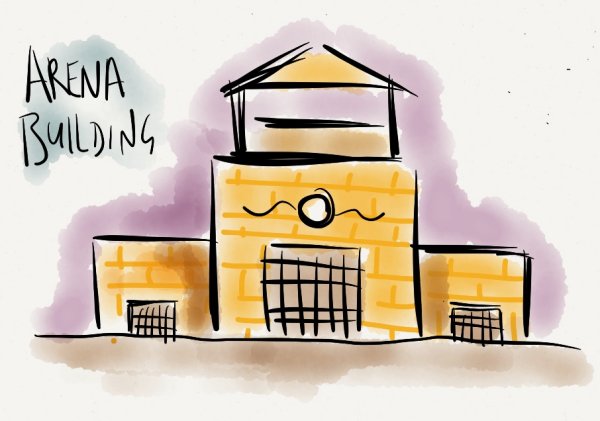
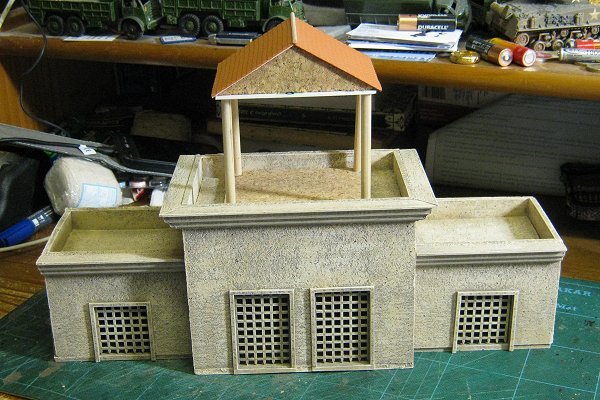
Once the squares were glued in place it was time for the 3D part. The main building is made up from a larger central stand and two smaller side stands. I started with the centre one. This building is a simple box with an inset roof and twin gates at the front for the combatants to enter from. I bought the gates from Fenris, they're really nice laser cut designs and only cost £3.99 a pair. I used the parts from one to make both front gates here. You could get a decent effect with wire mesh or card and buying a gate isn't really necessary. However, with simple buildings such as this it's nice to have a focal point.
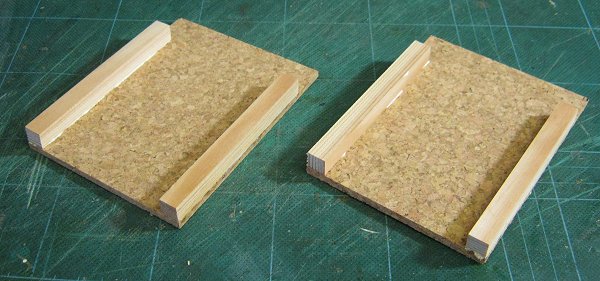
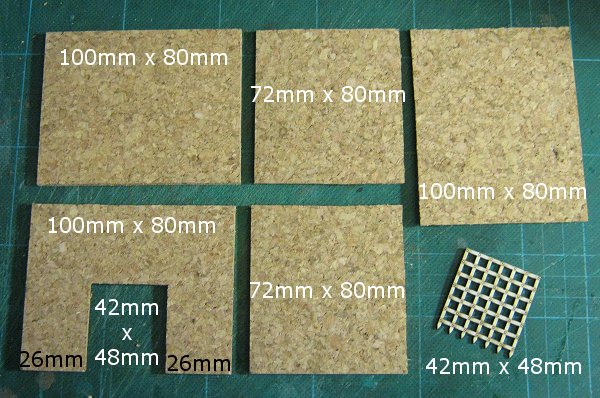
Step one was to glue some 80mm wood strips to the inner edges of the side walls. These square section pieces will help with aligning the walls for gluing and support the spectator floor/roof when it goes on later. The portcullises were glued into their cut outs and the building was assembled with superglue and accelerator as normal. It was very simple to put together.
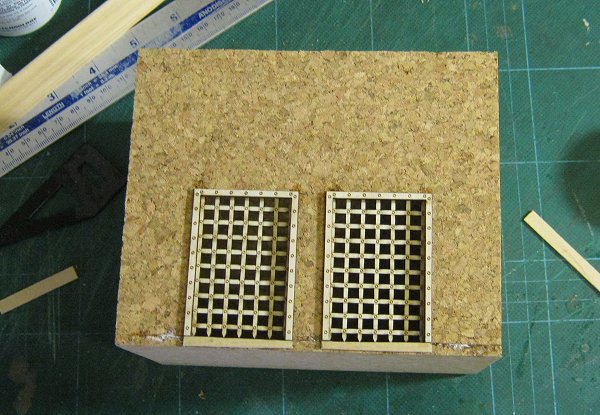
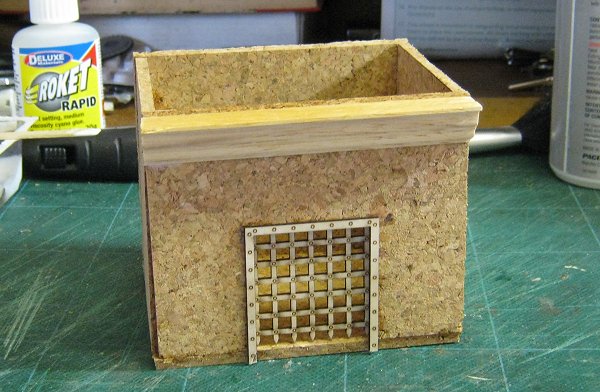
I added the gate frames and a couple of small strips of wood to finish off the outside detail.
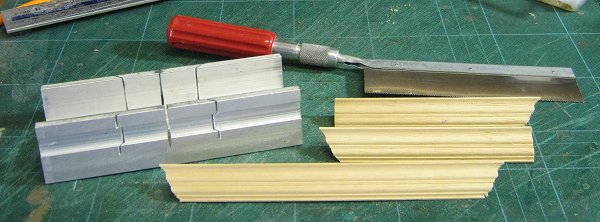
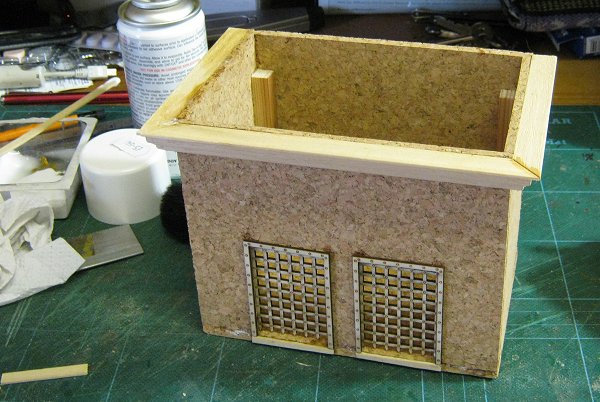
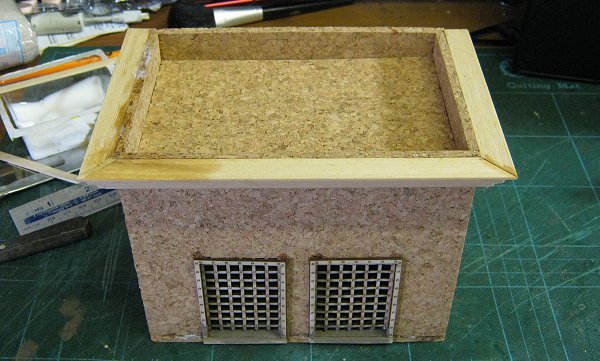
I had some wooden trim left over from other stuff and decided to add this around the top edge to help give a classical look. It needed to be cut at 45 degrees to fit but my handy mitre box removed the need for lengthy measuring.
I still needed to add a shim at one corner to close a gap though so I suggest when you cut you cut longer than you need by a small amount and sand it back if necessary.
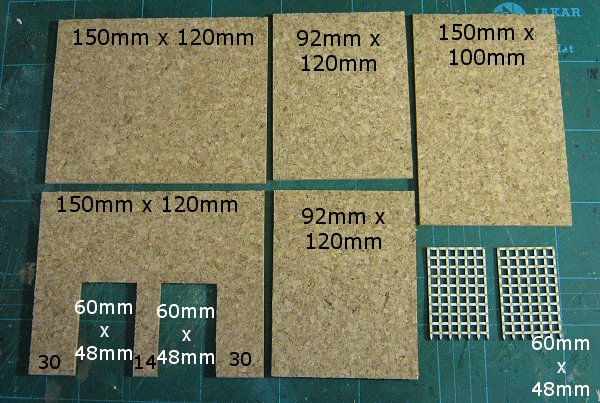
I painted the inside floor just in case it was visible once the roof was on (it isn't) and then dropped the roof into place and glued it since there's no need to place figures inside for play.The roof isn't in the cutting plan because normally they need to be measured up after the building is constructed. The roof section for this building on paper is 142mm x 92mm. I cut a section of cork to that size and offered it up expecting to have to shave off a mm along an edge or two to get a fit. Amazingly it fitted first time which shows the building is nice and square.
That completed the main building, next were the side buildings. You will need two of everything in the cutting diagram below.
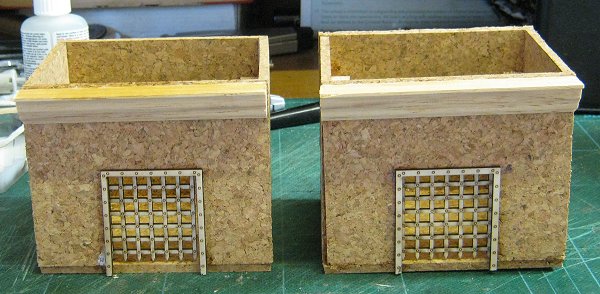
Everything is done the same as for the first building except the squaring/support posts are 60mm long (20mm less than the building height). The 2nd portcullis was cut down to fit a smaller doorway and I left off the wooden strips underneath since I could trim the frame to meet the ground this time. I used a slightly less ornate length of trimming for the front and didn't do the sides.
Here are both together. The roofs go in next 92mm x 72mm, again they fitted first time.
And here they are with their roofs glued in. Their back walls line up with the back wall of the main building but they're not fixed so they can be moved around if I decide on a different layout later.
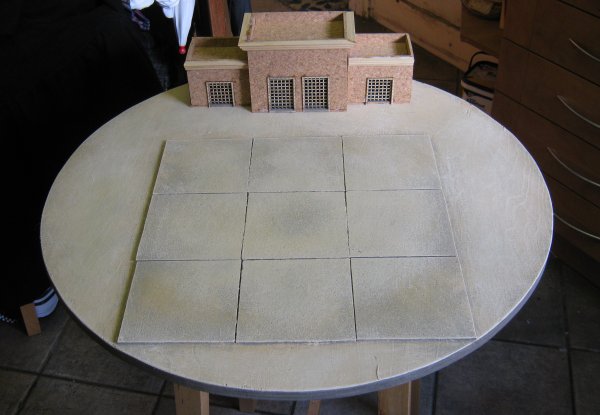
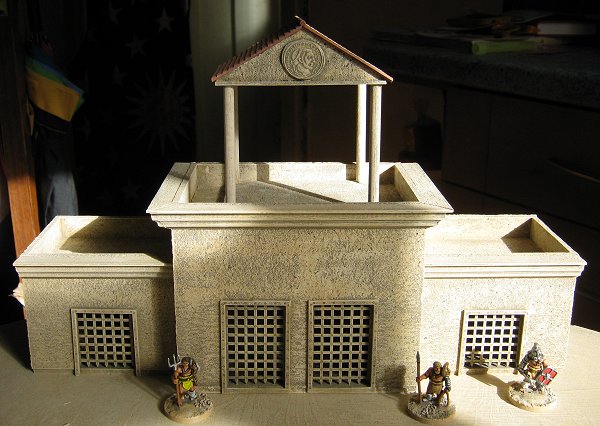
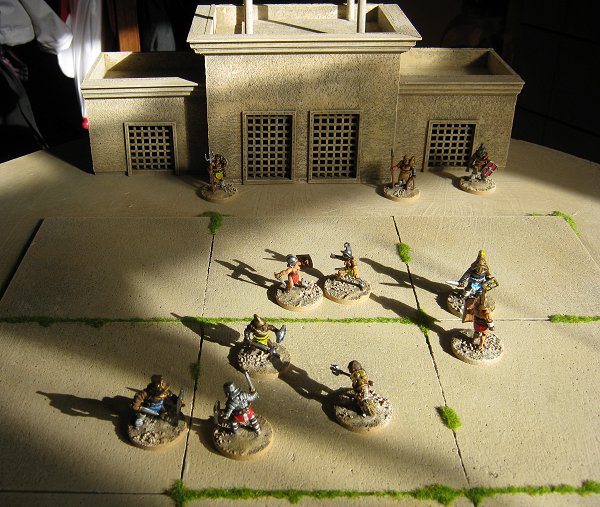
Everything in position. The board isn't finished yet but has had the main painting done. The buildings will be painted to match it.
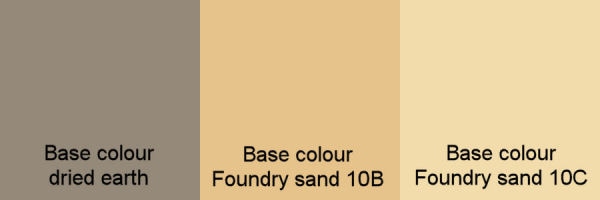
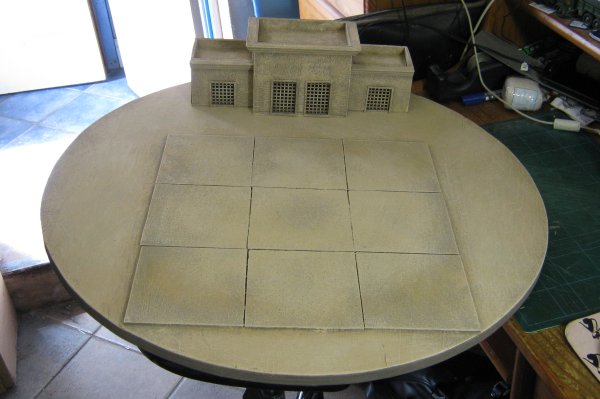
The buildings with some paint on them. I want everything to be muted as far as the background scenery goes so I've painted them with just the basic ground colours which worked well with my Afghan compounds. Apart from the small clumps of grass I'll be adding to the edges of the arena the only real colour during play will be the gladiators themselves.
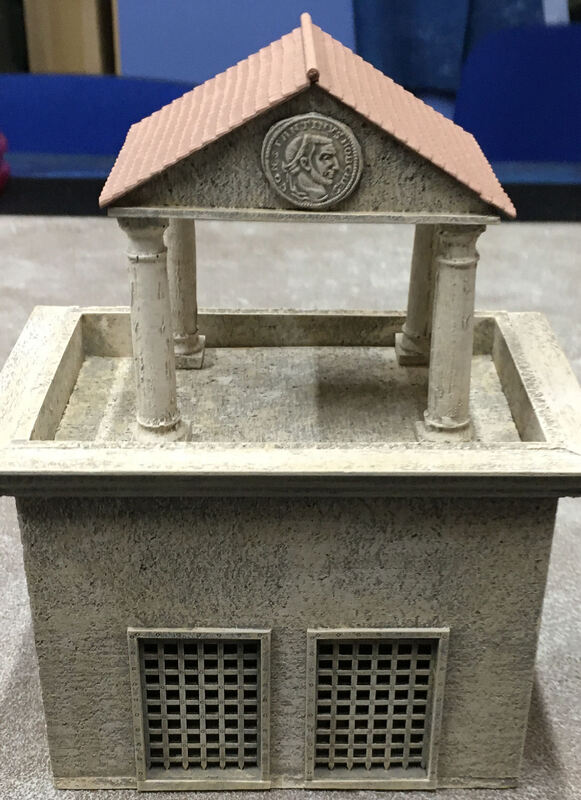
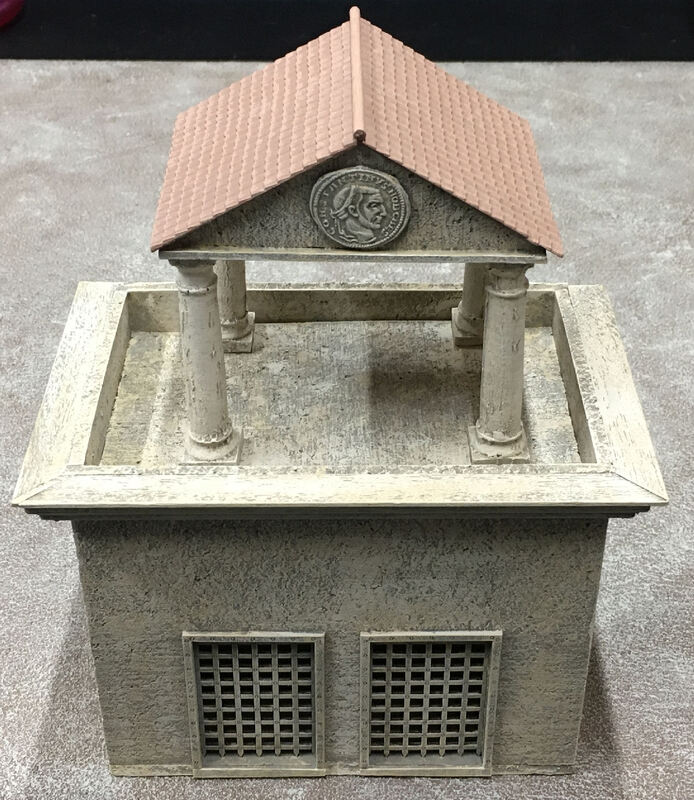
My earliest sketches of what I wanted for the arena buildings always had a roofed canopy for the posh spectators and I think it's this feature more than any other on a building that says 'Roman' so this was the final part of the build.
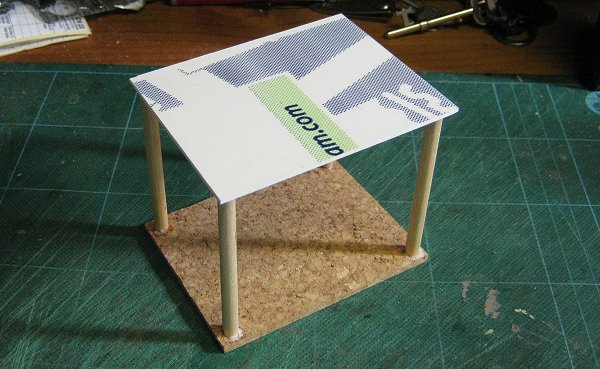
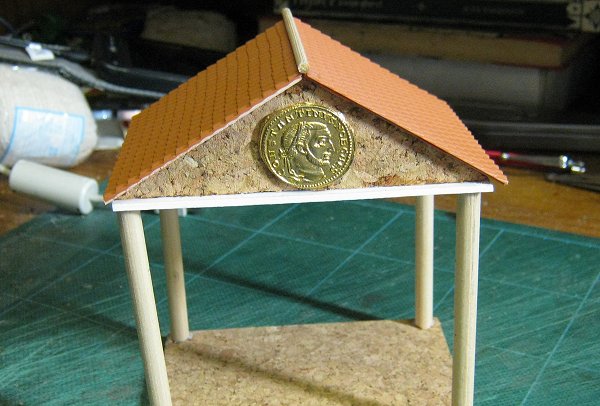
I wanted a light construction without heavy pillars so I decided to use some thin dowel for the uprights. The base was cut from cork and the top from foamed PVC but card would work just as well. Both base and top are 100mm x 80mm. The pillars are 80mm tall.
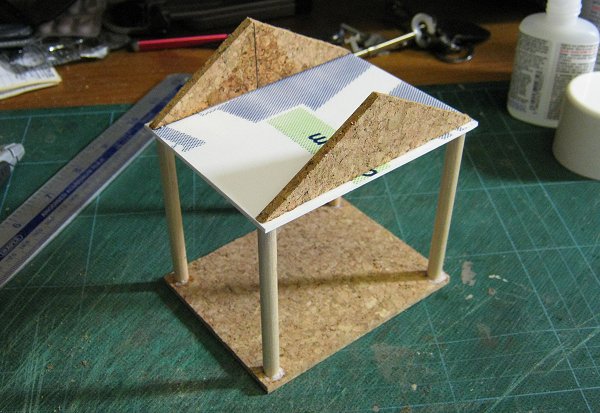
I cut two end pieces from cork, 80mm wide and 30mm high at the apex.
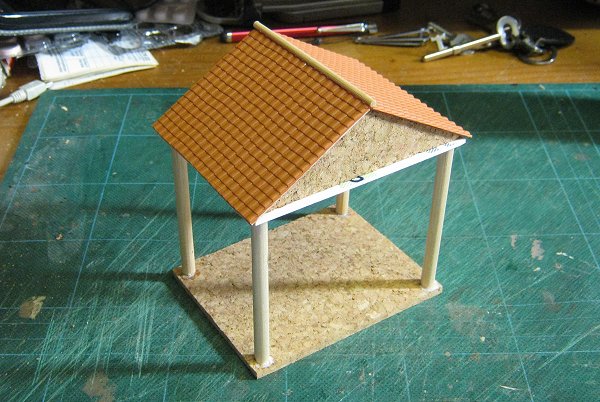
I used some Wills plastic pantile sheets for the actual roofing because I've had them for ages, so long in fact that I can't remember where I got them. There are many types of scribed styrene sheeting you could use or even card tiles of course. I topped the roof with a bamboo skewer to hide the join.
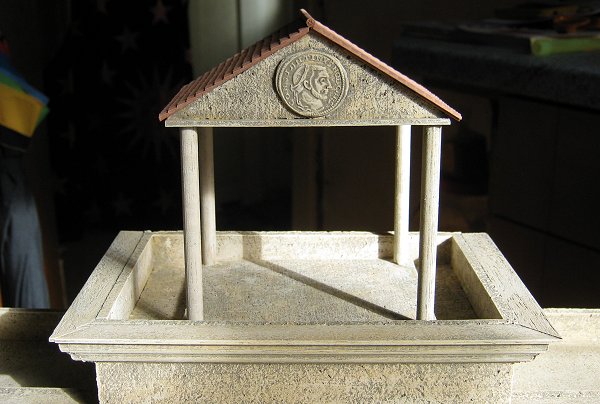
Here it is in situ. It will remain a separate piece for easy transportation.
As a final touch I stuck a replica Roman coin on to the front for some more period flavour.
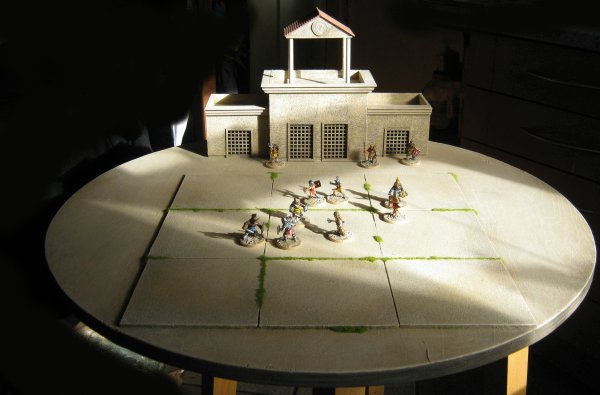
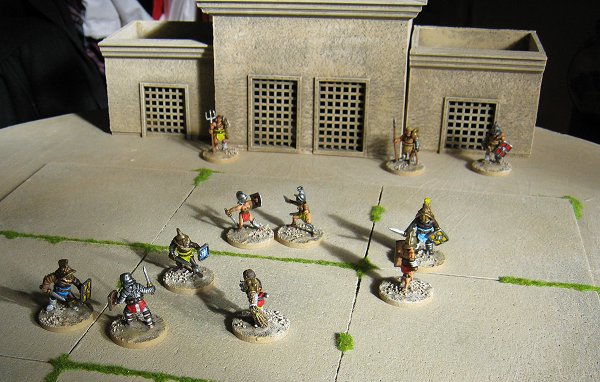
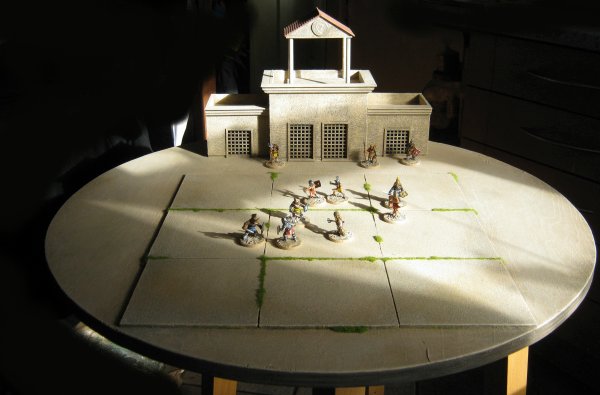
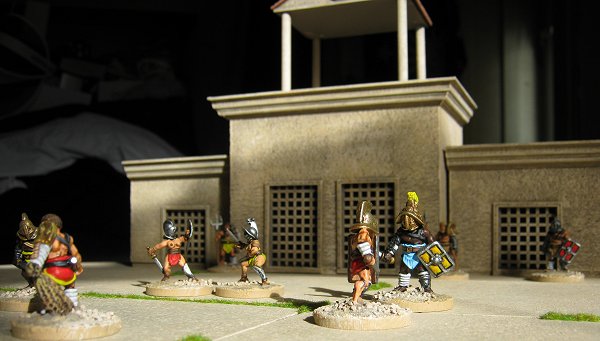
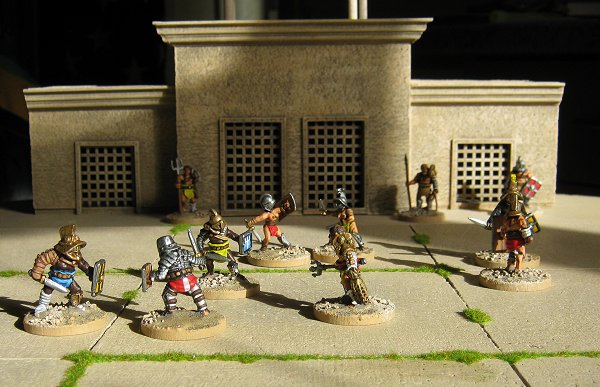
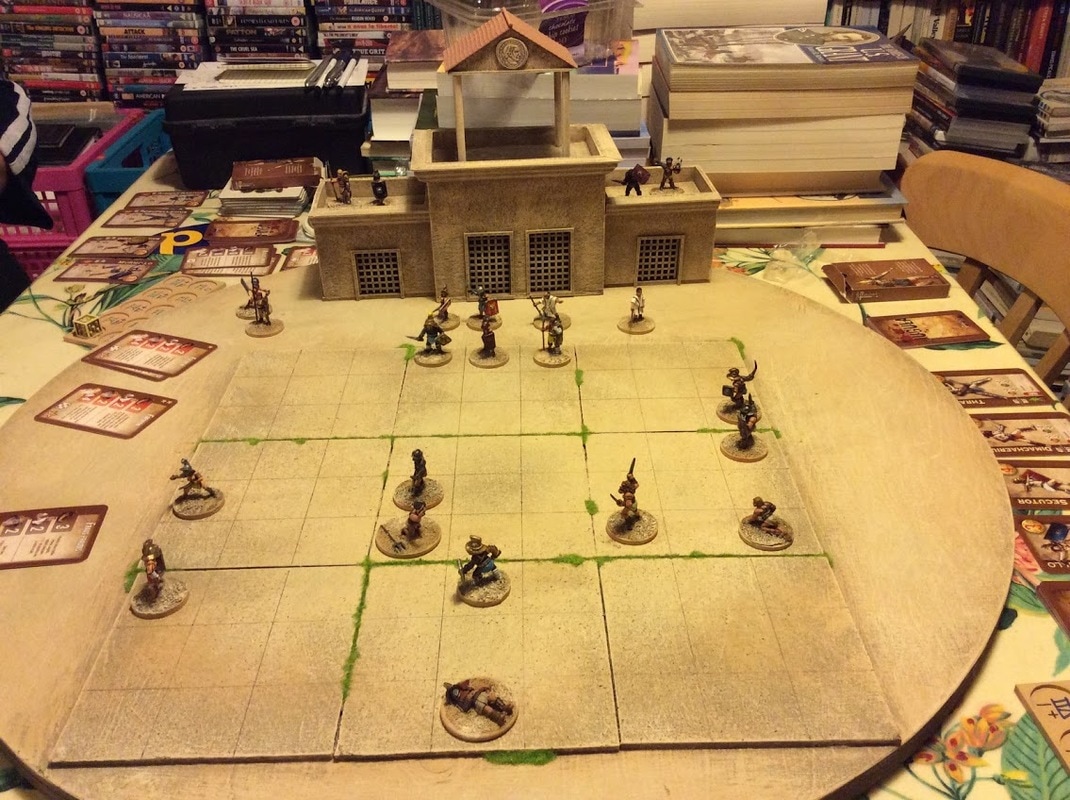
Everything painted and in place.
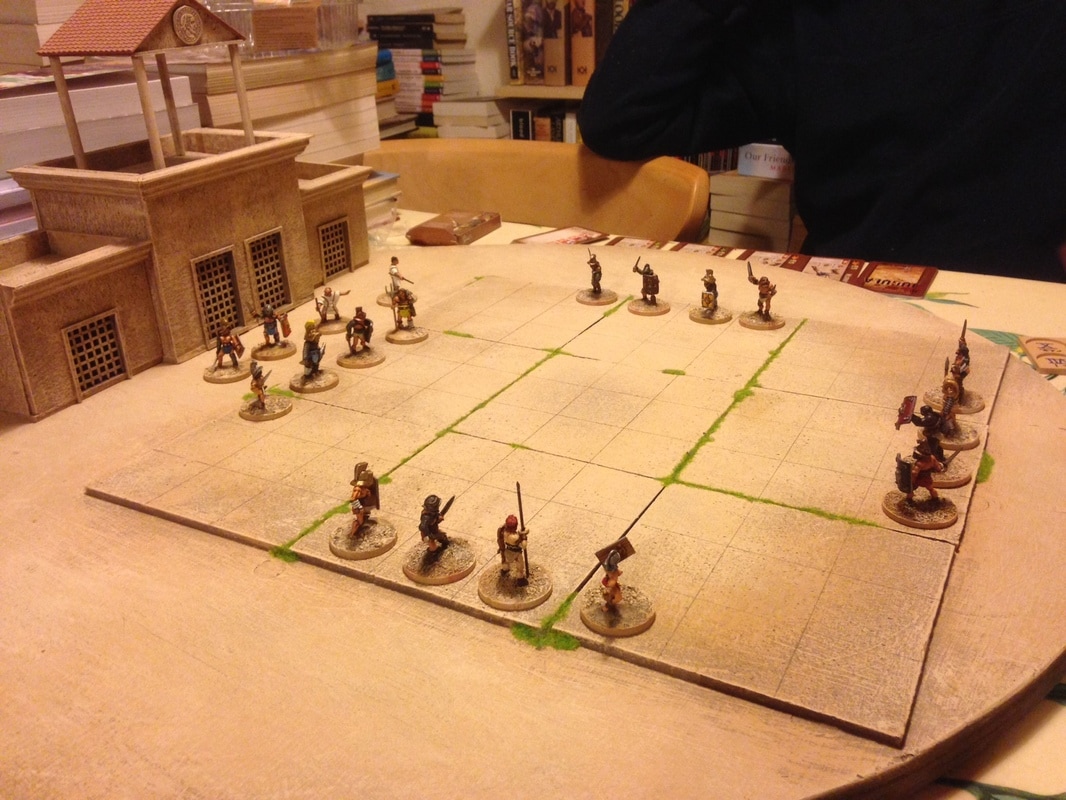
As you can see I've added some static grass to the gaps delineating the grid. Since the arena looks like flagstones anyway I think it adds to it. I was going to add some texture and grit to the outer 'wall' areas but decided against this for the time being as it won't add a great deal to play or atmosphere and will add another less sturdy element to the board. I might change my mind later though.
01.03.2015
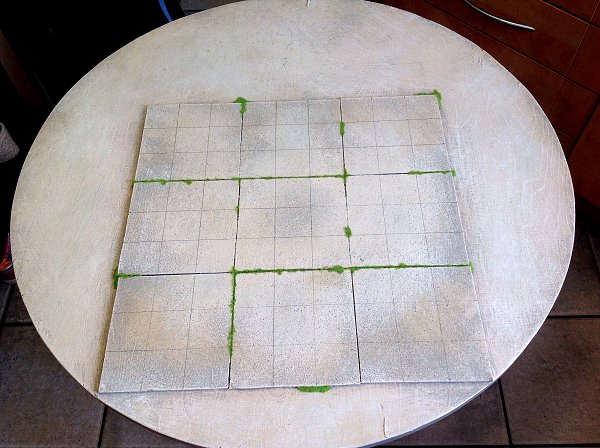
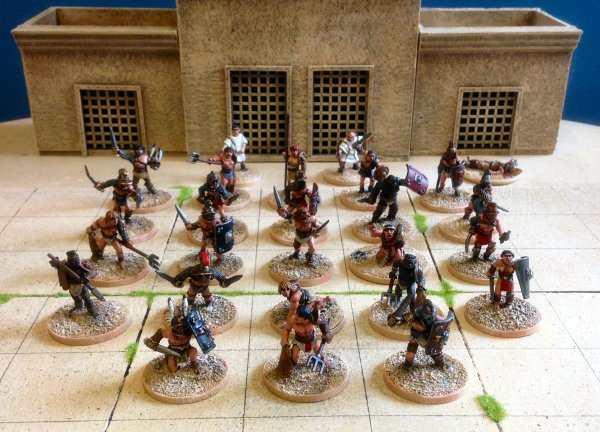
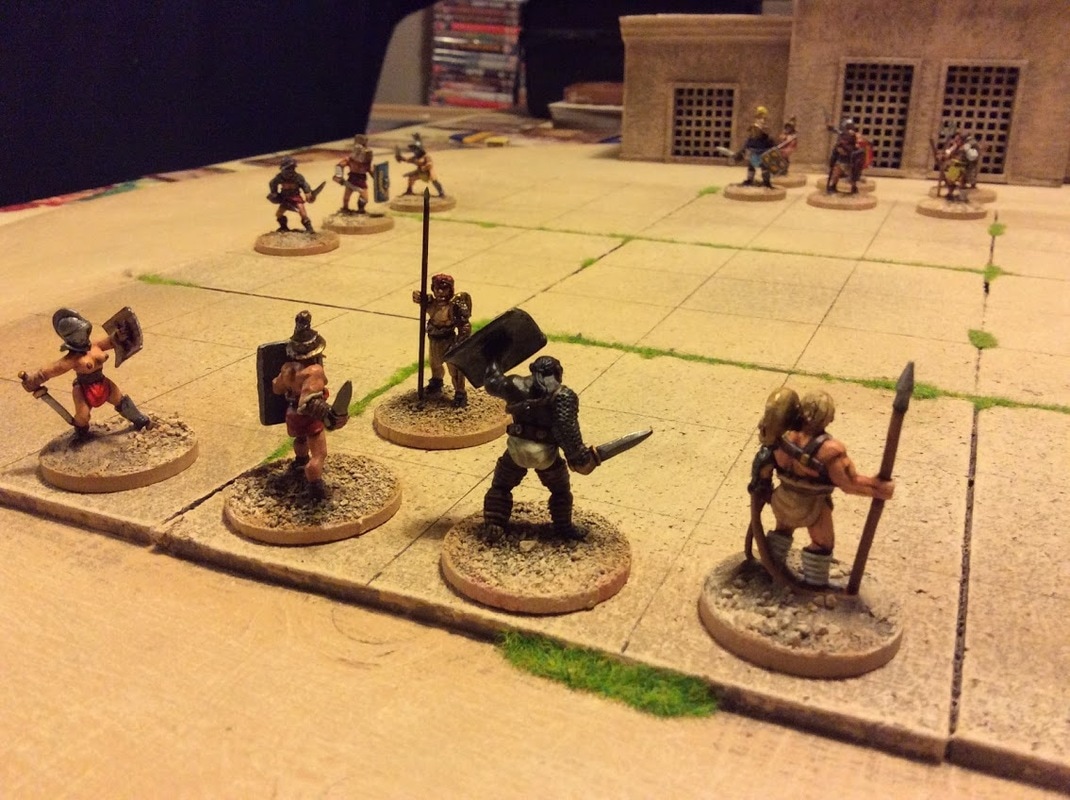
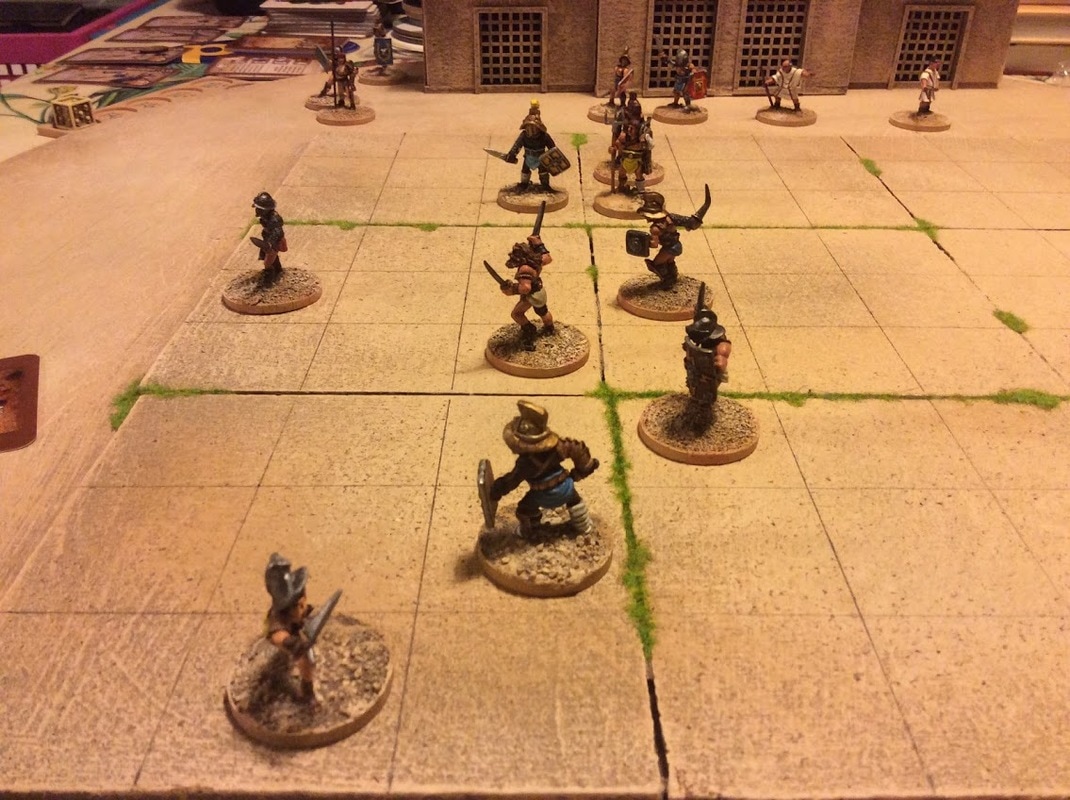
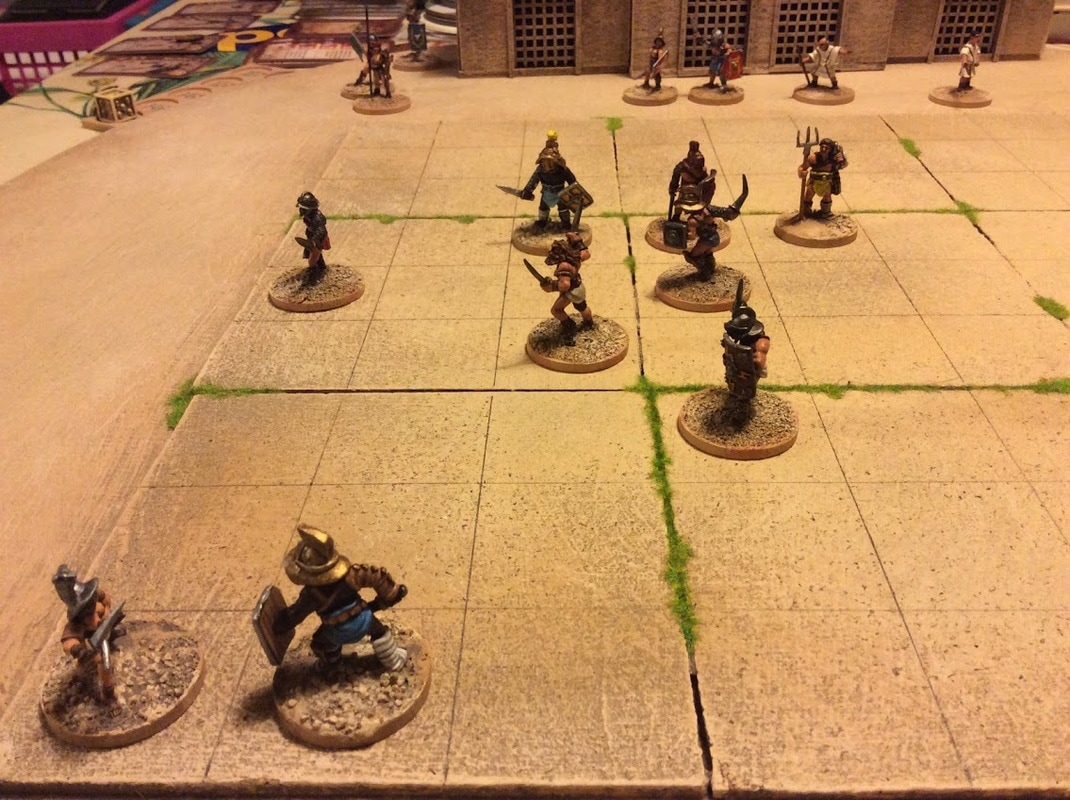
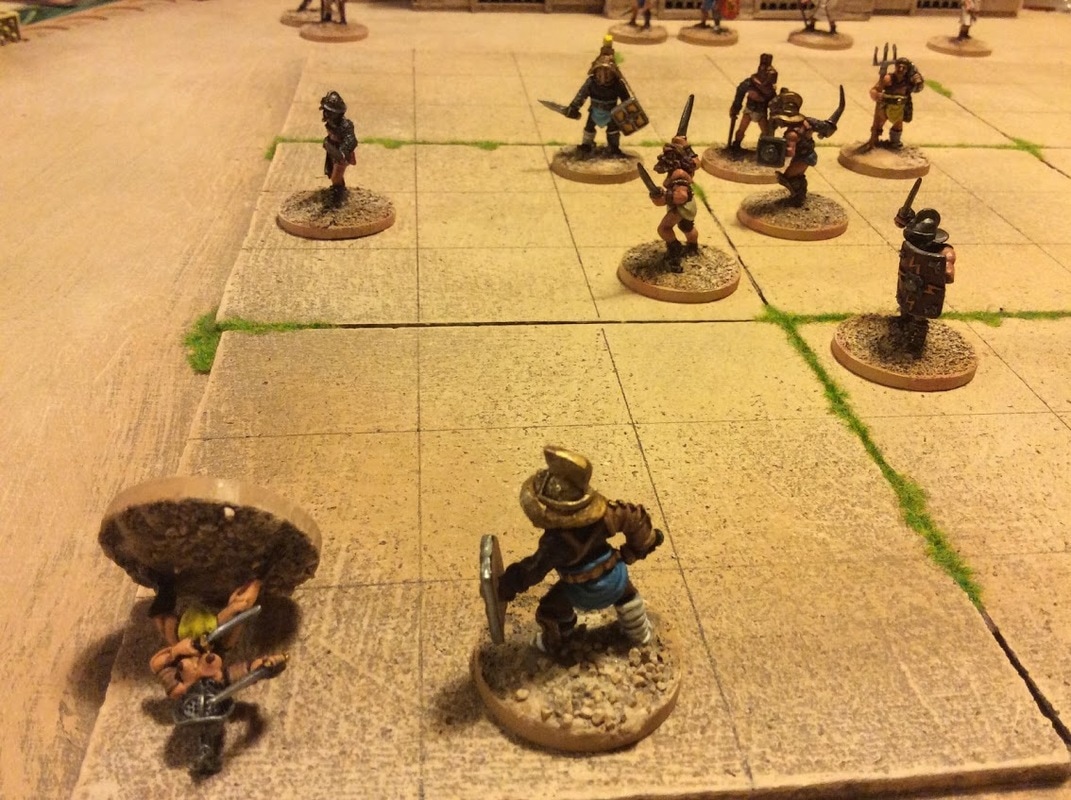
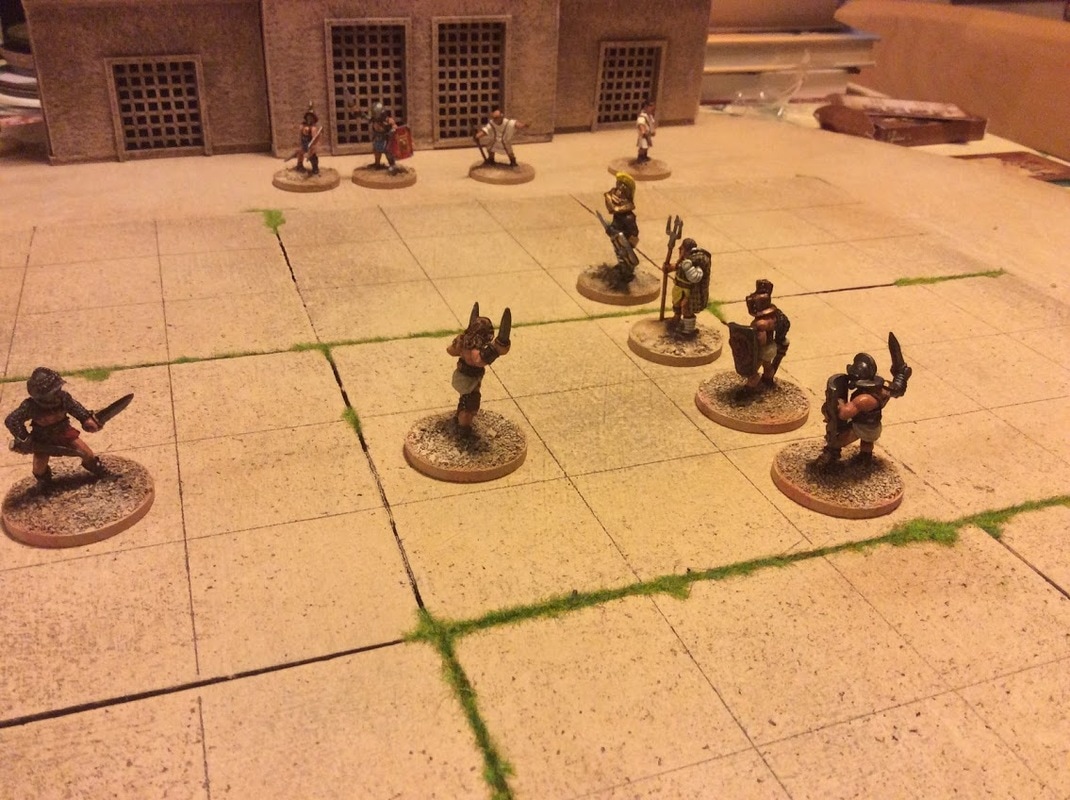
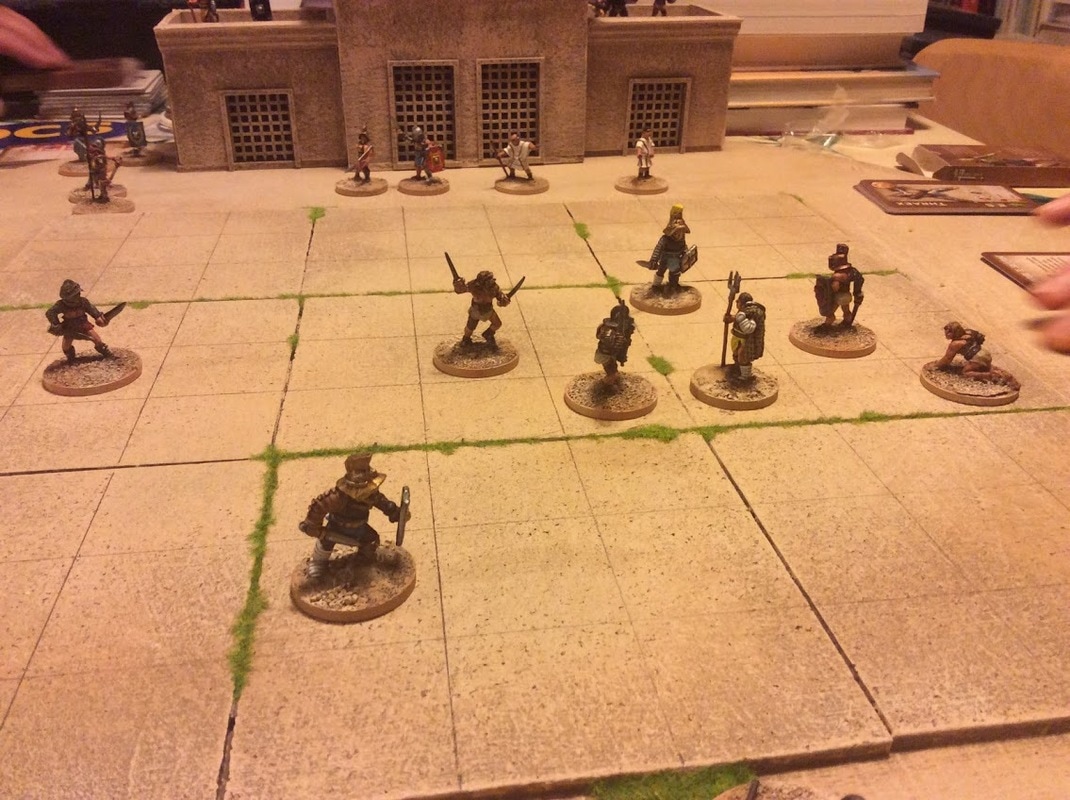
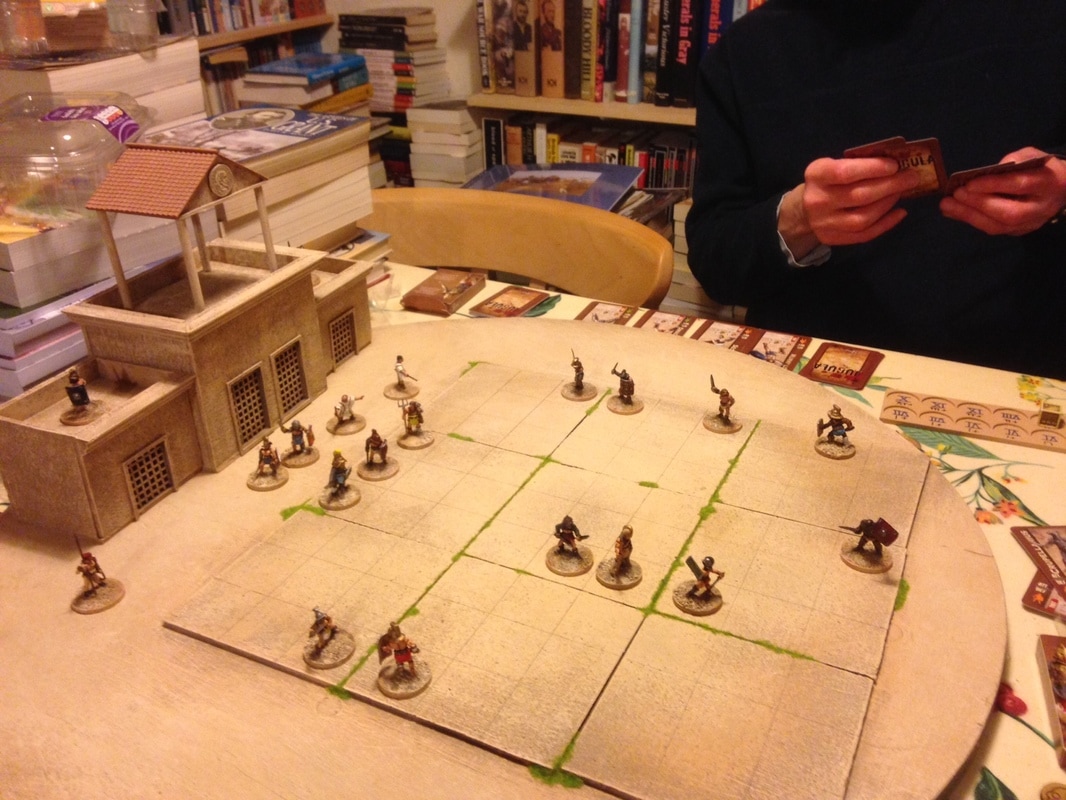
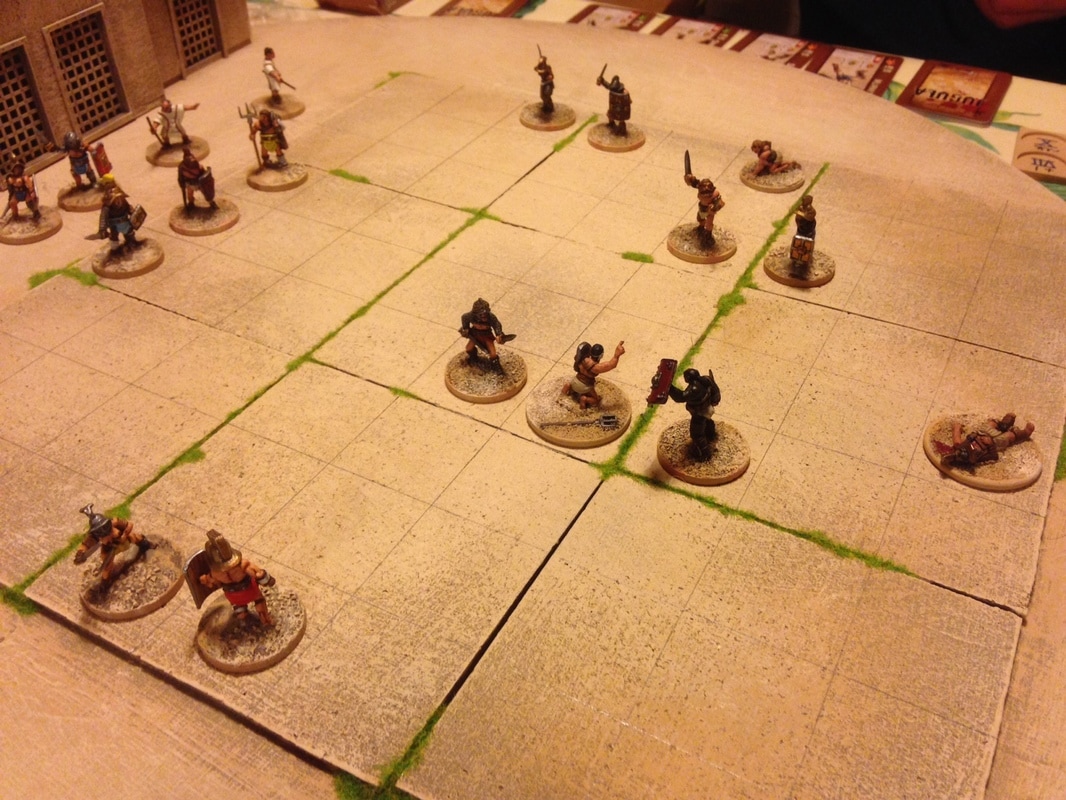
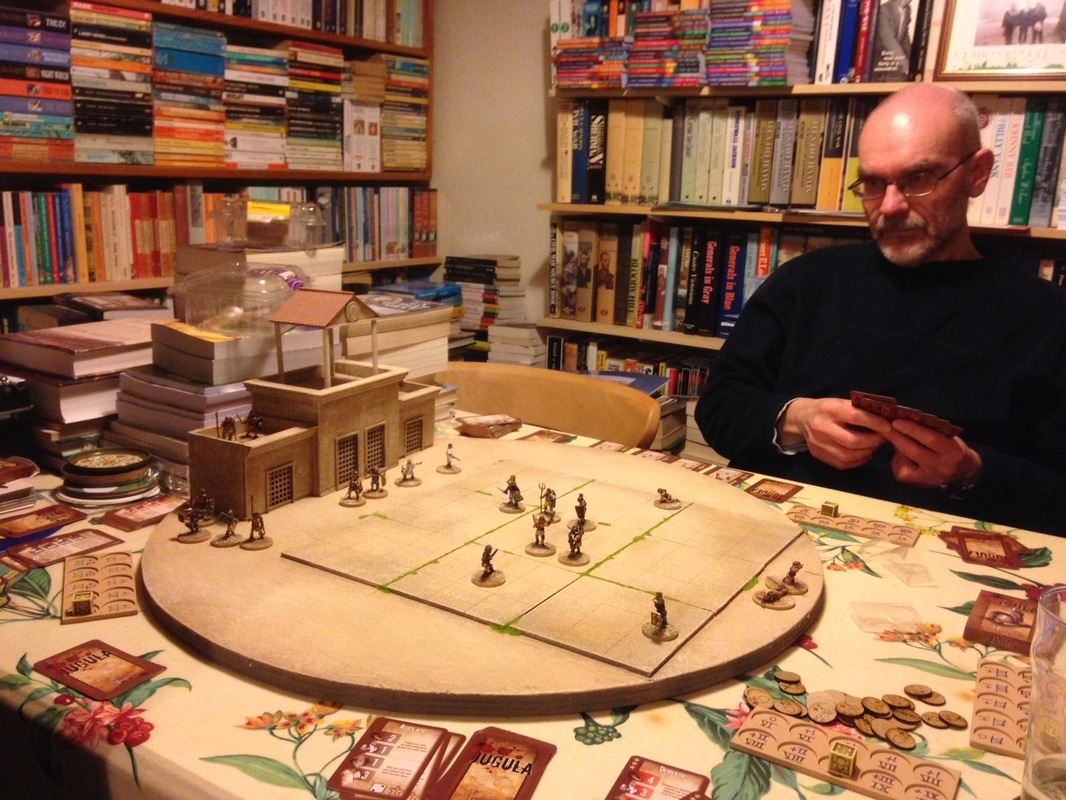
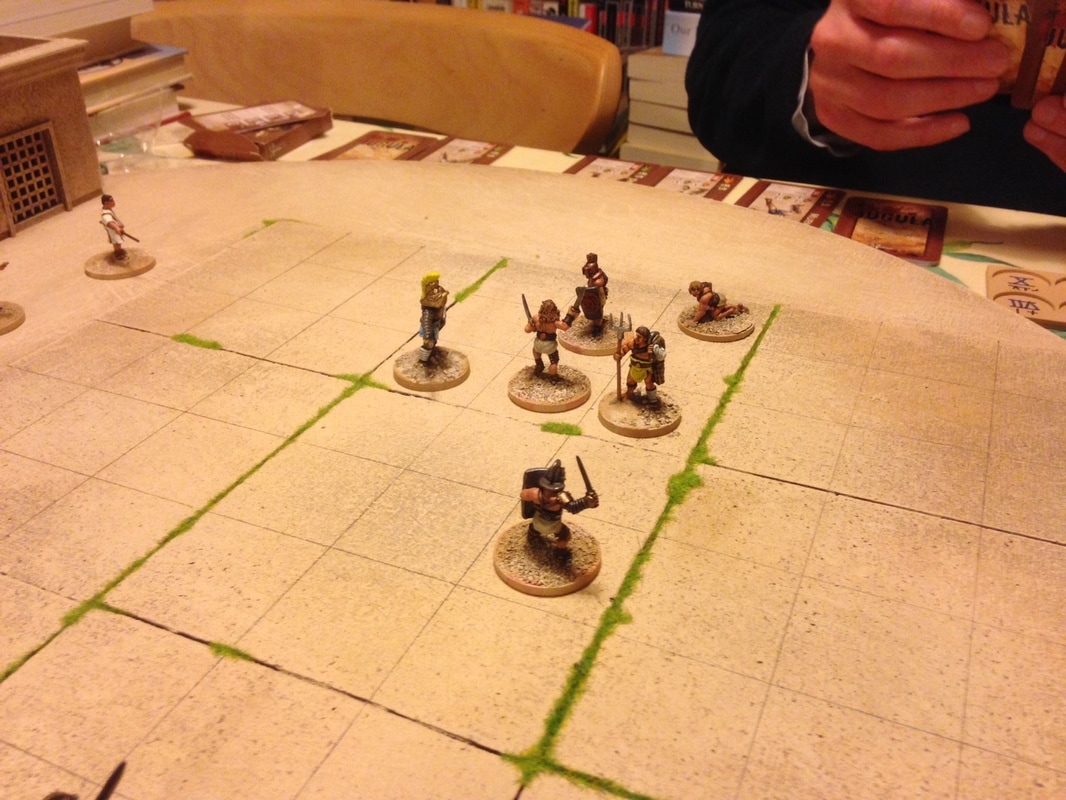
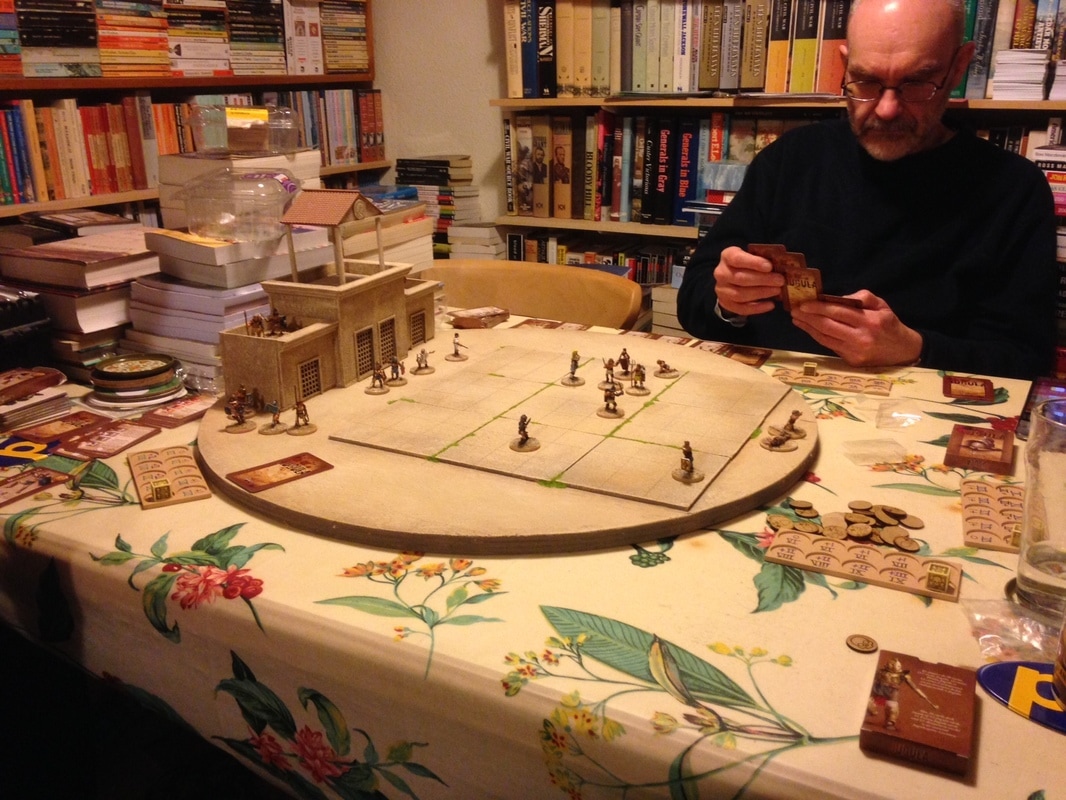
A quick update: I've decided to revive this Gladiator project by switching to the Jugula rules. This necessitated a small change to the arena. Instead of areas I now need squares. I didn't bother with anything flashy, just some pencil lines for the moment. I may erase these and put some sort of marker at the intersection points, probably some grass, if I find I don't like the gridded look after a while. |
I was never really satisfied with the thin dowels holding the roof up on the final building so, when it got damaged during a scenery sort out, I took the opportunity to replace the dowels with some pillars from Ian Weekley's excellent range of scenery bits (now available from Magnetic Displays).
|


