|
My Basing Technique
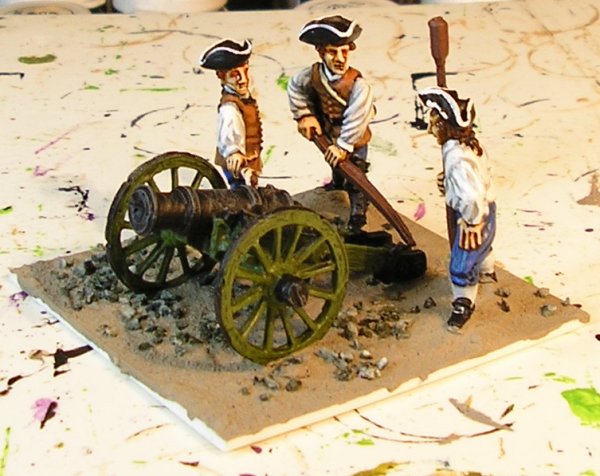
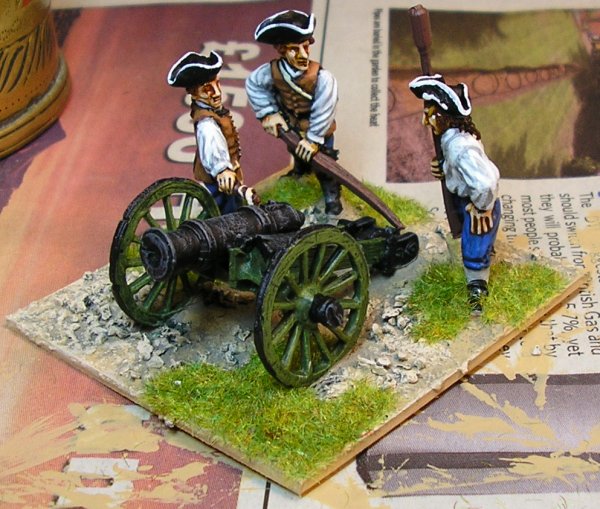
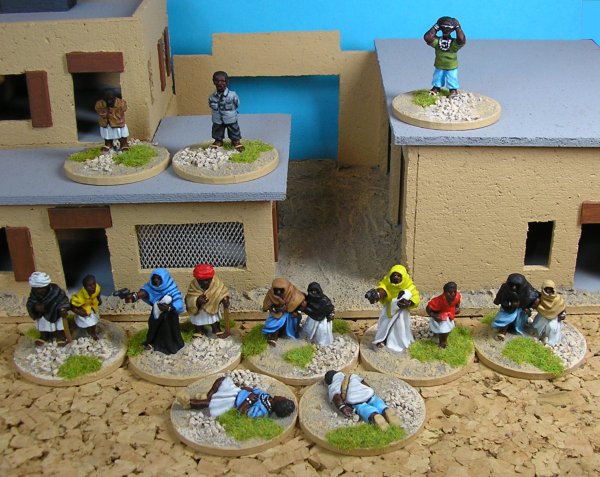
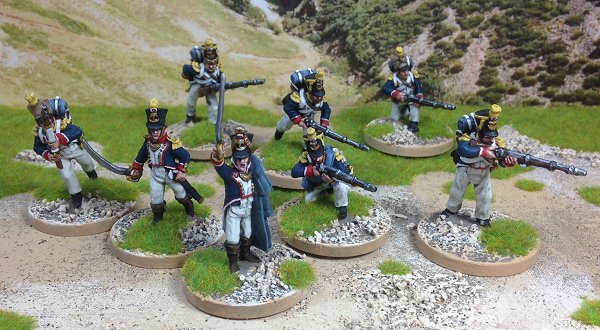
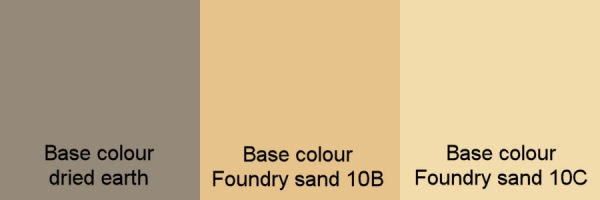
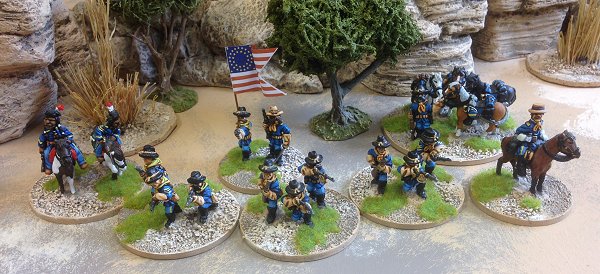
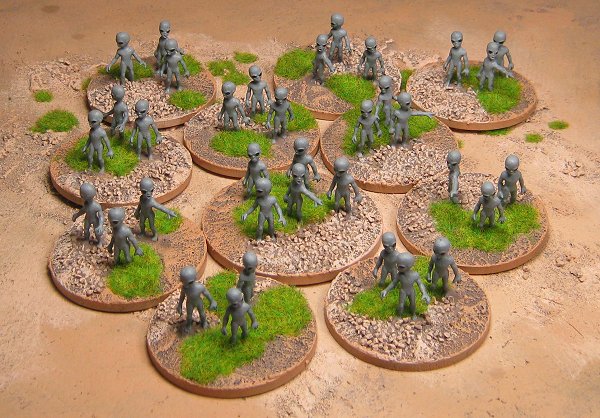
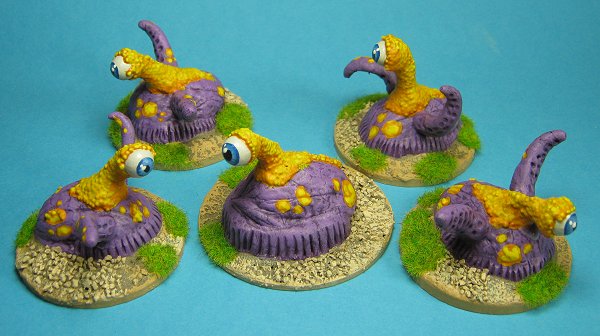
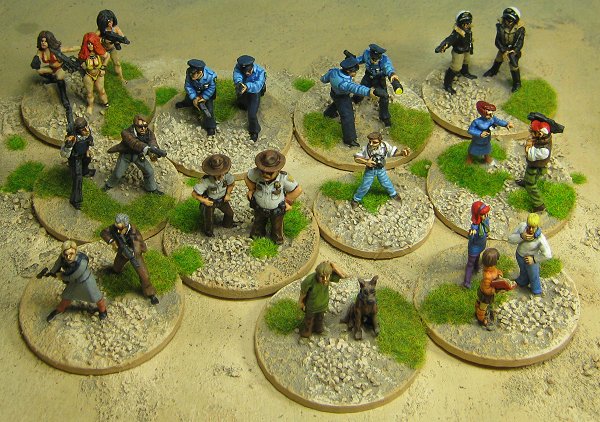
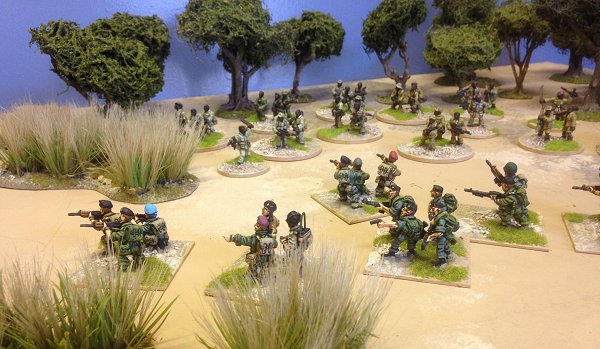
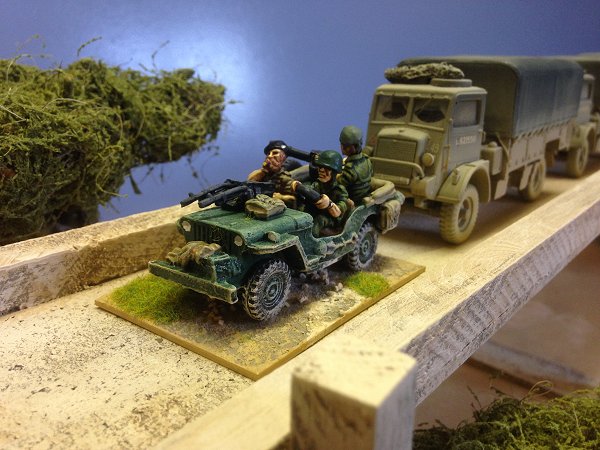
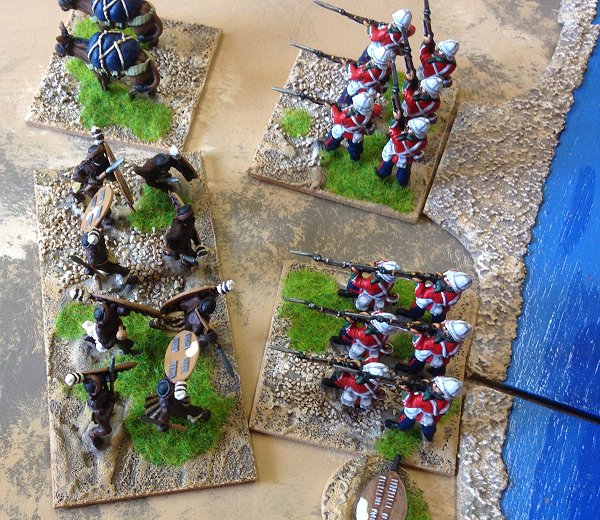
Most of my figures that are based in groups on 3mm deep circular bases and the bases are ‘terrained’ by adding a layer of Basing compound, drybrushing in a sand colour and finally adding clumps of static grass. I find this a happy compromise between several settings which means I can use any of my miniatures with any other if the need arises. My table is painted in my base colours too so most of my wargames take place on this sandy board rather than the more traditional green. Here is the basing process described in detail using a Redoubt Enterprises French and Indian War canon and crew. Stage One: I glue the figures to the base with superglue. In this case the base is plasticard but I tend to use MDF more. The cannon is not glued down, nor is anything else that doesn't have a cast-on base. In this instance it’s just the cannon, but if I had a pile of shot or a water bucket they would not be glued down at this stage either. It is a good idea to have the cannon on the base to ensure the figures are positioned accurately but it should be removed before stage two. Stage Two: I apply a layer of my basing compound to the base. I mix paint and PVA glue in roughly equal amounts and add fine sand until it thickens. I usually make about a litre at a time. The paint is cpolour matched to my dried earth colour at a local DIY store. It can be applied with a variety of tools, I use a small palette knife, and serves as a textured and coloured ground cover that disguises the integral bases of the figures. While the basing compound is still wet, it takes a couple of hours to dry but leaving it overnight is best, I sprinkle on some railway ballast from Woodland Scenics. This is basically ground up stone and comes in a variety of colours. It is available from any model shop. In this instance I am using a medium coarse grey scatter. It is applied sparingly. Finally for this stage any loose objects such as the cannon are placed on the base. Putting the cannon on after the basing compound is applied is far easier than gluing it down first and applying the basing compound around it. The basing compound will hold it in place very firmly when it dries and you will be able to lift the whole piece just by holding the gun. Here is the gun and crew at the end of stage two: Stage Three:
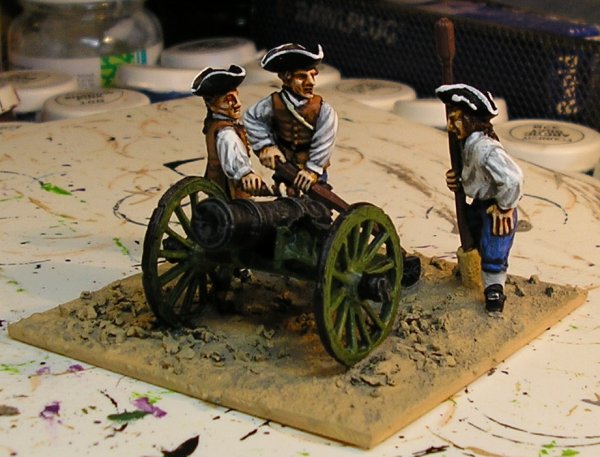
Once the basing compound has dried it’s time to apply the paint. I use Foundry Base Sand 10B as my colour. However, Foundry paint is expensive and so I took some to my local hardware supplier and got a litre of household matt emulsion made up to match it. This colour is applied as a solid colour to the base edges and drybrushed fairly heavily across the top. I use a size 6 cheap brush for this and the later painting stage. Here is the figure at the end of stage three: Stage Four:
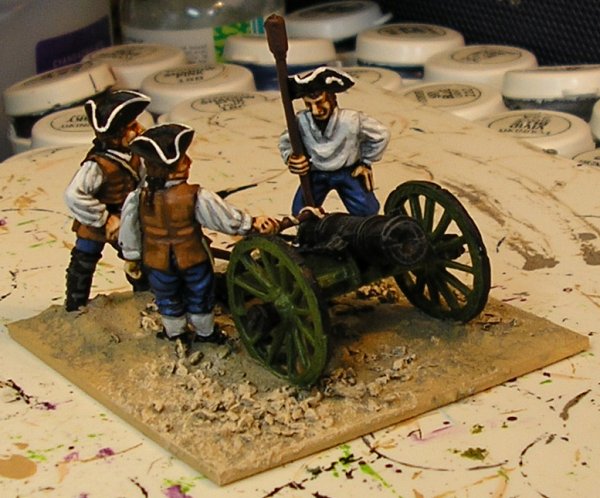
The next paint is a lighter sand colour. I use Foundry Base Sand 10C, also colour matched. This is drybrushed over the grit that was applied earlier. I usually do a bit of the surrounding area too so the grit is blended in a little but you should make sure you don’t cover the whole base or paint the edges. Here we are after stage four: Stage Five:
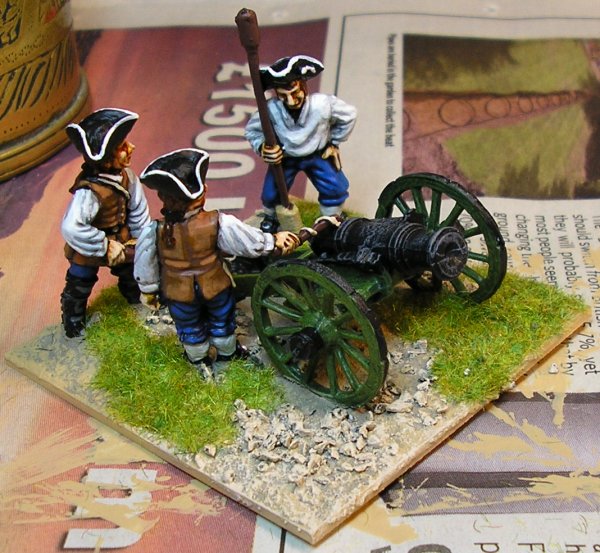
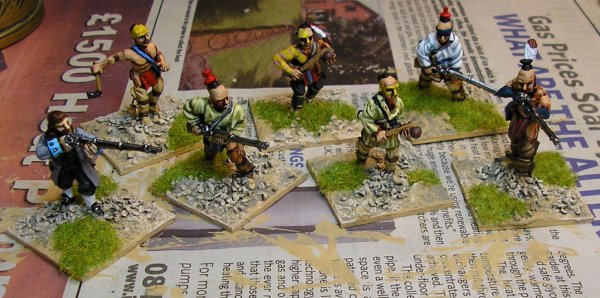
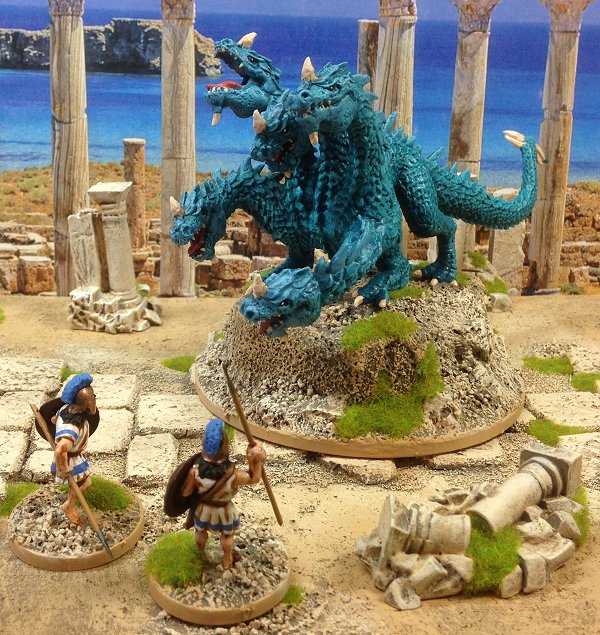
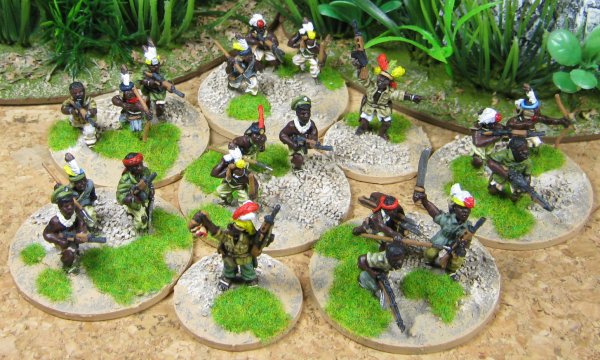
The last part is to add the static grass. Static grass is available from any model shop, even Games Workshop supply it although theirs is much more expensive than anywhere else. Firstly I apply areas of PVA glue to the base. The glue should be applied as randomly as you can manage and not on the gritted areas. Make sure you leave some areas of the un-gritted dirt showing too. I tend to apply both the grit and the grass in diagonals, preferably grossing the figure and going between its legs. It is very important that your grit and/or grass touch the figures so that the impression is given that they are actually standing in the landscape and not that it is arranged around them. Once the glue is down you just need to dump a load of static grass onto it. Don’t put the base in a tub of grass and swirl it around as this will disturb the glue you’ve carefully placed. I use some blunt tweezers to pick up a substantial amount of static grass and drop it where it’s needed. Shake the excess off into a container so you can reclaim it for later use. It usually takes a couple of applications before there is a thick enough covering of grass and you can’t see the glue showing through but it only takes a minute to do each base. Once you have enough static grass applied hold the figure upside down over a container and tap the underside of the base. This will get rid of the last excess grass and make the rest stand up so you avoid the strange swirly, clumpy look some people get. That’s it, all finished except for the varnishing. If you brush varnish you will want to add the grass after this. Here is the gun and crew finished: And here are a couple of the individual figures based the same way:
|
|

