|
Designed and built by Ive
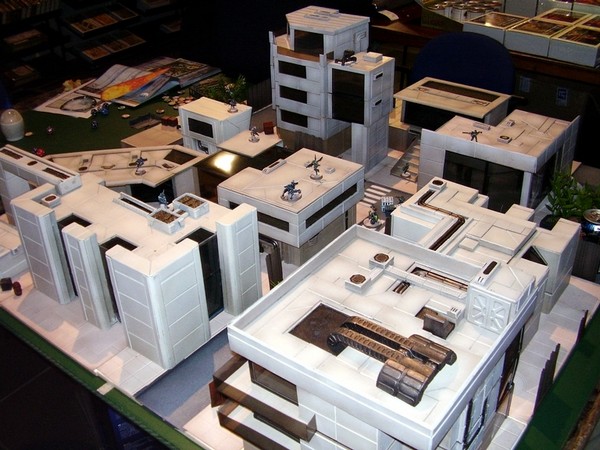
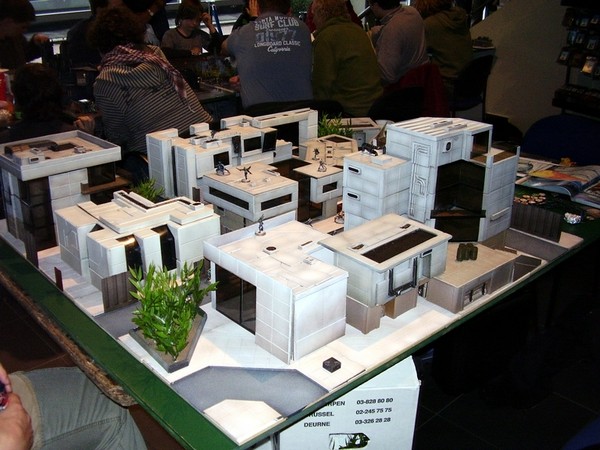
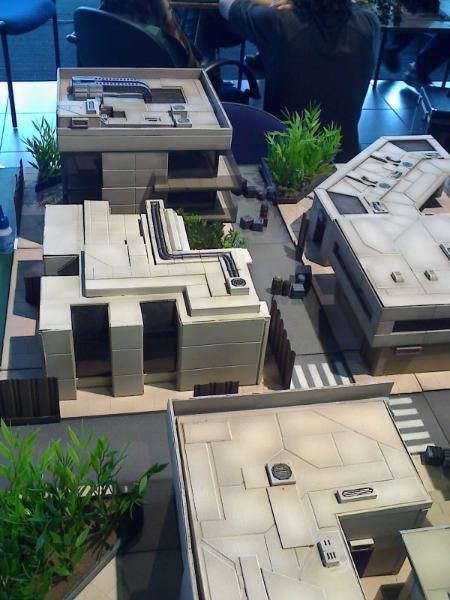
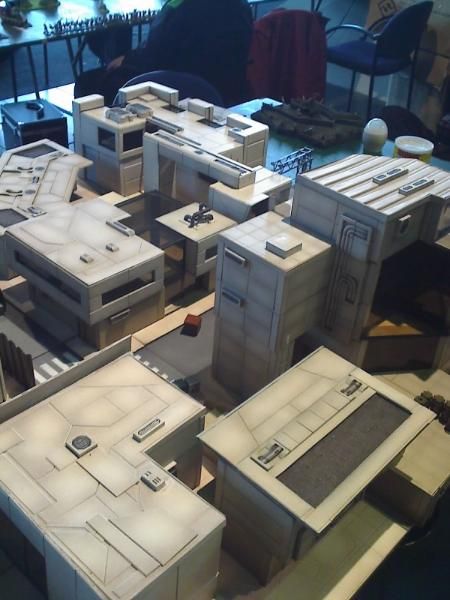
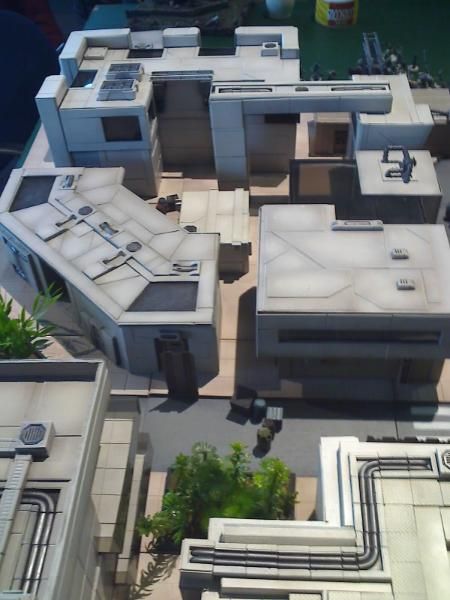
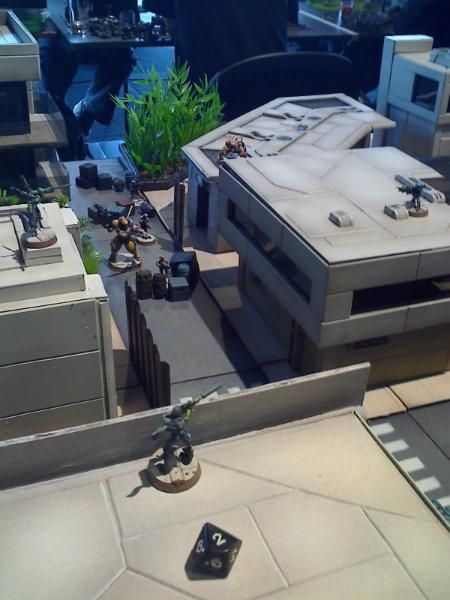
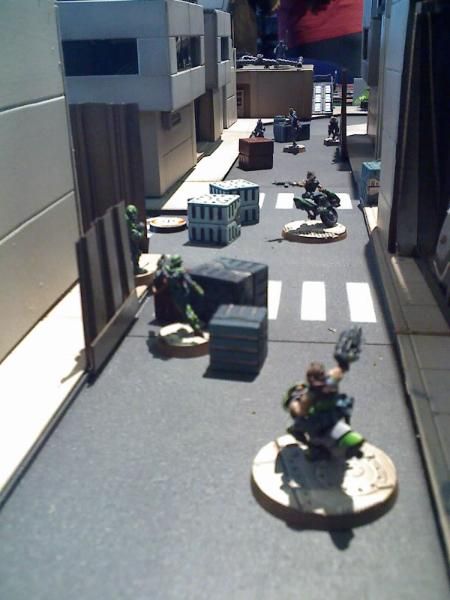
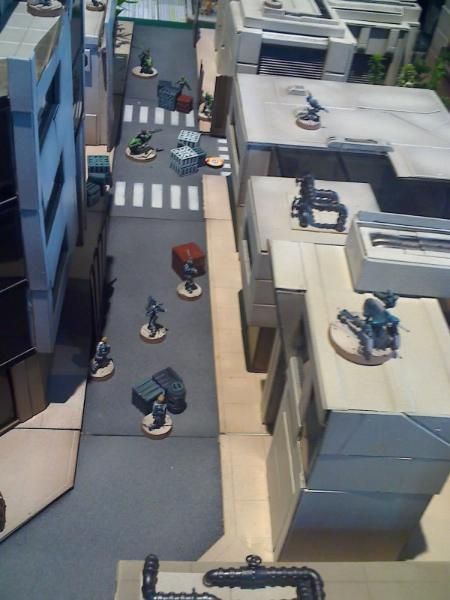
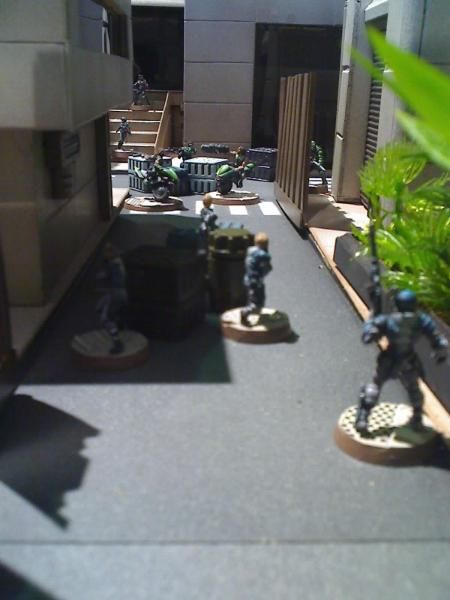
I had known about Infinity for quite some time and drooled over the miniatures and when the rulebook was released I could no longer resist the temptation. I bought the full range of Yu jing and Nomads only to realise that without proper terrain you cannot play a decent game. I am used to paint very large quantities of miniatures so I decided since you only need very few troops to play to invest my time in building terrain instead. Terrain worthy of the miniatures. Infinity gave me the opportunity to build a city with a clean, near future look. Something different from the bombed, gothic, grey, dull as hell, skull infested terrain you see everywhere. For inspiration I watched the Ghost in the Shell animes again, looked on the internet. But the most useful where the buildings I see everyday. New apartment blocks, modern office buildings, Car stores... Buildings with lots of glass and concrete.
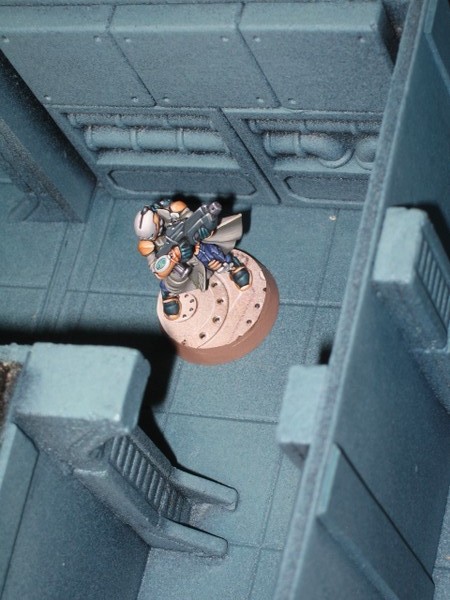
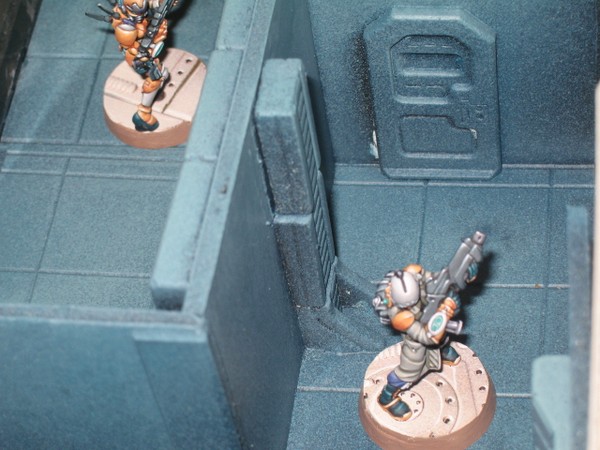
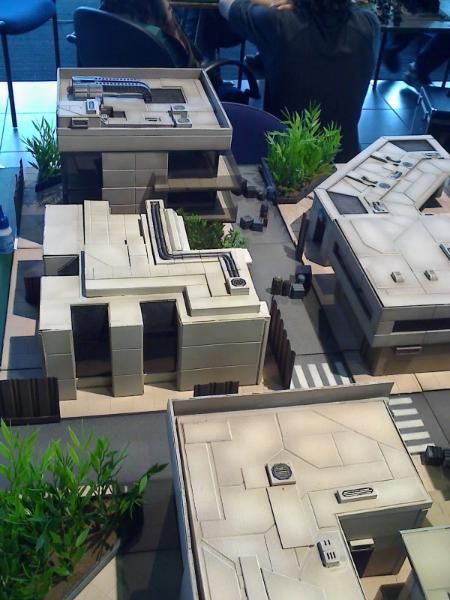
The city had to be modular. You can build a better looking table when everything is in a fixed position but from a gamers pov modular is better. So the roads had to be on tiles that could be arranged in lots of different ways. The buildings had to be modular as well, appartment buildings can be lowered by removing floors, certain buildings consist of parts that can also be used independently. Everything had to be fully accesible. When there is a door, the miniatures must be able to go to whatever there is behind. The combat indoors add another dimension to the game. When you start with such a project it's very important to know your limits. You can start making hyper detailed buildings only to realise that after a few weeks hard work you still don't have enough terrain to fill a quarter of the battlefield. It's a trade off quality - quantity. I know I could have made this a lot more detailed than it is and with less mess ups but then I would have had a lot less terrain pieces. Burnout will happen! (at least to me) I decided on a simple design with a lot of window area (saves time) and every building would take about two days from start to finish. I made them in July during my holiday. Everything is made in the garden in the sun. It was great fun because I could see this thing growing day by day. After two weeks most of it was ready.
I will explain how I built the things and you will see that it is actually very easy. Everyone can do it. The only problem may be the availability of the materials and machines used. The materials:
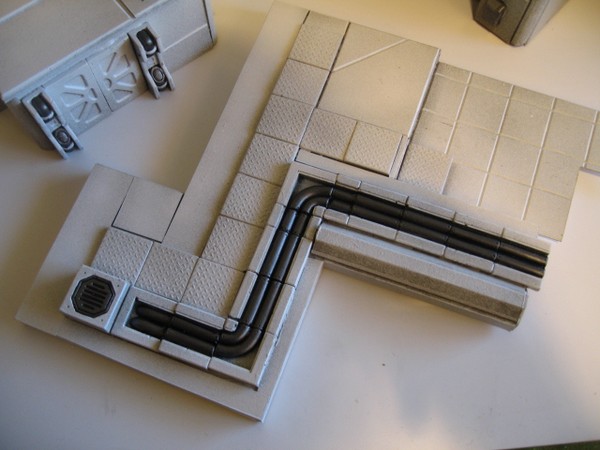
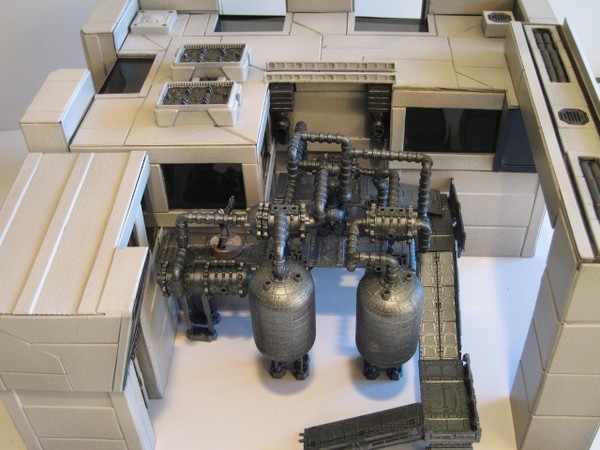
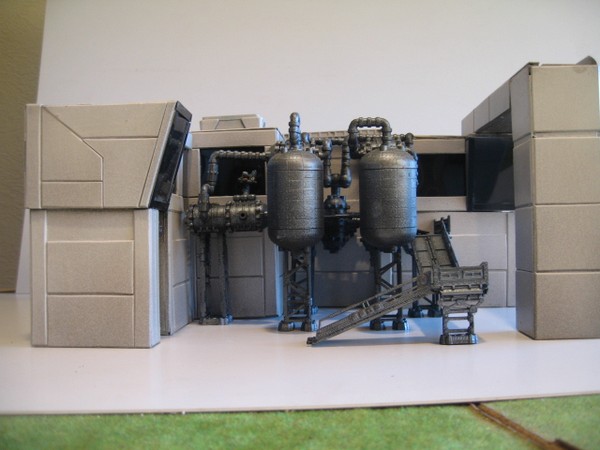
First of all Foamboard. This is essential. Architects use it for their scale models. It may cost more than cardboard but it is a far superior product. It is available in different thickness, I used one 5mm thick. It is also widely available. Plasticcard. Every building and floor tile is covered with plastic. I got the material from my work where it is used for vacuum forming. I used several square meters of it. This plastic is about 2mm thick and comes in sheets. You can cut it very easily with a knife. You cut it about half way through and then you snap it. The problem is: where to get it? I know that trophy shops have it, they use it to engrave text on them. it's usually black or white with a cover in a different color. So when they engrave something, the white/black becomes visible. Acetate. It's the same material as the holographic displays that come with hackers. It's available in different colours. Mine is a very dark brown. I used it to make the windows. I bought mine in a local store that sells artist supplies. Hirst Arts Molds. Amazing products! I used Starship deck mold 270, Pipeline floor mold 273, Starship wall mold 301 and Cargo bay accessory mold 302. First I thought of making all my floor surfaces with them, but that is practically impossible, I would have had to cast the molds hundreds of times. So i only used them as a finishing touch to my buildings. I still had to cast them many many times. Whats fun about hirst arts molds is that they are all compatible with each other. For exemple: 2 small blocks of set A are just as wide as one block of set B. The combinations are endless. Plaster is also very cheap. With the cargo bay set you can also make small and big containers and cannisters, which are fantastic to create cover. Accessories. With this I mean small stuff to add further detail to the buildings. I used pieces of toys to create airconditioning fans, computer panels etc. The Urban War builder sets are also a godsend. These are very cheap. I based my armies with them and used pieces of the sets to further enhance my buildings. The machines:
Airbrush. Simply essential! The surface area that had to be covered was simply to big to paint it with a brush. It also looks a lot more professional. It saves a lot of time and also a lot of paint. Mine is a very cheap Badger. Glue gun. For attaching the trees. The following are very handy but you can manage without them. Engraving machine. I used such a machine to engrave grids on my plasticcard in order to massively speed up the floor construction process. I also used it to make the designs of the road tiles. Bevel appliance. This is a machine that can make beveled edges to the plasticcard forms. It gives the plasticcard a smoother look. The roads
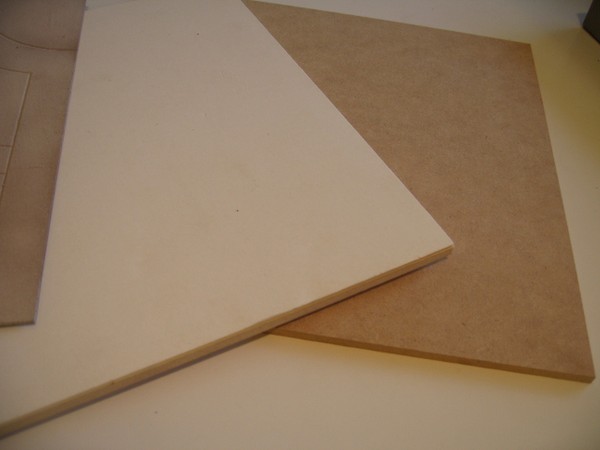
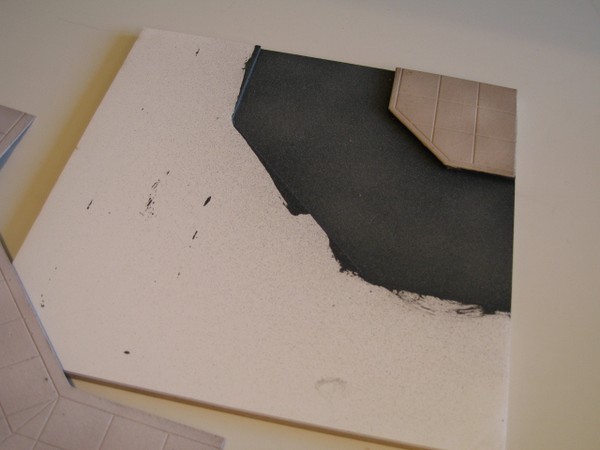
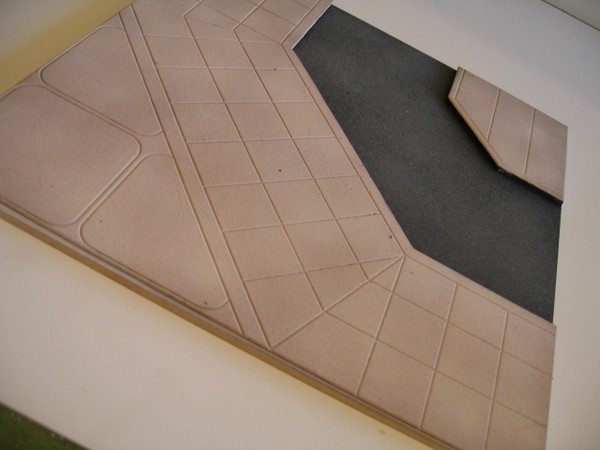
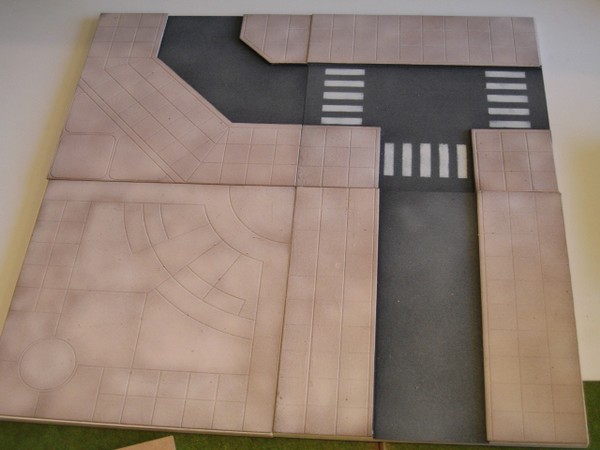
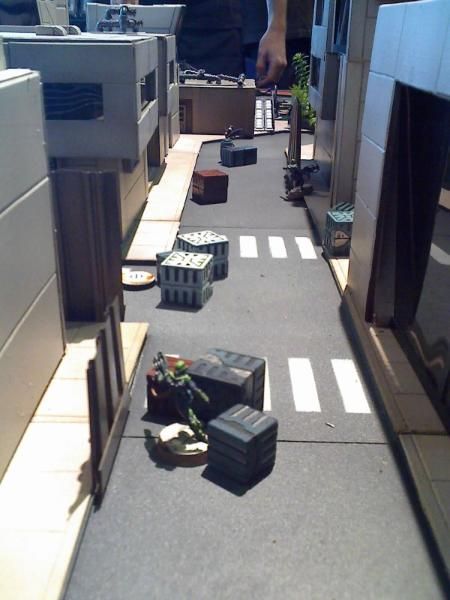
I was inspired by CNC workshops Urban grounds. I bought some cheap MDF and had it cut in squares of 30 by 30 cm. The tiles where covered with 5mm foamboard. Tiles without roads on it are covered completely, tiles with a straight road are covered on the sides, leaving the middle untouched. The roads are formed by the sidewalks. So it's easy to make T-section and corners. I made the roads a lot less wide than they are in real life. Otherwise they would be a deathtrap to anyone on them. Infinity is a very unforgiving game when you are in the open. Then came the most difficult part. I was fortunate to have access to an engraving machine. With photoshop I made some designs and the machine engraved them on plasticcard. It took about 2 hours to make the surface of the 32 tiles. I realise that not everyone has such a machine but you can make the designs, bring them over to someone who has one (ie trophy shops)
The roads (not the sidewalks) then got a basecoat of black and where then airbrushed with grey in different layers, progressively lighter. The markings are airbrushed also. I made a template of cardboard, cut out some rectangles and airbrushed over it with white, leaving the markings on the roads.
The trees
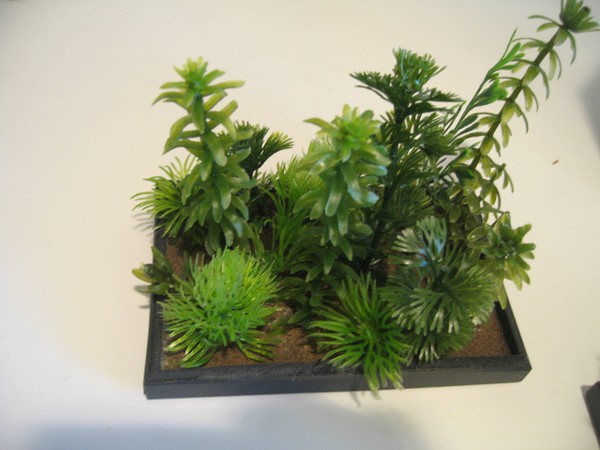
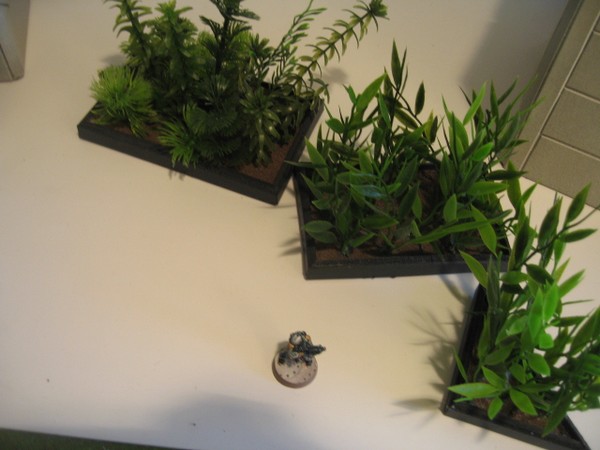
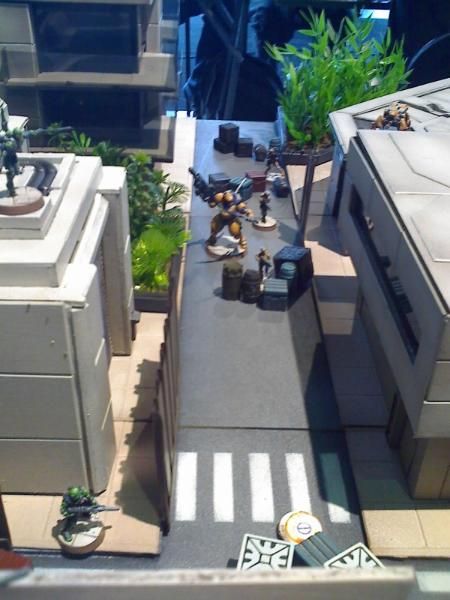
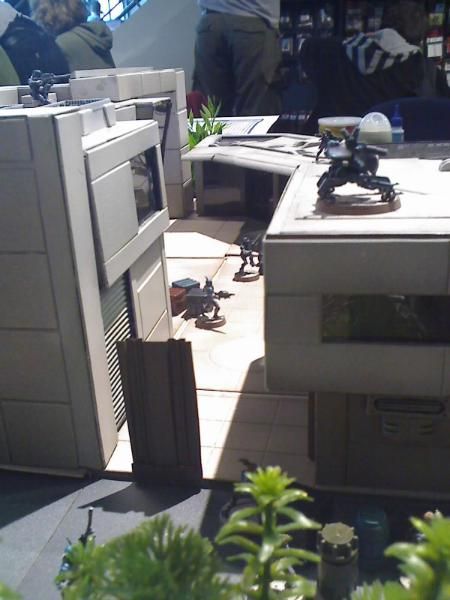
These are simply essential for this game. In this game you cannot have enough things to block LOS. It also gives some colour to the predominantly white city. I bought them at Ikea and a pet shop. I cut the plants to pieces and glued them with a hot glue gun in bundles to a base ( squares of different sizes of foamboard ) afterwards I painted the surface of the base with glue and I flocked it. In a few hours I made a dozen bases, so it goes very quickly and it's also very cheap. The fences
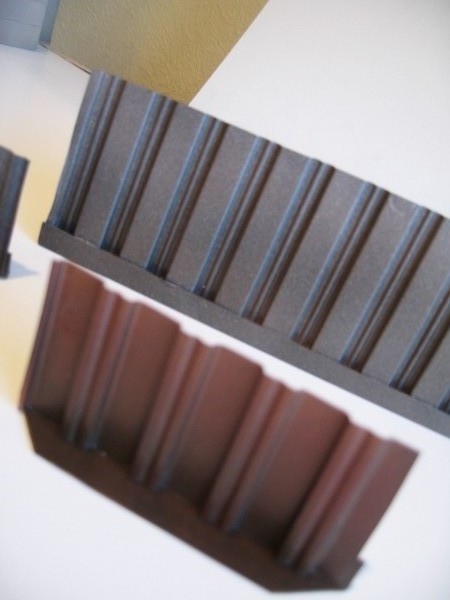
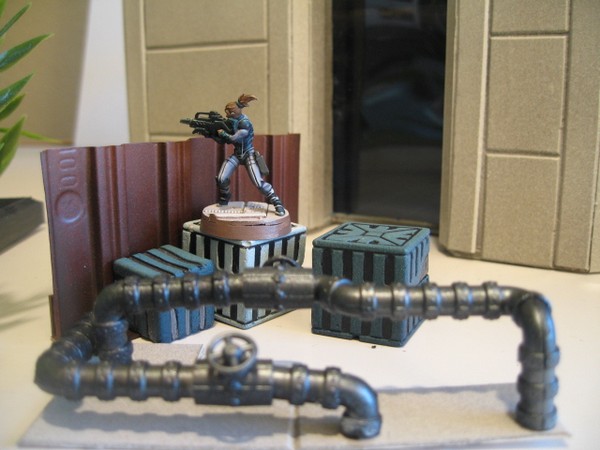
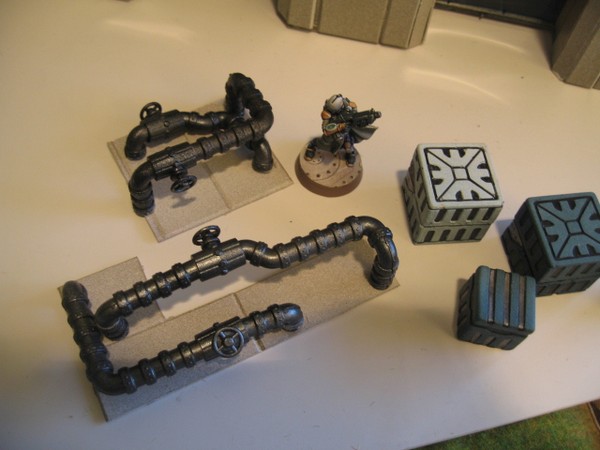
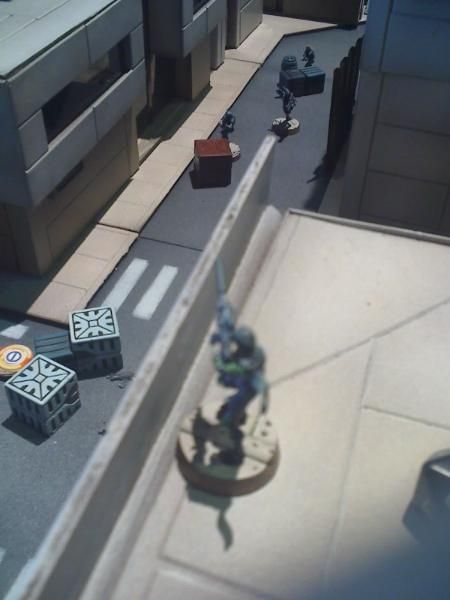
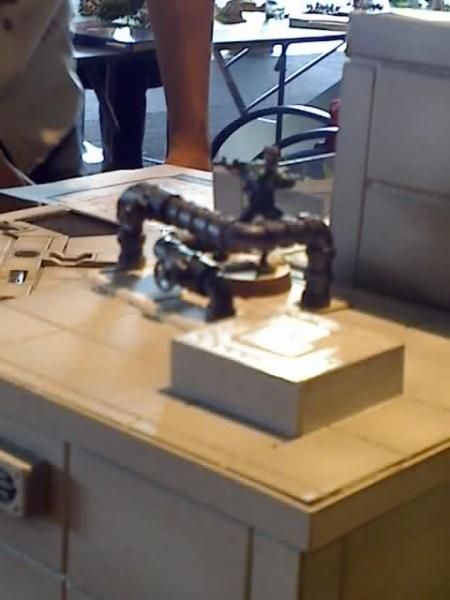
These are made of plastic I got from cake boxes. They were simply cut to strips, glued onto a base and airbrushed. Some cover: Hirst Arts, Urban War pipes and a cake box fence.
The buildings
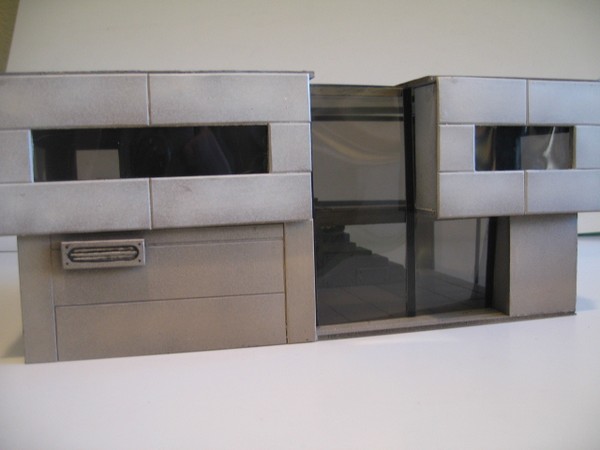
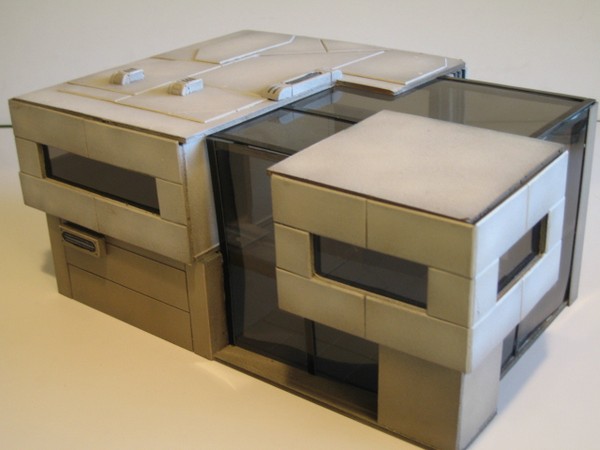
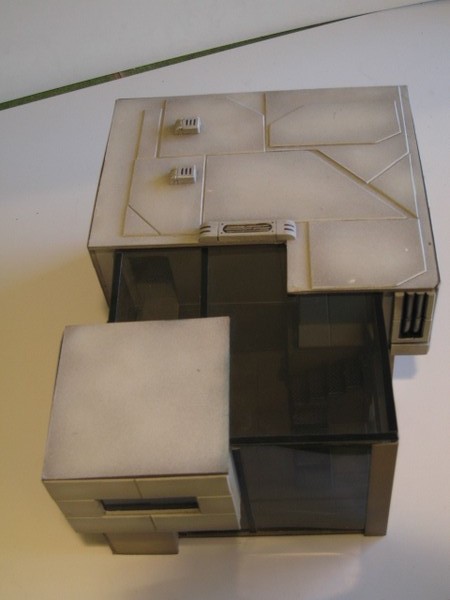
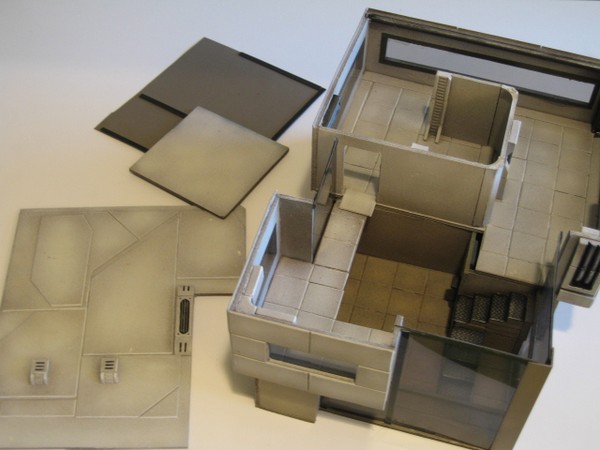
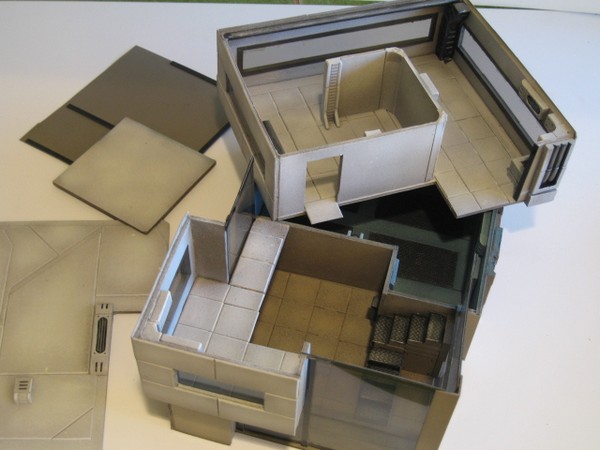
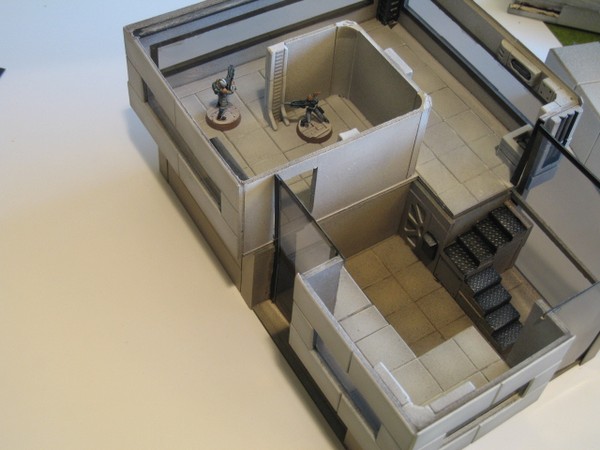
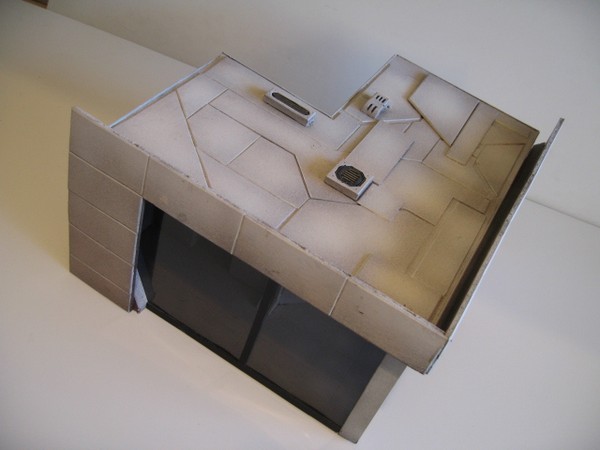
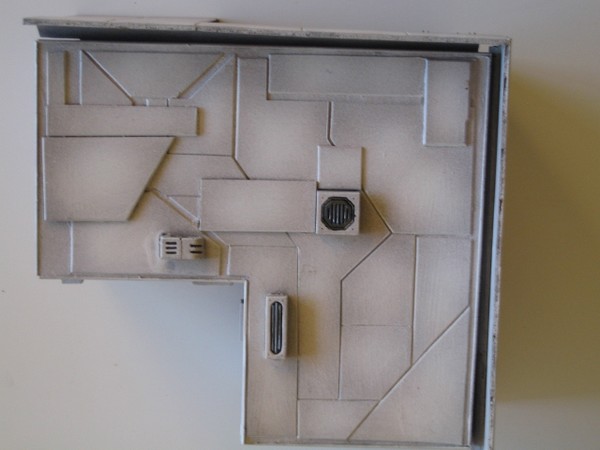
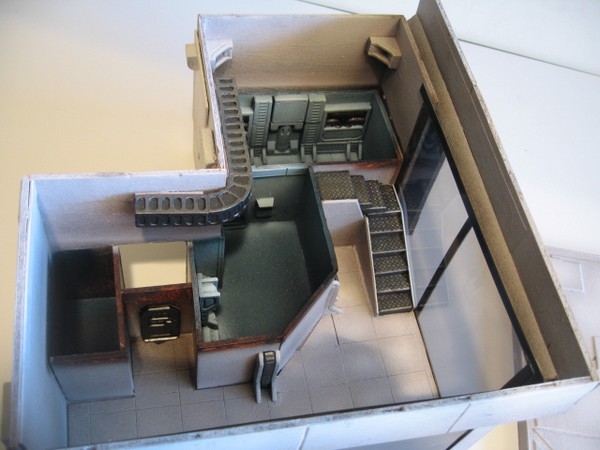
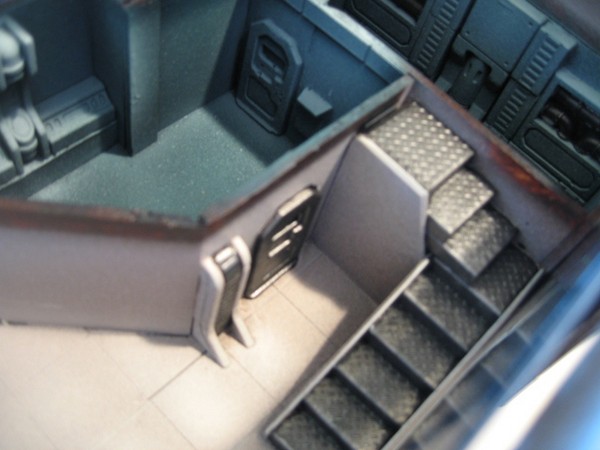
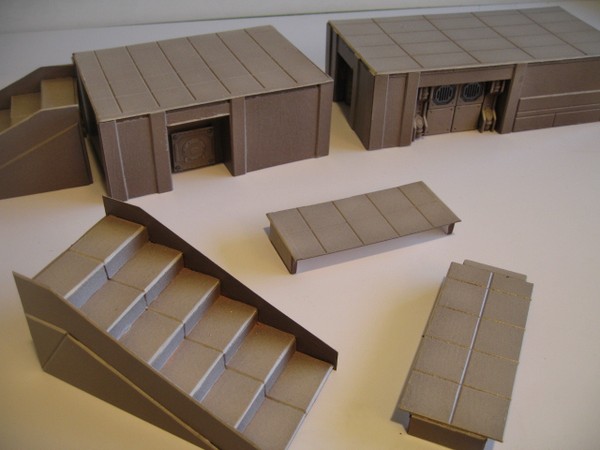
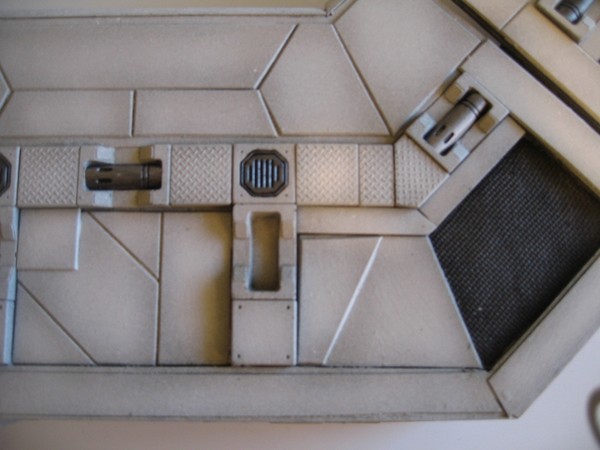
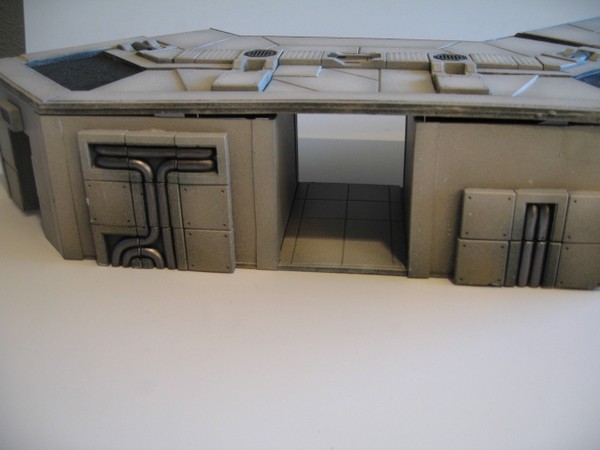
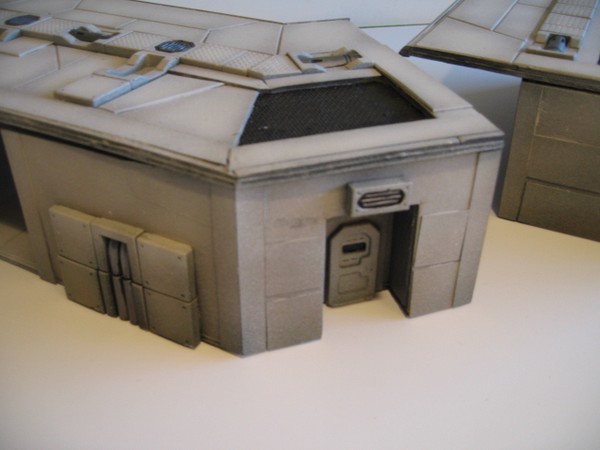
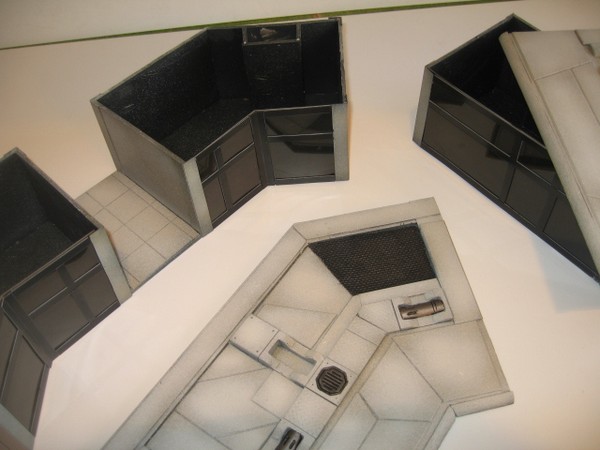
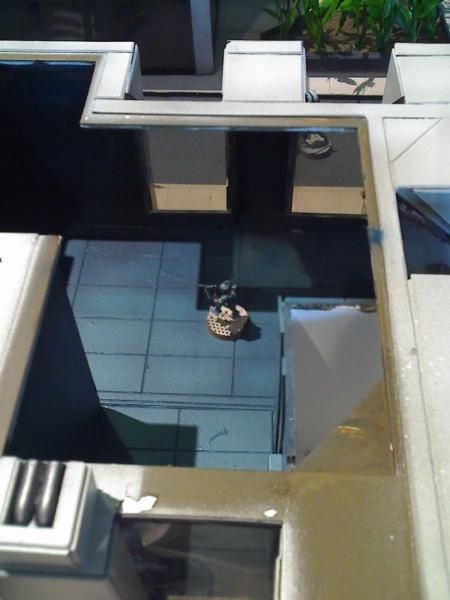
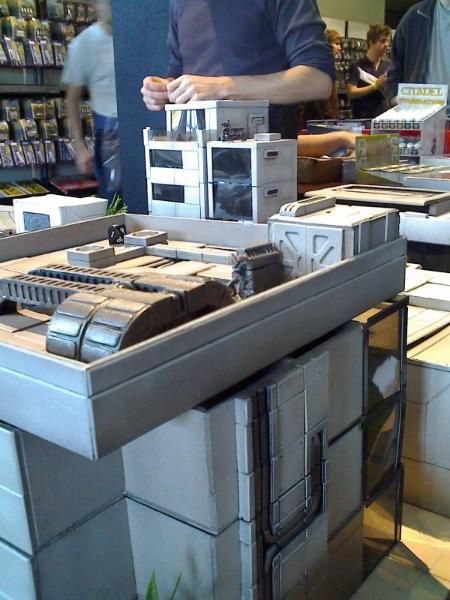
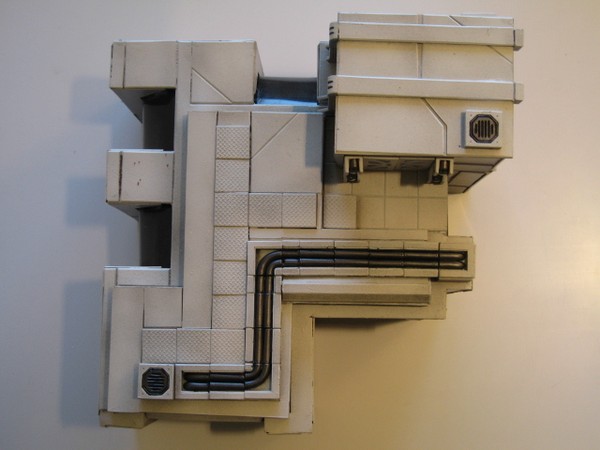
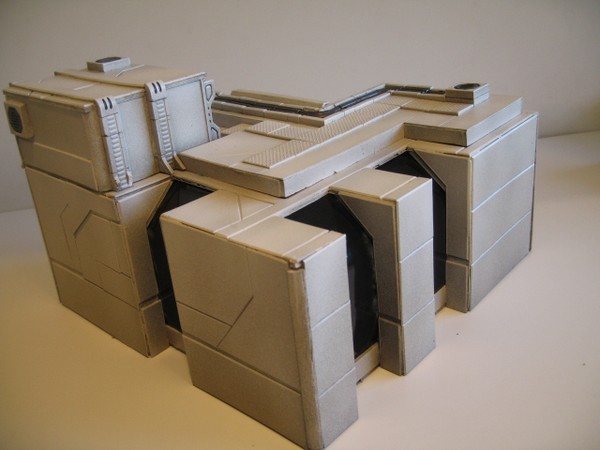
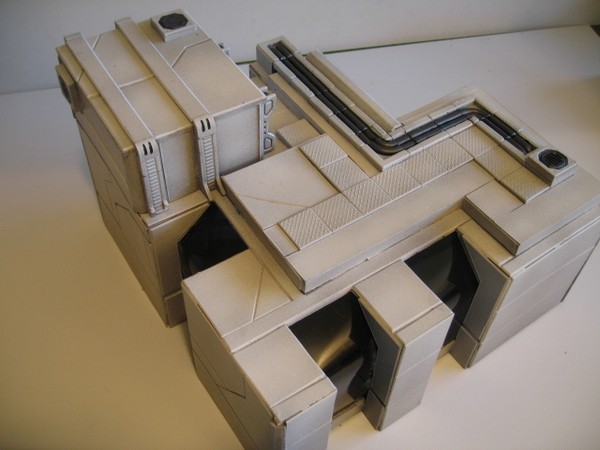
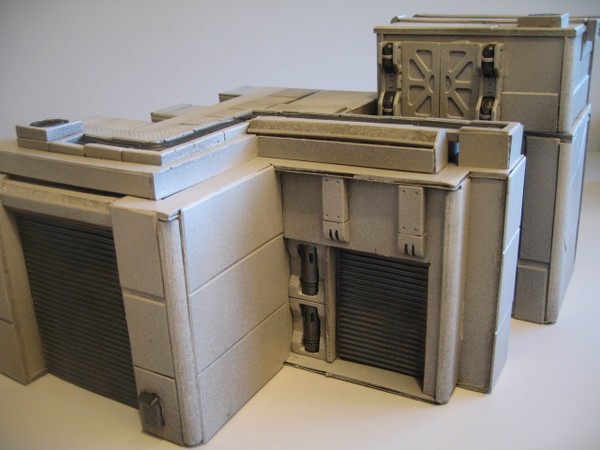
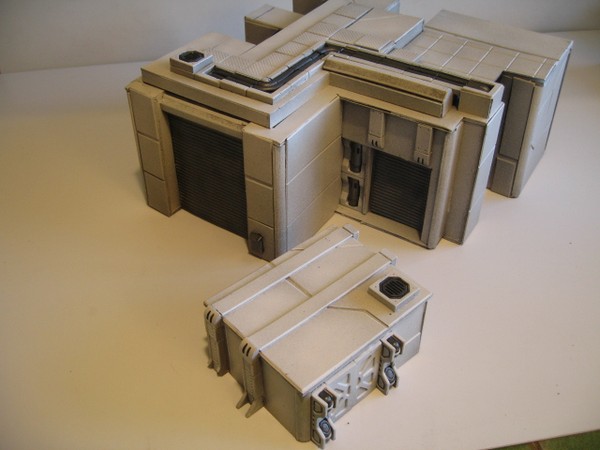
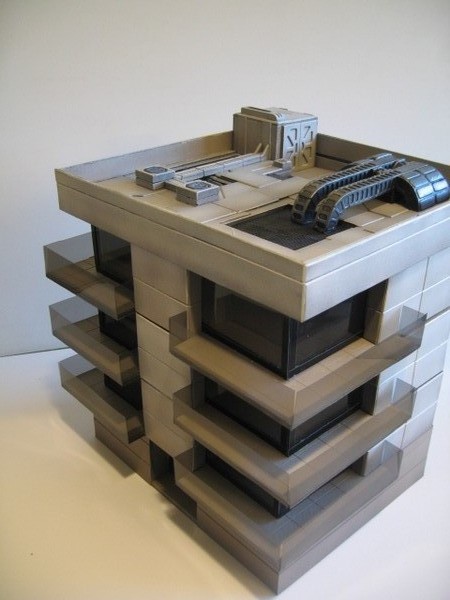
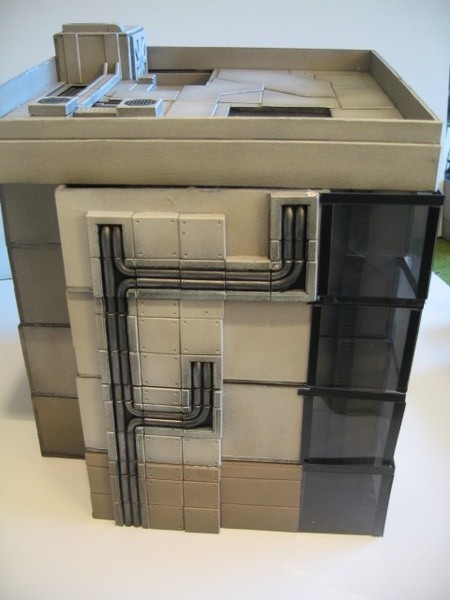
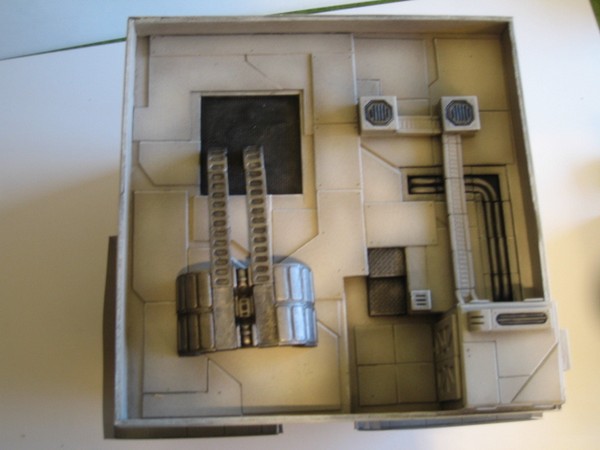
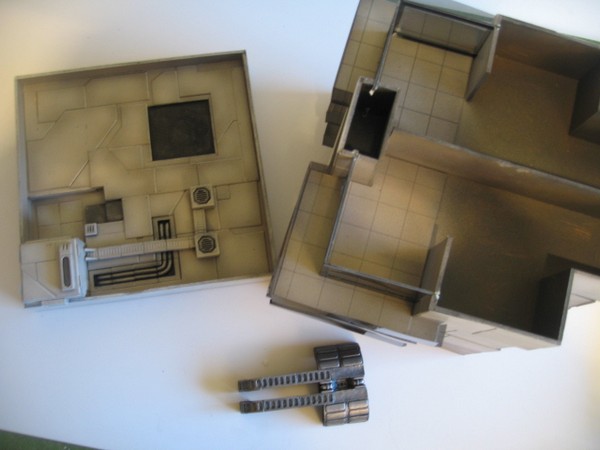
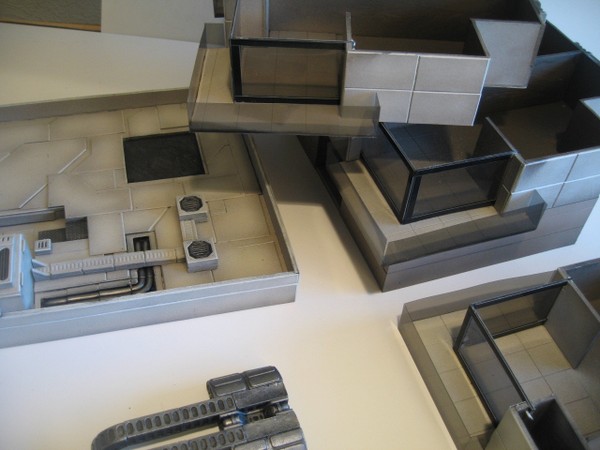
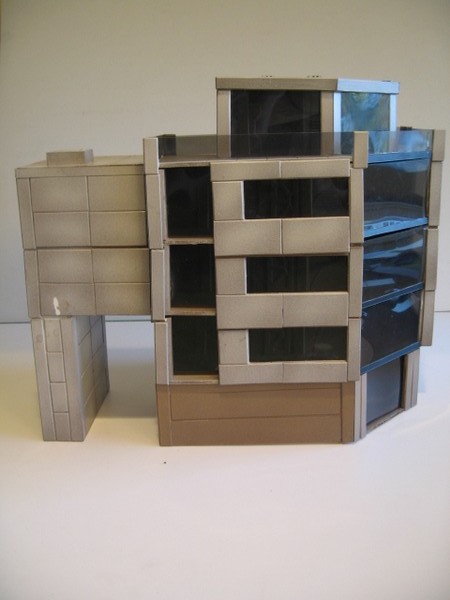
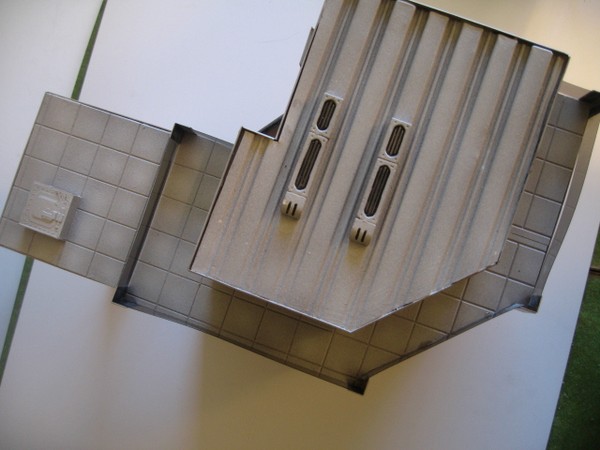
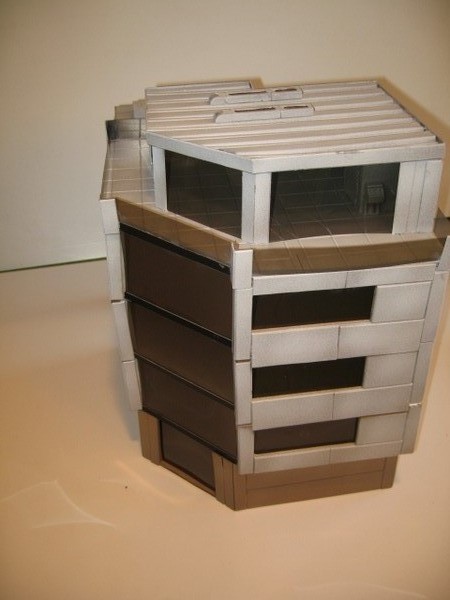
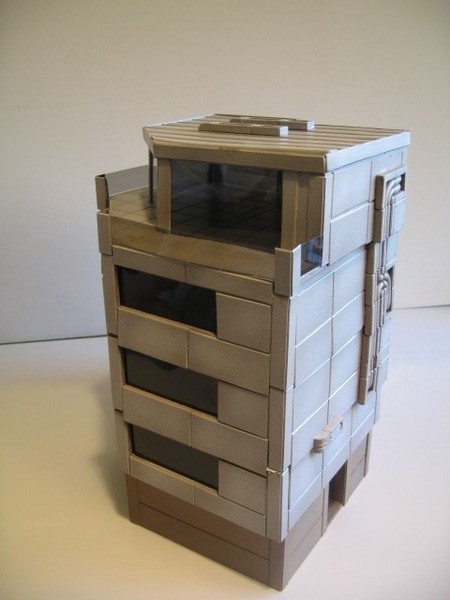
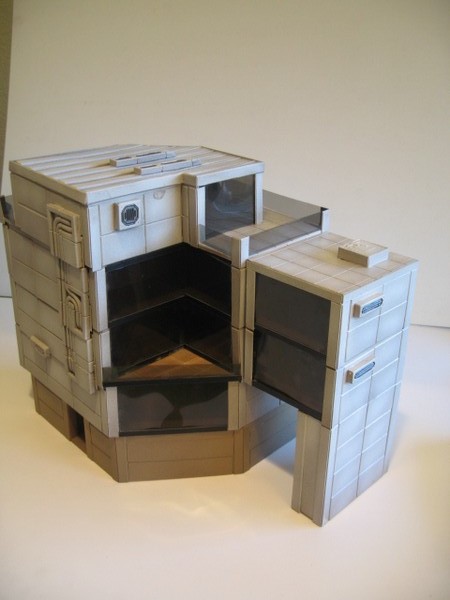
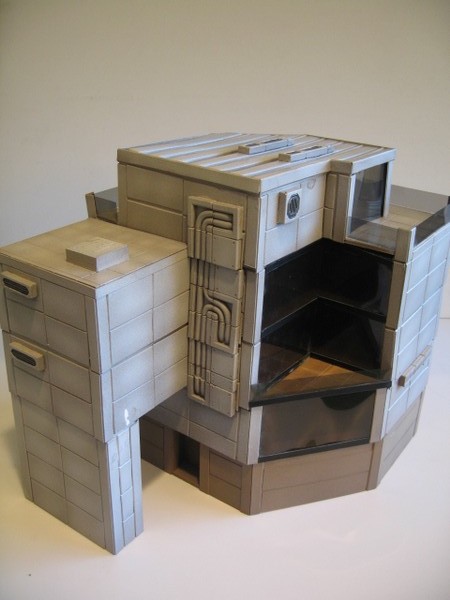
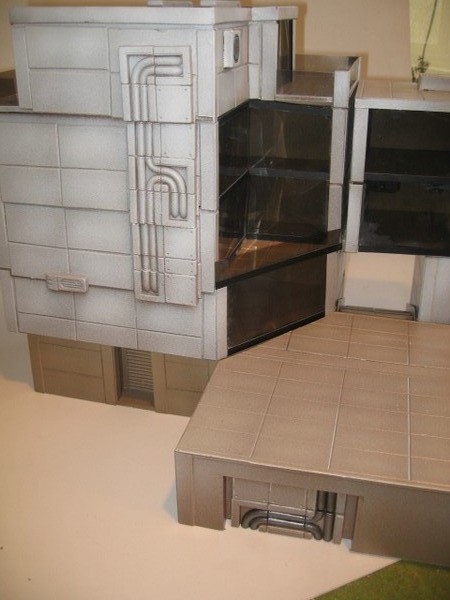
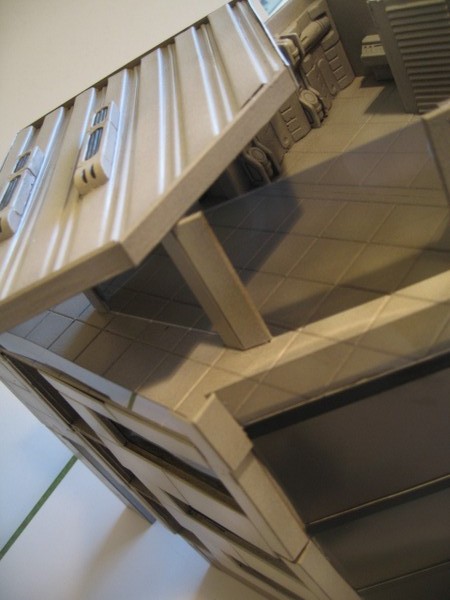
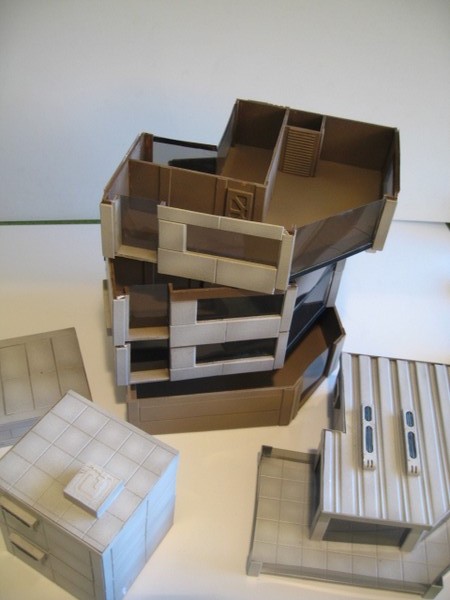
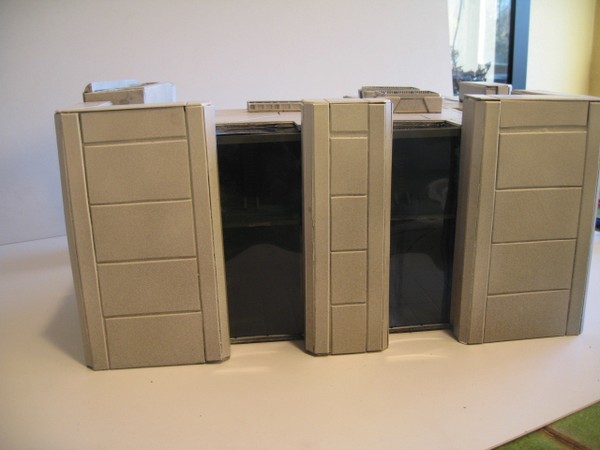
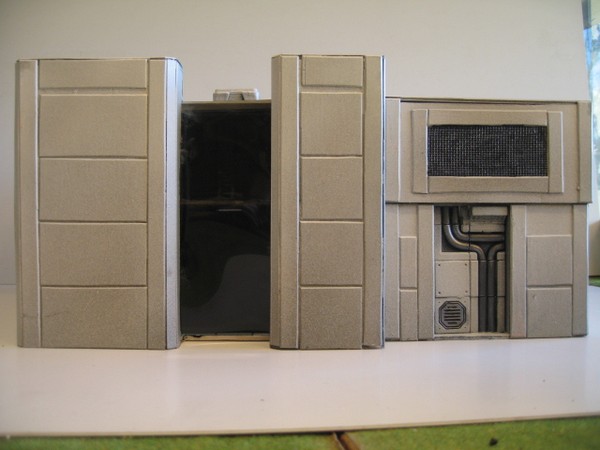
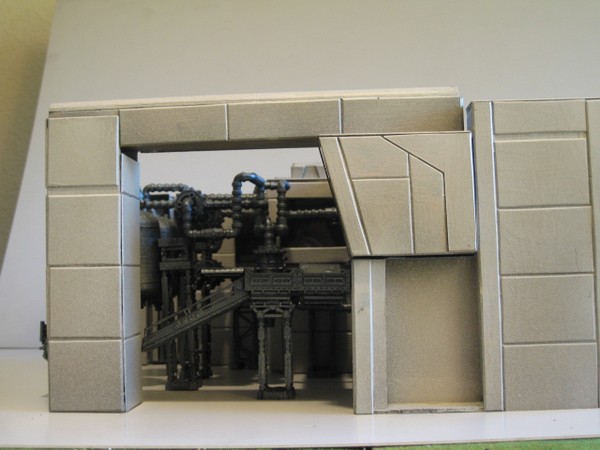
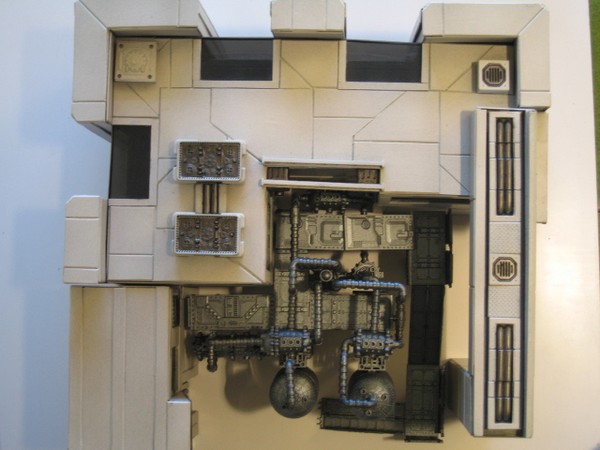
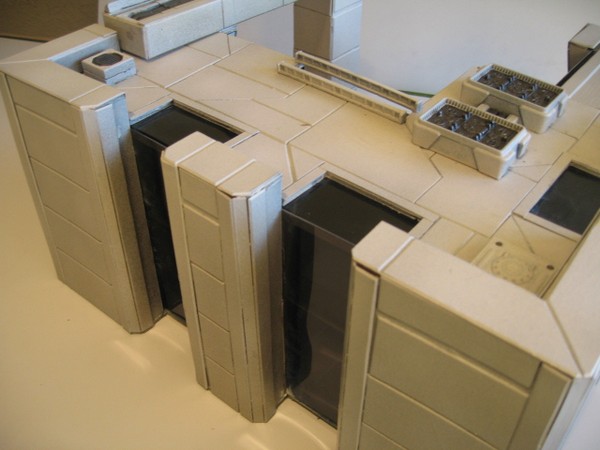
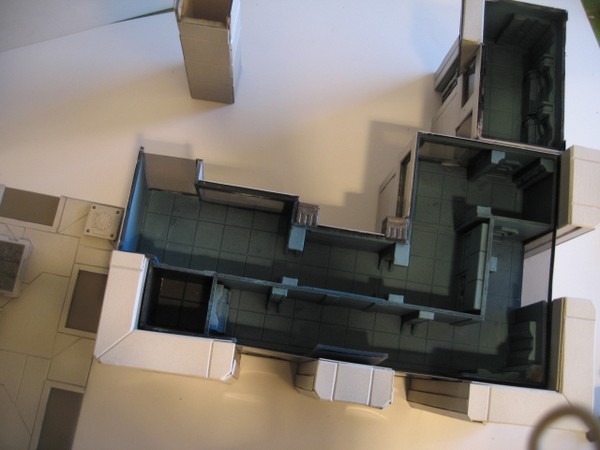
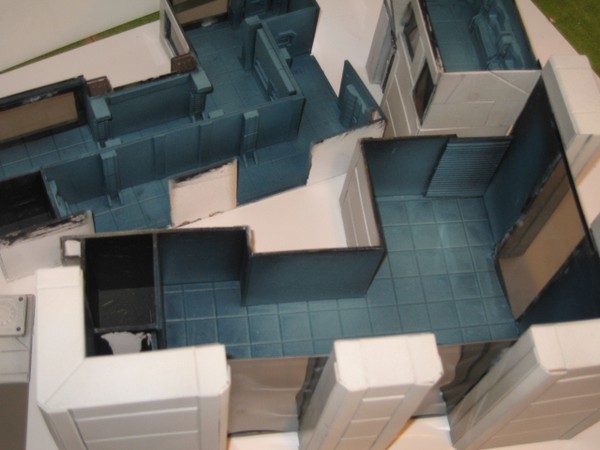
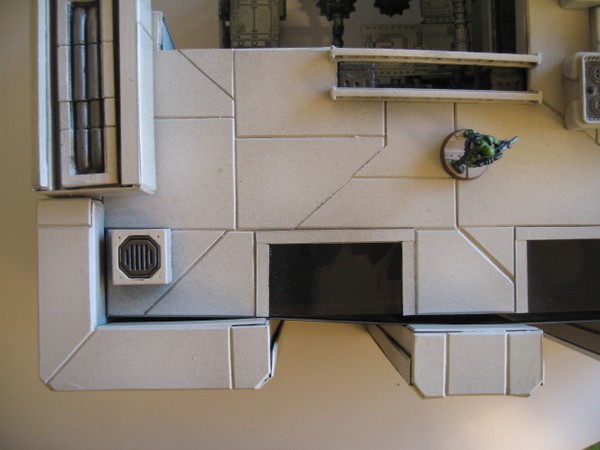
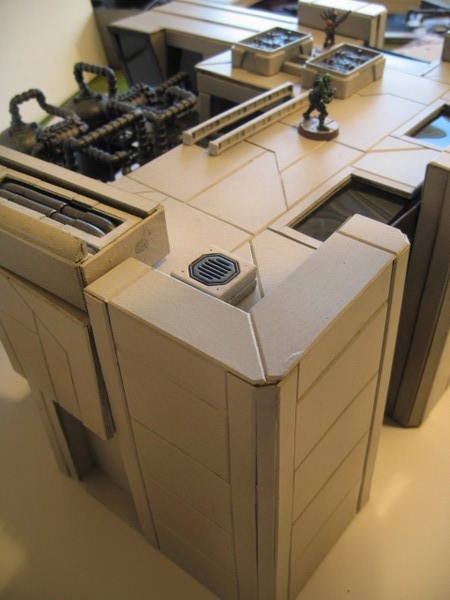
First thing to do is to make a floor template. Cut out a shape in foamboard. I almost always used 90° corners. Be sure that everything matches exactly; opposing sides have to be perpendicular. This is the base of the building it will define it's form. So if side A is 3 mm longer than side B, the entire building will look slightly "off". Then cut cardboard strips 6.3 cm high. The length does not matter. These will make the walls. Cut out windows. Measure the templates sides and cut the strips accordingly. Finally glue the wall sections on top the template. The first floor is almost finished! If you're making an apartment building, use the same template for every floor. If you're not you can make adjustments to the template. Then repeat the wall building process. The roof is the same as the template of the final floor. Don't glue it to the walls! Now you have a naked foamboard building, time to dress it! Almost the entire surface of the building is covered with plasticcard. Fot the walls I usually used horizontal and vertical strips/rectangles. The roofs were covered with more exotic shapes. The interior floor were govered with plasticard tiles 2.5 by 2.5 cm. First I made each tile individually, later I used the engraving machine to save some time by engraving a grid on a sheet of plasticcard. The pieces of plasticcard were beveled with my Varga bevel appliance but with sandpaper you may manage as well. On top of the plasticard I glued Hirst arts blocks. This is the fun part because you can finally use these fantastic bricks! Don't overdo it! Then the building gets painted. First I paint it with a basecoat of brown with a brush. Then it's airbrush time! I start by spraying it with a lighter brown. The I ad some beige or white to it and spray a second layer and so on until I spray pure white. Make sure some of the basecolor is still visible. Spray from top (where the sun hits the building) to the bottom. Never change the direction in which you spray. Finally you can highlight some of the edges with pure white using a fine brush. The hirst arts blocks are painted as well: pipes are painted black then silver etc... To finish the building we add the windows. Measure each window and cut the acetate a little bit larger. Then glue the glass to the building. Don't use contact glue or the vapor will leave some white smoke on your windows. I learned this the hard way. The building is finished. Further thoughts and explanations
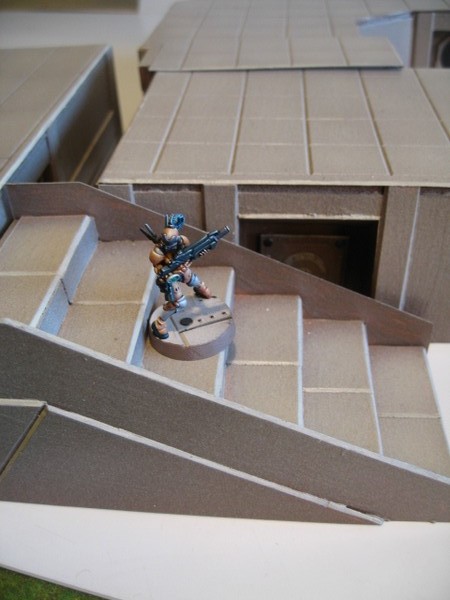
How do I decide how "big" is the building and what is the ideal "room" dimensions? First I make a floor template of the building. This gives me roughly an idea how big the building will become. I make no plans, I just build away floor by floor.If that appartment building doesn't look high enough just add another floor. The buildings should be relatively smaller than they are in reality or they would be really huge. However, they will have to be big enough to be believable. I always have a miniature at hand for reference - is that balcony too high? - can I comfortably place a mini here? Once one building is finished you can take that as reference for the others. Once the outer shell of the building is complete you can make the interior walls anyway you want. There are no ideal room dimensions, make them however big you want. Not everyone has access to a beveling machine or an engraving machine. I realise it, and consider myself lucky to have access to them. A possible alternative is a foamboard cutter but there are some practical problems: *The thinnest foamboard is 3mm which is too thick to make panels *foamboard has the nasty habit to tear when your knife is not 100% sharp. The foam between the paper clutters very easily, ruining the piece. I think sandpaper is the best alternative. The edges may not be sharp but more rounded, which is good enough. The problem here is that long strips will be difficult to do. I only used the engraving machine once: for making the road tiles and to make a few sheets of plasticcard with a grid design for making the interior floors. I really have no idea how I would have made them without it. One option is to buy texturized plasticcard. But this is absurdly expensive if you need this much. The cheapest alternative is to go to a shop where they can cut it for you I think. The final stages
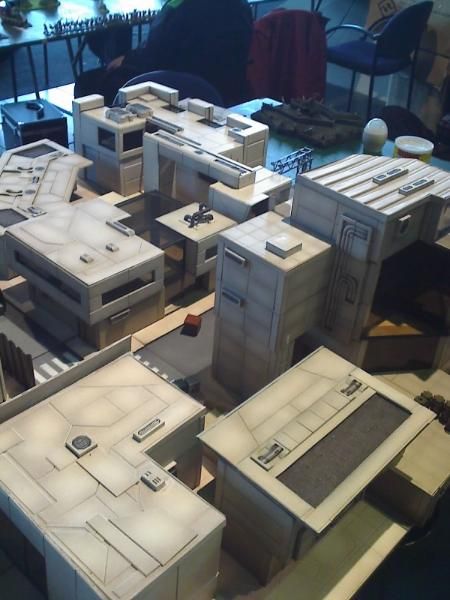
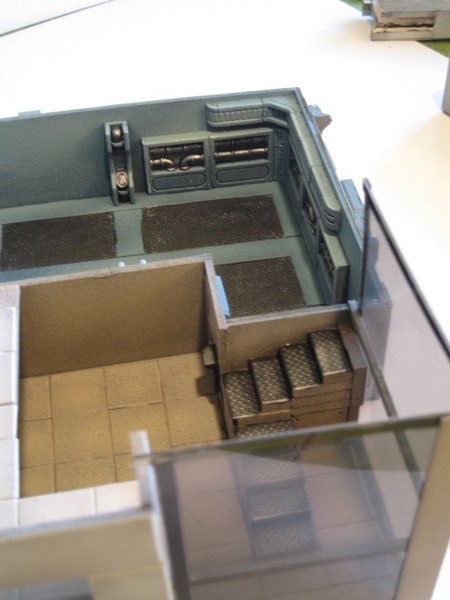
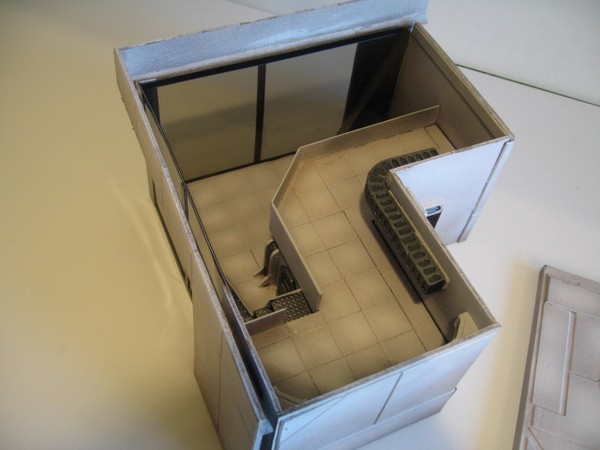
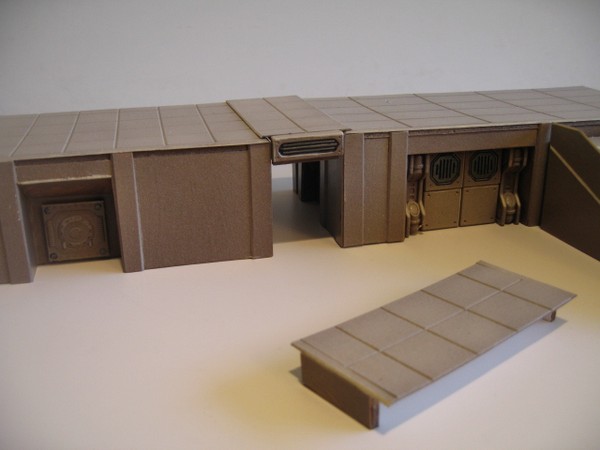
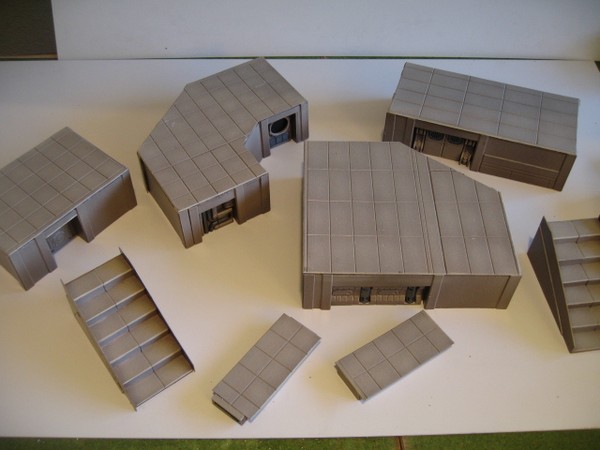
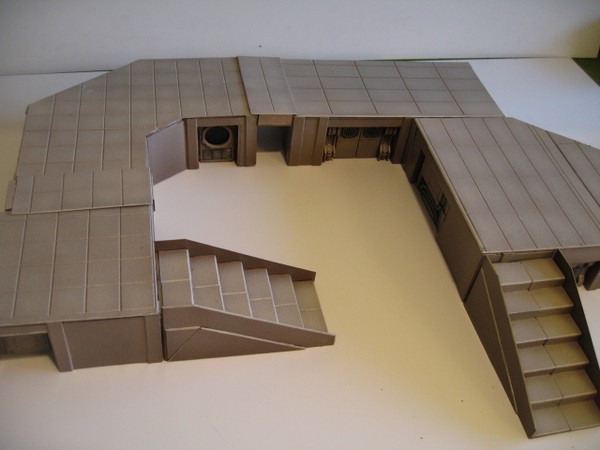
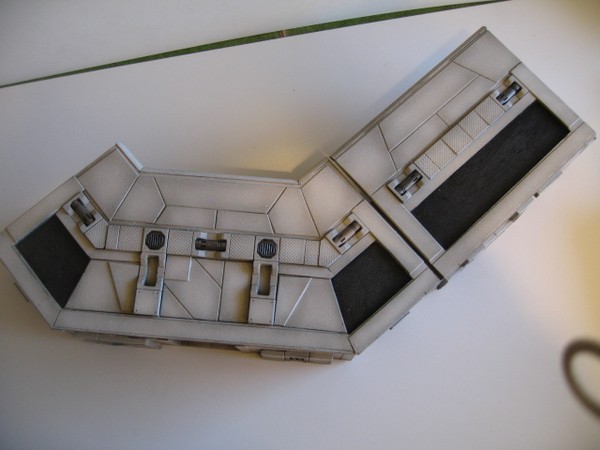
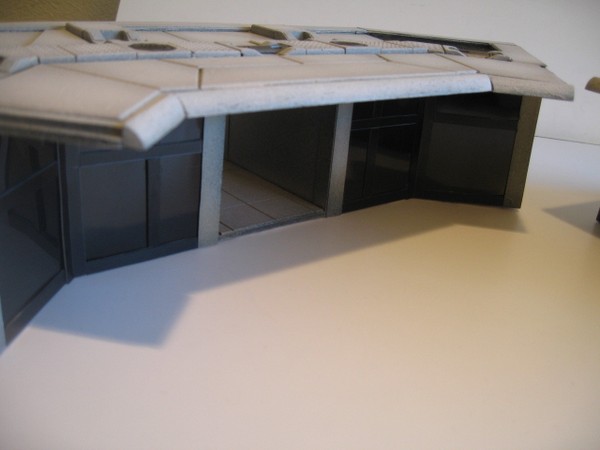
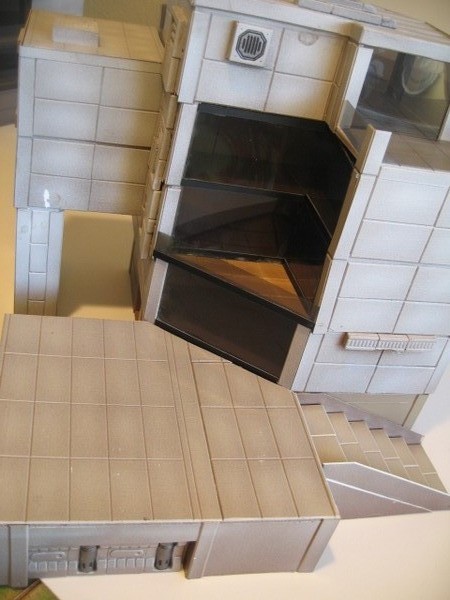
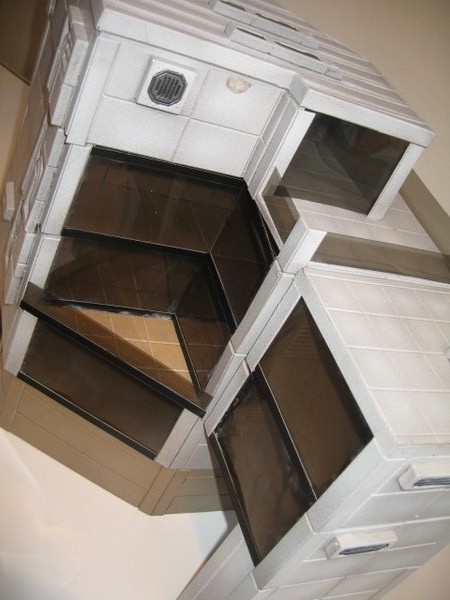
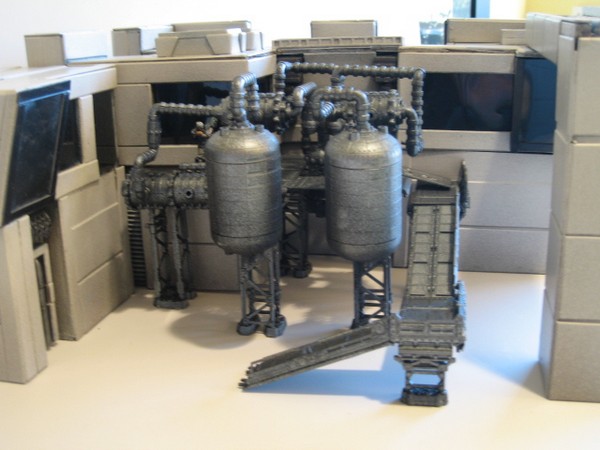
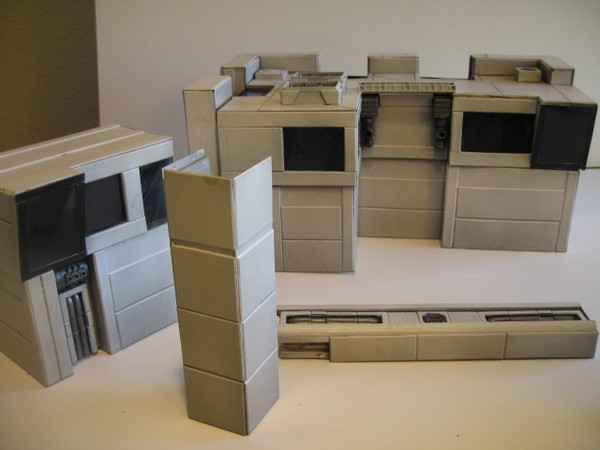
Some little pieces, to add a bit of variety to the terrain. here you can see that the burnout was close; the interior has just been airbrushed, I just could no longer bring myself to manually highlight every detail.
|

