|
Conan and the Dark Citadel, a CROM campaign
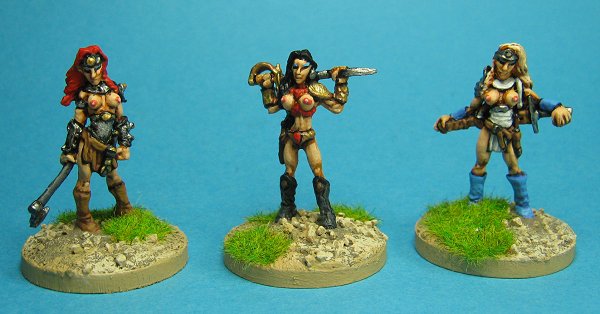
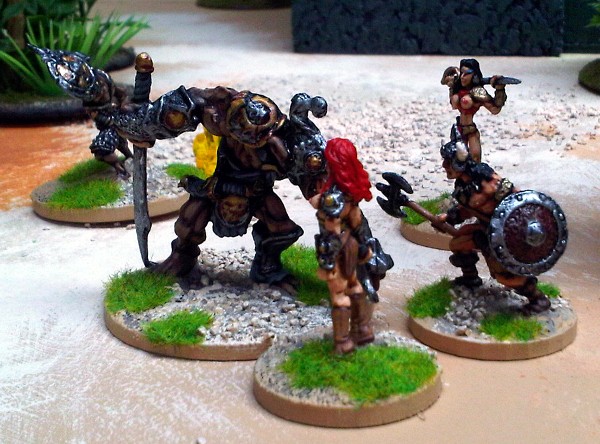
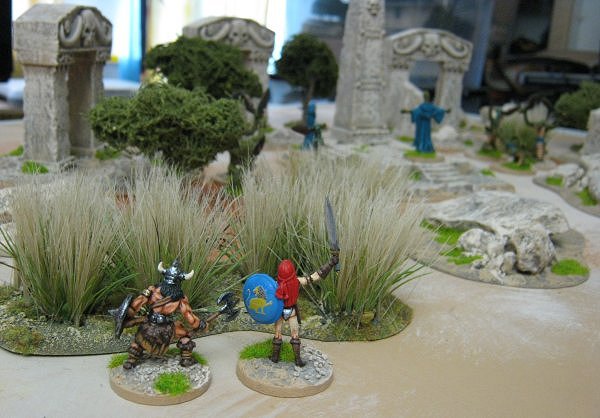
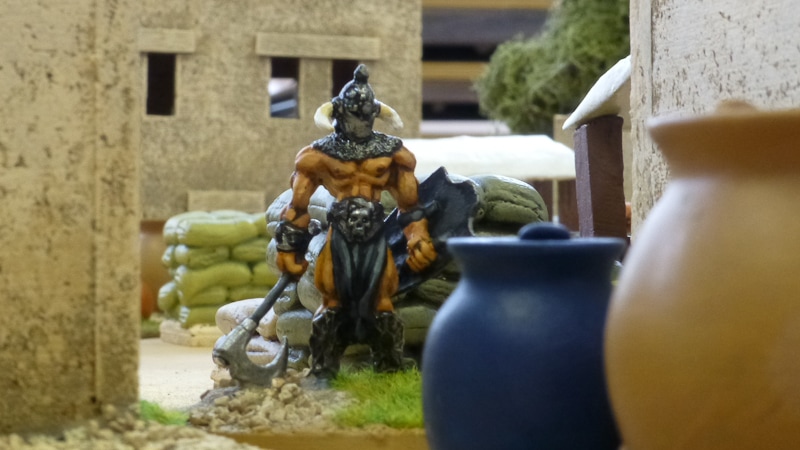
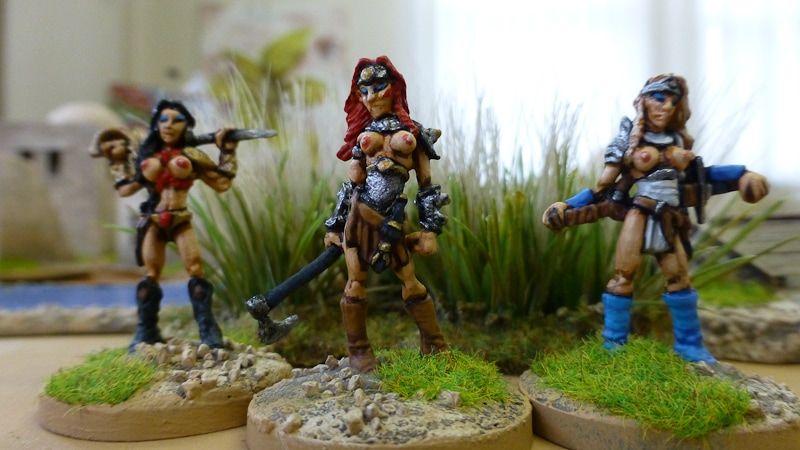
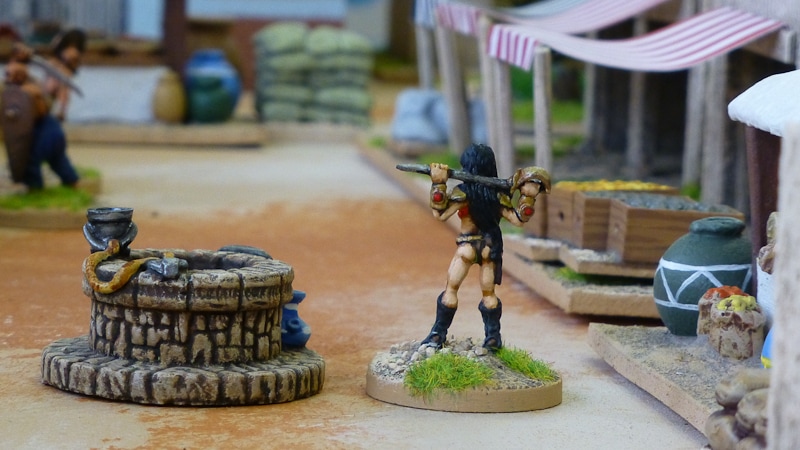
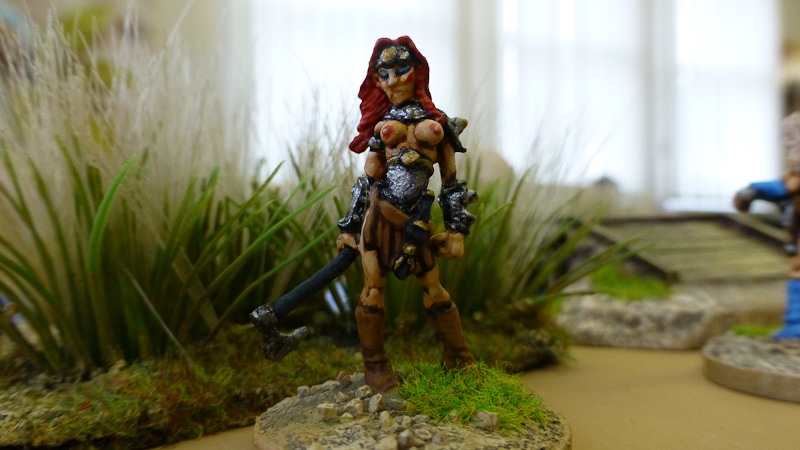
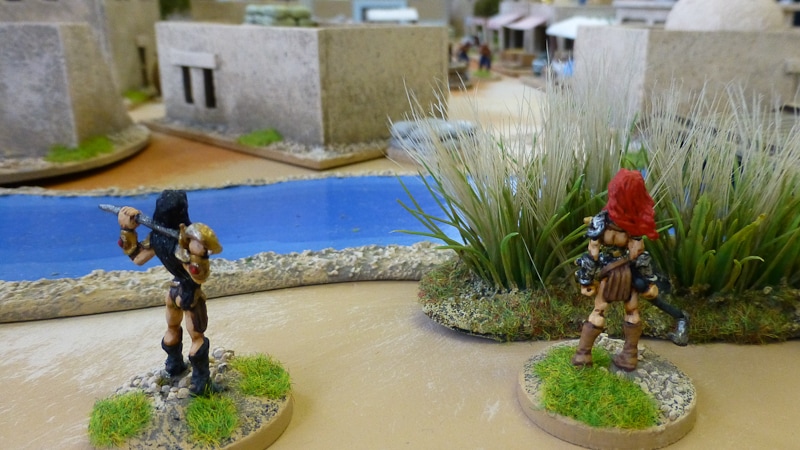
This is a series of linked encounters playable in an afternoon that will take the players on an epic journey to a final confrontation with Thoth Amon and his inhuman allies. The Plot: Princess Zamora has been kidnapped and Conan and Subotai set off a month ago to rescue her at the behest of her distraught father King Osric. Word has come back via a messenger sent by Subotai that Conan is languishing in a border town prison and so the players in the form of Bêlit, Red Sonja and Valeria, all 10 dice heroes, decide to go and rescue him. Although they are working together they know that whichever of them actually succeeds in freeing him will become his favourite. Encounter One: The Slavers
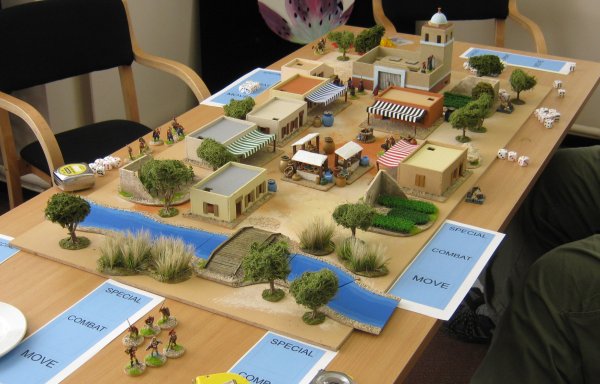
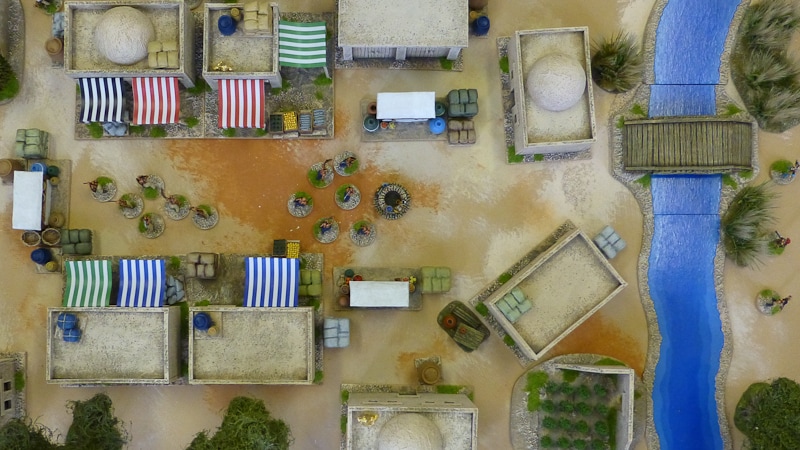
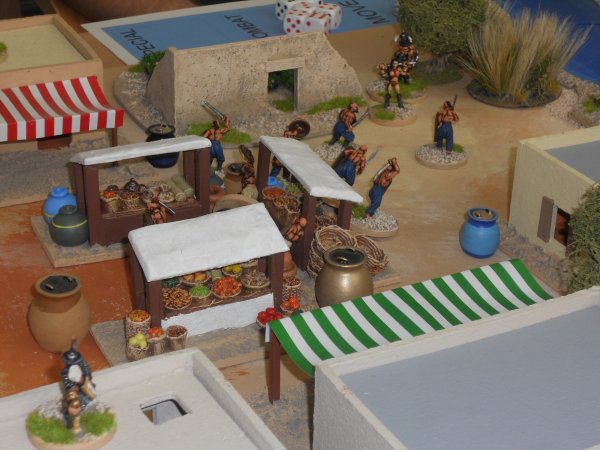
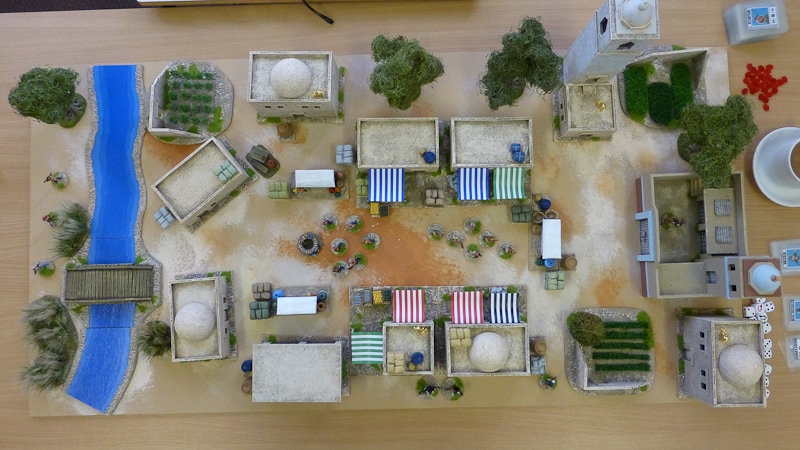
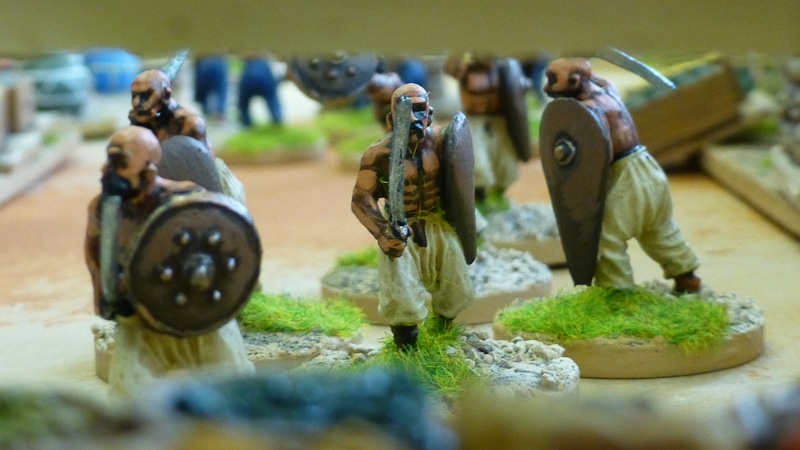
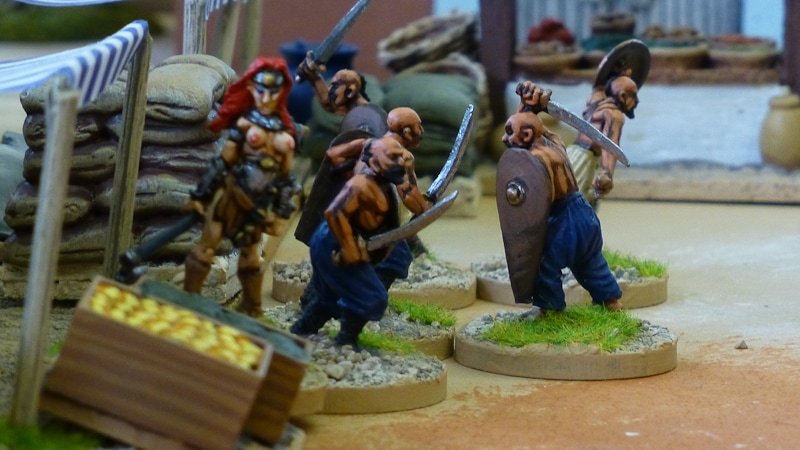
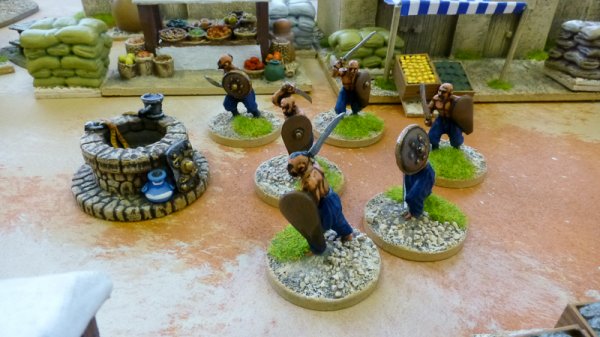
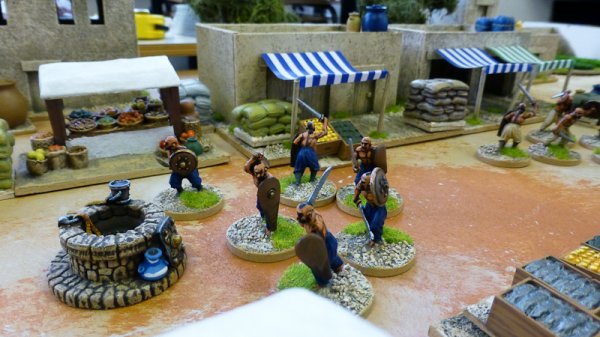
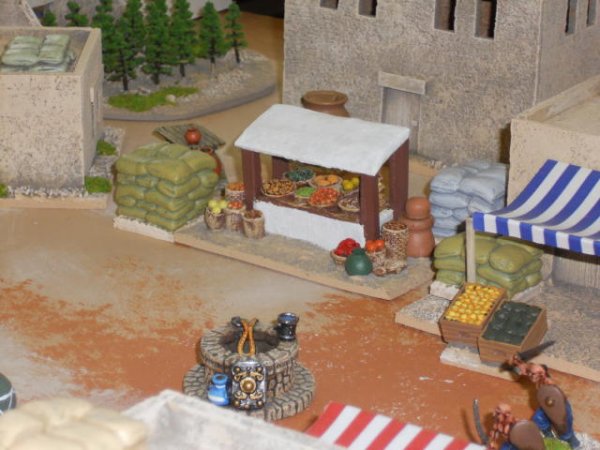
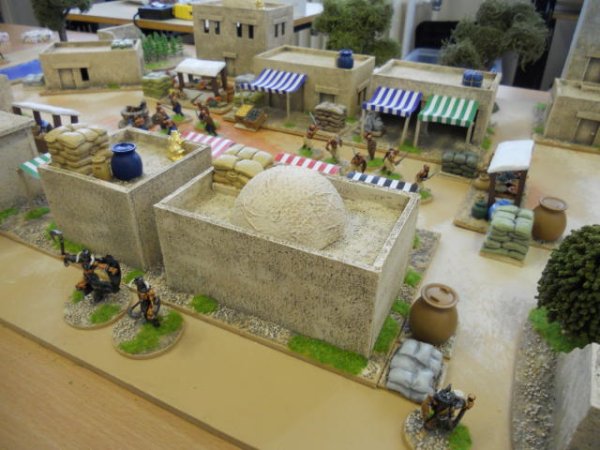
Location: A small town on the edges of the desert of Shem. Adversaries: 3 groups of 4 slavers (2/2/0) led by a Death Dealer (10 dice) scattered around town Objective: To clear the town of enemies in preparation for the assault on the prison. Markers: Subotai (10 dice), Wine, Wine, Death Dealer (10 dice). All scattered around town. Players enter from the bridge. The prison is at the far end of the town.
The four objective markers should be placed in suitably spread out locations and the four cards showing the actual contents placed face down in an accessible place. It is a Simple Action (costs 6 special action points) to collect an objective marker once a character is adjacent to it (any character may do this, even Death Dealers). If the drawn card is an item the character receives it immediately. If it is a figure the controlling player of that figure may place it anywhere within line of sight of the character who claimed the objective marker. The character's card will be shuffled into the initiative deck at the beginning of the following turn and until then the character can take no actions other than to defend themselves (they have their full dice pool for this).
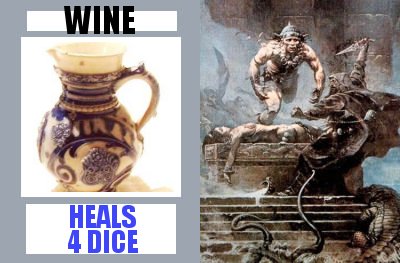
If a received item confers extra dice they may be allocated and used immediately.If the item is a one shot item such as wine it may be used at any time during the owning character's turn at no cost in points. It may be freely given to any other adjacent character at no cost. Should the owning player die then any items carried may be recovered from their bodies by using a Simple Action per item.
If the slavers reduce one of the heroes to 0 dice then that figure has been captured and they and the capturing slaver group are removed from play immediately. In this case all items they carry are removed from play with them.
The heroes may elect to start Encounter Two any time after they have activated all four objective markers. Encounter Two: Prison Break
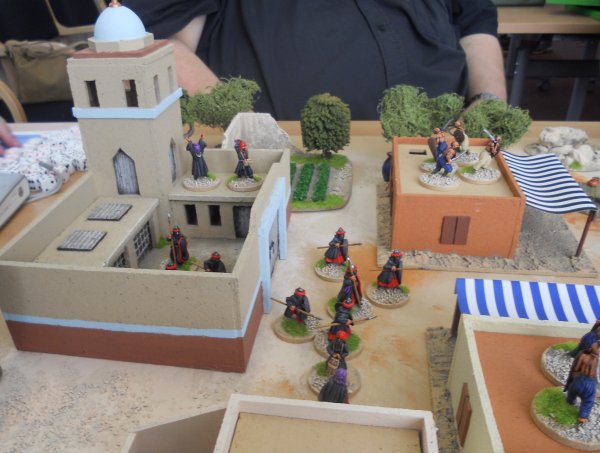
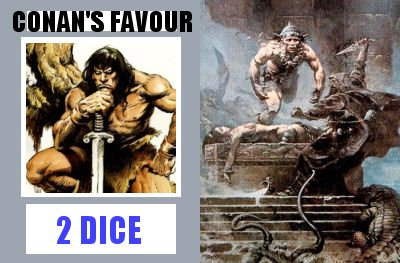
Location: A small town on the edges of the desert of Shem. Adversaries: 5 guards (2/2/0) and a Captain (2/4/4) in the prison, Returning patrol of 5 guards accompanying the Priestess (2/2/4) entering from bridge. Objective: To free Conan and escape off the board. Markers: A group of 3 Snake Men (2/3/0), wine, wine, Snake Man priest (2/2/4). Three markers in town, one in the prison. Players start in the market square. The heroes get a Partial Heal (they regain up to half their starting dice total) before the start of this encounter. Any adversaries from Encounter One remain on the board and may be positioned anywhere by the controlling player. The prison garrison may not leave the prison until a hero enters it or they are attacked or activated by a friendly figure alerting them to the heroes' presence. Freeing Conan from the cells is a Simple Action to break the lock. Conan my then be placed in the prison and activated next turn. Whoever frees Conan receives the Conan's Favour card immediately.
The Priestess has a standard fire bolt as her magical attack; line of sight, 2 hits +1 per six scored and the target is on fire if she rolls a six.
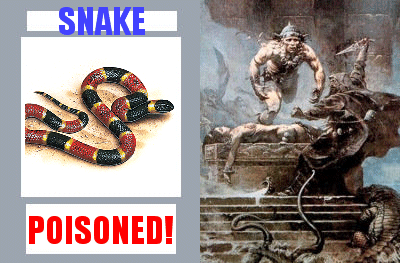
The Snake Man Priest has a magic poison attack; line of sight, 1 hit +1 per six scored and the target is poisoned if he rolls a six. At the end of this scenario the heroes receive a Full Heal and any poison markers and unused wine are discarded.
Encounter Three: The Slavers' Caravan.
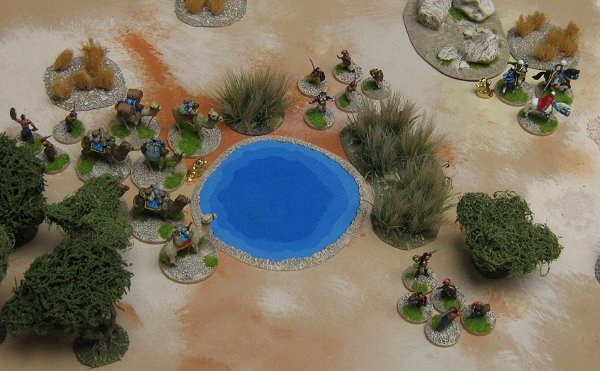
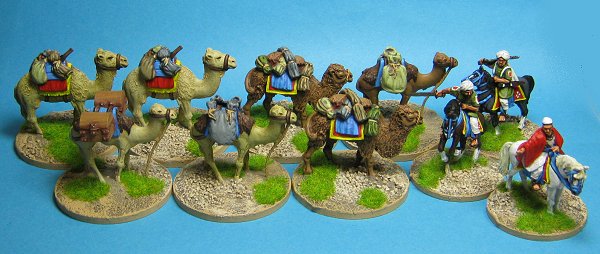
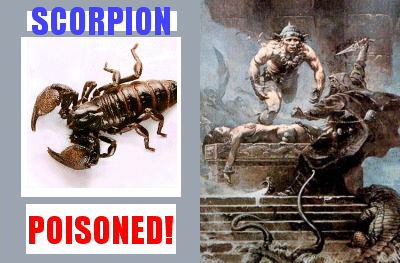
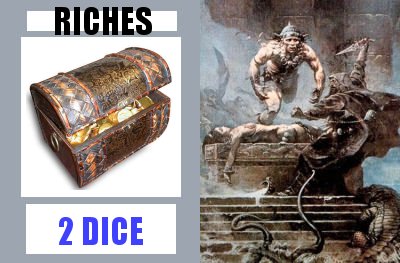
This is an optional encounter where the heroes can rescue any allies captured in the first encounter. Moving swiftly across country Conan leads his friends along seldom used paths to intercept the slavers. Location: Desert with rocks, scrub and a few trees, a watering hole. The slavers' caravan is resting. Adversaries: 3 groups of 4 slavers (2/2/0), the caravan leader (6/2/4) and his two sons (6/4/0). Objective: To free captured comrades and exit the board. Markers: Scorpion, scorpion, riches, riches. Placed near the caravan and the caravan leader's group. Players may pick their entry point. The caravan and slavers should be placed in groups around the watering hole and the caravan leader and his two sons should be put off to one side as another group. In the set up above each of the two female captives had a group of slavers guarding them.
Killing any of the three mounted slavers immediately gives the victorious hero a horse.
The scorpions automatically cause a single hit and poison the character. The card is then discarded, these are one-shot traps.
It is a Simple Action to free a bound captive who may then enter play next turn.
At the end of this encounter all heroes receive a Full Heal and any riches and poison markers are discarded. Encounter Four: Mako
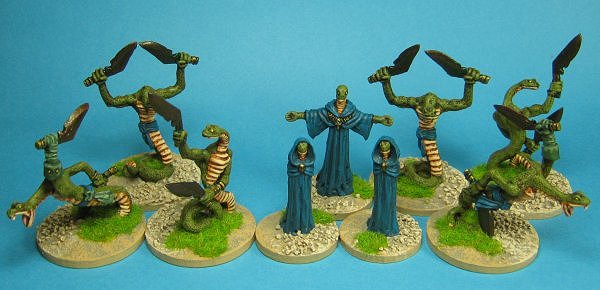
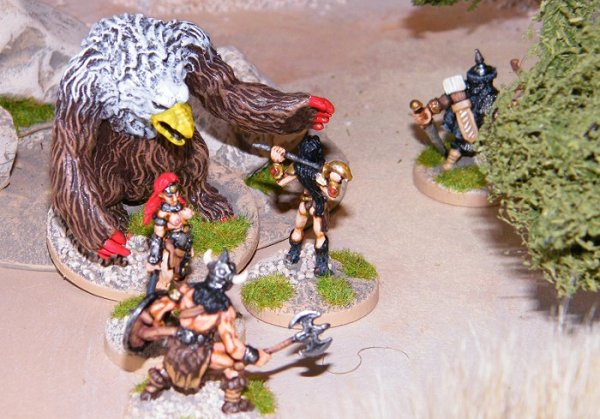
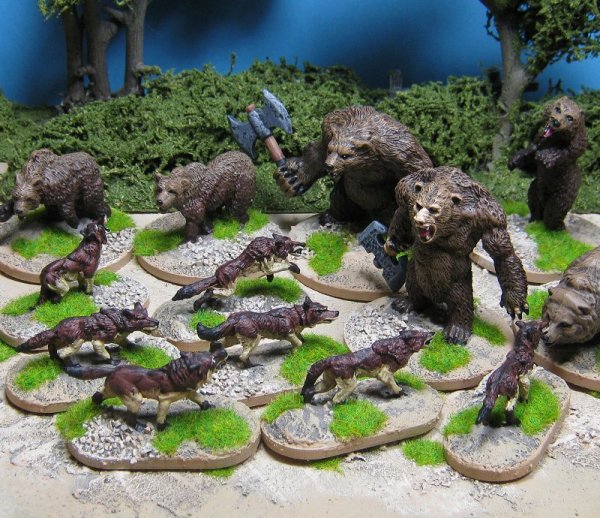
It seems clear that something big is afoot. Snake Men are not usually spotted out and about. Conan decides he needs Mako if he is to defeat them. As the players approach Mako's home sounds of disturbance are heard and the smell of smoke is carried to them on the breeze. Location: Mako's hut (ransacked and on fire), garden and surrounding woodland. trees, brush, rocks Adversaries: Snakeman High Priest (10 dice), 2 groups of 3 Snake Minions (2/3/0) and two priests (2/2/4). All ransacking Mako's home Objective: To rescue Mako. Markers: Mako (11 dice but unconscious), Atlantean Crown, Owlbear (3/5/0), Owlbear (3/5/0). Players start at a random board edge. Whoever finds Mako gets passed the Conan's Favour card. Mako will remain unconscious for this encounter even when he is found. The Owlbears are wandering monsters attracted by the noise and smoke, they will attack the side that finds them.
The heroes receive a Full heal at the end of this encounter and Mako wakes up. All poison markers are discarded.
Mako's spells Fire attack: Line of sight, defender may use any dice to resist. 2 hits for a successful attack +1 for every 6 and target is on fire if a 6 is scored. Defend other: Line of sight, may place a combat shield around a friend that gives 1 defence die for each 6 points Mako rolls initially. These shield dice are discarded before any others when hits are taken. Heal: Line of sight, may heal 1 die on the target per 2 dice used. Heal poison: A Difficult Action (12 points of special dice) will heal poison if adjacent to character. Fire: A Simple Action will extinguish a fire marker if adjacent to it. Encounter 5: The Tomb of King Kull.
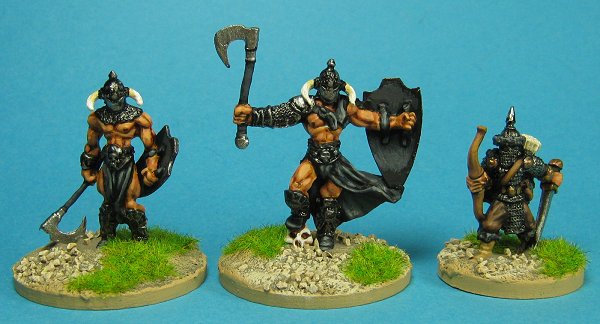
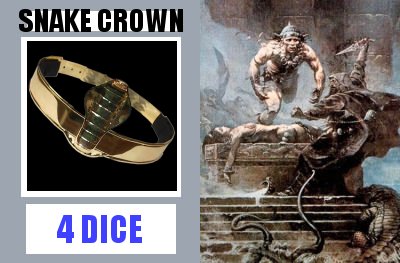
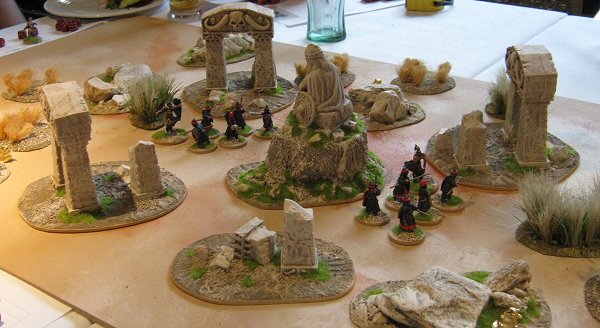
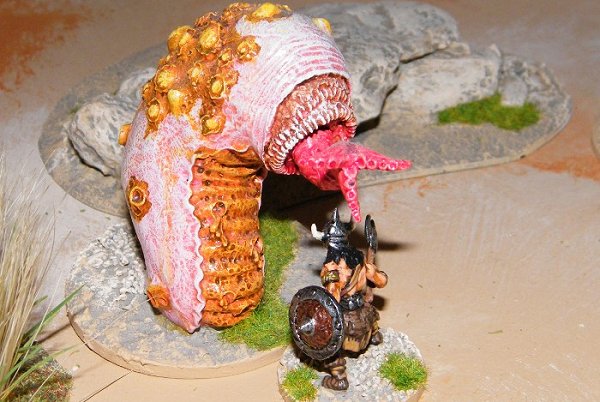
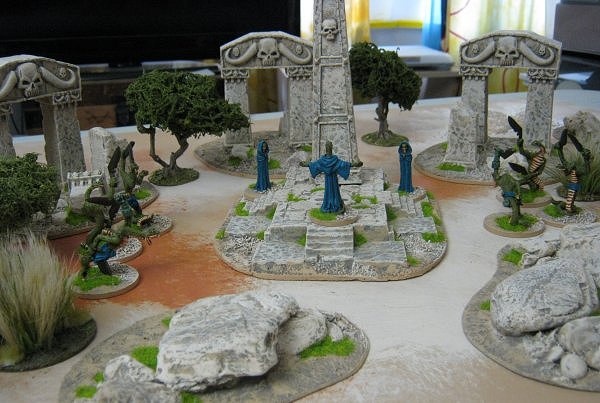
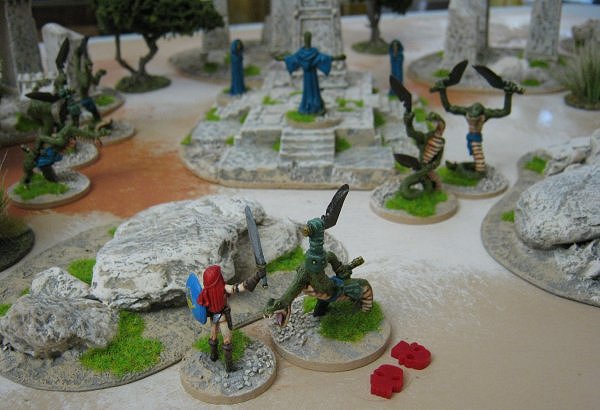
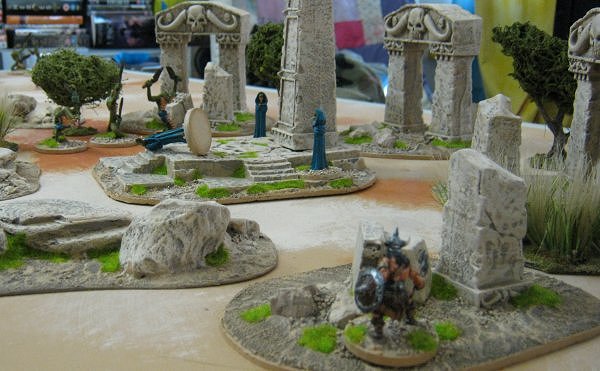
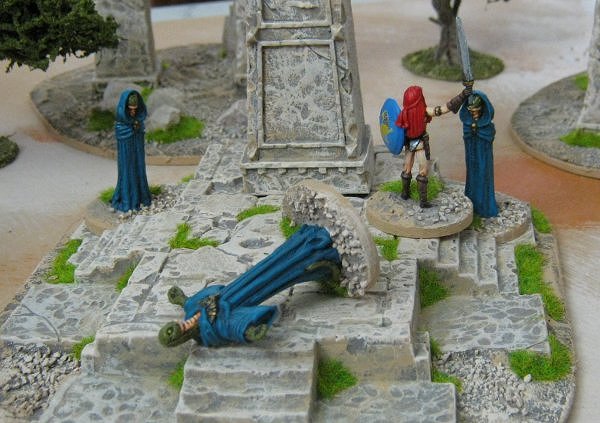
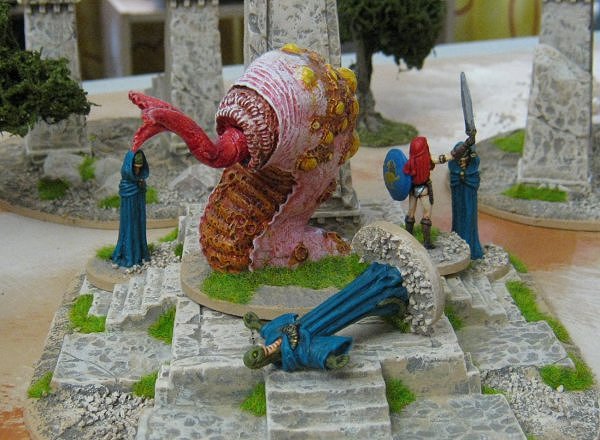
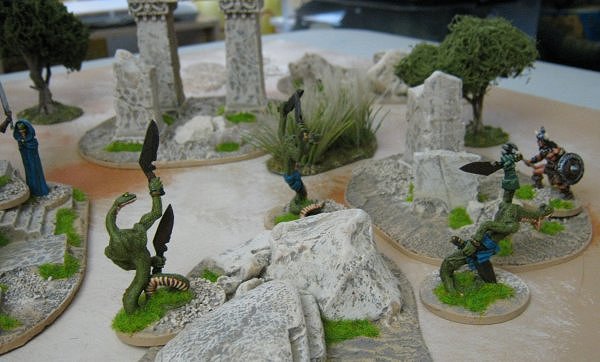
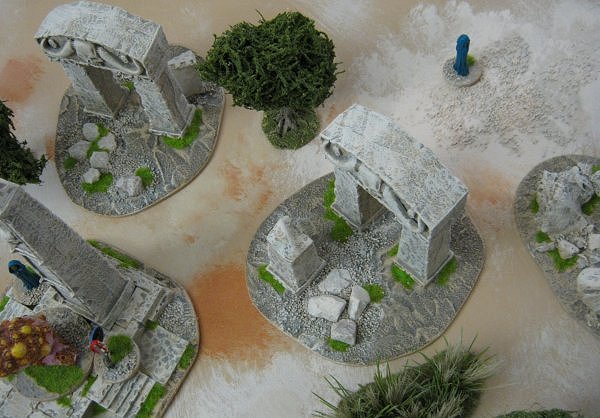
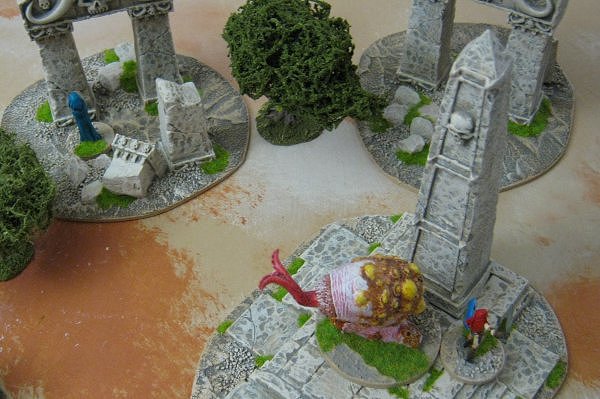
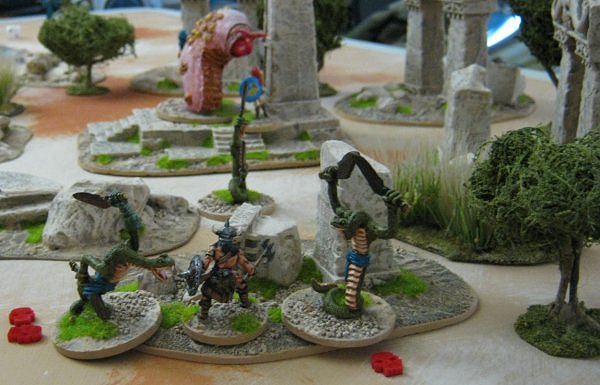
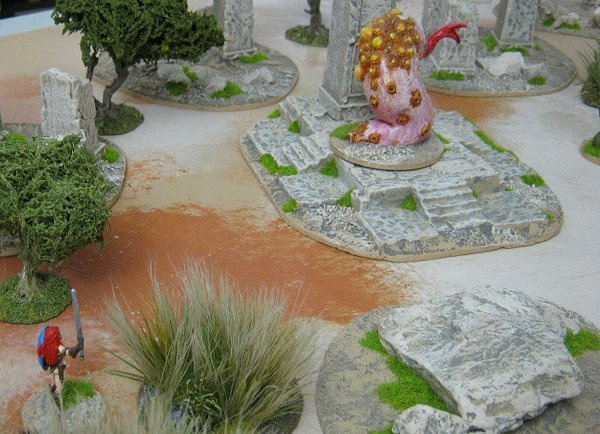
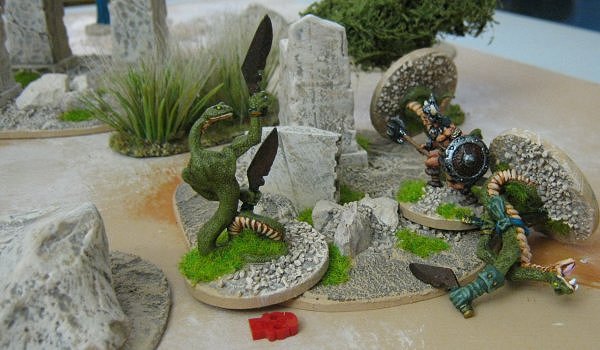
The Snake Men were after the crown which Mako flung into the bushes just in time before he succumbed to his wounds and collapsed. Mako knows Thoth Amon is up to something terrible as soon the 'stars will be right'. The players must head south to the ruins of an ancient pre-human outpost but first Conan must have a weapon with which to combat the evil that Thoth Amon is planning to inflict on the world. Location: The tomb of King Kull. Ruined arches and the entrance to the tomb itself. Adversaries: A party of tomb raiders: Two groups of 5 Thoth Amon troops (2/2/0) each led by a Death Dealer (10 dice) who are trying to gain entrance to the tomb. Objective: To enter the tomb (requires snake crown). Markers: Worm (10 dice), worm (10 dice), ancient mail, ancient mail. Players start on a board edge of their choosing. The ground is littered with the remains of freshly exhumed Atlantean warriors, the Death Dealers have been looking for the crown without success and they can't enter the tomb without it.
The stench of death makes any horses the heroes have bolt and they must be discarded at the start of this encounter. Only a character wearing the Snake Crown can pass the magical barrier that blocks the tomb entrance. Once inside that character can throw the crown back to another character so they too may enter. In this way the whole party of heroes may venture down into the final resting place of King Kull.
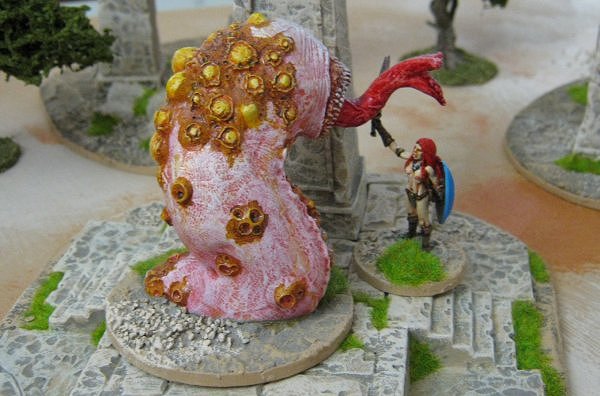
The worms feed on the dead and will attack whichever side discovers them.
This encounter ends when every enemy has been killed or driven off. If a hero enters the tomb before this they may not return until after they have triggered Encounter Six and retrieved the Atlantean Sword. Should all the party of heroes enter the tomb before killing all the enemies above, proceed to Encounter Six and the enemies will wait for the heroes to re emerge. The heroes receive a Partial Heal as they enter the tomb. Encounter Six: Inside the Tomb.
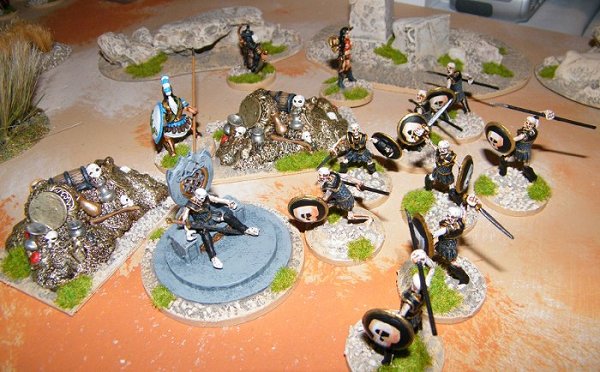
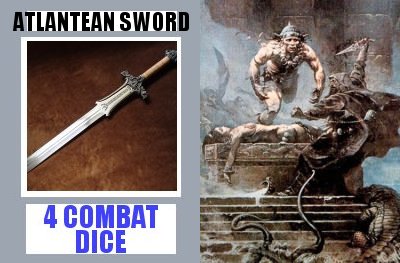
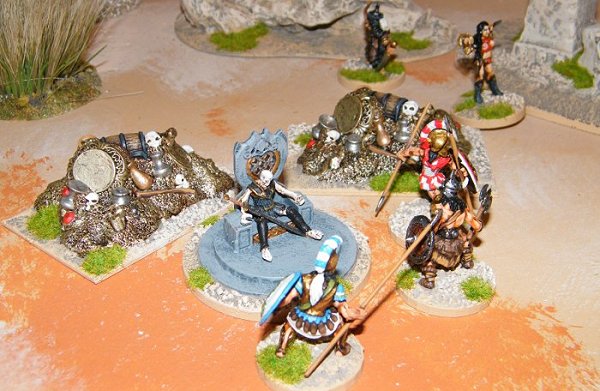
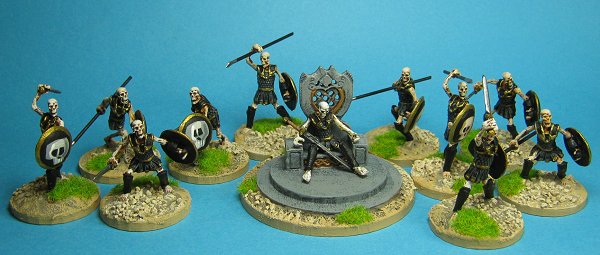
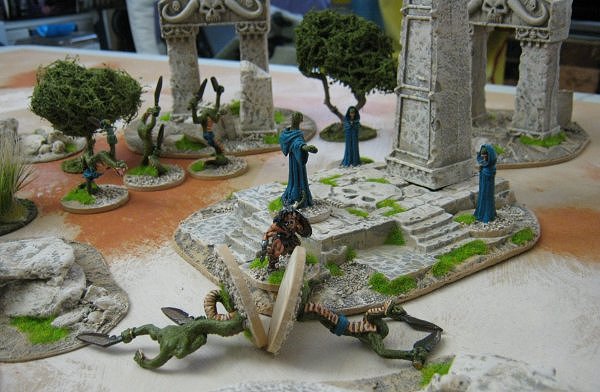
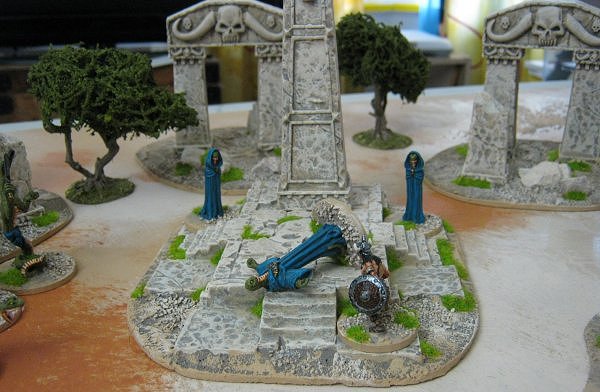
Location: Inside the barrow. This is a simple rough-hewn circular chamber carved from the rock. Near the back the remains of King Kull dressed in rusted mail sit on a throne. On his lap is a shining sword that looks as new as the day it was forged. Behind him and around the edges of the chamber are scattered great piles of treasure. Adversaries: None to begin with. Skeleton guards will arrive through the floor when the throne is approached. 2 groups of 5 skeletons (2/2/0) each led by an Atlantean warrior ghost (10 dice). Objective: To get the Atlantean sword and leave. Markers: Poison snake attack, poison snake attack, riches, riches. All scattered around the tomb. Players start at the tomb entrance. Whoever gets the sword and gives it to Conan receives the Conan's Favour card. If Conan collects the sword himself (very likely) the card stays with the current holder. The Atlantean warriors can only be harmed by the Atlantean sword or by magic effects.
The limited space in the tomb can make this a very tough encounter for the heroes and they will need to work together and keep their wits about them to survive.
When I ran this encounter I found it was simpler to use the existing scenery components from the outside setting to delineate the area of the tomb than clear everything away and set up a floor plan as I'd originally intended which is why it appears to be happening outside.
Once the heroes exit the tomb and finish off any remaining opponents above ground they receive a Full Heal and all poison markers are discarded.
The snake traps are the same as the earlier scorpion traps, the finder suffers a single hit and is poisoned.
Encounter Seven: The Jungles of Kush.
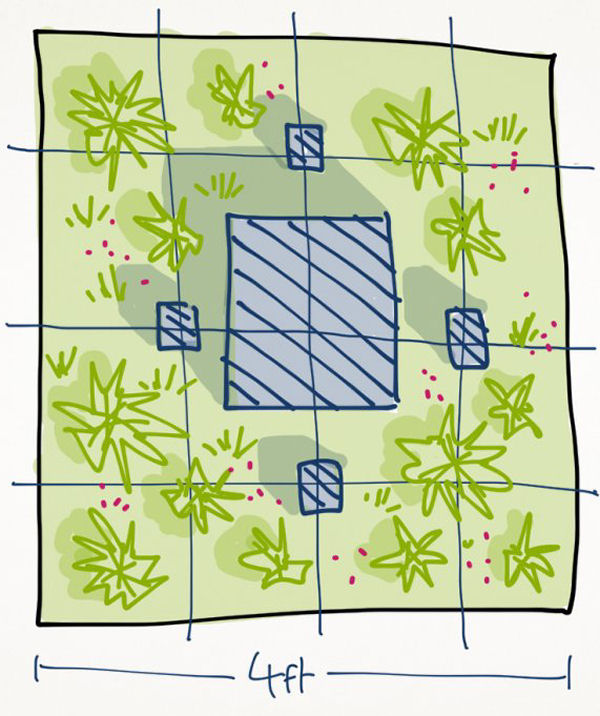
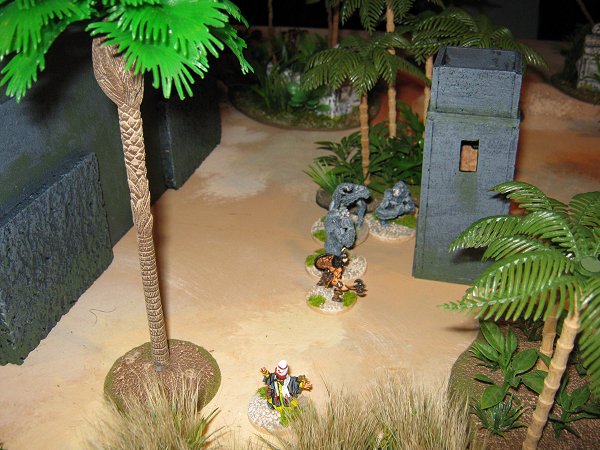
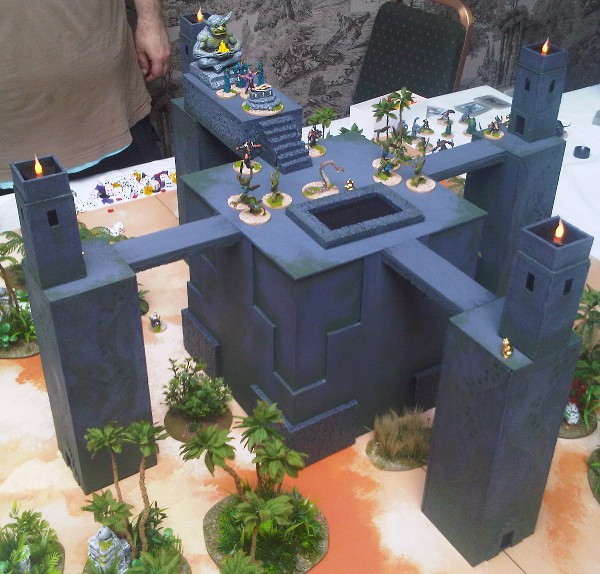
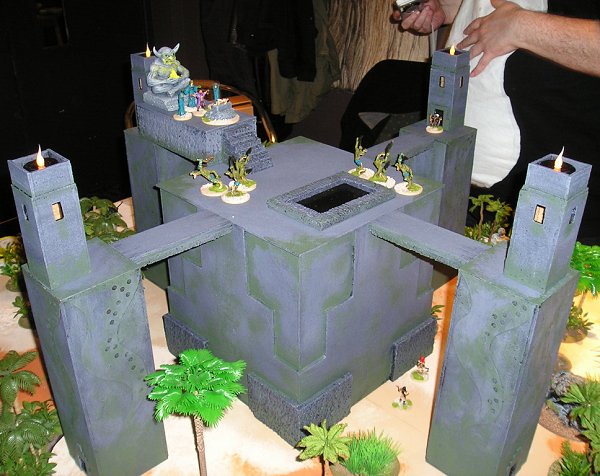
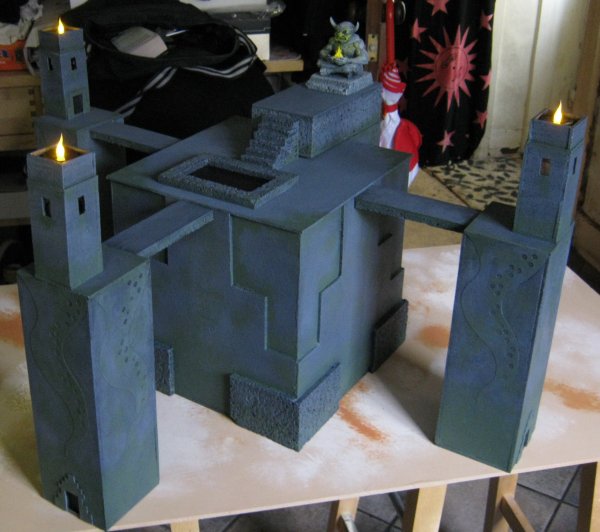
Now fully armed and with time getting short Mako leads the party deep into the steaming jungles of Kush to the remains of a pre-human city. Most of the buildings have been reclaimed by the jungle but the stark shape of the Dark Citadel still looms above the foliage. Location: The jungle surrounding the Dark Citadel. The Citadel itself dominates the centre of the board with the top sections of it's towers place around it. The towers themselves are hidden below ground with no sign of their existence visible.
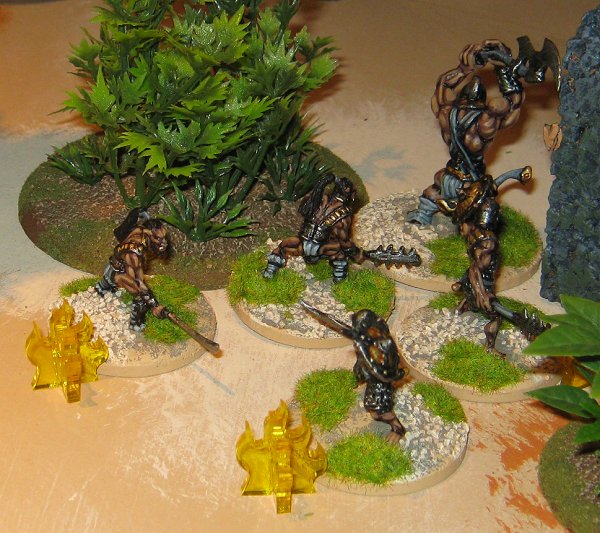
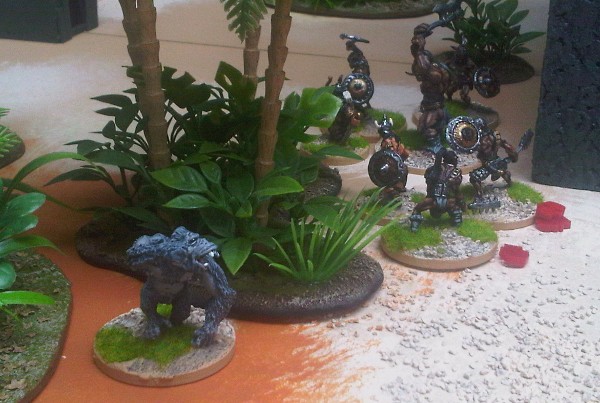
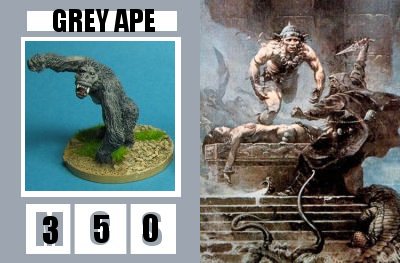
Adversaries: Two groups of bestial Orc like creatures (2/3/0) each led by a larger Ogre type (2/5/2) lurk among the ruins. Objective: To gain entrance to the Dark Citadel. Markers: Grey Apes (3/5/0) discovered in a group of four, exotic fruit, exotic fruit, objective marker. The objective marker represents finding and pulling the huge lever that raises the towers and gives access to the Citadel, it should be discovered last. One marker should be placed in each tower top. Players start at a random board edge. The fruit can be passed to another player just like the wine earlier. It is consumed on use.
As the final objective is found and the lever is pulled (it is pulled automatically when found) the ground shakes and rumbles ominously which will cause the grey apes and the orcs to flee if they aren't already dead leaving the players alone on the tabletop.
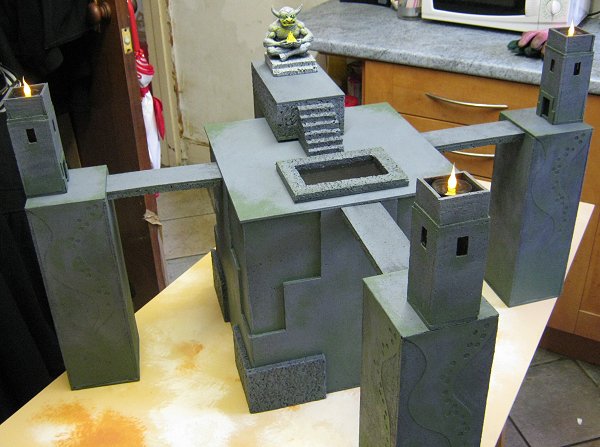
The four towers that surround the Dark Citadel will rise up from the ground and the walkways will extend to join them to the main body of the Citadel. Flaming beacons will spring to life atop each tower. Whichever character found the final objective will be carried aloft with them but all the others will remain at ground level.
Everyone will receive a Partial Heal and Encounter Eight will begin.
Encounter Eight: The Dark Citadel.
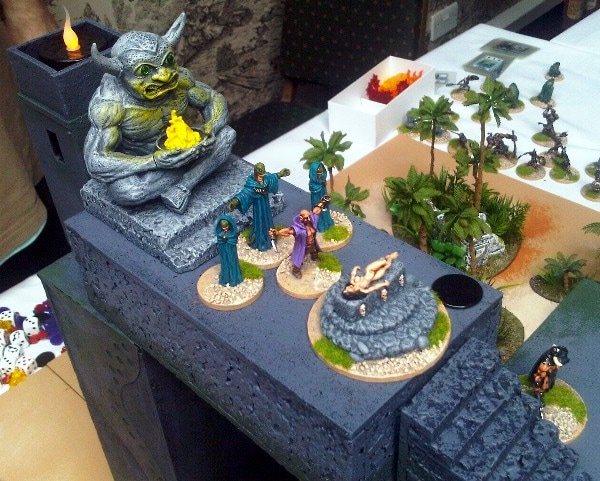
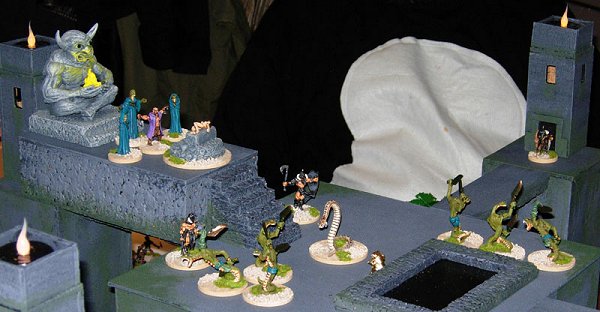
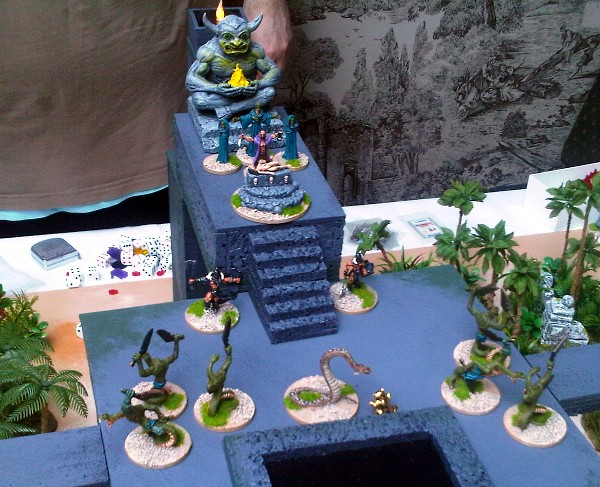
Once the towers have risen into position the figures and scenery on top of the Citadel should be revealed. Location: Atop the Dark Citadel. Princess Zenobia lies on an altar before a hideous effigy as the centrepiece of a dreadful ritual, a summoning is under way and a pool of inky black liquid bubbles ominously.
Adversaries: Thoth Amon (12 dice), Snake Man High Priest (10 dice), 2 Snake Men Priests (2/2/4), two groups of Snake Men minions (2/3/0), giant snake (2/4/0), 2 Death Dealers (10 dice). Objective: To rescue Zenobia and prevent Thoth Amon summoning the Elder Horror. Markers: Riches, riches, black lotus, ancient fishmen. One marker should be placed in each accessible tower top and one by the pool. Players start at the base of the Citadel except for one who starts at the tower top where the lever was. Thoth Amon should have 16 dice but is down to 12 because he's already started his ritual to summon the Elder Horror. He and his magician allies must muster 20 more summoning points to succeed in calling the creature into existence.
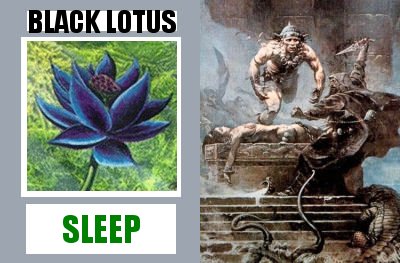
Summoning Procedure Snake Men Priests: 1 point to summoning per 4 spent. They may sacrifice themselves to add another summoning point at any time during their activation. Snake Man High Priest: 1 point to summoning per 3 spent. Thoth Amon: 1 point to summoning per 2 spent. Further, Thoth Amon may sacrifice Zenobia at any time during his activation as a Simple Action to add more points to the summoning. Zenobia's death adds 3 points to summoning +1 for every fear counter she has. Zenobia starts with one fear counter and gains another at the start of each round. It will take approximately four turns for Thoth Amon to summon the creature if he's allowed to give it all his attention so the heroes better be quick. Which ever character discovers the black Lotus blossoms will fall into a deep sleep until woken by an ally as a Simple Action.
The hero character on top of the Citadel will find themselves the centre of attraction and no doubt subject to some unwanted attention. The other heroes will need to reach the summit as quickly as possible.
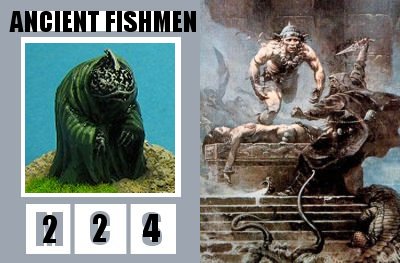
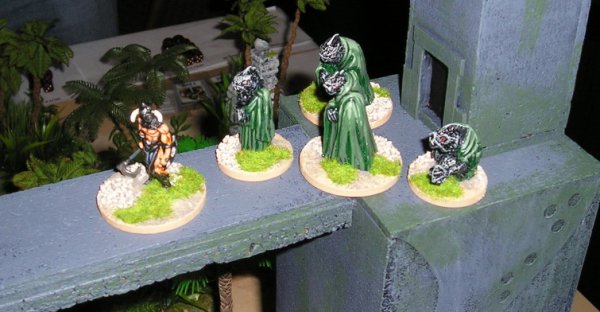
It takes 12 inches of movement to get from the bottom to the top of a tower and this must be done as a single move. If a character fails in an attempt they remain at the bottom and are considered to be still making their way through the maze of steps and ramps inside the tower. They may try again of course if they have movement dice remaining. The tower with the idol atop it is blocked with no exit at the top so there's no point attempting that one. The Ancient Fish Men have the ability to cloud minds with their mesmerizing gaze. Using line of sight, they attack with their special dice against the opponent's special dice only. If they win, each six points is a dice removed from the target's current pool ('used' not discarded) which limits opponents' actions quite severely. This isn't a magic attack so the Fish Men get these used dice back each turn as normal.
If Thoth Amon succeeds in summoning the Elder Horror the heroes have probably lost as they, and most of civilisation, will die a horrible death shortly after its arrival.
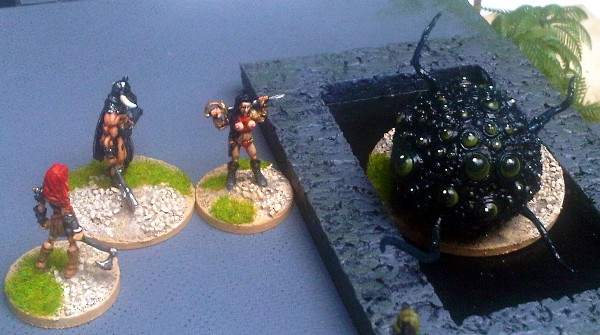
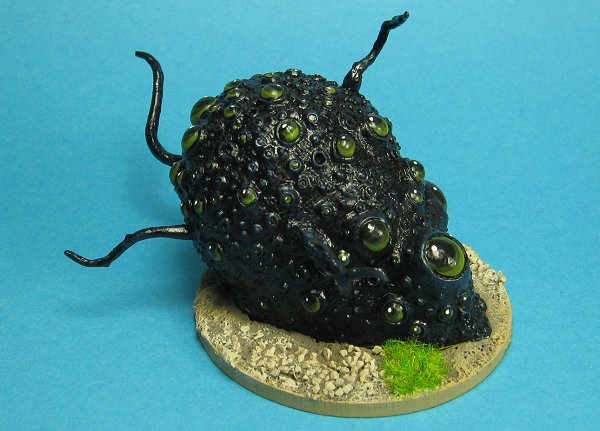
There is hope however as Conan may still have the Atlantean sword and with aid from his allies he may be able to slay the Horror. The horror has 20 dice. It can't be controlled so Thoth Amon won't even try, he and his followers will flee at the first opportunity. The Horror may use its tentacles to attack anyone on top of the citadel, no one is out of range. Its hideous otherworldlyness removes the two highest dice scores from an opponent (like hard cover for missiles) who isn't using the Atlantean sword and it's not-quite-on-this-plane jelliness allows it to heal 2 dice a round. If it consumes an opponent it devours them and adds 2 more dice to it's pool as it grows ever larger. The Atlantean sword's combat dice count as sixes against the Horror but aren't burnt in the process. If they are burnt they count as 2 sixes each. Once the last one is burnt the sword is broken and useless.
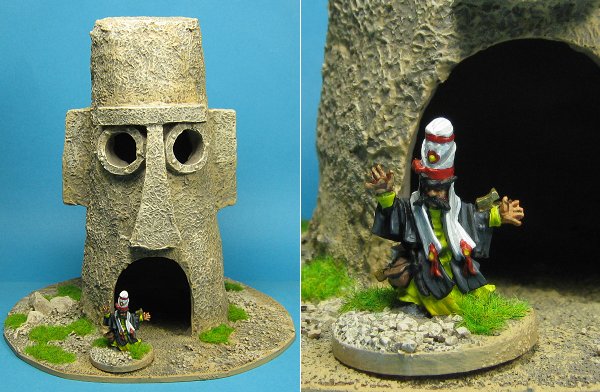
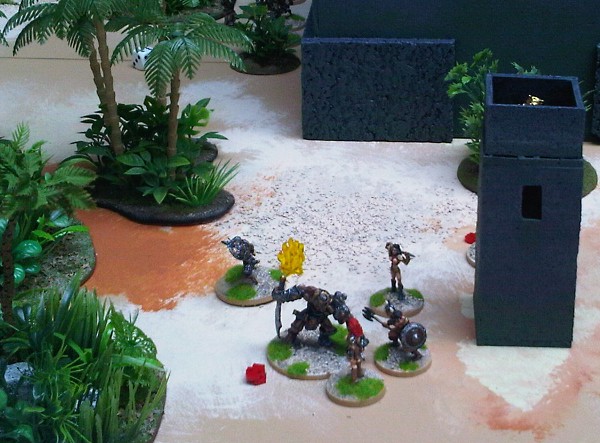
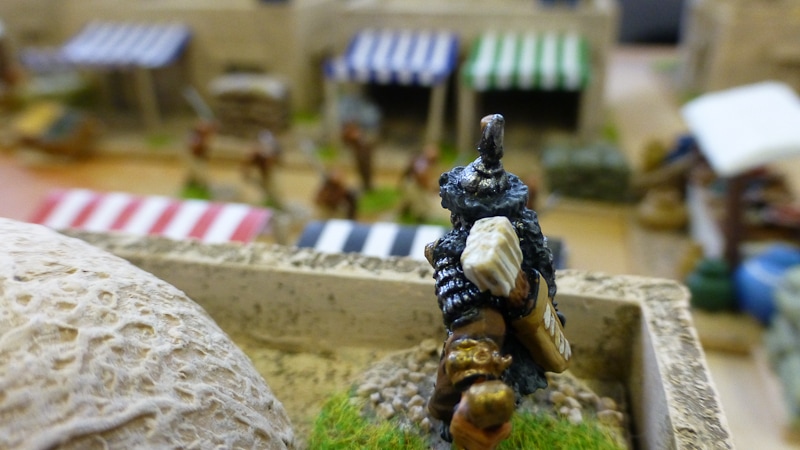
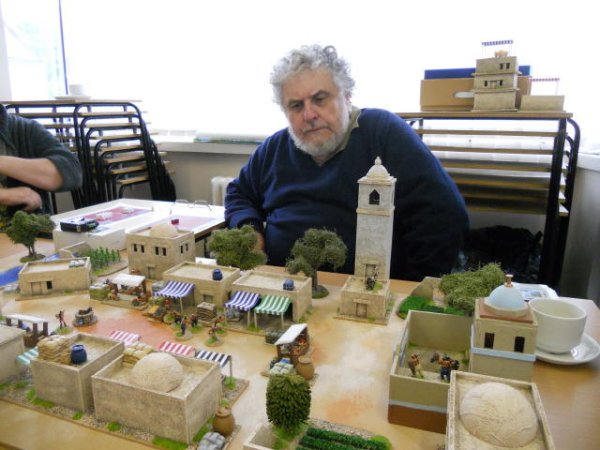
The in-game photos for this campaign were taken at BLAM 2011 by myself, Overlord, Whyskyrat and Kestrel. My thanks to them and to the many players who joined in on the day to make it such fun. My particular thanks to Revford for being a truly vile Thoth Amon on two occasions and doing in two groups of heroes in fine style.
|
I've worked out the basics for my Conan skirmish rules (imaginatively entitled CROM at the moment) and so the time has come to start the actual testing. Since I plan to post the final rules on this site for free there seems little reason to keep any secrets about the development process or the ideas themselves which means I can regale you with my thoughts as I go. You lucky, lucky people.
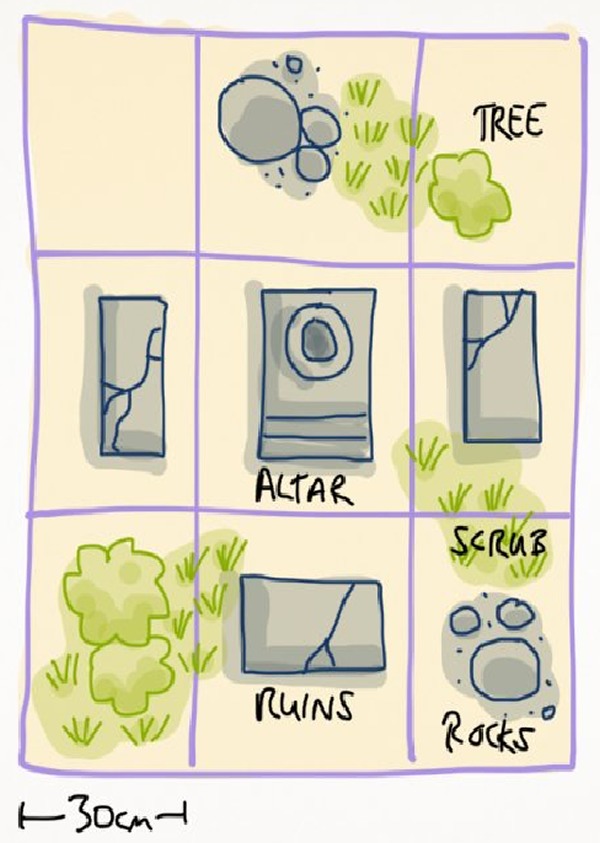
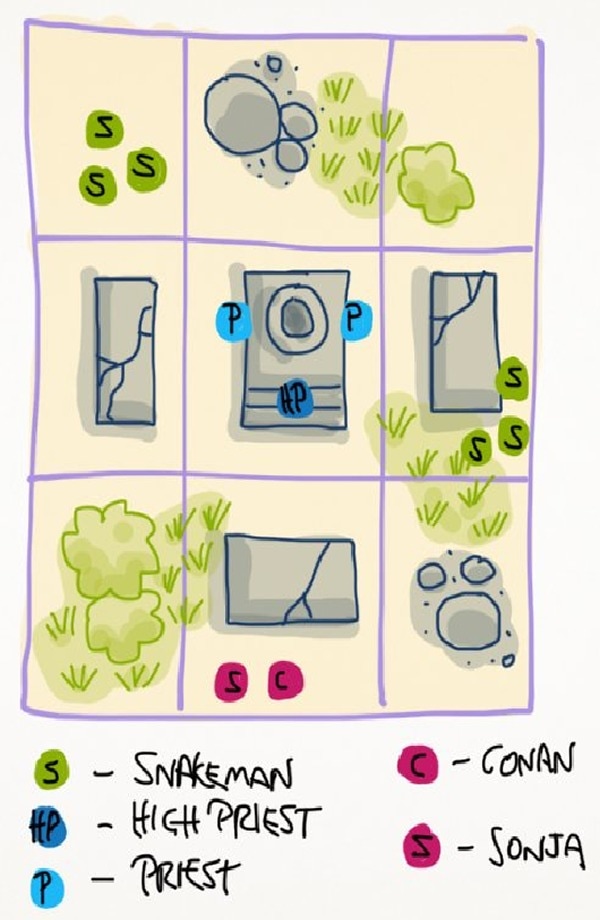
Here then is the first play through, I'll explain pertinent rules as I go. The basic idea is that each character has a number of dice which they allocate at the beginning of each turn to three pools; movement, combat and special actions. Initiative is determined by card draw unless one or more characters have allocated dice to initiative in which case they roll those dice and take their turns in order with the highest going first. The situation: Conan and Sonja have been hired to steal the Atlantean snake crown currently in the possession of the High Priest of the ancient and terrible Snake People. The High Priest and his followers, two lesser priests and two groups of minions, are currently distracted by some religious ritual they're undertaking and so Conan and Sonja are able to creep up on them undetected.
Turn 1:
Since the Snake Men cannot do anything except continue the ritual until either of the two interlopers makes themselves known by doing something no one allocates any dice to initiative. The High Priest allocates some of his dice to his magic (the ritual) and the other Priests do likewise. The minions don't allocate beforehand, they decide what to do when it's their go because they have so few dice to use. Conan and Sonja allocate three dice each to movement and the rest to combat, not going to be much negotiating here. The cards are turned to see who acts first. First up are Minions 1, the group nearest Conan and Sonja but their go is wasted because they can't act yet. Next is Sonja who rolls pathetically low on her movement so decides to move behind some rocks and await developments. Minions 2 go next. They can act, unlike their companions, and have three dice each. They each use one to move hoping to reach Sonja and attack her with their remaining two.
Only one gets close enough to attack, Sonja allocates three of her combat dice to defend herself. Dice are rolled, totals are compared and Sonja stabs the reckless Snakeman twice. (She inflicts one wound for the highest total and a second because she rolled a six). Each wound received removes a dice from a character's pool, no dice remaining and you're dead. Minions don't actually have a dice pool so I'm recording hits with little skulls. Conan is next. His movement dice total allows him to spring forward into the midst of the Snakemen.He determines to finish things quickly and attacks each minion with reckless abandon. He allocates two dice to each attack and 'burns' a further one to give him three attack dice against each; the 'burned dice' count as sixes but are removed from his pool- the extra exertion saps his reserves of strength.
However, his gamble pays off and he wins both rolls as the Snakemen have only two dice each to defend with (they used one for movement). He inflicts two wounds on each for his successful attacks (successful attacks do two wounds, successful defenses only inflict one) and a further wound on each for the sixes from the burned dice. (each six rolled in a successful combat throw is an additional wound). Three hits and the minions are dead as planned. The Priests go next and continue their ritual with all their dice allocated to whatever it is they're doing. Turn Two:
Both Conan and Sonja allocate a couple of dice to initiative, Conan wins the roll. Turning his attention to the High Priest Conan delivers a devastating attack with all his combat dice. The priest has been donating dice to his ritual magic (it's tough, not to mention dangerous, being a sorcerer) and currently only has four dice to defend with. Conan out rolls him massively with enough sixes to kill him outright which is how it should be when barbarian meets sorcerer. Judiciously Conan uses his movement dice to retreat out of range (he hopes) of the other minions since he has no way of defending himself.
Sonja goes next and rushes up to one of the remaining Priests. The chanting is continuing even with the High Priest dead which is worrying.
Against all the odds she fails to kill him. He out rolls her with a six as well and Sonja has to discard two of her dice (discards are taken from unused dice first and this robs Sonja of another attack). The Priests go next in quick succession. They manage to allocate enough dice (leaving them only a single one each to keep them alive) to complete the ritual.
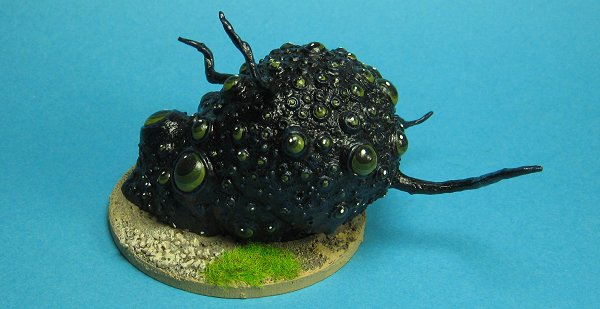
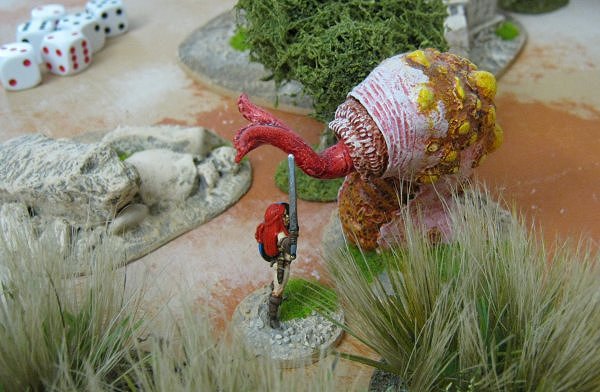
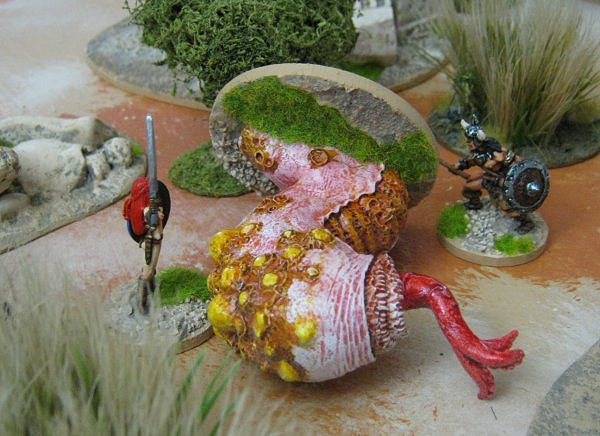
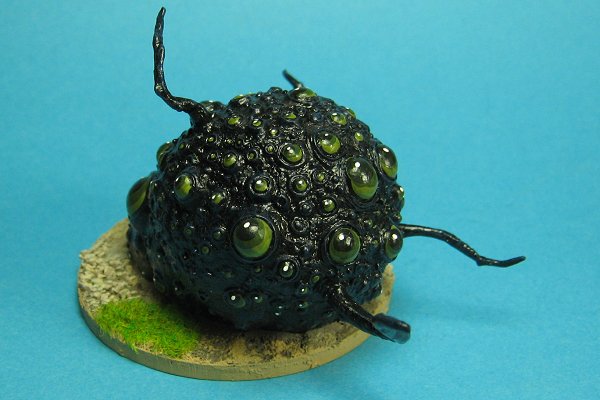
A dreaded Worm of the Earth appears! The minions are next. The elect to charge towards Conan and avoid the Worm. With the High Priest dead things might not go according to plan.None of them reach Conan but they're poised to strike next round.
Turn 3:
Again the priests activate one after the other. Each receives another dice (magicians regenerate a dice a round if they've spent them on magic) and each uses all their pool to flee. The first one escapes off the table. The second doesn't but tries to hide anyway. He knows that without the High Priest to control it the Worm will attack randomly.
The minions launch themselves at Conan who hacks them about a bit for their trouble.
The Worm attacks Sonja as she's the only thing near it. She loses half her remaining dice to the hideous beast (lots of sixes).
Sonja goes next and uses her few remaining dice to flee. Not very far however.
Turn 4:
The minions try again to overpower Conan but they've been weakened and two die easily whilst the third is wounded. The Worm split it's dice to allow some movement and decided to chase Sonja. She defends with all her dice and burns all but one of them. This is do or die for her. She just wins the roll and inflicts six wounds (successful defence and her five burned dice which each count as a six). Now she only has a single die left, she's nearly dead and the Worm's still alive.
Conan is the last to go. He has to burn a couple of movement dice to give him the movement to get to the Worm with enough dice left to attack it with some hope of success.
More dice burning in the combat ensures the terrible creature dies (just) and, after collecting the crown from the dead High Priest, the pair of bloodied heroes limp off towards the sunset, victorious. Scenario Design
There are no hard and fast rules about designing scenarios that allow you to make them 'balanced'. The freedom of choice for the players makes this idea that there will be some kind of inherent balance that in turn will make each encounter 'fair' a meaningless concept. Rather, a scenario should be designed to offer a challenge to the players. A scenario that sets a tough challenge is the one that players will remember once they win through it. The governing factor in playing CROM is the player's ability, not their character's ability. Having said that it does help to have some kind of starting point if you're completely new to all this so here is a quick guide that may set you on the right track. Adversaries
There should always be a villain character, a single tough villain is much harder on the hero players than a larger number of not so tough villains. Since the villains are usually run by a single person the amount of thought that can go into allocating their dice and carrying out their turns is drastically reduced by increasing the number of character adversaries. The main villain should have a task to complete, summoning a monster is a good one to begin with. To this end there must be enough minions to keep the heroes busy so that the the main villain has the time he needs to succeed. This task is what drives the scenario and imposes a time constraint on the heroes. Heroes with unlimited time will overcome anything thrown at them but by having a ticking clock they are forced to take action rather than rest and recuperate. If the pressure isn't on then minions are worthless because their ability to hold up or weaken the heroes is negated. One group of basic minions per hero is fine, the number of minions doesn't really matter although a group of five will require more thought/time/skill to dispatch than a group of three. The actual threat they pose isn't too dependent on their numbers, they will be slaughtered by a competent hero regardless. Conversely a bad player will lose his hero to a group of three as easily as to a group of five. If the player is really bad he may feel better about losing to a larger group. For every three or so groups of minions deployed a minor villain should be fielded. This can either be a combat character such as a Death Dealer or a group of helpers for the main villain such as junior priests to aid in a summoning. These minor villains should either buy time for the main villain by making the fight longer or shorten the time needed for the villain to achieve the nefarious task by adding their effort to the pool. Pace
As mentioned previously the pace of an encounter should be fairly frenetic. The heroes should feel pushed for time all the time. Having the main villain trying to achieve something is a good time threat and adding in time dependent minor threats such as poison add to the tension/fun. You can't really ever have too many of these. Environment effects such as a spreading fire or a slowly lowering door that will trap the heroes are another way of keeping the sense of urgency alive. All such effects can be handled in a bookkeeping free way by having a card shuffled into the action deck so don't be afraid to include several. Conclusion
A tough challenge and not much time to overcome it are the two ingredients that will ensure a good, fast, pulp style game of action and heroics. Don't be afraid to stretch your players, they'll thank you for it in the end. Heroes
On the face of it the hero's life is an easy one. They have many dice and most of their opponents have only a few. Unfortunately this can lead some people to have very short-lived, and not particularly heroic, heroes. Whilst it's true that heroes (and major villains) have lots of dice, they have to do quite a bit with them and take a lot of things into consideration. Also there's the difficult choice of whether to burn dice or not and the uncomfortable reality that, as a hero's dice pool shrinks, the tasks he has to accomplish are as great as they ever were. Being heroic
The important factor in succeeding as a hero is controlling the encounter. Having the tactical initiative and keeping it is the key. Pick your fights and win them. Choose your opponent and beat them. Easier said than done? Maybe. Initiative
Going first can be important, it lets you do your stuff before your enemies do their stuff. Since killing your enemies and driving them before you is a standard part of your adventuring day the advantages of killing them first are self evident. However it isn't necessary to go first all the time. Pick your moment and keep initiative dice for when it's crucial. Don't go first just for the sake of it. If your chosen enemies are a long way off wait for them to come to you, then spring forward with panther like grace. So long as you attack them before they attack you the plan is working. Attacking
Moving in and attacking is better than waiting and defending. You get much better value out of combat dice used to attack than those used to defend. An unskilled and inexperienced hero will often leap into the midst of a group of minions and start to lay about him wildly with his sword. All good right? The hero has many dice and the minions few. The usual result is that the hero, having emptied his dice pool in lots of small attacks, ends up panting and exhausted surrounded by a couple of dead minions and a couple of live ones. With no combat dice left to defend the hero gets cut to pieces by the remaining minions. He rarely actually dies but he always loses a lot of dice from his pool, dice he's going to have trouble replenishing because the clock's ticking and he needs to get on. What does the experienced hero do? He picks his targets, chooses his opponents and wins the fight. He moves into the group of minions, he attacks one (maybe two) with enough dice that he doesn't need to burn any (so he gets them back later) and wins the fight. Then, and this is the clever bit, he moves away, preferably further than the minions can reach. It is worth burning dice in this phase, better to move with them than to lose them to an undefended retaliation. Rinse and repeat. Careful positioning will save a hero's life. Sometimes the ticking scenario clock will require a more brutal attack to get things done quicker which is when burning combat dice is acceptable but really only to kill proper villains not minions. Reserves
It can seem like a good idea to keep some combat dice for defence but actually it's better to use them for movement and put yourself beyond attack range altogether. You will never keep enough to avoid harm and failed defence dice are wasted dice. Even if a villain can reach you to attack they are likely to go for a nearer opponent if one is handy so you don't have to be right out of range, just more out of range than someone else. Keeping the healthier hero nearest the enemies (in a tank roll if you like) whilst the others move, attack and move away is a viable tactic. |


