|
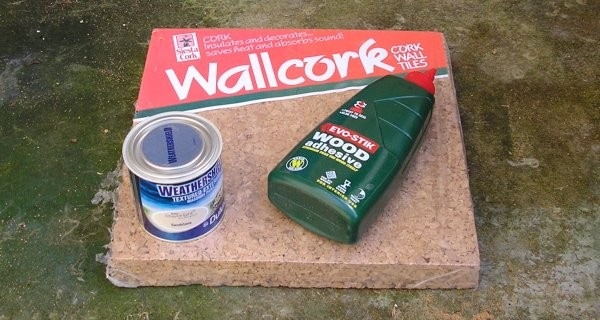
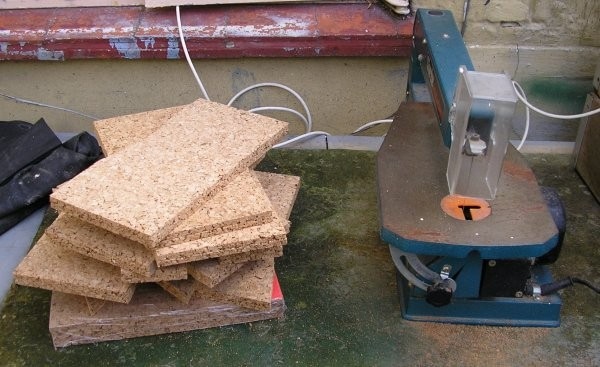
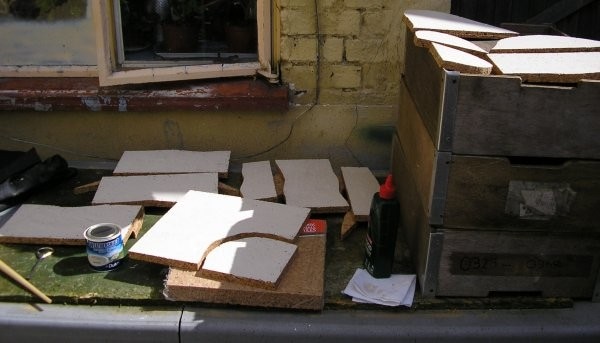
I make my hills from 9mm thick cork tiles which are 30cm (1ft) square. I glue two together to make an 18mm high section and finally, after I've cut them to the required shape, I top them with a covering of grass mat which is trimmed with a scalpel or craft knife when everything is dry. I cut the cork into the shapes I want with a scroll saw which is not that expensive to buy these days and is a worthwhile investment if you plan to make lots of terrain and scenery.
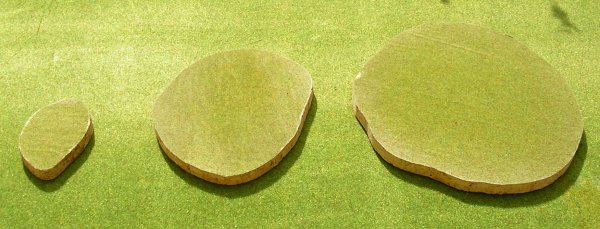
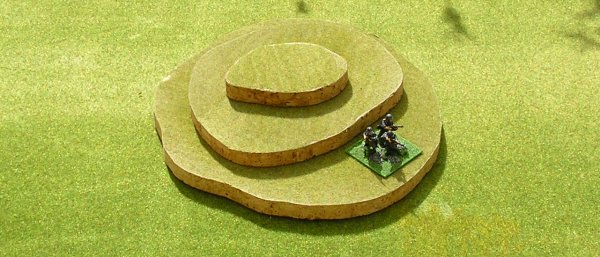
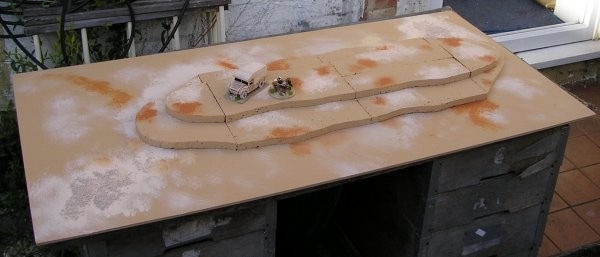
All the gluing is done with PVA. The resulting hills are light and durable and provide a flexible, long lasting terrain system. There is no reason why you can't glue more tiles together to give taller levels other than cost. It is also possible to angle the scroll saw so that the cut edges of the tiles are angled. If I decided to make hills with taller individual layers I would go for this angled option for aesthetic reasons. The simplest form of hills to make are separate layered hills. Cut several shapes of varying sizes like the ones shown above. You can then stack them in a variety of ways to suit your requirements as shown below. You can make round hills, kidney shaped hills, or any other shape you like. I'm using some 28mm figures in the pictures to give an idea of scale.
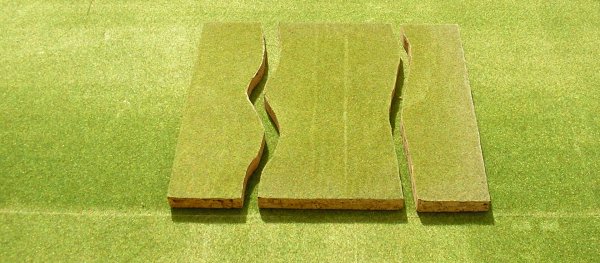
The next stage is to make sets of components that are designed to work together. As with all modular terrain you must ensure that it is going to match up when you've finished so you must begin and end all your cuts at the same point on all the tiles. Most of the time this will be exactly half way (150mm) along an edge although there are exceptions. The actual cuts should be irregular and not straight as it's these that will form the outer, visible edges of your finished terrain.
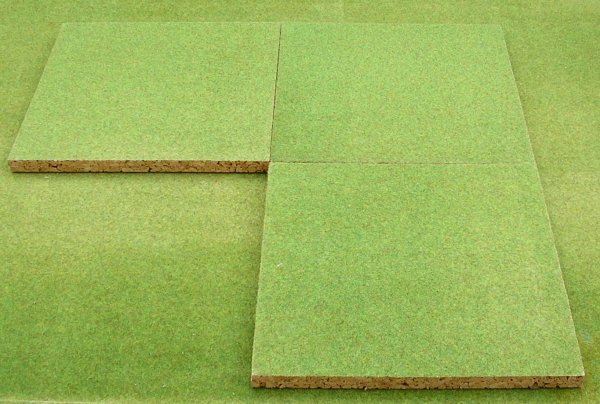
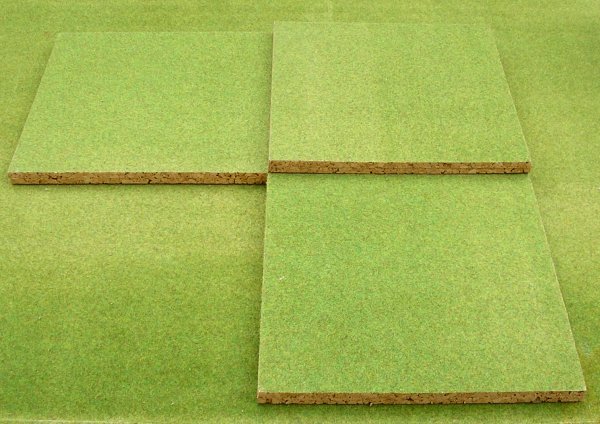
One of the most useful 'hilly' items is a ridge. Start by cutting two tiles in half.
Next, cut a third tile into three pieces. The outer pieces are 75mm wide and so the centre one is automatically 150mm.
Turn the cut pieces of the first two tiles back-to-back so the straight, factory-cut edges meet and then stack the pieces from the third tile on top and you have the beginnings of a large ridge.
Cut some end pieces and your ridge is complete. Seperating it in the middle and laying it out differently gives you a pair of spurs as an alternative.
There are many one-off pieces like the ridge that are easy and enjoyable to make. However, there is a third stage that allows features like this to be incorporated into a system that gives you an undulating tabletop of rolling terrain. I prefer this to a flat table with isolated hills; I think it gives a better feel of scale, particularly for small actions.
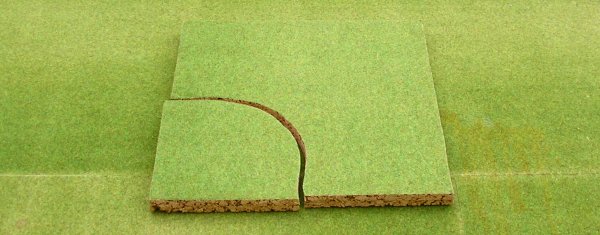
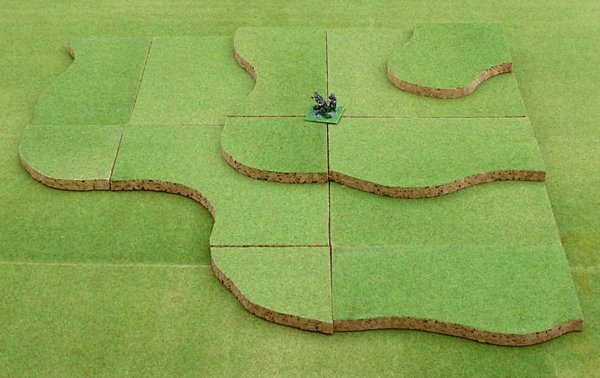
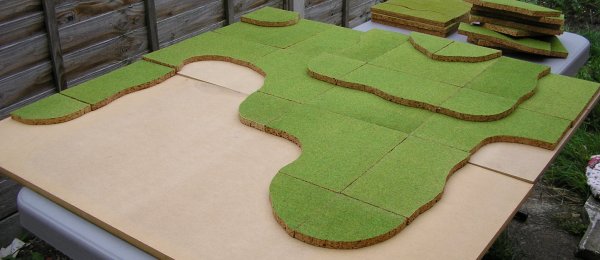
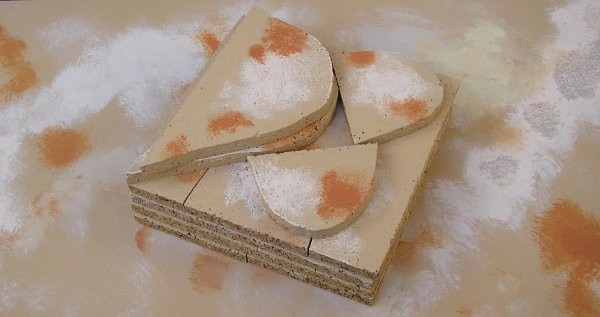
The basic principle involves complete 30cm x 30cm tiles and half tile-width edges; the same as the edges of the ridge. The only different components we need are corners. You can cut an inner curve corner and an outer curve corner from a single tile with no wastage as you can see in the picture below. Since the cutting is the time consuming part it's important to keep it to a minimum. Here's an example of a section of rolling terrain built up stage by stage. I've chosen a simple corner because it uses all the different components but there's no reason why three quarters or more of the table couldn't be raised up this way. I'm assembling it in the middle of the table to give a clearer picture.
First we block out the corner with three complete tiles. You have to imagine that they're actually placed at the corner of your table. A second layer is added by placing another complete tile on top.
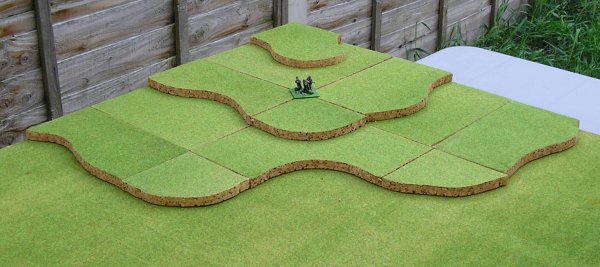
Then edge pieces and corner pieces are laid around the complete tiles for the final effect. The very top piece is just a corner piece on its own.
Here it is in position.
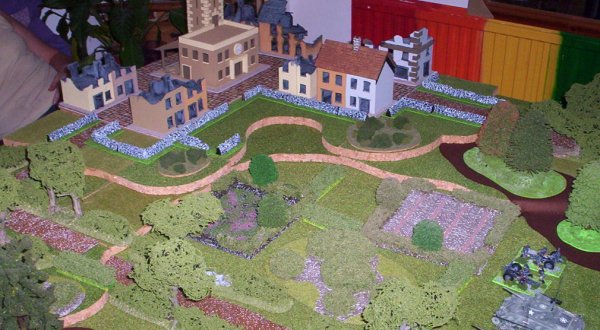
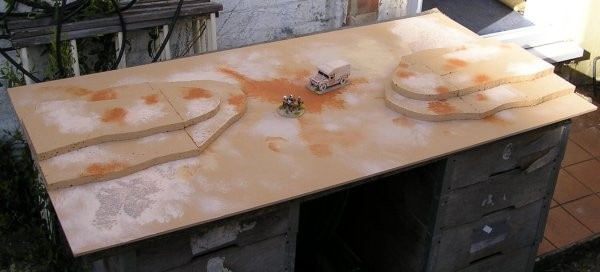
Here you can see a similar corner in use. The raised sections continue down the table to the left of the picture for most of its 8ft length. half way down it juts out into a spur with a German bunker on it. In total, nearly three quarters of the 8ft x 4ft table is 'above ground level'.
You may have noticed that the stepped hills and the ridge in the early photos are getting a little worn now. I made them fifteen years ago in 1991 and have used them ever since. For five years they saw daily service, taking on all comers, in my games shop. I think they've held up pretty well.
Here's an alternate layout I put together quickly. The boards underneath are warped unfortunately and they throw it off a little, but you can get the general idea. |
This was an incredibly quick project. I wanted some hills for my desert board and I had some packs of 9mm cork wall tiles to use up so it was off to the local DIY shop for the other materials. You can use either PVA or wood glue to stick the tiles, I prefer wood glue because it doesn't shrink and is waterproof when dry. It's best to do the gluing the day before you want to actually cut your hills. Pair the tiles up and glue two together, one on top of the other, it's important that the edges are flush. Each tile has a smooth face and a more 'open' face, I wanted the smooth sides showing so I stuck the open faces together. This project uses two and a half packs of tiles which you can often find for as little as £4.99 each, total cost comes in at under £15.00. One of my packs had been used as a scratching post by my cats and I could only use about half of the tiles so I didn't have any left over, you could make more hills with your leftovers of course.
Once the tiles had been glued and left to dry overnight (just to be sure) I marked them up and spent a few minutes cutting them with my handy electric saw. They don't take much to cut by hand so don't be put off if you don't have access to a scroll saw or a jigsaw.
Finally they were covered with several coats of textured paint so they matched my existing table.
Here are the finished hill sections. I decided this was the best assortment of parts for the most versatility on the tabletop. Although the corner tile adds the cost of another pack of cork to the project it also adds a great deal more variety to the finished hill configurations and is well worth doing.
From left to right the components are as follows: Front row: Ridge top, a single tile cut at 75mm and at 225mm to give three lengths. The two thinner sections are placed back-to-back to form a copy of the middle section. Ridge base sides, two tiles cut at 150mm. The sides are placed back-to-back to form the base layer of a ridge. Corner edge, cut from the mid point (150mm) of one side to the mid point (150mm) of an adjacent side to form an inner and outer corner edge. Back row: Base level ridge end (x2) an end cap cut irregularly using the full width of a tile (300mm) for its straight edge. Top level ridge end cap cut irregularly and 150mm wide at its straight edge. Here's the basic ridge, just over 900mm (three feet) long it provides a sizeable area of high ground. The levels are 18mm tall which suits me as a reasonable trade off between looks and expense. There is nothing stopping anyone laminating more tiles to increase the heights if they want to. Figures are 30mm Chiltern SAS and a 28mm TAG Humvee.
The ridge can be split along its length to form two spurs, either equally like this or with a long and a short section if preferred.
With the addition of the corner section the ridge can be expanded to form an 'L' shaped hill. As you can see it covers a good amount of table space, it's overhanging this 2ft x 4ft (600mm x 1200mm) section at the back.
The corner section also alllows the pieces to be used in various ways to 'edge' the table. This is a fairly unrealistic example but you get the idea. Cut some shapes out of card and have a play around, the possibilities, while not endless, are many and varied.
When you're done the pieces fit together to form a light and compact pile, easy to store and transport.
|


