|
Additional Materials:
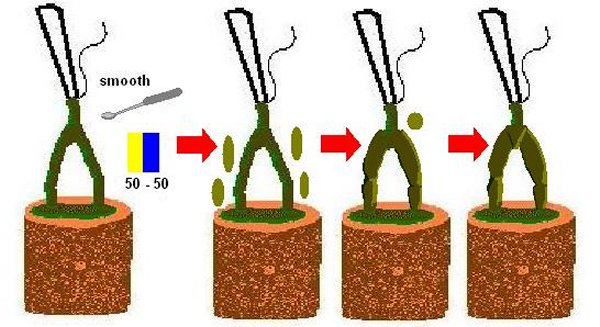
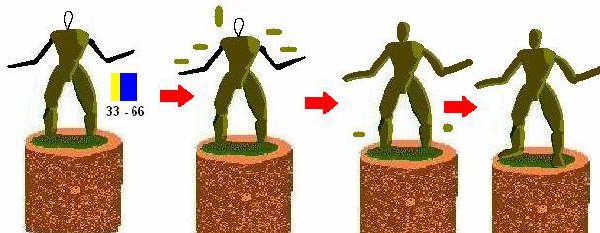
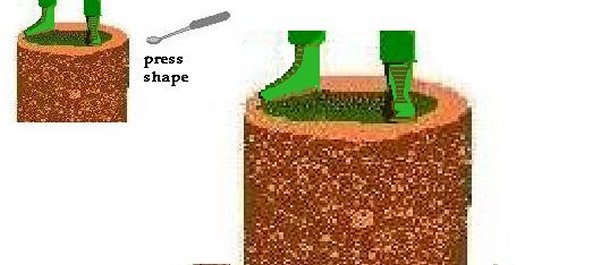
Wire cutters Measurement device/ruler Part I The next step is to bulk out your skelly- give it a little more substance. Mind you, a little goes a long way when you are sculpting and it is better to add a little than a lot. With that in mind slowly add small blobs and sausages of putty to the Skelly. The technique here is the same- slowly work the putty into shape- I find 'pulling' better than pushing but it is whichever you like best. Though you want the shape of the legs you DO NOT WANT to make the legs too thick- or else when you add pants they will look too puffy! Once you are satisfied with the shape of the legs do your other greens until this one dries.
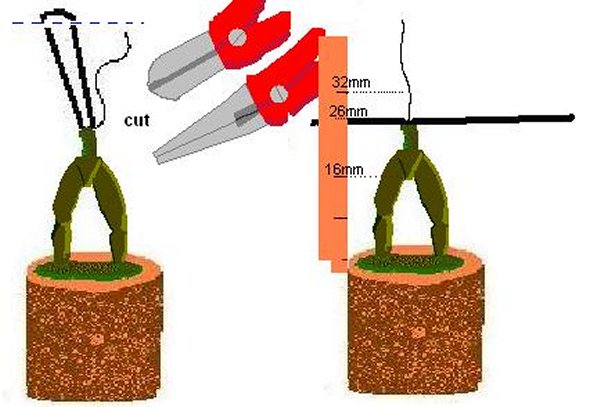
Once the legs have hardened it is time for you to cut the loop and measure- you do not want your figure to be disproportional! The actual size of the figure varies wildly for most mini companies. Personally I prefer a more realistic style- where the body is close to '8 heads tall'. this tells me that the crotch is my halfway point. The 'bones' of the arms should come across at around 26mm for a 32mm figure.
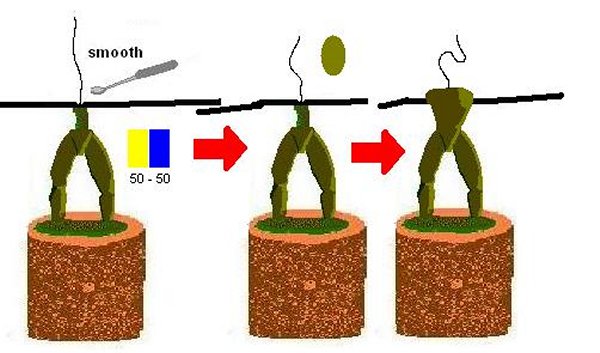
Take a flat penny sized blob of putty and wrap it around the torso- be sure to pull the arm and head wires through the putty. Smooth it into a chest and abdomen. While this dries do the same to your other greens.
Part II
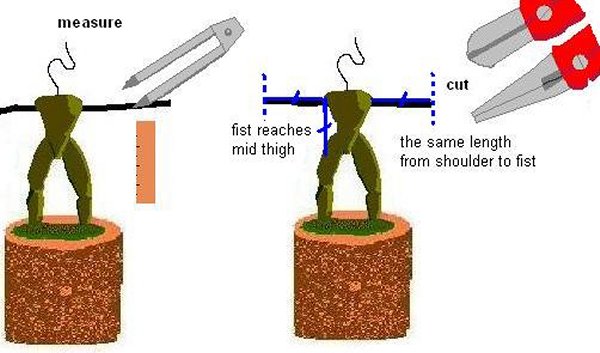
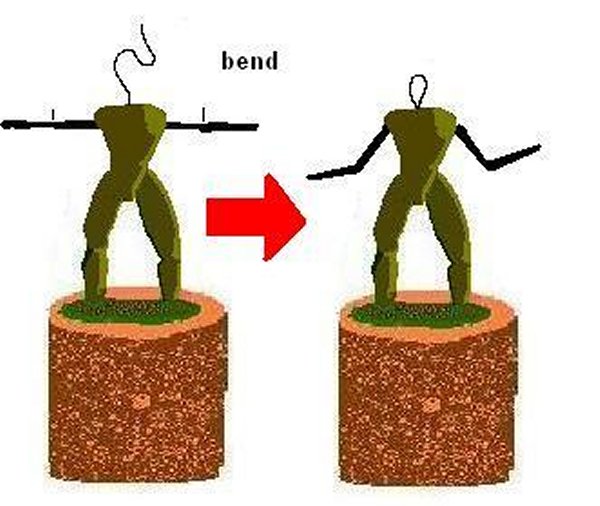
Again it is time to measure- this time you want the distance straight down from the shoulder point to about mid-thigh- if your figure is hunched forward or walking this is roughly just below the crotch. If your figure is to have customized weapons in its hands then cut both wires- if he is to have a weapon attached to/in one hand then leave that wire long enough to fit the weapon as well. Bend the arm wires into the shape of your stick man drawing.
Now it is time to do the skelly for the arms, feet and the head- remember you want this as thin as possible!
Add arms/feet/head to your other greens while this one dries. At this stage the green is a 'blank'- it has the correct proportions but little detail if any. |
Part I
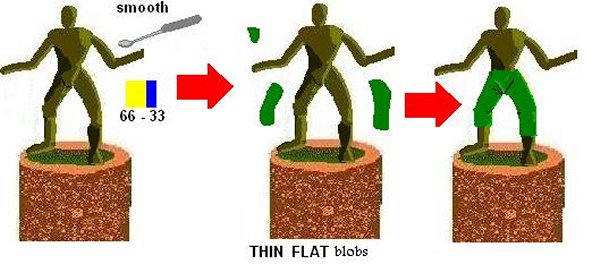
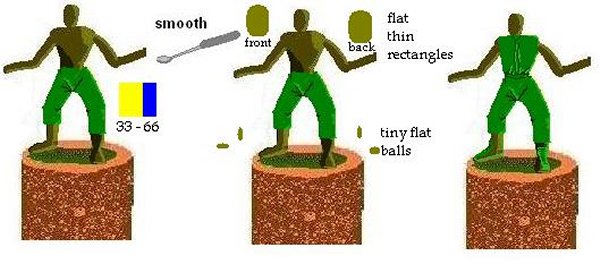
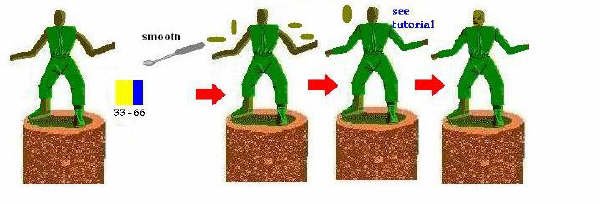
The next step is to dress your blanks. The secret here is to imagine that you have to put on the clothes the model would be wearing- which would you put on first? I usually start with the pants adding thin skins of putty to the blank and smoothing them around and into shape. I do not add any details save those caused by the folds in the cloth. In addition I prefer a 66 - 33 mix as I find it allows for more time to work the folds in properly. Smooth and shape it until you are happy then put it down. While this dries work on your other greens but come back to it again to re-smooth it before it dries. Next I work the chest and the feet- again I do not add pockets or other detail at this time- just folds in cloth. On the feet I usually press in the laces though you can add raised laces too.
Part II
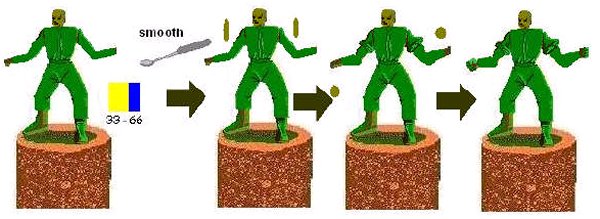
The next stage is to finish the arms and head- you may have wondered why I don't do this earlier? I sometimes find that it is best to re-position the arms while working the torso- if the arms have thicker layers of putty on them this will make repositioning difficult or impossible so I leave it till I have added clothes to the legs and torso. For the arms remember that if you are going to want them to have 'clothes' then you will want them to be thinner.
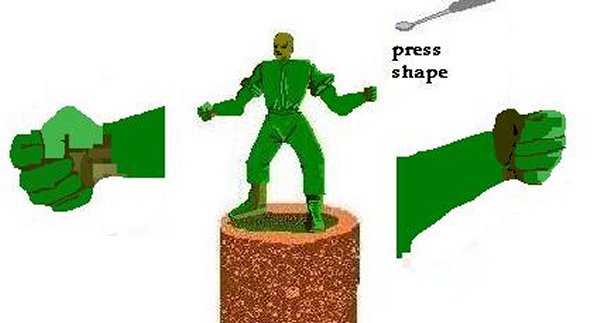
While this dries work on your other greens. Part III Remember when I asked if you wanted 'free' hands or a weapon in them? Well if you want free hands then this is when you add them- if you have a long wire that will be a weapon then you will want to bend the wire into the pose the weapon will be in THEN do the hand. You can also see that I added rolled cuffs to his shirt at this stage- two thin snakes of putty.
Hands can be a big challenge - I find it best to shape them into a cube then slowly press the thumb detail in followed by three slashes for the remaining fingers- the real key here is to take your time and to look at your own hands! Now you have a little clothed figure- in some cases this is when the figure is 'done' but for most of you adding the detail is what it is all about.
|


