|
Sculpting a Pacific War Digger
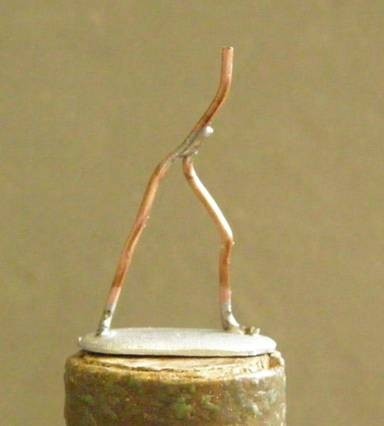
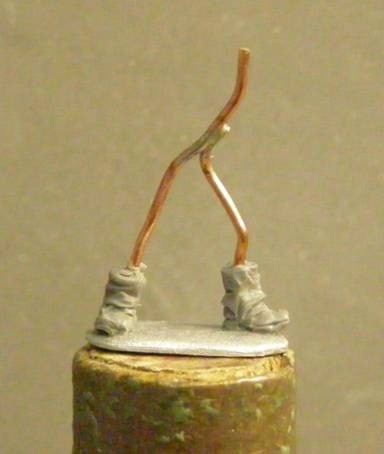
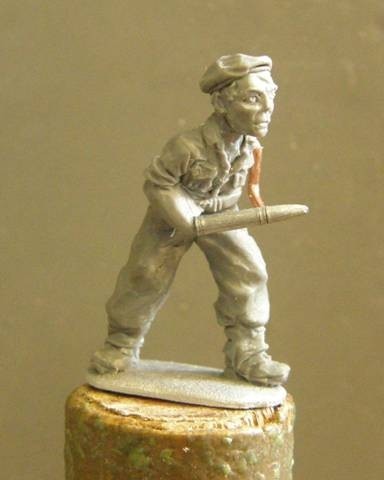
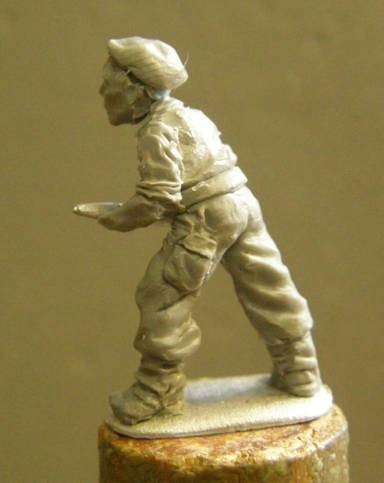
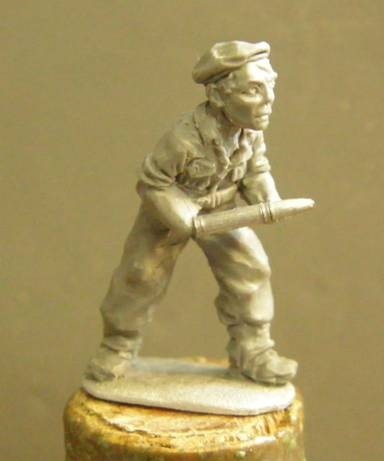
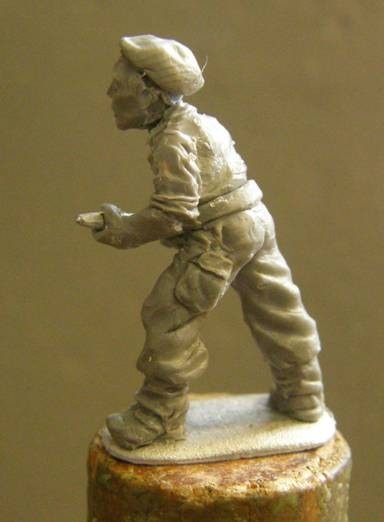
Recently I was contacted by Paul Ward asking if I would like to contribute an article for Matakishi’s Tea House on sculpting figures. Having known Paul for over 30 years and being a big fan of his site, I was of course honoured and delighted to make a contribution. I have received a number of commissions from Bruce Meyer and Brent Dietrich of Company B Miniatures in the United States, among which is their range depicting Australian Troops in the Pacific during WWII. I decided that I would use one of these figures to demonstrate the method I use to create a figurine. The figure will depict a member of the Royal Regiment of Australian Artillery, operating a 75mm Pack Howitzer; it is to be one of three figures in the crew. The figure starts life as a piece of copper wire, soldered into a stick figure without arms, bent into the desired pose and in turn soldered to a base; this is the armature. It is then super glued onto a work stick that gives me something to hold while I work on the figure. I always work from the feet up and in stages, I find that this helps maintain the correct proportions, so I first make both boots and the gaiters.
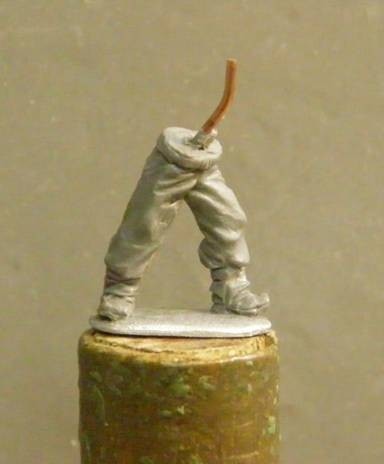
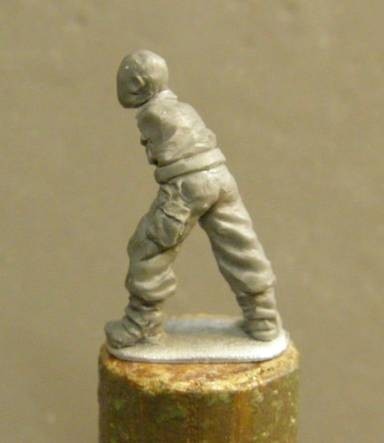
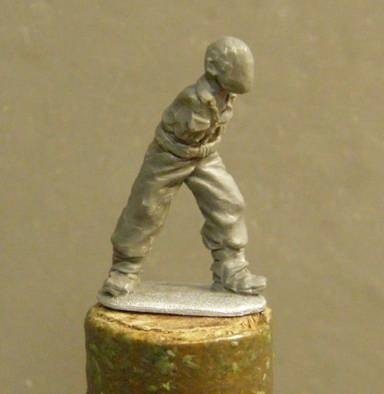
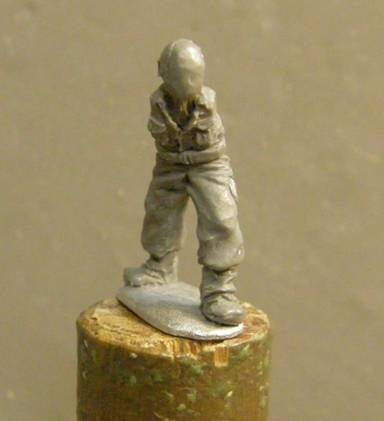
I then apply the putty to form the legs up to the waist belt, putting in the creases where they look like they should fall and adding any pockets. Finally the waist belt is added and all the lines are tidied up and brushed with a wet paintbrush to smooth out the surface.
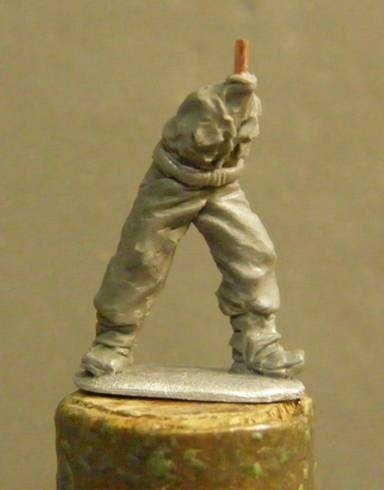
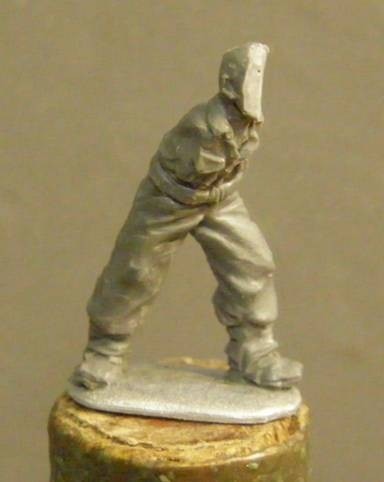
The torso is added next, again including the creases, pockets and collar as well as the neck.
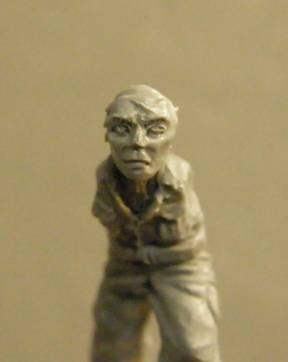
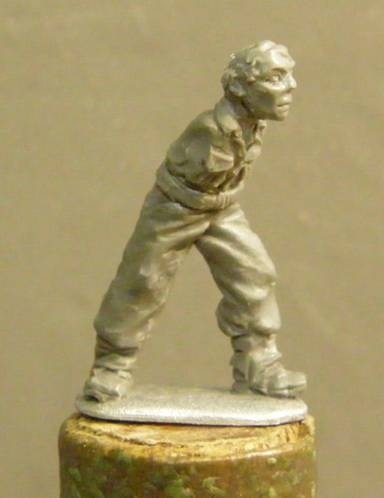
At this stage I leave the arms at the shoulders and move on to the head. I first make a blob for the head and get it into a shape and size that looks right. This is then set aside to allow the putty to harden.
Once fully hardened, I cut the front off from the head shape.
I apply fresh putty to the resulting flat area and the head shape reformed. Once the head shape appears correct, I form the features into the fresh putty. The back of the head, which is already hard, acts as support for pushing the features into the fresh putty to form the face.
|
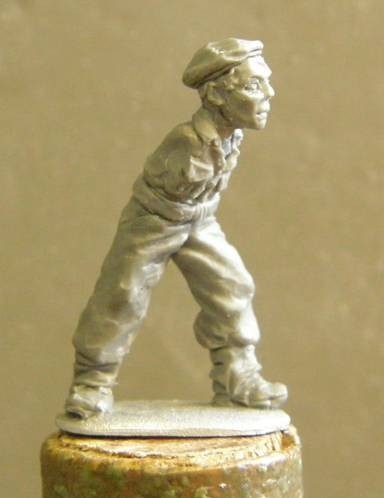
Head gear is then added; in this case a beret.
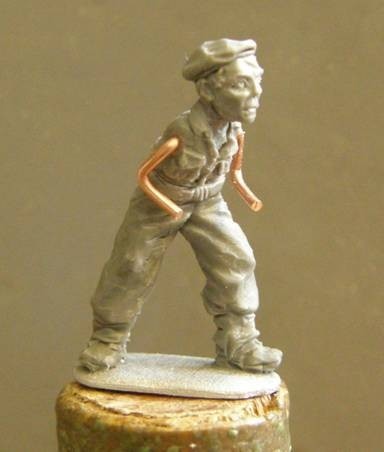
It is now that I go back to do the arms. I drill a hole into each shoulder and insert two pieces of the same copper wire I used for the armature which I have bent into roughly the correct angles for the pose of the arms. When the wire is bent to the correct position I super glue them into place.
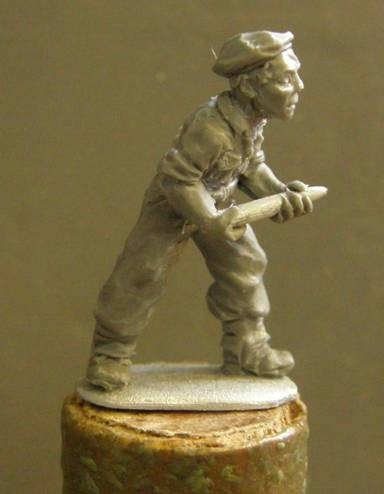
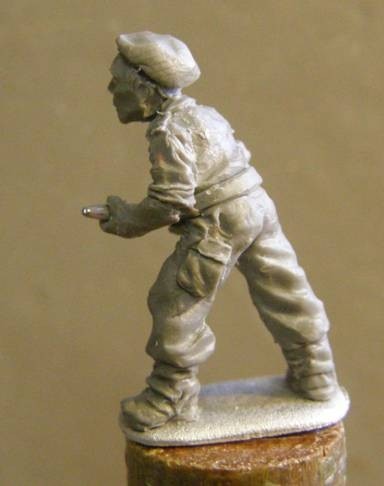
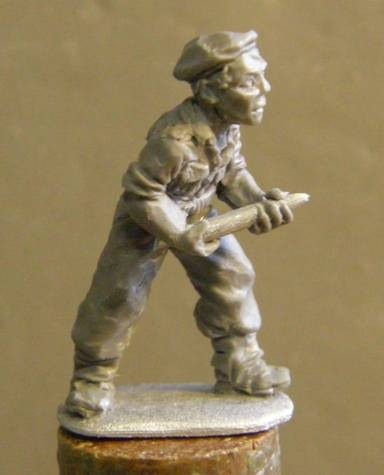
I apply the putty to form the arm down to the wrist; in this case I did the figures’ left arm first. Then I made the artillery shell from a piece of white metal bar and super glue it to the left wrist and the wire that forms the right arm.
Once the glue is dry I form the right arm down to the wrist.
I then form the hands, which helps to secure the white metal artillery shell to the rest of the figure so as to ensure that it remains in place during the moulding process.
Finally I go back up to the shoulders and add the shoulder straps.
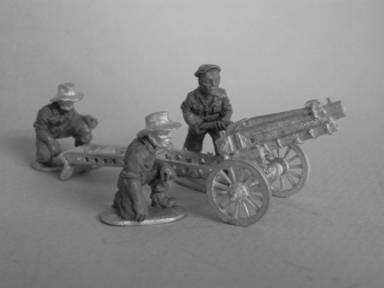
And here he is, with his two fellow “Diggers”, ready to rain artillery down on the enemy (die rolls willing!)
|

