|
Painting Chindits for Burma
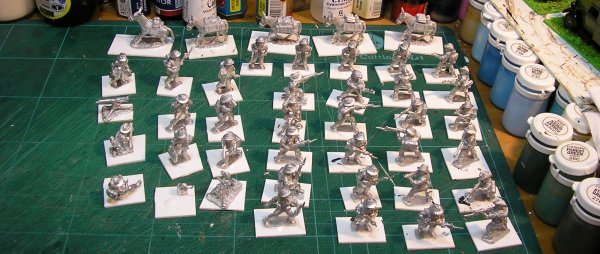
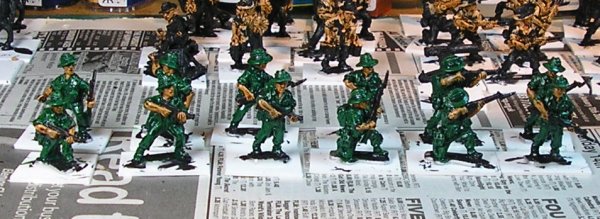
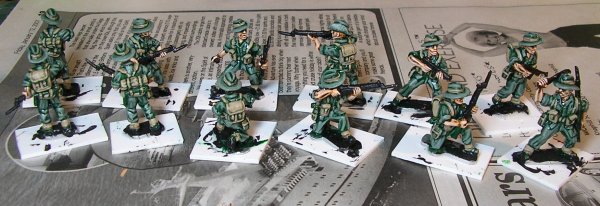
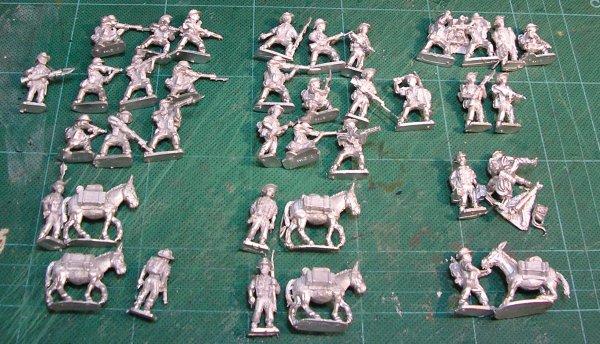
Here are the figures fresh from the blister packs. As you can see there's very little cleaning up to do. It only took a few minutes with a scalpel to remove the small lugs on the bases and a small amount of metal web that had filled in a few gaps between arms and bodies. It's important that all the figures can stand on their own after they're cleaned up so that they will adhere to their painting bases easily. Here they are on their painting bases. These are temporary bases that will be removed before the figures are mounted on their group bases.
The painting bases are off-cuts of plasticard and the figures are glued to them with wood glue. This will hold them firmly but is easy to remove once the painting's finished. Now for the painting. These first stages are preparation stages and it's possible to work on lots of figures at once without getting overwhelmed by it all. Painting should never become a chore.
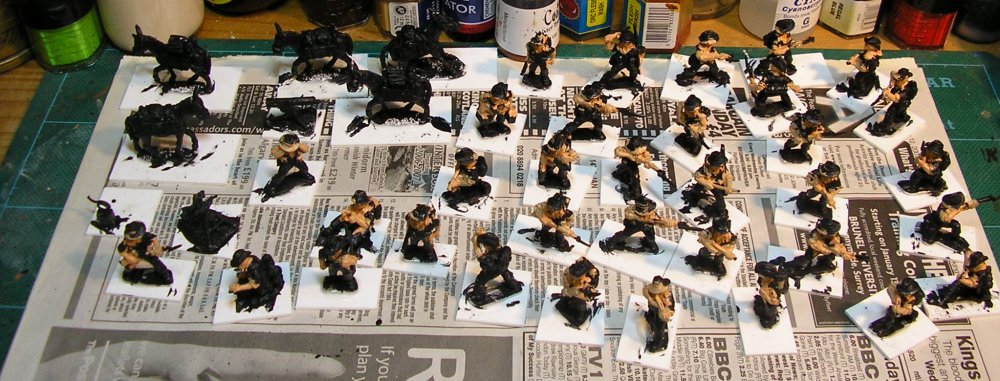
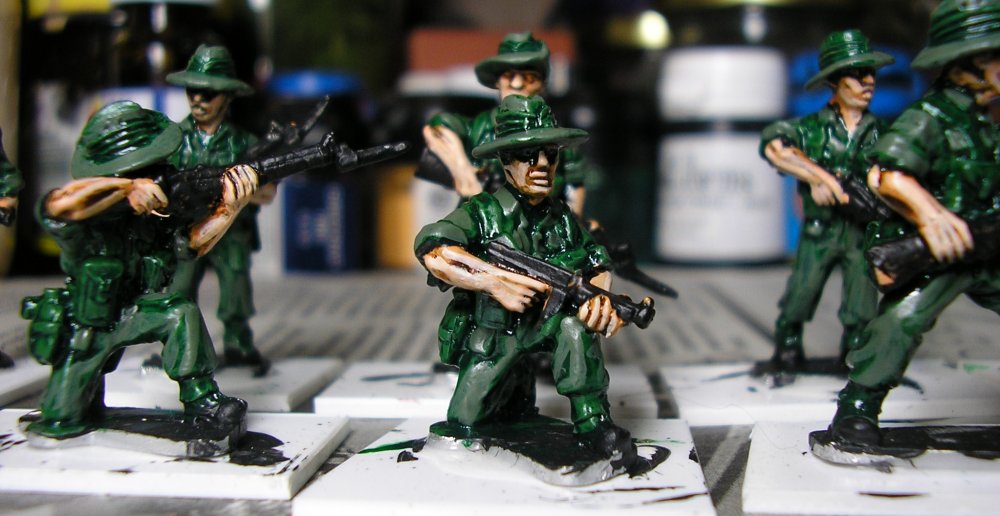
Everyone is painted black. I use Winsor and Newton Mars Black from their Galeria range. This paint is a cheap(ish) acrylic that covers well. It comes in a 250ml pot for under £8.00 but is too thick to be used as it comes. You need to thin it with equal parts water so you end up with 500ml of basic black paint. Some of this needs a little bit more water to make it suitable for a base coat which should be runny but still opaque. Apply the base coat with a big brush. I use a size 6 synthetic brush which I get from Veni Vidi Vici. You need the stiffness of a synthetic brush to be able to push the paint into all the undercuts and awkward places on the miniature. Applying the basecoat by hand lets you become familiar with the figures and spot any bits of flash you missed earlier. Keep a scalpel handy. Once the basecoat has dried thoroughly it's time for the flesh. I use Foundry Flesh 5B for this stage. Paint all the flesh areas of each miniature with the same big brush you used for the base coat. It doesn't matter where the paint goes as long as it at least goes where the flesh is. Move the paint around a bit so it doesn't go on too thick but try to apply enough so the black isn't showing through. Even if the flesh looks a bit thick it should be alright once it dries and the water disappears. Have a look at the large version of the picture to get a better idea of what I mean.
Give the flesh paint plenty of time to dry and then add a flesh wash. I use The flesh wash ink from Coat d'armes which I get from Black Hat Miniatures. Use a soft brush to apply washes. I use those cheap 'sable' brushes from model shops, the ones that don't even have a point to begin with. I use a size 3 or 4 and dab the ink on liberally. Try not to brush ink as it will develop bubbles. If you do get bubbles just swamp the area with more ink and they'll go away. It's a good idea to press the brush onto the rim of the pot after you load it with the ink, this breaks the surface tension and allows the ink to flow freely onto the miniature.
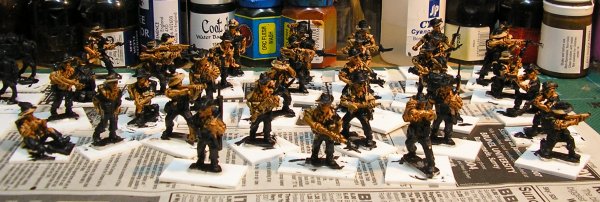
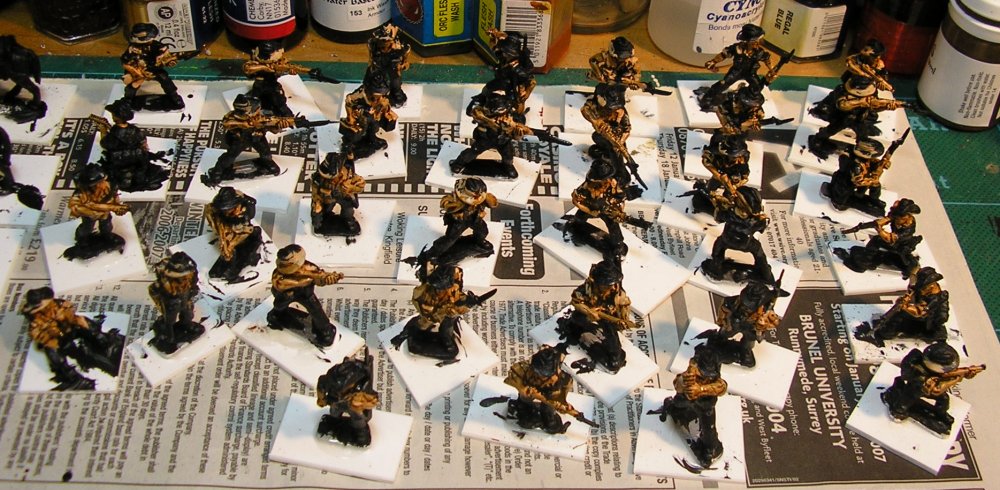
As with the flesh paint, it doesn't matter where the ink goes so long as it covers all the flesh bits. This stage is the last of the preparation stages. Nothing has taken much thought up to now but subsequent stages require some concentration so I will be splitting the figures into groups of twelve from now on. I'm expecting to take three evenings to paint each group so in nine days I'll just have the mules and the heavy weapons left to do. The ink needs to dry over night to be on the safe side so, since it's now 00:20, I think this is it as far as painting for day one goes. Day two has dawned and it's back to the painting. I have split the figures into three equal groups of twelve. I'll work on them one group at a time, finishing one before I start the next. The first group has been blacklined. This isn't really blacklining, what you do is go around with black paint and tidy up the joins between the flesh parts and the rest of the figure. You don't have to cover up all the wayward flesh paint and ink, just the edges where an arm touches the sleeve or a face touches a hat etc.
I've used the flash in the photograph so you can see the finished result better. This is the one tedious part of the painting process for me, it requires proper brush control and concentration but doesn't leave the figure looking any more complete that when you started. Never mind, it's necessary and by this stage most of the work is done. The rest is the fun part. Everything gets a coat of Foundry Storm Green 27A. You don't have to paint the guns or the boots but if you do get paint on them it doesn't matter. The only thing you need to be careful about is not getting any green on the flesh. Start at the joins that were tidied up in the last part and paint away from them. You can still use quite a big brush, a size 1 or 2 is fine. This coat needs to dry thoroughly before the next part.
Once the green has dried everything gets a green ink wash. I use Games Workshop Dark Green ink but just about any will do. Apply with a soft brush, just like the flesh wash, and don't put it on the flesh bits. This needs to dry overnight and since it's after 16:00 and I have friends coming round to play games and watch films this is all the painting for day two. I hope you're keeping up!
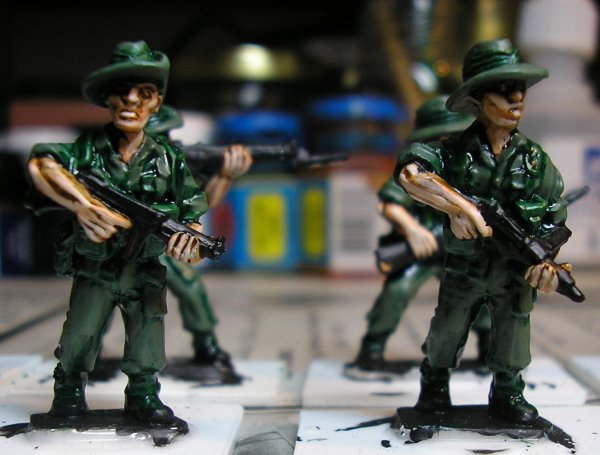
Day three. Time for the flesh to be finished. Using a small brush highlight all the flesh areas with Foundry Flesh 5B. Paint all the raised areas with thin lines to accentuate the shape of the miniature. For the face you would do the nose, the cheeks, lips etc. Paint the fingers too and try to bring out any muscle details on the arms. Use the ink wash to guide you, sticking to the areas that are already light. Now, this is more like it, we're finally doing some real painting!
Finish the flesh with a final highlight of Foundry Flesh 5C just on the very raised bits. Noses, fingers, bottom lips, chins and cheeks need some as do some of the muscle ridges on the tops of arms. Fingers benefit from a final highlight too. Don't worry if the flesh looks too light at this stage, it's because the rest of the figure is still dark. Eventually all the colours will be highlighted up to a similar tone.
Not bad, you could stop there, satisfied with a job well done, but I'm on a roll so let's press on. Time to highlight the uniform next. Pick out the ridges with a highlight of Foundry Storm Green 27A. Paint stripes, don't try to cover large areas. Follow the creases in the cloth and avoid painting any webbing or equipment. Paint the underside of the hat brims too otherwise the faces will look too dark when everything is finished.
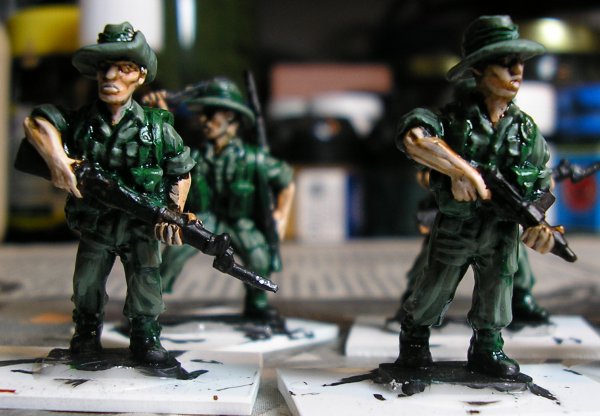
That's enough for day three. Tomorrow will see the uniform finished and hopefully the webbing done as well. Day four. Now it's time for the uniform highlights. The first highlight is Foundry Storm Green 27B.This needs to be painted on to the same areas as the previous colour but leaving some of the darker Foundry Storm Green 27A showing.
The final highlight for the uniforms is some Foundry Storm Green 27C. This is applied sparingly to just the very top edges of the uniform ridges. This is quite exacting work and needs a fair bit of concentration which makes it tiring. Consequently that's all for today. Tomorrow I'll paint the webbing and weapons and the first lot of figures will be finished.
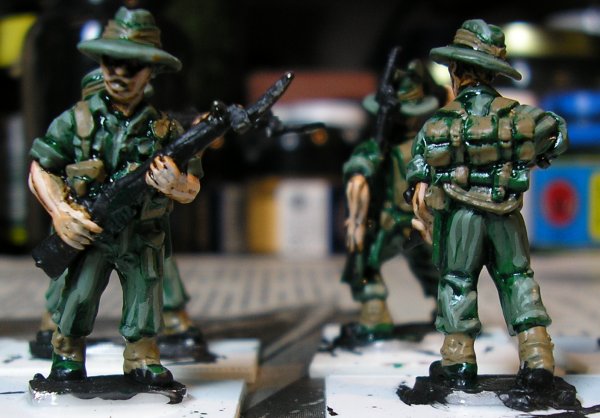
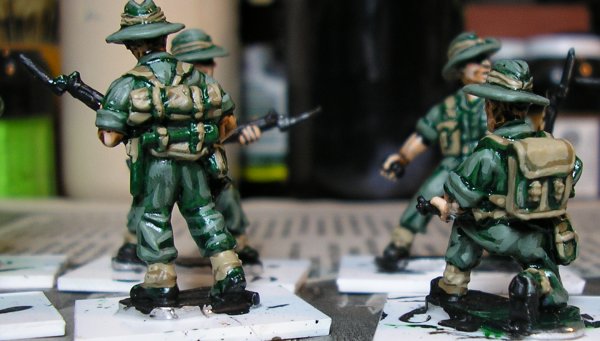
Day five. The webbing is painted with Foundry Drab 12B. I paint this on as a highlight, leaving the green ink and Foundry Storm Green 27A showing in the recesses. I painted the hat bands this colour too, for a bit of contrast.
The webbing's final highlight is Foundry Drab 12C. Everything is highlighted except the water bottle cover. The cover was a darker material anyway (and it was soaked in water to cool the bottle contents, darkening it further) and if you only highlight the straps it helps define the shape better.
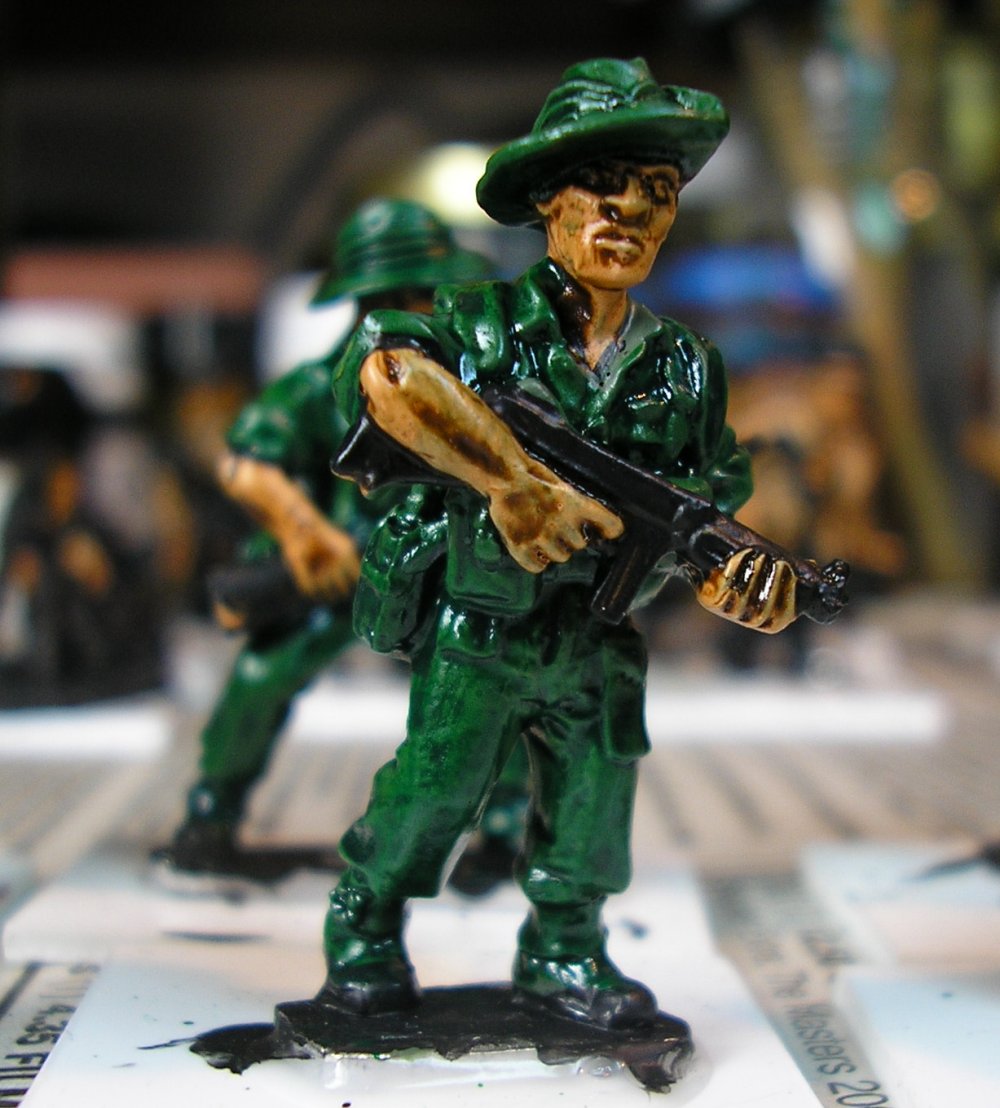
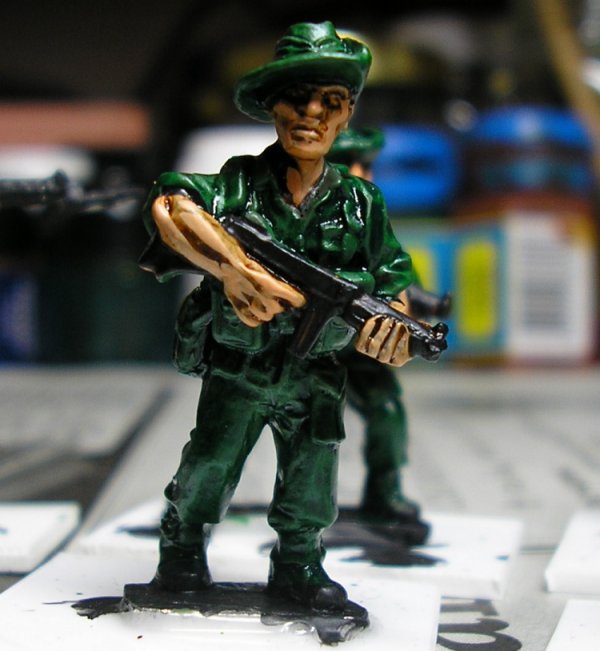
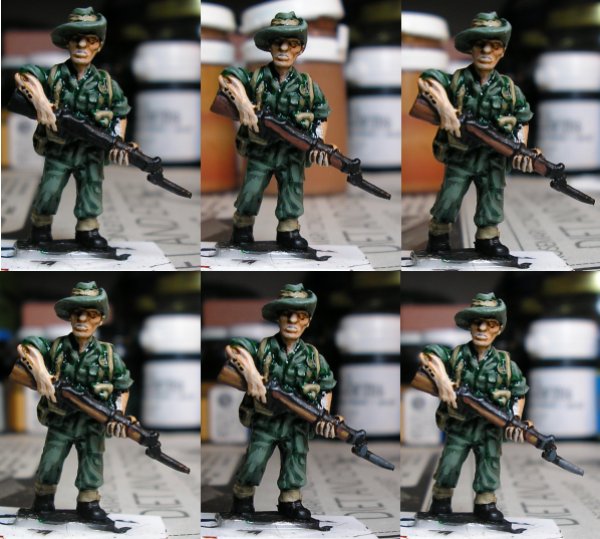
The final stages are very quick so I've just photographed a single figure to show the progression. Because I was going so fast I didn't notice the wayward black spots on his right arm until after I'd finished. They've been corrected now so try to ignore them if you can.
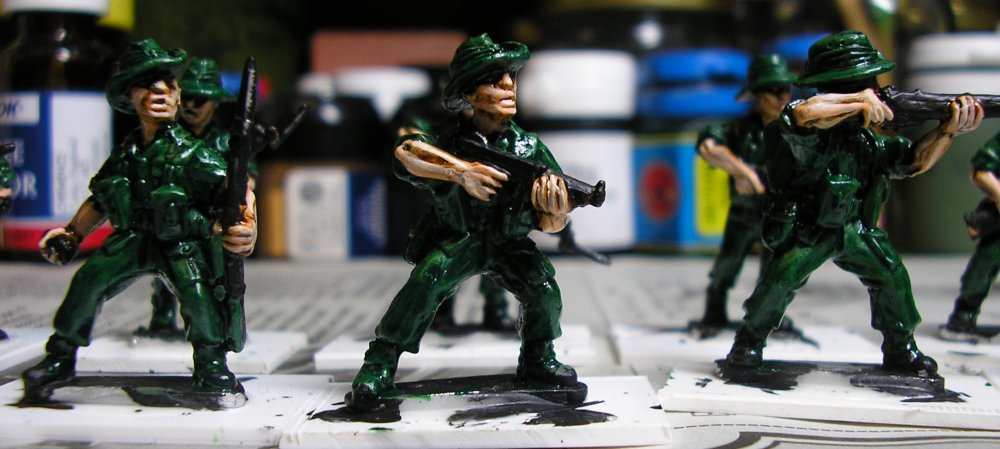
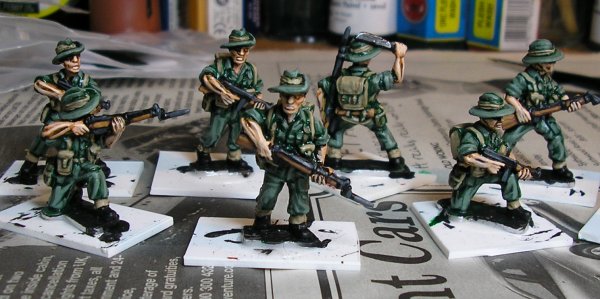
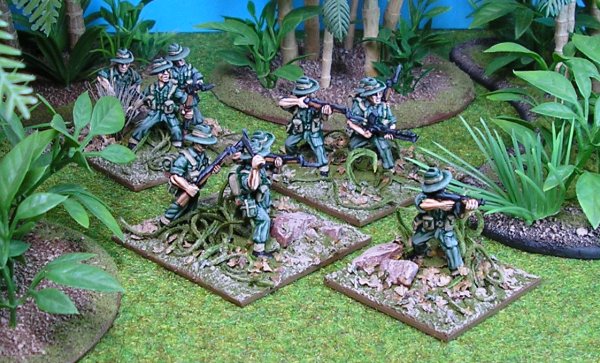
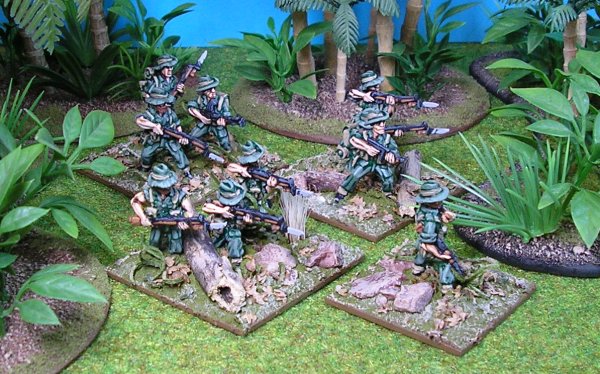
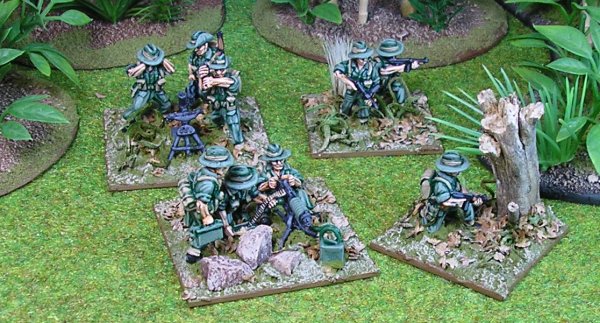
Step 1: Paint all the weapons, boots, bayonet scabards (which shouldn't actually be there) and watter bottle caps black. Step 2: Paint the wooden parts of the weapons, the entrenching tool handle and any hair with Foundry Spearshaft 13A. Step 3: Highlight the brown items (except the hair unless you really want to) with Foundry Spearshaft 13B. Step 4: A final highlight of Foundry Spearshaft 13C is added to the brown bits. Step 5: Highlight the metal parts of the weapons and the bayonet scabbards with Foundry Charcoal Black 34B. Step 6: A final highlight of Foundry Charcoal Black 34C is added to the bayonets. I don't highlight the boots because most of them will be obscured by the jungle bases but you can if you want to. Likewise I don't highlight the hair because so little shows and is nearly always hidden under the hat brim. Some of the Chindits have beards which might get highlighted. I painted the one machete blade in gunmetal. And here they are, viewed at more of a gaming distance they sharpen up quite nicely. They will look different when they've been given a coat of matt varnish and the ink doesn't shine. The bases will alter the look of their colours too.
|
|

