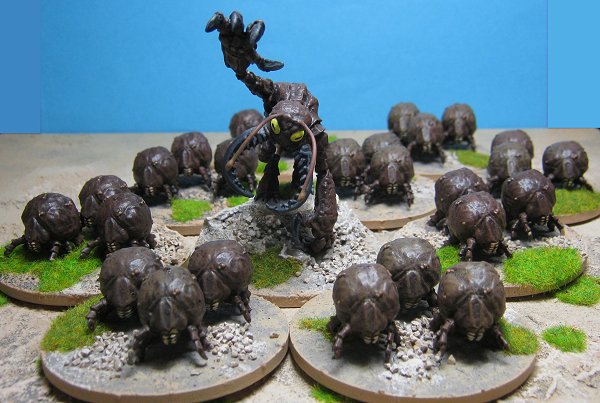
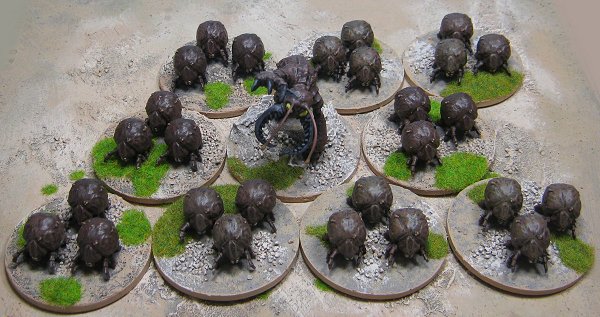
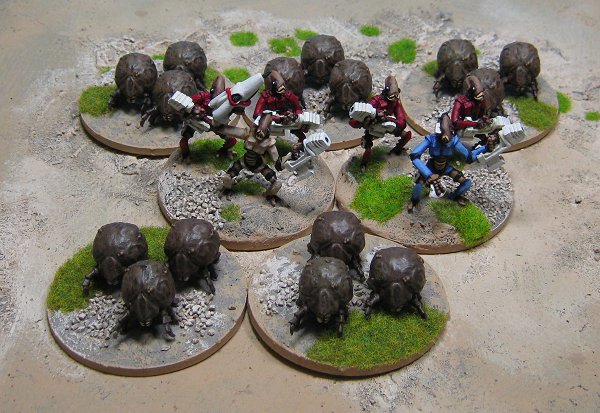
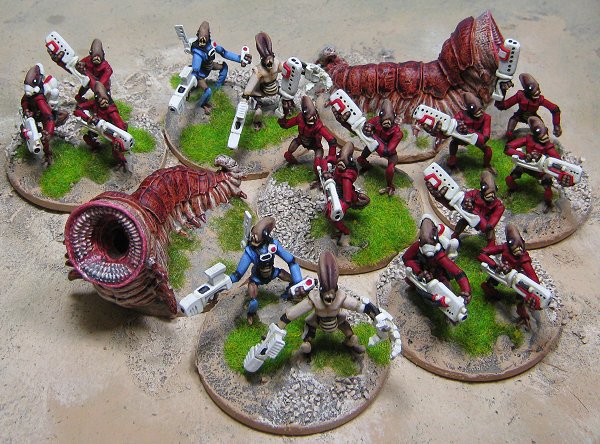
|
Painting Spriggan Miniature's Spugs
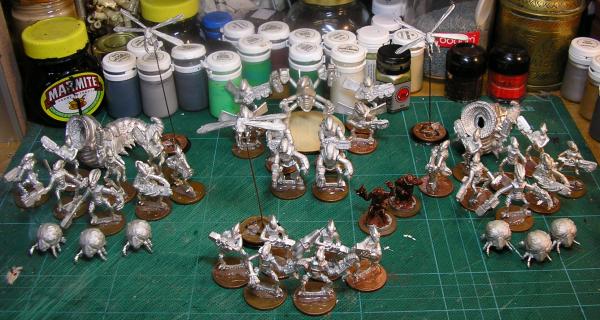
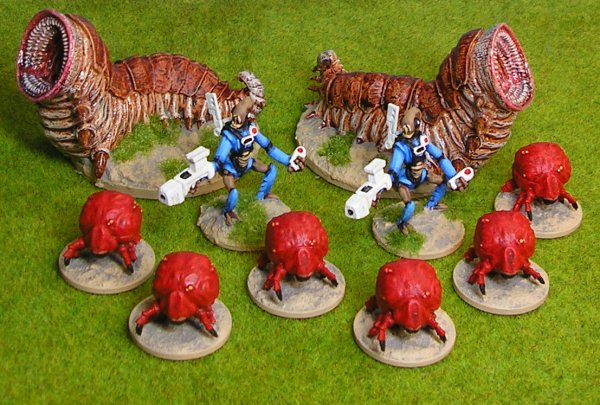
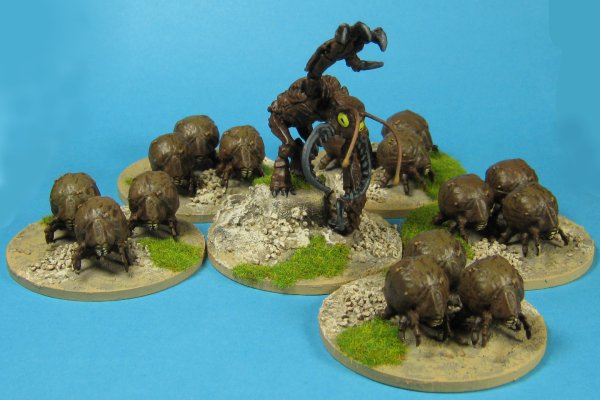
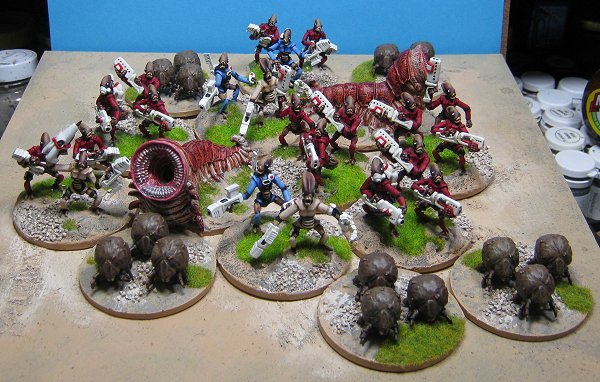
A fair number of these chaps to get through and obviously I want to do them fairly quickly before the enthusiasm wears off. The purpose of this little exercise is to (hopefully) show how a reasonably sized project like this can be tackled and completed by just about anyone. Writing it up as I go adds some incentive for me to get them done as well. If it all goes pear-shaped I'll just delete this whole thing and you'll be left convinced you were dreaming. If you mention it to anybody I'll just deny it. Anyway, here we go, try and keep up but don't get ahead of me. The first task is the preparation, I spread this over two days as there's quite a bit of assembly to do. The Spugnaut is the obvious time consumer here but other Spugsneeded arms and wings and heads gluing on too. The Burrower Worms from Mongoose needed filling, lots of filling. I used wood glue to do this as it's cheap and easy to use and doesn't need any sculpting or carving when it's done because it shrinks over the surrounding texture and doesn't obscure it. This technique will work for everything that is smooth but isn't as good on hair or fur. I bought some Superglue Accelerator for this job too and it's become a 'must have' item now, if you haven't got any go and buy some, you won't be sorry. Once everyone was assembled most were hot glued to their bases. I use 2p coins for my bases because they're cheap (they're mostly steel too so they're magnetic). I hate slotta basses (always have). The Heresy bugs and the Burrowers will be based after they're painted. I've picked out the 12 basic Spugs to be my test pieces. I like to get the troops done first and save the commanders and 'special' guys for later.
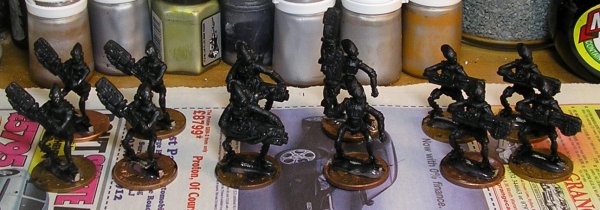
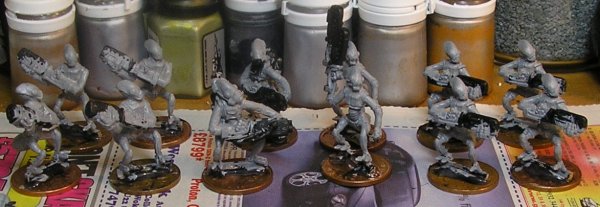
They get a basic black undercoat, brushed on so I can begin to get an understanding of the figure. I never spray undercoat. I use Winsor and Newton Mars Black, you get 250ml for under £6.00 and this makes over 500ml once it's thinned to a usable consistency. Use whatever black you like though. Next they get a coat of grey on the bodies as a preparation for the red. I used Foundry 33A Arctic Grey. Again, use whatever you like but remember it will affect the colour of the red that's going on top. Both this and the black were applied with a number 5 brush and require very little thought.
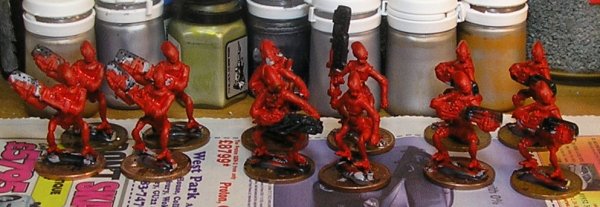
Now the red. I used my standard red mix which is Games Workshop Blood Red thinned with about 25% red ink (also GW). This adds to the pigment and improves the flow of the paint but keeps it transparent. Yes, there is a use for GW's crappy red and yellow paint after all! This is applied with a large, size 5 again, brush. Still not had to concentrate.
Now, once they've dried thoroughly, give them at least an hour, they get a wash of Games workshop Chestnut ink. A large brush again but a soft one. I use a cheap model shop sable size 5 or 7 depending on which one I pick up. Ink flows much better off a soft brush.
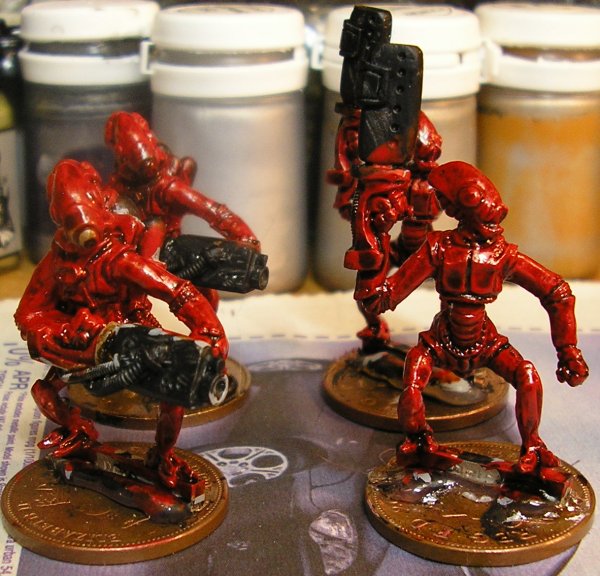
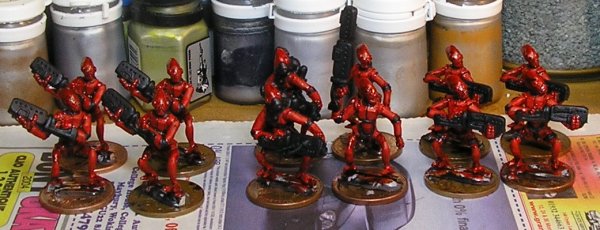
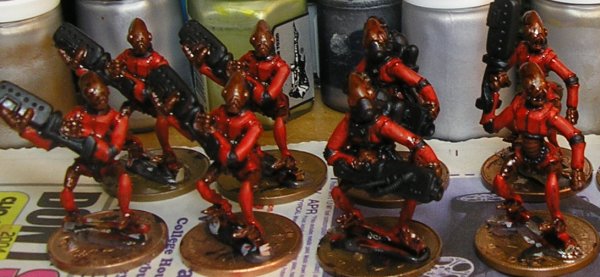
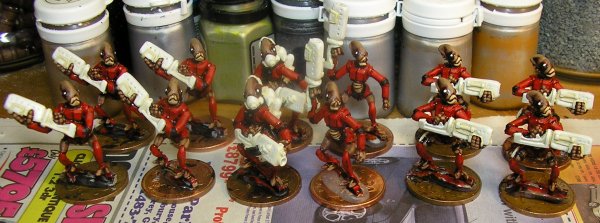
This has to be properly dry before the next step so I usual leave it overnight. Here we are then, at the end of the first stint of painting and we haven't gone near a small brush or had to think about anything. This is what we've got so far: Now, you might be wondering where we're going with these so here's my thoughts so far.
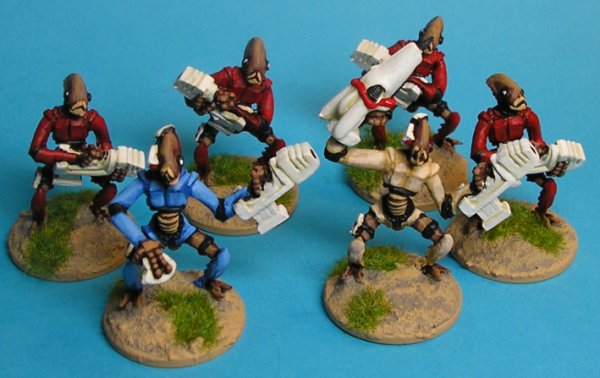
My initial idea was to have an army of 'red ants', I don't have a red army yet and these will be fighting UNIT who are green, Hydryssians who will be blue (I think) and Greys who will be, well, grey. I was going to do yellow but my APAC are yellow and who knows, the Spugs might end up going against them one day so I wanted them different. My Dravinni are red and white but there's not many of them and the new ones are black anyway so they don't count. As you can tell I've gone down the red route full steam ahead. However, as I was going I started noticing things about these little guys. Firstly, there's a whole lot more uniform on them than I thought. I originally thought they were insects with harnesses but, in fact, most of them is covered. Secondly, they don't have many ant characteristics. They're much more cockroach like. I started the infiltrator Spugs(who are Ral Partha cockroach spirits from Shadowrun) as cockroaches but didn't want this brown look for my main Spugs force. So, now I'm going for brown Spugs (with pale segmented bellys) in red uniforms. I have a brilliant idea (I think) for some of the other Spugs but that'll be a surprise when we get there. Now, on to day two. This next stage is the most time consuming of the lot. It's time for the small brush and the black paint again. I went round each figure and painted everything that wasn't red uniform or Spug skin (shell?) black. Normally it would be enough to just black line around those areas but I'm pretty sure I want the weapons to be black at the end of it so I did everything. After that I added a Blood Red and ink highlight to the uniforms. It doesn't show much but it's enough to emphasise the red against the brown Spug skin that's coming up.
Now it's back to the easy stuff. I painted all the Spug bits that are exposed to the elements with Foundry 6A Dusky Flesh.
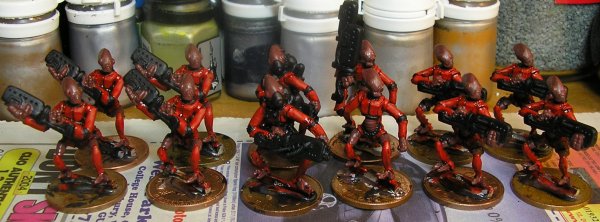
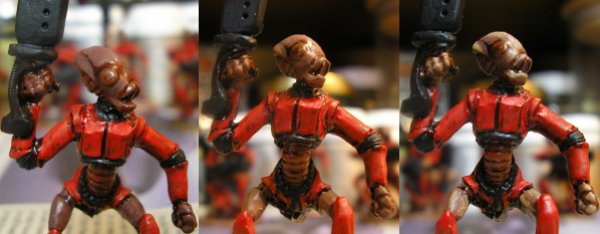
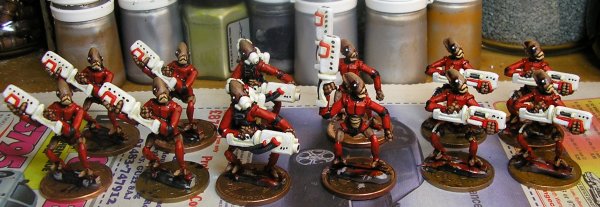
Once the Dusky Flesh has properly dried I went over it with a GW chestnut ink wash. Since it's late and the ink has to dry overnight (just to be sure) that brings us to the end of day two. Here's a sort of close up so you can see where we've got to. Tomorrow will involve highlighting the Spug skin up to it's finished shape and possibly painting the equipment if there's time. Once that's done they're all finished and it's on to the next lot.
Day three then. Time to get the Spug skin done. The first job is a highlight of Foundry 6A Dusky Flesh followed by another highlight of Foundry 6B Dusky Flesh andfinally a last highlight of Foundry 6C Dusky Flesh. These highlights should be applied to all the exposed parts of the Spugs except the ridged parts (belly, back of head and under the tail) and you should paint a smaller area with each successive, lighter colour, basic stuff really. The three stages are shown below.
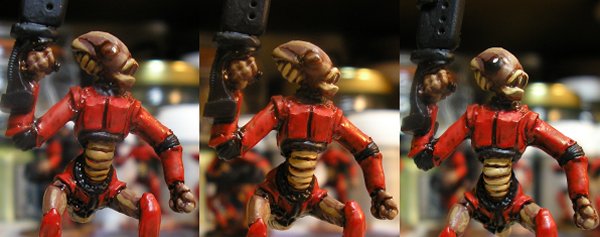
All that's left now are the ridged bits mentioned before. These get a coat of Foundry 7A Buff Leather leaving the dark brown Chestnut ink showing in the recesses. The ridges are then highlighted with Foundry 7C Buff Leather to finish them off. I missed out the mid tone stage as the areas being painted are very small and, anyway, I wanted a decent contrast to give some definition to the figures.
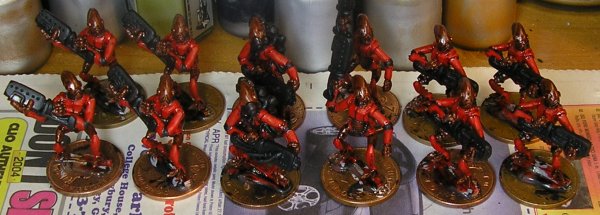
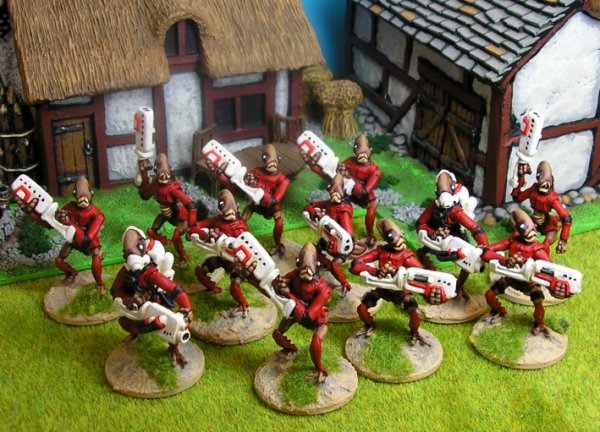
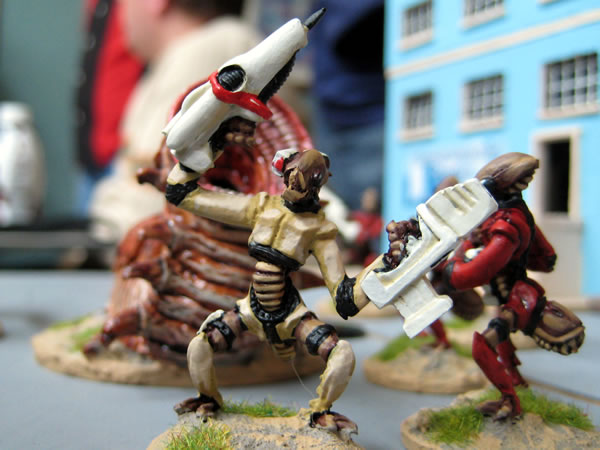
Lastly the eyes are painted black and are given a white dot highlight to bring them 'alive'. That finishes the Spug skin, the last three stages are illustrated below. Finally, here's a shot of the group again at a more reasonable distance so the painting doesn't look quite so blotchy as it does in the extreme close-ups. Tomorrow will see the weapons done and the first lot of Spugs finished. I'm tempted to do white ceramic weapons because I think they'll look good but we'll see. There's a bit of final uniform painting to do as well.
So, where are we? Day four already, better get a move on. The first job of the day is to paint all the weapons in Foundry 9B Boneyard as a preparation for the white. It goes on well enough but I gave it two coats of thinned paint rather than one of thick to keep it smooth.
The guns are then highlighted with Foundry 9C Boneyard, again, thinned a bit to make it flow smoothly.
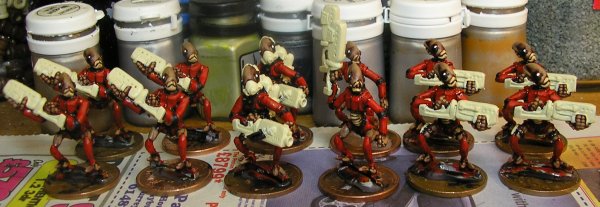
And then as if by magic, they're done! Actually there's a couple of fairly quick stages before the finish. The guns are finished with a final highlight of thinned white, I use Winsor and Newton Galeria Titanium White because it's cheap, it comes from the same range as the black we started with. Artists' white is usually better than hobby paint white for covering because it's not covered by toy laws and so can have more of the (toxic) pigment added.
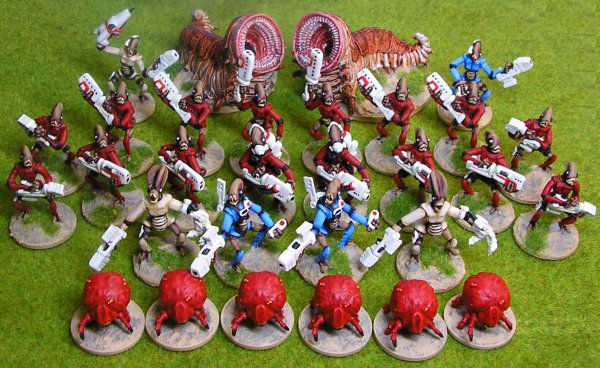
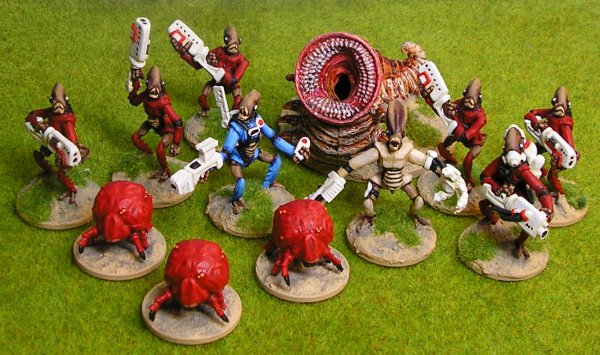
After the white went on I blacked the tubes and some odds and ends and highlighted them with Foundry 34C Charcoal Black to bring out the ribbed texture. Finally I added red accents to the guns with a straight coat of GW Blood Red (with ink). There's a reason I wanted red and white guns, you'll see later. So, there we are, 12 Spugs painted to a reasonable standard by spending a couple of hours a day over four days. They'll look better and lighter when the bases are done which will take a couple of days because the Basetex needs to dry overnight.
I'll paint up the rest at my own pace. There's 10 basics and 8 in armour which is a couple of three day sessions and then there's the attendant burrowers and crawlers which should take a couple of days. Sadly the Spugnaut has just disintergrated on me so I don't think I'll bother painting him. |
|

