|
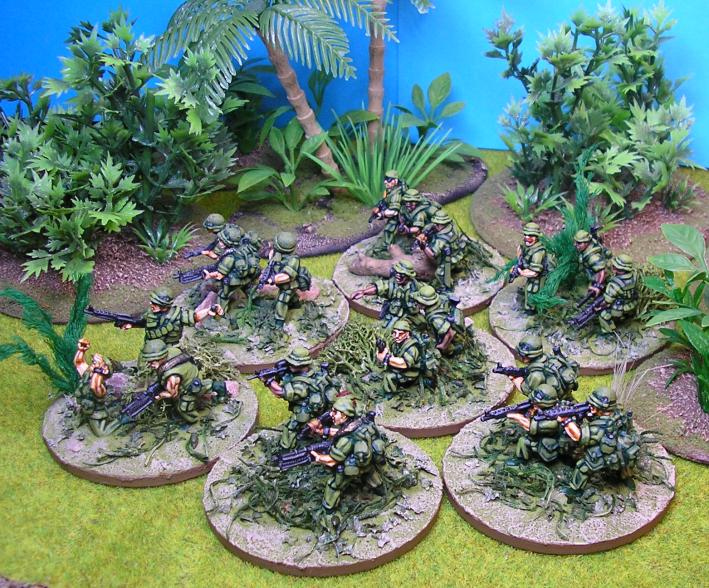
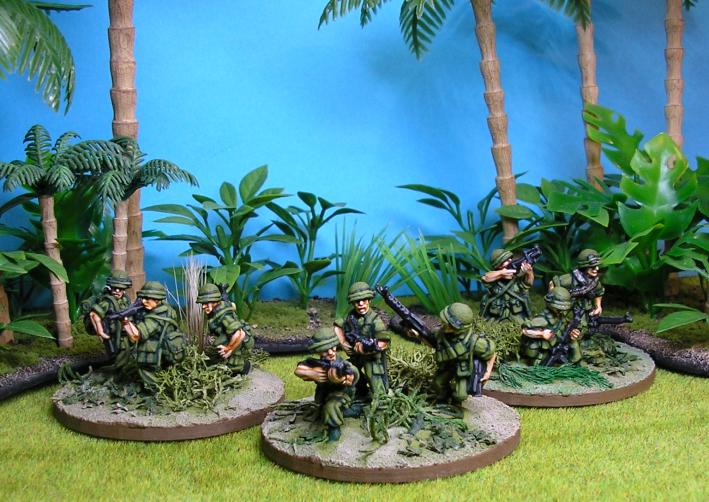
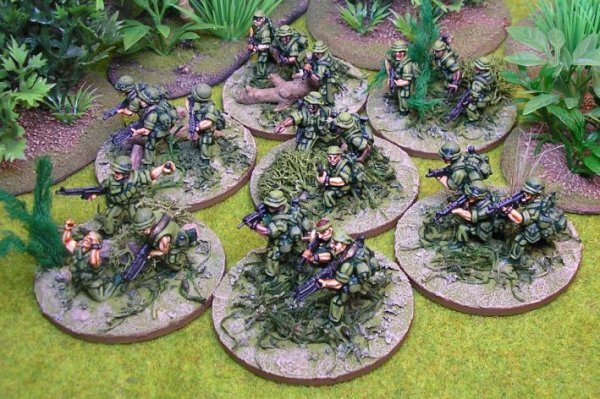
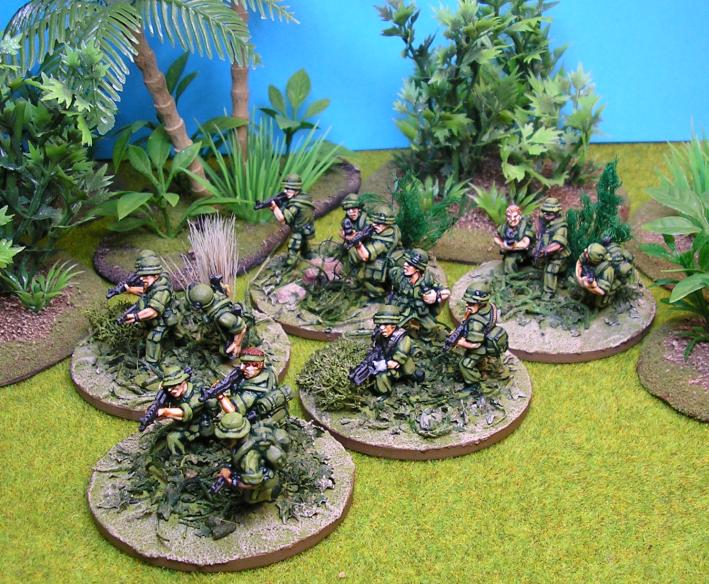
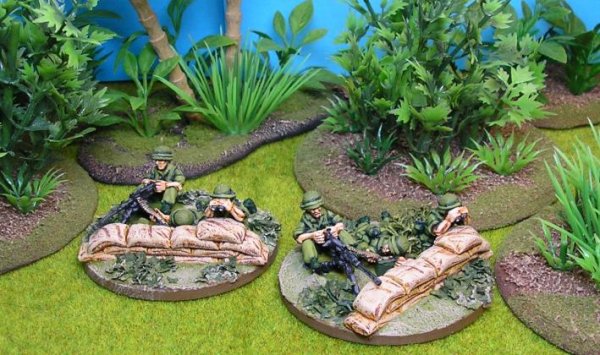
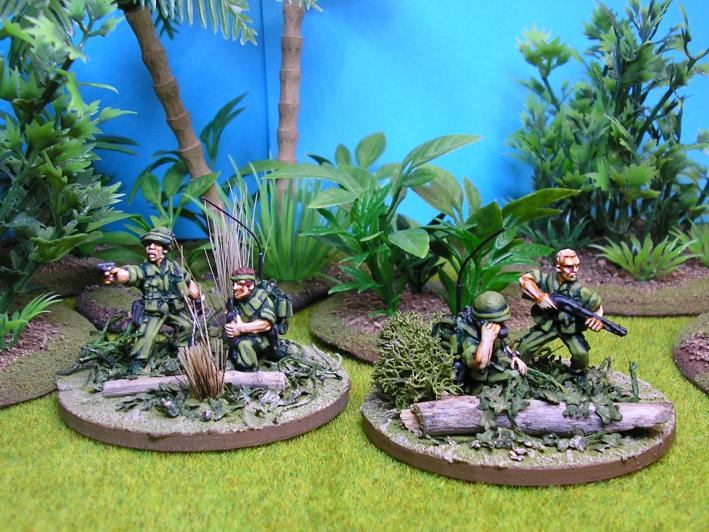
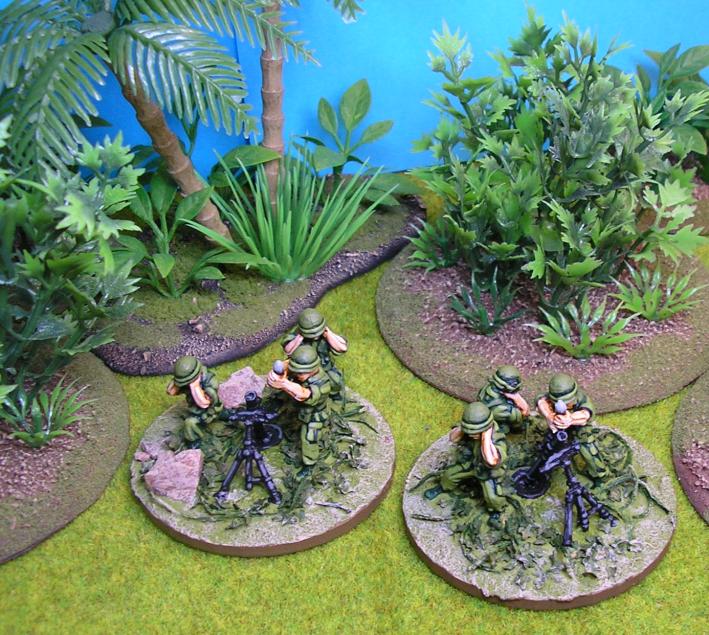
Painting The Assault Group's Vietnam miniatures in a hurry.
Here is a quick article on how I painted my Vietnam figures. Ok, you have 172 figures to paint and two months to do them in, the first task is to organise your schedule and not make any of the jobs too much of an effort. The other thing to always bear in mind is that you should use your painting time for painting, not thinking or worrying or whatever. If you find you’re becoming bogged down or stuck on something, do something else. If it’s all too much painting the figures you’re doing then basecoat the next lot or base up ones you’ve done, do something to keep the momentum going, never just stop, you’ll find it hard to re-start. Since I was working to a set of rules with troop lists I was able to only buy figures I was going to use, don’t waste time painting superfluous stuff. First off, break the job into weekly lots. For my Vietnam project I decided on the following: Week1: Half the US Infantry, they’re the coolest figures and getting them right will set the whole tone of the project. Week 2: Half the VC Infantry, variety from the US and at the end of this week you’ll have two matched forces. Week 3: Last of the US Infantry, one side done! Week 4: last of the VC Infantry, both basic forces done! Week 5: US commanders and support weapons. Week 6: VC support weapons. Week 7: Civilians. After this, each week’s painting must be broken down into bite-sized bits, I set aside an evening for each stage, if I finish the stage I do something else, I don’t carry on to the next stage. The Vietnam stages were mostly very easy so I managed to paint loads of other figures at the same time. I’ll use the US Infantry as the example, they’re the most time consuming. Prior to day one they were hot glued to slotta bases and cleaned up. I painted them in groups of about 25. Day 1: Undercoat black (by hand, always) paint flesh areas with GW bronzed flesh (slap it on, doesn’t matter where it goes so long as the flesh bits are covered properly), leave to dry for an hour (do something else, read TMP or clean and base the next batch that you’re going to paint), finally, before bed wash all flesh areas with GW flesh wash (this then has overnight to dry properly). By then end of day one you’ll be familiar with the figures, will have cleaned up any mould problems and covered them with the preparatory coats of paint. No thought was involved, easy-peasy. Day 2: Paint around the flesh areas with black, cuffs, neckline, helmet generally. This tidies the edge where the flesh meets another colour, don’t bother painting over all the wayward flesh paint, just make sure there’s a line showing the edge of the actual flesh areas. That’s it for day 2, this can be a pain for some figures but was easy for the GIs and didn’t take too long at all. Day 3: Paint the uniform green. I used phlegm green 28A from Foundry. Paint everything that isn’t flesh or a gun, slap it on to make sure it covers well. Leave it to dry for an hour while you do something else. Finally, before bed so it has overnight to dry wash all the green with a dark green wash, I used orc flesh wash from GW. All done, another no brainer session. Day 4: Now for some proper painting, highlight the flesh with GW bronzed flesh and add a final highlight of GW bleached bone. (I did paint some black Americans but purposefully left them to be done in the second batch, it’s important that the first set you do in a project is all the same.) That’s it, now all your little men are alive. Day 5: Paint the uniform and webbing. Highlight the uniform and webbing with Foundry phlegm green 28A. Paint in streaks and pick out as many folds and stitching lines as you can. If there’s a big flat area paint it with parallel lines rather than a flat block, you’re looking for high contrast here and exaggerated detailing. Don’t paint the boots. Day 6: Highlight the uniform and webbing with Foundry phlegm green 28B, don’t cover as much as you did with 28A. This doesn’t take too long at all and at the end the webbing is finished. Finally, highlight the fatigues again with Foundry phlegm green 28C. Highlight bandoliers with this too as they were always drawn from stores and therefore new. Day 7: Final day! Paint the guns and grenades and machine gun belts black. Pick out water bottle tops in black too if you want (they’re actually green but we’re trying to get some detail into an all-green man here). Highlight the guns and other black bits with Foundry charcoal black 34C, don’t drybrush, paint lines that help delineate the weapons, try and bring out the characteristics of each weapon by painting the things that make people think ‘M16’ etc. To paint an M16 make sure to do the carrying handle and show up the holes in the barrel casing, that’s about all it needs. Paint wrist watches and add brass to the MG belts. Paint hair brown if you can see it, don’t get fancy with it. Paint the oil cans in the helmets, I did all mine black. After this, you’re all... Done! There, wasn’t that easy? Tomorrow, when you’ve done painting the black and flesh on the first lot of VC, you can break these boys off their painting bases and glue them to their group bases. Then you can push them around making shooting noises. (If you want to, that might only be me that does that…….) The VC are the same except the flesh highlight is darker and you don’t paint the uniforms, just do them flat black, takes half the time! |

