|
Painting Zulus
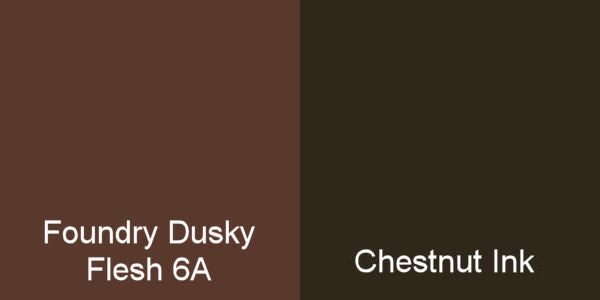
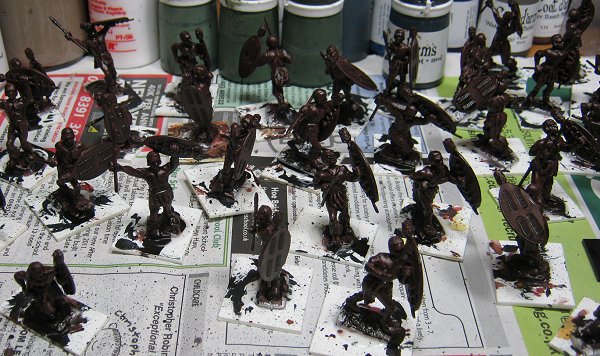
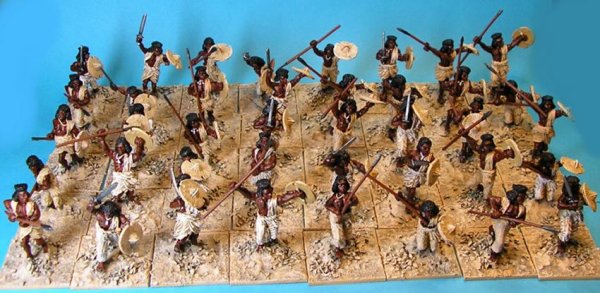
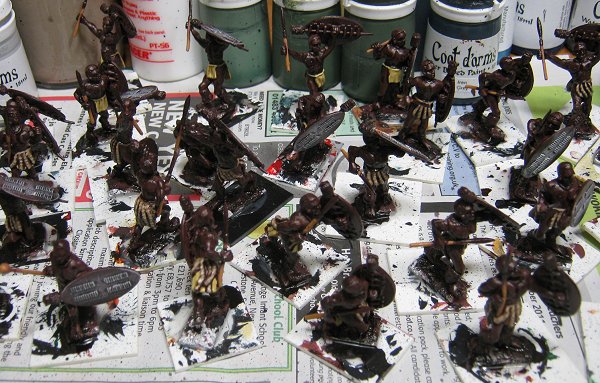
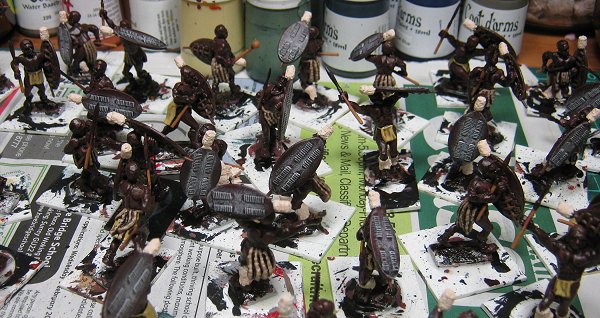
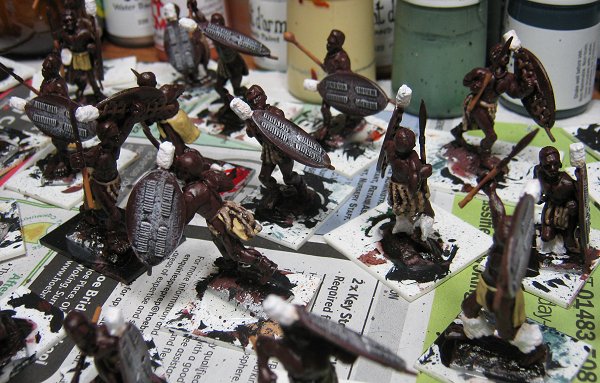
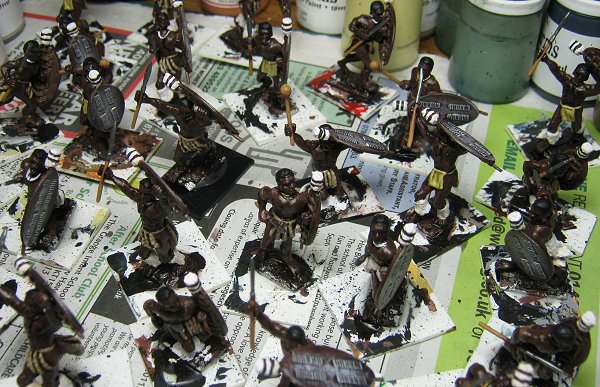
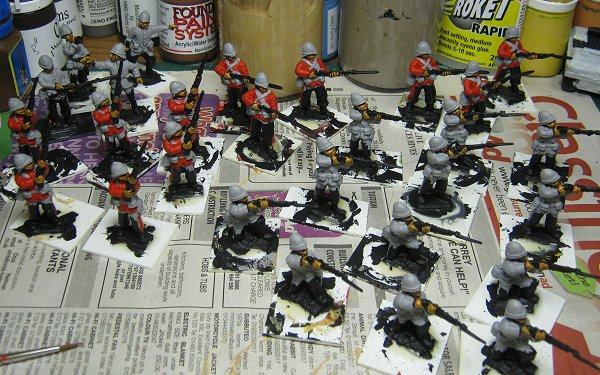
I must admit I don't find Zulus very interesting as a painting subject but they are an impressive army once they're fielded in numbers. With this in mind I'm painting my Zulus with an eye to getting each set done and into play in a short period of time so that I can get them all finished before I get distracted by other shiny things in the wargames world. As with all painting it's a compromise between speed and detail with speed getting the upper hand in this case. Despite this, any short cuts I choose to make I have to be happy with, and I need to ensure that the finished figures will look good (as far as I'm concerned) once they're on the table. I decided to work on all 40 unmarried Zulus at once rather than splitting them into smaller groups. Each stage of the painting is pretty quick and I didn't feel the grind set in while I was doing them. You may need to adjust to your preferred quantity once you get going but it's worth doing the first steps to as many figures as you can manage. The figures were assembled, filled, glued to their individual painting bases (off cuts of plasticard) with PVA and then painted with a black undercoat. Next they were painted all over again in Foundry 6A Dusky Flesh. Citadel's Dark Flesh is also a decent base colour for this stage and there are plenty of other similar browns on the market. I did consider varying the base brown to give some variation to the skin tones but, after a little thought, I decided it probably wasn't worth the effort. The final 'all over' step was to give everything a brown wash. I used Coat d'armes Chestnut ink but any one will do. The picture below shows the figures at this stage. The good news is that that's it for the flesh painting, only the clothing and weapons are left to do. It can be quite difficult to leave them like this but trust me, they'll be fine. When I painted my Sudanese I did one with the full flesh treatment, three colours and a wash, and, at the end of the day, I couldn't spot him amongst the others. He's in the photo below, can you see him?
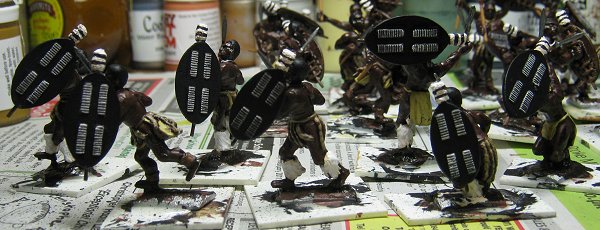
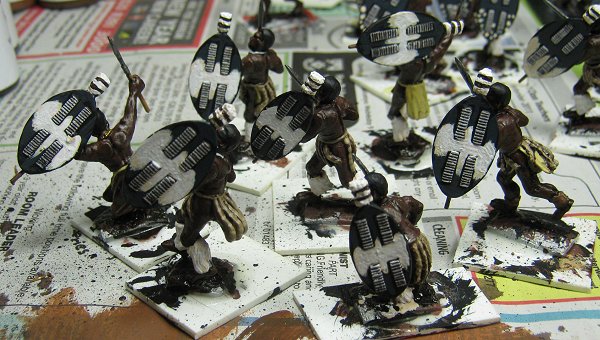
The worst thing about painting Zulus as far as taking time goes is the shield stitching so I did this next while it could be drybrushed. I used my highlight base sand colour which is very light. Any, cream or off white will do. I followed this up with a drybrush of white. You could just go for white on its own but the first colour lets it cover better and means you can apply less of white thus reducing the chance it will fill in the detail.
I did the lion cloths (umtusha) next because every figure was wearing one. Some had a simple version of just cowhide (ibeshu) and some had this covered with the wound fur 'tails' (isinene).
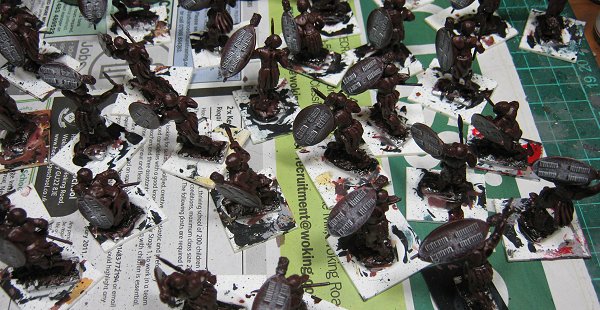
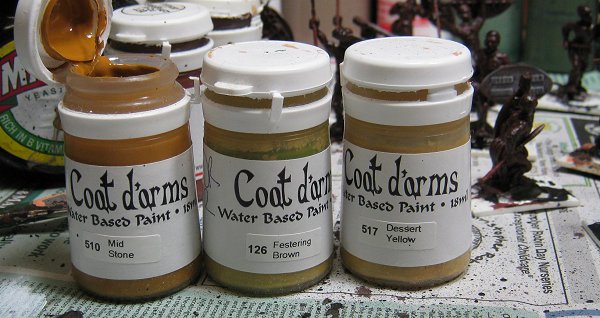
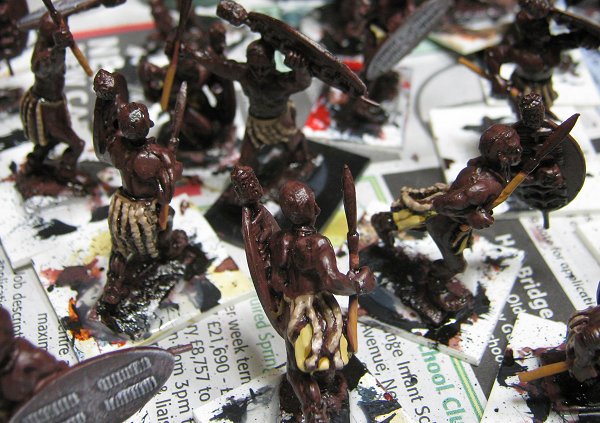
I painted all the ibeshu with a Coat d'armes triad shown below and then followed up by painting the isinene with Foundry's 11 Rawhide triad. I applied the final Rawhide highligt, 11c, in spots to add the distinctive patterning. You can see the patterning a little more clearly in this photo. I also painted all the weapon hafts with Foundry 13 Spearshaft triad.
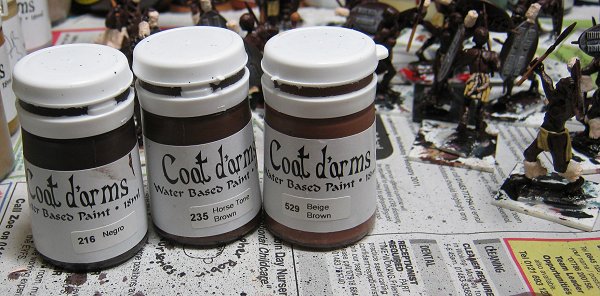
The stitching on the inside of the shields could be very time consuming too if you wanted it to be. Although it has plenty of texture and detail I consider it a very unimportant part of the overall look of the figure so I went for a simple dry brush of everything using the rather excellent and useful Coat d'armes dark brown triad pictured below.
I wasn't looking forward to painting the feathery cow tail leg ornaments but they didn't prove too problematical. I used my light sand as a base colour. Pushing this into the folds and creases of the sculpted detail inevitably meant some went astray and covered nearby flesh but a quick dab of Coat d'armes 216 Negro (see above) sorted this out.
The shield tufts were given the same treatment. I drybrushed white over the leg ornaments and shield tops to finish them off. Any wayward white was dealt with with the Coat d'armes 216 Negro again.
Now only the final touches remained before I could move on to the shield fronts.
I used Coat d'armes dark brown triad to paint the non wispy ankle guards that some of the figures were wearing as well as some of the arm bands. The assegai points were painted in Vallejo 70865 Oily Steel but any gun metal/boltgun would have done. I painted a couple of armbands and some of the necklaces in brass and used white to pick out the others for a bit of variety. I used Coat d'armes 216 Negro (again) to paint the two rings around the shield tops. All the figures had their hair painted black. Lastly I painted the shields. These are the focal point of a Zulu force for me and I was looking forward to them.At this stage I divided the figures into their units ensuring there was going to be a good mixture of poses on each base and decided who was going to have what shield colours.
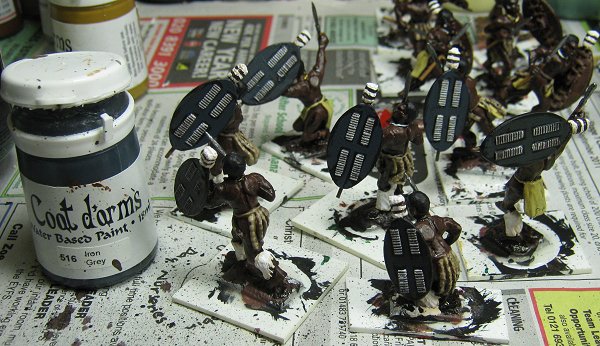
I settled on three black shield and two mixed shield regiments. here are the steps for the shield painting: I painted the whole shield, front and back, in the base colour, in this case black. The red shields were painted with Foundry 13 Spearshaft triad. The black was highlighted on the front only with a dark grey. This is Coat d'armes 516 Iron Grey.
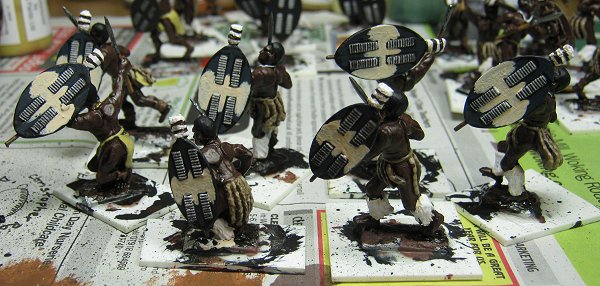
A central white area was delineated using the pale sand base coat.
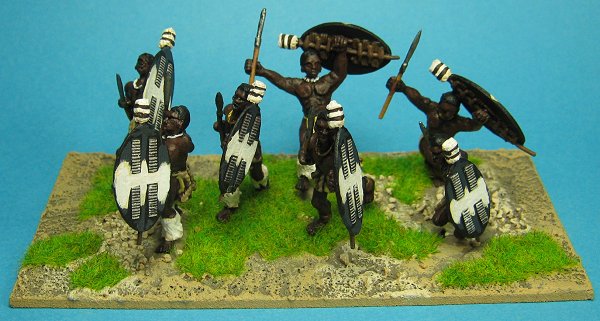
Finally the white was added and the unit was finished.
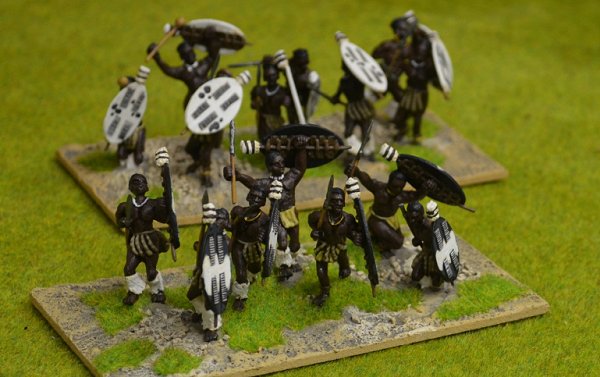
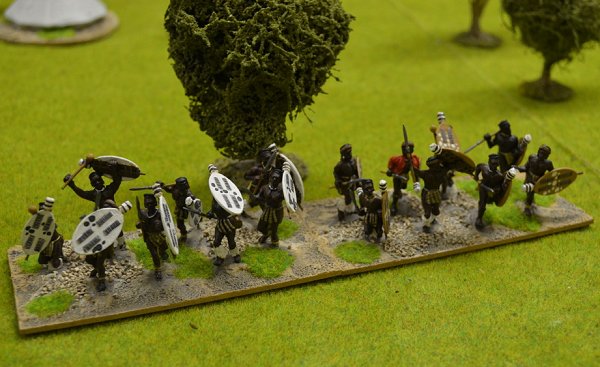
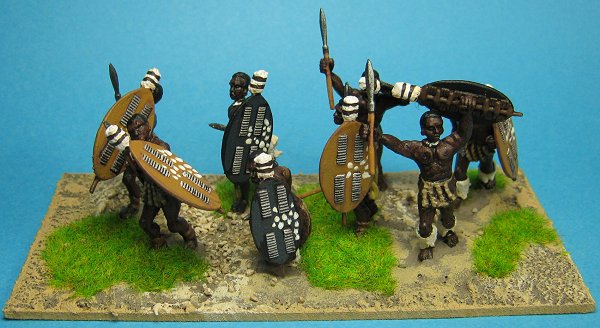
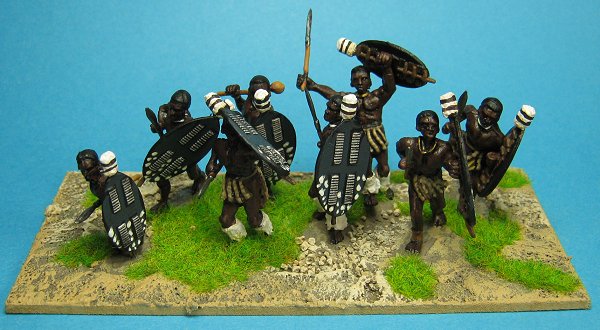
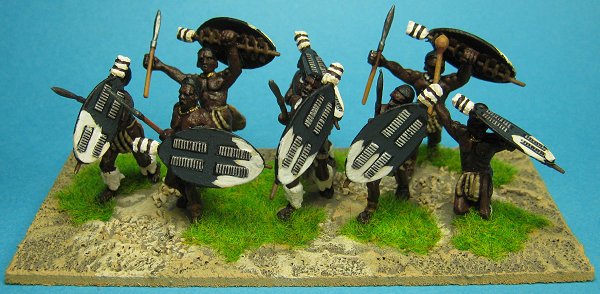
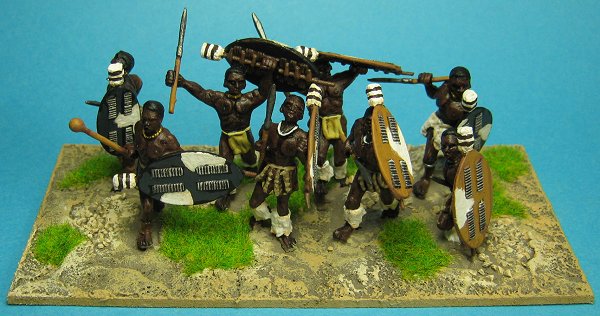
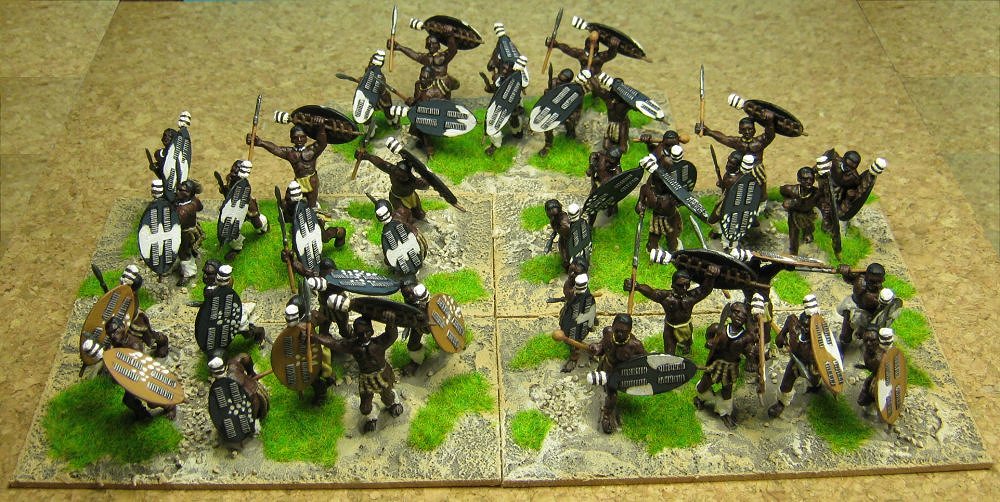
And here they are based up and ready for action.
|
Painting British
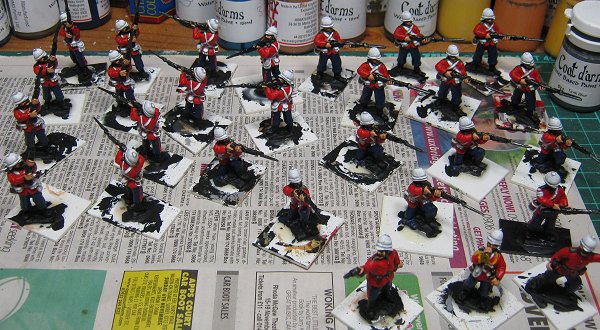
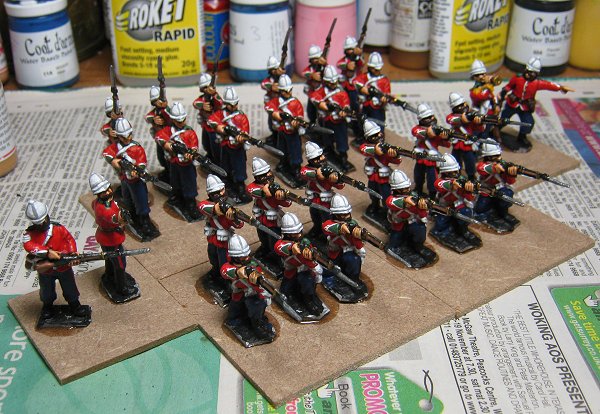
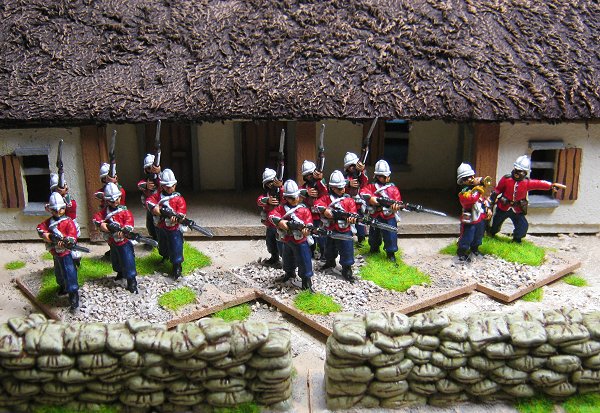
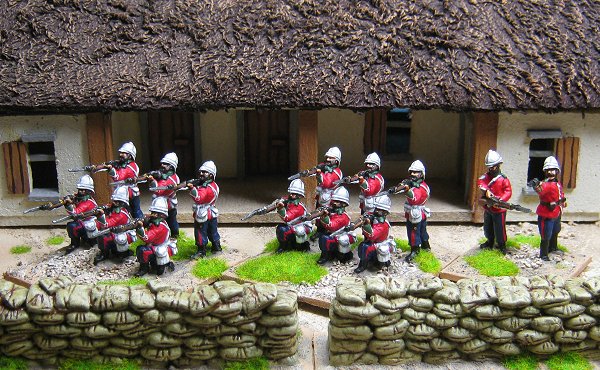
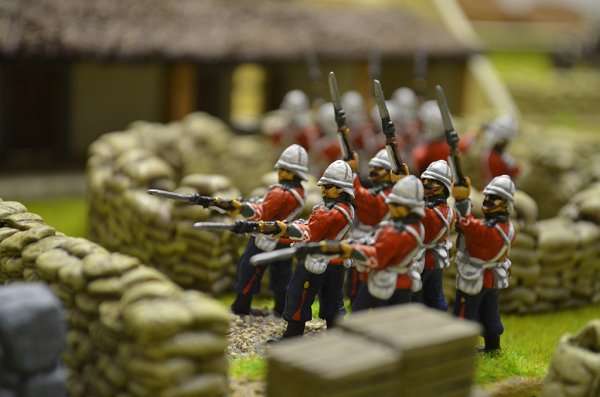
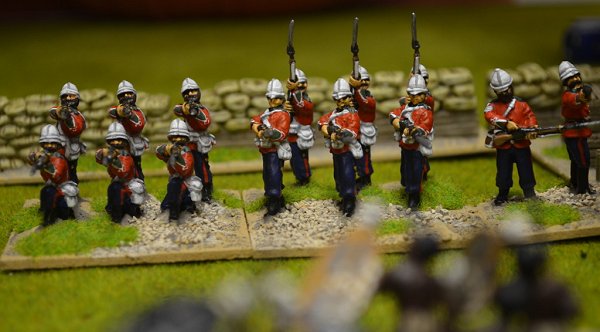
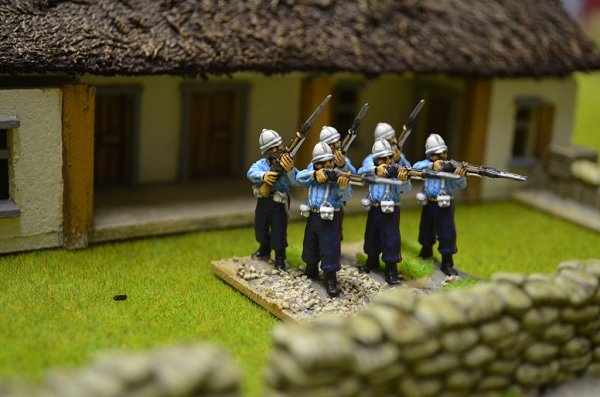
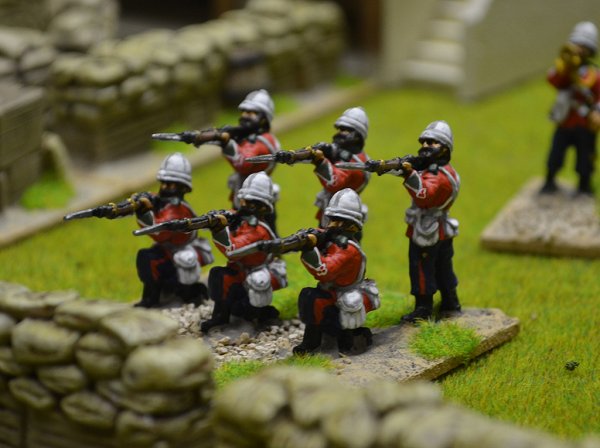
The 28 British red coats took longer to paint than the 40 Zulus. I'm not a fan of red and white together, it doesn't suit my painting style at all. The British figures were also in a shocking state and could do with new moulds. Compared to their hey day when the range was new they're almost unrecognisable with tons of flash and missing detail. I didn't take many in-progress shots so this doesn't illustrate the process in a step-by-step way and you'll have to read the words if you want to know the secrets. The basic procedure was to paint all the red and white parts in a mid grey and then highlight the bits that were going to end up red in a light grey before over painting with red. I used Coat D'armes paint for all these steps, their White triad and Blood Red.
Once this was done the white belts and helmets were highlighted with the same light grey and finally white. The trousers were painted in a very dark blue, Foundry 20A Deep Blue, and weren't highlighted at all. The red trouser stripe was painted at the same time as the jackets as an easy to do wide stripe and I just covered the bits I didn't want with the blue to leave a narrow stripe.
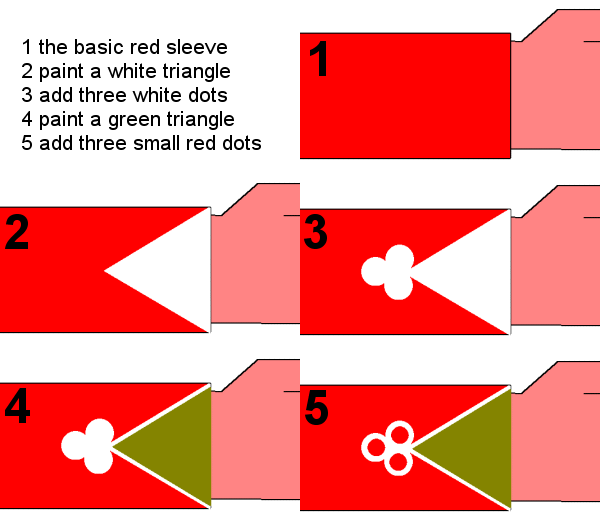
The helmets originally had fine lines inscribed on them but these are not evident on the current castings so I added them with paint, just four mid grey lines quartering the helmets as a last step. this proved to be very quick to do and added a lot to the finished look. I was in two minds whether to bother with it but I'm glad I did. The green facings, collars and epaulets were done in Foundry 26B Forest Green. I have made a snazzy graphic to show the steps to painting pain-free cuff facings.
|

