|
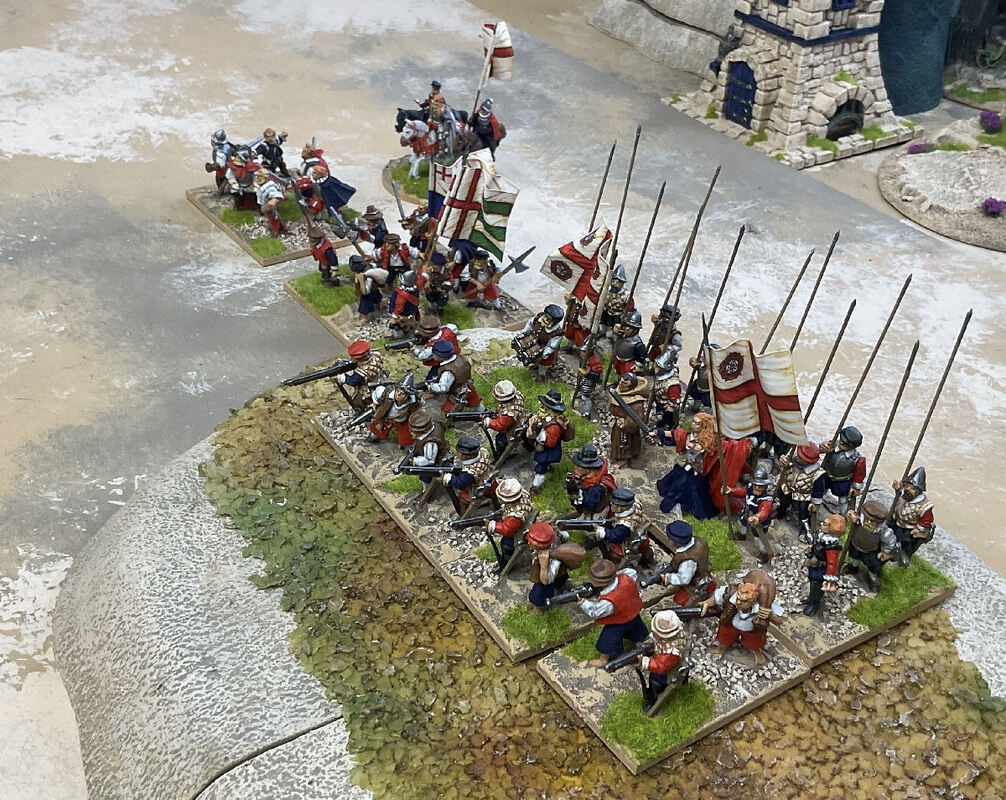
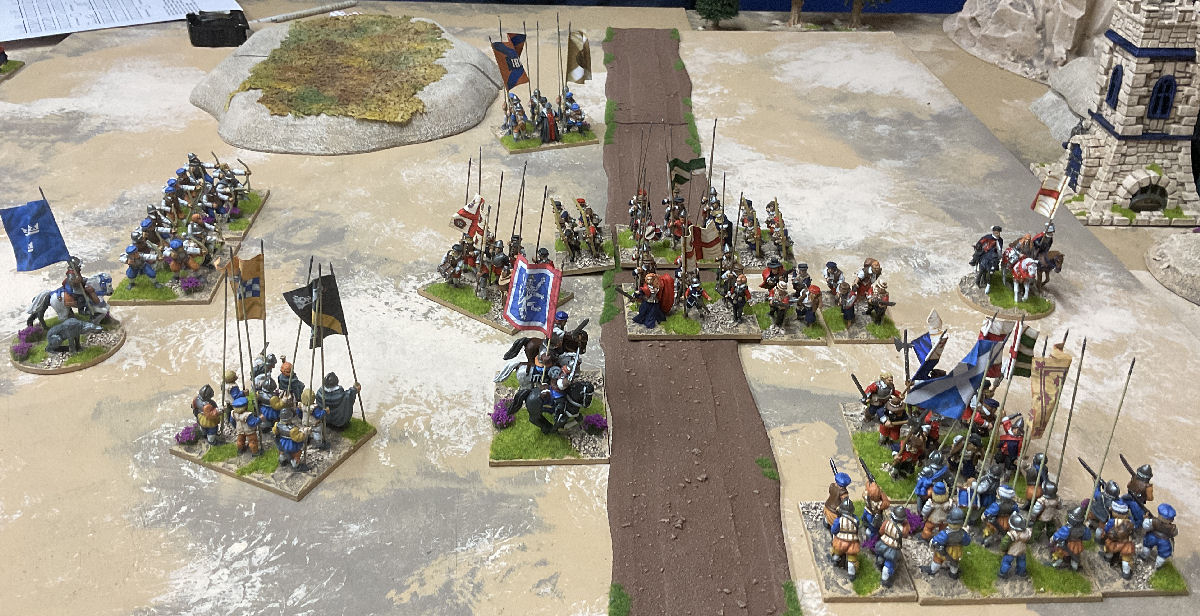
Flank Attack. Scottish vs English
The Scottish have to exit three units along the North edge of the table by the road which is blocked by two English units of infantry. Four other English units threaten their flank. 
Not wanting to be attacked in the flank and having the luxury of going first, the Scottish wheeled to face the English on the hill and sent their single cavalry unit to engage the English swordsmen. Swordsmen are particularly ineffective against cavalry.
The Scottish archers began to rain arrows down on the English warband accompanying the swordsmen and the pike and shot infantry poured musket fire into their opposite numbers on the hill. Two of the Scottish infantry expended all their ammunition leaving them free to charge up the hill next turn. 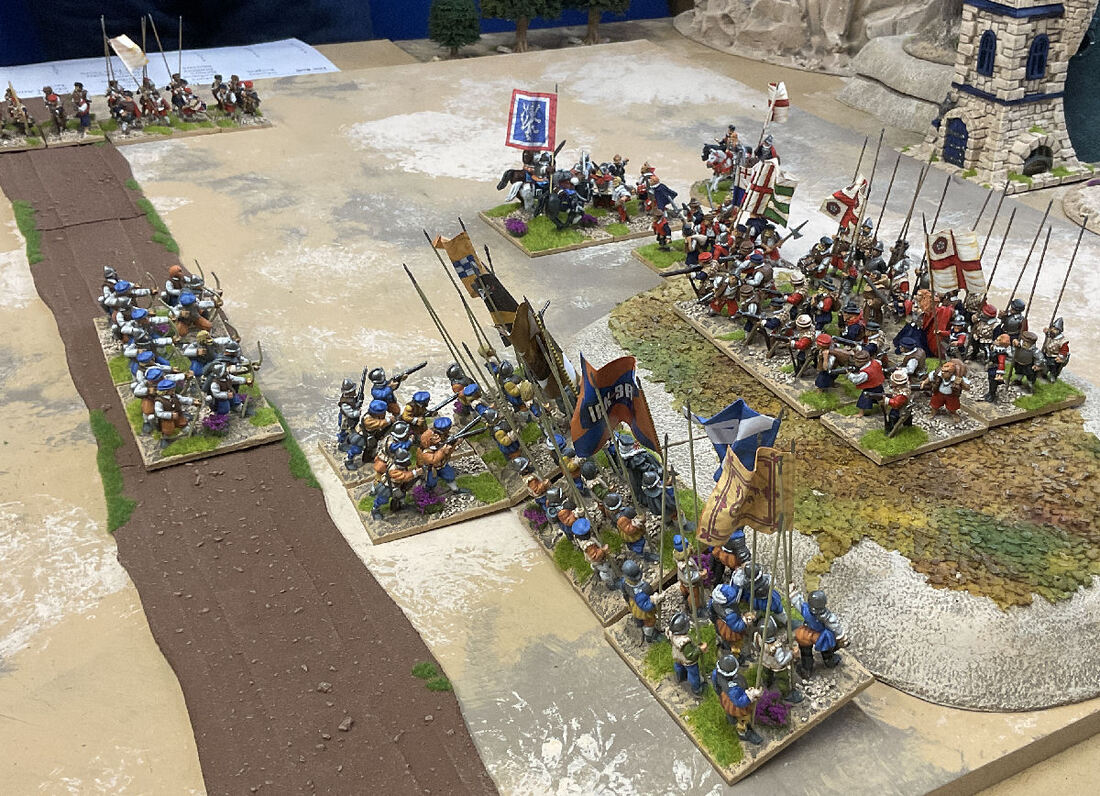
The English on the hill returned fire but did little damage. The Warband attempted to close with the archers and the swordsmen started to crumble beneath the onslaught of the cavalry.
The two English units blocking the road advanced and began shooting at the Scottish archers. 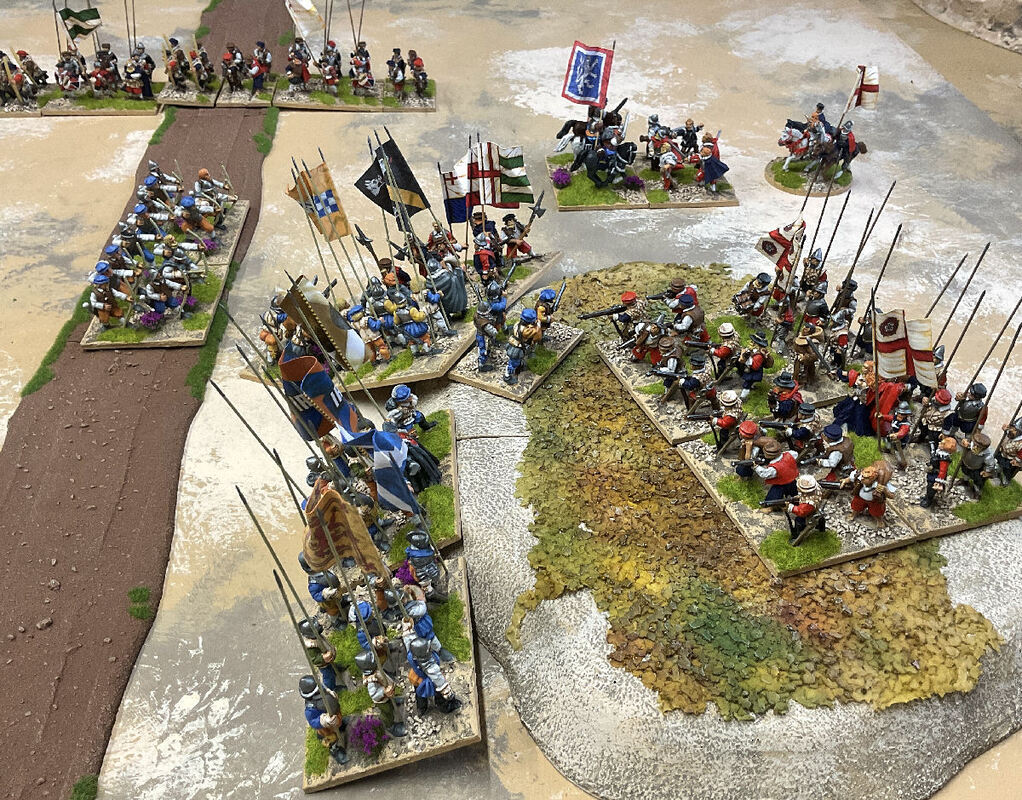
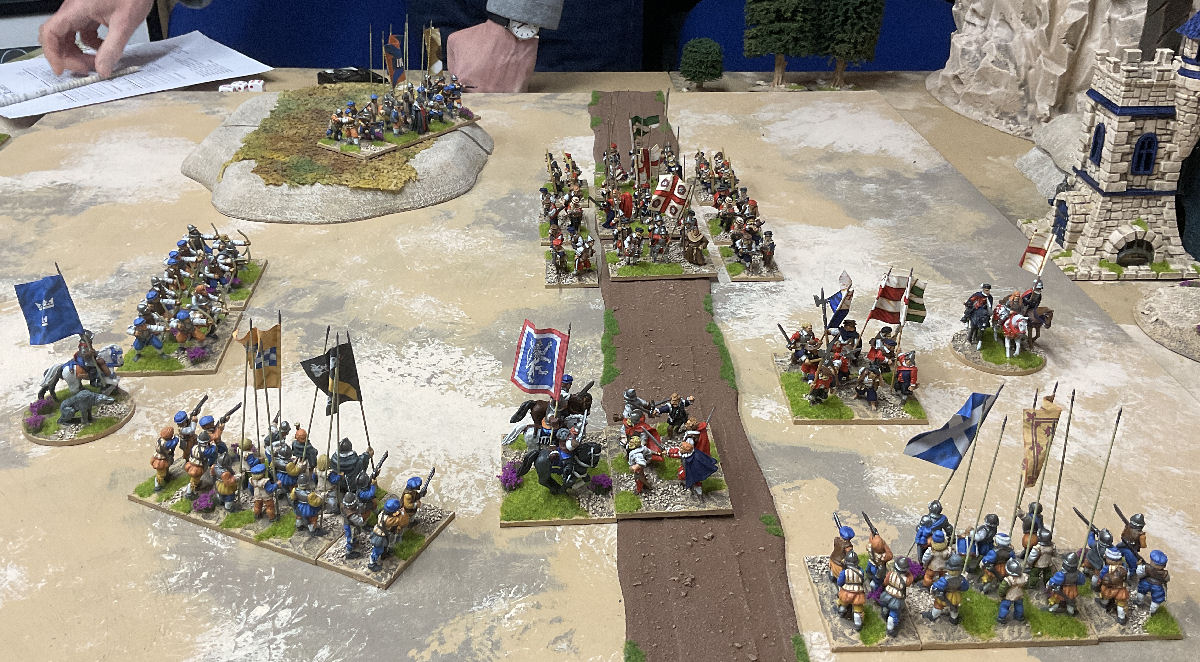
The Sottish pike charged up the hill to engage their opposite numbers. The remaining Scottish infantry wheeled left and destroyed the English warband with a volley that allowed the Scottish archers to face the oncoming English infantry on the road and return their fire with another hail of arrows.
One of the English units on the hill was defeated and the Swordsmen were wipwd out by the Scottish cavalry.
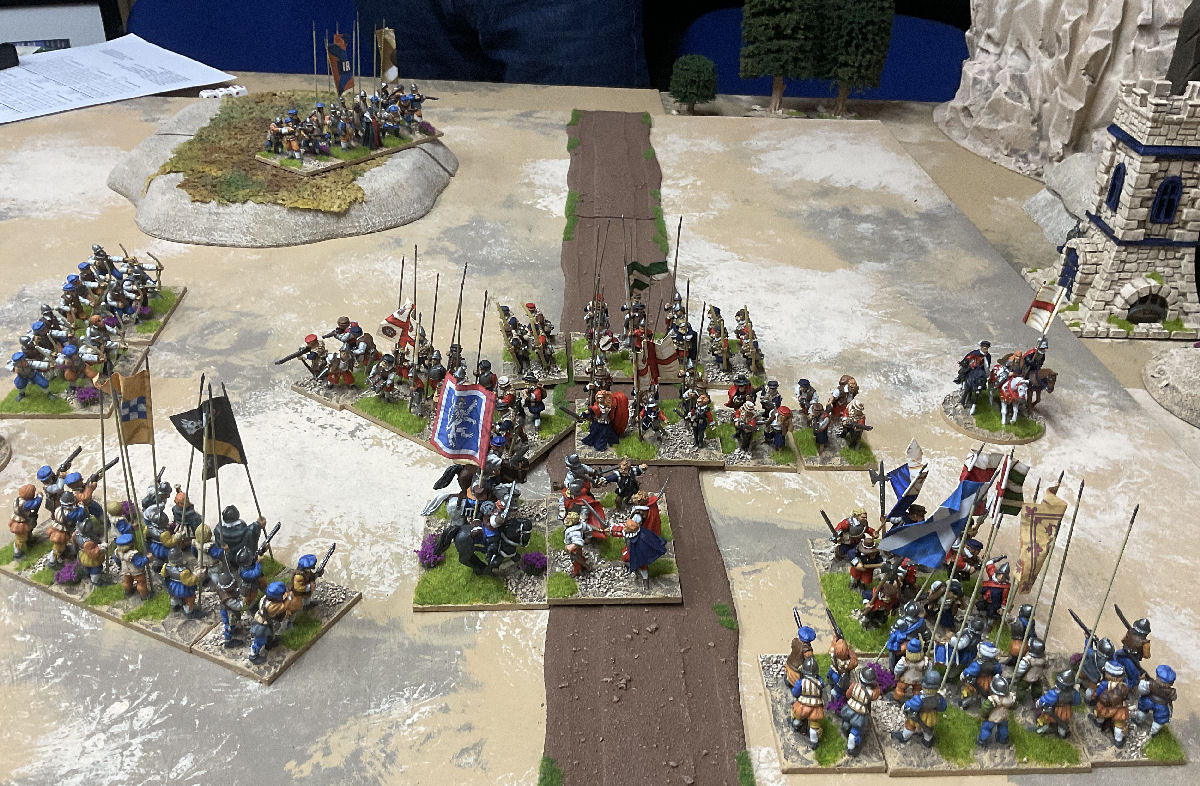
The final English infantry unit on the hill was attacked both frontally and in the flank and broke. The English infantry on the road lost a unit to the archers but their muskets destroyed one of the archer units in return.
With cavalry threatening their flanks and Scottish archers and pike in front of them the English conceded. 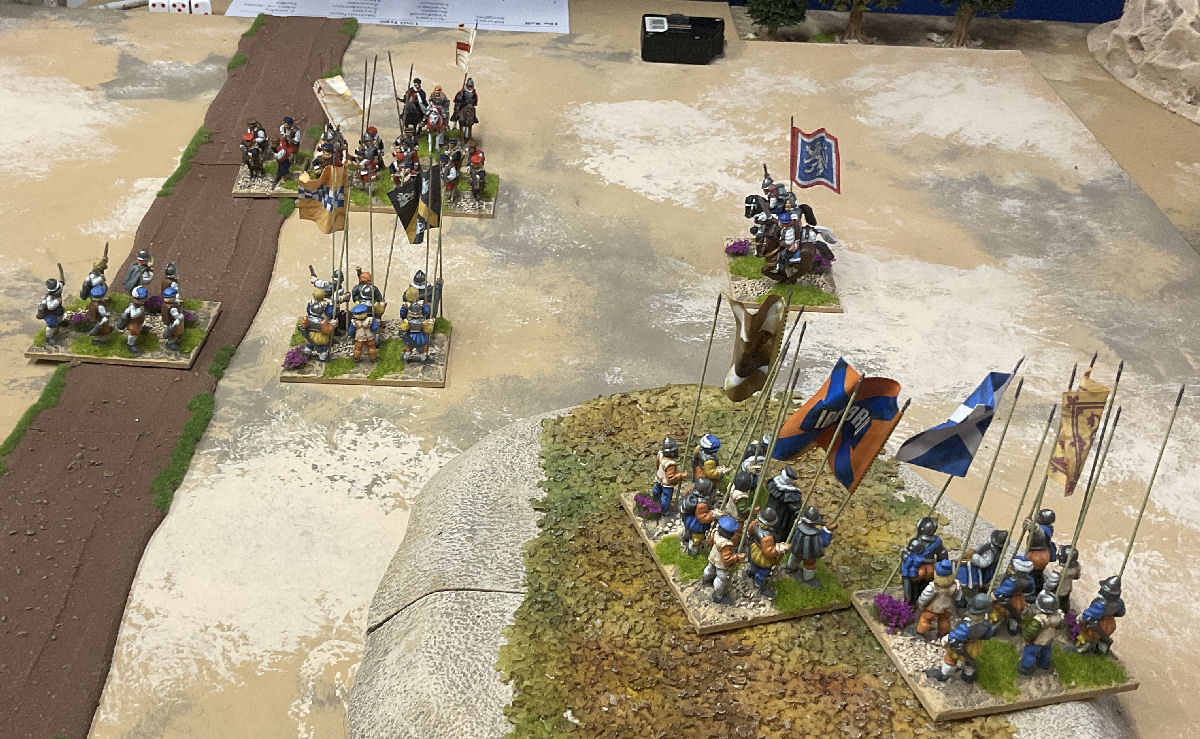
A good game with the Scottish archers dominating the battlefield. The whole thing took about half an hour to play through.
|
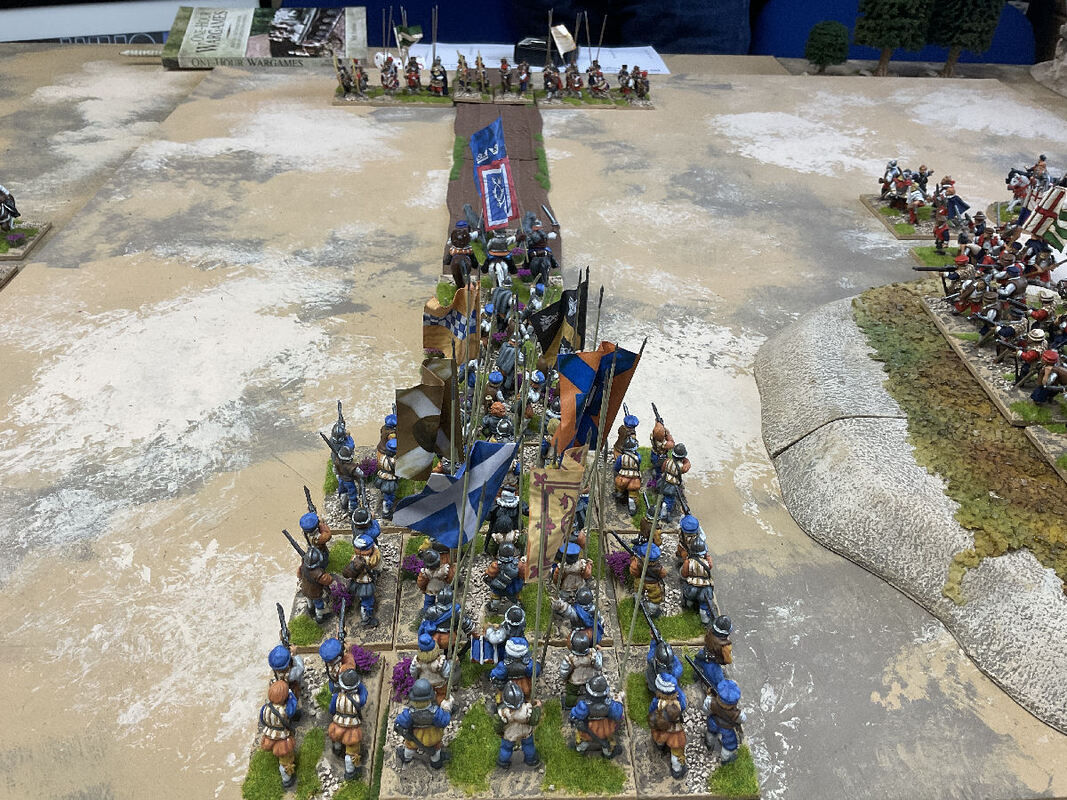
Flank Attack. Scottish vs English
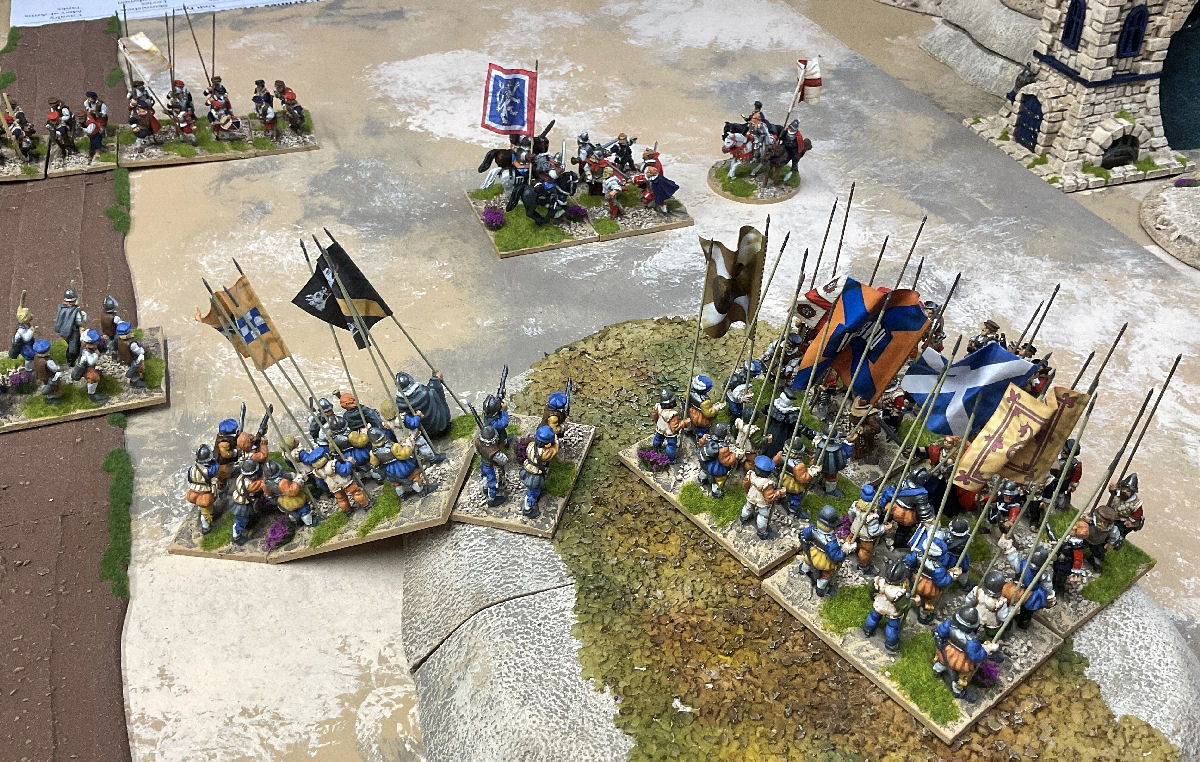
The same scenario as our last game but we switched ends so that the English have to get three unit off the table to win. 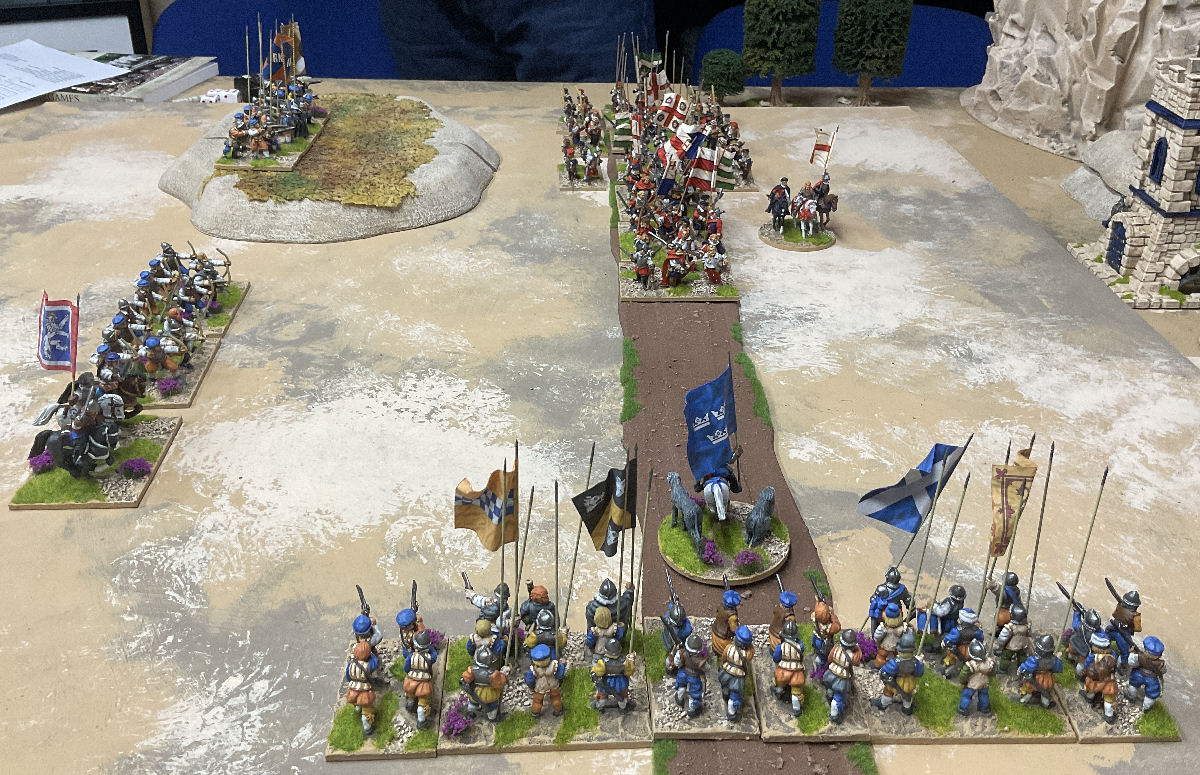
The English opened proceedings by heading up the road at maximum speed.

The Scottish cavalry intercepted the leading English swordsmen (their favourite target) whilst the Scottish infantry and archers opend fire on the advancing warbands, destroying one of them.
The English infantry advanced to bring the Scottish into musket range and battle was joined in earnest. The surviving English warband slammed into the blocking Scottish infantry.
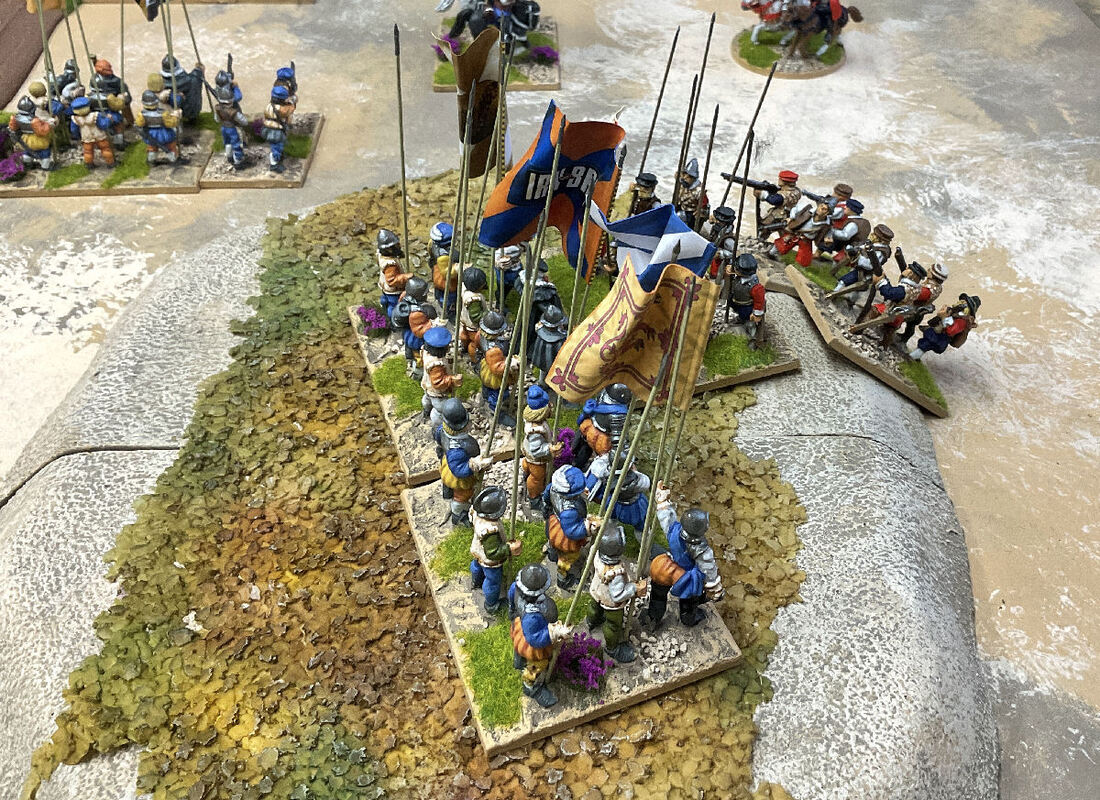
The Scottish cavalry finally saw off the swordsmen whilst the infantry of both sides and the archers kept exchanging shots.
With a final surge, two English infantry units pushed throught o exit the table whilst the Warband destroyed the Scottish infantry blocking its escape.
Things were looking dicey for the Scottish. Their infantry was out of ammunition and too far from the warband to engage it in melee and the Scottish archers couldn't shoot because their cavalry was in the way. Only the badly mauled Scottish cavalry had a chance to stop the warband leaving and gaining an English victory. Accordingly, they charged and, against the odds, swept through the English destroying them in the process and securing victory for the Scots. 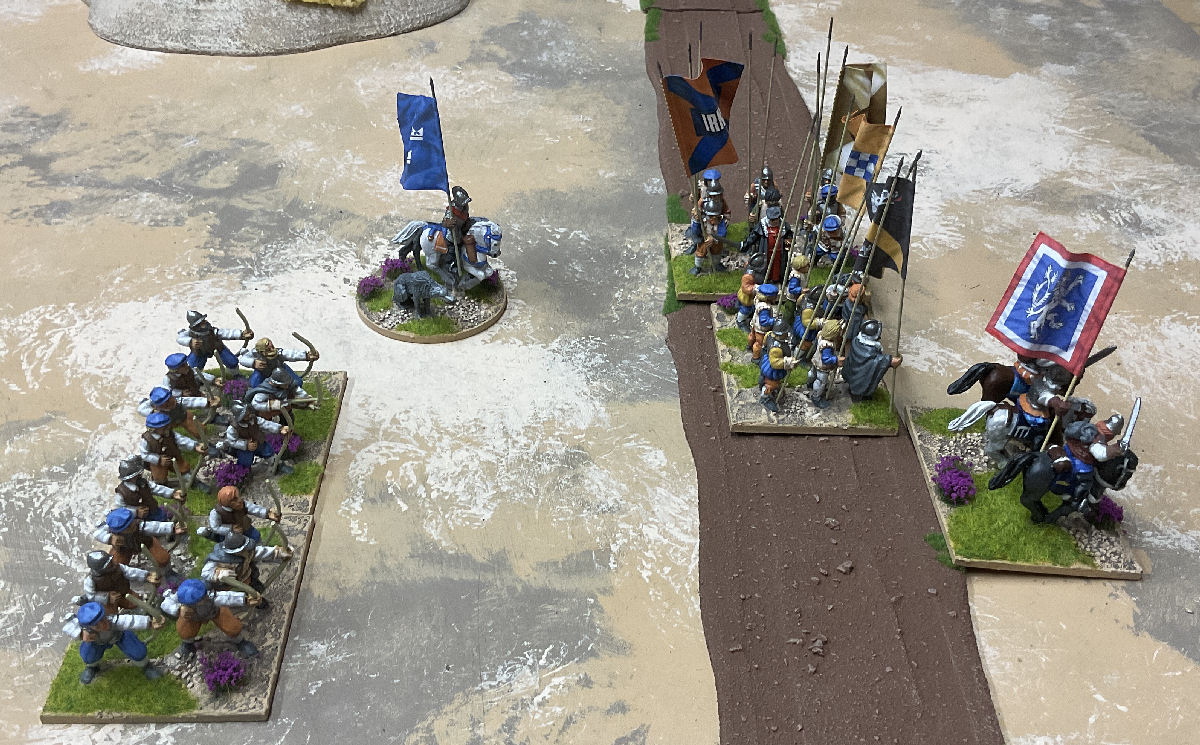
Another good game. Very tense at the end and, again all over in less than an hour.
|