|
by Regor
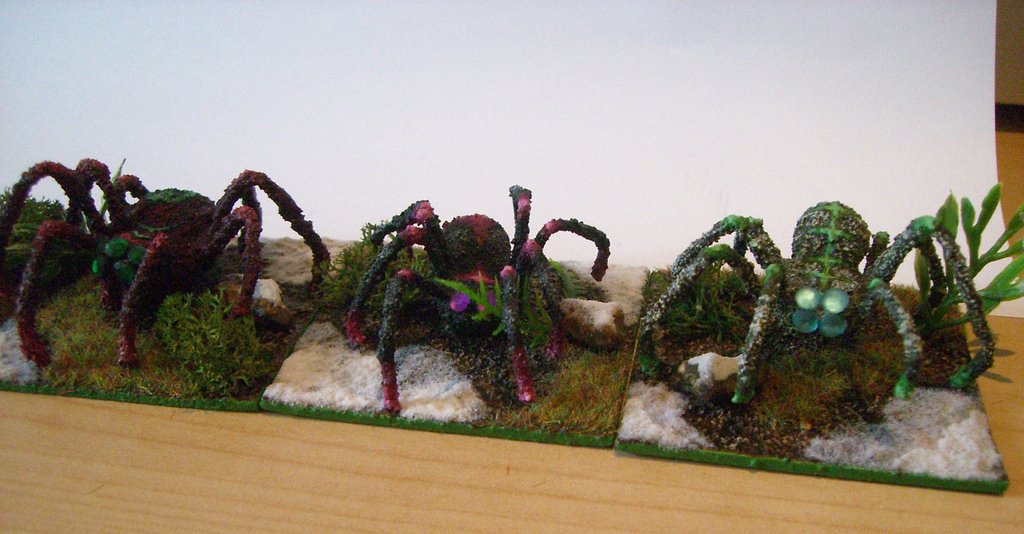
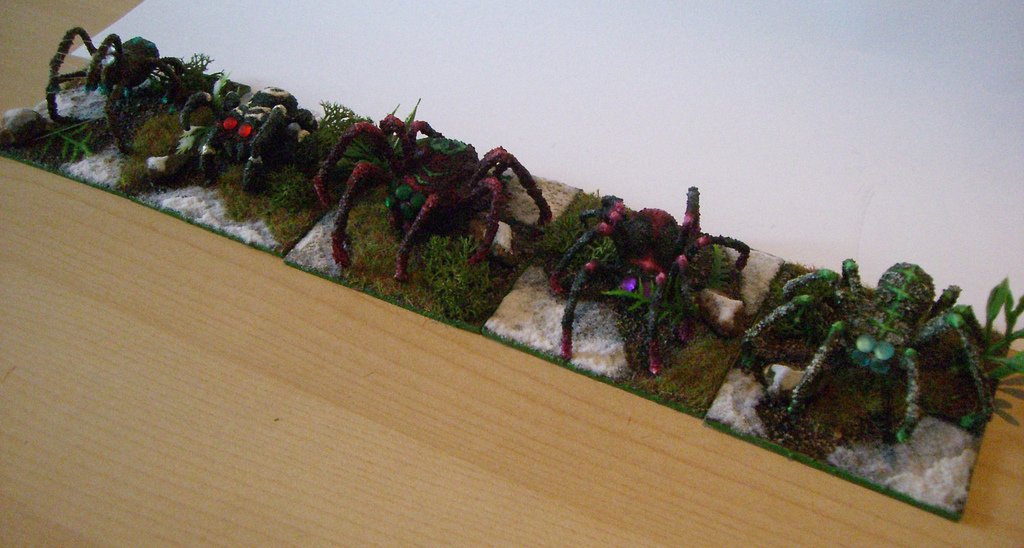
Materials needed: Floral wire 2mm Milliput Basing card/plastic/wood Flock grass or basing material Sand (mine is off Southsea beach in Pompey Smile Rhine stones, available from any haberdashers or John Lewis Semi transparent sewing repair thread (for spider webbing) 1: Cut 4 lengths of the wire with snippers, slightly shorter than a finger length (assuming you are making a 28mm scale giant spider and your fingers are of average length). It doesn't matter if they are slightly different lengths, don't get too scientific here, when you are putting them together they will fit no matter.
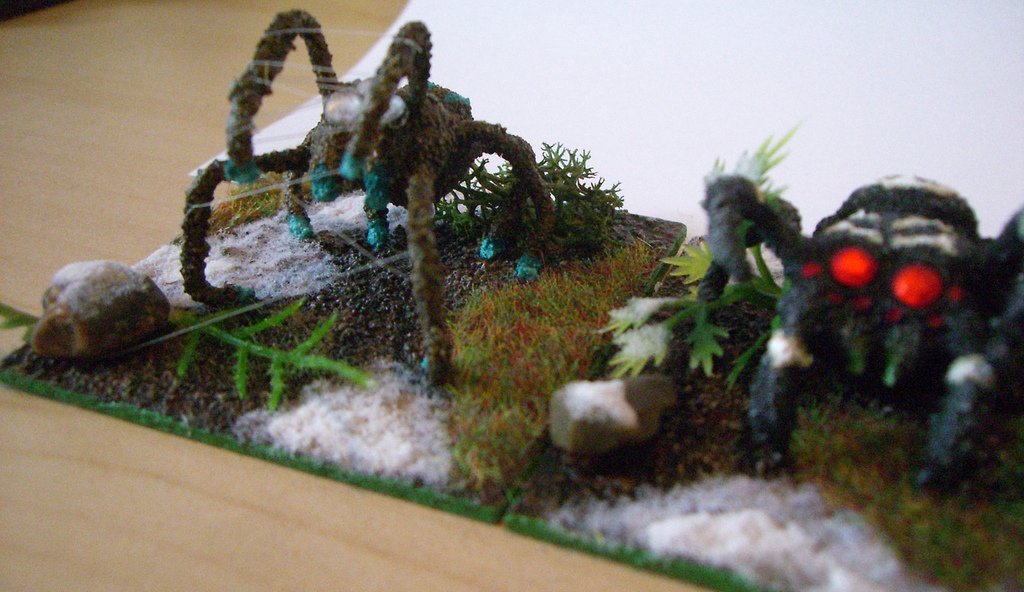
2: Bend the wire into interesting "spider leg poses", get creative here, you can have some down, some with one leg up, one leg down, some legs both raised, the common factor should be that all the legs when you bend it have a middle section which is flat and is going to sit horizontally parallel to the ground plane. 3: When you are happy and have 4 different legs, roll some milliput or other modelling putty together into a small ball, and press the 4 legs together into this ball, with your horizontal middle of the wire sections sitting side by side flush, this can be a bit fiddly, and it is here that you should be moving the legs to get a nice spidery shape...e.g you might want 6 legs on the ground, 2 front legs up or a more rearing shape, or some legs on the ground some legs off as if the spider is scuttling along. Leave this section to dry, you can return and take a look when the putty isnt quite but mostly dry and pull the spider legs into shape a bit with pliers, I did this on a couple of the spiders to make a more dynamic shape. 4: Mix up some more modelling putty and give the spider an abdomen, you can have it raised over the back legs or flush in between, no matter, but this stage will suddenly make the thing look a lot more spiderish, I also built up the head area with a bit of putty and a modelling tool, just press it on, and smooth it down with a bit of water on the modelling tool, I also rolled 2 tiny sausages of putty and pressed the top edges onto the head, and made little spider fangs/mandibles for a couple of the spiders, but this isn't required, it does add a bit of character to the rearing spiders though if you fancy it. Use the modelling tool to shape the sausages into fangs a bit more, but remember when its dry you can get in there with a scalpel and softly sharpen them. leave the spider WIP to completely dry. 5: The next stage is to glue the spider to the base you have, just rest it on the base first and see which legs are touching, and then dab some superglue on there, because the constructs are so light, not a lot of glue is needed. Leave to dry fully. 6: Sanding them comes next, completely cover the spiders with PVA glue carefully, make sure to get in the nooks and crannies between the leg bends and between the abdomen and the legs. Dip the whole thing into a tub of sand, or sprinkle sand over, I did a bit of both. A final little thing I did was to wipe off the spiders "face" area of sand, to make it smooth with the putty showing through, as the rhinestone eyes sit better on a flat surface than the crinkly textured sandy areas. Leave to dry thoroughly. 7: Undercoat the whole thing with your desired colour, you can get a few images up, there are tons of amazing spider patterns, I did have a look and then flew in the face of natural history and just chose colours and designs I felt looked funky, spidery, deadly poisonous and cool. Its up to you. Leave the undercoat to dry, it takes a while as it soaks into the sand. Next up I dry brushed the spider with 2 highlights, and finally painted a design onto it, on the raised knees or on the ends of the feet, the abdomens usually got some nice patterned design but this is all entirely up to you. 8: Dab some super glue onto your spiders face area and take a tweezers and drop in as many rhine stones as will fit, or you think looks good, the faceted nature of the little faux jewels work great for spiders eyes and my 5 different spiders have from 2 to 5 rhine stones, some spiders I have painted extra eyes around the big jewelled looking eyes, but it just works and gives them a nice staring spidery quality, the rhine stones come in a myriad of colours so you can get creative on complementary colour tones and schemes. 9: One of my spiders with 2 raised forelegs, I decided was spinning a web to cocoon or encase a freshly killed victim, this was accomplished by carefully tying some see through plastic sewing repair thread (its very thin and very tough) around one of the forelegs near a knee join, tie it with a couple of knots and try and hide the knot under the knee, but to be honest the thread is so thin you wont notice it, and it should hold there because the loop round the leg will naturally fall into a crevice made by the sandy texture, then just loop it round the legs as you desire a few times and pull it taut, before tying it off to another leg, i even had it go round a small stone on my base, as usual get creative and have a go with this, I was very happy with the results. 10: Flock and plant up your bases, I added a lot of plants and moss and grass etc, spiders work best I feel creeping out of the dense undergrowth! All done! hope the step by step was useful and you all have fun making some spiders! |
|


