
|
The Plan
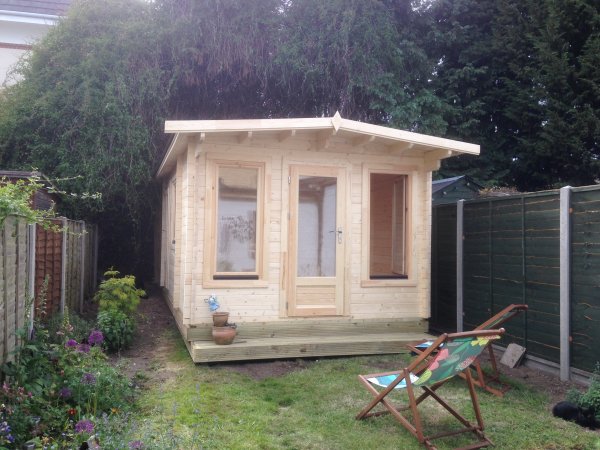
I need somewhere to play games. I don't like setting things up and then breaking them down immediately afterwards in the living room and I'm not particularly fond of carting all my stuff to my friend's house to play. I used to have a games room upstairs but then my daughter arrived and I lost it to her. I opened a games shop and had loads of room but after five years it closed. Since then I've been without the means to easily play games. The answer was a games cabin. After a bit of looking around we decided Creative Living were the people to go with and the project was underway. Not all the cabin is mine, there's a section at the front that's for my wife to sit in and enjoy what's left of her garden, but there's a room for me at the back. My room measures 3468mm x 3012mm (11.37ft x 9.88ft) and it'll do for me. 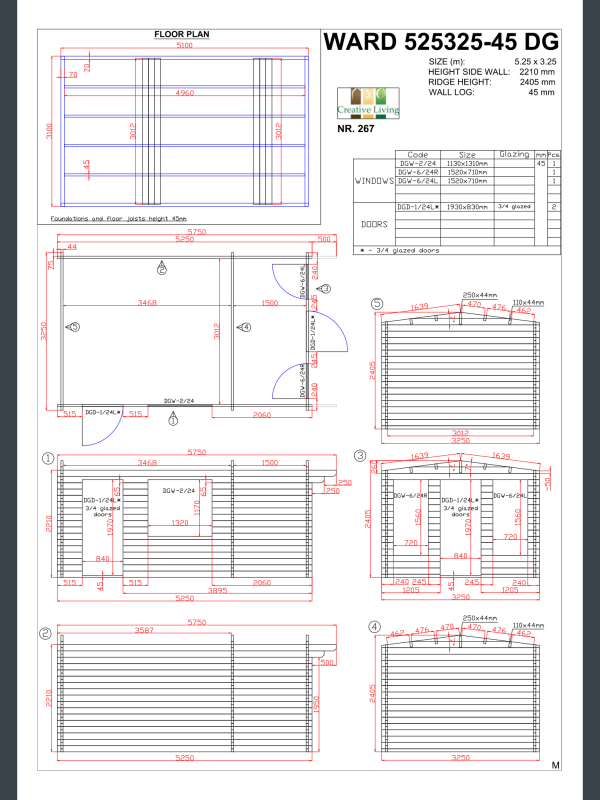
The Build Day One
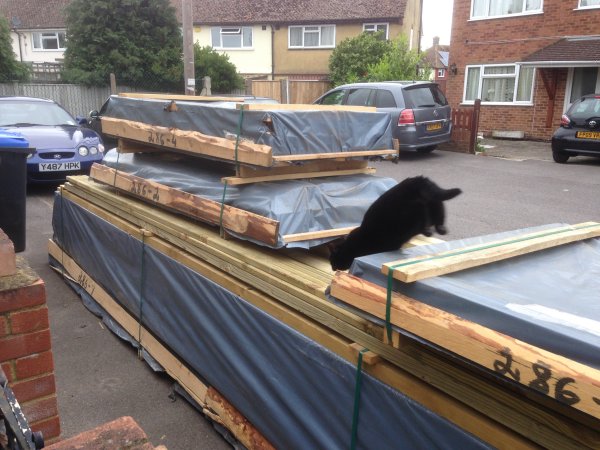
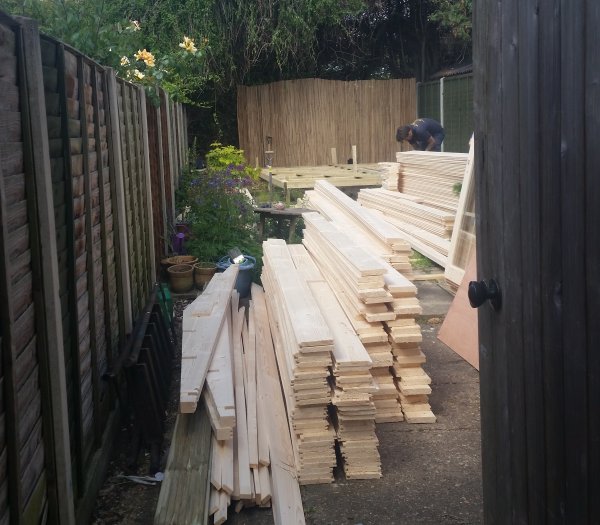
Early this morning a lorry arrived and deposited a load of wood. 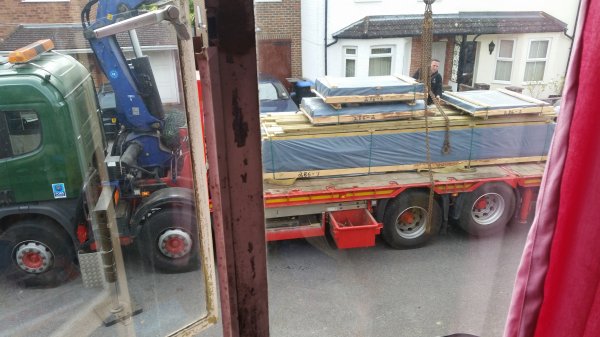
Once Kevin had checked it over we accepted delivery and the build was on!
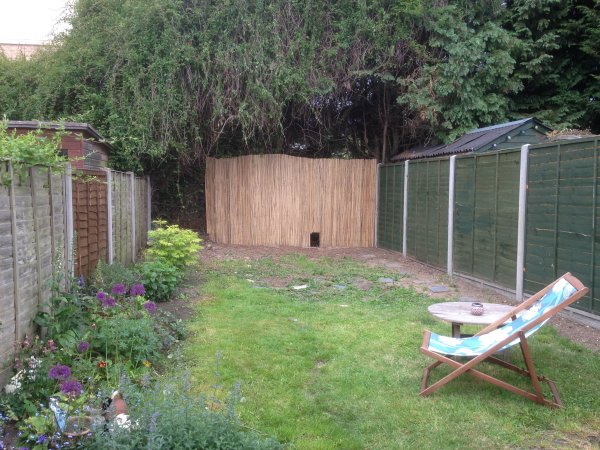
The garden was already cleared and ready to go. That rectangular hole you can see at the back is the cat thoroughfare.
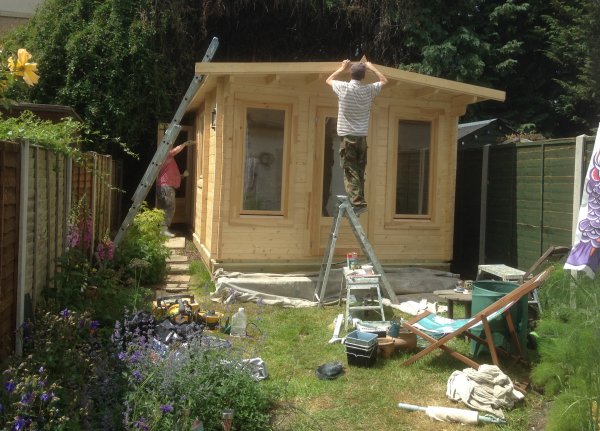
Damien and Joe did the actual building, they're trained professionals (thank goodness).
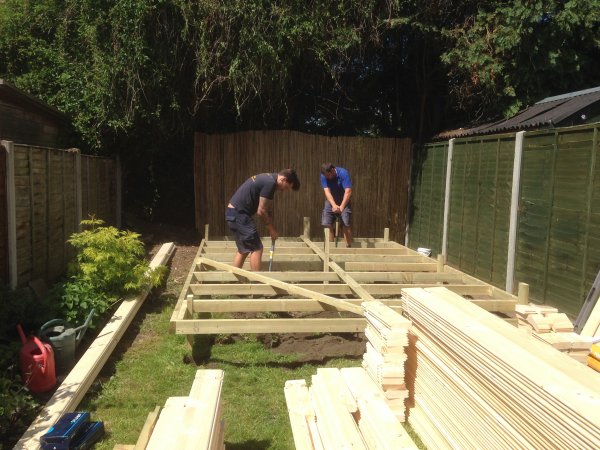
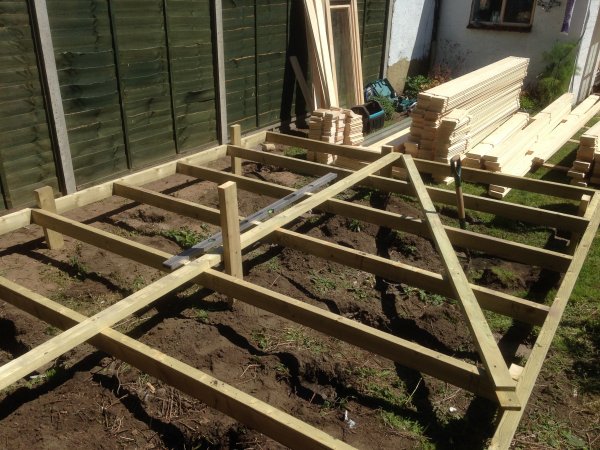
Once the ground plan was mapped out and laid in I went off to watch a film and had a nap.
Others took photos in my absence though.
When I returned they'd got to this stage and were done for the day. That's my wife Frances on the roof cutting back a vine thing to make room.
This front door leads to her bit of the cabin. 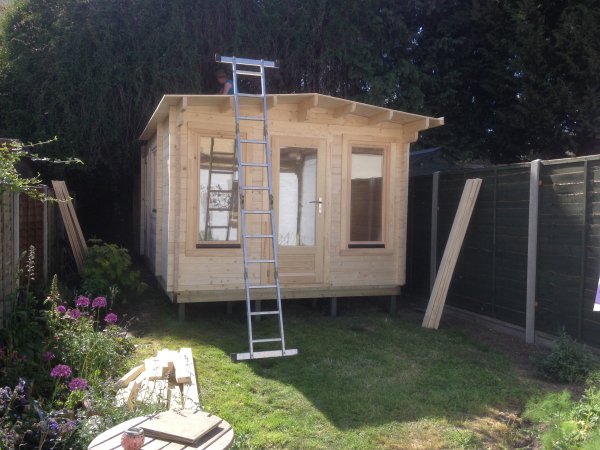
Here's a shot with a person (my daughter, this whole thing is her fault remember) for scale.
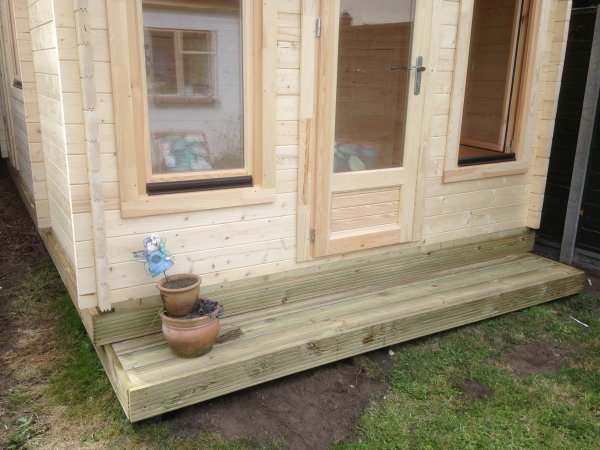
Here's the door to my part. The floor's not in so no interior shots until later.
The Build Day Two
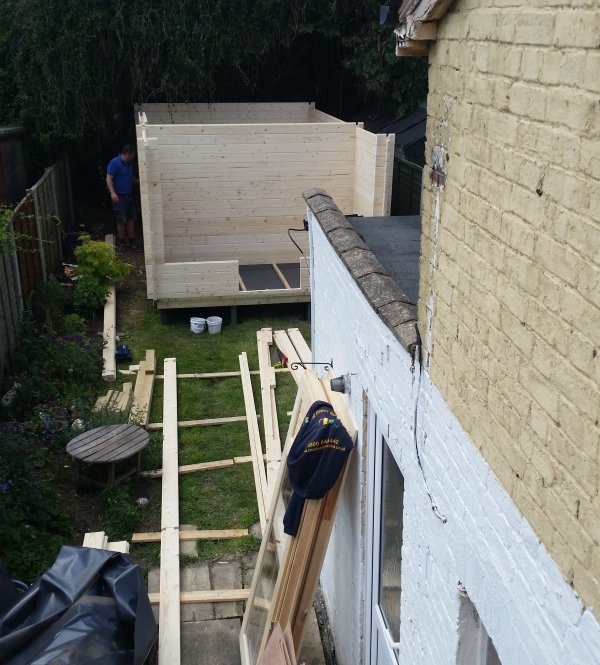
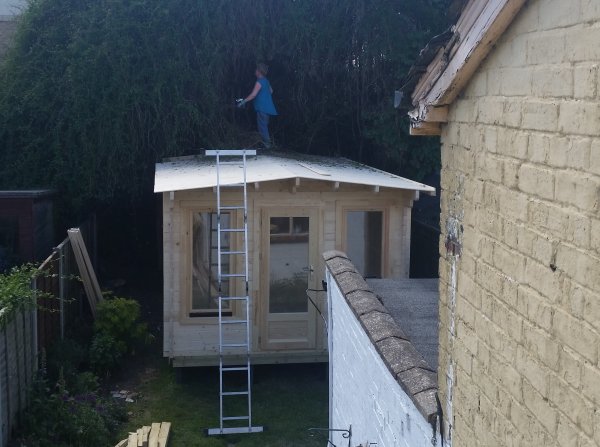
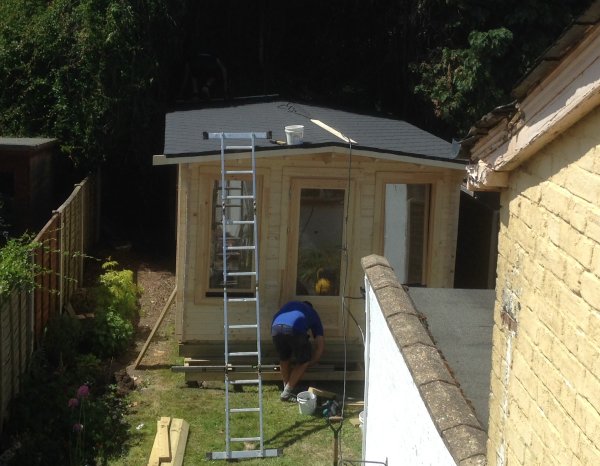
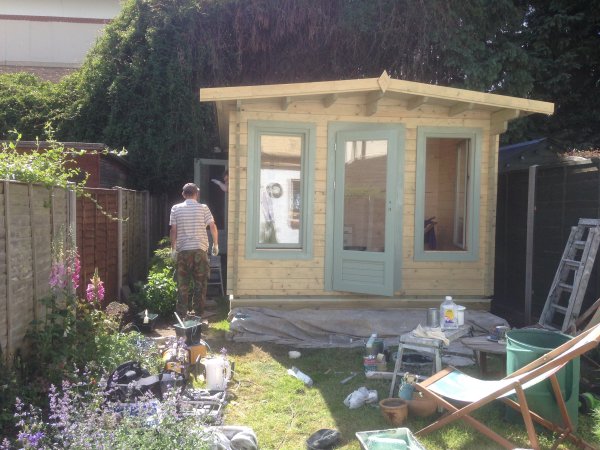
On goes the roof. 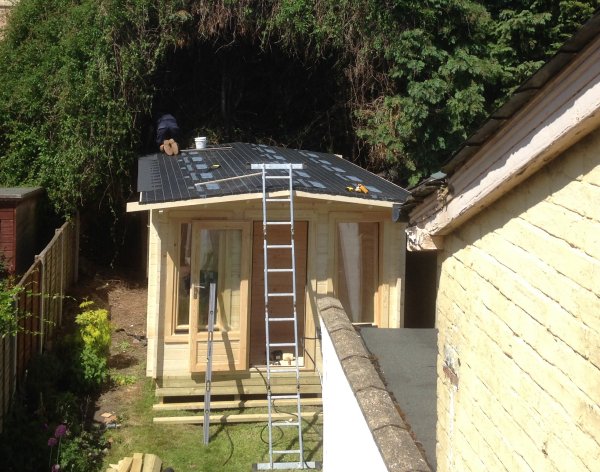
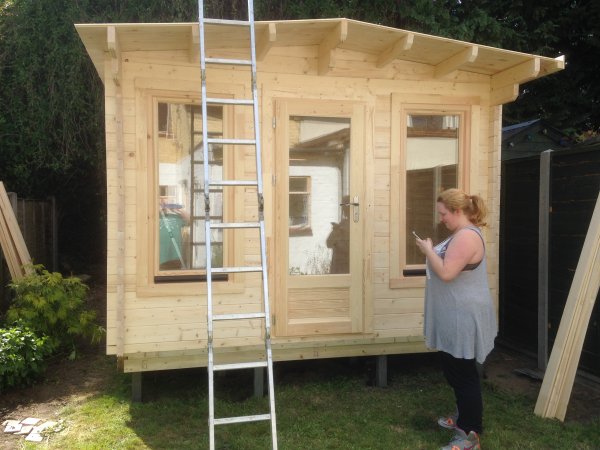
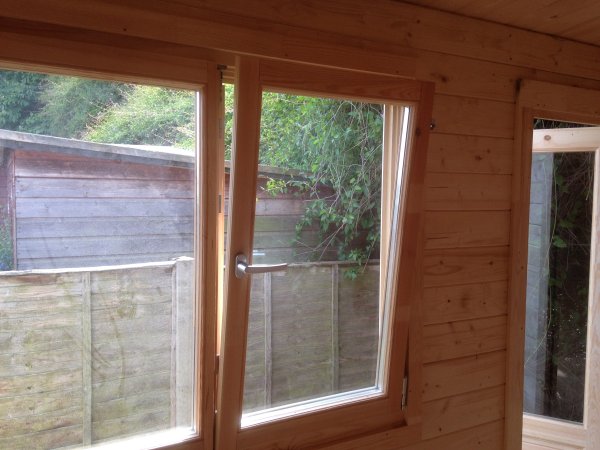
I have a window that either opens fully (both sides open although only one is open here)...
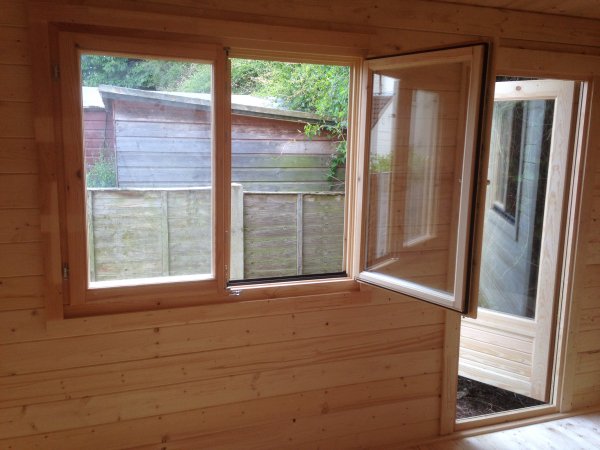
or just tilts to let in some air. (Only the one window tilts).
The construction's complete and Damien and Joe have gone.
Already the homely touches start to appear next to my wife's section.
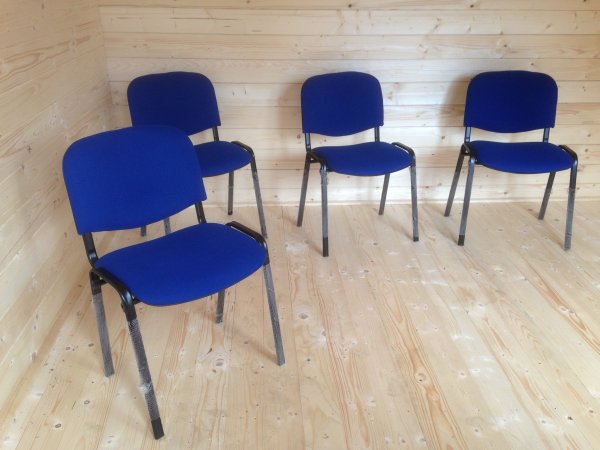
Much more excitingly(?) my gaming chairs arrived too!
That's it for day two. The electrician arrives tomorrow to add lights and plug sockets.
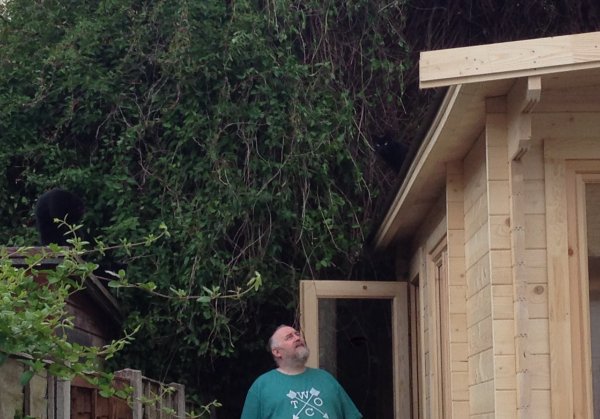
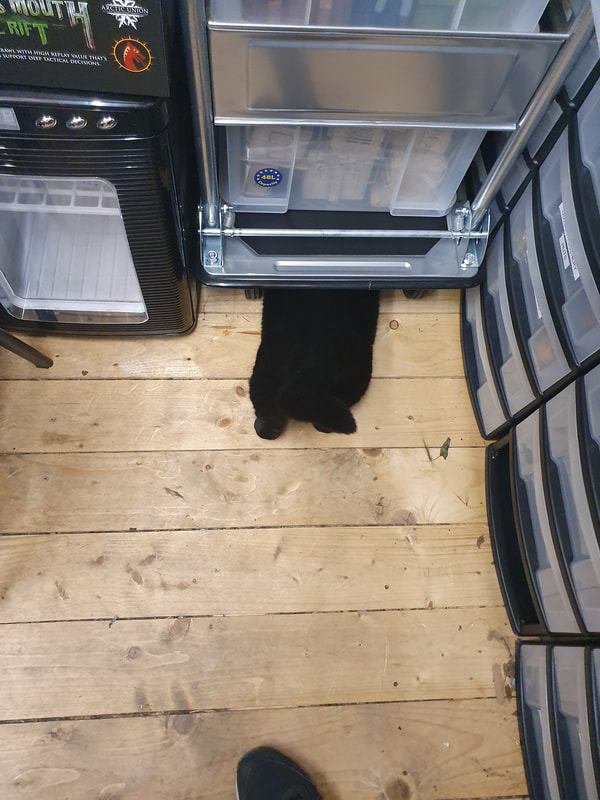
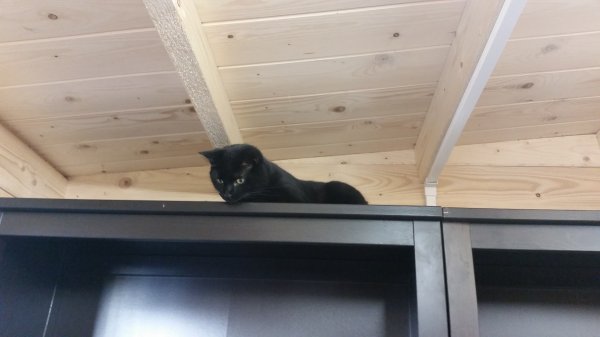
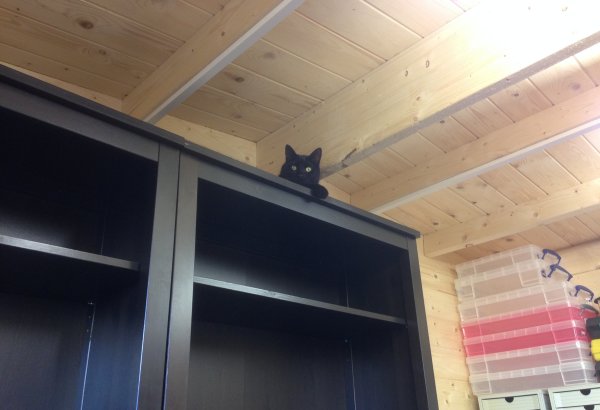
The cats are coming to terms with the new thing in their lives, they were very wary at first. 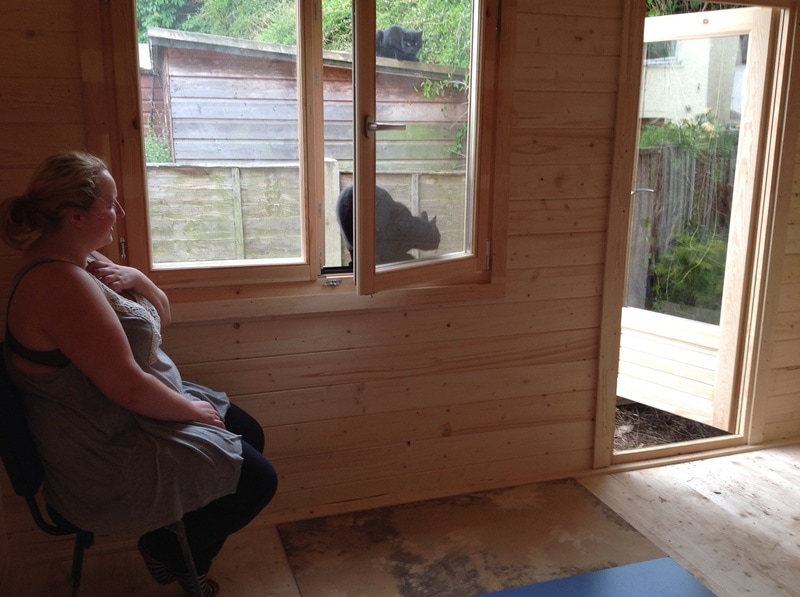
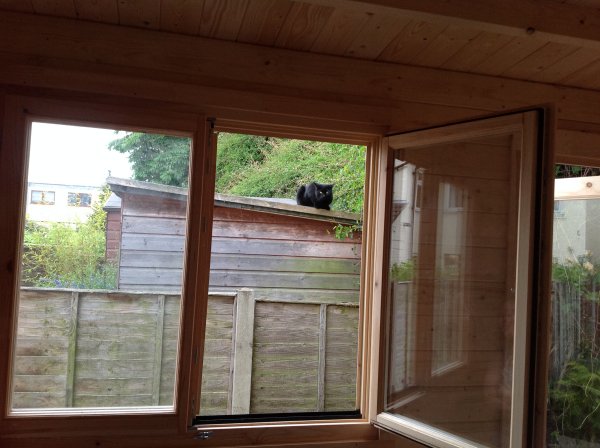
Eventually it will seem just like home. Sylvester was (unsurprisingly) the first to access the roof.

Day Three- Electricity
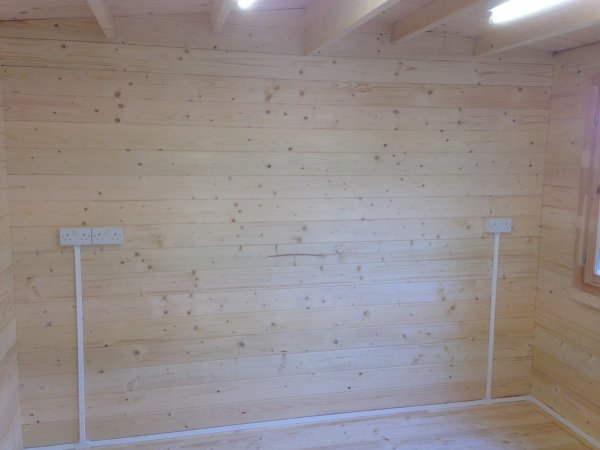
It took a while what with drilling under the house to connect to the mains but the lights and sockets are in and working. 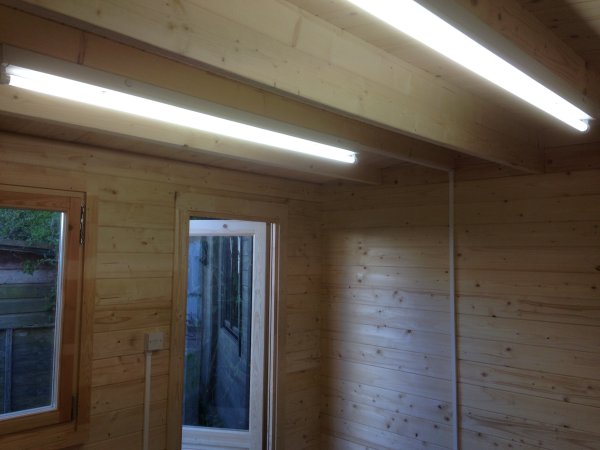
And the doormat is installed!

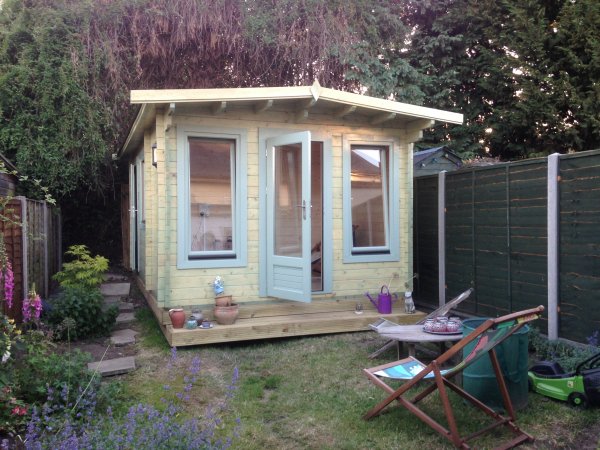
Painters have arrived.
All done.
2019- The Sorting
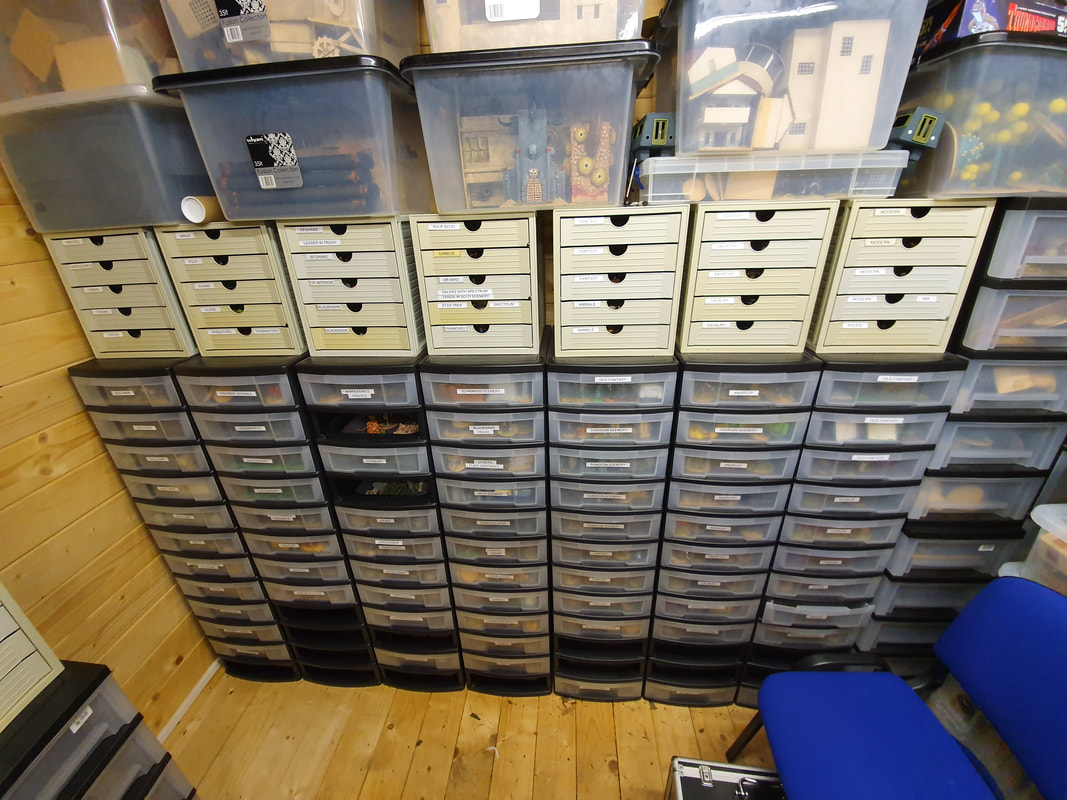
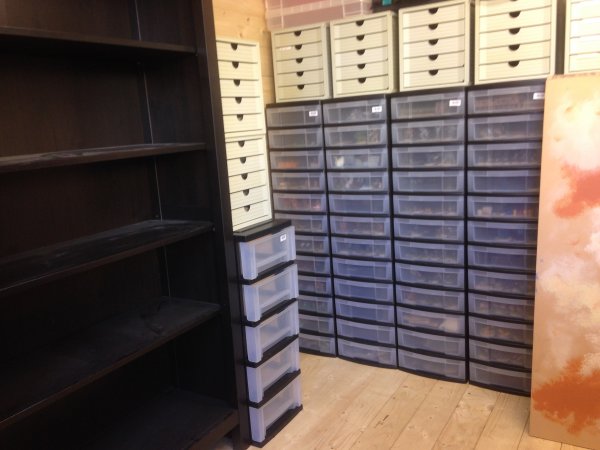
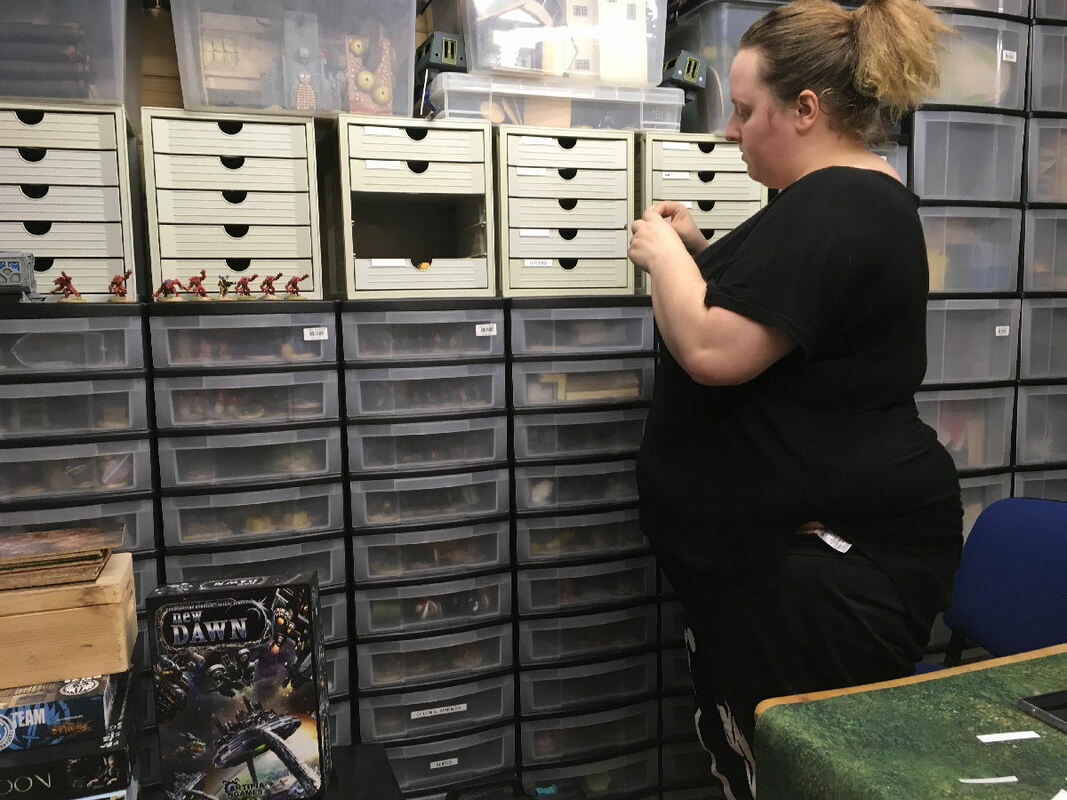
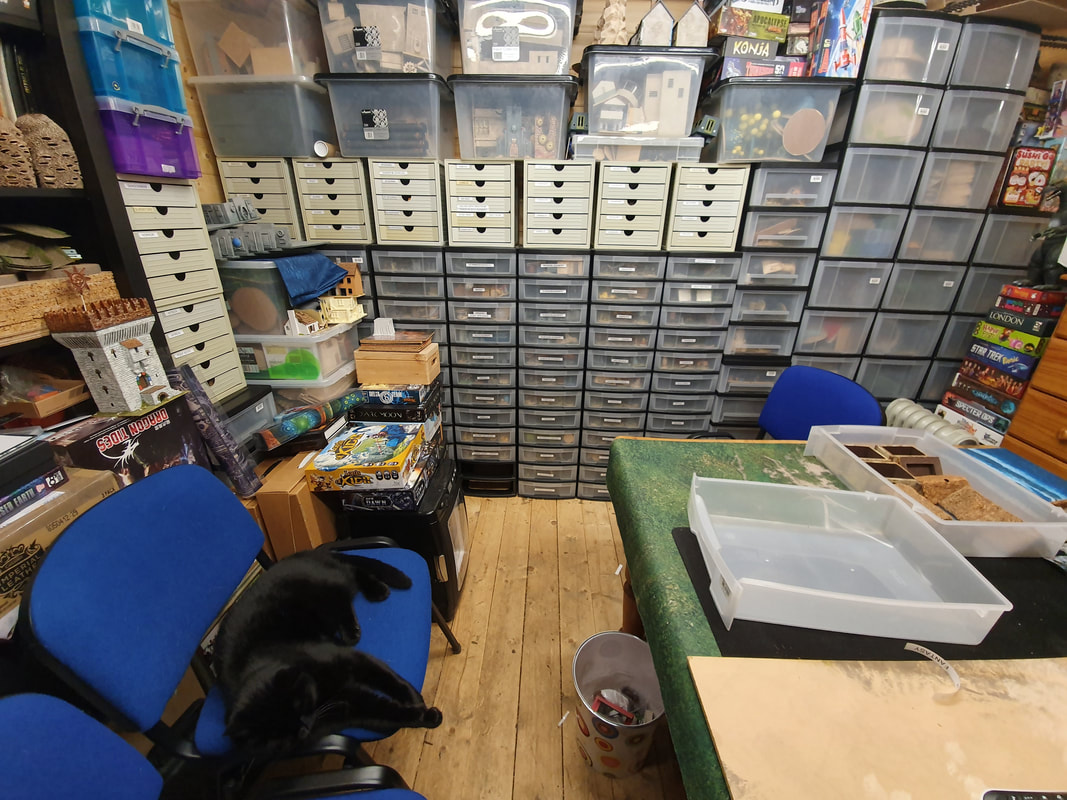
In March Michaela and I decided it was time to really organise my miniatures into labelled drawers. Over the four intervening years since I moved everything into the cabin (rather haphazardly it, must be said) my miniatures had become more and more mixed up and intermingled with new arrivals being squished in wherever they'd fit. I was having difficulty finding anything which made setting up for a game really frustrating and long-winded. 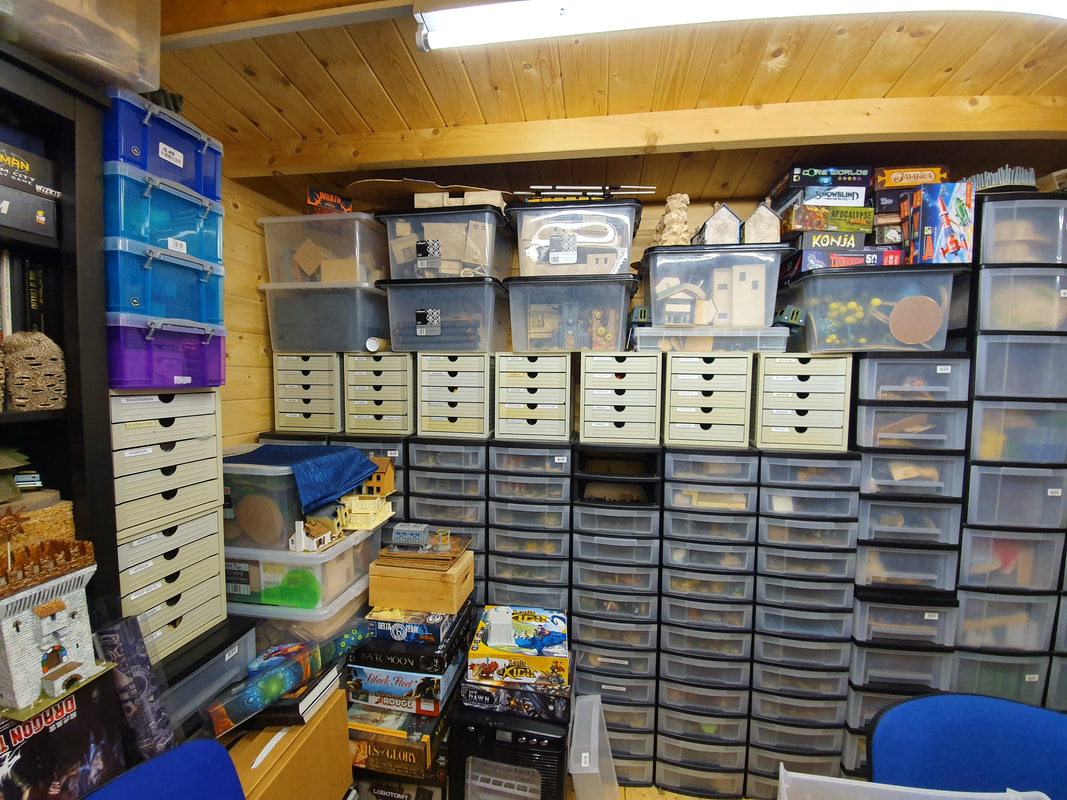
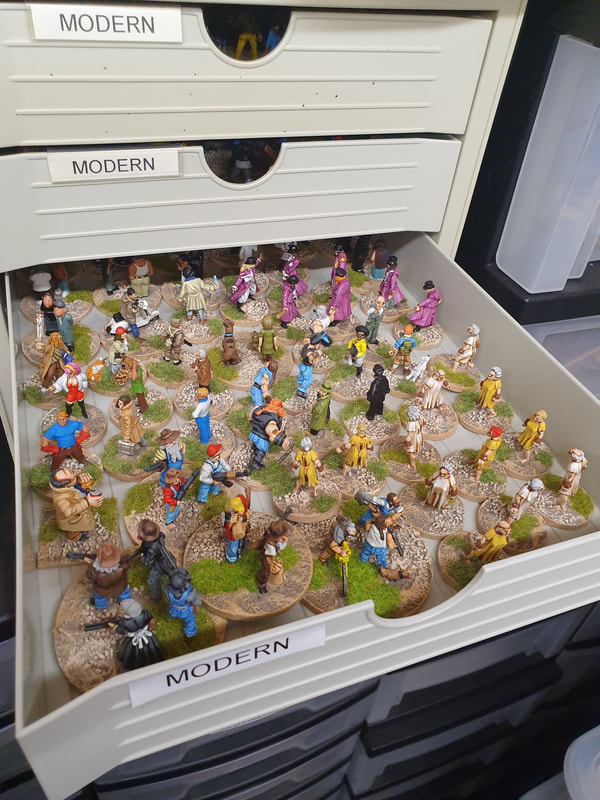
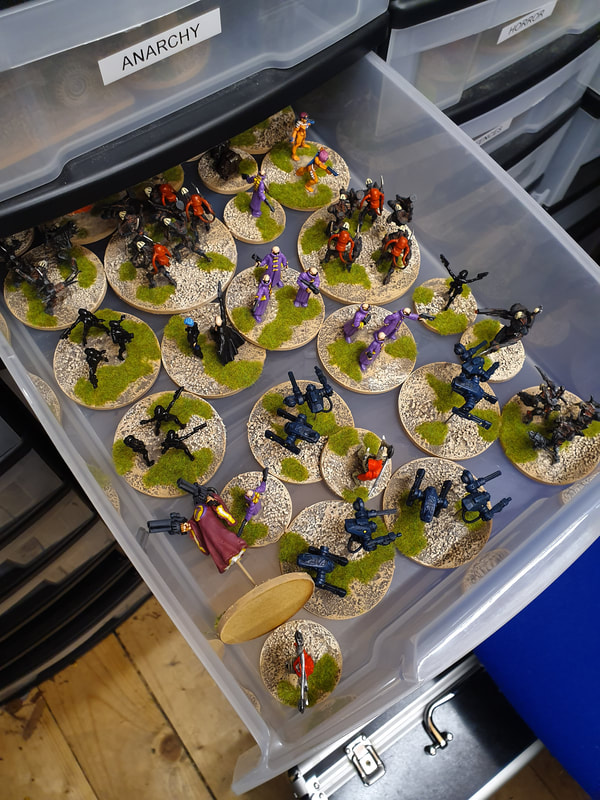
It turned out to be easier than expected. We started with the smallest grey drawers, grouping miniatures into sets and labelling the drawers appropriately. When we came to miniatures from a set that didn't fit in the grey drawers, such as mounted figures, we started a drawer for them in the medium drawers.
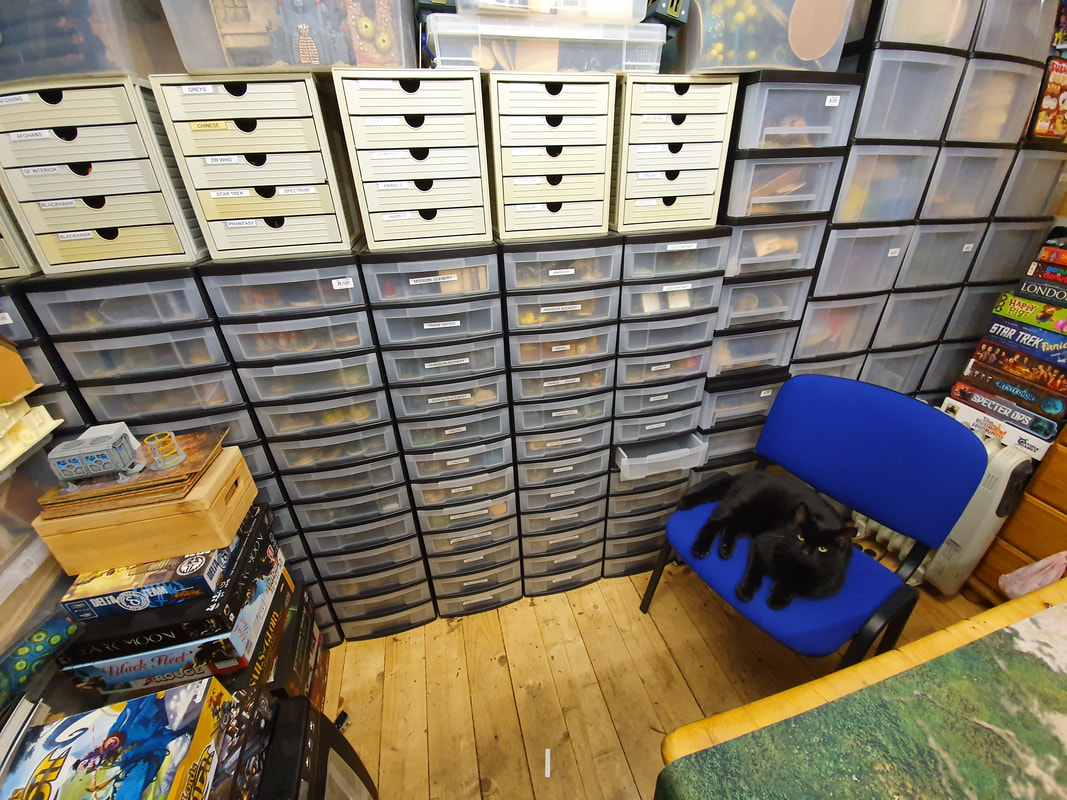
We spent a couple of hours each evening doing this and by the end of the week we'd sorted all the grey drawers, all the medium drawers and emptied all the carrying cases which had miniatures in them from years back when I'd taken games to various events. We even had 17 empty drawers cleared and ready for future expansion. 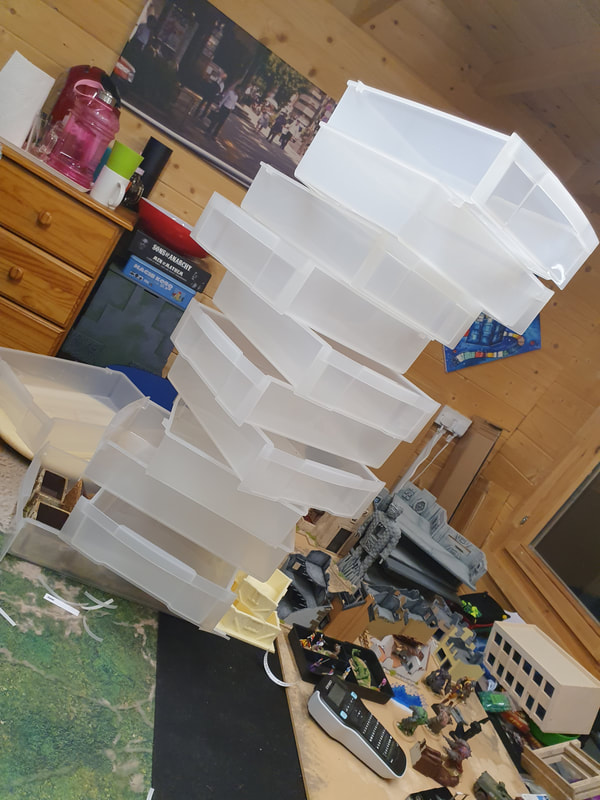
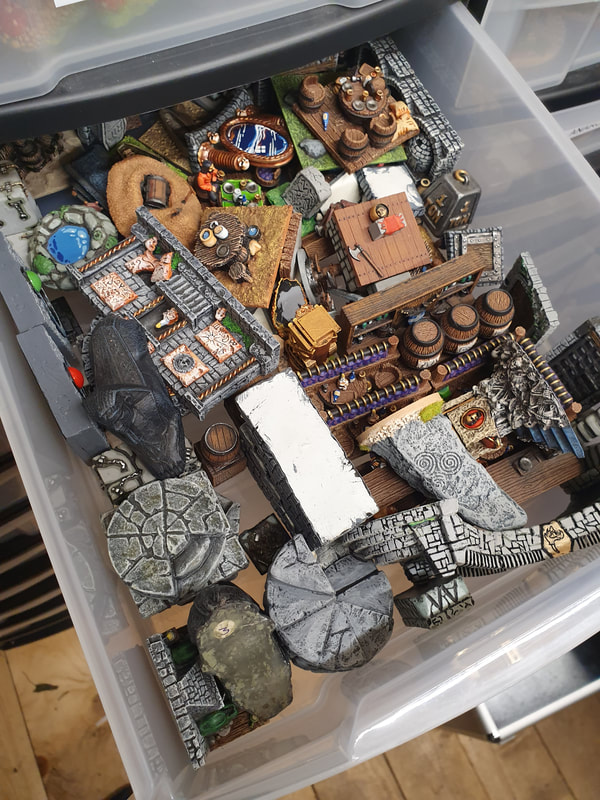
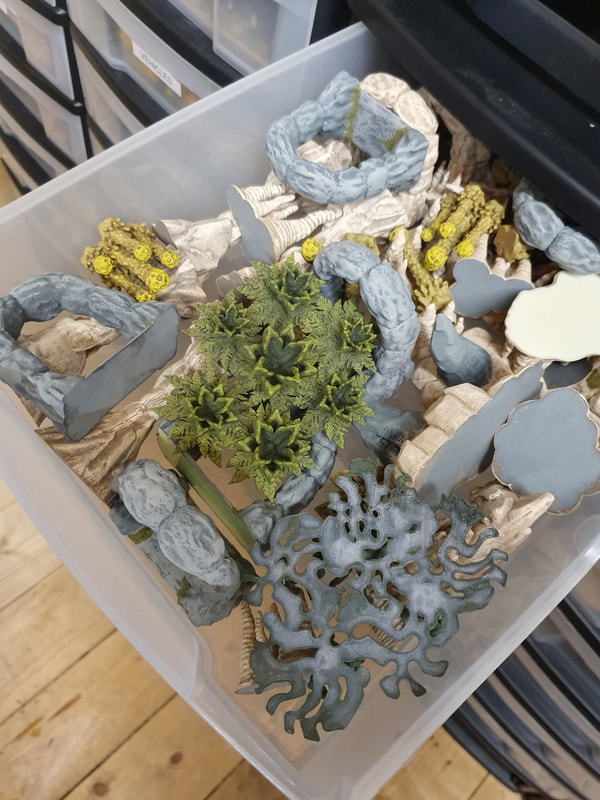
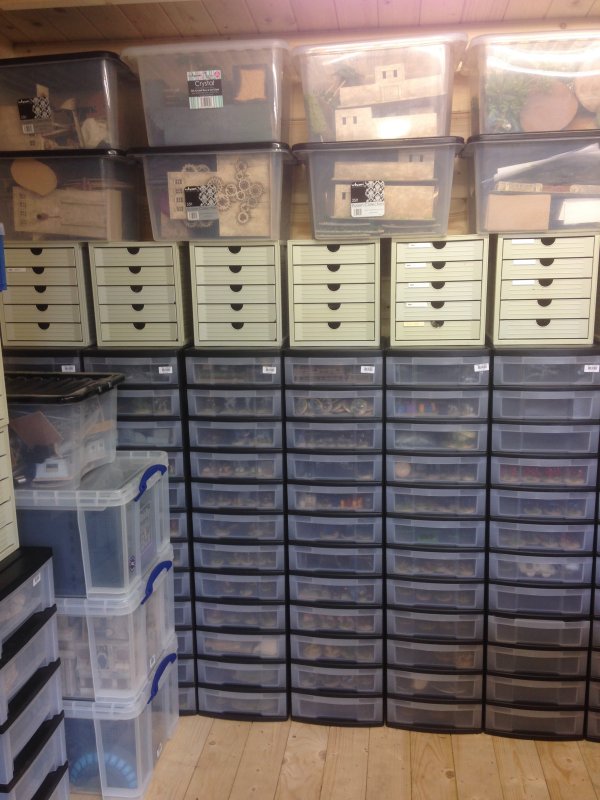
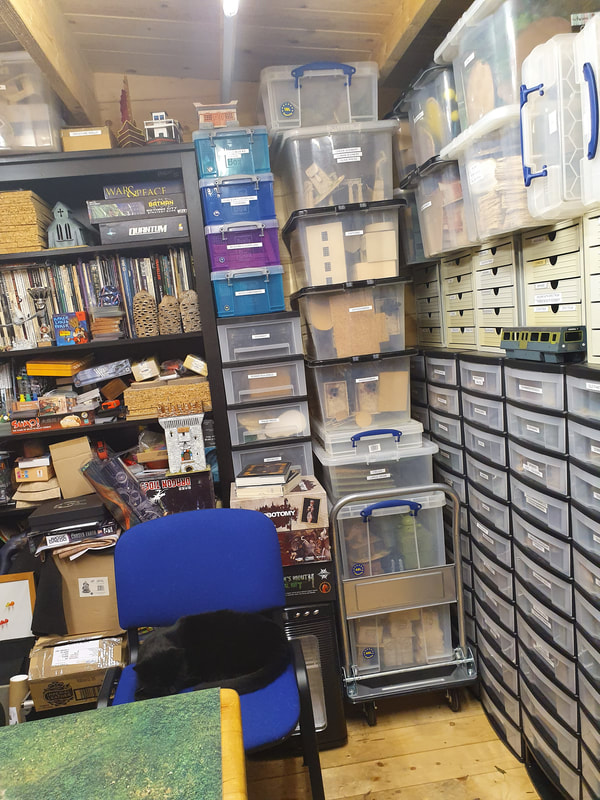
Some drawers, particularly the scenery ones, are very full and I've ordered some small boxes so I can sub-divide the contents by type later.
The stack of scenery boxes was blocking access to a lot of the miniatures drawers so I bought a trolley. Everything rolls back and forth nice and easily now. Sylvester investigated under the trolley to make sure everything was ship-shape.
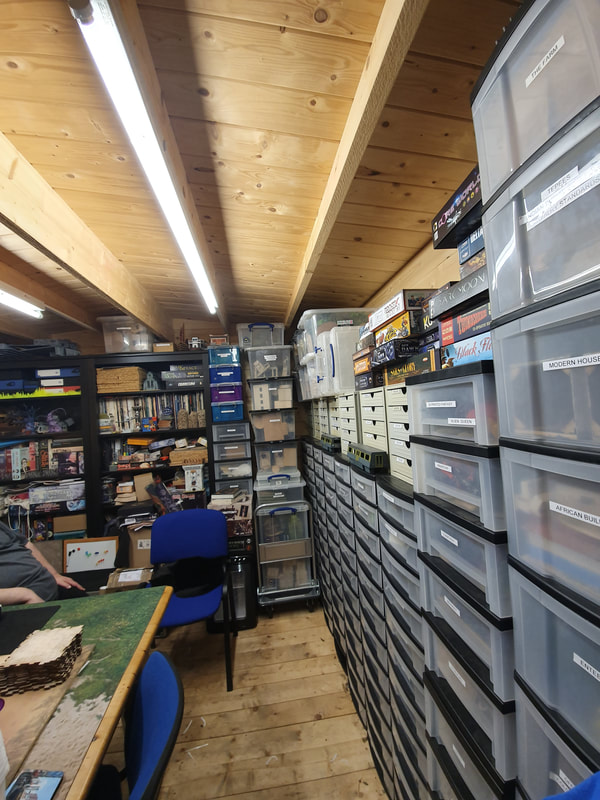
All the miniatures drawers and the scenery boxes are sorted and labelled now. only the shelves and the board games/RPGs remain to be done.
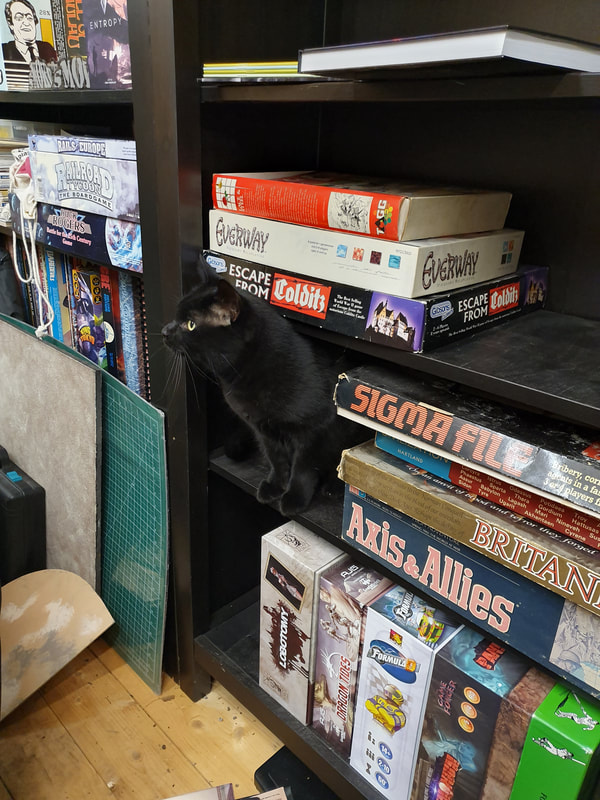
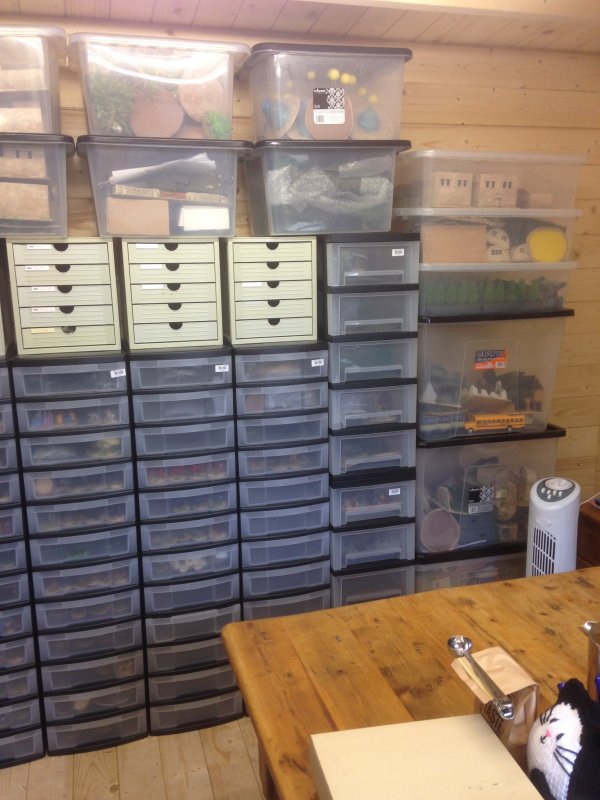
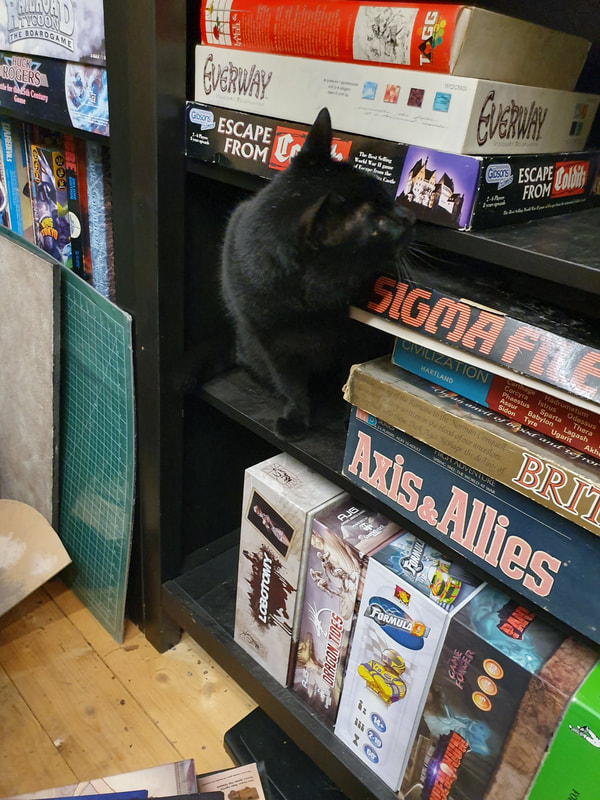
We started on the shelves helped by Sylvester. In a very short time the two tall piles of games that had been on the floor were found homes.
All done! Felix even stayed for the hoovering.
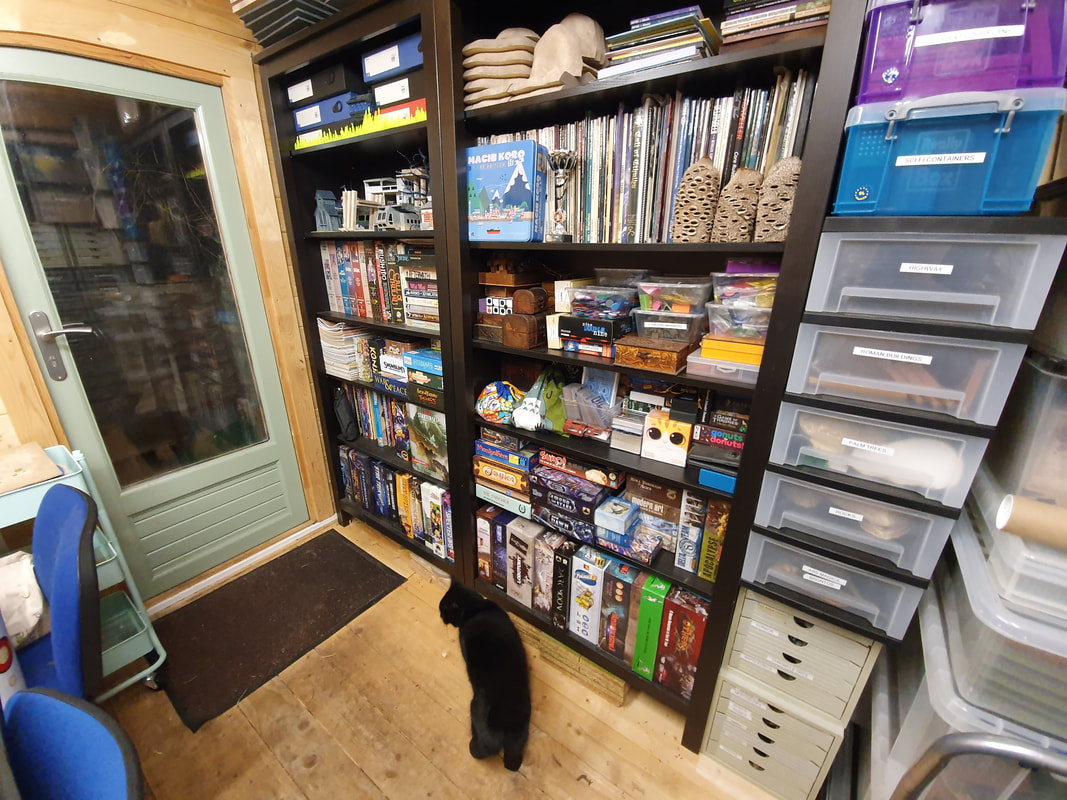
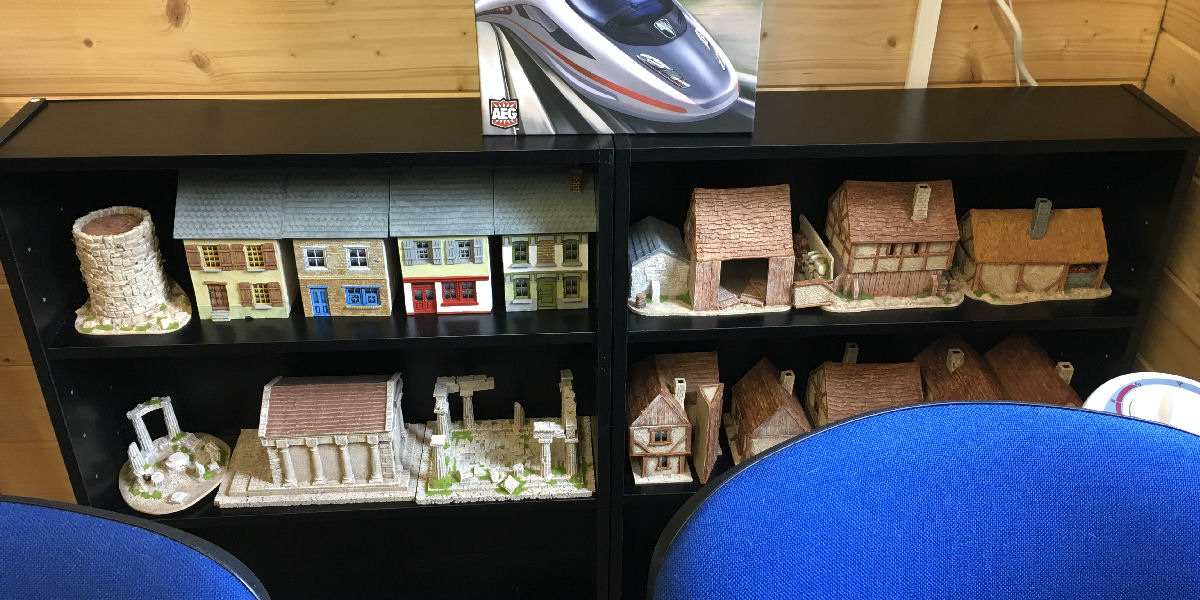
We managed to squeeze in some more shelves to hold resin buildings.
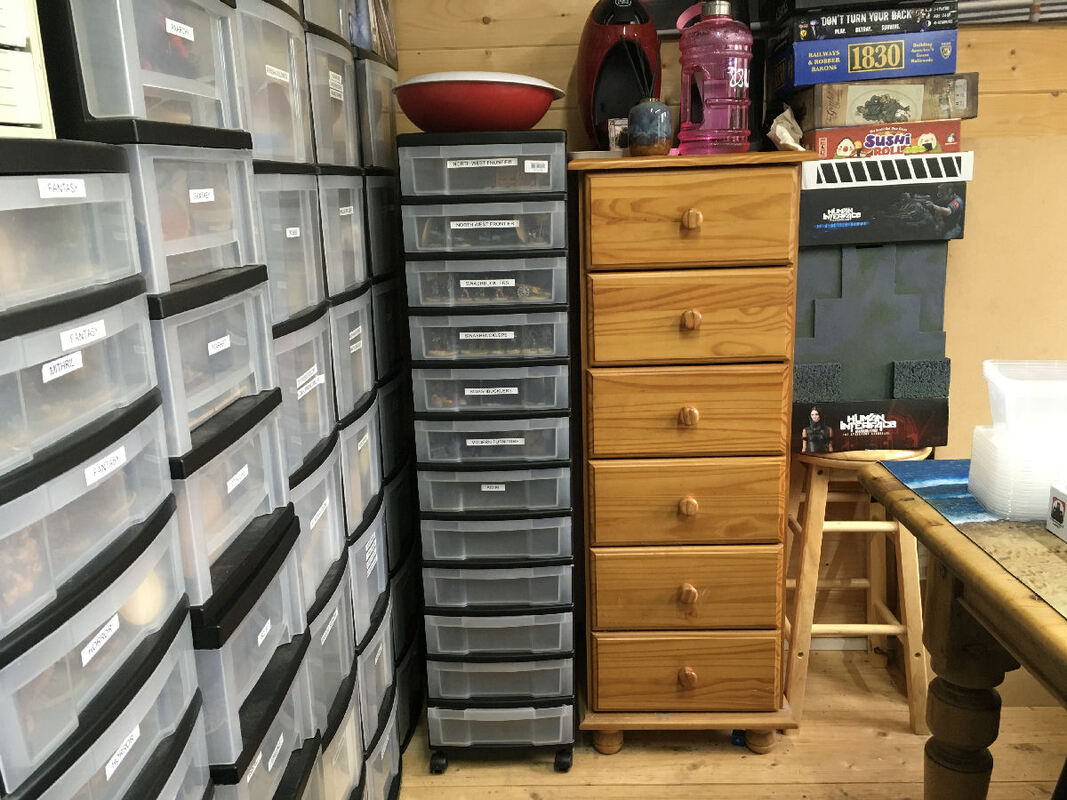
July 2020 A new drawer unit to hold this year's painted miniatures that were clogging up the table. I've kept the wheels on so it can be easily moved to allow access to the scenery drawers next to it. It's already half full so a new cull of old projects seems imminent.
|
The fittings
Here's my current plan for the layout of the interior: 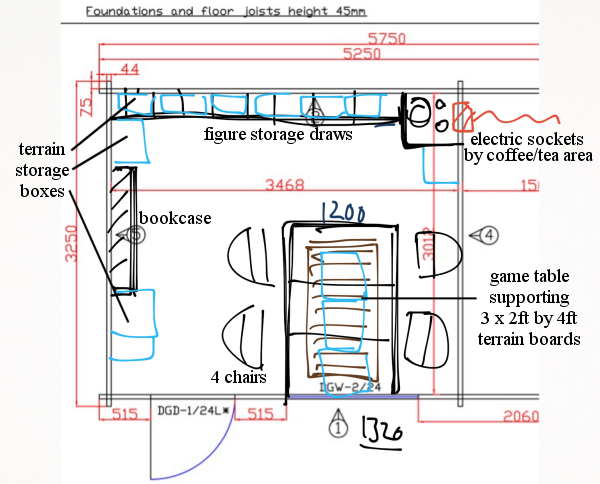
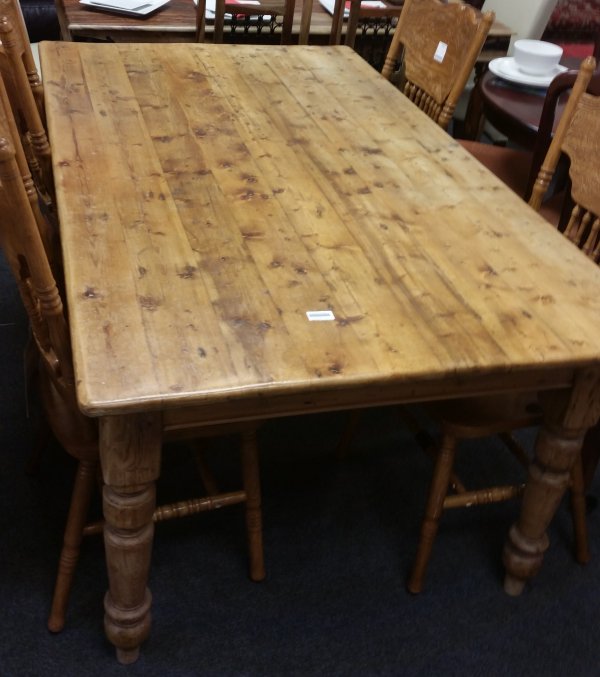
I bought this table (not the chairs) last week for £65.00 from a local charity shop, it's being delivered on Friday. It's almost 6ft x 4ft on its own and will make a fine support for my terrain boards and a good boardgame and RPG table in its own right.
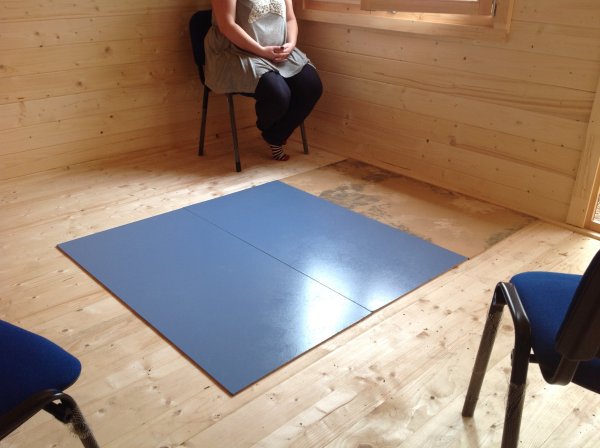
I've laid some boards down to show the area they'll take up during play.
Apart from the painting the cabin's complete. The painter's coming on June the 8th and should take a couple of days to do the job.
In the meantime I will be sorting out the furnishings as they arrive. The table has just been delivered. With the table in place the room looks more like the quality gaming venue it's destined to become. 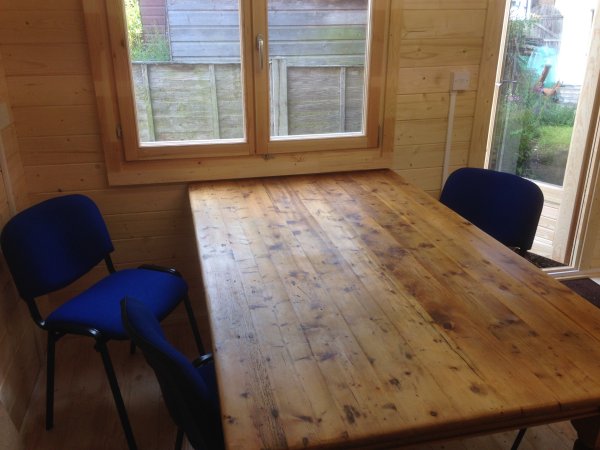
With some (random) boards in place. The table measures 6ft x 3.5ft, perfect.
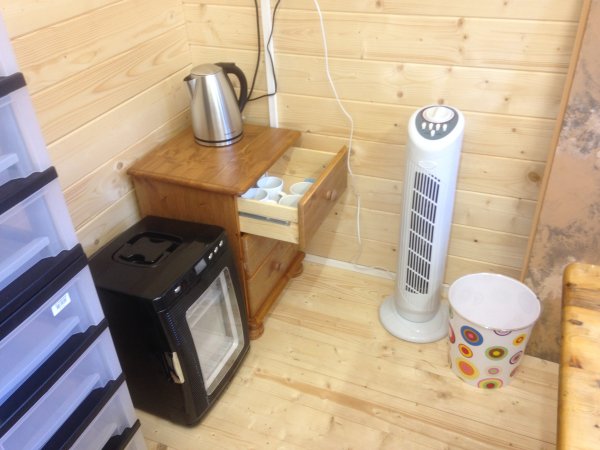
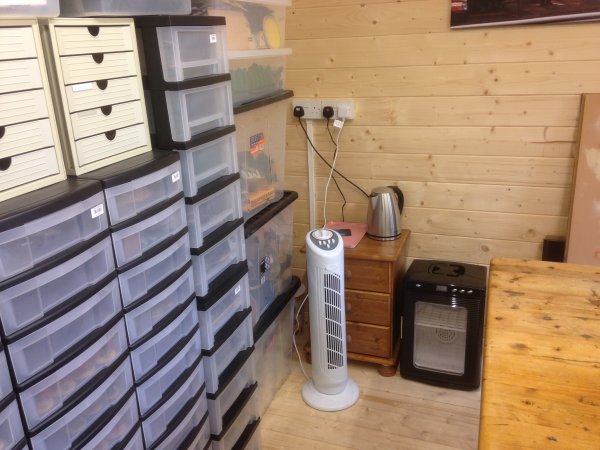
The tower fan arrived as well, just in time to coincide with a drop in temperature and some rain.
Here's my fridge/food warmer, yes, it's dual purpose and it has a blue light for extra cool. 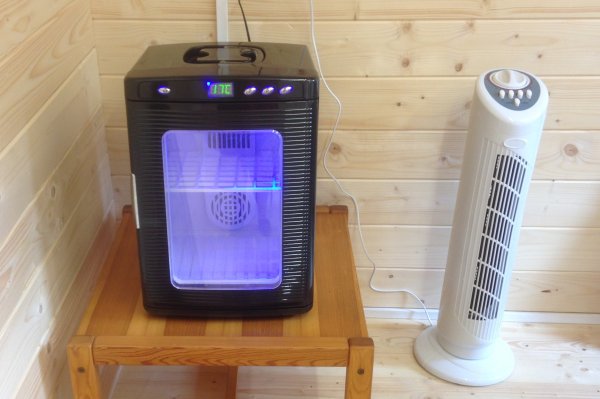
Another lorry, bigger than the first.
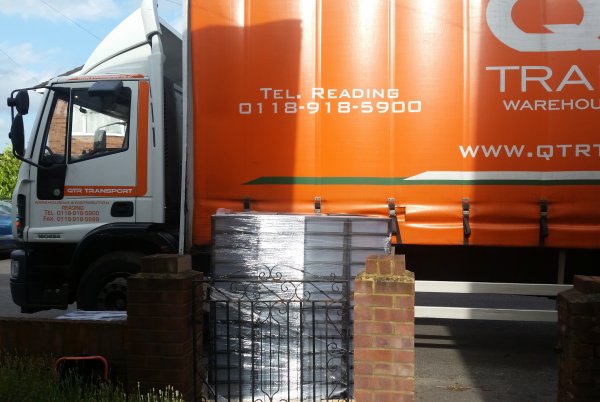
Bringing miniature storage drawer units.
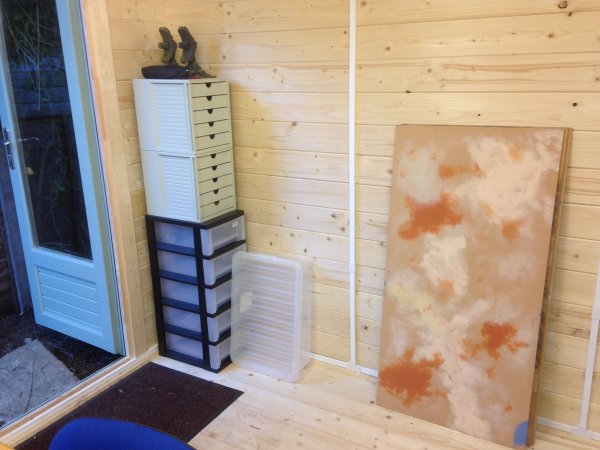
I've installed a small bedside unit to hold the tea, mugs and plates etc.
It's been a few days and I've transferred all but a few of my miniatures across to their new home.
I have three more of my small grey units to move and then there's only the scenery left. I'm currently waiting on the arrival of my second bookcase so I can plan where my terrain boxes will best fit.
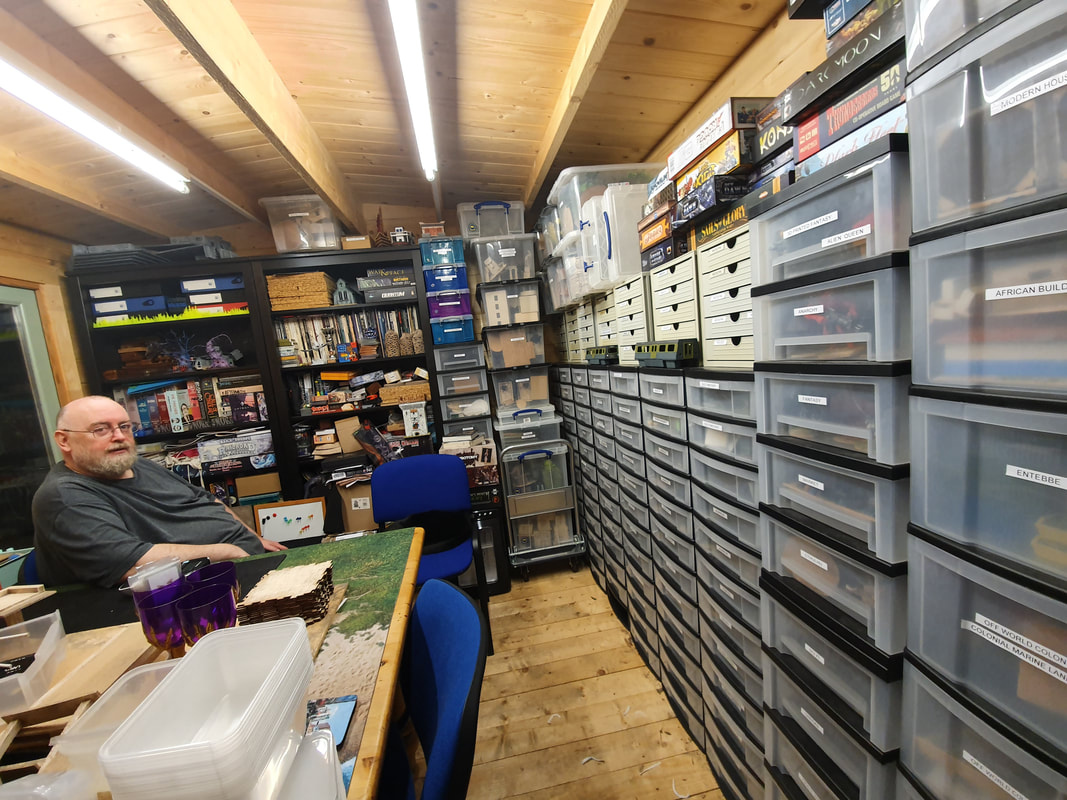
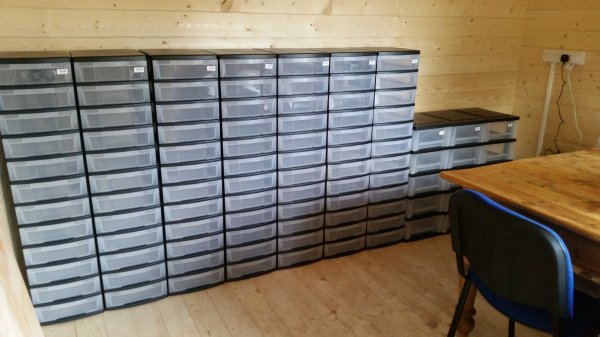
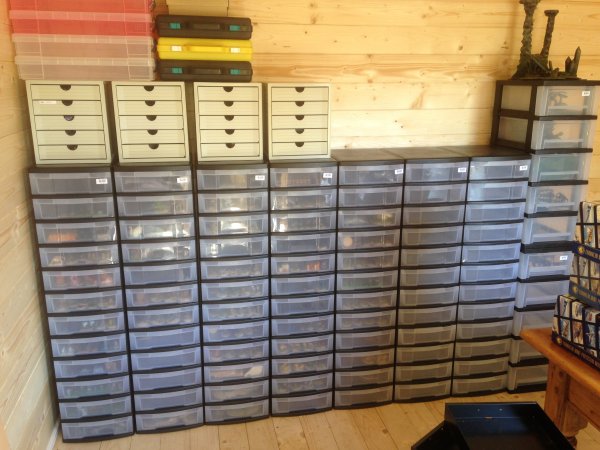
The good news for today is that the painter is coming two days earlier than expected and will be starting work this afternoon. I've moved the last of my miniature drawer units and nearly all my painted miniatures into the cabin now. That's 144 drawers, plenty of room for expansion. Next are the scenery boxes. 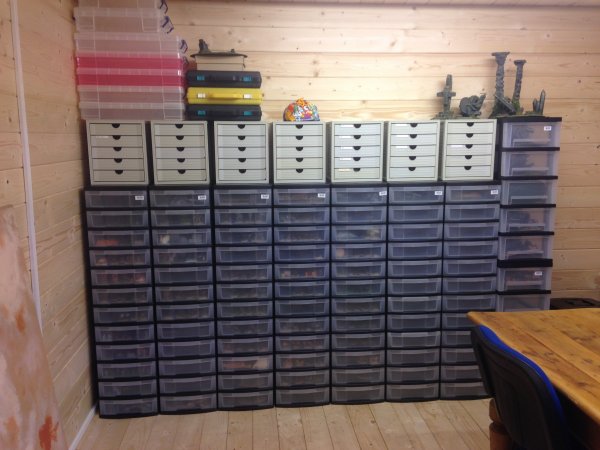
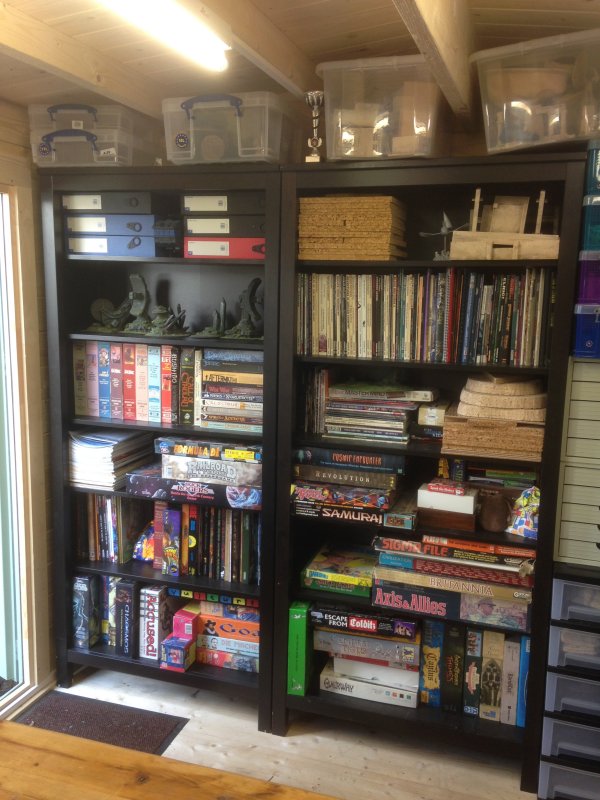
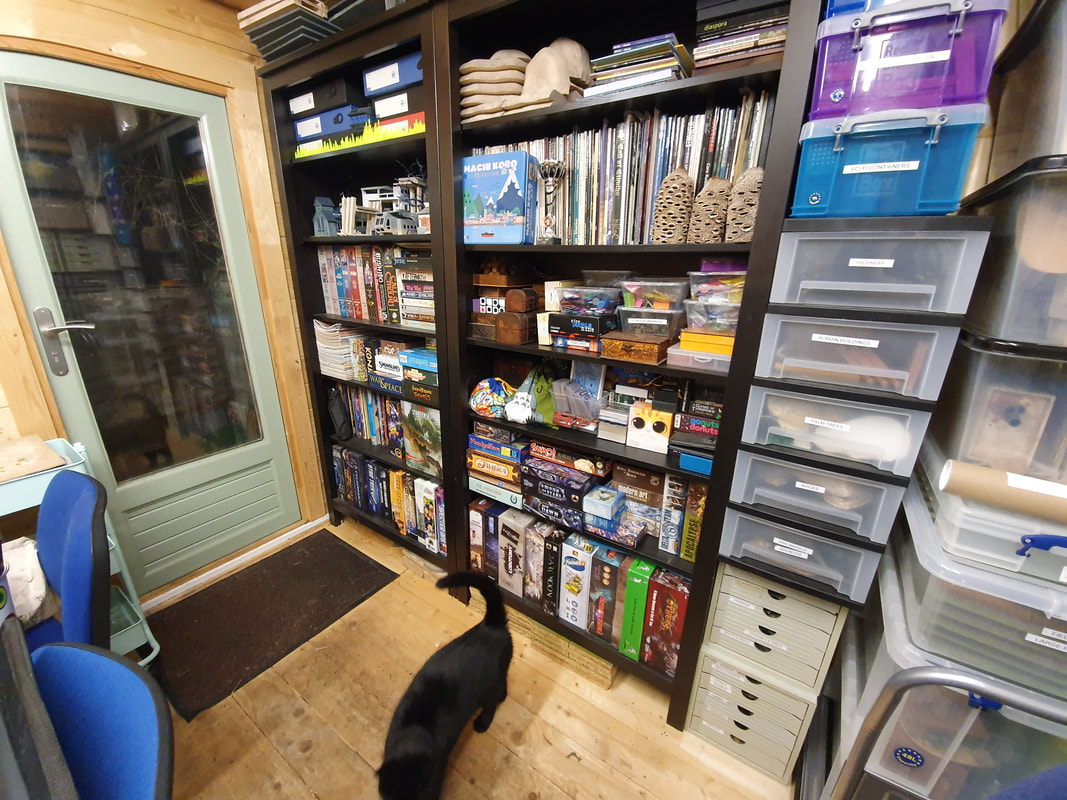
The wall that the terrain boards are leaning against is where the two big book cases will go. They're arriving the day after tomorrow (Wednesday).
The book cases have arrived and they're a little larger than I thought, which is good. 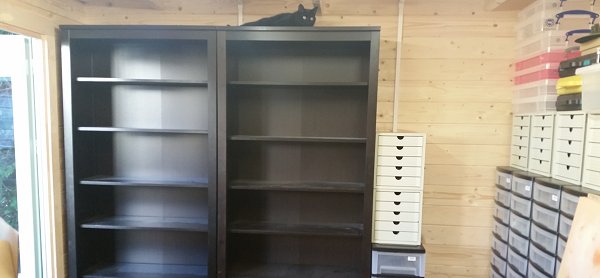
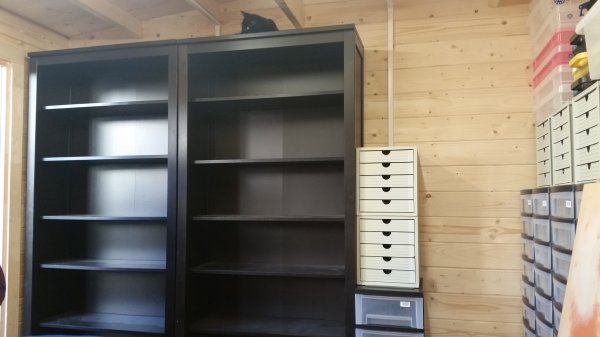
Sylvester checked them out for size and comfort.
Also, tea.

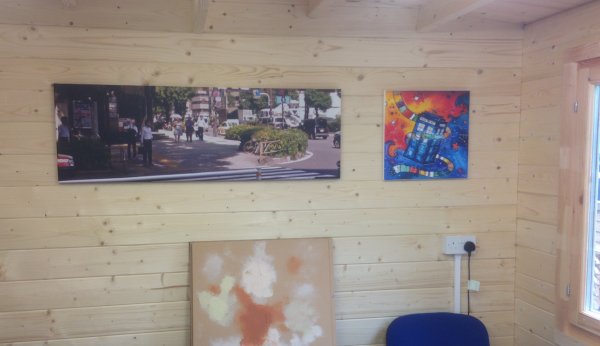
That's it for the planned furniture. Over the next few days I'll be moving in the boxes of terrain and scenery and posting more photos. There are a couple of pictures to hang on the walls including my glass sign and one or two comfort items on the catering side that haven't arrived yet.
I've spent the last couple of evenings ferrying my scenery boxes into the cabin. The majority of it is in place now bar a couple of items that are still in my workshop in hard to reach places. 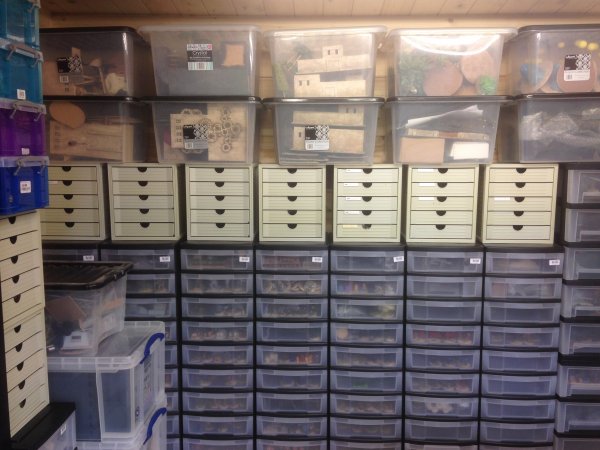
There's still plenty of room around the table.
The next (and last) items to be moved in are my role playing books and boxed games which will go on the shelves. As you can see, the shelves are being used as a holding area for other stuff at the moment. I hope to get all the books and games moved and installed this weekend.
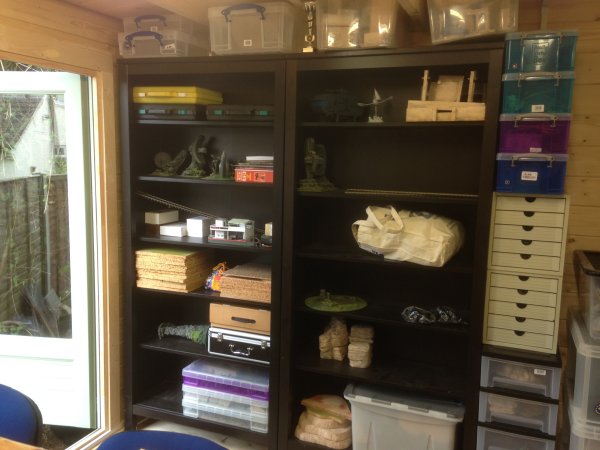
I've started hanging my pictures too.
Well, that didn't take long.
I think that's it. The cabin is officially ready for use!
Today I installed my new Gaggia bean to cup espresso machine. 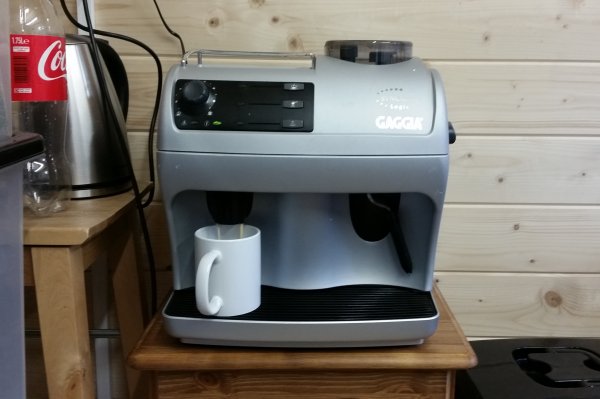
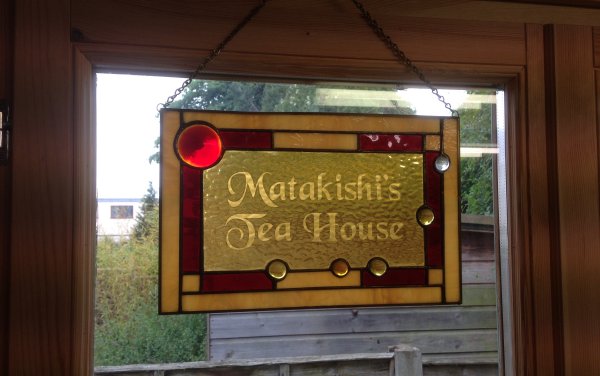
I put the glass sign up today. This was made by Patrick Todorof (Dentatus on many forums) and sent to me as a gift which was extremely nice of him. It's been hung on my work room wall for many years without the benefit of any light shining through it. Now it's in a more fitting place.
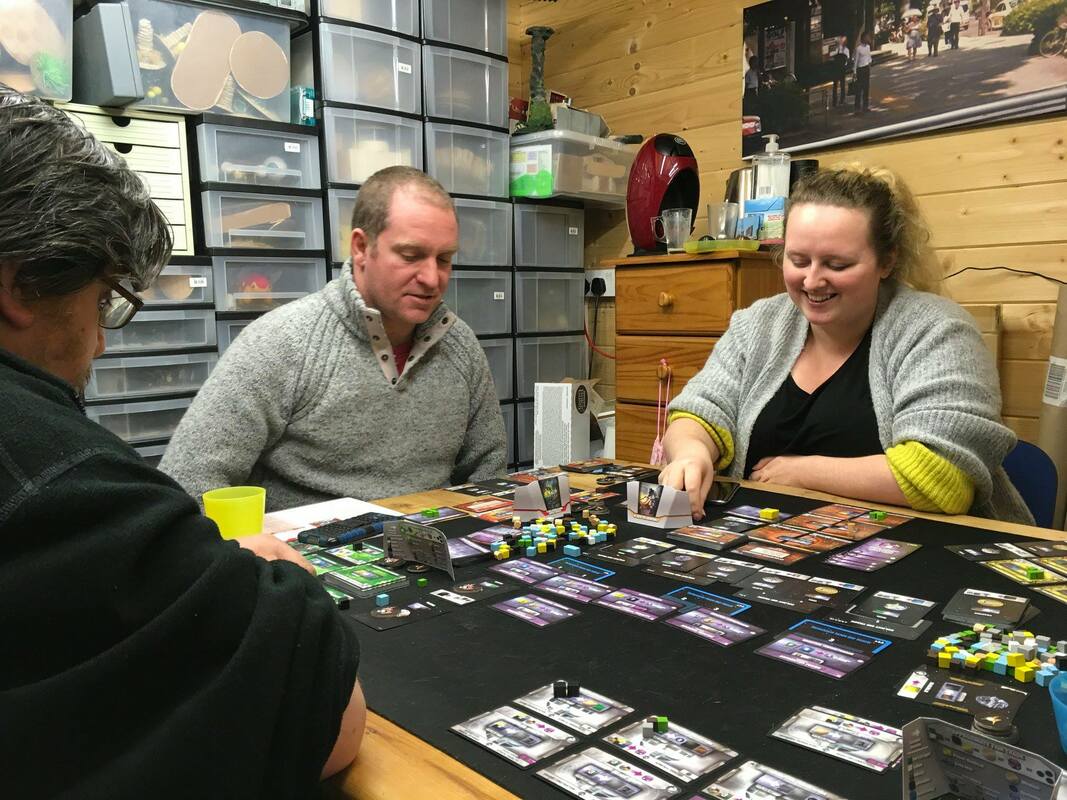
The cabin sees regular use for our Saturday night games evening.

|