|
Simple WWII buildings
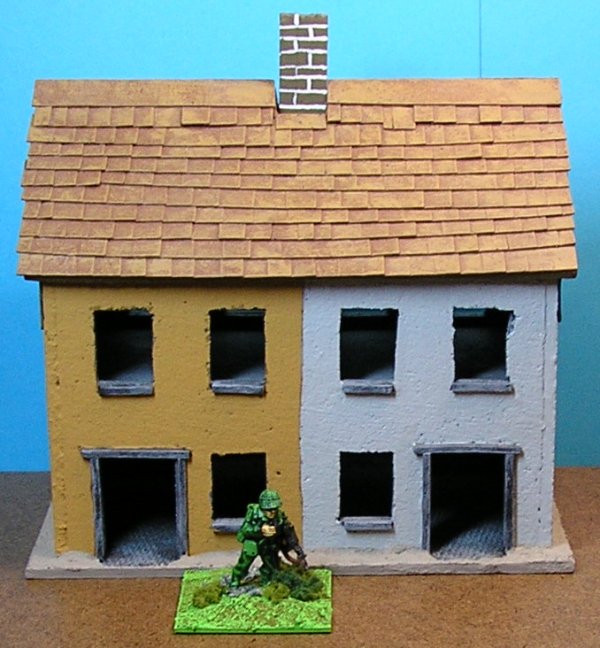
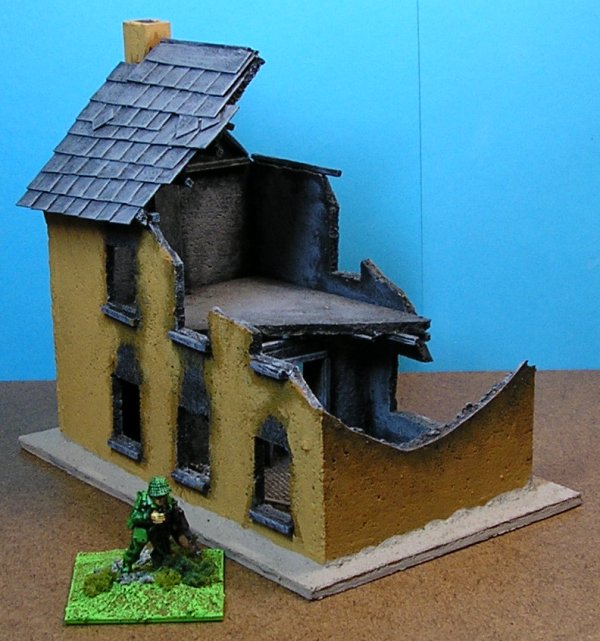
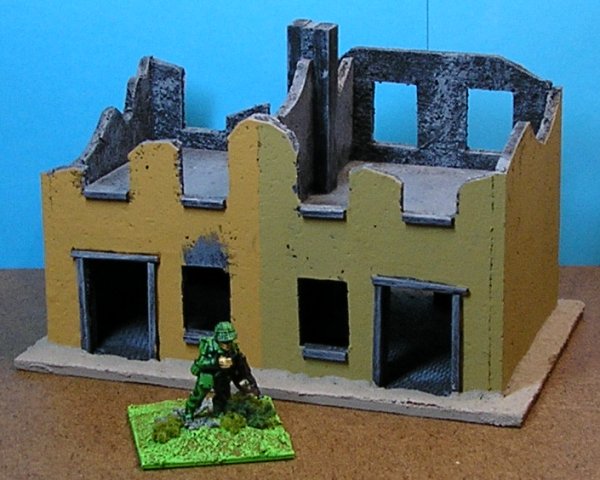
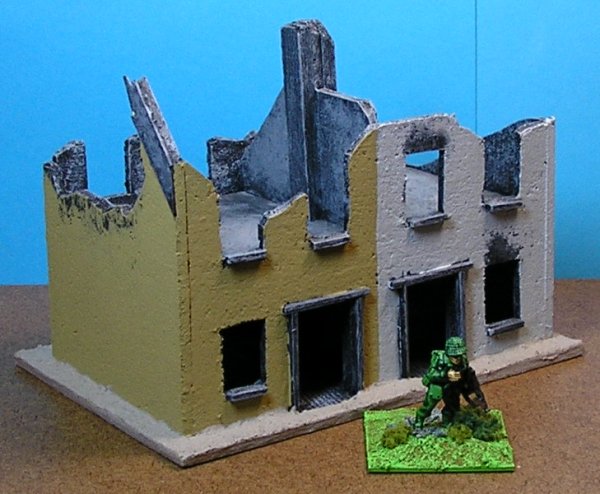
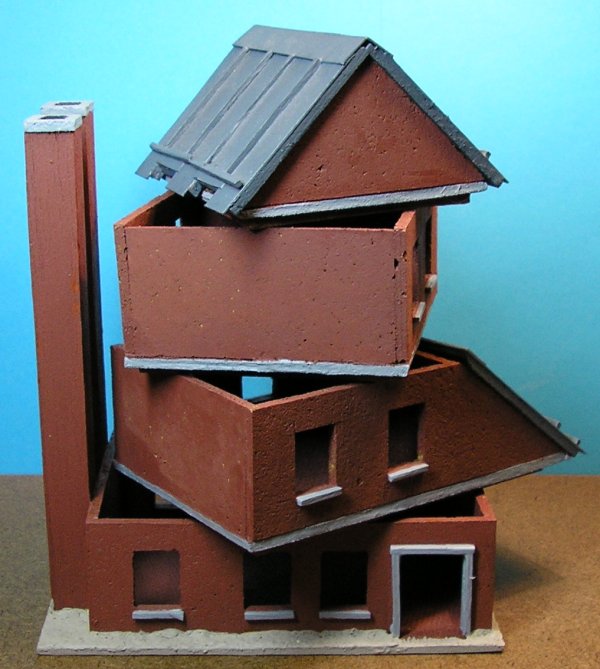
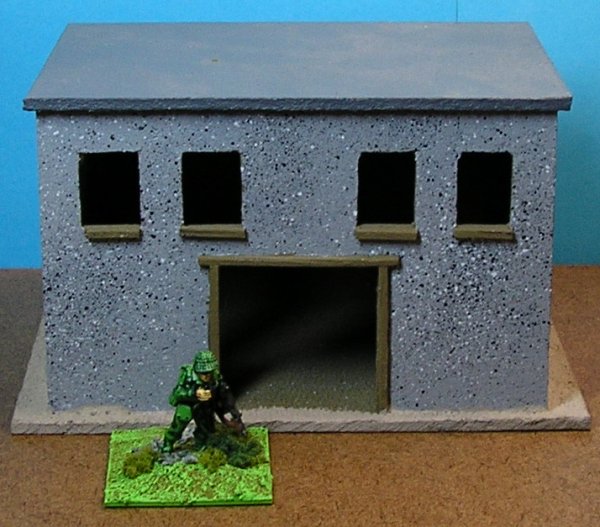
As a starter, here’s how to make a semi-detached pair of small houses for use on a WWII battlefield. I decided the ideal size for my buildings would be to have them on 100mm x 150mm bases, all measurements given from here on will assume you want to do the same. Obviously you can vary whatever bits you feel necessary to change depending on your needs.
I cut the bases from standard hardboard because I had some already and I like having the textured side facing up to give, well…, texture; 2mm MDF would be as good or plywood or whatever you normally use. You can cut hardboard with a Stanley knife if you don’t have a scroll saw or modelling saw and it’s generally a good cheap modelling material. You can use cork for this but using the hardboard adds rigidity and I recommend it. Start by cutting out your base and the four walls. Use the Stanley knife and the metal ruler for this. Watch your fingers and cut lightly. A new blade will go through the cork easily if you use two passes. It will cut in one pass but you’ll be exerting too much pressure and if you slip you’ll be in trouble and there’ll be lots of blood to clean up. You will need several passes to cut the hardboard and it ruins your blades so I tend to do lots of bases at once (you’ll need several as we go on). Now I use a bandsaw because I have access to one at work but previously I cut them all by hand. Mark your bases and walls out using the pen and ruler. Try to get as much out of a tile as possible by using a bit of planning. Do your marking on the smooth side (there’s a very smooth side and a slightly rough side to each tile) and plan on this being the inside of the wall. The slight texture on the tile’s rough side being on the outside of the building helps the look later. The base measures 100mm x 150mm
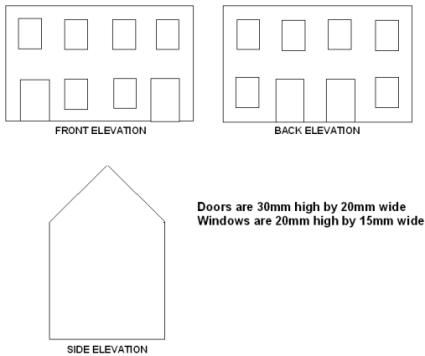
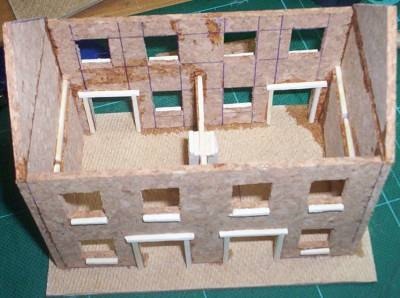
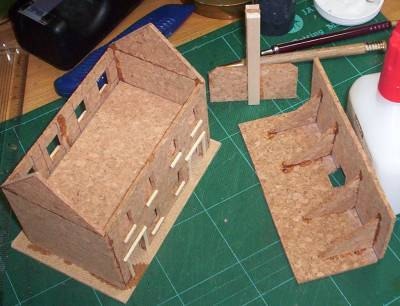
The front and back walls measure 130mm long x 80mm high The two end walls measure 80mm long x 120mm high with the top 40mm being cut to a point for the roof end. Cut out your four sides and then cut the holes for the windows and doors. How you space your windows is up to you. I have used the following method: Across, top row. From edge of wall, 10mm to window, 15mm 1st window, 15mm gap, 15mm 2nd window, 20mm gap, 15mm 3rd window, 15mm gap, 15mm 4th window, 10mm to end of wall. The bottom row is the same but with doors added in place of some windows. The front of the house has the doors towards the outer walls and the back wall has the doors together in the middle. The top of the top row of windows is 10mm down from the top of the wall and the bottom of the lower windows is 10mm up from the base. Once the cork is cut it’s time to put the detailing on. Door frames and window sills are made from matchsticks, cut to size and fixed in place with wood glue. Cut your window sills just wider than the windows, about 16mm. You can see drom the picture that I’ve added interior door frames, this is because they are visible on the damaged buildings in the rest of this set and I wanted everything to match. They are not necessary however, it’s up to you if you want to go to the (small) bother of making them.
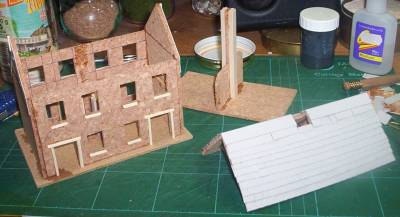
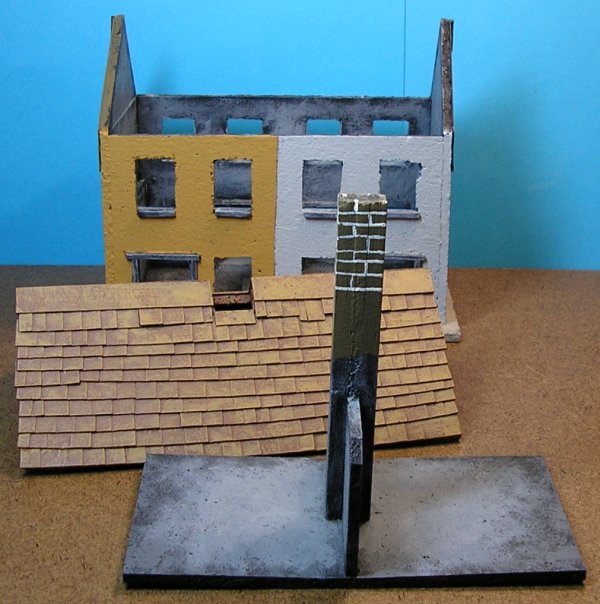
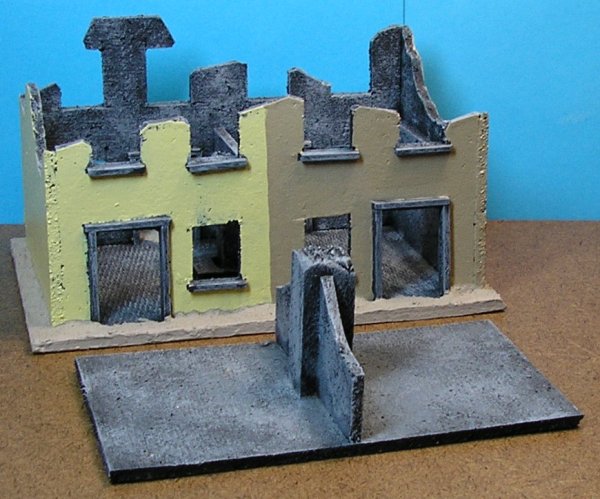
Stick the walls together with superglue and then glue them to the base, you have time to adjust everything and make sure all the walls are square before the glue really takes but this bit does take a bit of practice. Once you find your own best way of doing it, it should cease to be a problem. The interior removable floor is supported by a central wall that divides the houses and two end supports inside the short walls. In the picture I have topped the cork rectangles that I glued to the end walls as supports with matchsticks; I have since found this isn’t necessary and the cork is more than strong enough to support the floor above on its own so save yourself the bother. You just need to cut three rectangles 40mm high that fit between your walls. The centre wall has two pieces of 10mm x 5mm balsa glued to it to simulate the chimney that runs down the centre of the buildings, I’ve also added a couple of rectangles of off-cut cork to represent fire places. The chimney serves two purposes in this construction, it is used as a handle to lift out the loose floor and as a locator that keeps the roof in place. The loose floor is just a rectangle of cork that fits the gap in your building and rests on the supports. It needs a central wall like the floor below, 40mm high and as wide as needed, however you should cut this from a much larger piece so you can leave a central core for the chimney which needs to be 90-100mm tall and as wide as the balsa wood you are using for the chimney, in this case 10mm. Glue the two strips of balsa either side of this central ‘core’ and then pin them from underneath the floor for added security. The second picture shows the finished item ready to be lifted in and out of the house.
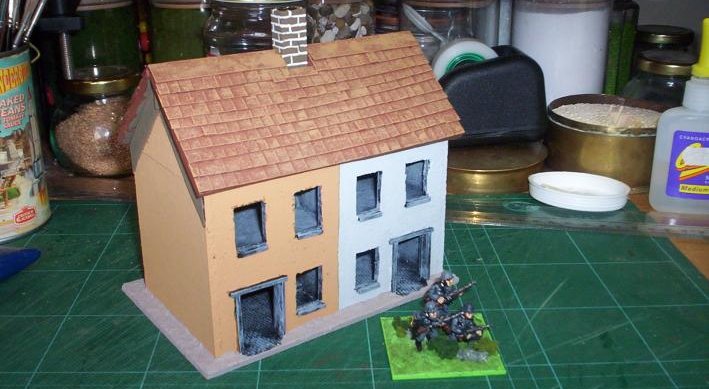
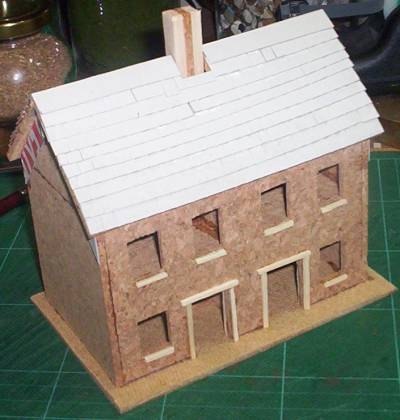
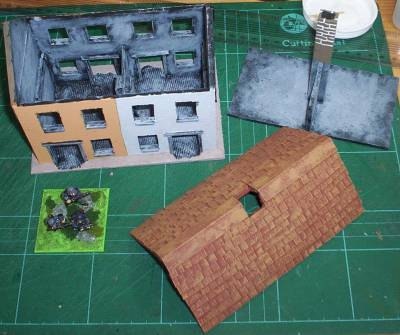
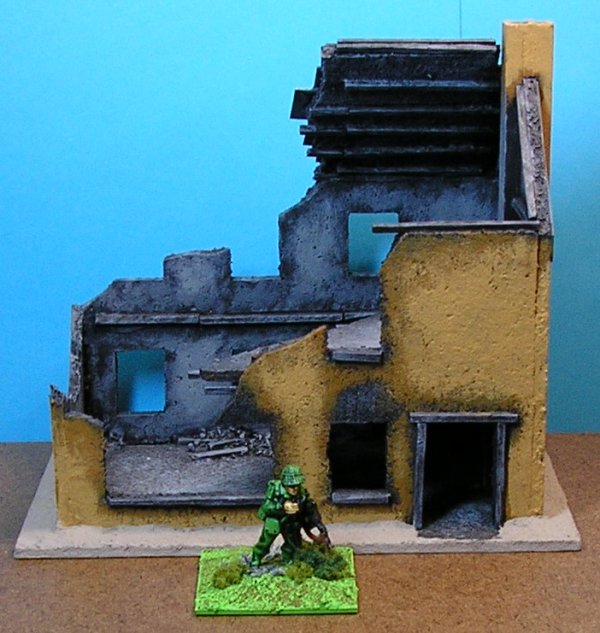
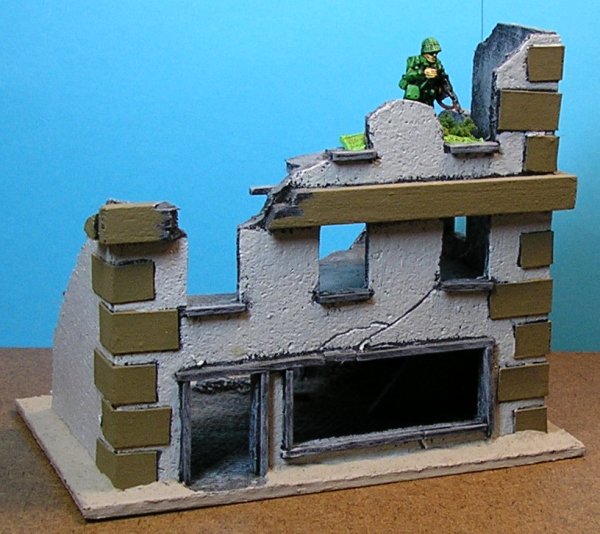
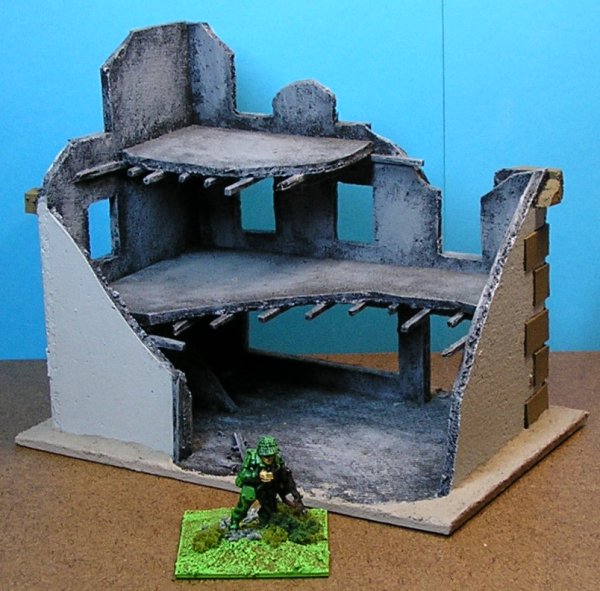
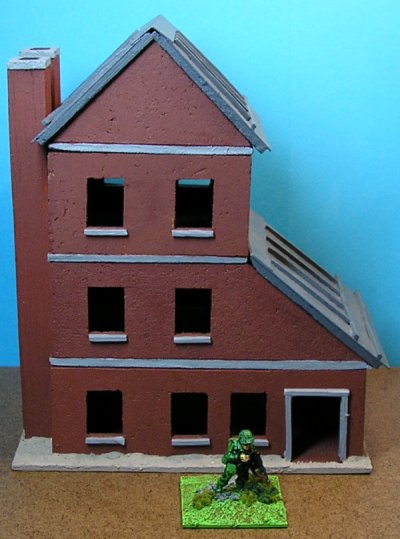
The roof is made from two rectangles of cork hinged with tape and braced inside with triangular cork off-cuts The tiling is done with cereal packet card, a gap needs to be left for the chimney. I added thin card eaves to the ends of the building as a bit of detailing. This is the only complete building like this I made, all the others are bombed out, consequently I kept the paint scheme the same as the ruined versions with a fire-damaged look. This saves deciding on wall colours etc. and makes any occupying troops stand out, a bonus when clearing away, nobody’s left inside at the end of the game.
|

