|
Building compounds for Afghanistan and elsewhere
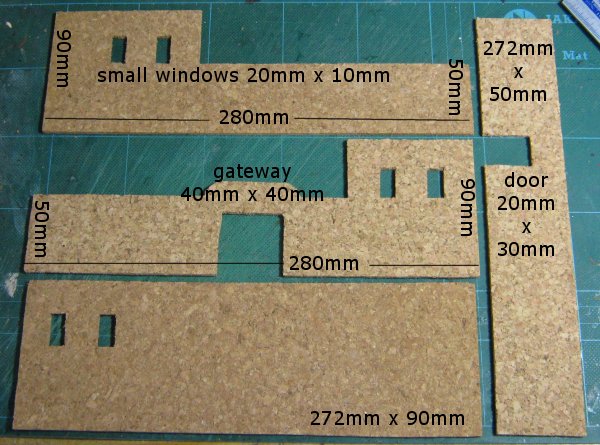
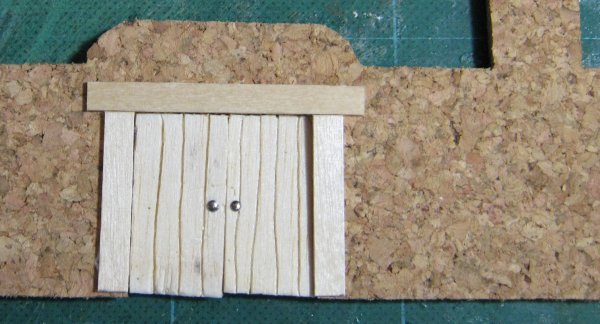
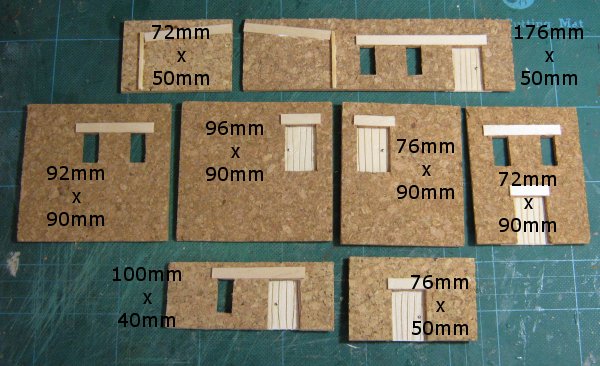
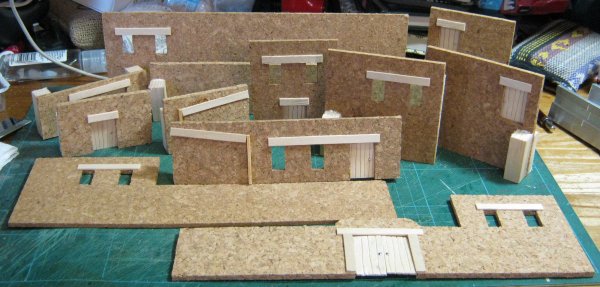
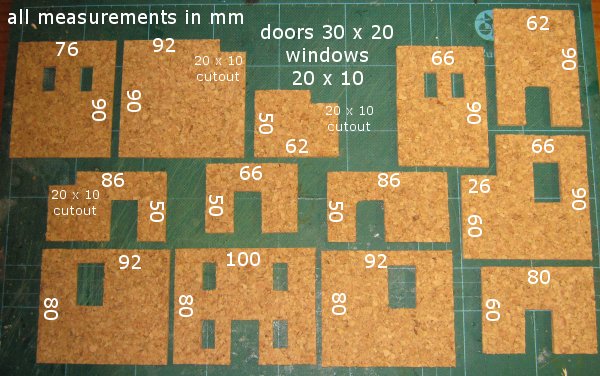
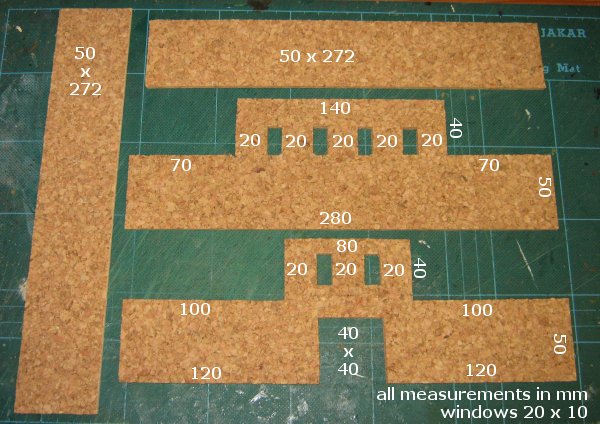
I wanted some compounds for my Afghans to inhabit and defend against the British (and American) forces arrayed against them. I originally considered making some separate walls and gates and just putting a screen around my existing buildings but eventually decided against this for several reasons, not least of which was that they'd look rubbish. I made several decisions during the design phase concerning the size, shape and versatility of the finished items which I'll briefly outline before moving on to the nitty-gritty of the construction process. Firstly the size and shape. I went for a 300mm x 300mm base because I had some ready cut. This makes each compound a very big structure compared to my other buildings which typically occupy a 150mm x 100mm base and occasionally 150mm square for the large ones. To feel I was getting value for the space used I tried to make each compound visually interesting but without adding clutter. The easiest way to achieve this was by varying the heights and roof styles of the component buildings. This diverges immediately from the actual buildings these are meant to represent but will look better on the table. Versatility was a concern too. These will end up being Afghan, Iraqi, Arab and even Science Fiction compounds. Consequently there will be little or no cultural flavour added. No signs etc. just basic door design, basic window openings and a couple of domes. Right, that deals with the 'whys' now on to the 'hows'. Here's the first compound, always a learning experience. Here are the four outer walls. Cut as single pieces for added strength which was a major concern. The other option of cutting and making individual component buildings then adding wall pieces would actually be easier to make but would end up with more joins than I really wanted for a building of this size. To add some flavour and a bit of detail texture to the walls I decided to add lintels to the windows and doors. The 'real' buildings don't have these of course but the atmosphere of the model is more important than its accuracy; it's a bit of gaming scenery not a museum model.
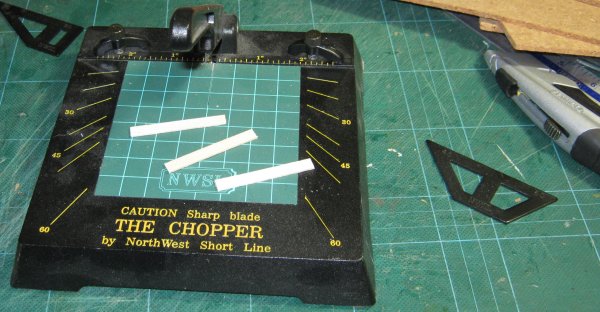
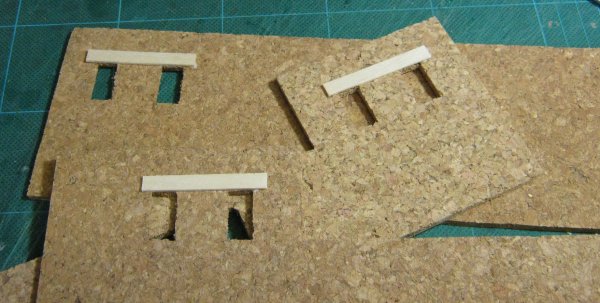
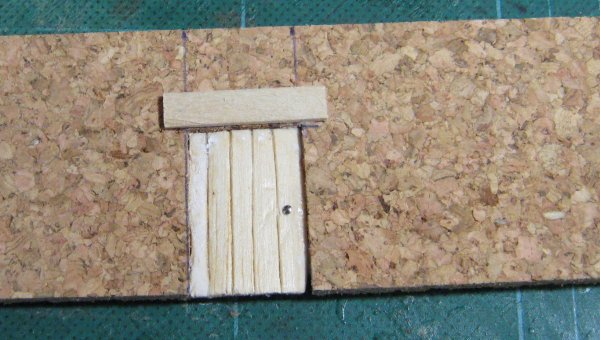
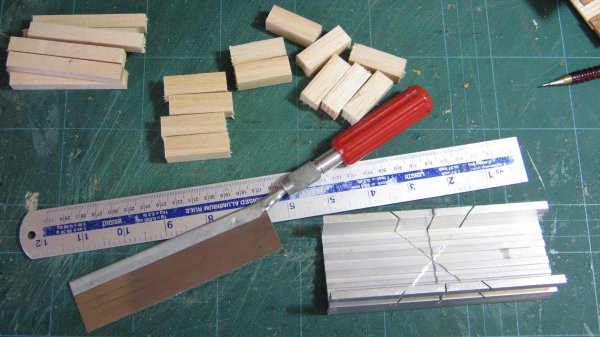
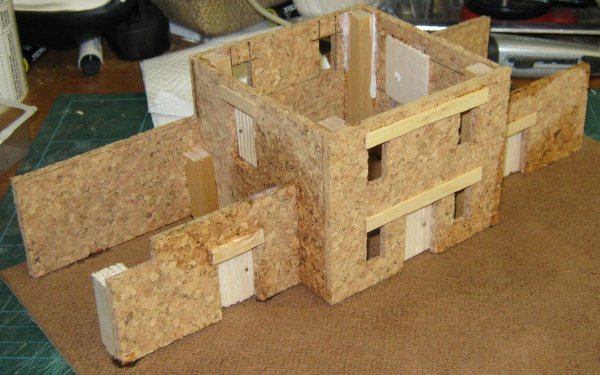
I cut some coffee stirrers to size, mostly 50mm, with my trusty Chopper (available from Antenociti's Workshop). And stuck them in place with wood glue. I think they add an impression of weight to the walls, something I need because the walls are thin compared to their real counterparts.
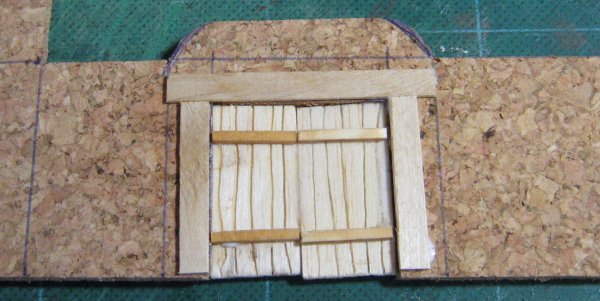
The doors were made with scored balsa to which I added some matchsticks for the main gate because you can see both sides of it.
Door handles were made from pin heads.
The small side door is another break with reality but I wanted a feature on each wall and wasn't prepared to have ground level windows.
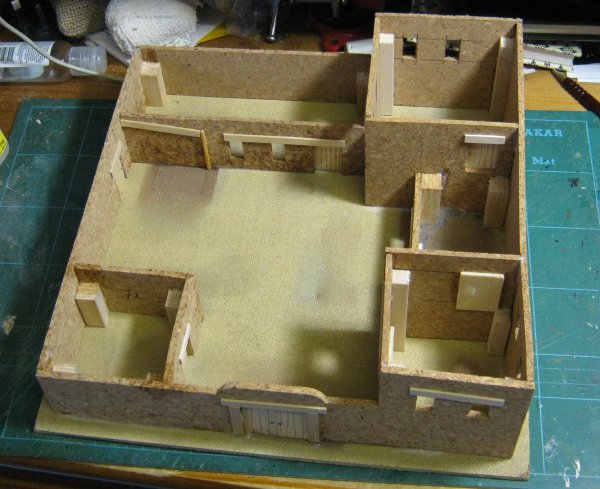
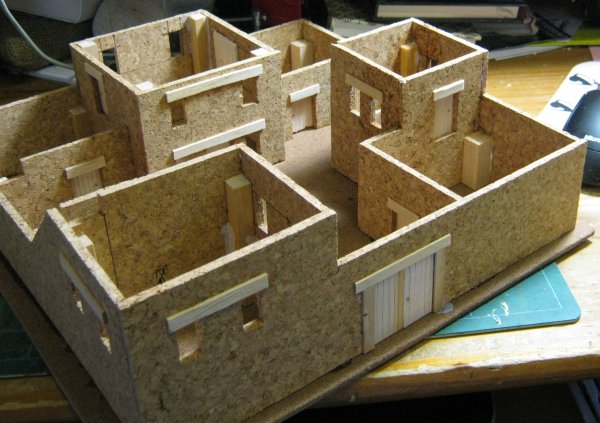
Now on to the interior walls of the buildings. The top two walls here have the slanting supports for the stable roof glued on. I decided the positions by eye knowing that the stable roof would be 60mm wide.
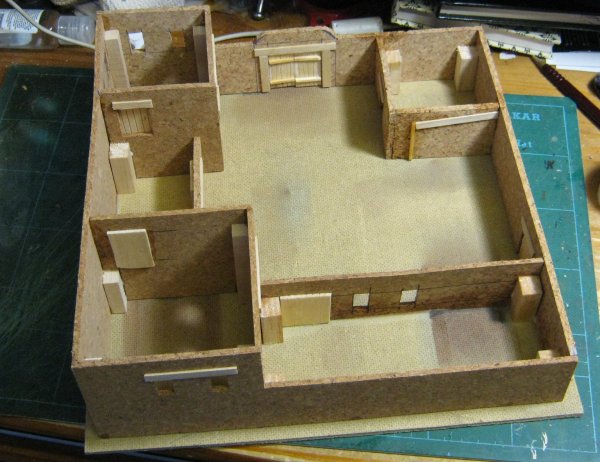
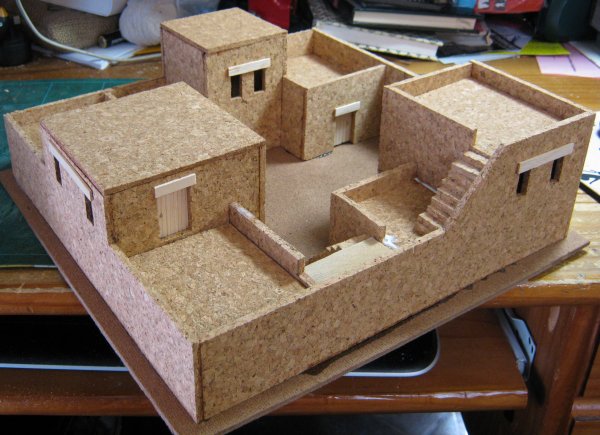
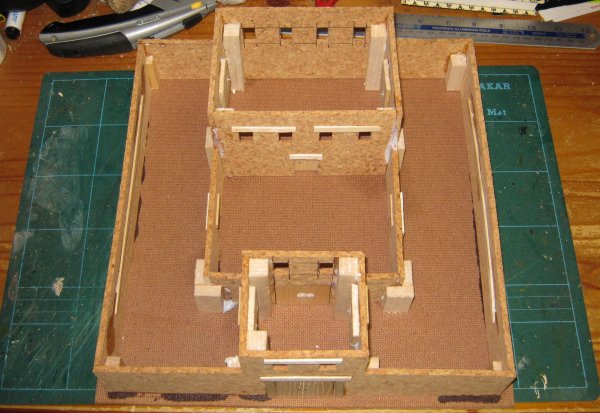
The two doors in the centre lead out onto a roof. I was originally going to have steps but couldn't be bothered to cut them for this first compound. I will probably have steps in one or two of the later ones. Constructing a building this size in cork is quite problematical. It is difficult to get right angle joins as the cork flexes and if one join is off all the others will suffer accordingly. To try and prevent this and to add strength to the finished model I cut some balsa wood into columns designed to sit in each corner of each building. These will aid in keeping the angles square.
To kill two birds with one stone I cut the columns to the correct height to support the roofs; 76mm for tall buildings, 35mm for the low ones and a set of four 40mm ones for the roof that isn't going to be inset (the one the two doors lead out onto). I'm going to glue the roofs in place, again for added strength, so none of these supports will be visible during play. A few minutes with the wood glue and everything is now ready for the final assembly.
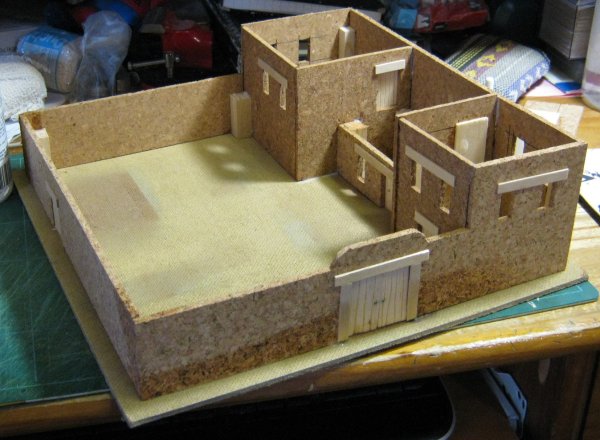
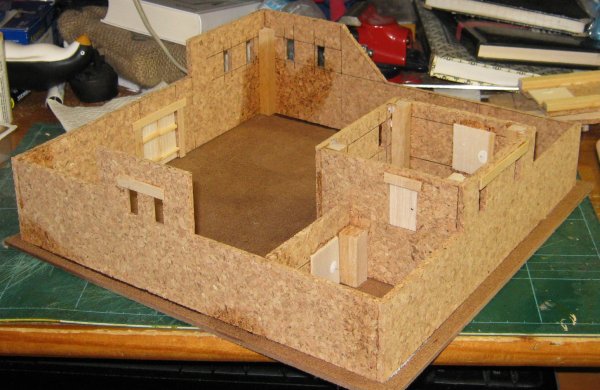
I started with the rear and right hand walls as they had the most attached buildings. Liberal use of superglue and spray on accelerator allowed for some speedy construction.
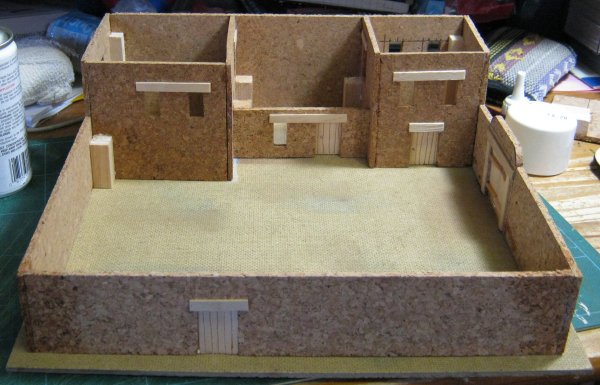
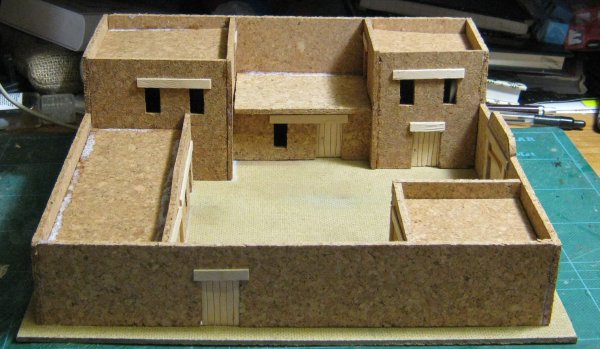
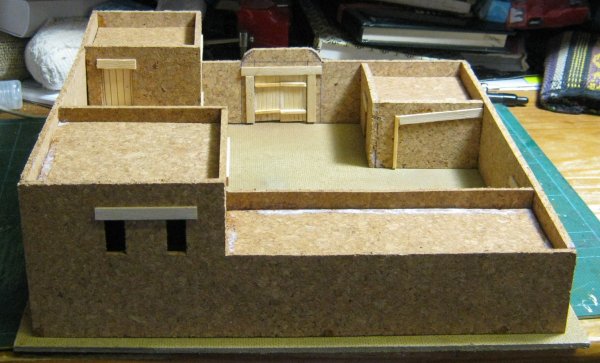
Once I was happy with the first set of buildings I added the front and left walls, the point of no return. Not too bad. The centre building wall slotted in without trimming which was a surprise but the right hand building against the front wall was thrown a little out of square. Nothing too noticeable though so I just cracked on. This is quite a stressful stage as the whole thing can be ruined if it goes wrong. Of course Sylvester took this opportunity to land on my work space and send me into apoplexies of rage, he does enjoy it when I shout. This necessitated the ending of the construction video I was making as I have a public image to maintain.
I'll try and make another for one of the other compounds, it makes the whole process easier to understand. Three more walls and the buildings are all in position. These last two are not critical as they don't influence the placement of any others so by now the stressful part is over.
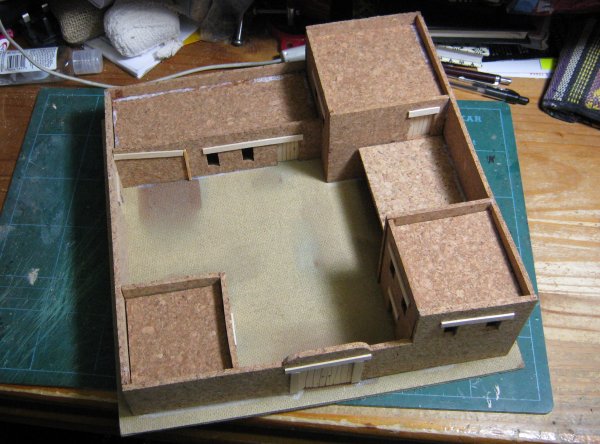
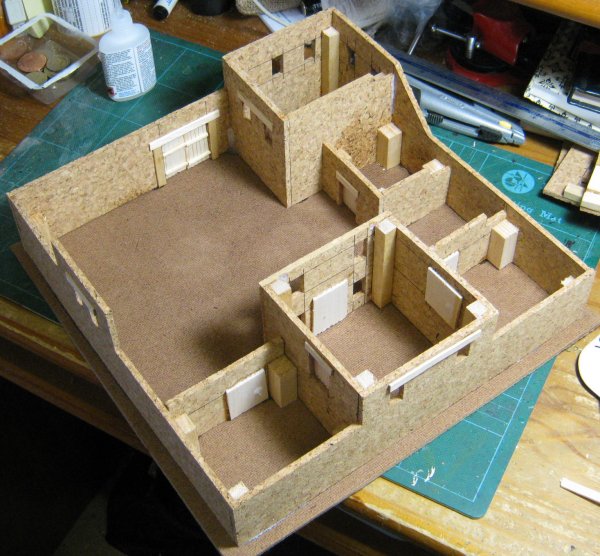
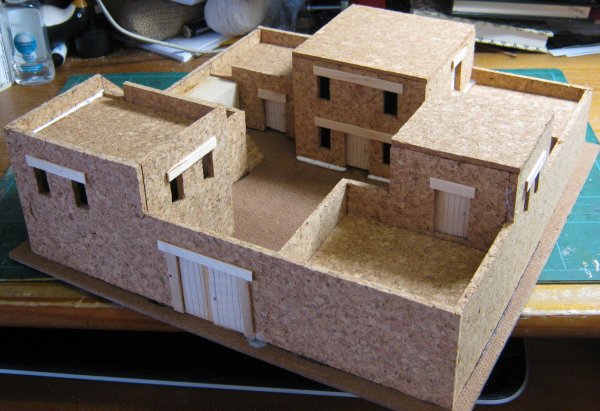
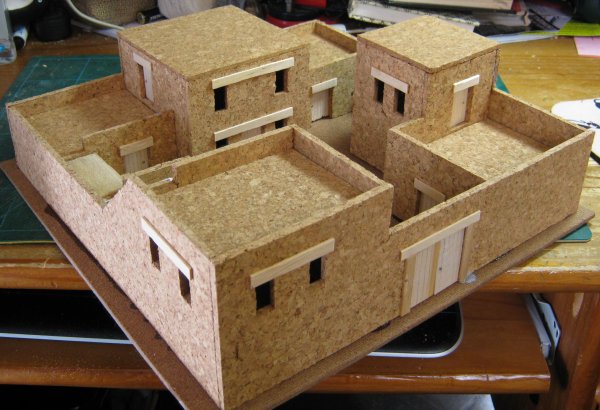
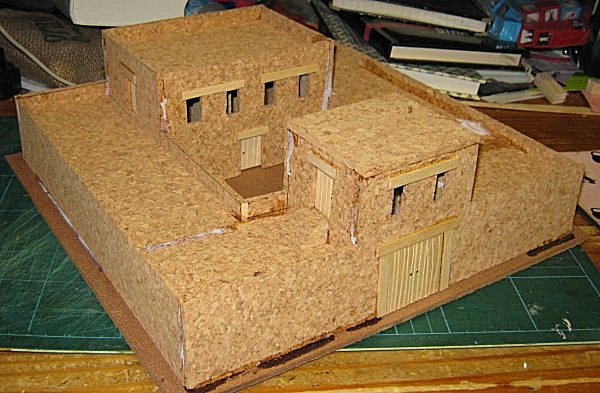
I cut roofs to size and glued them in place. The tops of the doors prevented the two roofs on the tallest buildings from sitting flush. Next time I'll be more careful when I trim the balsa wood for the doors. It's not a huge problem, like the off-square building it even adds a certain authenticity to the proceedings.
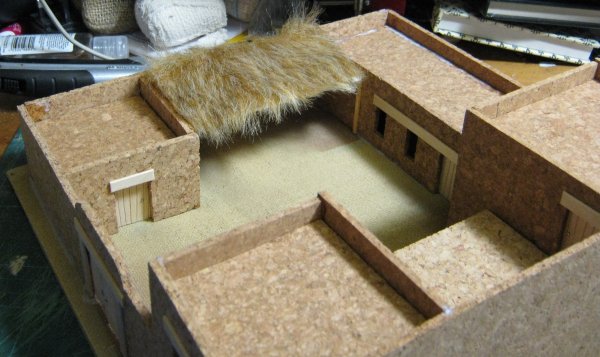
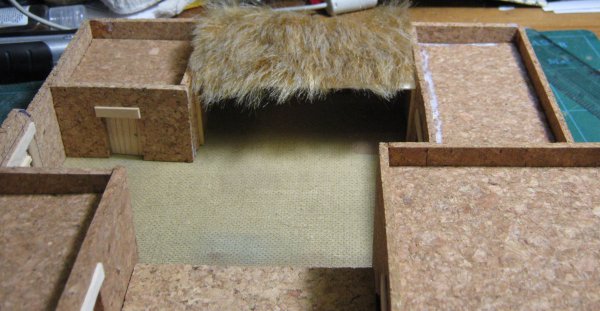
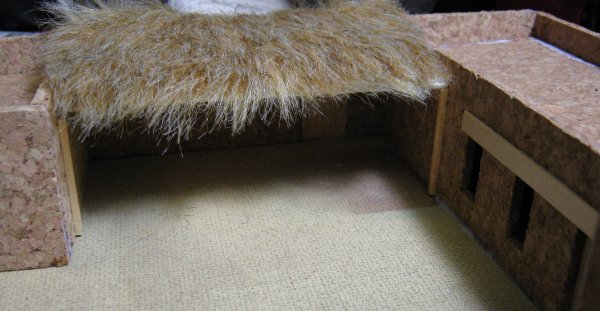
I chose to glue the roofs in place to add strength as I mentioned. There is more than enough room in the compound for troop placement without needing the interiors and I've noticed in games that the insides of buildings aren't actually utilised unless the building has a sloping roof that prevents troop bases being balanced on top. I intend to have less open buildings from now on as it saves time and paint and makes building them easier. The stable roof is made from card with some teddy bear fur for thatching. The fur will be far less bulky once it's soaked in pva to make it solid. This roof will be removable as it doesn't add to the structural integrity of the compound.
I haven't added trap doors for roof access, they just become things to get in the way of troop placement. I may add them later if I think the roofs are too bland after I've painted them. Similarly water tanks and stuff might appear but they'll probably be separate components anyway. For now, the first compound is finished. The stable could probably do with a central support but I may leave it since it would take up room and be quite delicate.
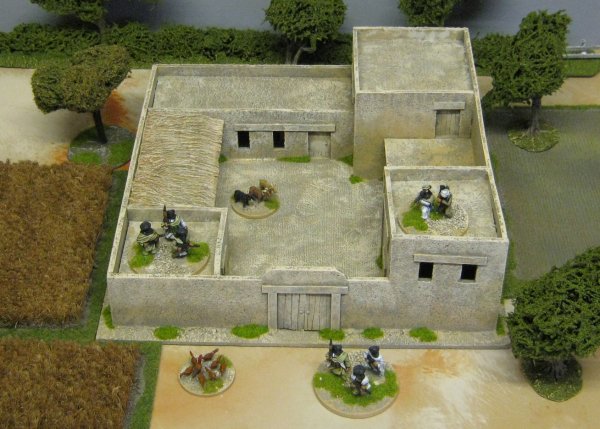
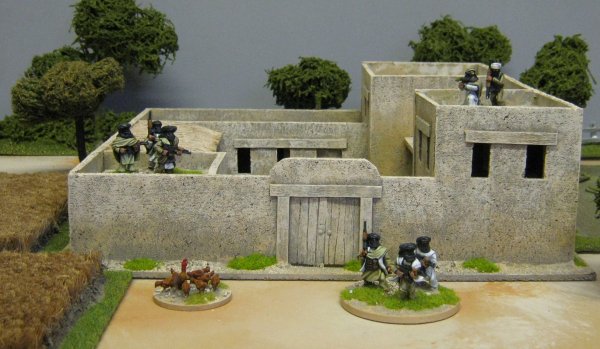
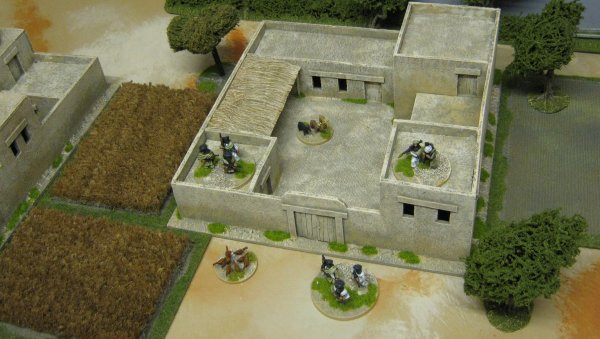
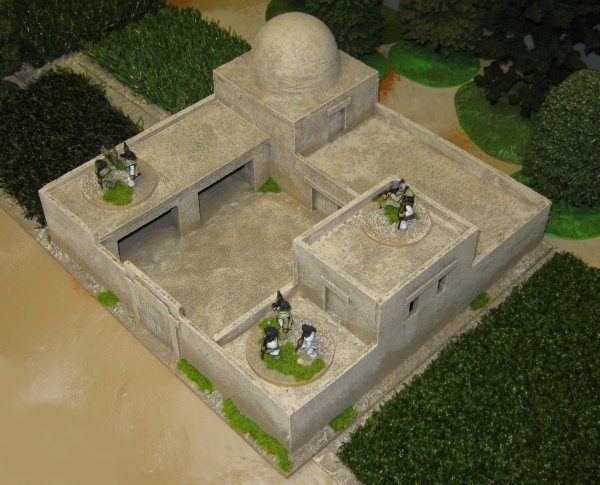
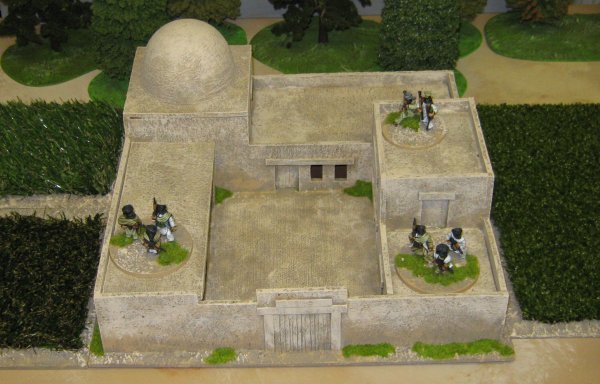
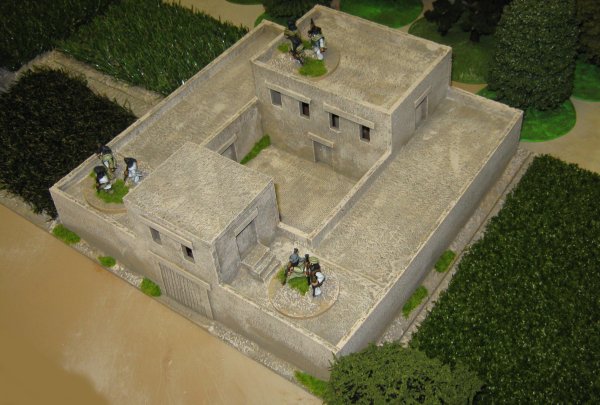
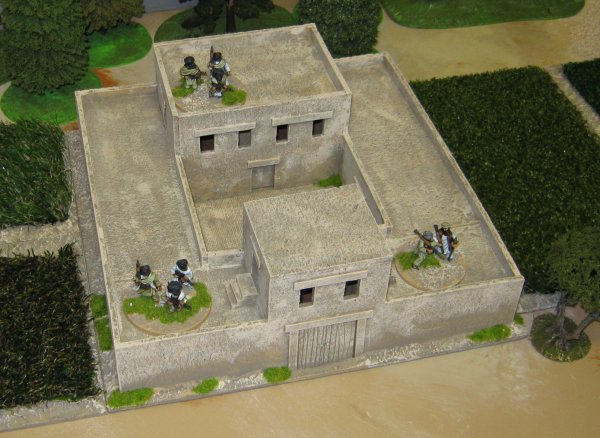
Here's the painted compound:
Gardens
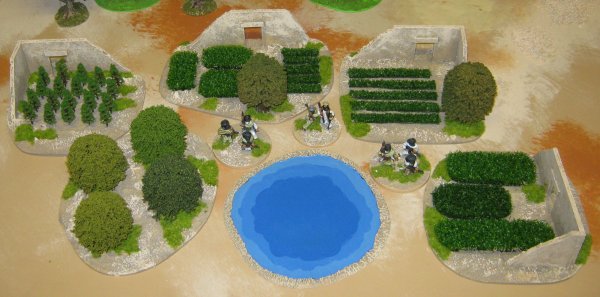
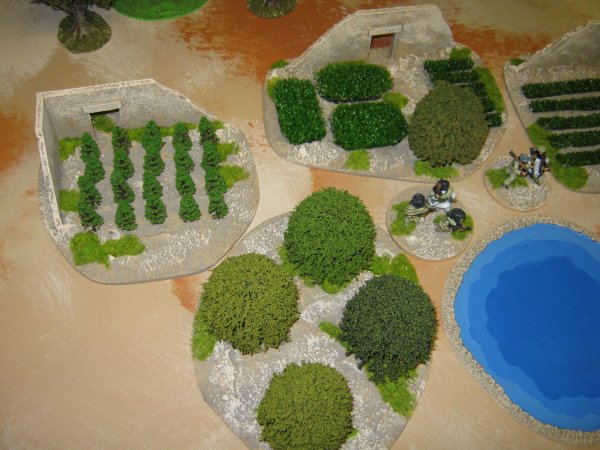
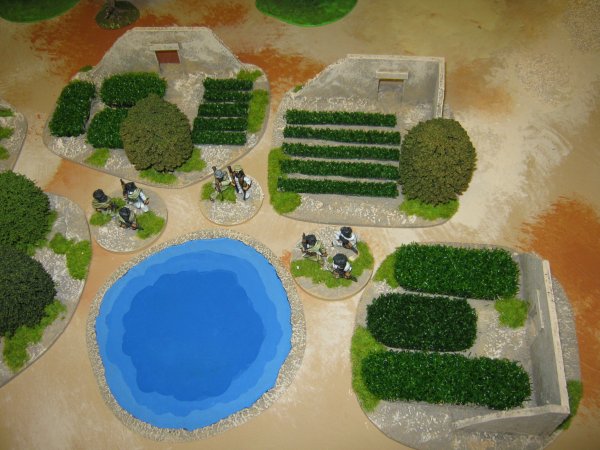
To add some variety and to help fill up my table I made some small gardens and an orchard. These are designed to be used in multiple settings like most of my generic modern stuff. There's a small pool to match my river as well. These were very quick to make, just some cut up sections of fake grass and a couple of small trees. The walls are added to enhance the man-made effect and to make them easier to pick up.
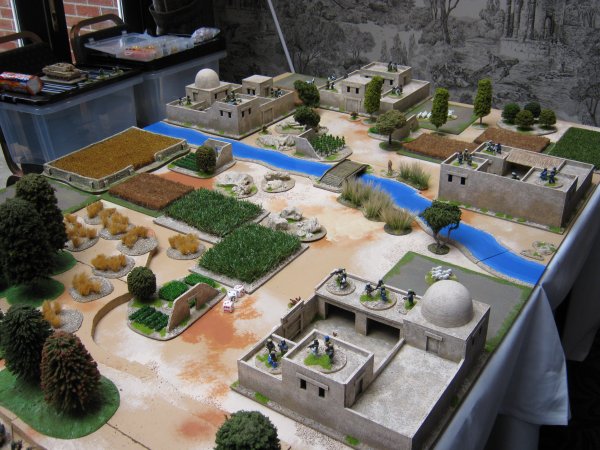
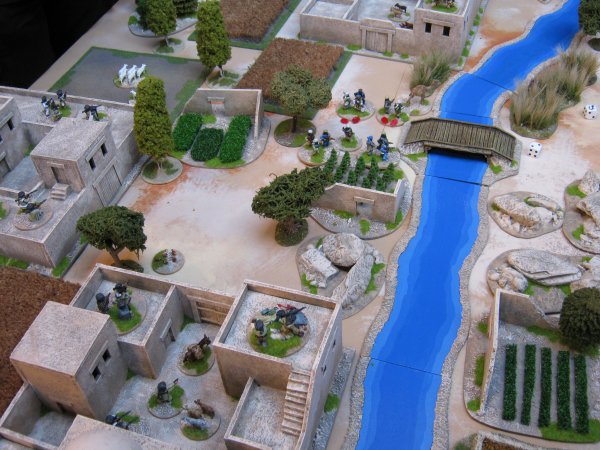
Here's everything in action.
|
The Second Compound
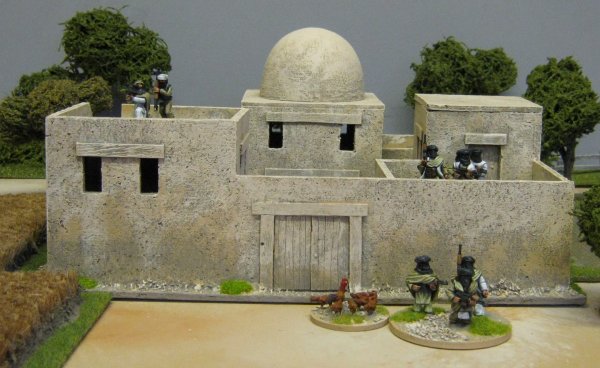
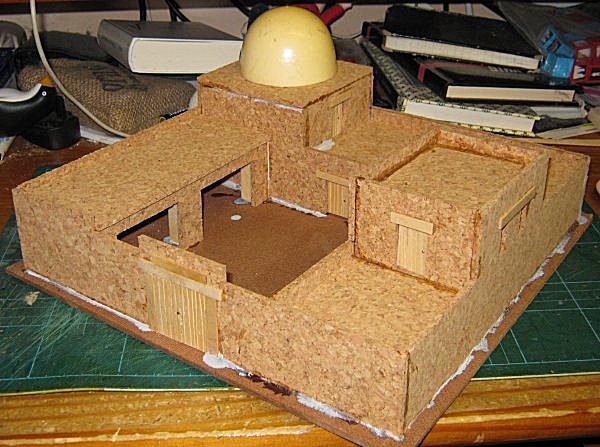
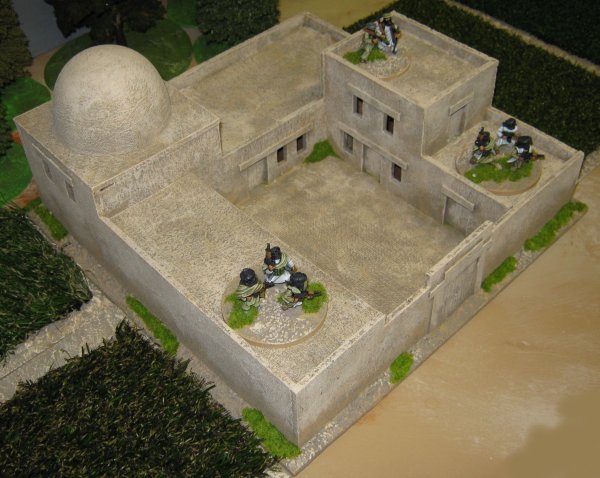
I designed this compound to be a little more upmarket, It's generally busier with less open ground. I want it to have a domed building and some steps both for visual interest and to invoke some extra 'feel'. In actual fact it looks less like an Afghan compound than the first one but more like what I want to see on my games table. Here are the outer walls. And the rest:
I began with the buildings against the rear wall as they fill the entire width and will give a stable platform to build everything else from.
Then I fixed the other three outer walls in position.
Once the main shape was aligned it was a simple matter to position the remaining buildings.
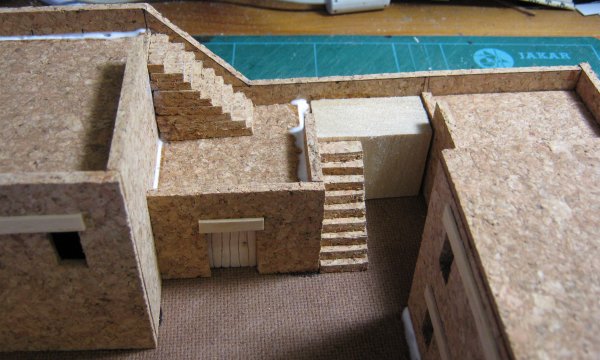
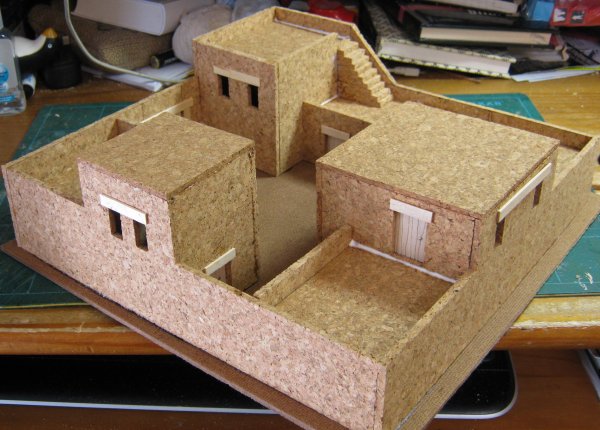
Finally the roofs were cut to size and dropped into place and the steps were added.
I made the steps from strips of cork cut to size, shortening by 4mm each time. The walkway is a block of balsa. You can see where I've used beads of wood glue to fill some largish gaps. As it dries it will shrink and once it's painted will be unnoticeable.
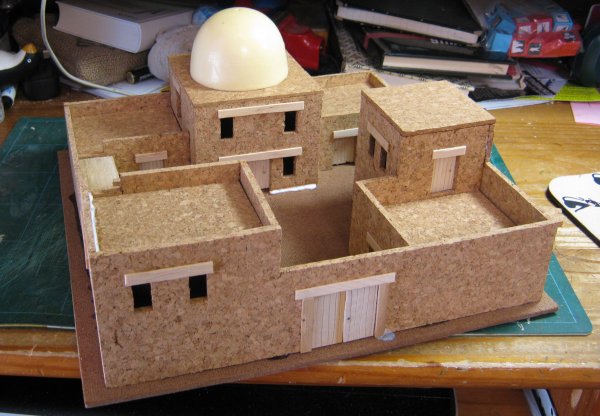
Here's the resin dome which I got from Magnetic Displays in place. I'm not going to glue it to the roof so it can be removed for storage. Also it gives me the option of not using it it occasionally.
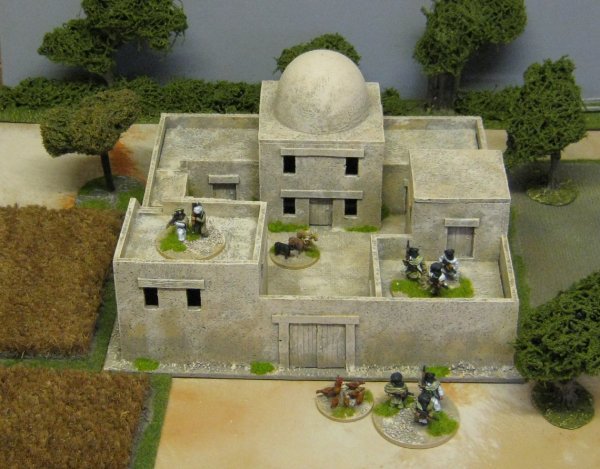
Here's the second compound painted up.
The Third and Fourth compounds
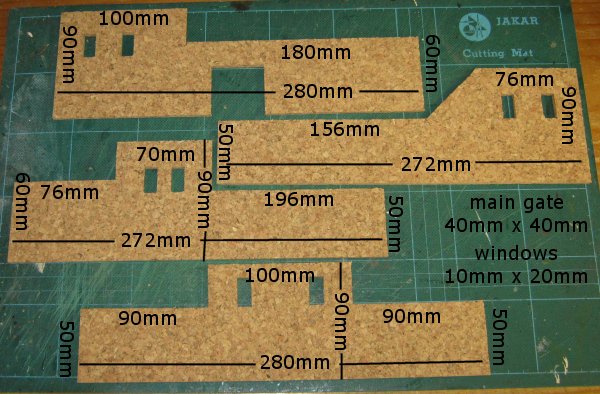
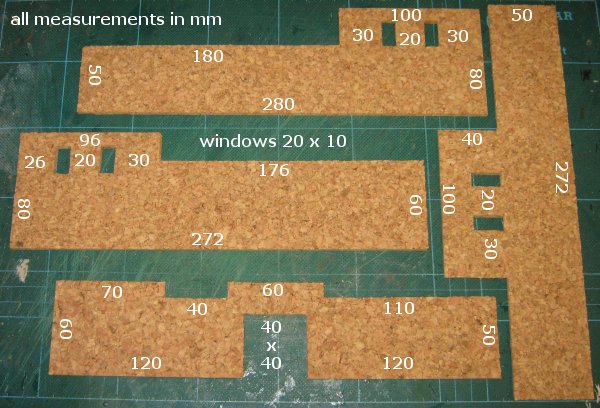
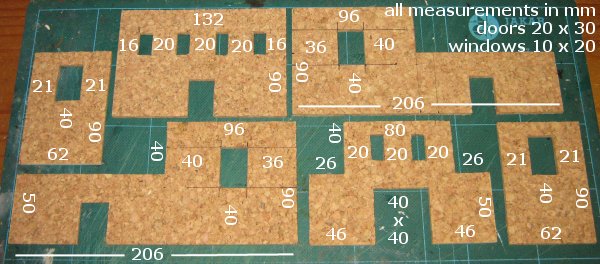
Here are the measurements for compound three. This one has a dome and a large open roof which I hope to put a removable awning on. These are the outer walls. These are the inner walls. There is a roof access door cut into the long wall which is going to face the rear wall.I have marked it up on the part that will be hidden once everything is assembled.
Here are all the walls propped into position so you can see the layout.
And here is the finished compound. The roof over the open stalls isn't glued in place yet, I will paint everything under it first otherwise it will be impossible to get a brush in.
All finished.
The fourth compound is more of a fort. It has a gate house and a main 'keep' and then continuous side buildings whose roofs act as fighting platforms.
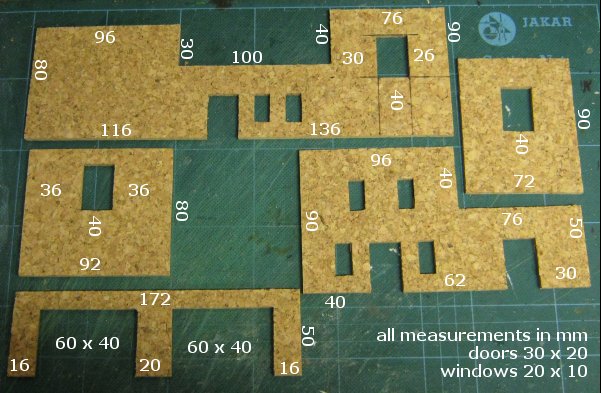
These are the outer walls: These are the inner walls. Like compound three there are walls here with doors facing both ways and these will need to be marked up on the part that will be inside a building to avoid ink showing through after painting.
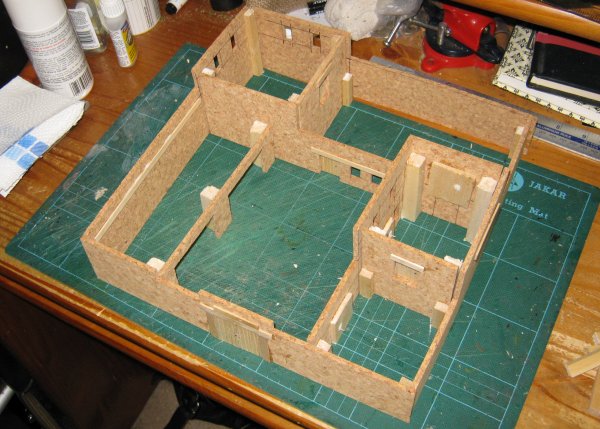
Here is an 'open' shot showing the balsa posts that help keep it all square as well as acting as roof supports.
And here's everything in place with a couple of small steps up to the gate house doors from the side roofs. This pic is very unclear I'm afraid, the painted ones are better though.
|

