|
The Tower
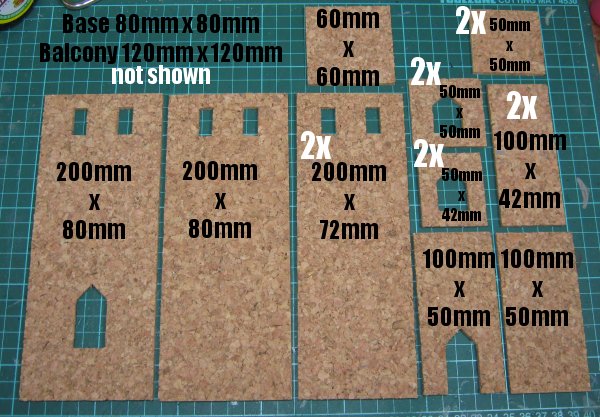
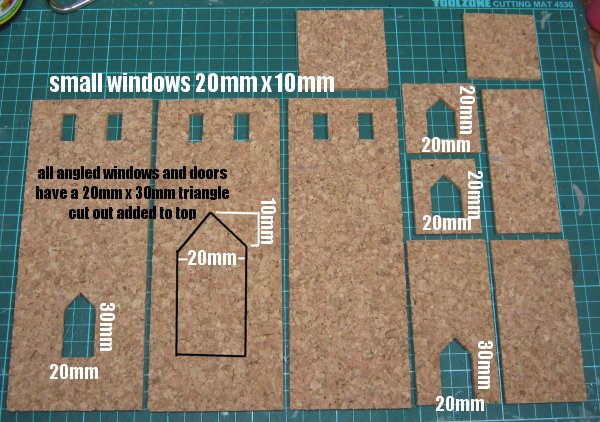
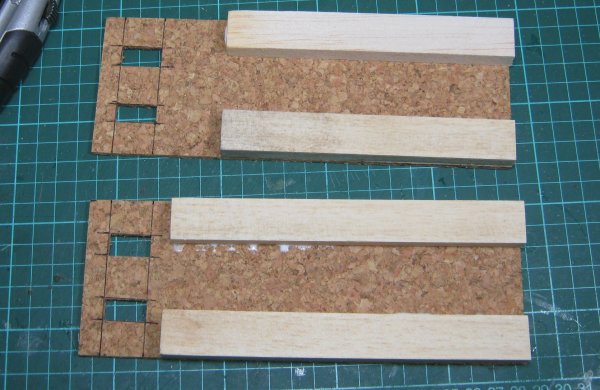
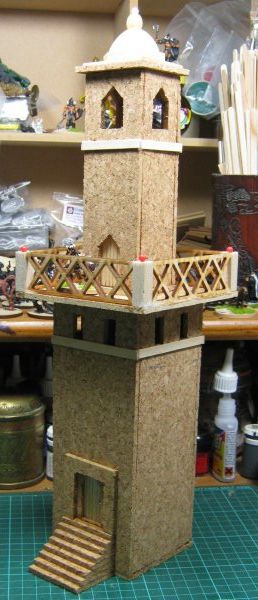
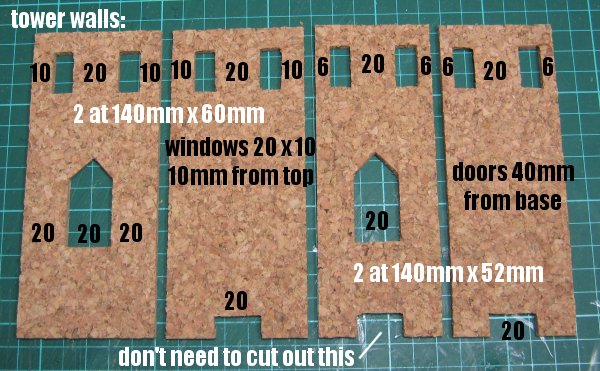
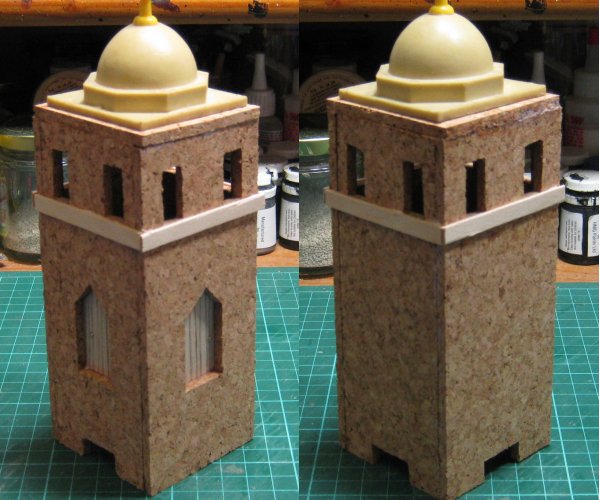
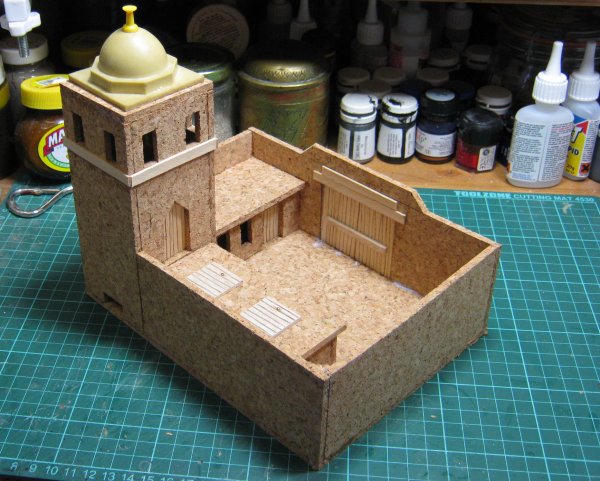
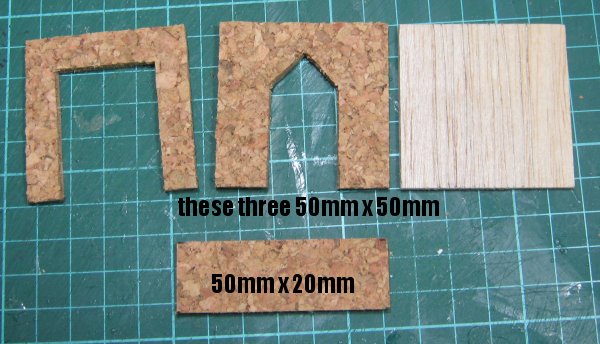
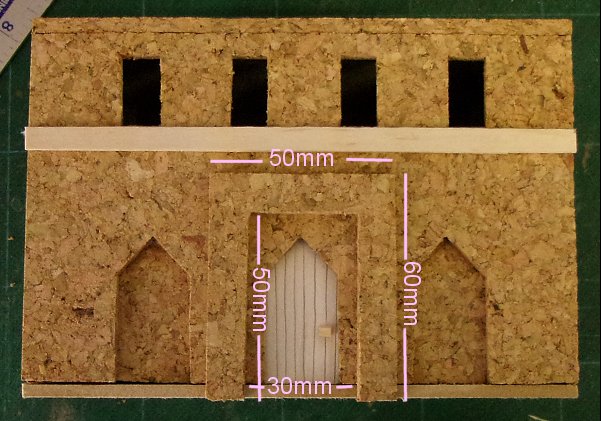
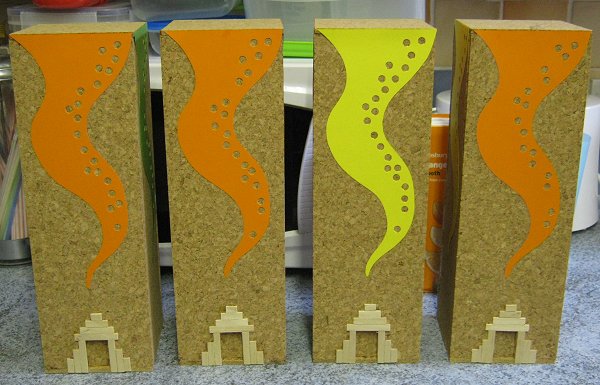
The first thing I need is a tower. I'm going for an Arabian/Indian/Persian look for my first set of scenery, something like I imagine Zamora to look like. Here's the cutting list, nothing very difficult and not many windows so this proved quick and easy to prepare. As always, everything here is cut from 4mm thick cork tile. The small windows are evenly spaced, 20mm in from the sides and with 20mm between them.
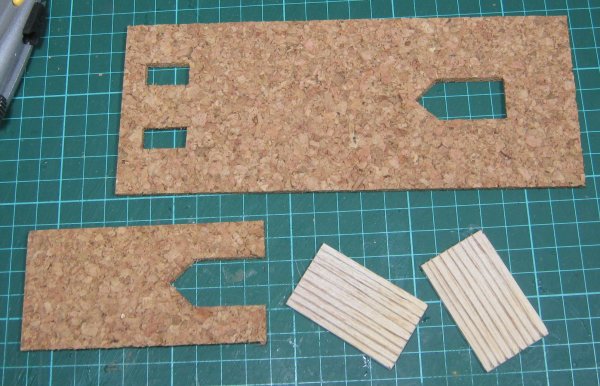
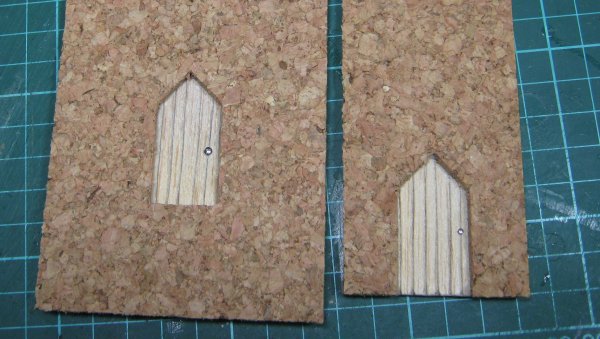
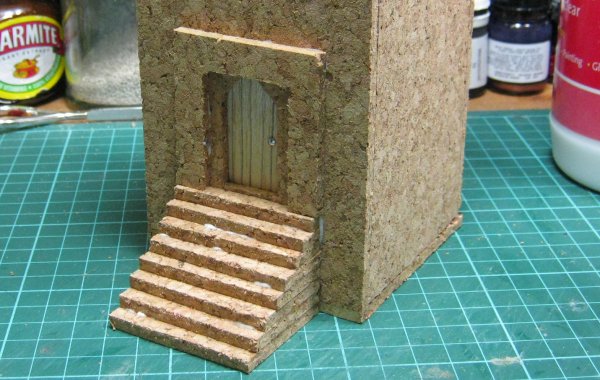
Before assembling the tower the doors need to be glued into place. The doors are made from thin balsa wood scribed with a pencil to look like planks. They need to be big enough to cover the openings, mine are 30mm x 50mm.
They are glued behind the door apertures with PVA and then a pin was pushed through to make a door handle. I clipped the pins off on the other side and covered the sharp bit with some superglue and accelerator to avoid scratches during construction.
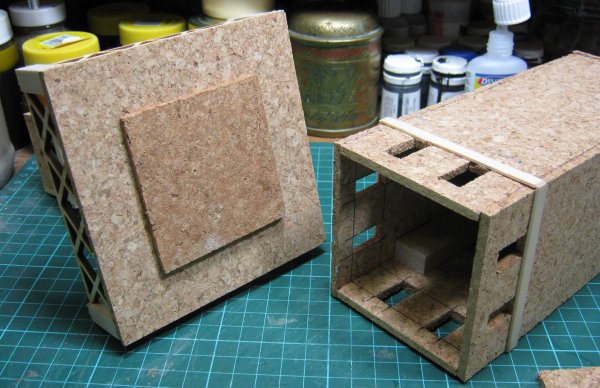
The lower part of the tower is braced with lengths of balsa wood to help keep the walls square during construction and to add extra rigidity during play. I stuck the bracers to the sides of the thin (72mm) walls so that I could line them up with the edges. I used PVA again to stick them because I needed time to check they were aligned properly and superglue sticks cork very quickly.
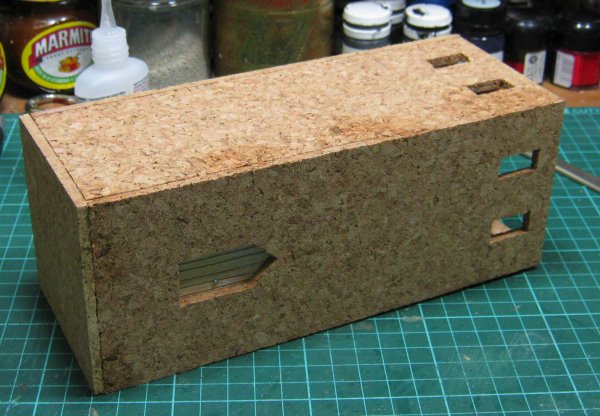
Finally the tower could go together. I used the 80mm x 80mm base to help position everything and glued with superglue. The 72mm walls fit inside the 80mm walls. Superglue accelerator helps to fix everything very quickly since this part can often seem to need several pairs of hands.
With the bottom of the tower finished it was time to assemble the thinner top section. This isn't braced, just stuck with superglue. I assembled the tower fully before attaching it to the 120mm balcony base.
I drew two diagonals in pencil on the 120mm base to help with placement, when all the small tower's corners are touching a diagonal you know it's centred. Again,to allow time for fine adjustments, I used PVA for this part. The four walls of the top section were attached next. they are only small and didn't pose any problems.
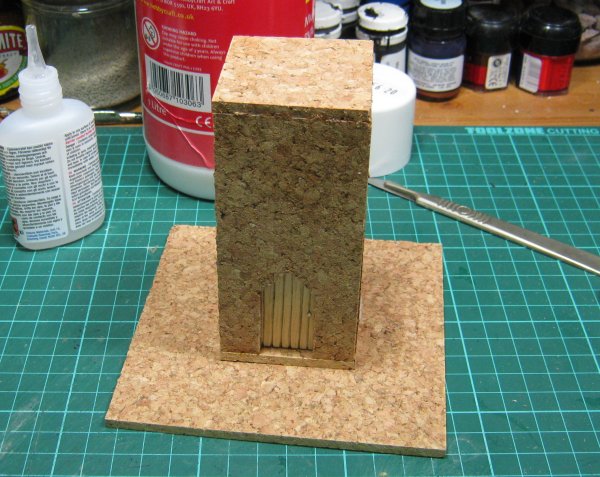
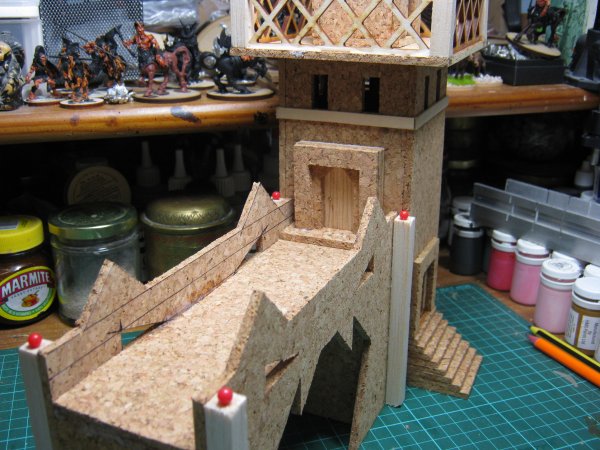
Next I made the steps up to the main door. The door frame was cut from a 50mm x 50mm square off-cut of cork to give the door more interest and the steps were cut to a 50mm width to match it.
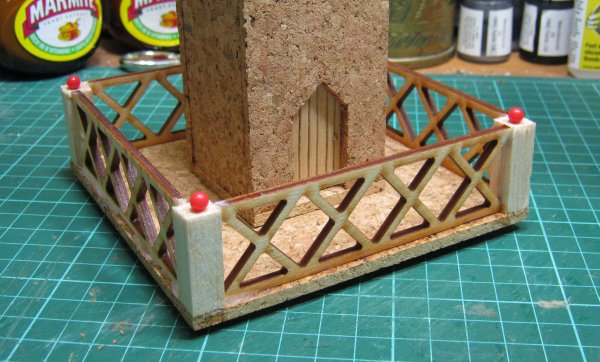
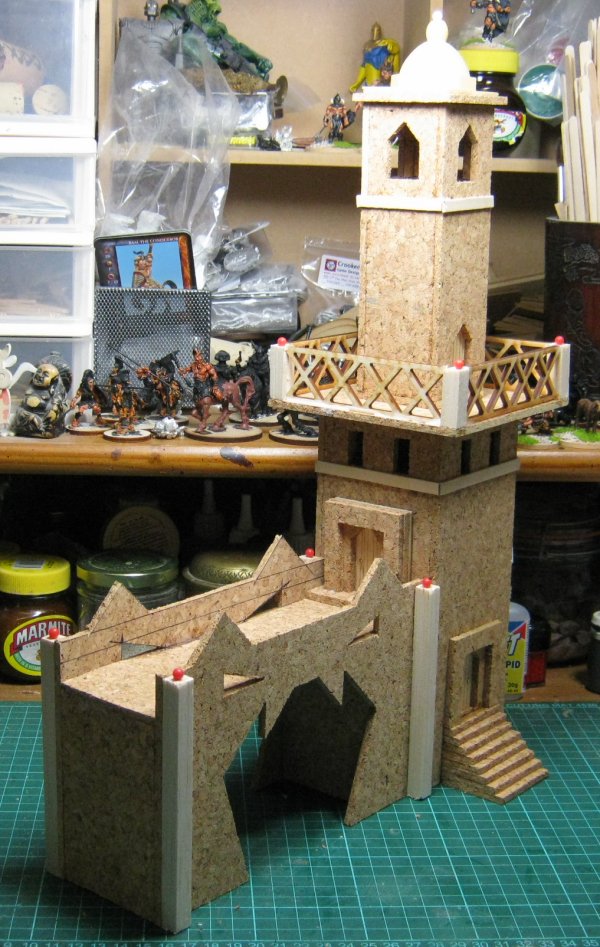
I cut a strip of cork into increasing lengths; 5mm,10mm,15mm,20mm and so on in 5mm increments all the way to 40mm. Once stacked these made the stairs. I glued these with PVA and, once everything was square, I attached the finished step unit to the wall the same way. The balcony railing could be made from anything. Originally I was gong to make it a solid wall but I had some laser cut plywood frets left from an earlier project so I decided to use them instead because they gave a more 'eastern' look.
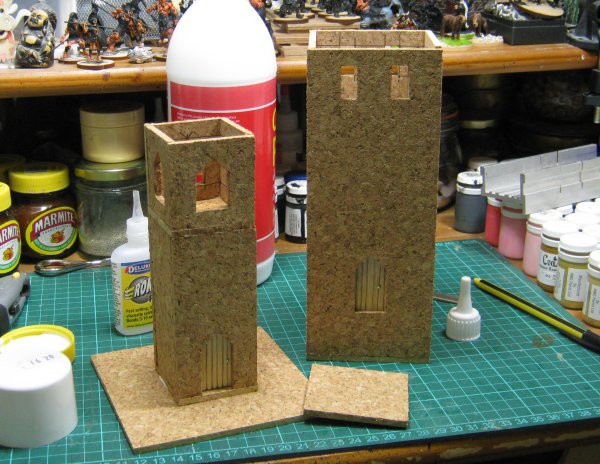
I cut them to length allowing for10mm balsa wood posts at each corner. Everything was tacked in place with PVA and, after some fiddling, was finally fixed with superglue and accelerator. I topped the posts with some mapping pins. I stuck a square of cork under the balcony that fits inside the lower part of the tower. This shouldn't be a particularly tight fit as it's only there to stop the top being moved around or toppled during play and it's best if the tower can be moved and positioned one handed. The tower isn't supposed to come apart, I haven't added an interior floor and I don't intend to, I was going to stick it all together but I realised that two parts make for easier storage and transportation.
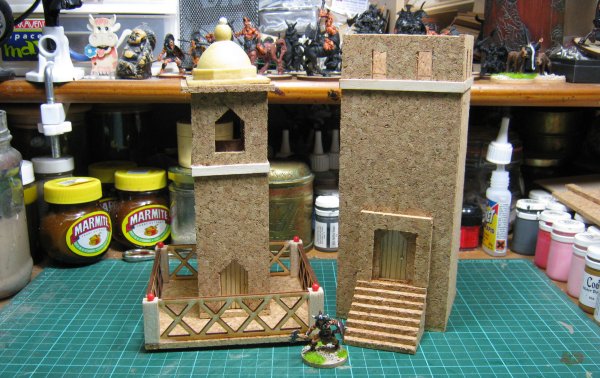
The very top was finished with the 60mm x 60mm roof to which I glued an Ian Weekley resin dome topped with another mapping pin. These domes are very useful modelling aids and can be obtained from Magnetic Displays. I added another smaller square of cork to the underside of this roof to aid in positioning it as this is supposed to lift off and allow access to the tower top during play.
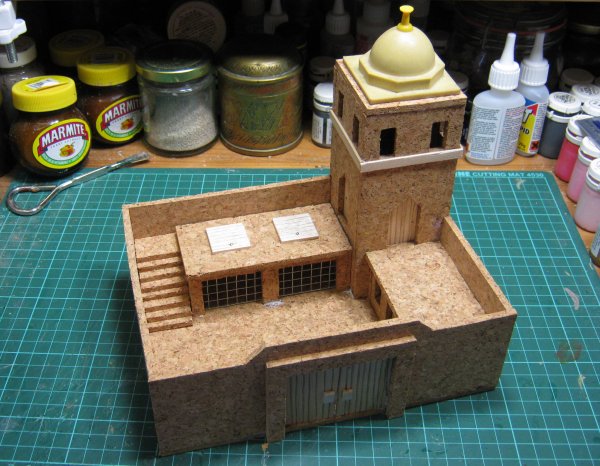
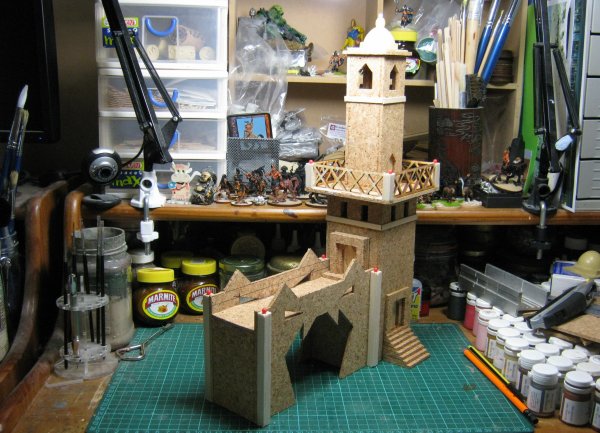
Some coffee stirrers were cut to size and added to the walls for interest and the tower was complete. I might add a decoration above the main door but I'm undecided. Here's the final (unpainted) item.
|
The Prison
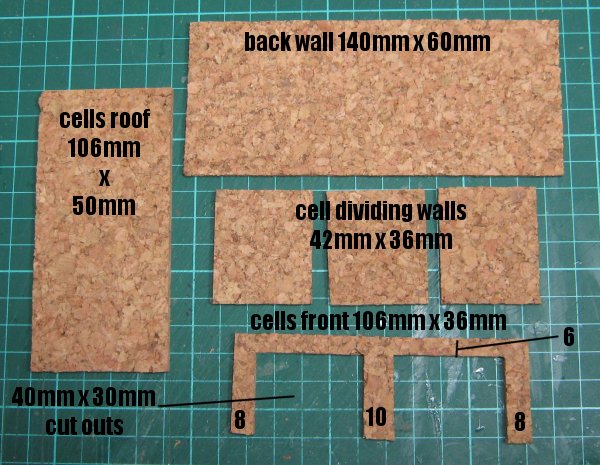
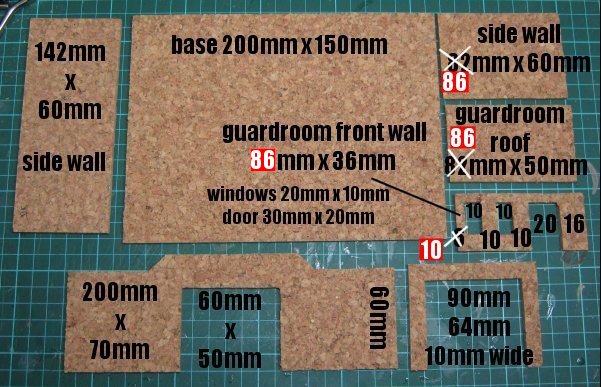
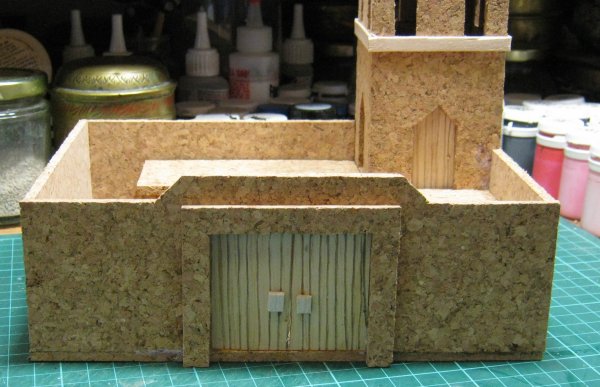
At some point or other every reaver, thief or slayer is going to end up behind bars even if only for a short time. This little prison is based on one built by Elhion which you can find here. Because it's an enclosed structure the plans are a little more complicated than the previous buildings in this set and the measurements are odd numbers to allow for various 4mm wall thicknesses here and there. As you can see I made a mistake in my calculations for the guard room, allowing for an internal wall that wasn't there. I added the wall to my model to avoid having to re-cut the three affected walls and amended the plans above so you won't have to.
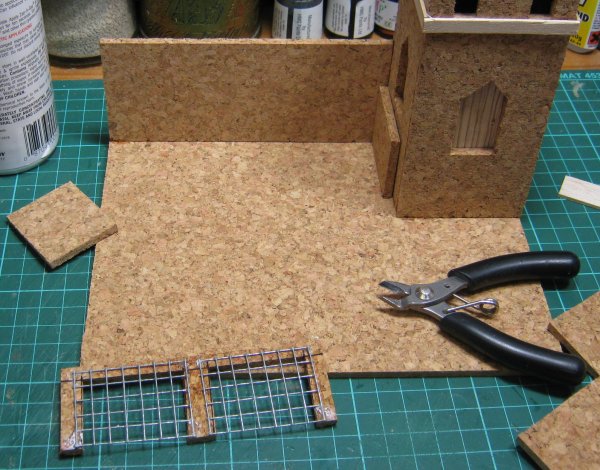
The first thing to put together is the tower. this will anchor the other elements in place and set the tolerances for the whole building. I added balsa wood and pin doors as before and braced the two 52mm walls with more balsa wood before gluing the walls together. As usual, the narrower walls fit inside the wider ones so the finished tower is square. I topped the roof with a 60mm x 60mm roof and an Ian Weekley dome with a mapping pin as final decoration. Coffee stirrers were used to add a window sill band around the outside so this tower matched the look of my other one.
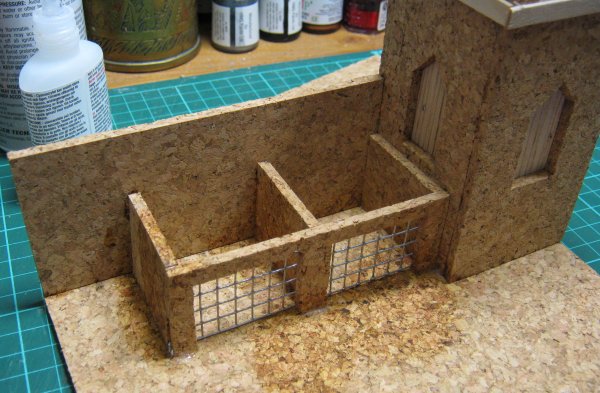
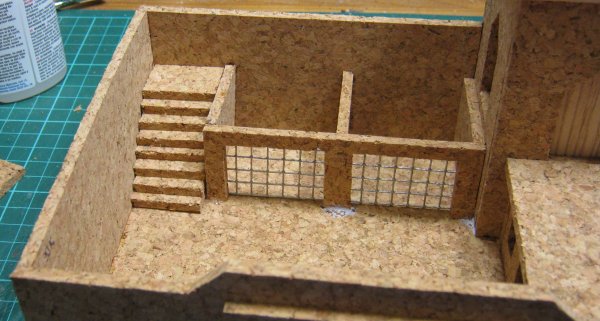
The small cut outs at the base of the walls are to give an indication of a basement level with more cells. I was going to add bars but decided against this in the end. The cut out beneath the door is going to be masked later so doesn't actually need to be there, save yourself some work and ignore it. Once the tower was glued into position on the base I added the back wall and began work on the cells. I used 6mm wire mesh for the bars, this is available from pet shops apparently but I've never been able to find it there. I buy cheap bird feeders for a couple of pounds which provide a good supply of wire for the cost.
I glued the mesh with superglue ensuring I left a gap for the central dividing wall to fit. I then glued the support wall beneath the tower doorway and used this as my starting point to ensure the cell block stayed square during fitting. Plenty of superglue and accelerator and the cell block was complete.
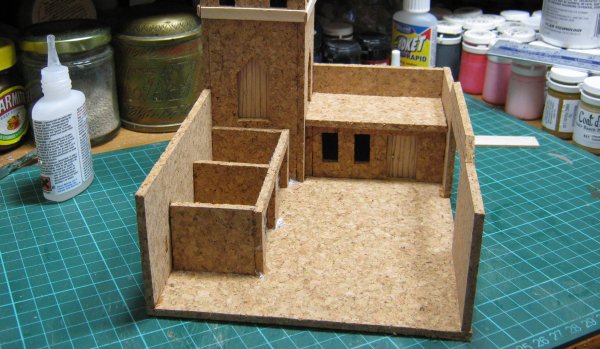
Next up was the guard house. this needs to be positioned in tandem with the front wall. Only the part of the wall on the guard room side of the gate way was glued at this point.
I've added my extra wall next to the tower as you can see. This does make it easier to fit the roof so you might want to make yours this way too. If you do, cut the front wall to an 82mm width. Once again, before everything was glued into place I made a simple balsa wood door for the guard room. The gateway frame was cut to overhang the base in a similar fashion to the domed house's doorway. I attached this before I glued the front wall in place as it helps to position the wall.
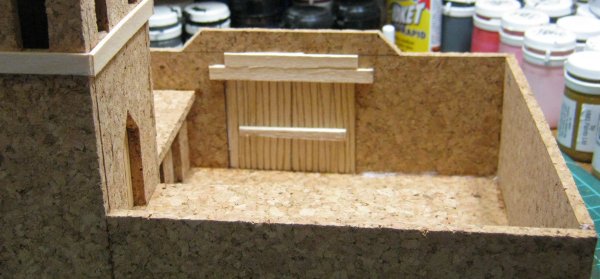
The gate itself is made from scored balsa wood with some off cuts added to indicate handles and an inner locking bar. I didn't bother detailing these too much as it's fairly clear what they are. The inner bar particularly is almost hidden due to its positioning. I added a couple of coffee stirrer lengths across the back of the gates. Masquerading as gateway detailing they're actually placed too low and are glued to the top of the gates to strengthen them.
The steps are 30mm wide and made in layers as before.
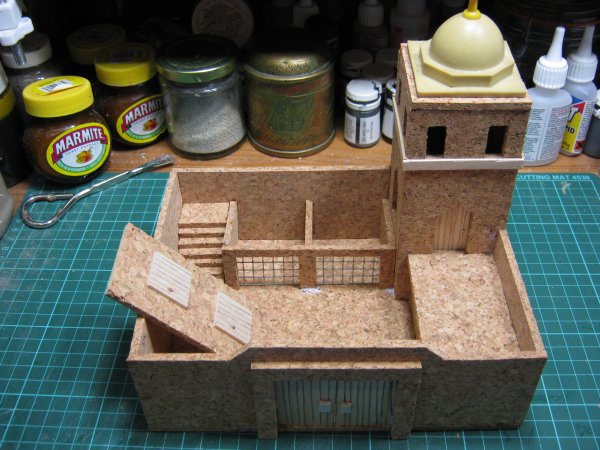
The roof to the cells isn't glued so it can be lifted off for figure placement during games. I added two access trap doors made from balsa squares.
And there we are, a prison building for a town or a small border fort for the wilderness.
|
|
The Demon Gate
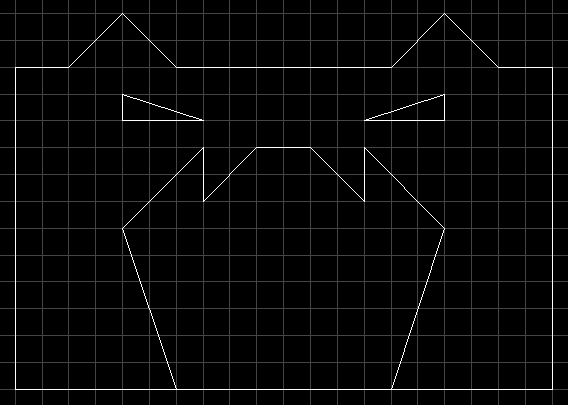
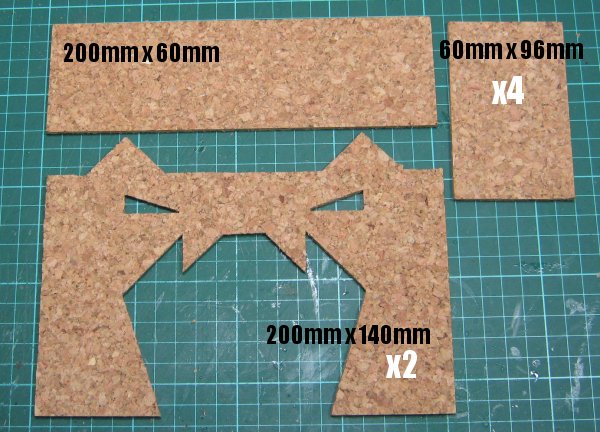
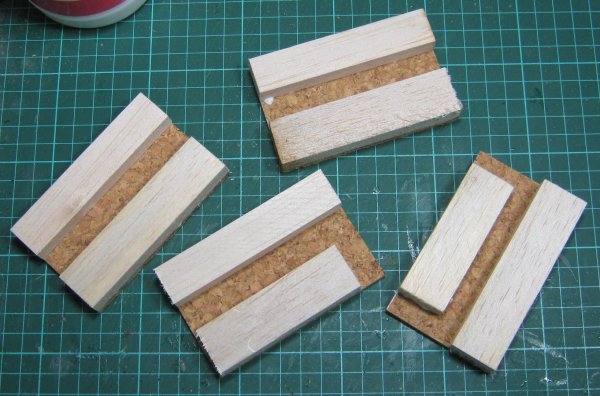
The archway was originally going to be a standard curved affair but I found it was very difficult to cut matching curves out of the cork tile. I will try again later with different materials but for now I needed a gateway and it needed straight lines so I decided to be a bit creative since this is a fantasy setting and the Demon Gate was born. It started out as a Serpent Gate but the serpent head shape made the parapet too high for figures to see over so it was changed. The gate design is up to you, the overall dimensions for this are 200mm x 140mm but within this you can design whatever you like. You need two identical sides though so draw it out, don't just make it up as you go. Here's the plan of my design, each grid square represents 10mm. The four upright walls had lengths of balsa wood added for strength and to help keep them square during assembly. Where I could I cut the balsa to the exact length but each strip had a short piece left over so these were used too rather than waste them.I used PVA to glue them to allow positioning time, they need to be flush with the cork edges.
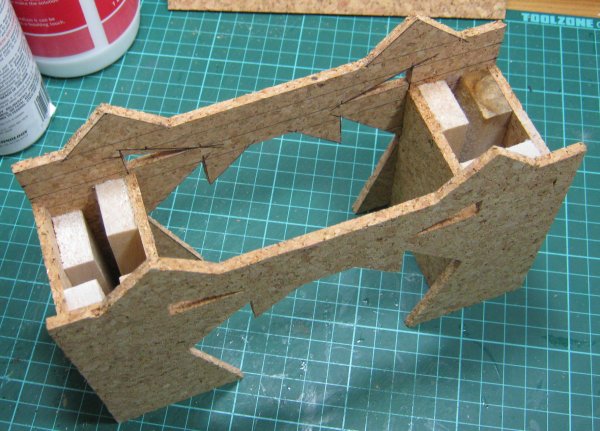
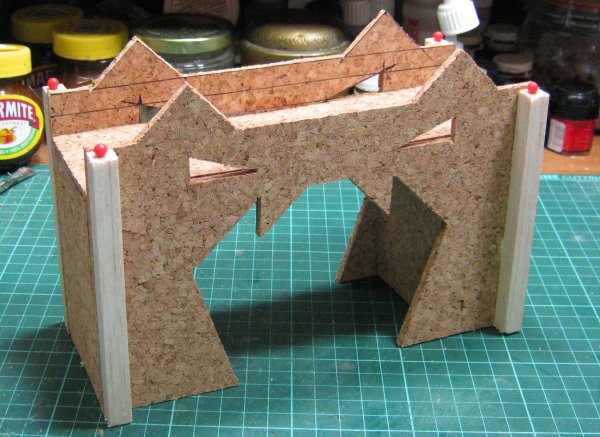
The uprights were glued into position as shown, flush with the outside edges of the sides and as far towards the middle of the arch as I could manage without intruding on the opening. They were positioned with PVA and fixed with superglue once everything was correct.
The walkway was then glued across the top. I had to be careful to push it all the way down to ensure that it was clear of the eye cut outs. Again, because this needed positioning, it was stuck with PVA then superglue.
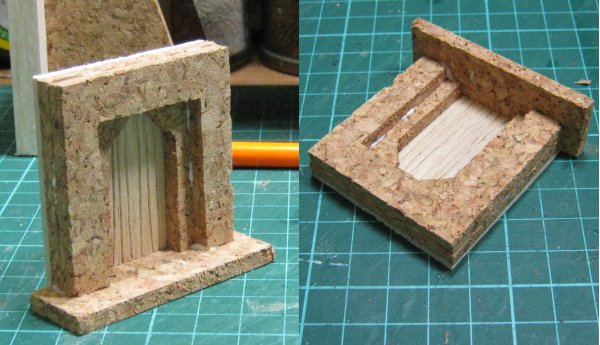
I wanted a door at one end to join the gate to the tower or other building later. I kept this as a separate, free-standing item to allow more modularity and placement options in the future.
Each element was cut to a 50mmx 50mm pattern so they could all be sandwiched together to make the finished piece. The balsa wood door was scribed with a pencil to give it a plank effect. The three layers were then glued with PVA and the step added to act as a base. The step was made 60mm so it's a tight fit onto the gate walkway which helps to keep it positioned during play.
Finally I superglued a pin head in place for a door handle and checked everything went together as hoped.
|
House
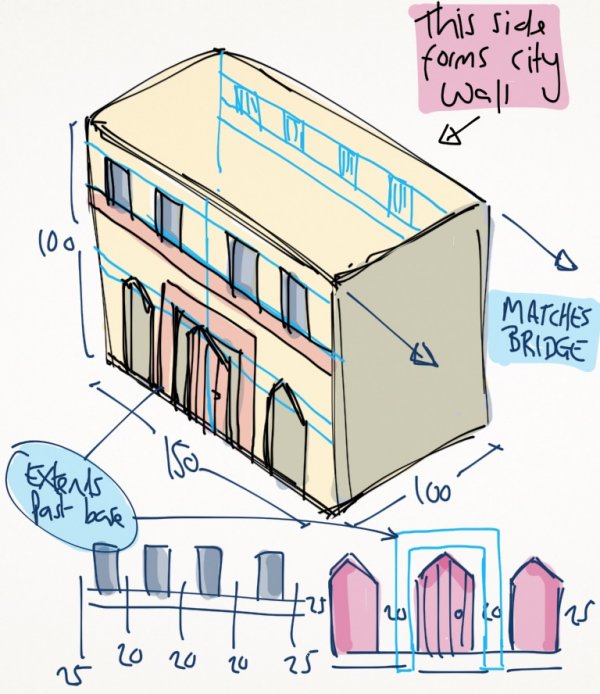
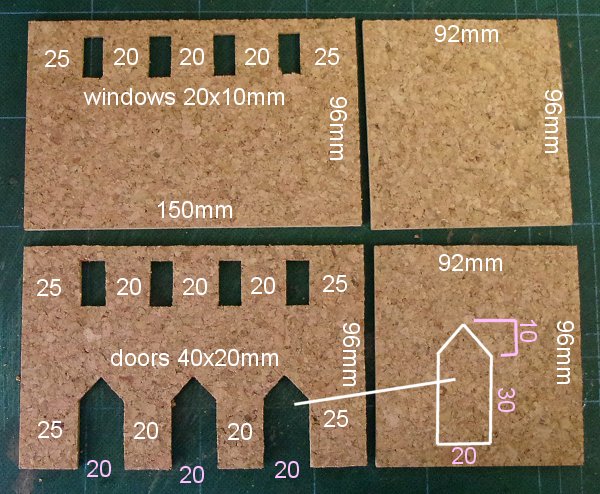
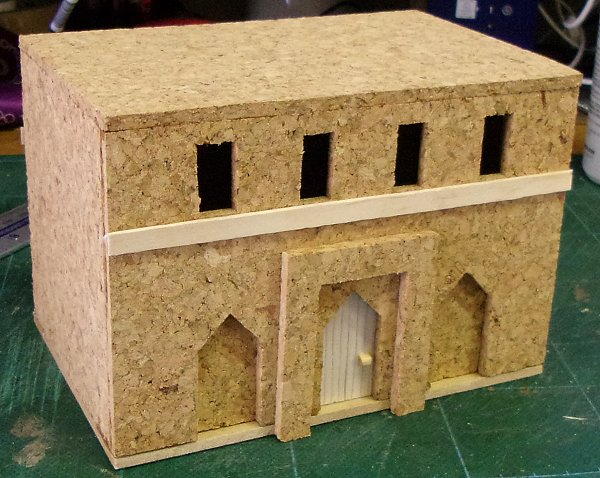
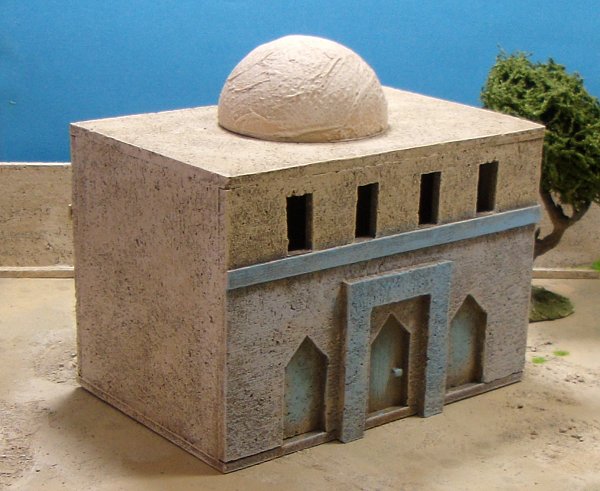
This next building is going to serve as a central administration building or an important person's house.It needs to be flat roofed and 100mm high so it will butt up against the gateway to form part of a city wall. On its own it will make a fine centre point for a town. Here's the cutting plan. The two outer doorways are going to be false doors and just serve as decoration.
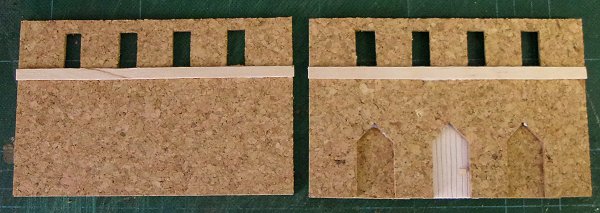
I added a balsa wood door as usual and filled the false doorways with a couple of cork off cuts. Coffee stirrers were cut to 150mm and glued under the windows.
Once I'd assembled the building I added a 150mm x 100mm roof and the porch which needs to extend beyond the foot of the wall, past the base, to the ground.
All done.
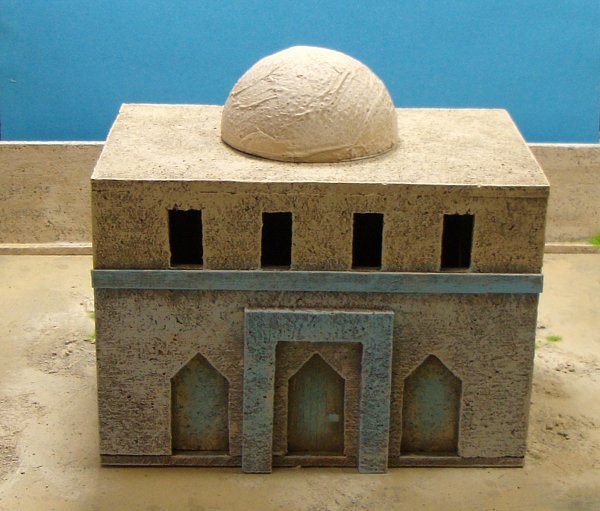
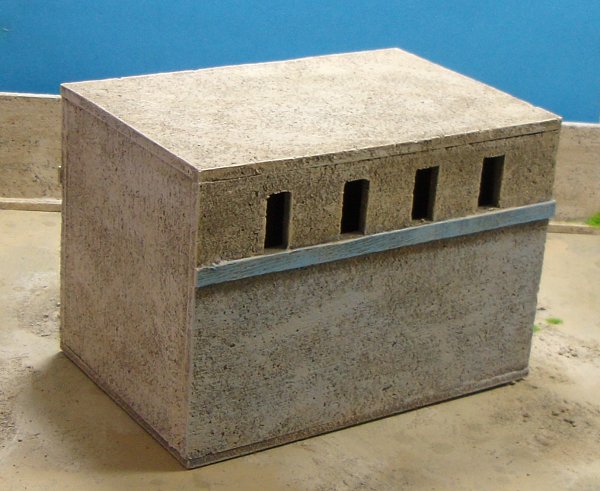
As befits its status I gave this building a splash of faded colour. Here it is with and without a roof dome.
Dark Citadel
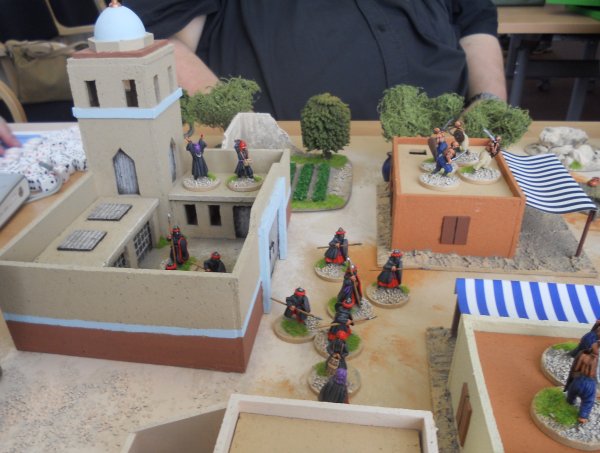
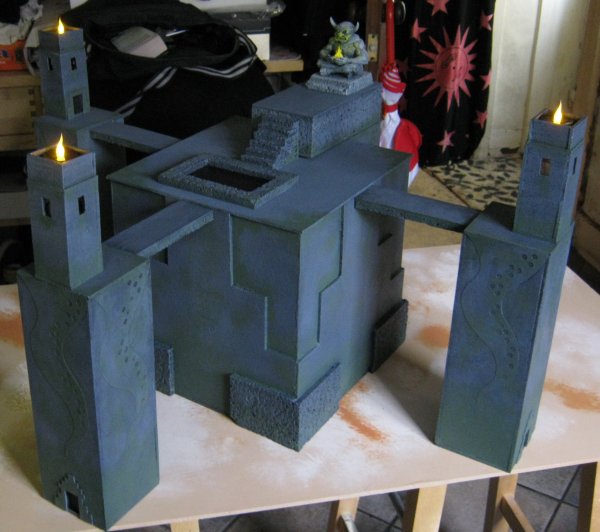
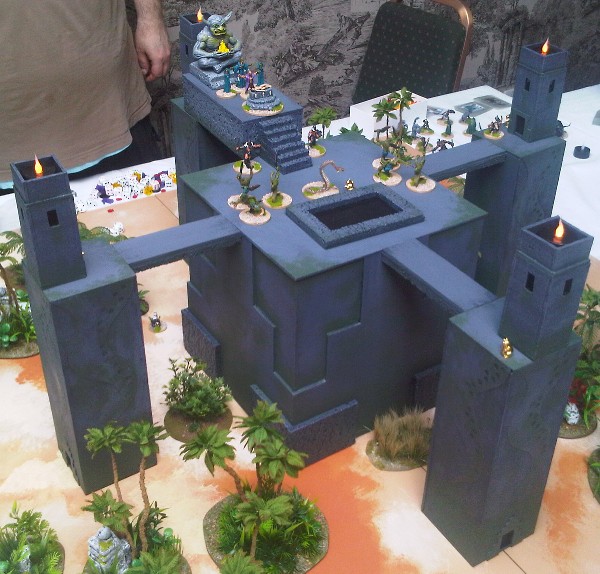
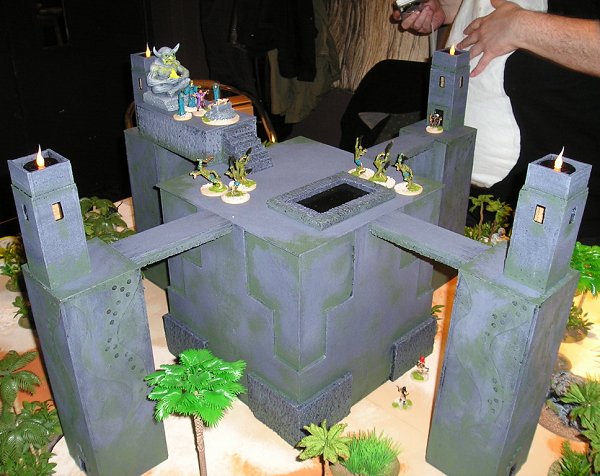
This was my centre piece for the demonstration game I put on at BLAM |

