|
Afghan Buildings
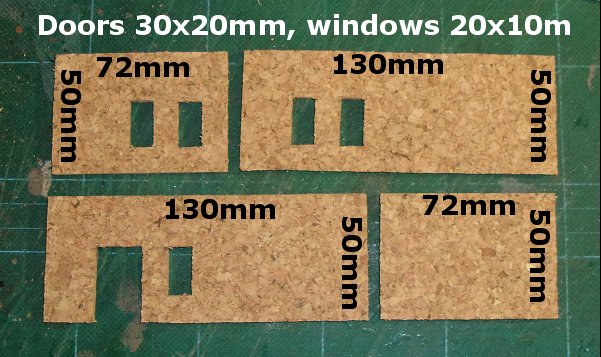
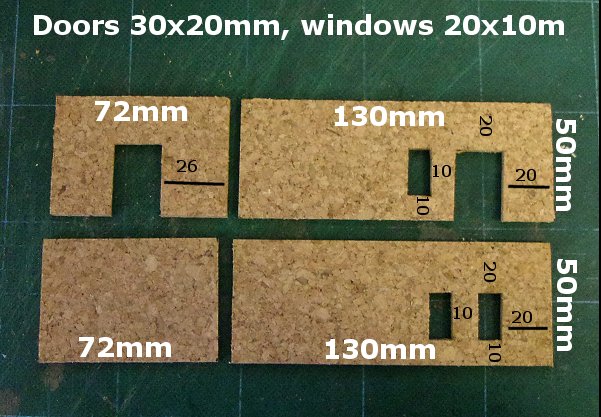
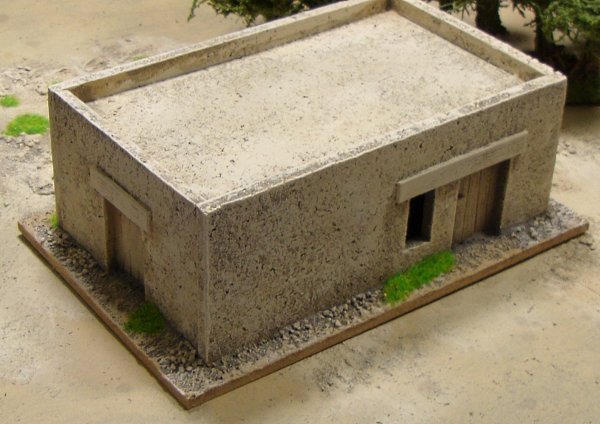
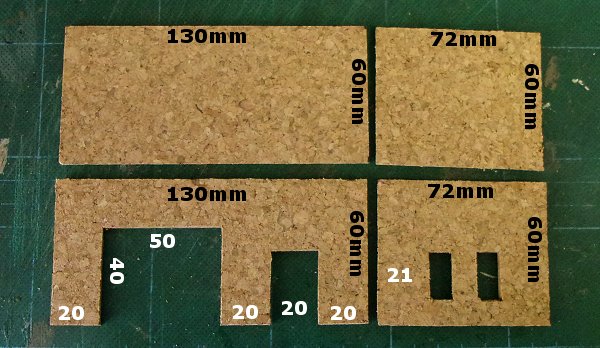
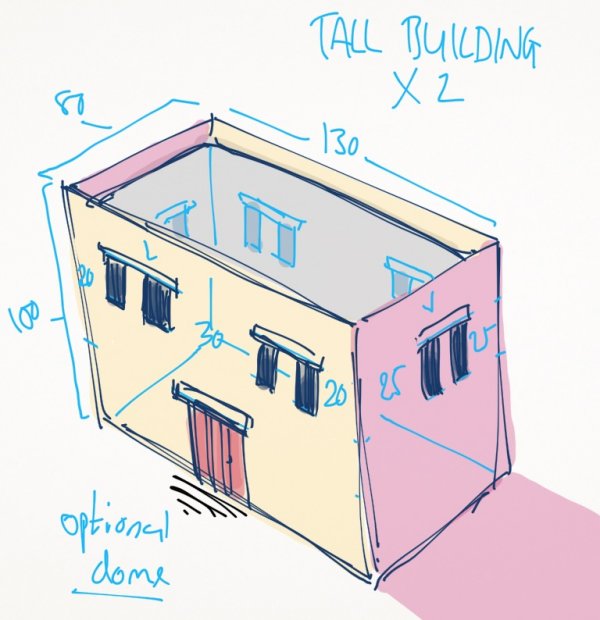
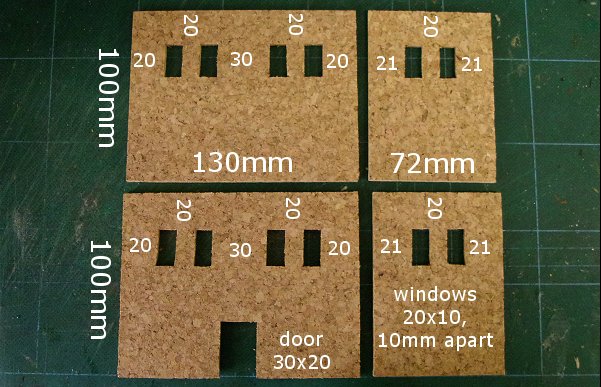
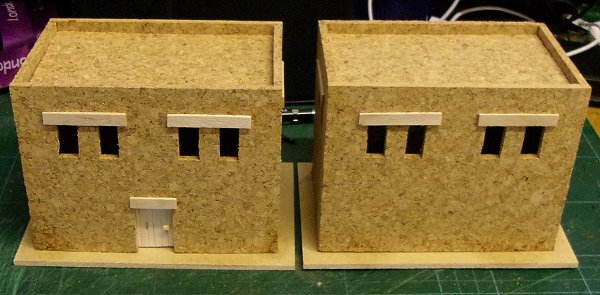
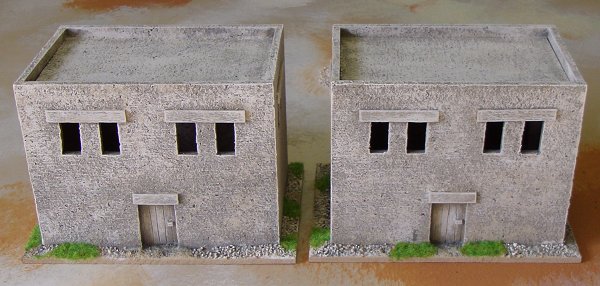
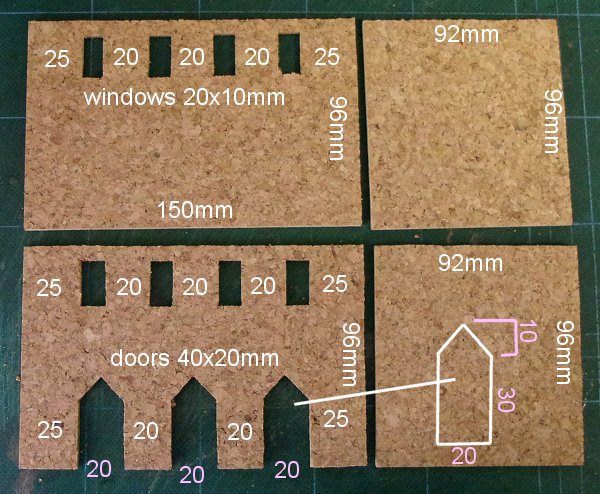
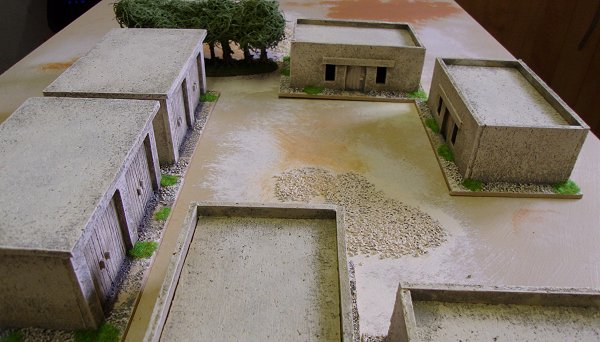
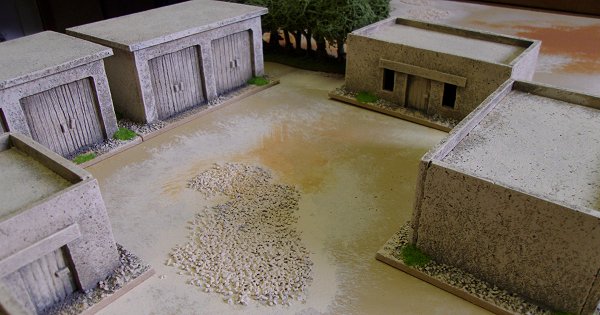
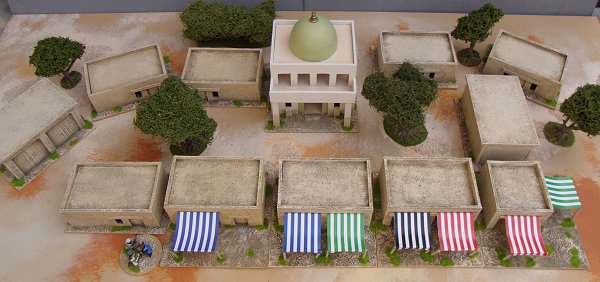
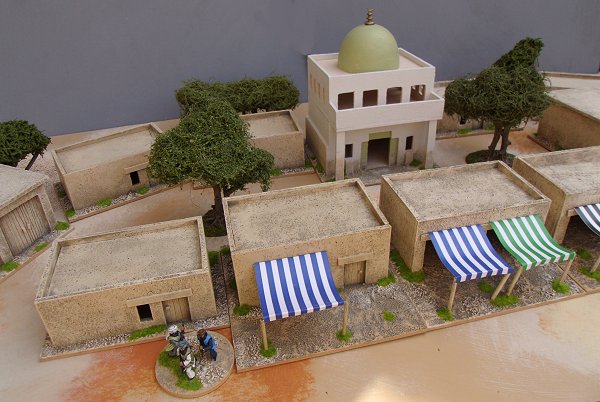
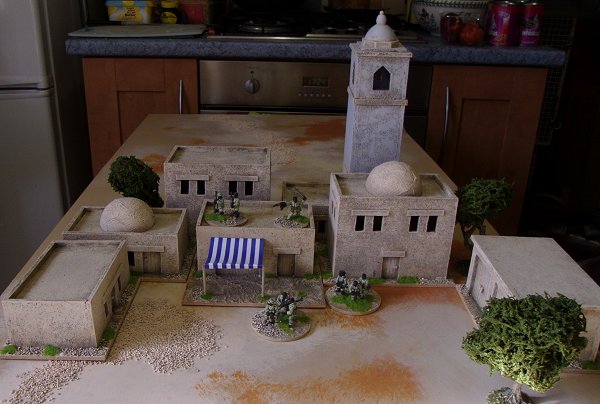
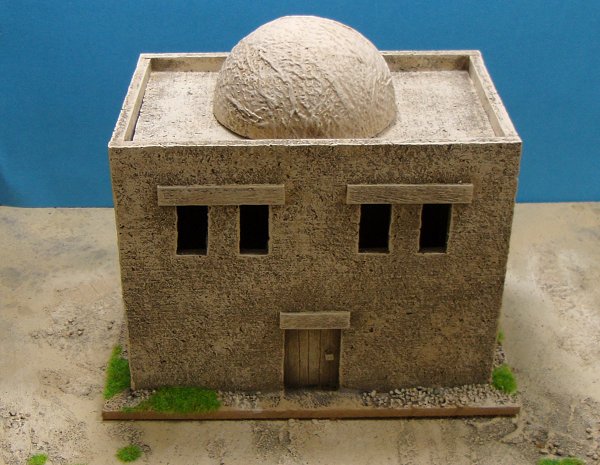
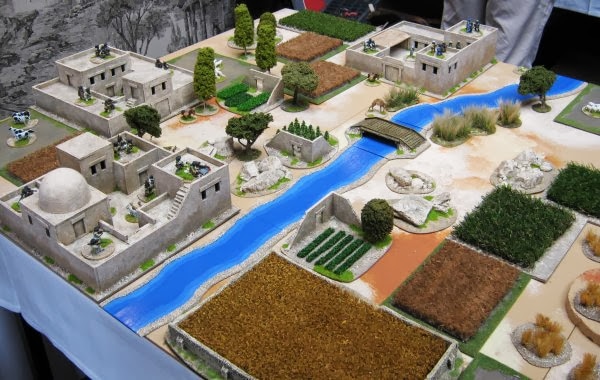
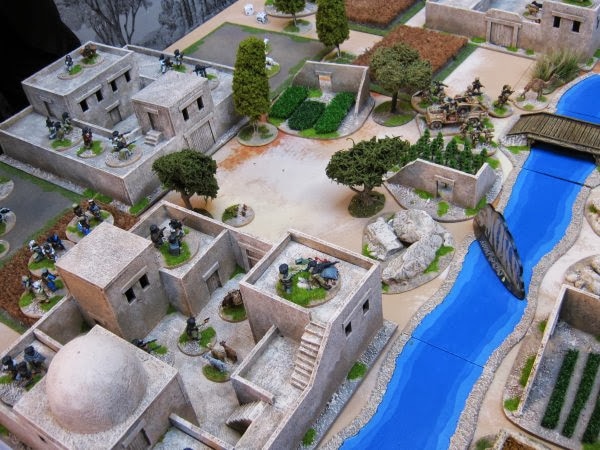
I needed some smaller buildings accompany my Afghan compounds and also to be used for other settings as well. These are a variation of my general purpose modern buildings with detailing and painting that ties them into the existing compounds. They are very simple to make and it's possible to churn out loads in a very short time. The standard buildings are 130mm x 80mm and fit on a 150mm x 100mm base. Here are a couple of examples that give an idea of the range of possibilities for placing doors and windows. there's no set pattern so you can do whatever takes your fancy. I'll use the set of components above to construct the example building.
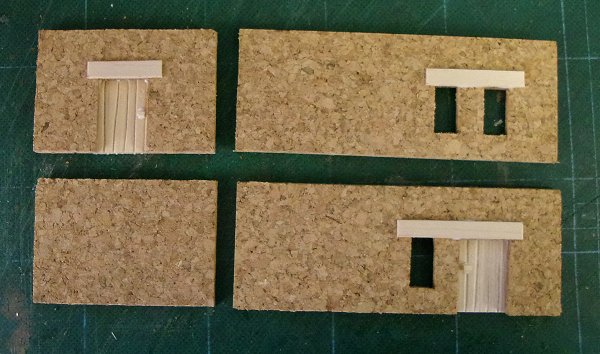
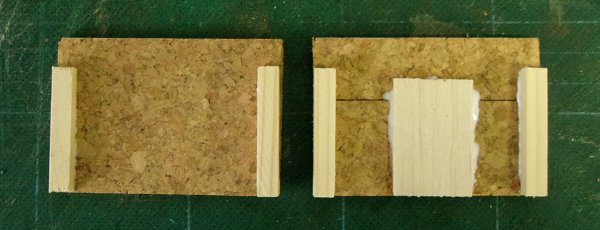
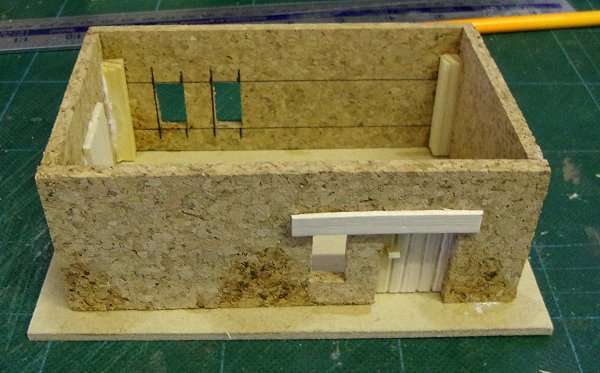
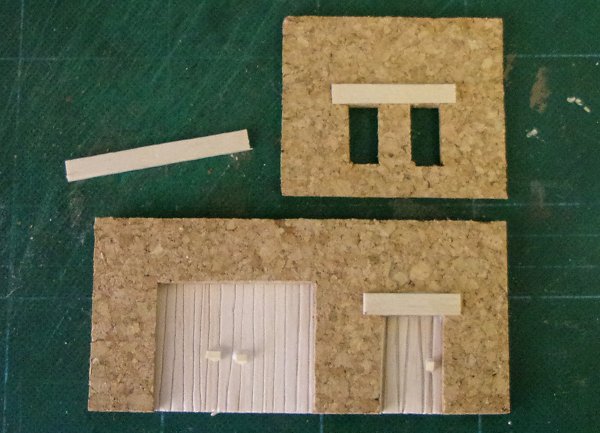
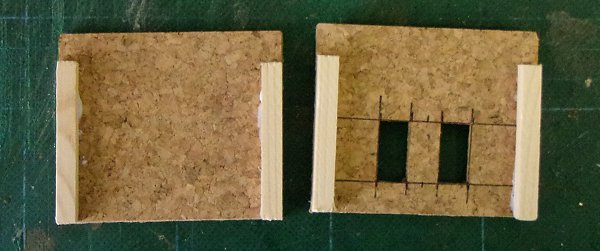
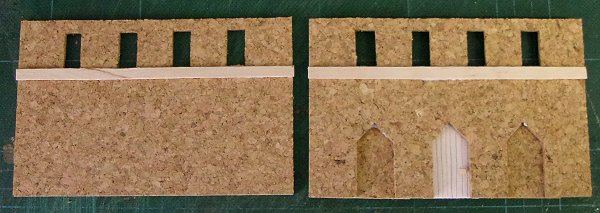
The first thing I did was to add the doors and lintels. The doors were cut from balsa wood and scored with a pencil to give the appearance of planking. They can be any size that is bigger than the 30mm x 20mm doorway, I like to keep things tight so I cut my doors 35mm x 25mm to make sure they didn't end up fouling the corner posts or the roof. The final touch was a small section of match stick to act as a handle. The lintels are cut from coffee stirrers and have a 5mm overlap either side of the doors and windows. All these bits were glued on with PVA glue. I cut some square dowel to make the interior corner posts. These serve to help keep the corners at right angles during the final phase of construction and support the roof.
Cutting the dowel to 36mm will give a final roof lip of 10mm and I try to make this the standard but I mistakenly cut these to 40mm so my roof will be a little higher than usual. Not to worry, different roof heights won't be a problem. The dowels were also glued in place with PVA to allow time to position them properly. I glued the building together with super glue. I find it easiest to assemble a short wall and a long wall into an 'L' shape then glue the two resulting components together. This makes it much easier to keep the building corners square.
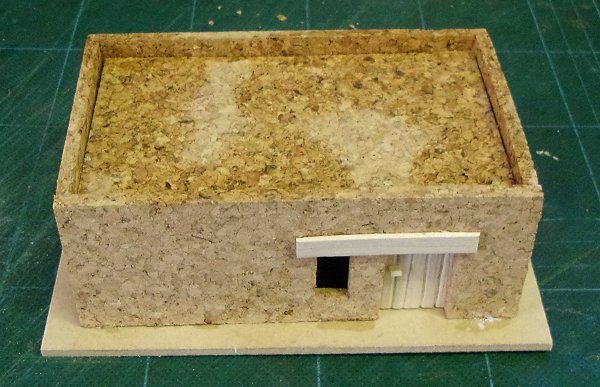
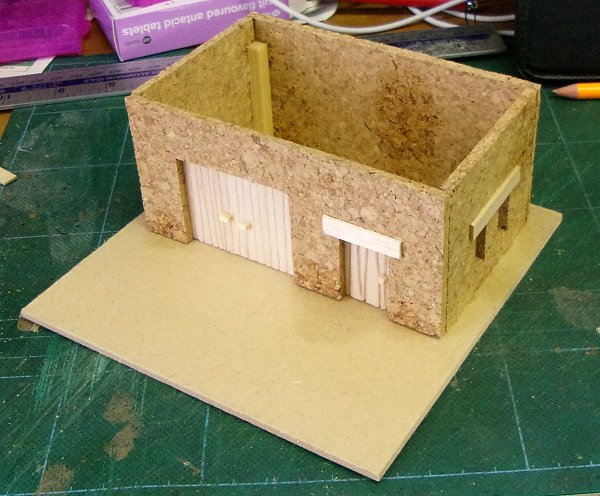
Once everything is together I glued it to the MDF base. I cut a roof to 122mm x 72mm. Occasionally the roofs need an edge shaving off to get them to fit. Once it was in position I ran some super glue around the join and used a little super glue accelerator to speed everything up.
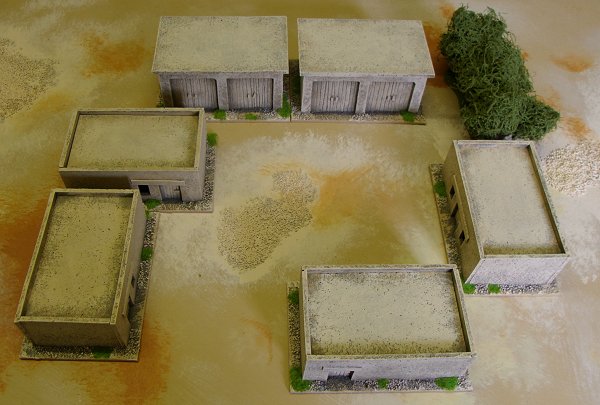
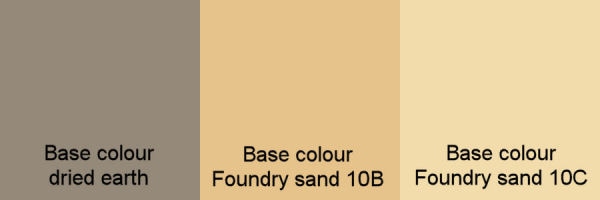
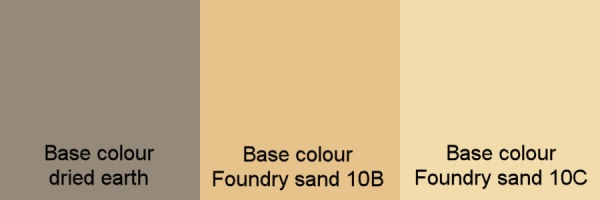
It was a simple matter to make a few more and paint them to match my existing compounds (basically they're painted in the three basing colours I use, a dried earth highlighted with two shades of sand).
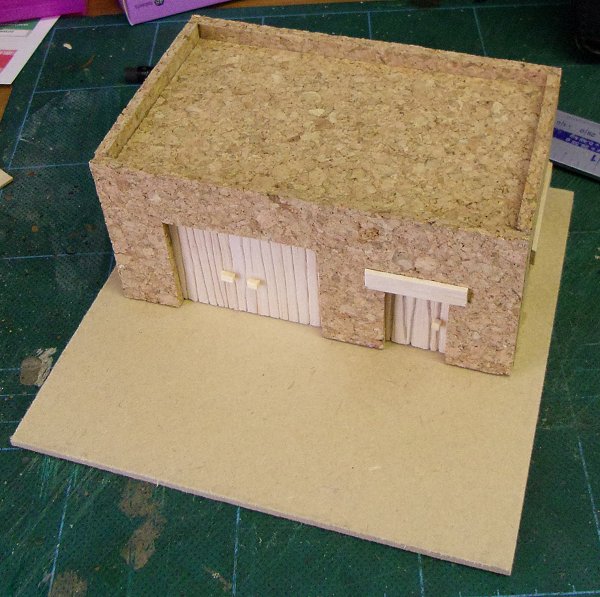
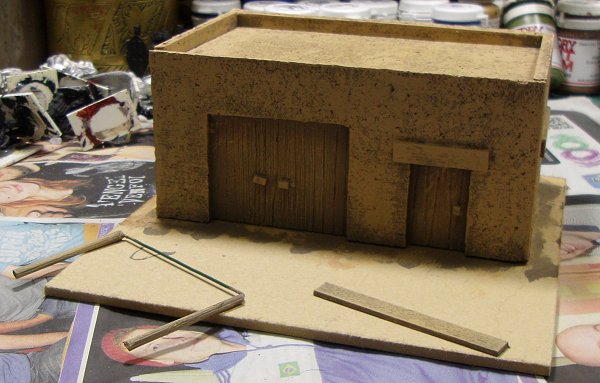
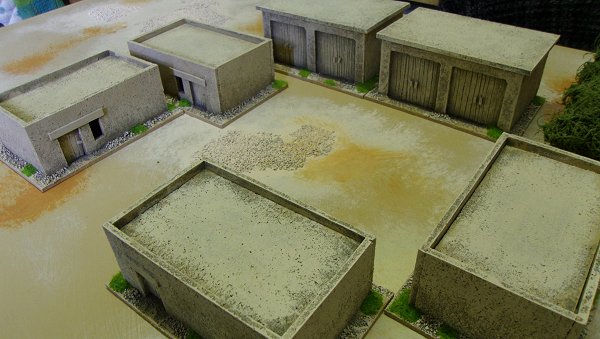
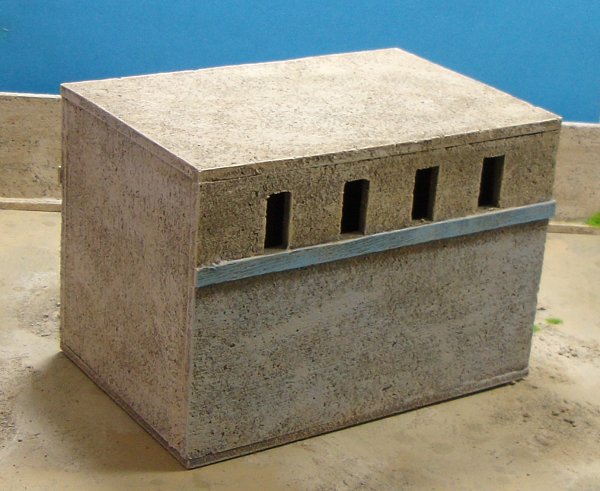
I also made some 60mm high garages or sheds with flat roofs. These were even quicker as there are no other windows or doors apart from the front loading doors.
Shops
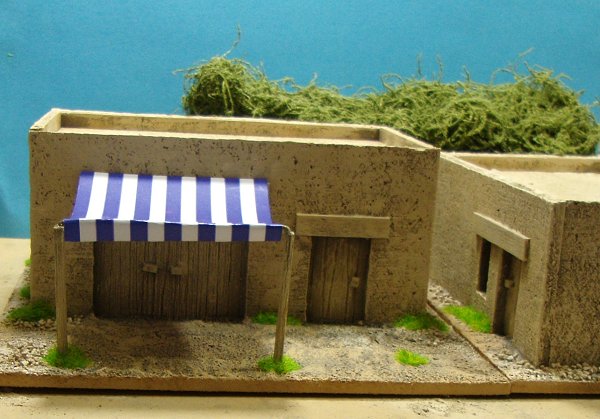
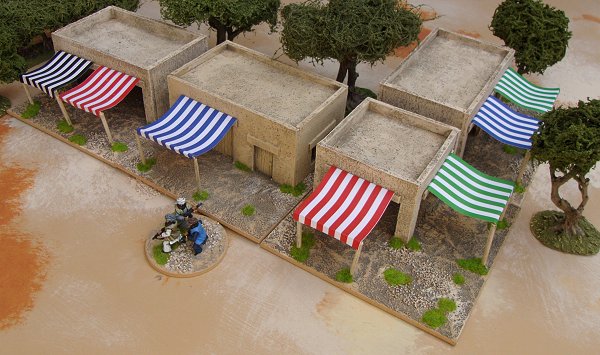
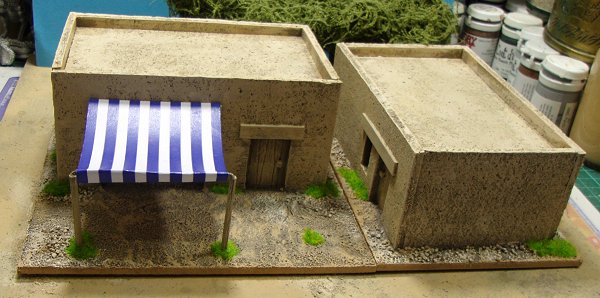
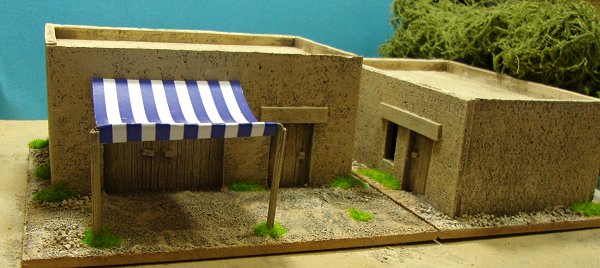
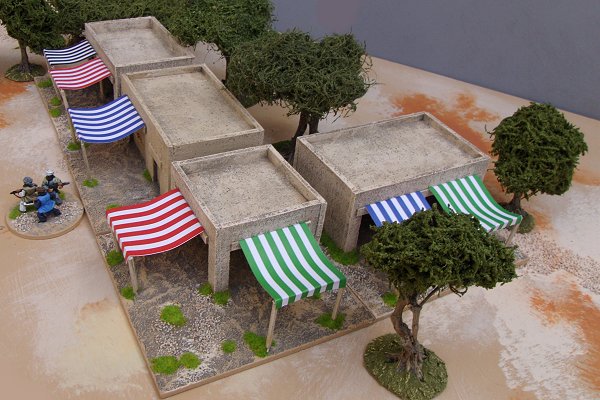
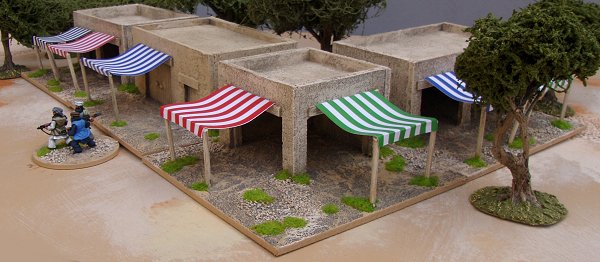
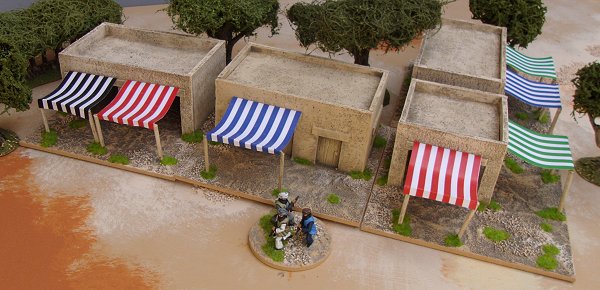
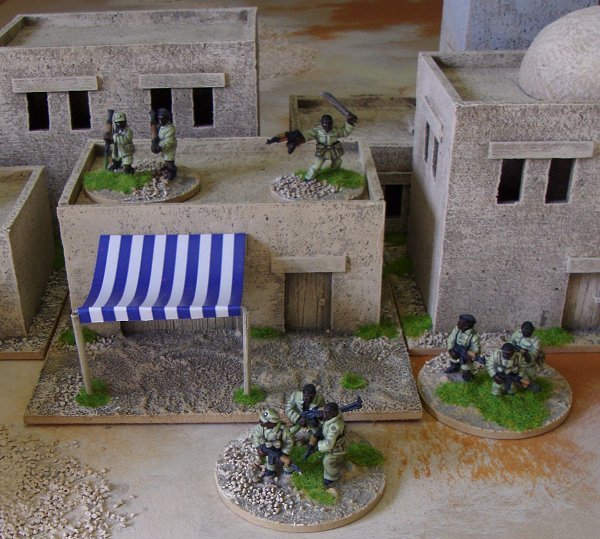
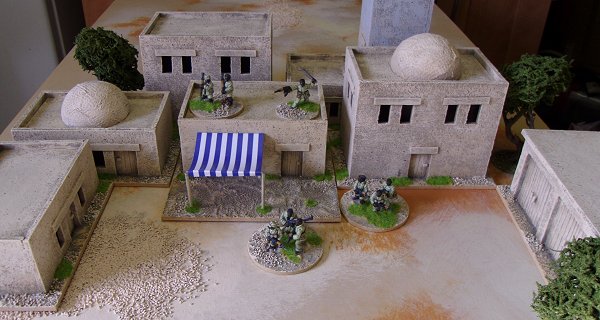
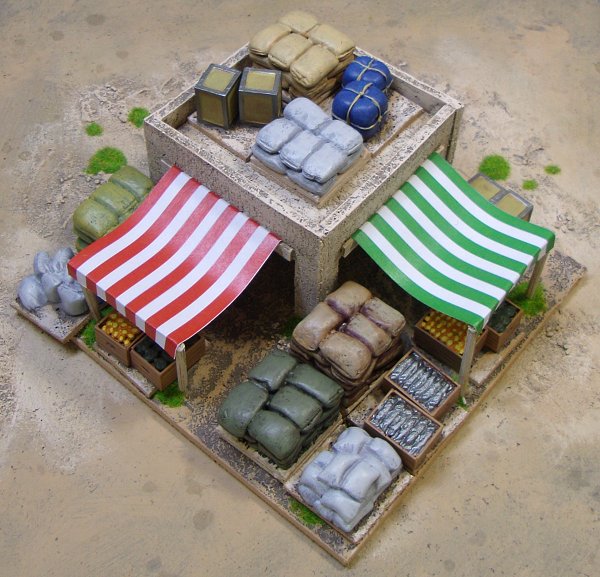
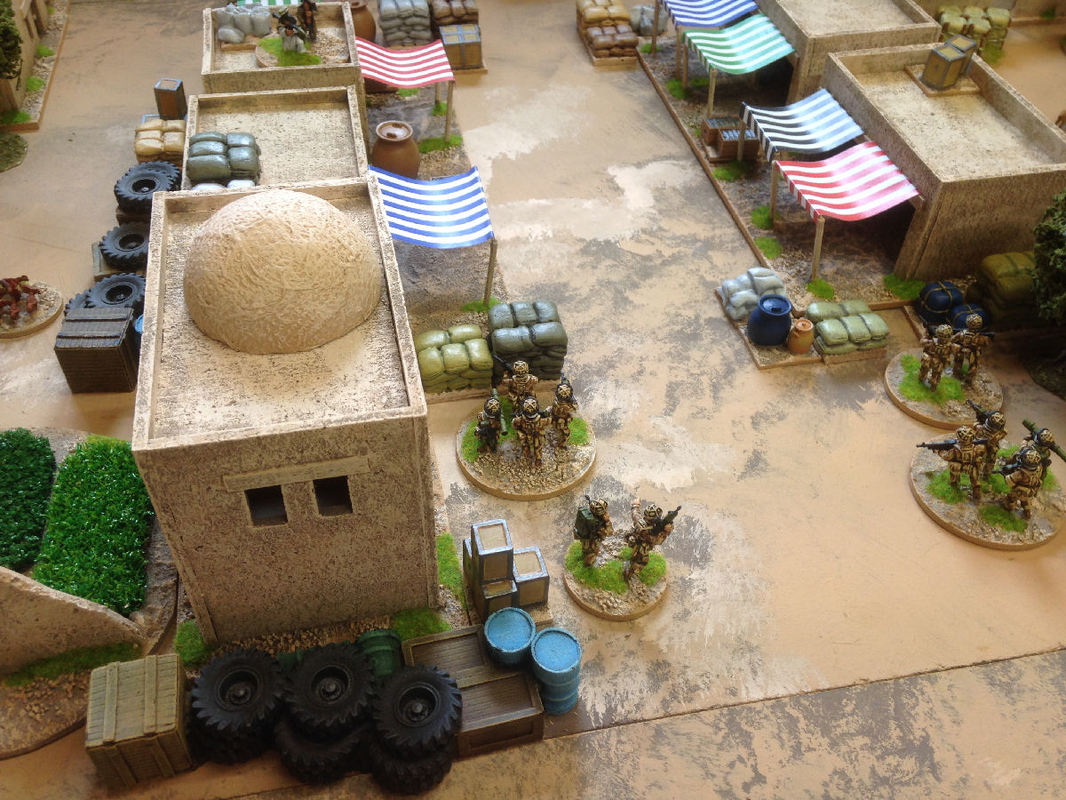
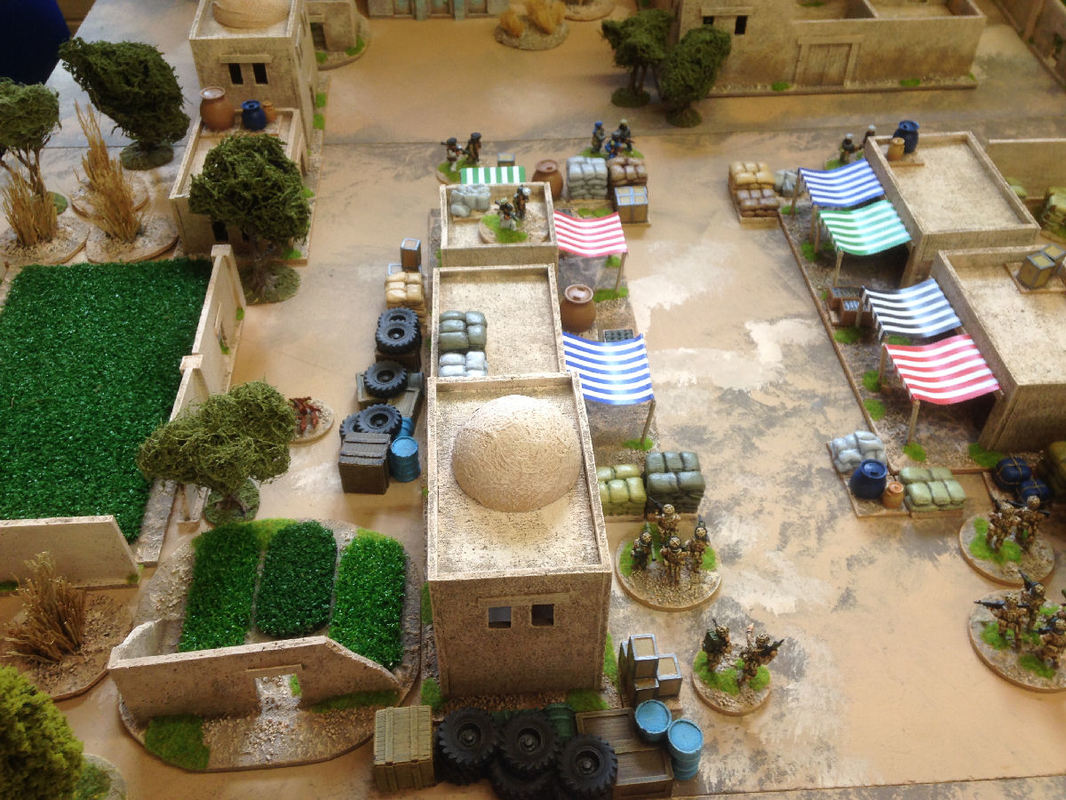
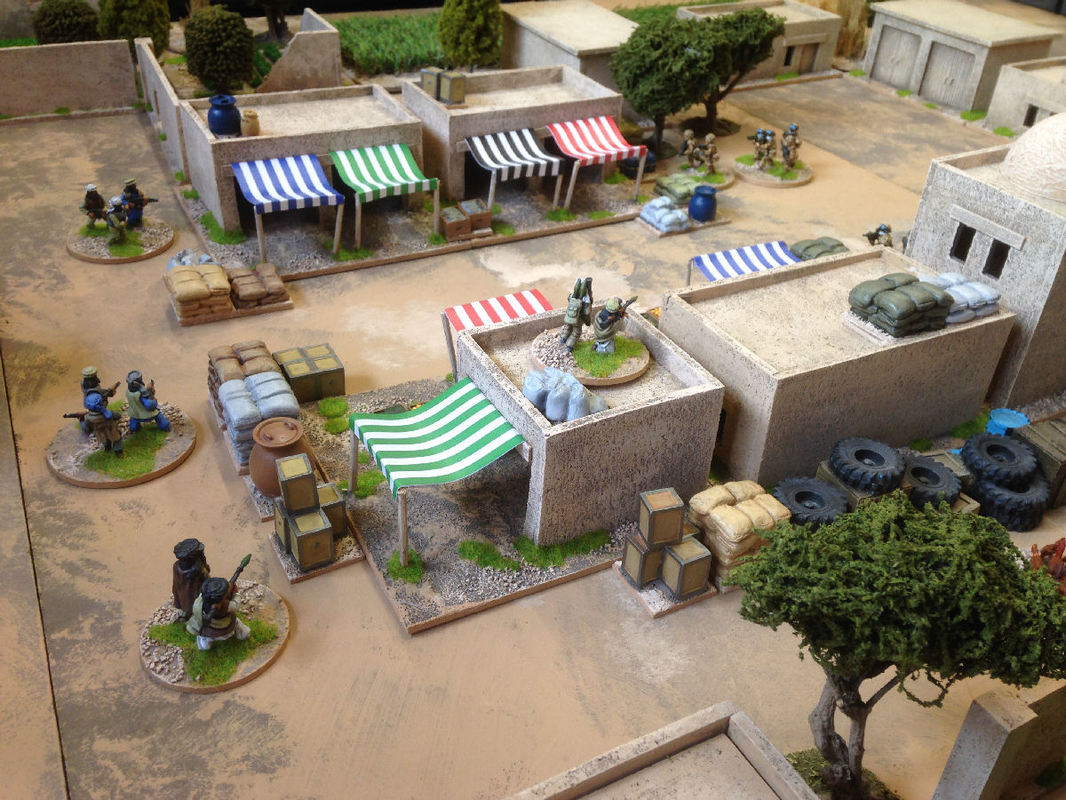
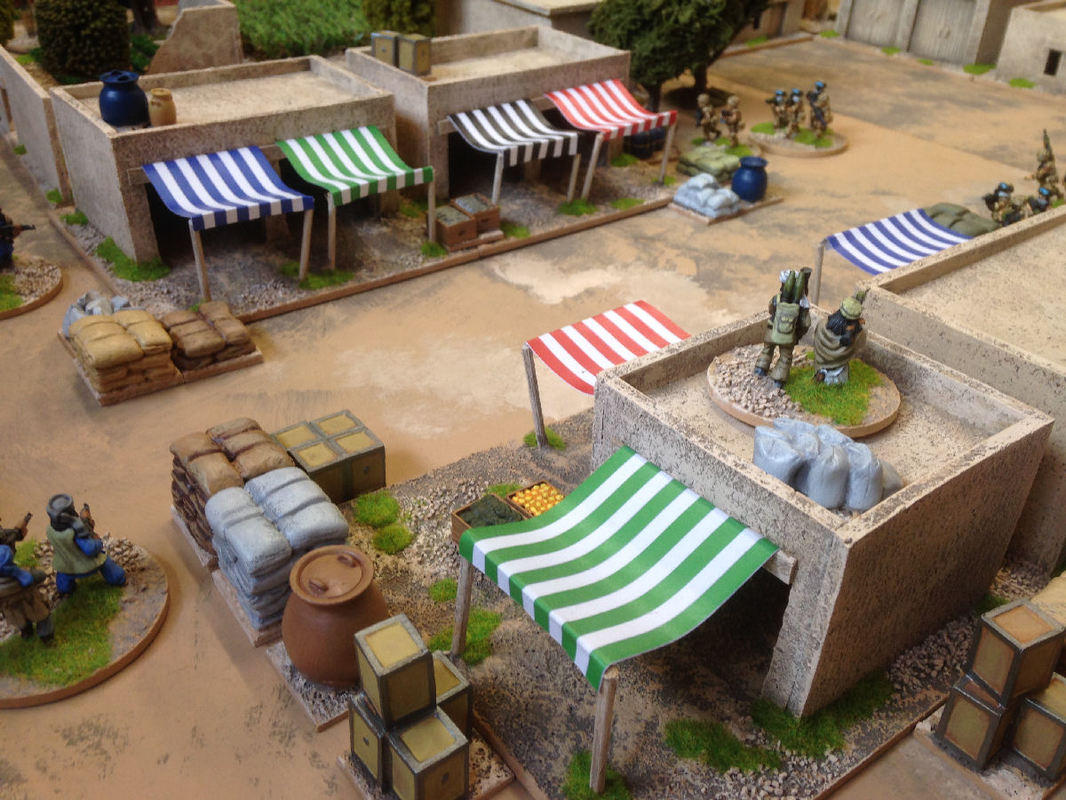
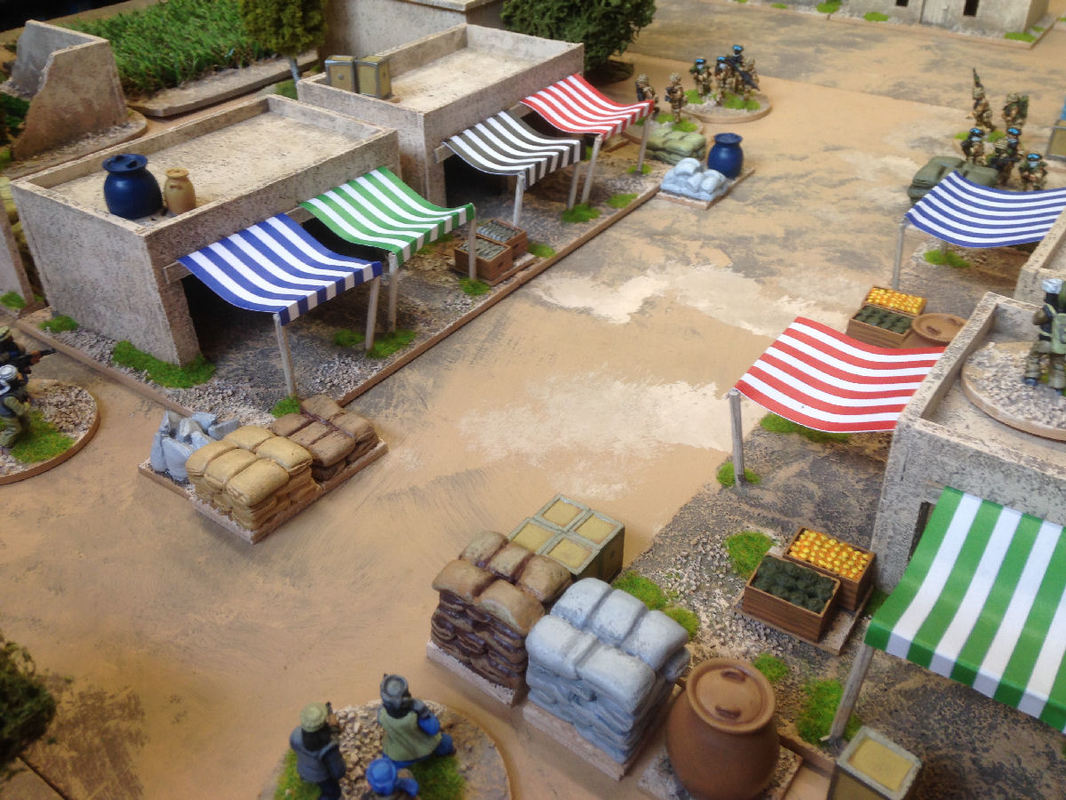
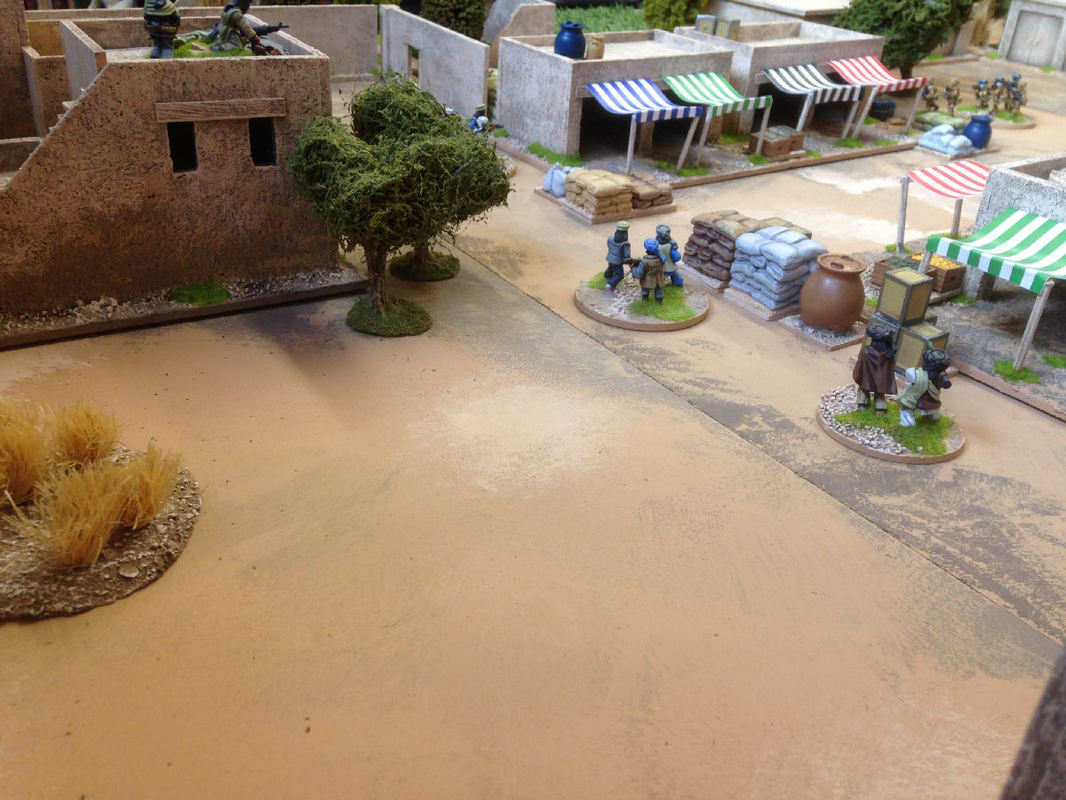
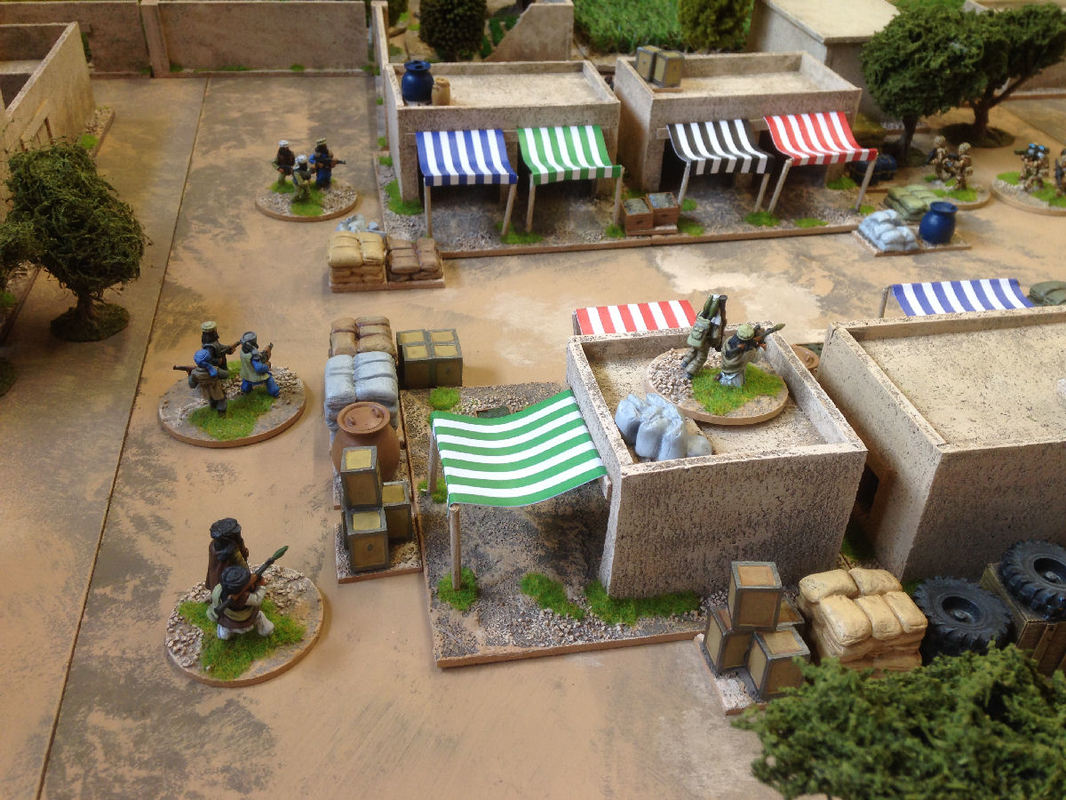
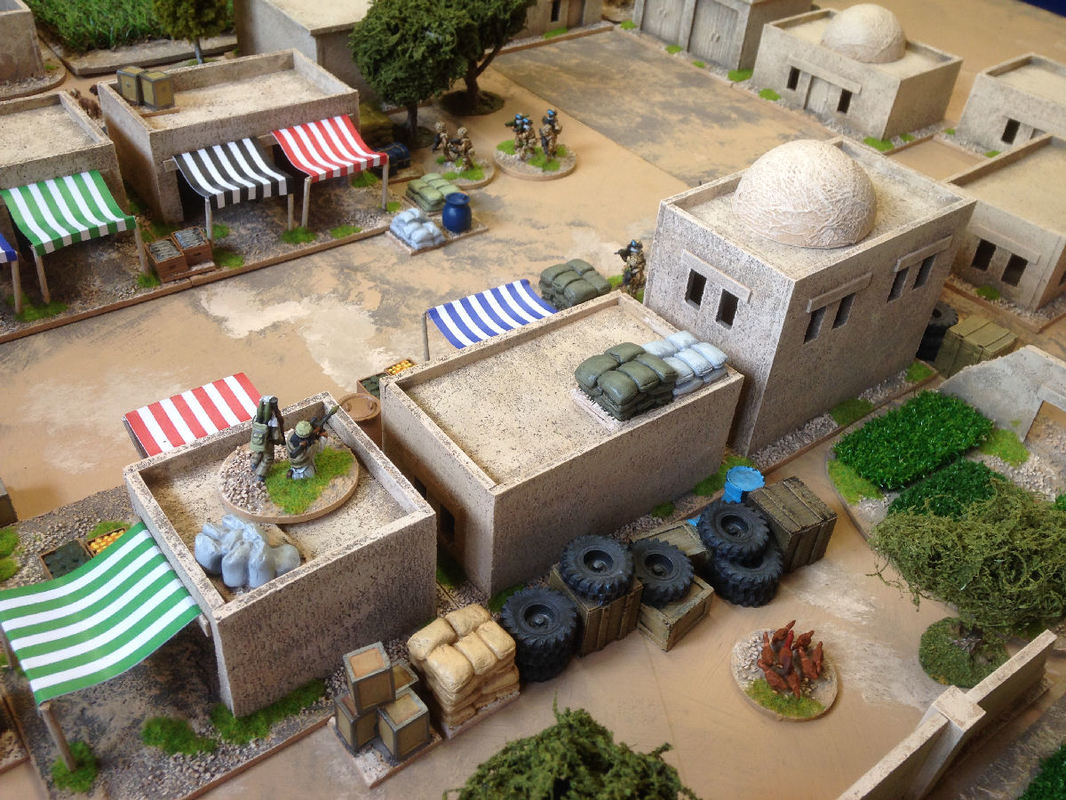
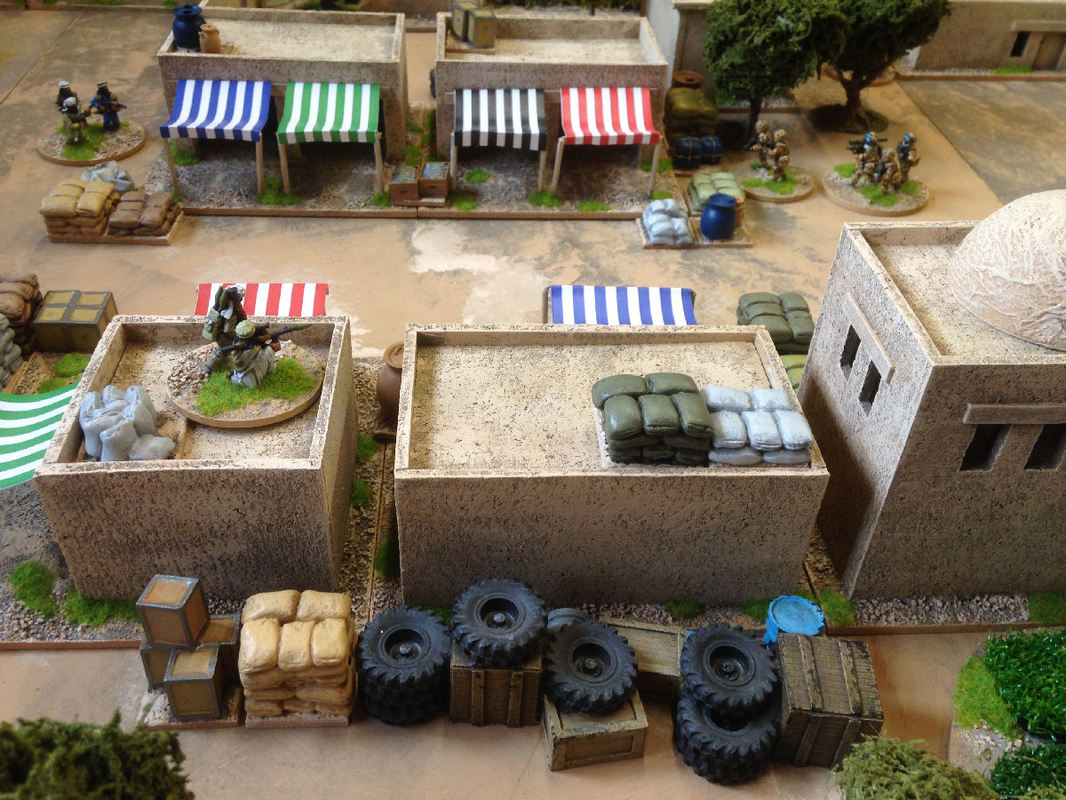
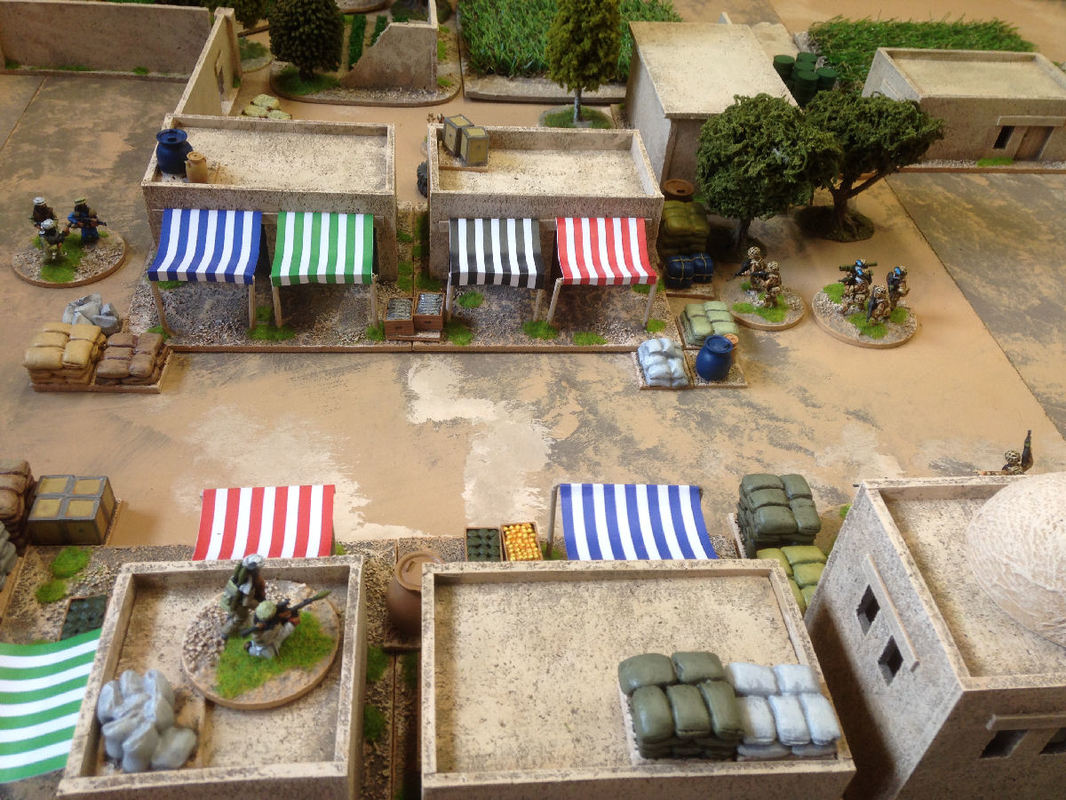
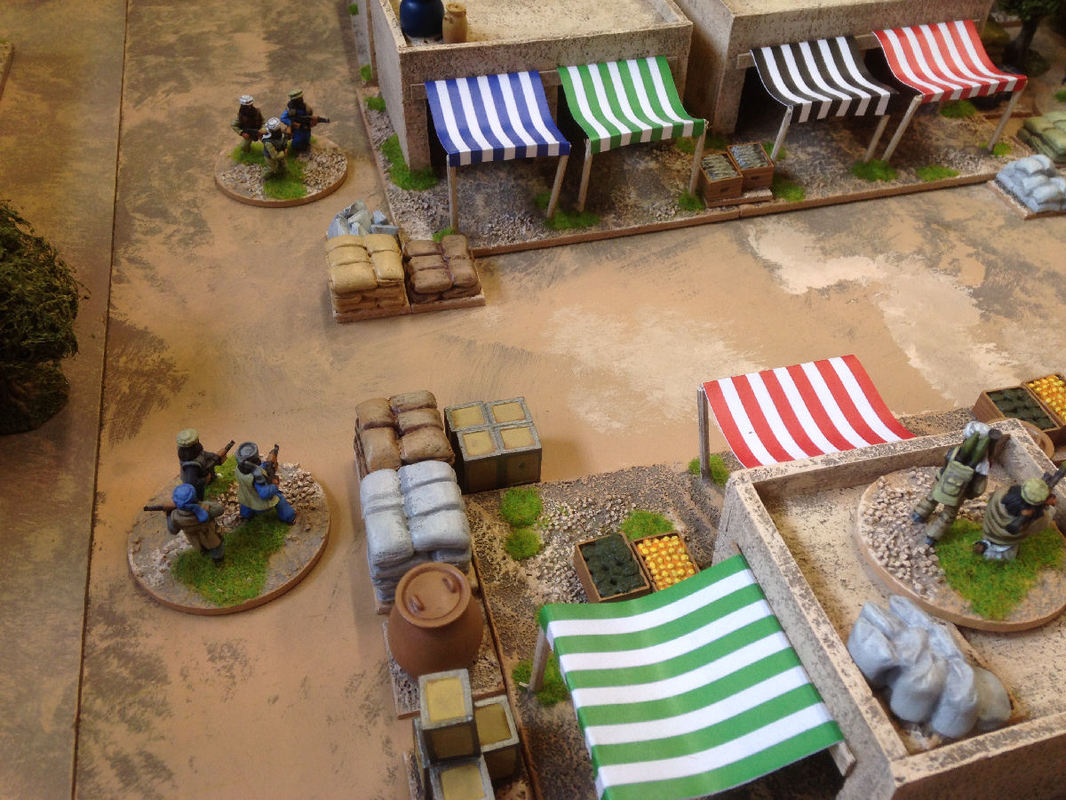
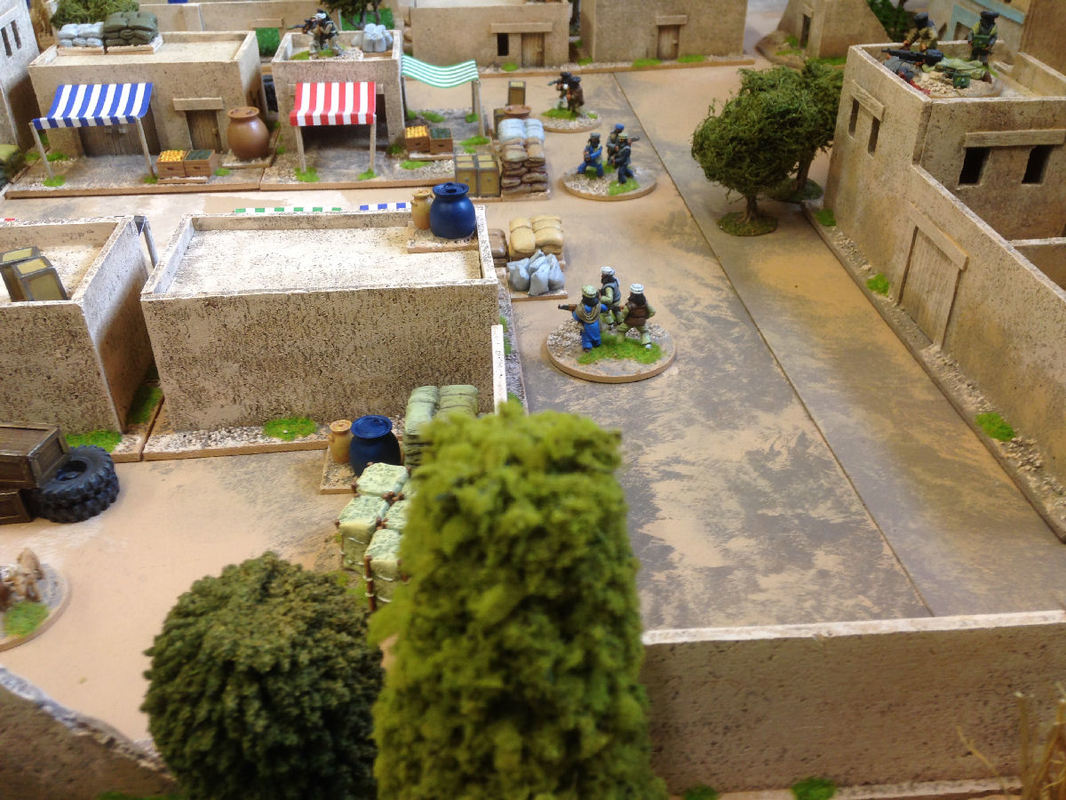
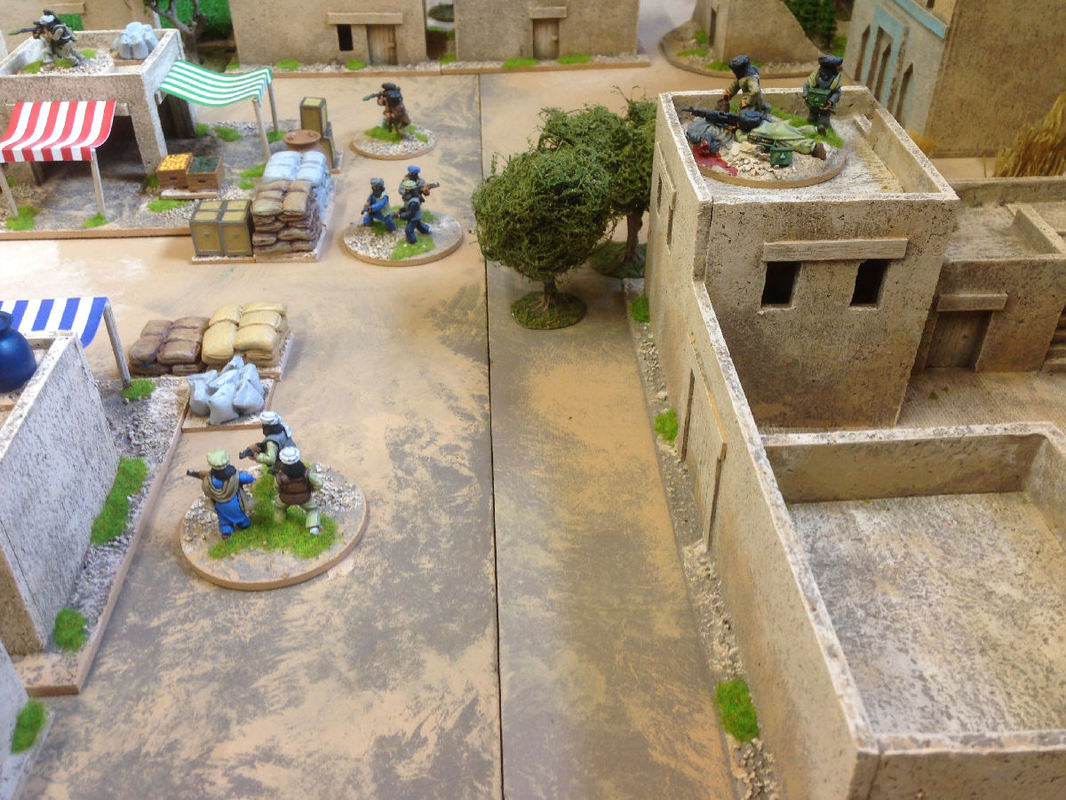
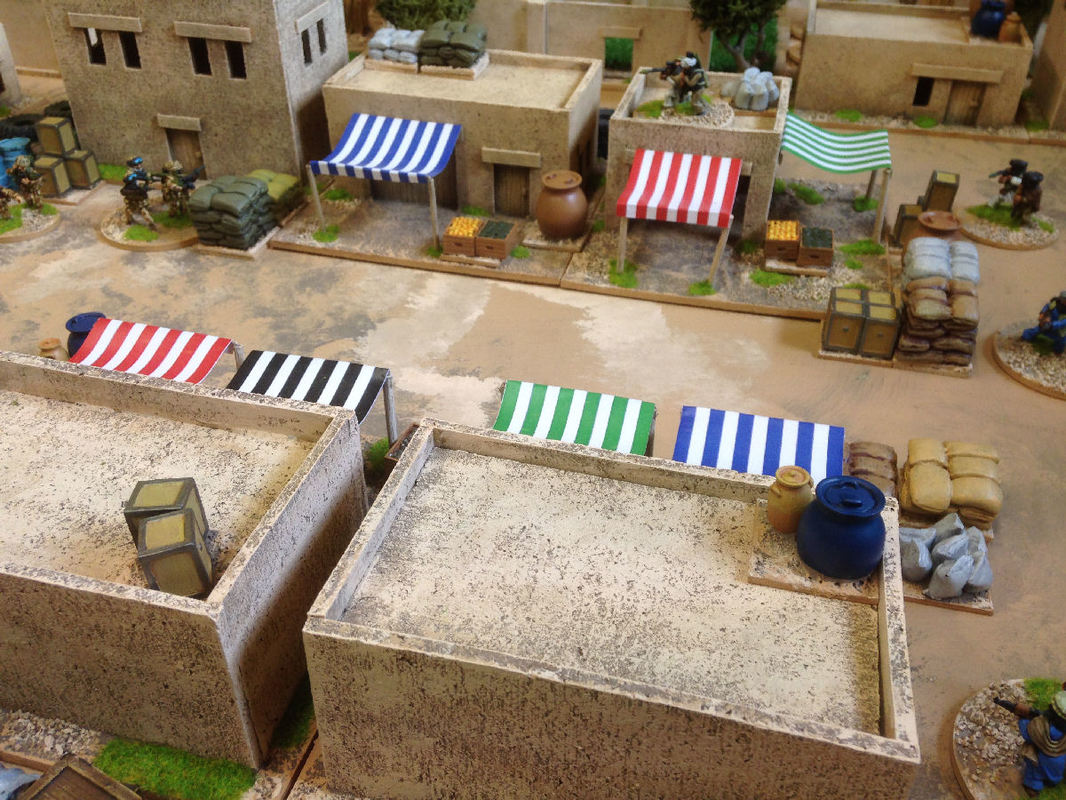
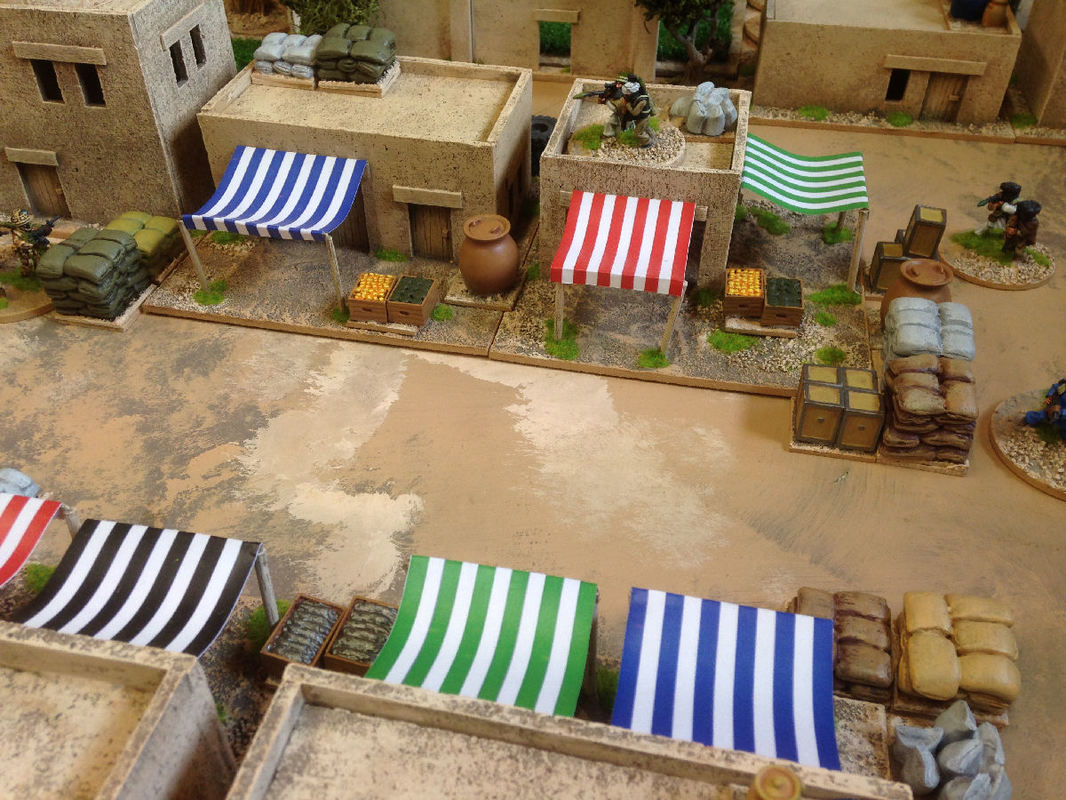
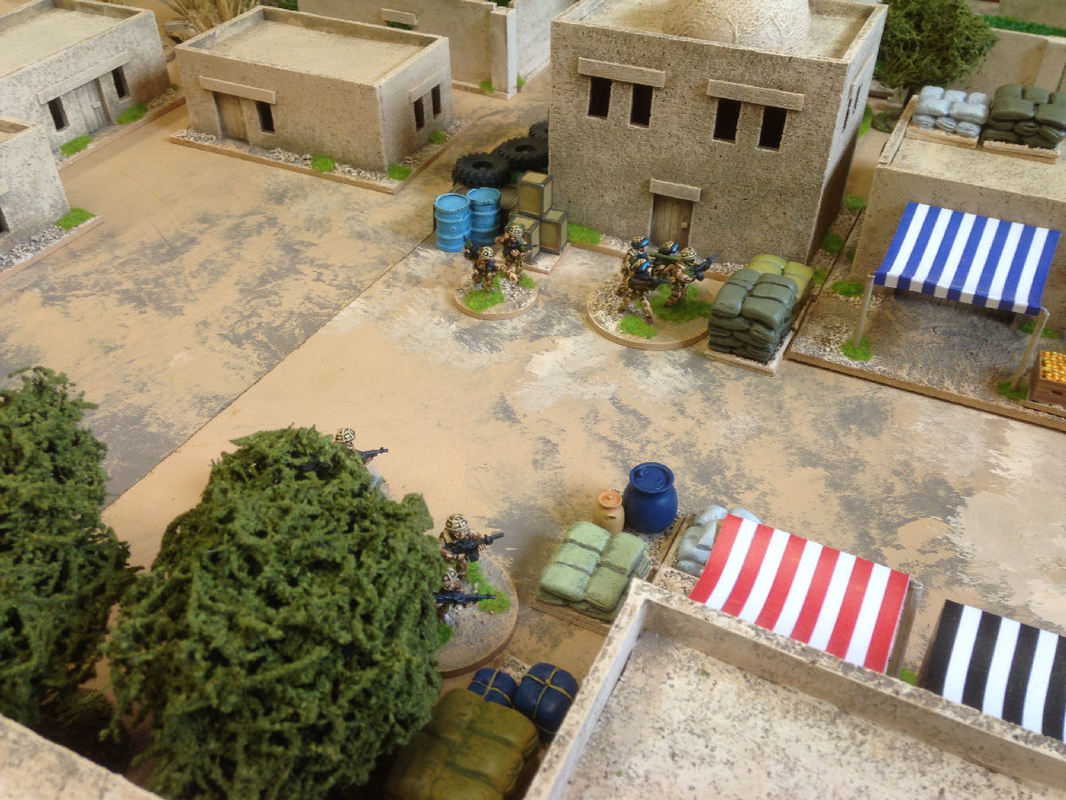
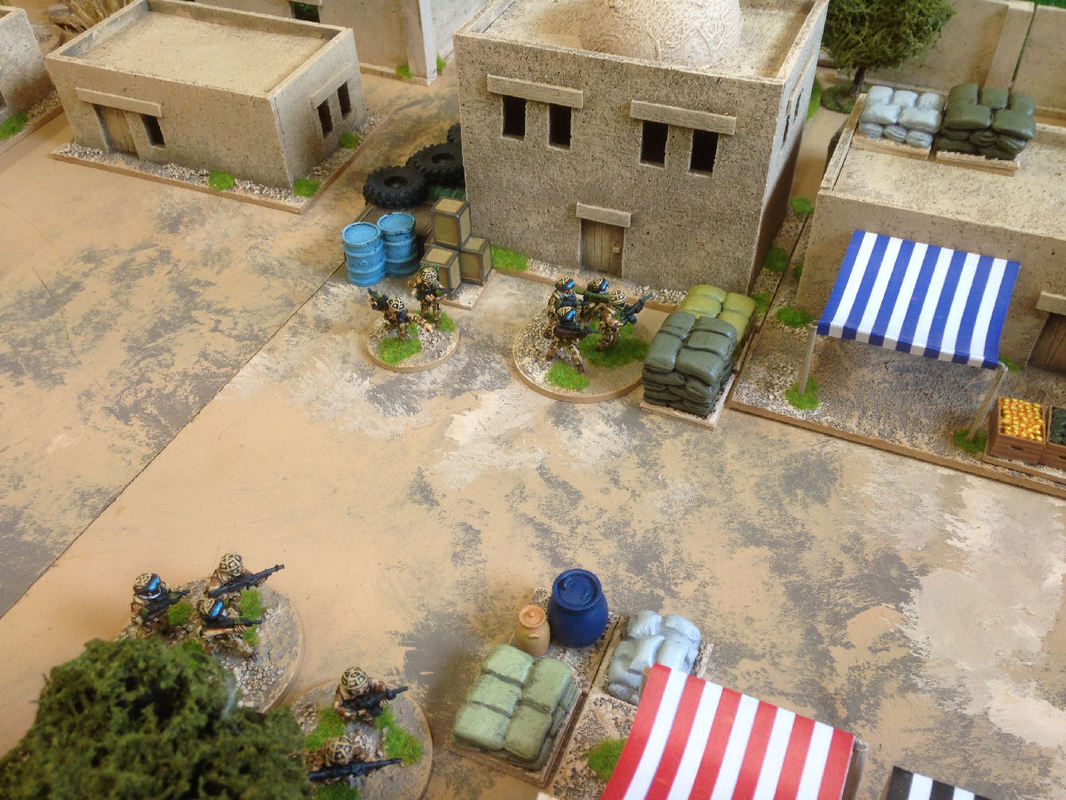
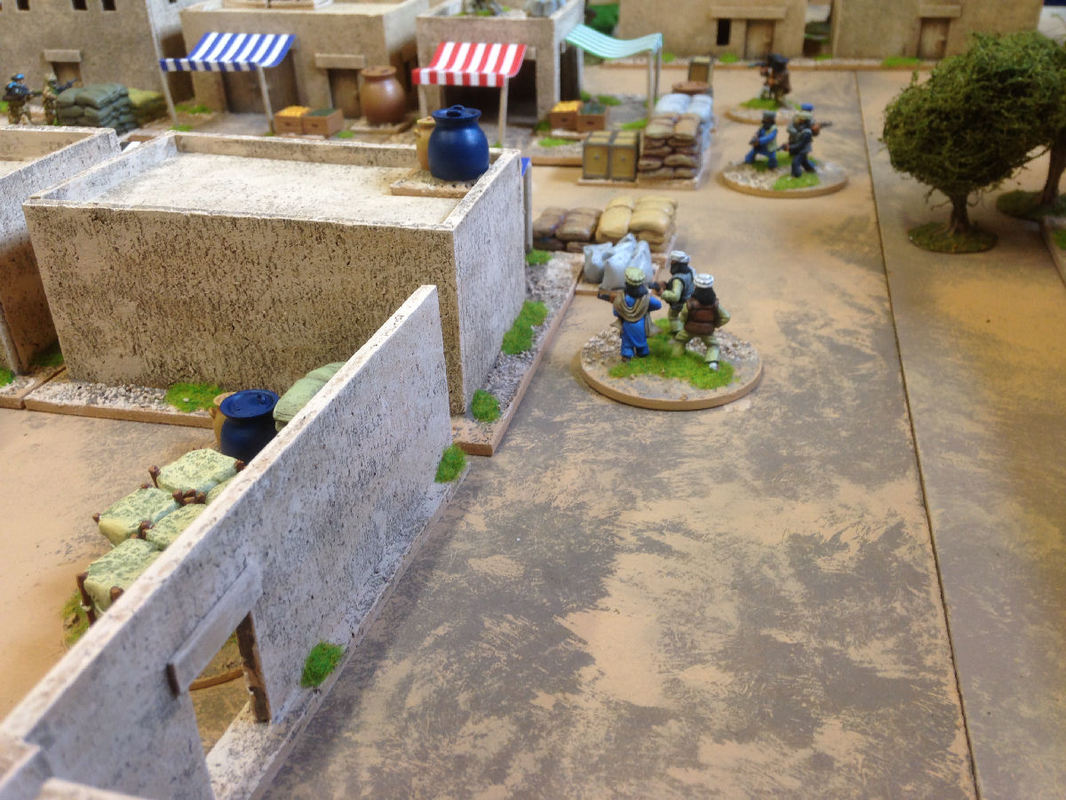
Like the basic buildings the shops all follow the same pattern with variations in window and door placement to give variety. I'm going to add stripey awnings to my shops which are not strictly accurate but look good and add some interest, actual modern Afghan bazaar awnings are quite plain. When these buildings are used for Iraq, Conan games and other such settings the awnings will be more suitable. Here is the cutting pattern for a basic shop: Once again I used coffee stirrers for the lintels and balsa wood sheet for the doors. The wooden doors are not really accurate for modern Afghan shops which seem to favour metal roller doors but, like the awnings, will allow me to use these buildings in more than one setting.
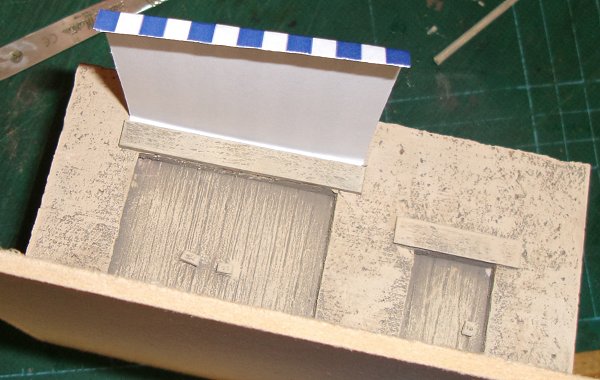
The long lintel for the loading doors is used to attach the awning to the building and will be stuck on after everything is painted. Corner posts were cut as before to allow roughly a 10mm inset for the roof.
Everything was glued together with super glue and the assembled building was fixed to a 150mm square base leaving room at the front for the awning and sales goods.
Finally I cut a roof to size and glued it in place.
The final job was to make the front support for the awning.
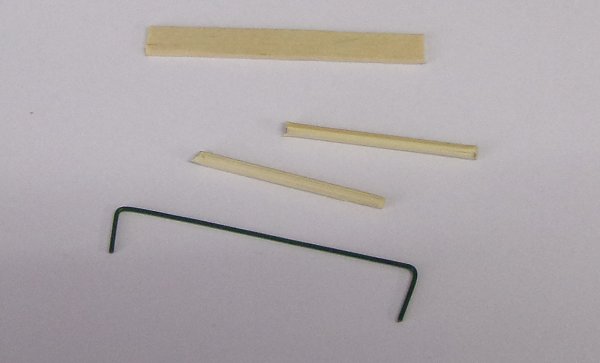
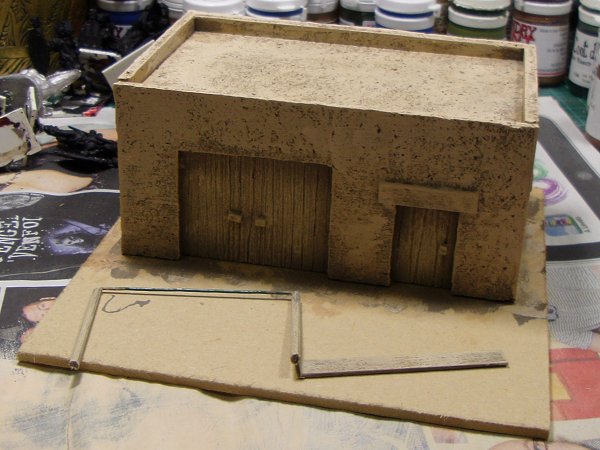
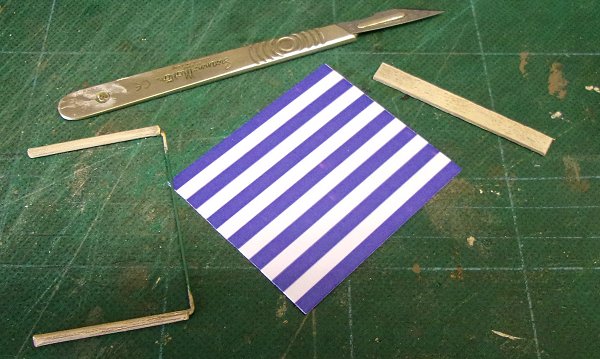
I cut two 40m lengths from a bamboo skewer and a piece of wire 50mm long plus a little extra for the turned down ends. Once the ends were inserted into the bamboo, (drilling a pilot hole makes the job easier but isn't essential), they were secured with a dab of super glue. Making the front supports the same height as the doors, 50mm, rather than the height of the doors plus the lintel, 56mm, means the awning will have a slight downwards slope towards the front. Now the shop needed to be painted before the printed awning gets added to avoid having to paint around the awning once it's in place.
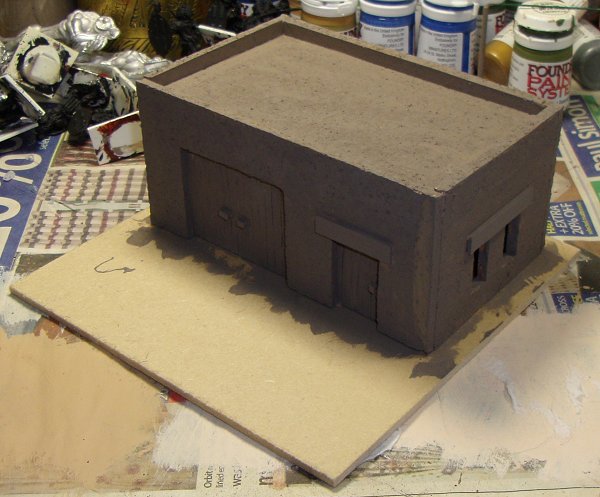
Here is a breakdown of the simple three colour method I use. I start with a dried earth colour. This is standard household emulsion mixed to my specification. Over this I dry brush a medium sand colour. This is also mixed emulsion which I find a cheap option since I use it for all my miniature bases and my base boards too.
The final coat is a lighter dry brush of a light sand colour (more emulsion).
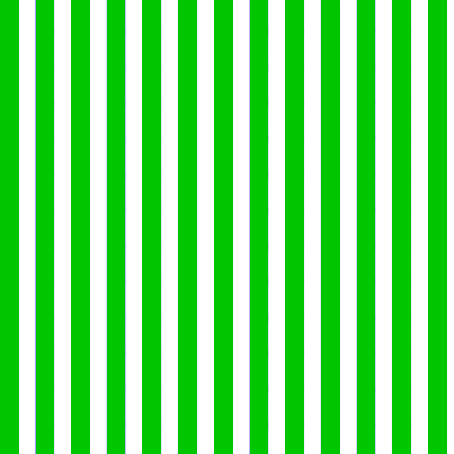
That's it for these buildings, other colours will be added to the scene later by scatter scenery such as trade goods, vehicles etc. so although they look a bit bland on their own the whole table still ends up looking interesting (hopefully). I printed my awning pattern onto standard 80gsm paper and cut out a 60mm x 65mm rectangle. There is a set of my four awning designs in the gallery to the right that you can download by clicking on each one and saving the image.
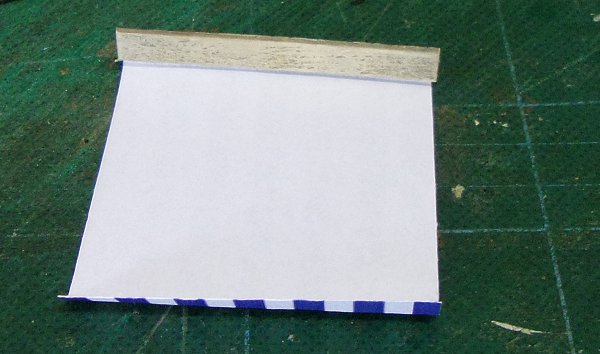
I folded both ends over using the lintel as a sizing guide and glued one fold to the back of the lintel with PVA.
I then glued the lintel and awning to the building itself. I used PVA glue again to allow some time for positioning.
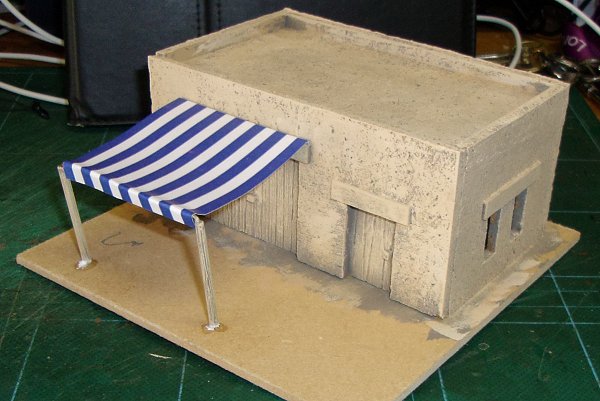
The front support was glued with PVA to the other fold and the legs were super glued to the base once the PVA was dry.
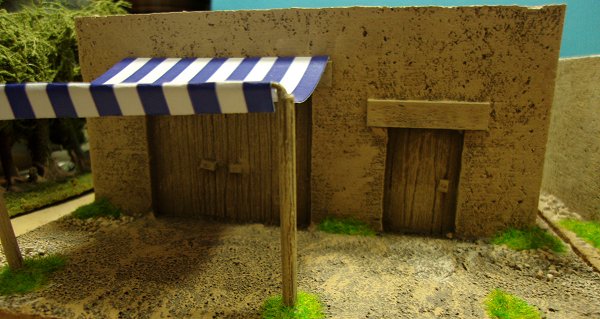
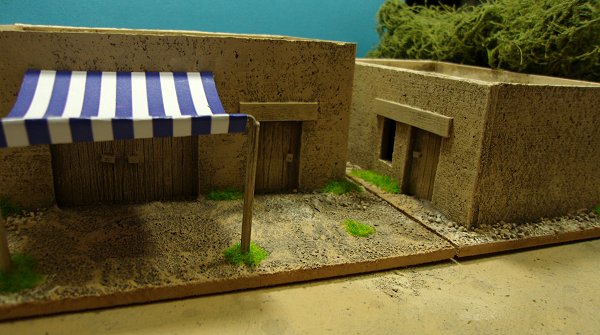
I left some 'sag' in the awning to try and help the illusion that it was draped cloth. Now for the basing. I use a basing compound of my own devising these days as it's much cheaper and easier than commercial products (I used to use Basetex exclusively).
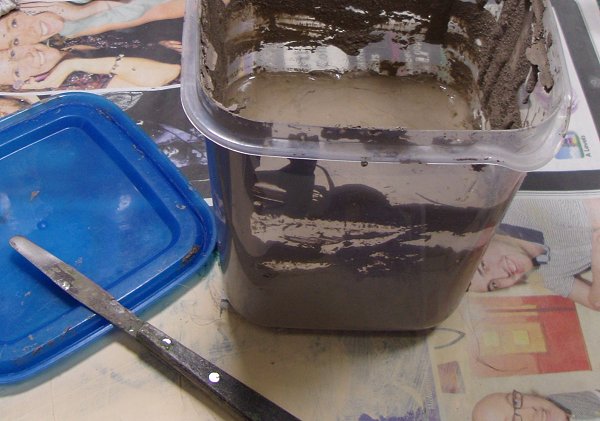
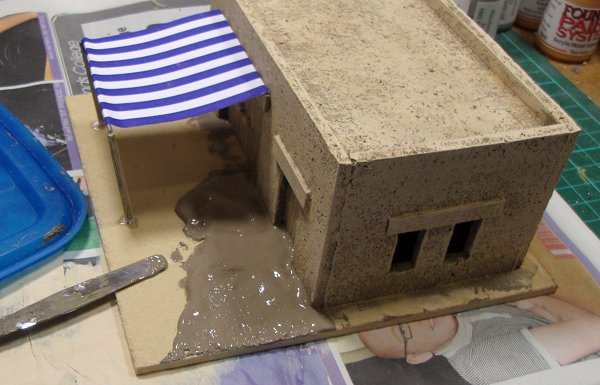
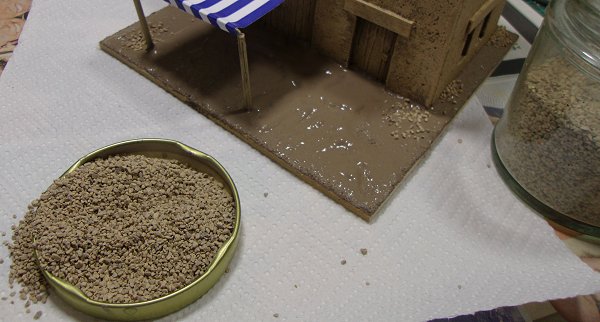
To make a batch I mix emulsion paint and PVA in a roughly 50/50 mix and add fine sand until the consistency is similar to margarine, spreadable but not drippy. If you get to a peanut butter consistency you've added too much sand. It's easy to do, only taking a minute or two to mix, and is really economical. I use a couple of litres a year on average with a litre costing about £5.00 against about £20.00 plus huge postage costs for the Basetex I used to use. I applied the basing compound with a small palette knife.
Once the base was covered I sprinkled a bit of medium railway ballast in patches to add further texture.
When the base had dried (I leave it overnight to be sure) I dry brushed it with the two sand colours I used for the building and added patches of static grass.
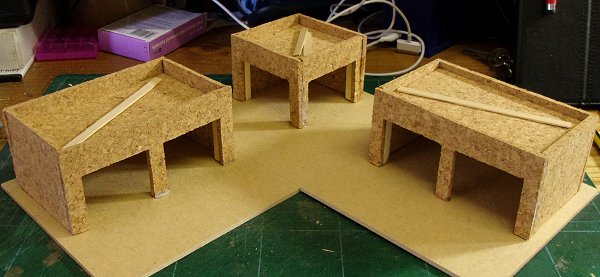
Here are the next three shop units. I left these with openings rather than doors to make them quicker to build. As you can see one is a corner unit.
I varied the roof insert heights to add more variety. The roofs aren't glued in and won't be until the insides have been painted. Tall buildings
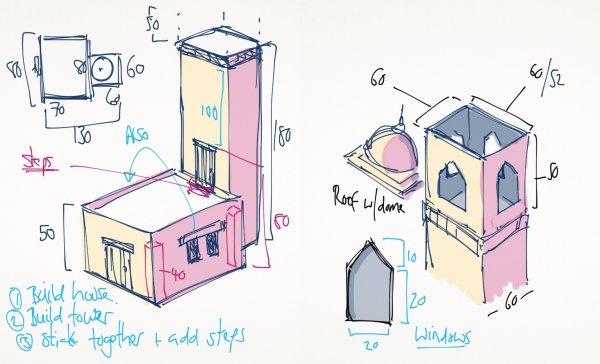
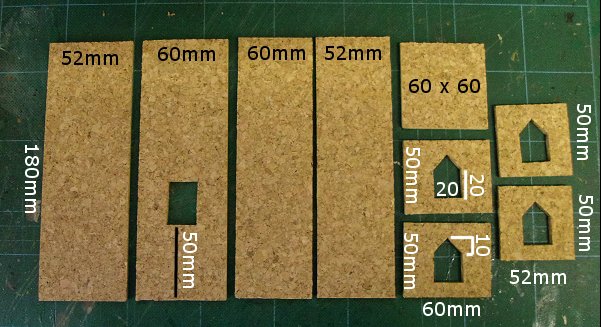
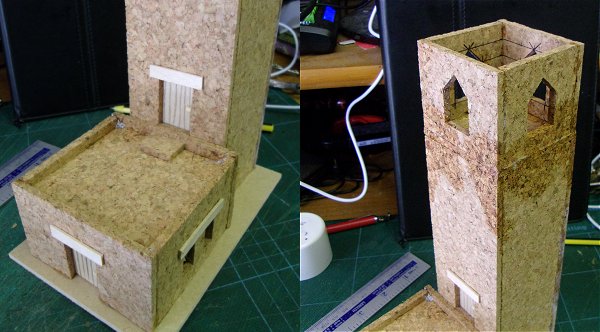
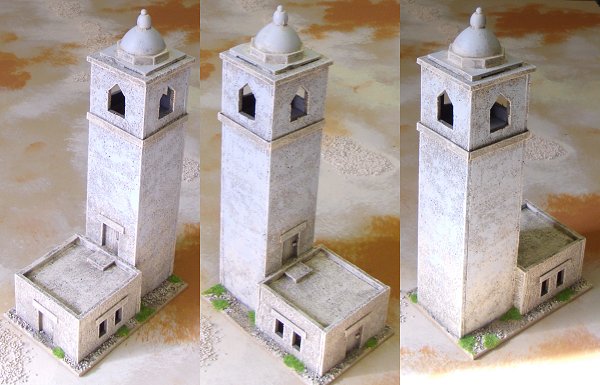
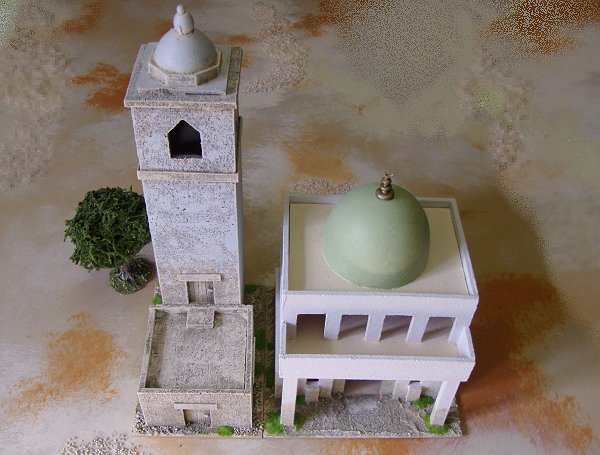
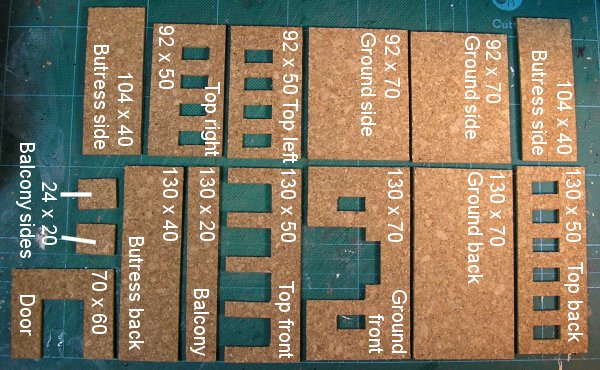
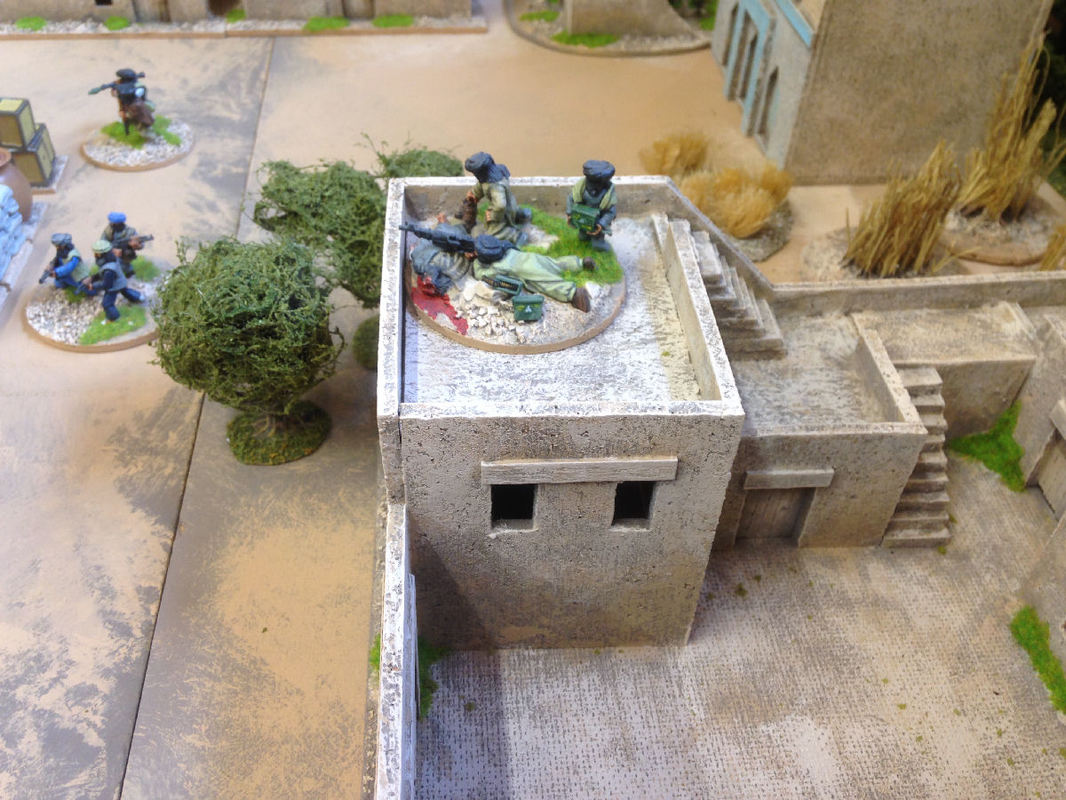
The first of my taller buildings is a minaret annex for the Mosque. It's made up from a minaret tower and a smaller building attached at the front to allow access. The tower is a little wider than I'd like but it needs to accept a stand of figures. There's no point having a tower on the table if you can't utilise the height. Here is the cutting plan for the minaret. The top section will have a lift off roof to allow figures to occupy the minaret during play.
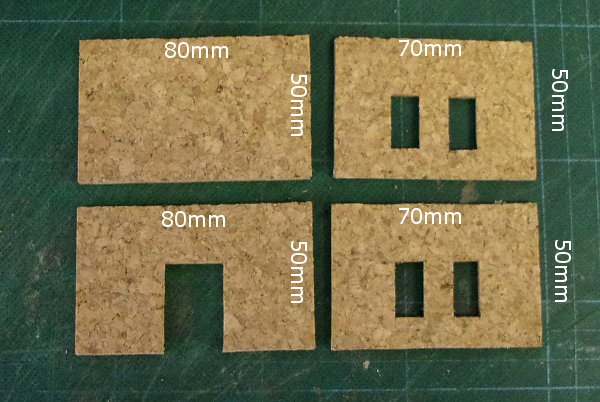
Here are the components for the simple front structure.
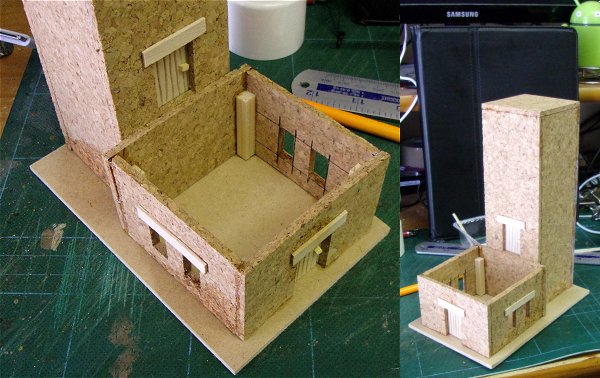
Doors were added as before and the walls were braced and glued as usual. The tower was topped off with the 60mm x 60mm roof which will form the floor of the top section that the figures will stand on.
Everything fitted on to a standard 150mm x 100mm base. I added a drop in roof and a small step to give access to the tower door and assembled the four walls of the top section.
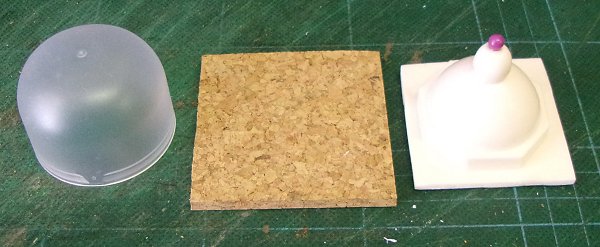
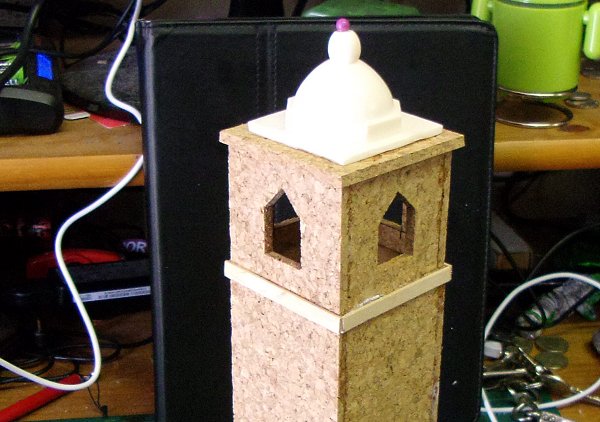
The minaret roof was made from a 65mm square piece of cork topped with a resin dome from Magnetic Displays. You could just as easily use a deodorant top if you want to avoid the expense of a resin dome. I added a map pin to the top of the dome as a finishing touch.
I added lengths of coffee stirrer for some simple detailing around the tower where the join was.
The roof wasn't glued in place but left to lift off during play. Next I made a couple of tall block house style buildings to serve as central structures for groups of buildings.
There are no windows on the ground floor for defensive reasons but more than usual on the top floor to allow for all round fields of fire.
The construction was exactly the same as the standard small buildings but with 90mm inside corner pillars to support the roofs.
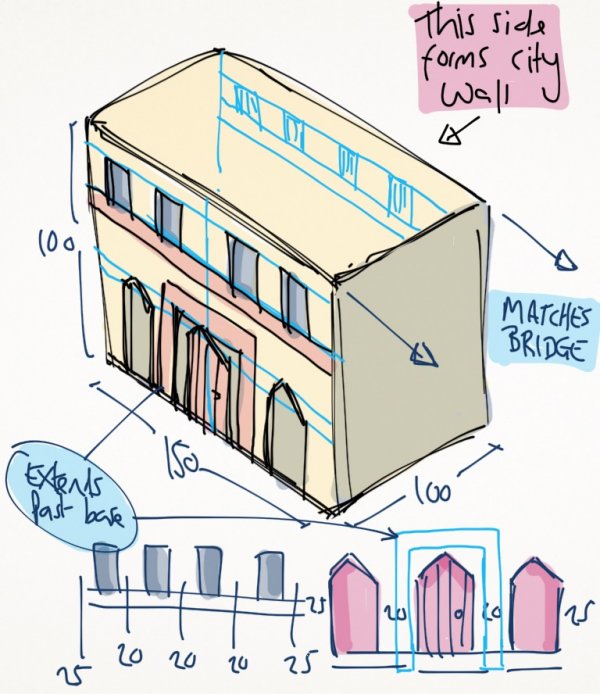
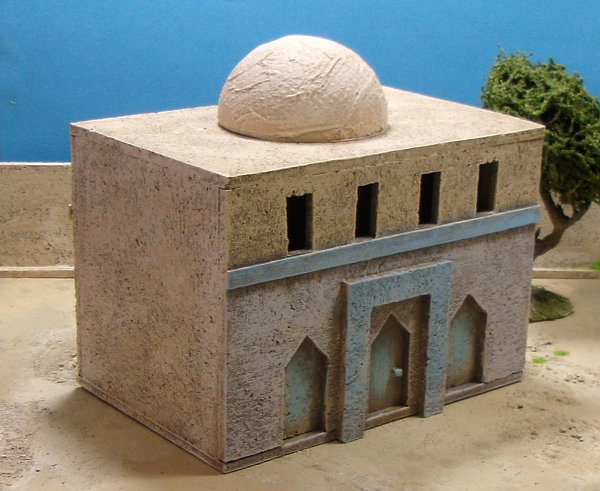
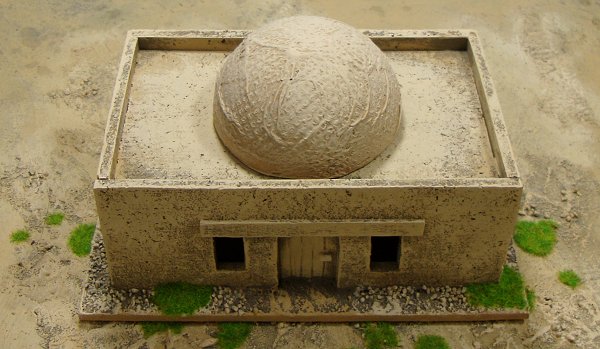
This next building is a little more ornate. It's going to serve as a central administration building or an important person's house and also replace a building I made for my Conan scenery a while ago that I threw away because it went wrong.
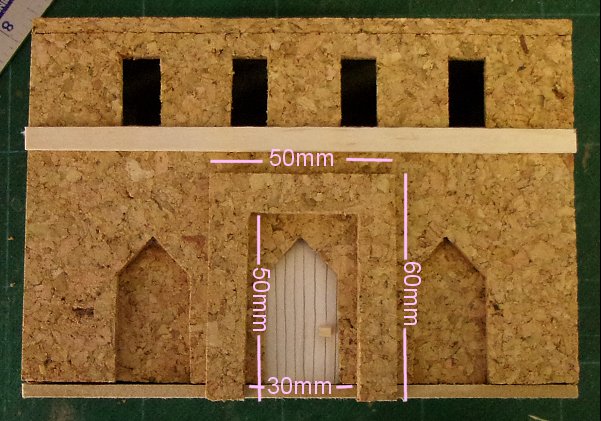
It follows the basic design of the Conan building and has some Arabic/eastern design touches (not many) that set it apart from the very simple Afghan buildings in this set.It also needs to be flat roofed and 100mm high so it will butt up against an existing gateway to form part of a city wall. On its own it will make a fine centre point for a town. Here's the cutting plan. The two outer doorways are going to be false doors and just serve as decoration.
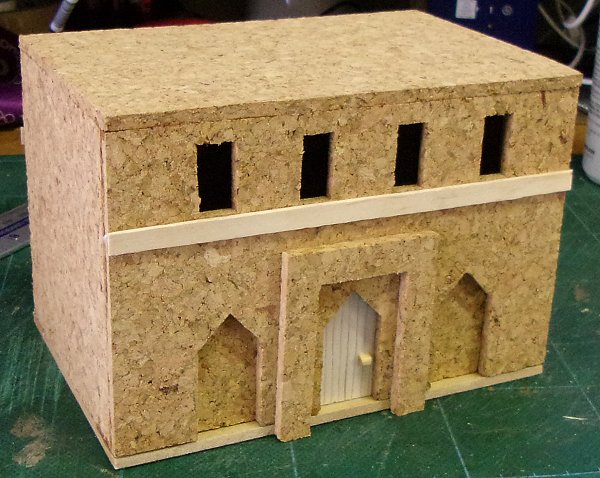
I added a balsa wood door as usual and filled the false doorways with a couple of cork off cuts. Coffee stirrers were cut to 150mm and glued under the windows.
Once I'd assembled the building I added a 150mm x 100mm roof and the porch which needs to extend beyond the foot of the wall, past the base, to the ground.
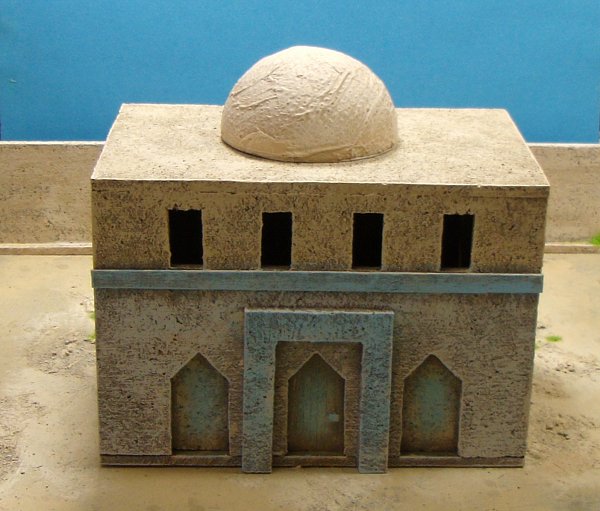
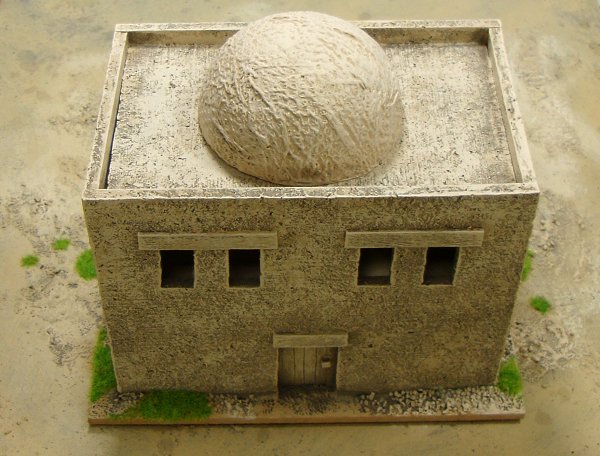
All done. A perfect candidate for one of the separate roof domes.
As befits its status I gave this building a splash of faded colour.
Roof domes
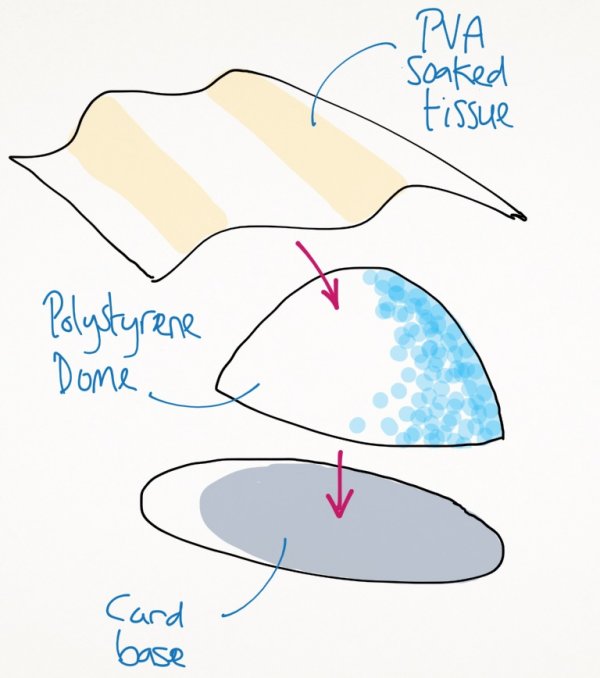
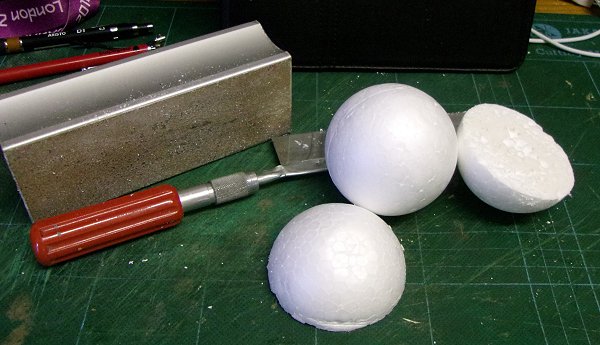
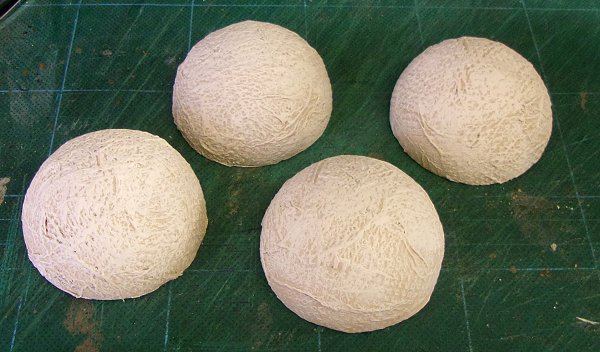
I wanted to have some optional domes to put on the roofs. I decided to have them separate so that they could be removed to place figures. I looked around for some suitable domes but the only things I managed to find that weren't really expensive were polystyrene balls that I could cut in half. I chose 65mm spheres so they'd fit comfortably on my 72mm roofs. The advantage of the polystyrene is that it's light but it's also fragile so just cutting and painting wasn't an option, they would need to be coated with something. Here's the plan: ! began by cutting the balls in half, they had a handy seam to follow so this was straight forward. I used a razor saw and gave the halves a light sanding afterwards.
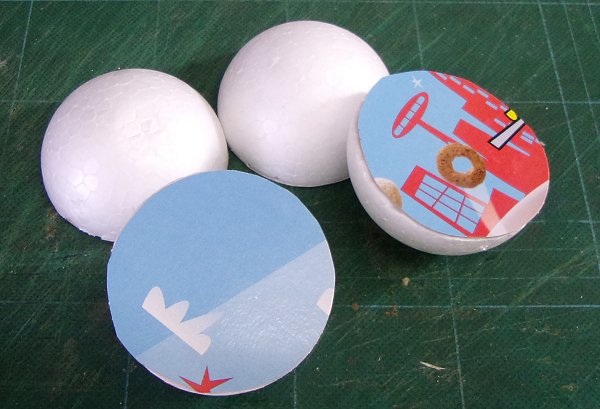
I glued circles of cereal box card against the flat sides using PVA glue.
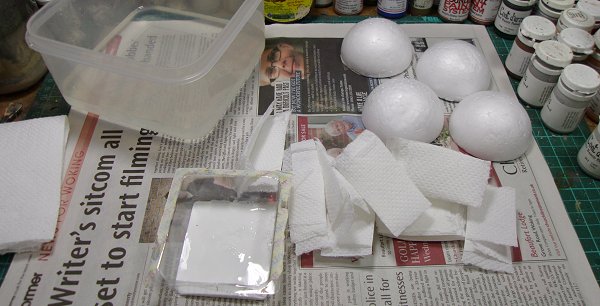
I used torn up kitchen paper as my covering. I soaked each piece in PVA and water and layered them on randomly adding more glue and water as I went. It was messy but quick.
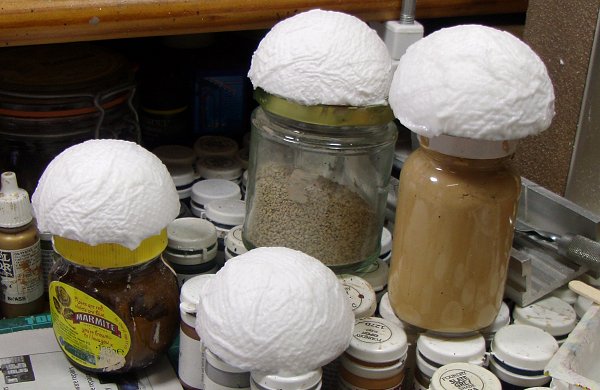
As you can see they are soaking by the end of the process. As they dry everything will shrink and they'll end up with a hard shell.
I left everything over night to dry then painted the domes with my base/building colours.
Although the kitchen towel gives the finished domes a strong texture I don't think it's out of place and everything blends together nicely at about arm's length.
Walls
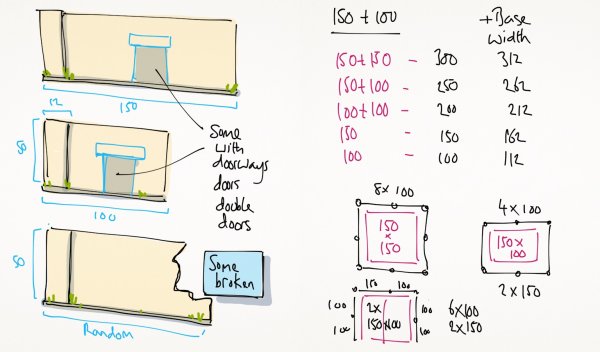
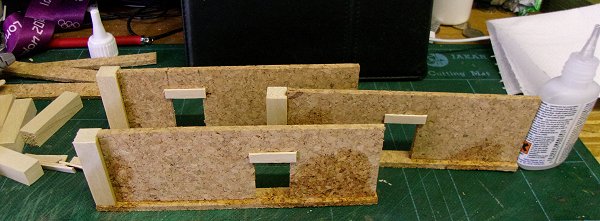
I want a modular, versatile wall system to help partition my table area and allow me to recreate some of the narrow alleys and pathways that tend to channel troop movements n Afghanistan. I don't want to make lots of corner pieces so instead each wall section will have a pillar at one end that will fit the base width and allow other wall sections to be butted up against it seamlessly. This isn't strictly accurate for the setting but shouldn't look too out of place once everything's set up. After much deliberation I settled on two standard wall section lengths, 150mm and 100mm. I found that 12mm square section wooden dowel was about the biggest I could get that was still cheap. The size of the dowel decided the width of the bases, they'd have to be 12mm too.
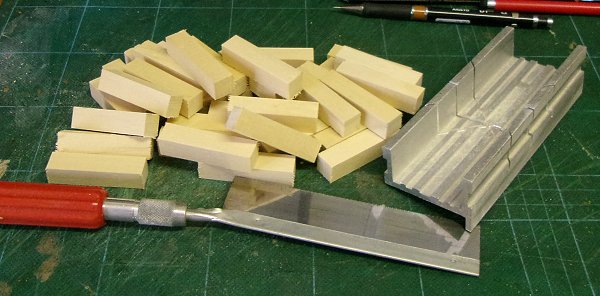
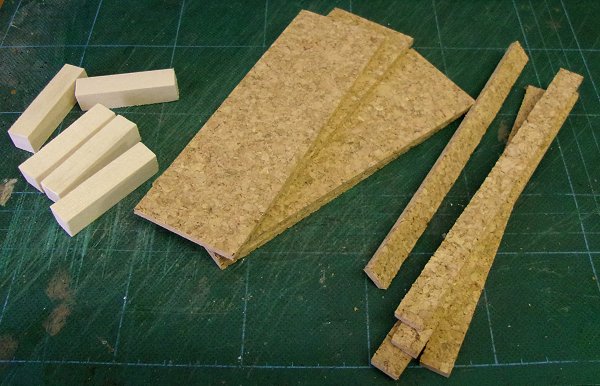
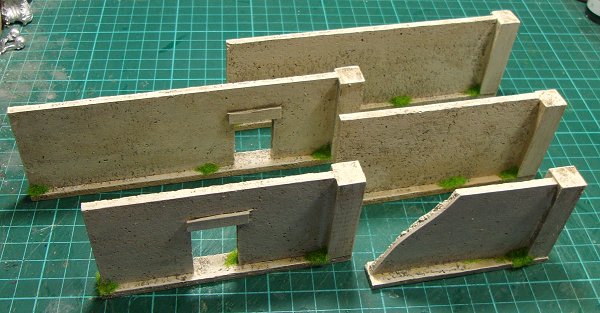
Using a razor saw and a miter box I cut up enough 50mm lengths. Then I cut the wall sections and bases. I cut lots, these are just a sample.
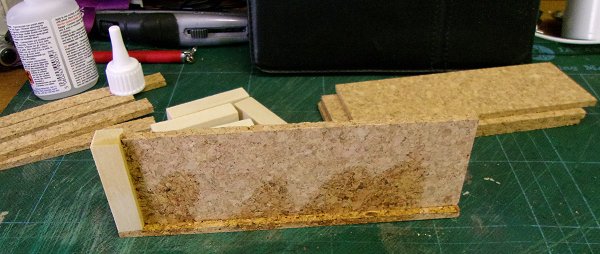
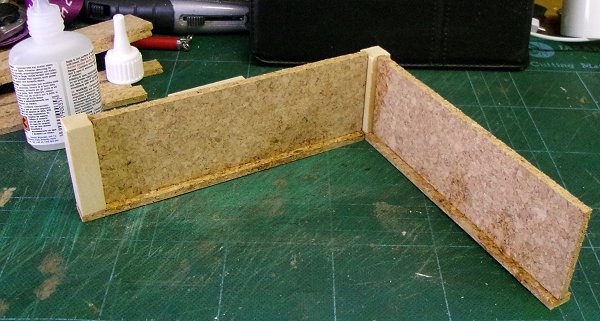
I used super glue and accelerator to stick everything together. Assembling the walls was a very quick job.
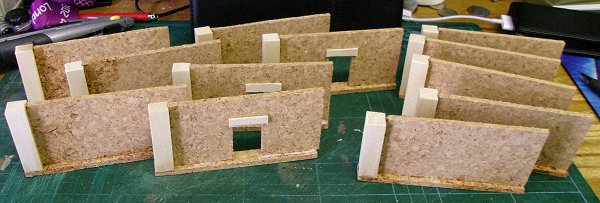
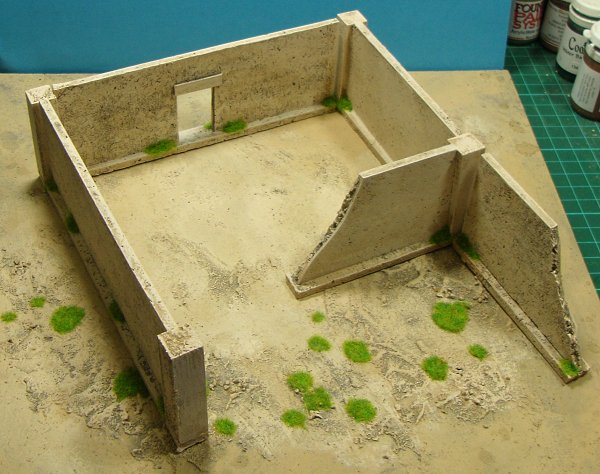
With a pillar at one end the walls can be arranged in a variety of straight lengths or as corners without the need to cut special corner sections.
I made doorways in some walls.
These are the 100mm walls, again some have doors.
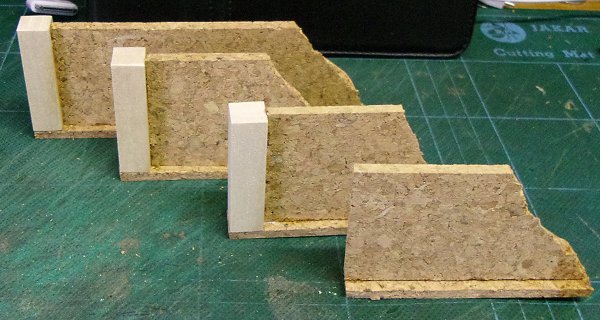
Finally I made some broken sections.
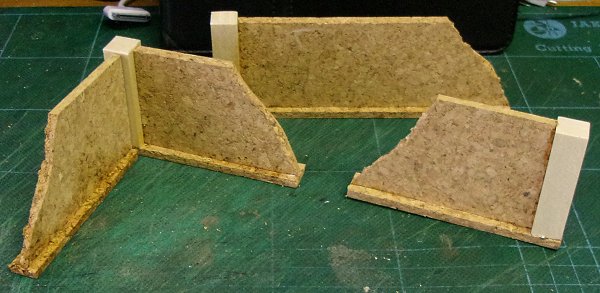
Having some without pillars means I can arrange small corner sections if I want to.
Altogether I made thirty-two wall sections. I painted them with the same three colours as everything else and added some static grass. I didn't bother adding basing material to the bases as they were so thin; it would have been a lot of time and effort for very little gain.
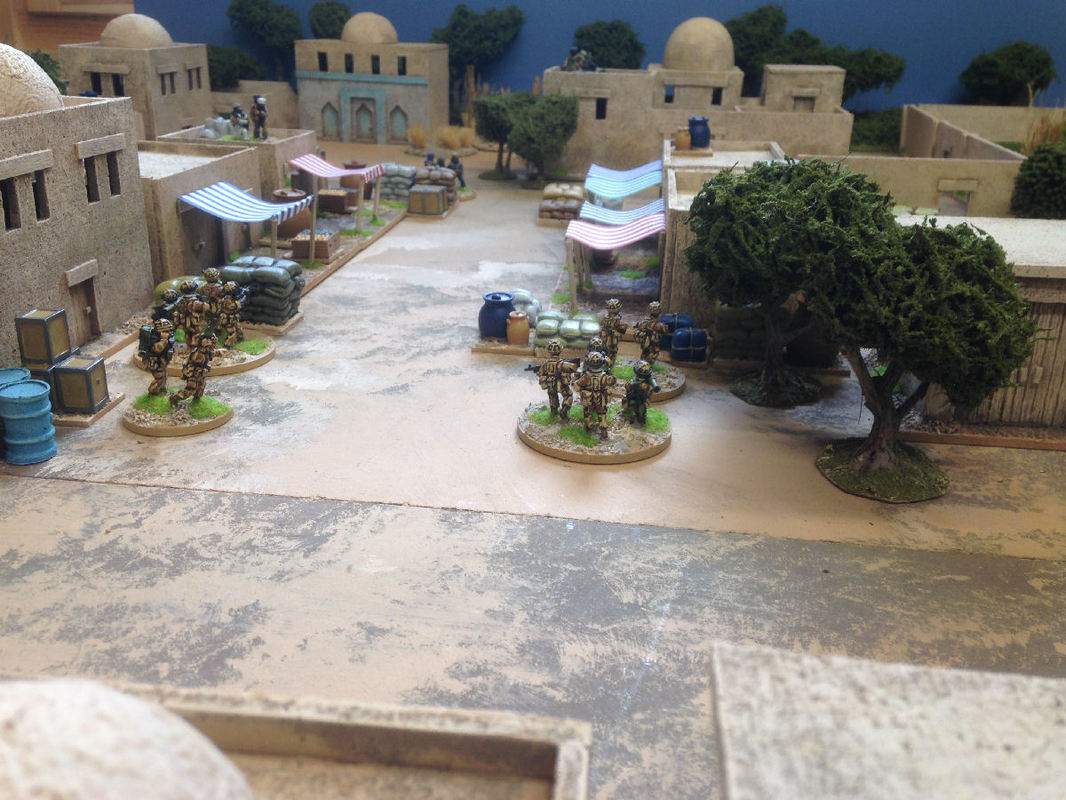
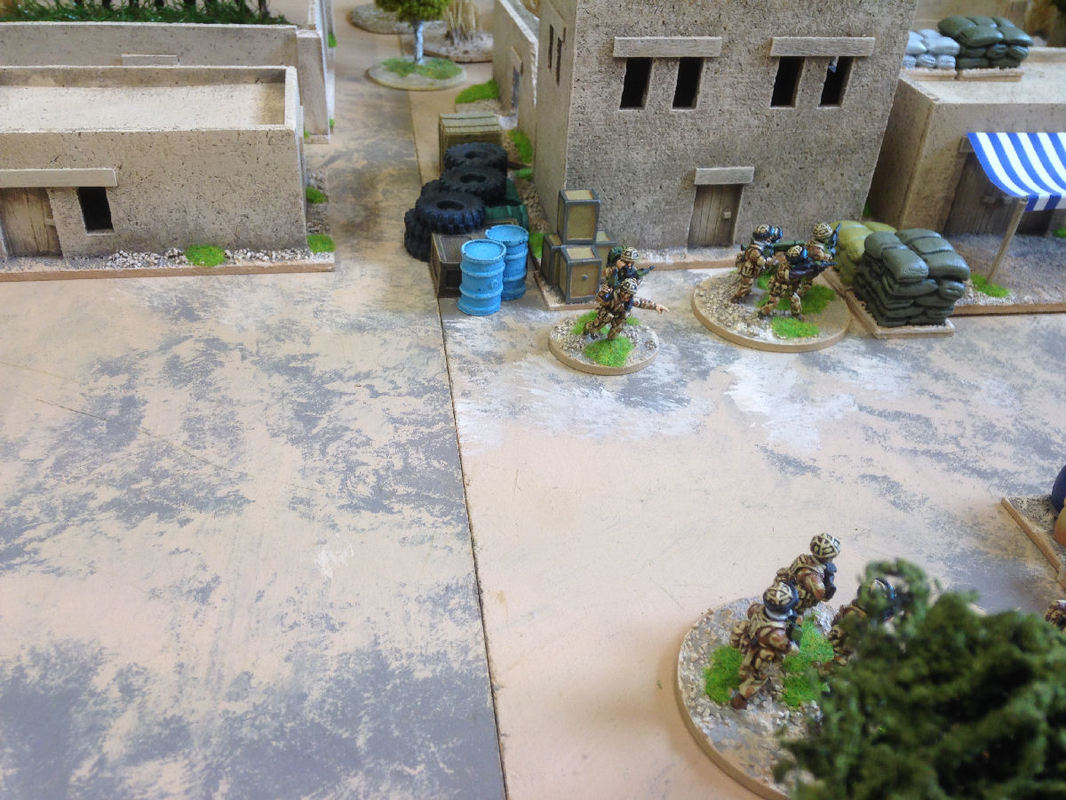
Here's an example of how the walls can go together. On my Afghan table they'll mostly be used to line the side of roads but for other settings they'll have many different uses.
|
Awnings
Here are the designs for the shop awnings. The Mosque
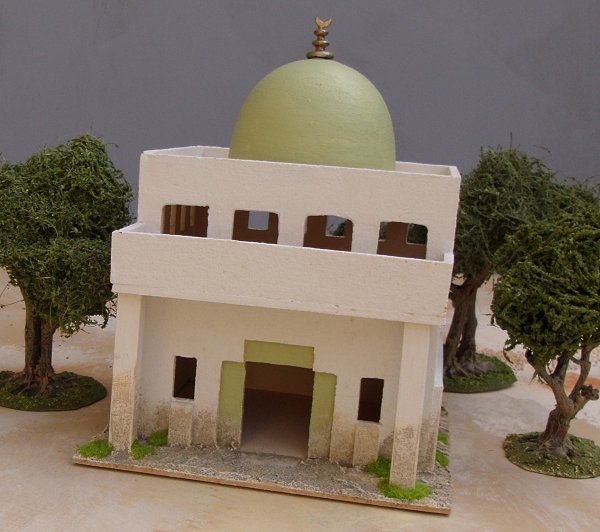
I've 're purposed' my existing Mosque for this set of buildings by dirtying the paintwork and adding some static grass to the base. There didn't seem much point in making a second one since I'm happy with the current version. Here are the plans and instructions: All measurements above are in mm.
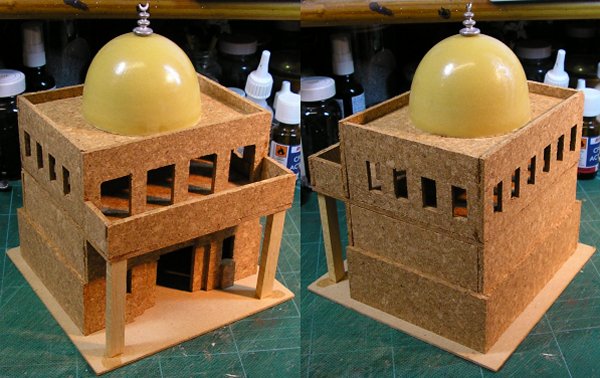
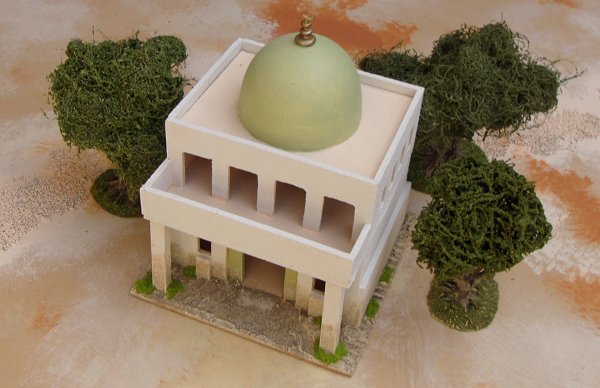
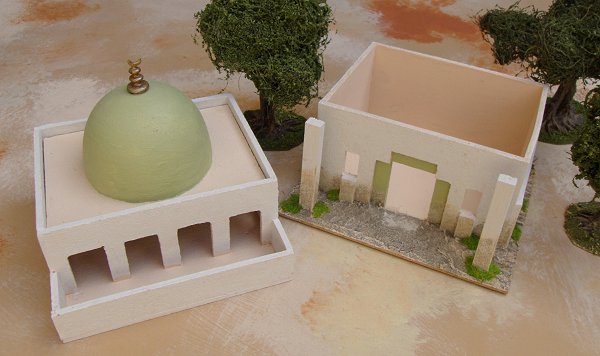
Here's the simple cutting plan for the Mosque. It doesn't show the 130mm x 130mm floor for the top section or the drop in roof which needs to be measured after construction. The 'buttress' sections are designed to go on the outside of the ground floor walls once they've been assembled. The 'door' is an insert that is glued behind the bigger doorway. I've added two small window off-cuts below the front ground windows to give more texture to the front of the building. The small windows are 20mm high and 10mm wide. They are evenly spaced at 10mm intervals. Doors are 30mm x 20mm as normal. The front door is 50mm high at the tallest point and 50mm wide at the base. The insert cut out is 30mm x 40mm. The top floor isn't glued to the ground floor so it can be easily removed during play. The inset roof is supported by matchsticks glued inside the upper walls. The dome is a resin one made by Ian Weekley and available from Magnetic Displays. There are various plastic, polystyrene or wooden alternatives in many craft shops. It is glued to the roof with super glue. The wooden posts are 70mm tall and glued to the base. They are not glued to the top floor so that it can be removed to allow figure placement during play. Here's the finished Mosque:
Trade goods
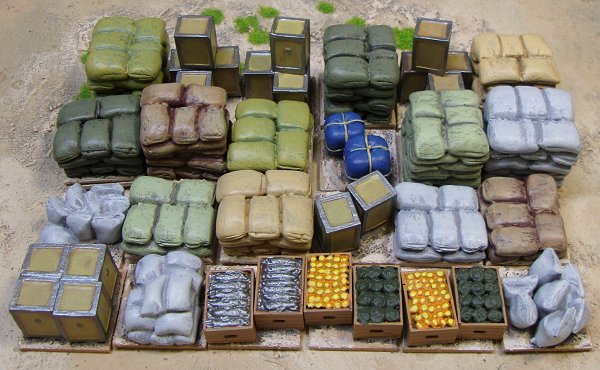
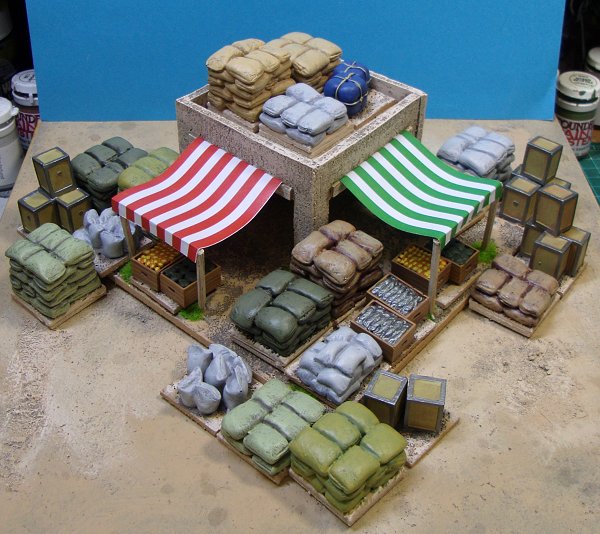
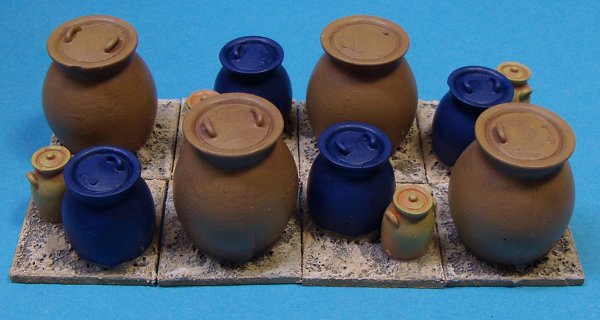
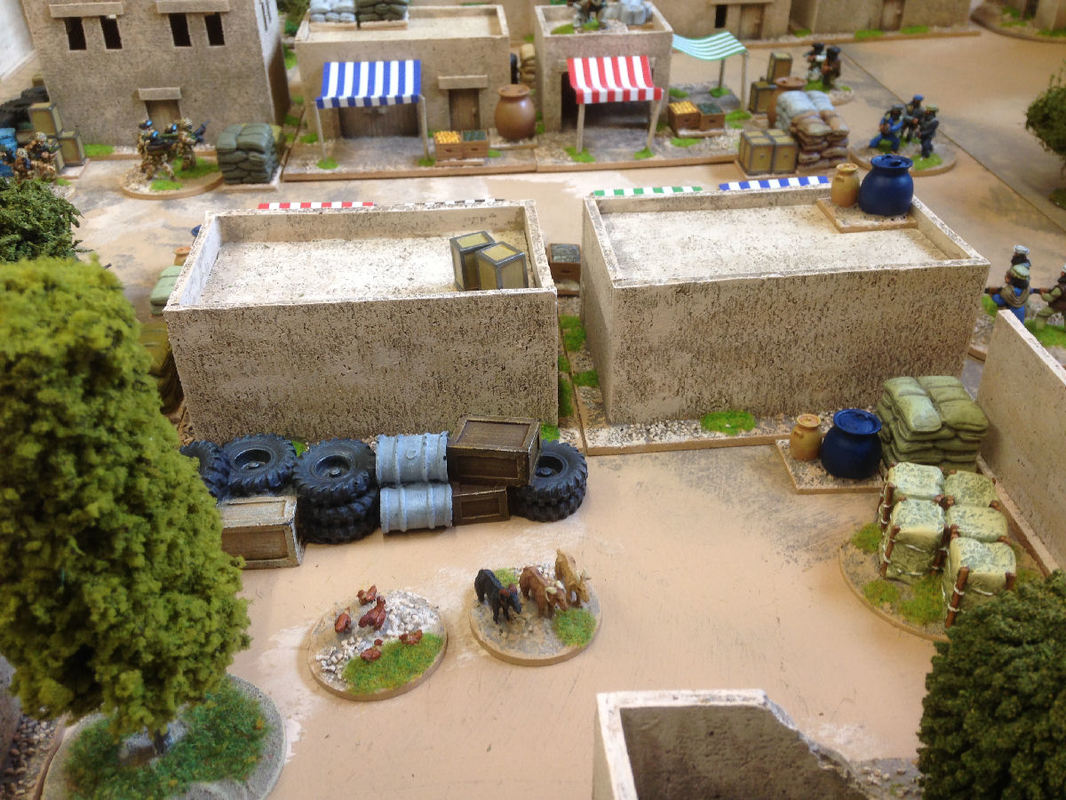
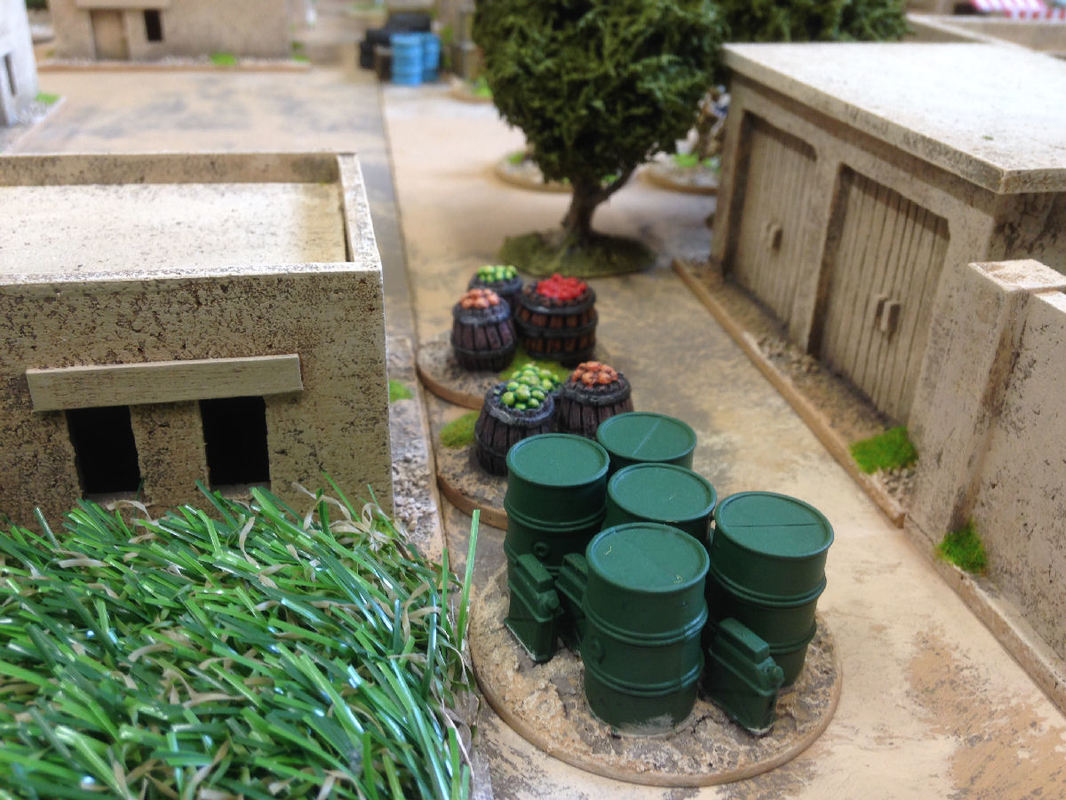
I painted up a load of trade goods for my bazaar. I mounted them all on 30mm square bases so they can be used as resource tokens if the need arises. These are all resin pieces from Ainsty Castings. I bought a selection of urns from Scotia Grendel. I have several of thee already which I'll probably repaint and base but I fancied some new ones. The castings were rough with missing edges and handles which was a shame, not the clean, smooth castings I remember, but these are old miniatures now and I couldn't be bothered to complain and wait for replacements. They turned out ok for background clutter objects. The bases are 30mm squares to match the previous batch.
Terrain bases
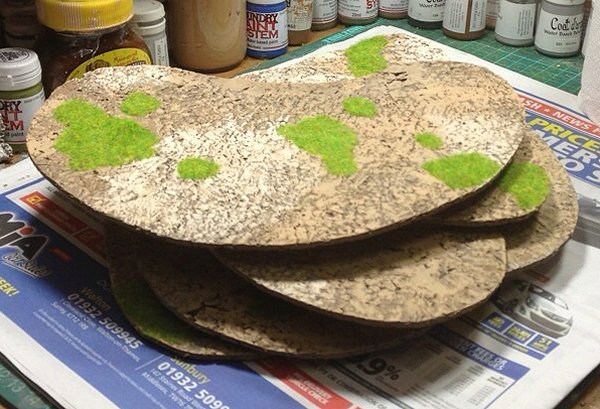
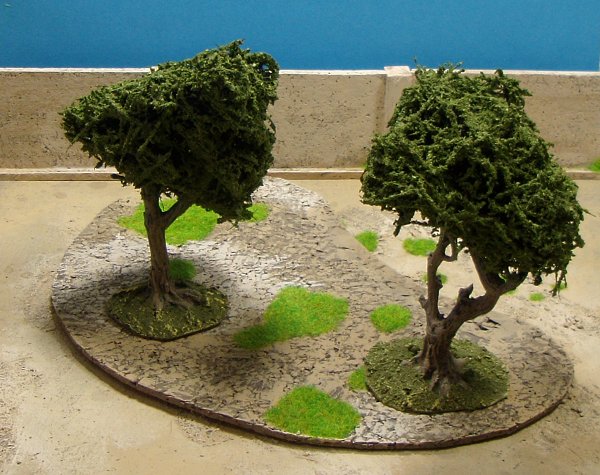
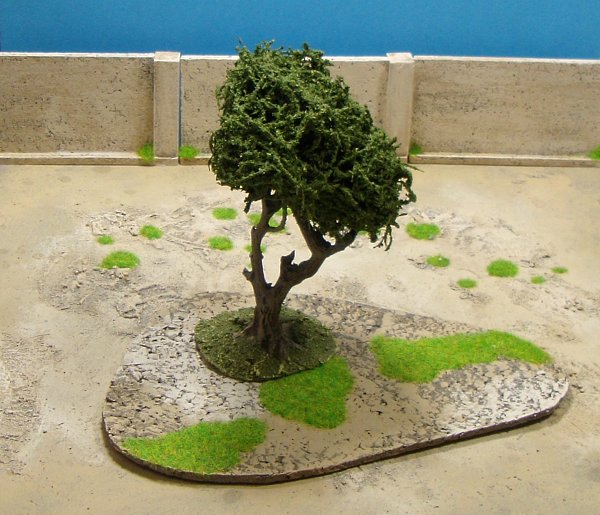
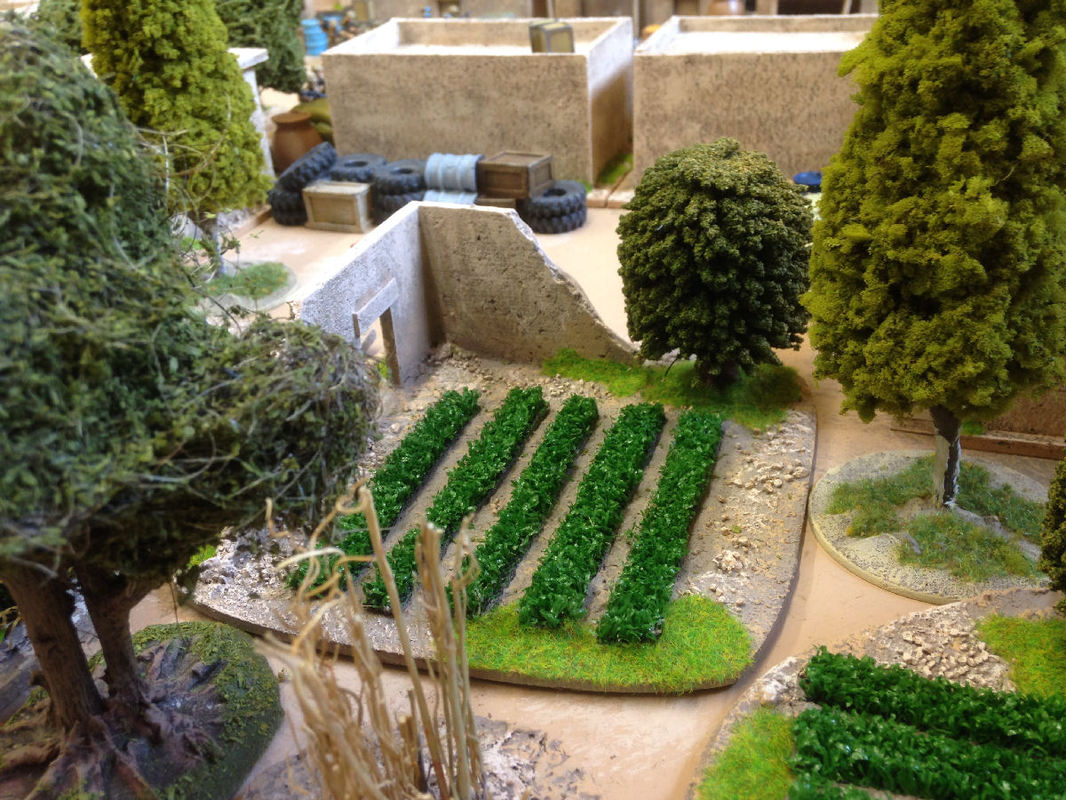
I use area terrain in my games. An area will be designated as giving cover and any troop stands within that area will receive appropriate bonuses. It's necessary therefore to be able to delineate clearly where the terrain begins and ends. To facilitate this I made some simple ground templates on which I can place trees, rocks, scrub etc. depending on terrain type to replace my old areas of felt I used to use. I know, horrible, but quick and effective too which is why it's taken so long to get around to replacing them. I cut irregular shapes from thin flexible wall cork. This stuff is so thin I could use scissors. I painted these with my usual three ground colours and added areas of static grass so they match my playing surface and figure bases. The cork is very textured on its non-flat side and took dry brushing well. The whole process was quick and easy. I made 11 pieces in the end which used up four cork tiles. Here are a couple of examples using trees.
|

