|
Painting Aberrant Games' Rezolution figures
I approached painting these figures with much trepidation. They are very finely cast with a lot of very small detail, a very daunting prospect. Coupled with this was a desire to do a good job on them because it was the style of these particular figures that got me into the game in the first place. To add incentive and spur me on I (foolishly) annonced I was painting them on the Rezolution forums and promised to post regular updates on my progress. I hoped the added pressure of knowing people were watching would spur me on when I got to the difficult bits. It worked, thankfully, and I'm pleased with the results. 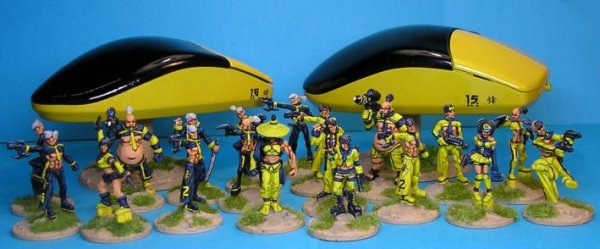
Initial Plans
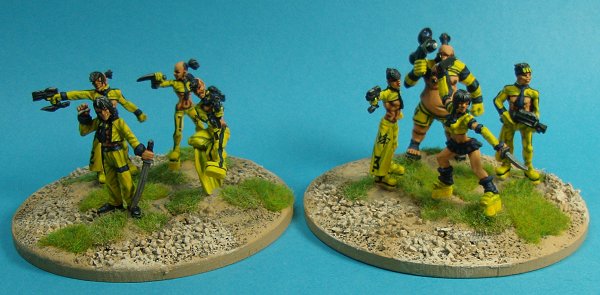
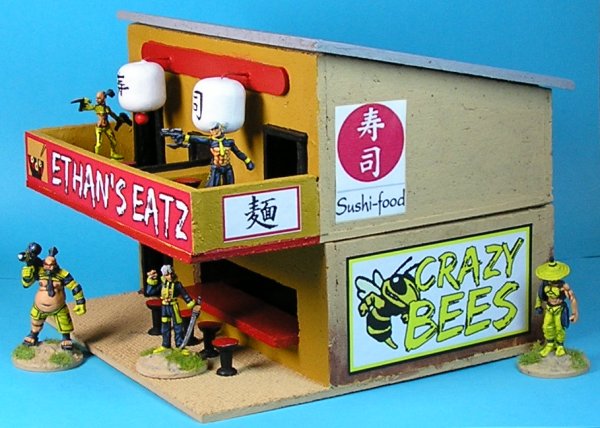
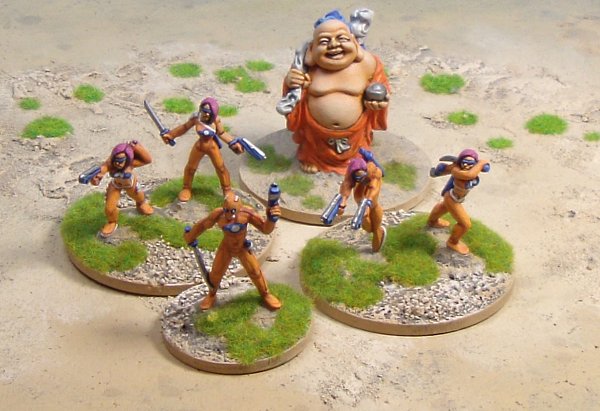
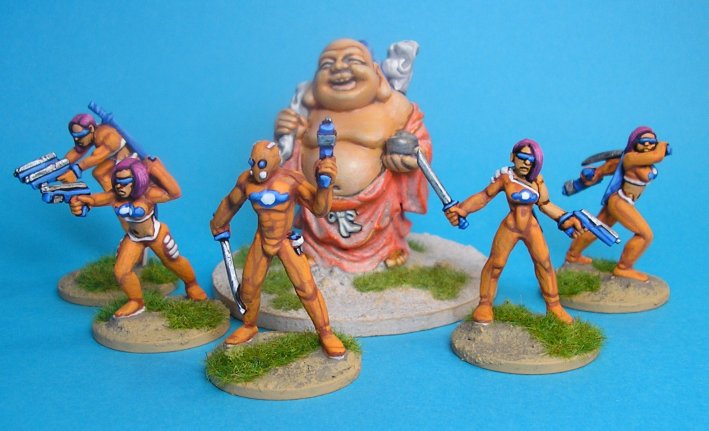
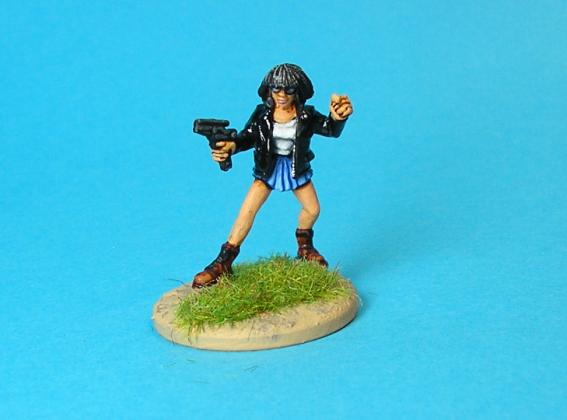
These figures represent an APAC (Asia Pacific) crew. Obviously they're oriental in their styling and I wanted a colour scheme to represent this. Many people went with a two-colour scheme for their APAC, bringing out a yin-yang theme and initially I was considering this approach. I was planning red and white to allow a Japanese flag motif. However, the official figures are painted in this combination so I looked around for something different. I finally settled for a yellow and black colour scheme, initially I was looking at a Bruce Lee/Kill Bill tracksuit idea and I coupled this with a bee motif. A few years ago I'd planned on doing a Games Workshop Tau force in a similar way because I wanted an oriental feel to them. Samurai used bees as a symbol because they can't fly backwards and so never retreat. It was all starting to gell, now I needed a reason for the colours. Once again something that had been waiting at the back of my mind to be used came to my rescue, there's a Chinese zombie film called Bio Zombies which I like quite a lot. The main characters in the film are a couple of Chinese chaps called 'Woody Invincible' and 'Crazy Bee'. Perfect, Woody Invincible would be the name of my Arashi (the sorceror who leads the group) and everyone else would be Crazy Bees, Woody Invincible and the Crazy Bees would rampage through the world of Rezolution, ridding the world of their enemies with style , panache and an indomitable Warrior Spirit. The Painting
Now I had a clear idea of what I wanted to achieve with the painting I could begin. The first stage was to hot glue the figures to 2p coins which are my standard bases for single figures. If a figure has an integral base I'll superglue it but the Rezolution figures are tabbed for slotta bases (which I loathe) so I first clip the ends of the tabs off to make them as narrow as the figure's pose will allow and then use a glue gun to stick them to the coins. 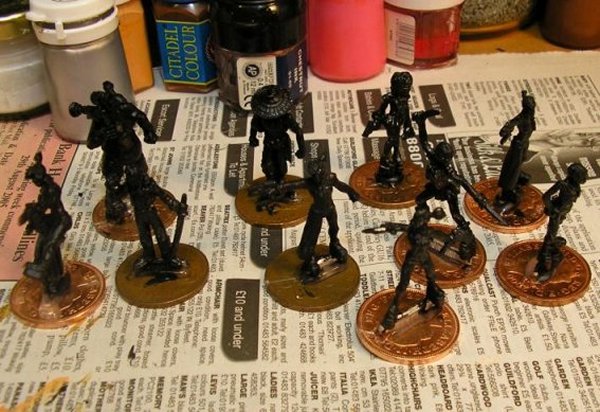
Next everyone gets an undercoat of black. I always brush my undercoats on, it's as quick as spraying for me and I don't need to wait for good weather and daylight outside to do it, which I would if I sprayed. It's also a good way of getting to know the figure.
Next, all the flesh areas are painted with GW Bronzed Flesh, the old colour in the white topped pots from the mid 90s. This gets slapped on, it doesn't matter where it goes so long as it covers all the bits that need to be covered, I use a number 5 brush and it doesn't take long.
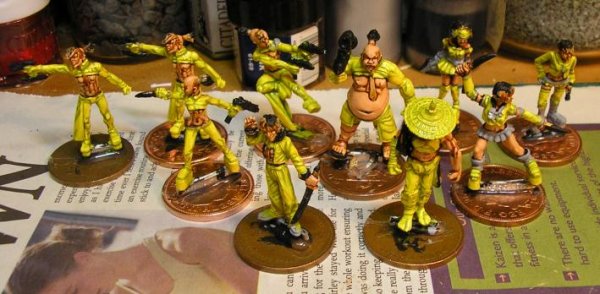
Once this has dried properly I give all the flesh areas a wash with GW Flesh Wash, again, this is the old colour from the early days, the modern Flesh Wash looks too dark to me. This is applied with a size 5 cheap sable brush from a model shop. This is the only time I use sable brushes, preferring synthetic for actual painting. Synthetics are generally too stiff-bristled for applying washes I find, you need something soft. Slap the wash on so that it covers everywhere it's needed. This will usually end the first day's painting since I like to leave the wash to dry overnight. The next job is to go around the flesh areas and define them with black. You don't have to paint over all the flesh and wash that's in the wrong place, just make sure a line of black exists between hand and sleeve or head and collar etc. This will give you something to paint up to later. The picture above shows the figures at the stage where this has been completed. It's a boring job and usually I'd allow a full session to get it done and if I finished early that'd be a bonus and I could do something else. Once it is done however, the basic preparation work is done and the fun can begin. 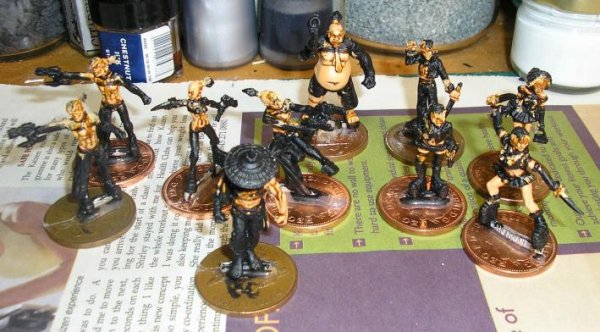
Next the flesh areas get their first highlight. This is applied with the original flesh colour, in this case GW Bronzed Flesh. I've allowed the flash to go off in the picture because it shows the results better.
After this the final flesh highlight is applied. I use Foundry Flesh 5B for oriental skin. Even with the flash it doesn't show up too well, it's more obvious on the figures themselves. Finishing the flesh is another session done, three days gone so far....
Next comes the yellow. Yellow is a difficult colour to use because there's so little pigment in hobby paints. It's not the manufacturer's fault, both red and yellow pigments are poisonous so only small amounts are allowed by law because the paints are designed to be used by children. Anyway, here's a simple and effective way to do yellow that works for red too.
First step is to paint on a preparation base coat for the yellow. Paint everything except weapons with a grey, I use Foundry Artic Grey 33A. 
After the grey is done, paint a highlight with a white or near white colour. I use Foundry Boneyard 9C because it goes on much easier than pure white. You're looking for a strong contrast here, nothing subtle.
Now for the yellow itself. I use GW Bad Moon Yellow mixed about 50/50 with their Yellow Ink (both old versions, do you spot a trend?). The ink thins the paint and adds pigment at the same time, giving a well-coloured transparent medium. The preparation painting shows through giving a shaded and highlighted finish and the slight opacity of the yellow is enough to soften the hard contrast edges between the grey and boneyard for an overall pleasing effect.
You can add multiple greys to the undercoat and this will give a much more blended look to the finished yellow. Unfortunately much of your work won't show through and it takes trial and error to get it right. If you're painting a number of figures and need to get them done I think the two colour undercoat is sufficient. It's taken four days to get this far. Because of the ink in the yellow it should be allowed to dry overnight. 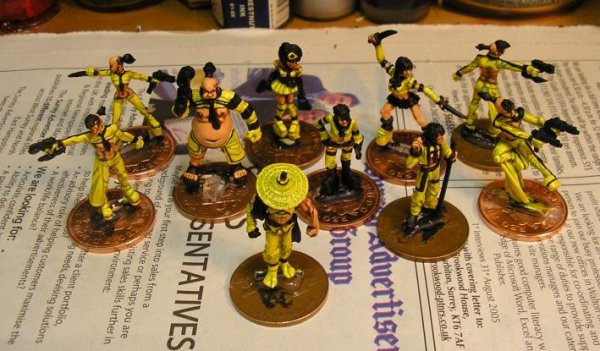
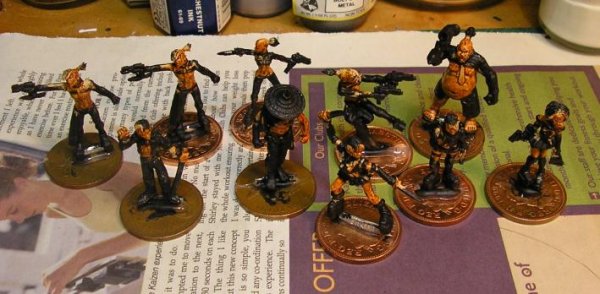
Now for the black. I used a combination of brush and technical pen to add stripes and detailing to the figures. By the time this stage is finished the figures are nearly complete.
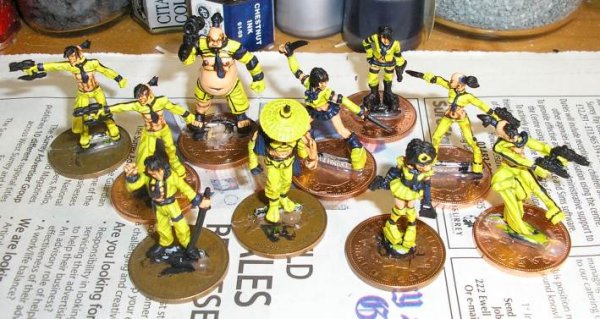
The first black highlight is applied using Foundry Deep Blue 20A. It needs the flash to show it in the picture. I've only highlighted the clothing, the weapons, although they're going to be black also, will be highlighted in grey. I like to use blue for soft things and grey for hard things generally although this is not a hard and fast rule.
The final painting. The black clothing has a final highlight of Foundry Deep Blue 20B. The guns and some footwear have been highlighted with Foundry Charcoal Black 34B and 34C. Weapon blades have been painted with GW Boltgun and edged in GW Mithril Silver.
The Heavy at the back has had a blue gem effect added to the front and back of his RPG scope. For a little 'amine' effect the hair has been highlighted the same way as the guns, normally I'd have left it plain black. Again, the flash makes it a little bit more garish than it really is but allows the different colours to be seen.
Five days to get to this stage. 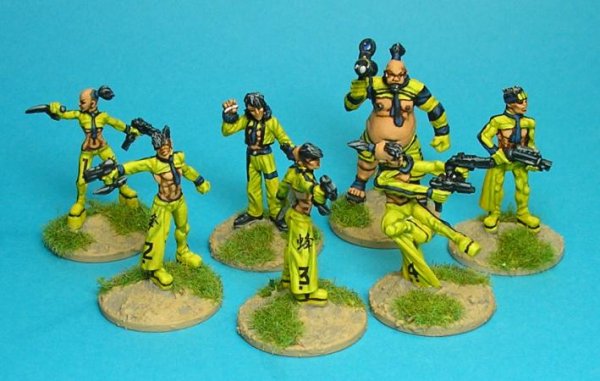
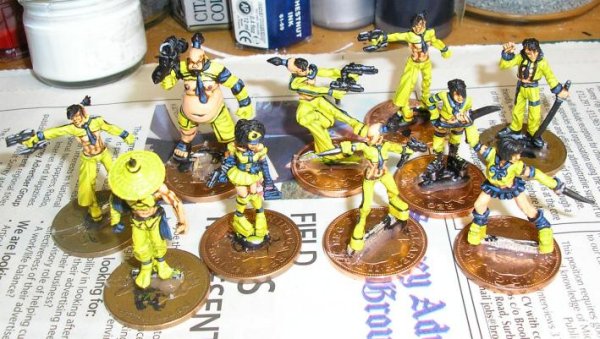
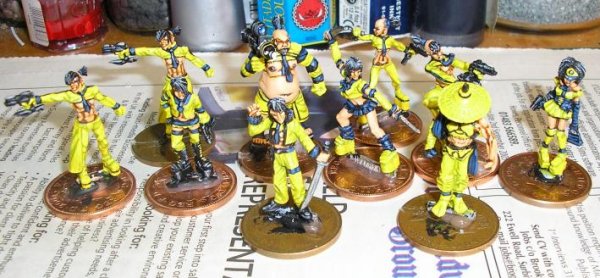
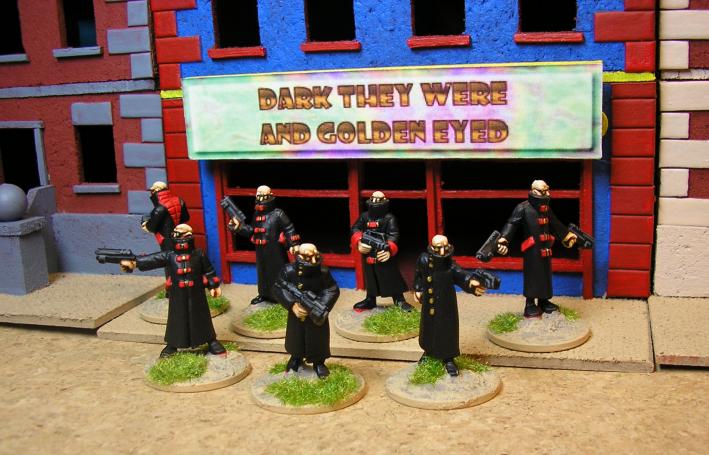
So here they are (some of them) finished at last. Final detailing was done by applying number decals from Hasslefree Miniatures.
These decals are made by James Mok and because he's a very tallented and helpful chap he made me a set of decals of the Chinese character for Bee (feng) which you can also see on the enforcers. The Next Step
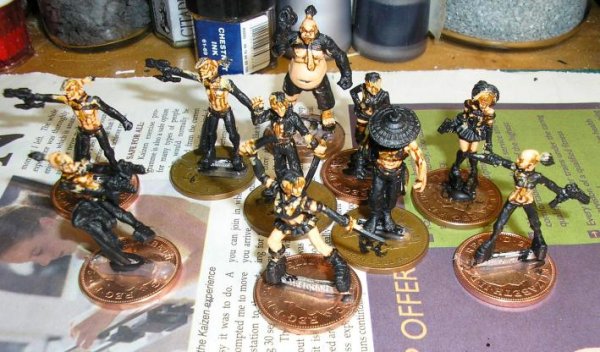
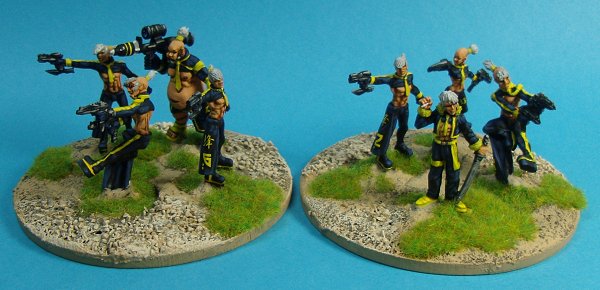
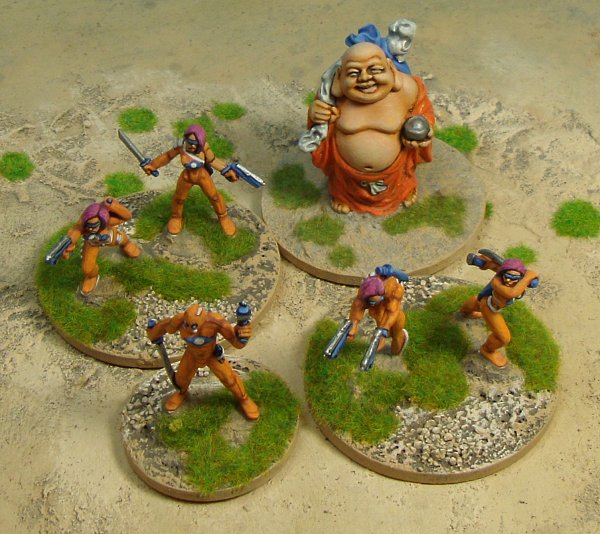
That was where my public painting exercise stopped. But the job wasn't finished. I wanted more Crazy Bees and I decided to do them as 'negative' versions of the ones I already had, black with yellow highlights. This would break up the very bright effect of the original set but keep to the theme. I contacted James again and he made me some transparent number and bee decals surrounded by black so I could under paint the designs in yellow and have them show through. Once these were done the painting part was easy. 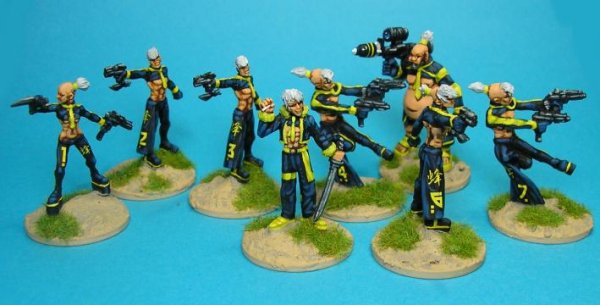
And here's a shot of both colour schemes so you can compare.

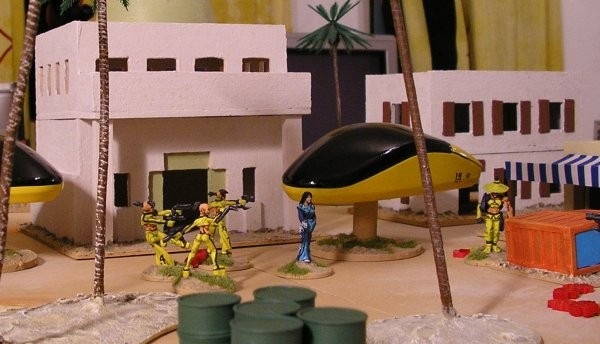
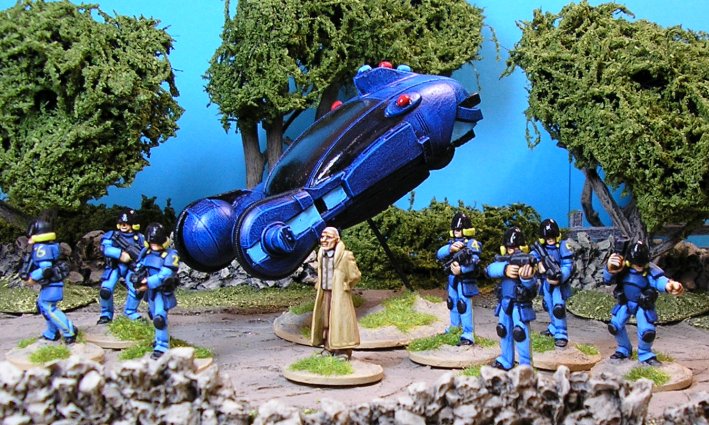
Hover Cars
I needed some transport for my Rezolution APAC crew, what better than some hovercars? I got a couple of broken computer mice from work and removed the balls. I used the hole underneath to put a bit of dowel in as a support and then painted them in the crew colours, stylish black plexiglass canopy and a bright yellow body. The decals were added to tie them in to the crew so there'd be no mistaking the ownership. I think they're very effective and I'm going to do more for the other factions in the game. Again, this is a no-skill starter project if you haven't tried this sort of thing before. What could be easier? 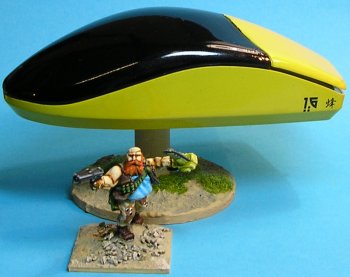
|

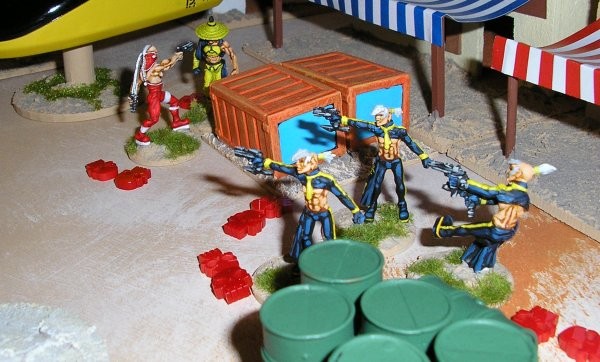
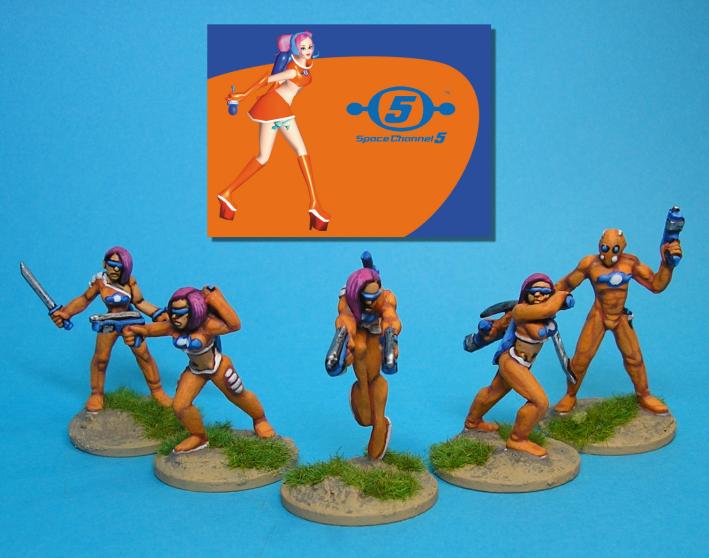
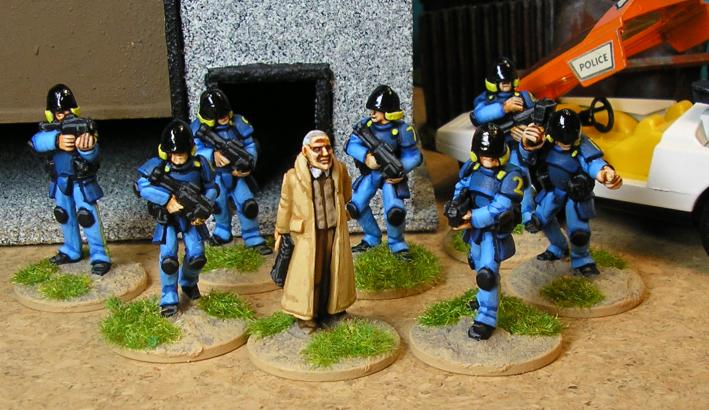
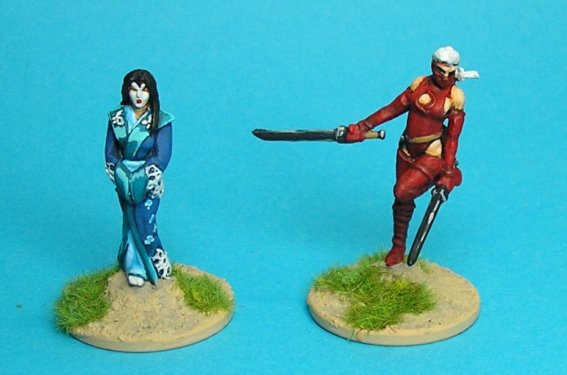
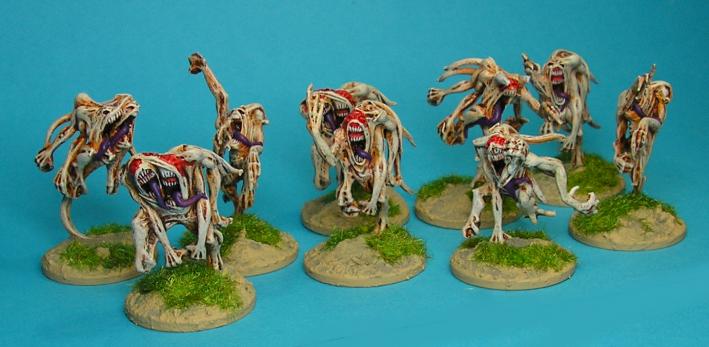
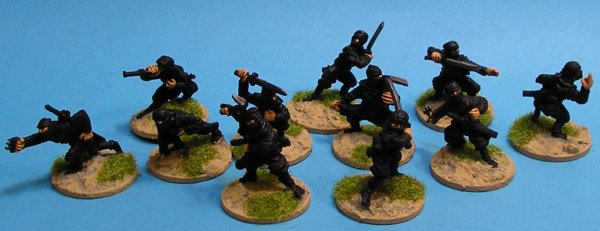
My other Rezolution miniatures
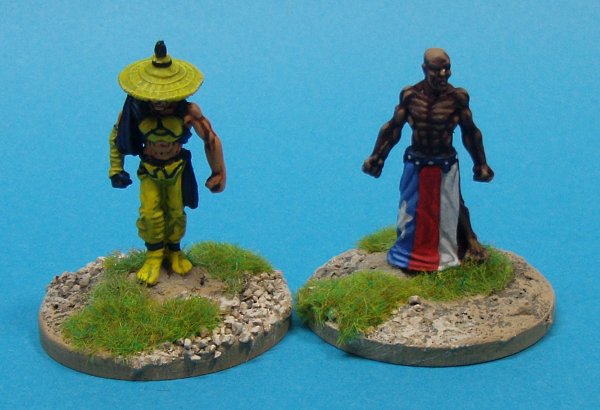

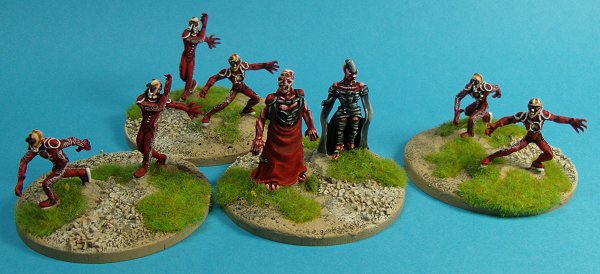
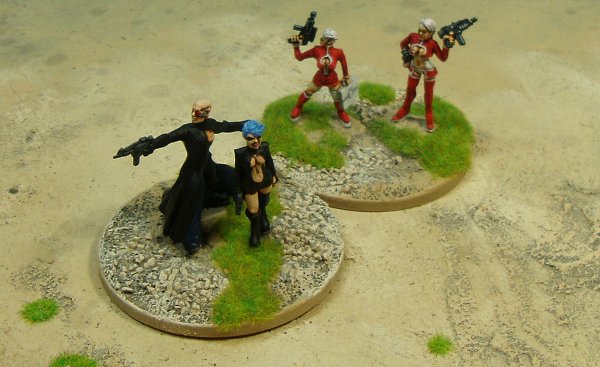
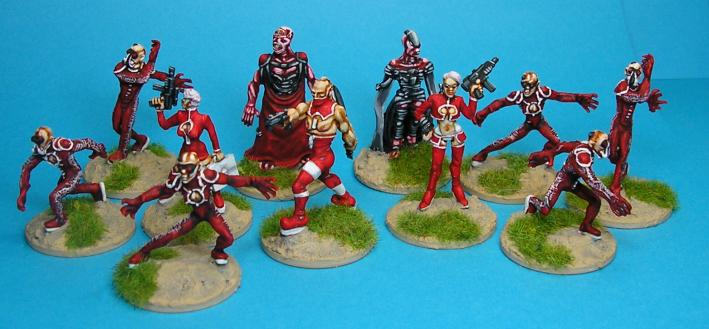
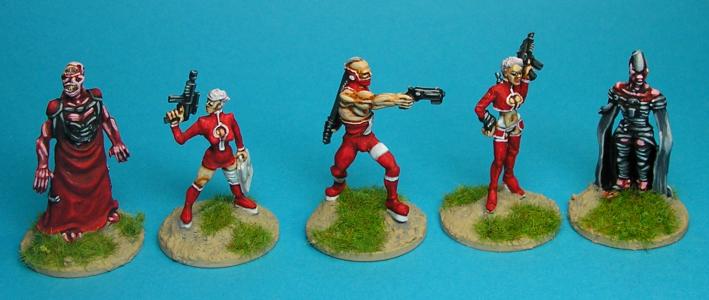
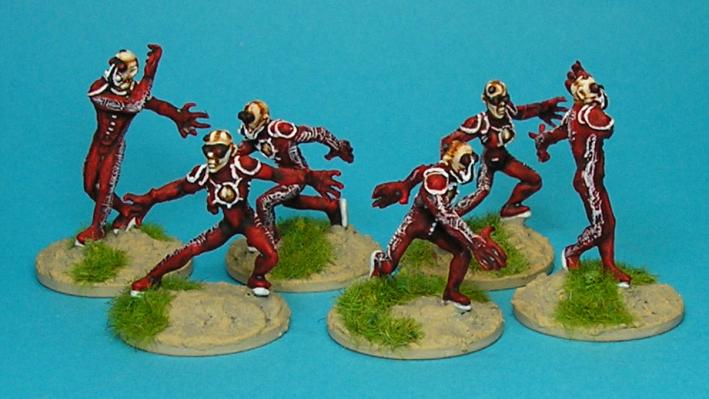

Other miniatures I drafted in to my Rezolution set.


|