|
A Cyberpunk noodles and sushi bar
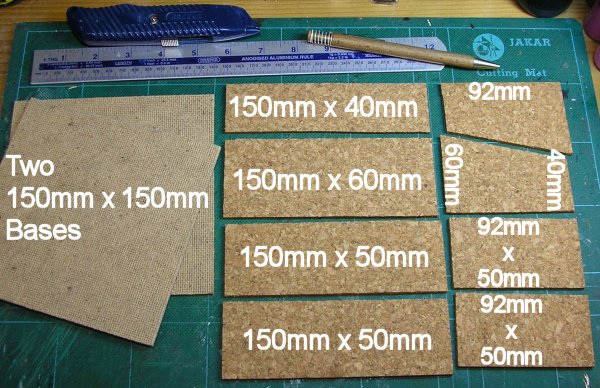
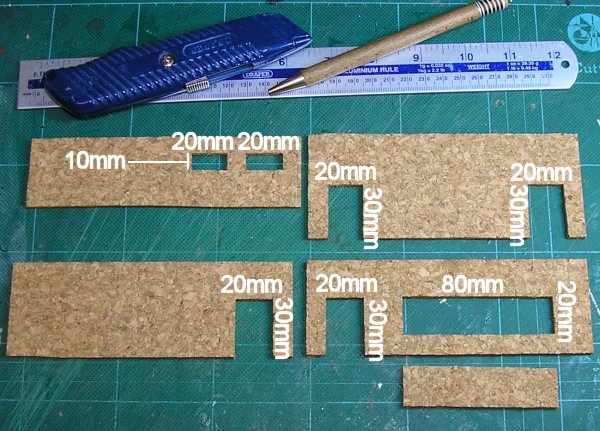
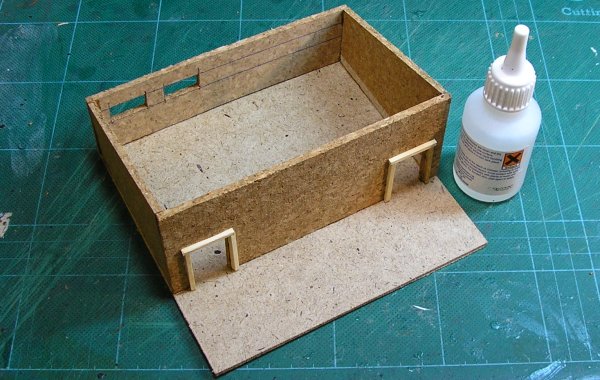
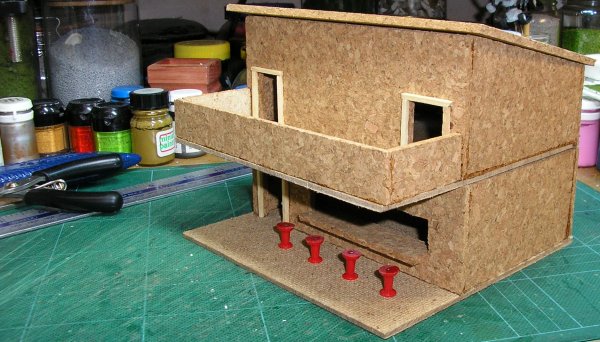
Here are the basic components. As usual, the building will take less than a single cork tile to make and you can cut 16 bases out of a 2ft square piece of hardboard so the materials cost is about £1.00. Since I'm aiming for an urbanised, seedy, near-future look I've kept windows to a minimum. When you cut out the big window, keep the off-cut, because you'll need it later for the counter.
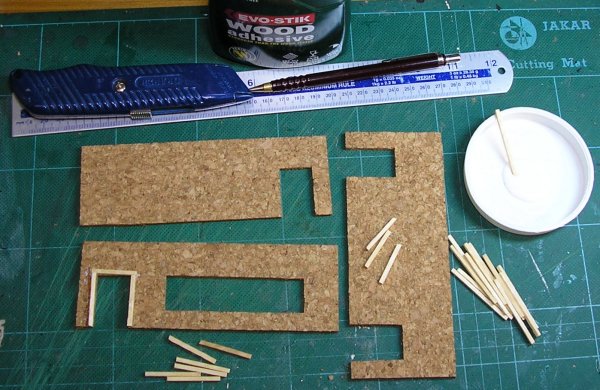
Only 12 matchsticks are needed for this one, three per door. The uprights are 30mm and the cross pieces are 26mm. There's nothing to stop you having 30mm crosspieces which will give you a stylish looking door frame with a bit of an extended lintel. Go with what looks good to you. Stick them in place with wood glue.
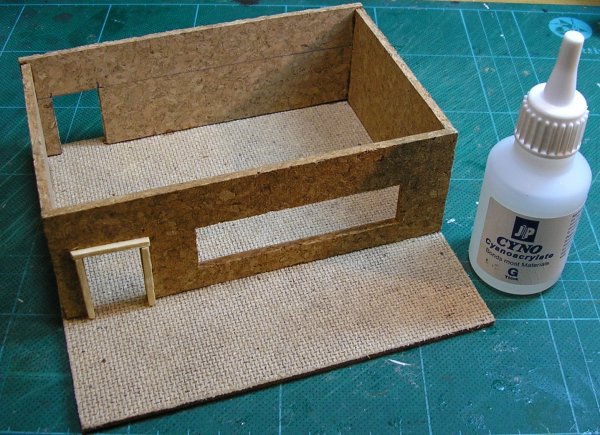
Glue the walls to the base. Start with the back wall and move it in from the edge so the door frame is seated on the base. Keep this propped in place while you glue and position the two side walls, a paint pot is usually enough to stop the back wall falling over. Once the side walls are in place everything will be self-supporting and you can concentrate on postioning the front wall. I find superglue is best for sticking the cork.
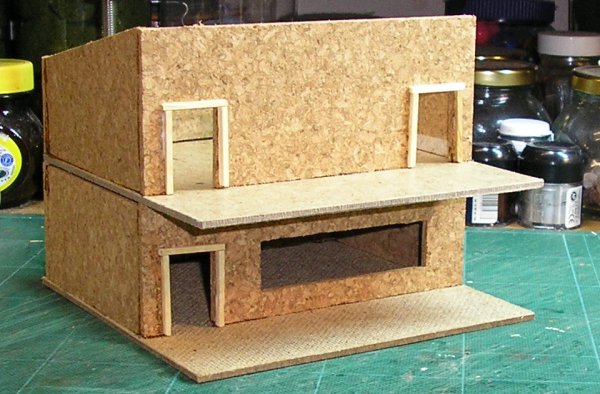
The top floor, done the same as the ground floor. I have turned the base so the smooth side is uppermost. The actual base for the model has the rough side showing as this adds a bit of texture to the pavement.
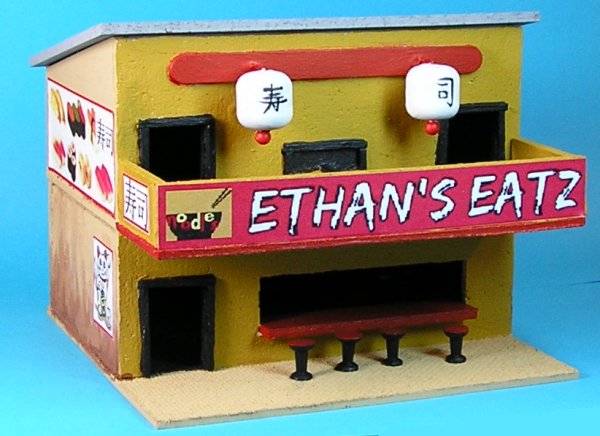
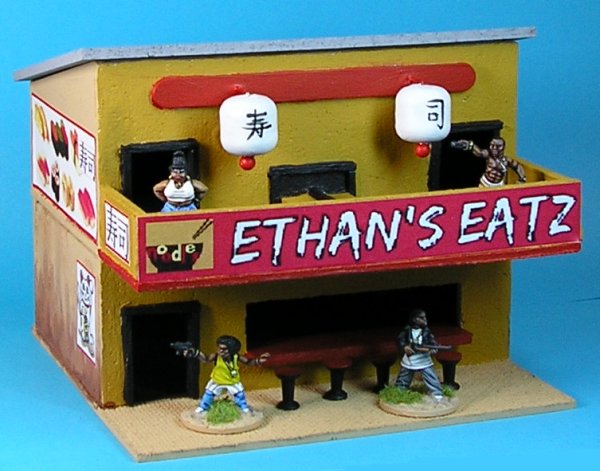
Here's a basic idea of what we're aiming for.
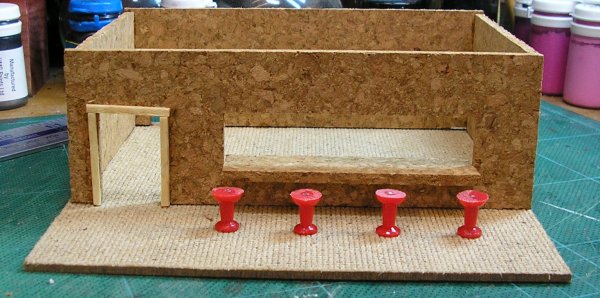
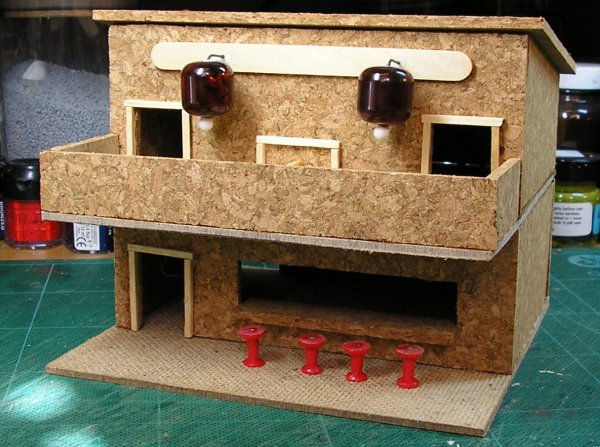
Glue the window off-cut onto the bottom edge of the window to form the counter. Position it so it overhangs both the street and the inside of the building. I have made some stools by clipping the pins off mapping pins and sanding them flat. These will be painted before I glue them to the pavement. The ground floor noodle bar is now complete.
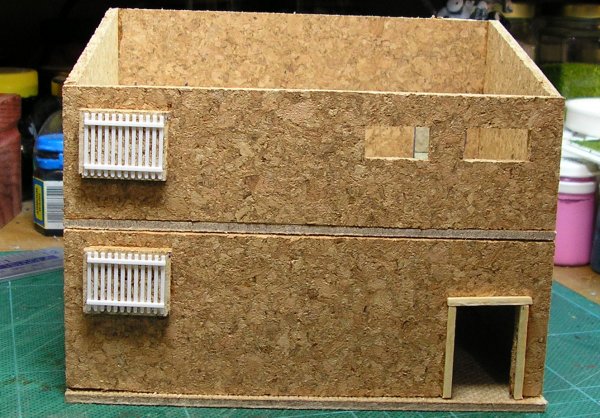
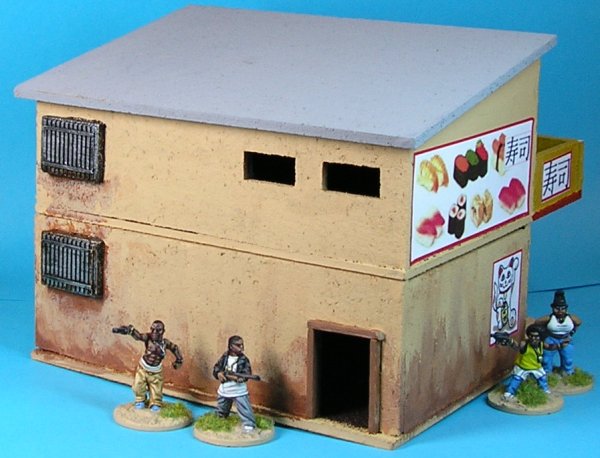
Around the back of the building I have made a couple of extraction fan vents from rectangles of cork with some OO scale railway fencing glued to them.
The roof is a rectangle of cork, 160mm x 100mm. Measure the size of the ceiling gap on the top floor and cut a second rectangle of cork to match. Cut it about 1mm too small to ensure an easy fit later. Glue this to your roof with wood glue. This will give you plenty of time before the glue sets to position everything properly. You should end up with a comfortable push fit for the roof which will keep it firmly in place during play.
Do the same thing with another rectangle of cork glued underneath the top floor to keep it in place. With the roof on the building is coming together nicely. Construct a simple 20mm high parapet around the balcony.
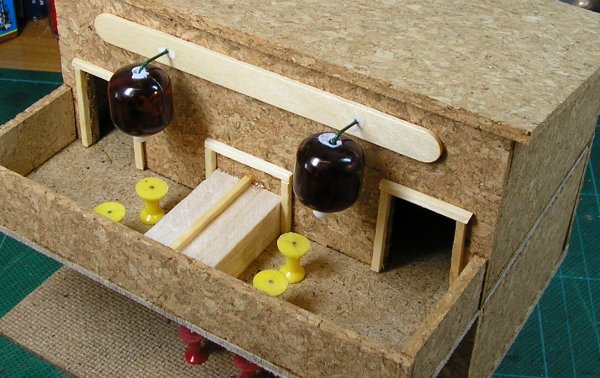
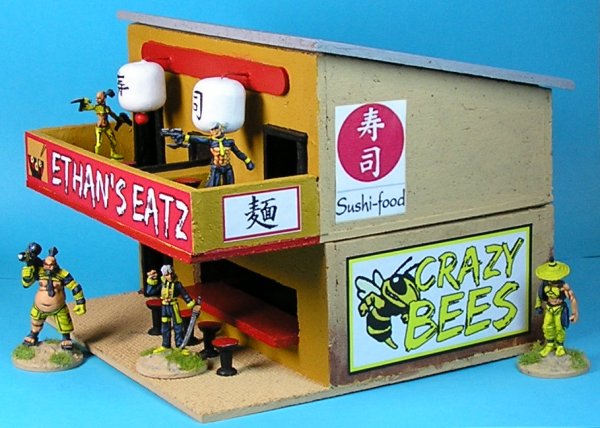
Noodles downstairs, sushi upstairs. The outside part of the sushi bar is a block of balsa and a matchstick. More matchsticks have been used to delineate the serving hatch which will be painted black so it resembles a hole in the wall. Another set of mapping pin stools complete the ensemble. I haven't continued the counter inside the building because I don't use interior detail but you can if you wish. Personally I find interior detail destroys the illusion of scale and shows the buildings up as the undersize little things they are.
The lanterns are two beads with round headed pins stuck underneath them and a simple 'L' shape of florists' wire glued into their tops. The wire is glued into two holes drilled into an ice lolly stick which, in turn, is glued to the wall.
|
Ethan's Eatz graphics
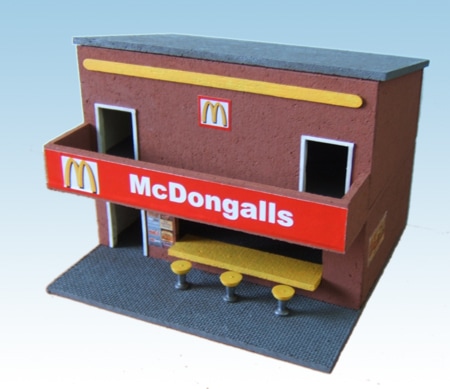
Here are the graphics I made for Ethan's Eatz, just in case you want to make your own one. Three of the signs say Sushi (as do the lanterns) and the top right sign says Noodles in case you're worried you might be sticking on rude words A version of Ethan's bought out by a multi-national and built by Nick Whittock.
|

