|
The Build
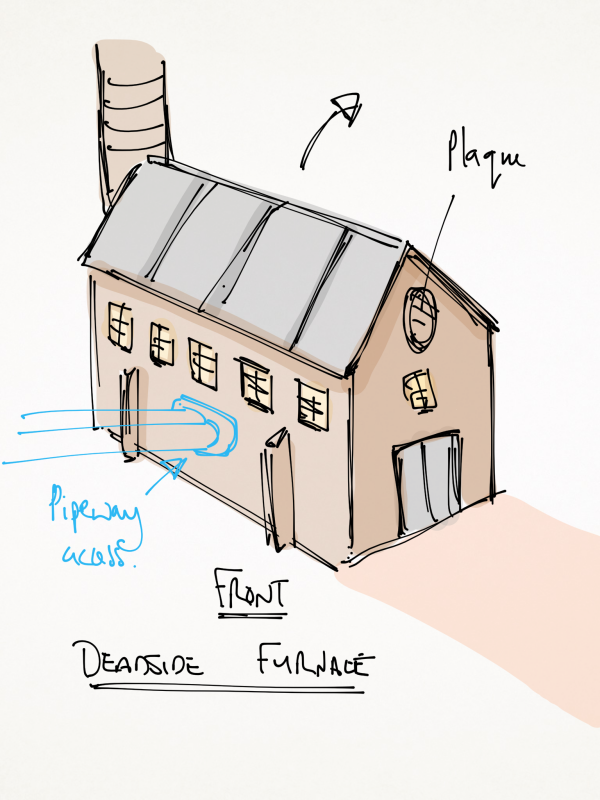
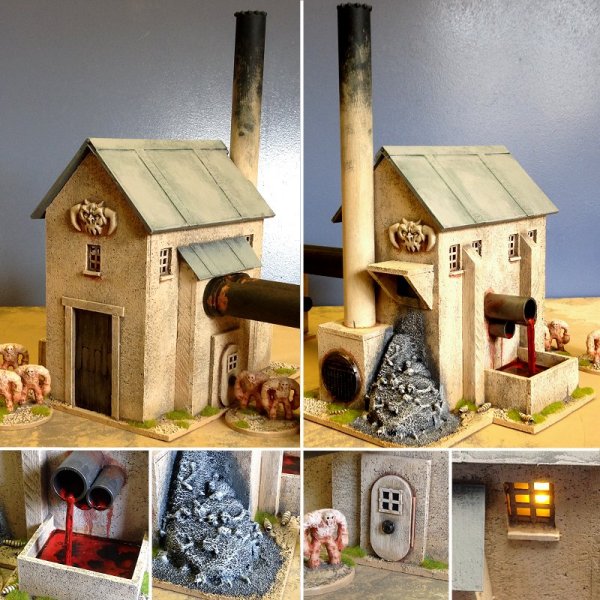
So here's the plan, a Deadside crematorium. Lost souls get herded in one end and wonderful heat and energy to power a Great Engine gets pumped out the other. I decided to embark on this build for the Lead Adventure forum 'Build Something' competition in February 2015. The subject for all the competition builds was 'fire and ice' and each entrant could pick either or both. I picked fire. I'd been thinking about this for a while as I needed a crematorium for one of the scenarios in the Juju Man rules and so this seemed like a perfect excuse to get on and do it. On the right wall looking from the front will be the input box for the pipeway so that the energy generated can be sent off to the Great Engine.
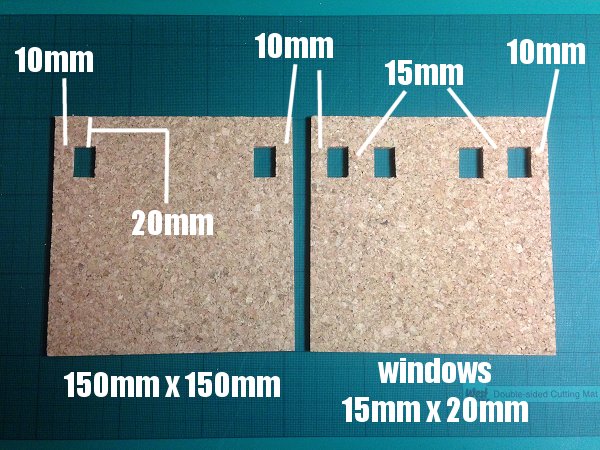
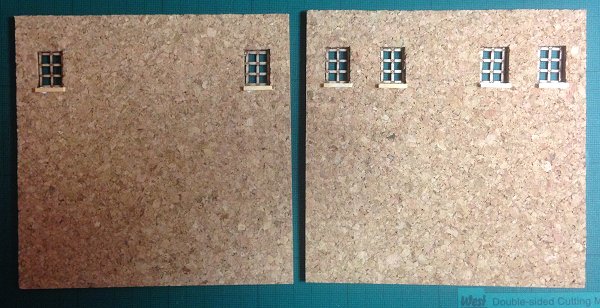
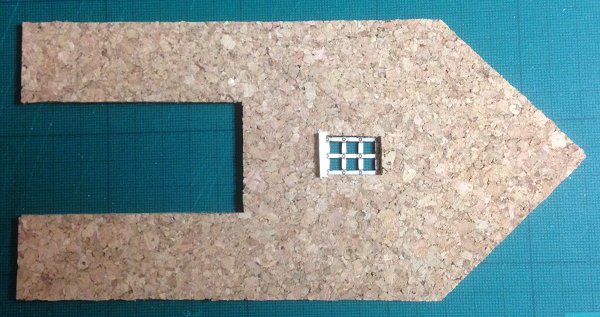
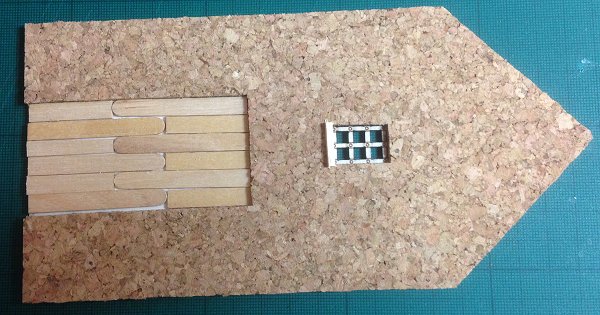
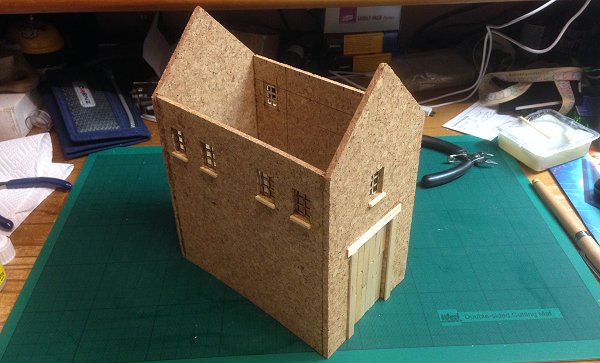
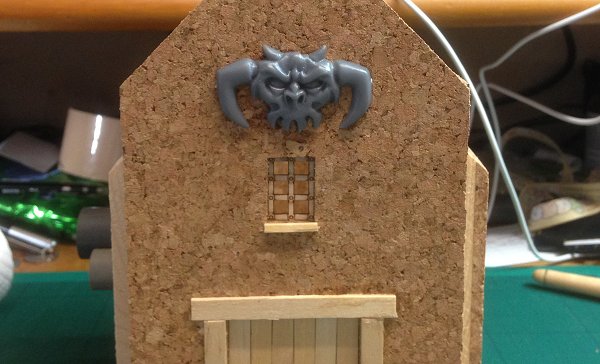
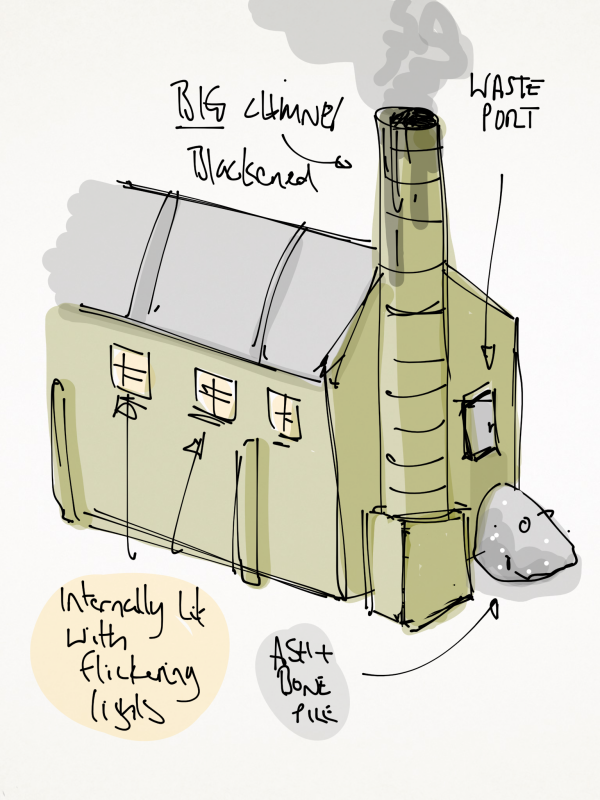
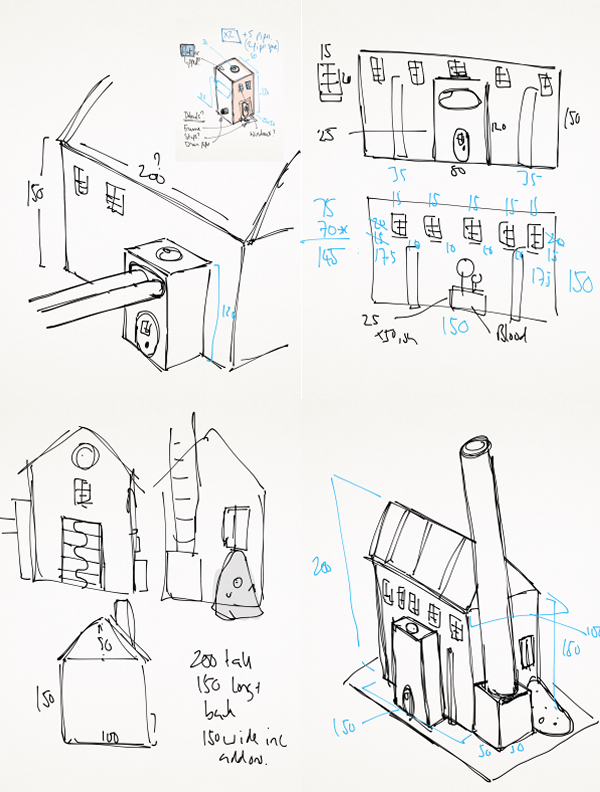
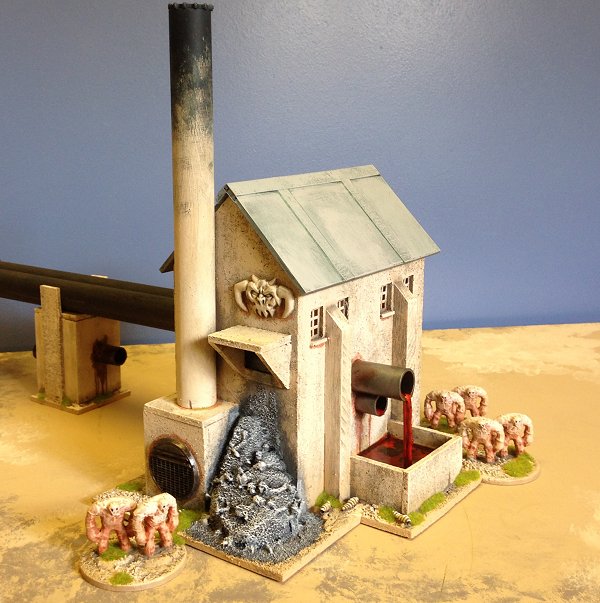
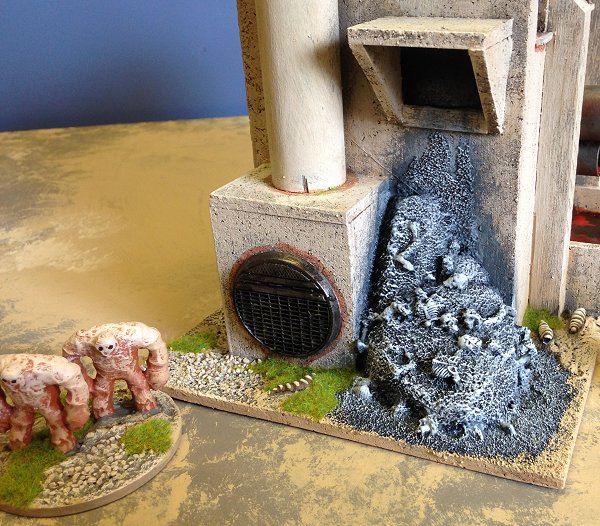
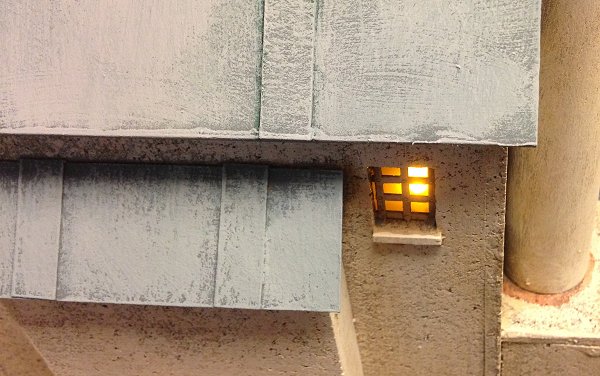
The left wall will have the blood draining pipes and the blood reservoir. The rear wall will have the chimney and it's furnace box and the ash chute with the ash and bone pile beneath it. The front will have the imposing tall door and something above the window, ( I hadn't decided what at this stage). The roof will lift off so the flickering tea lights can be placed inside to provide the hellish light from the furnace which will be visible through the rows of windows on each long wall. The Crematorium is a basic box at its heart, here's the cutting plan for the sides with windows.
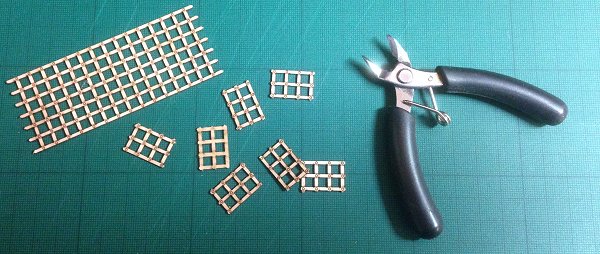
I used some thin wooden grilling from Fenris Games for the window details. I used to use wire mesh and also tile spacers for windows but during the Shadow Man build this became my window of choice quite by chance and I'm keeping to it so everything looks like it belongs together on the table.
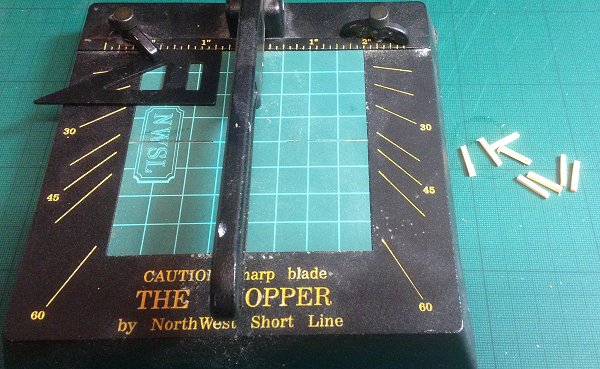
Matchsticks for extra detailing.
The end walls are 100mm wide and 200mm to the apex.
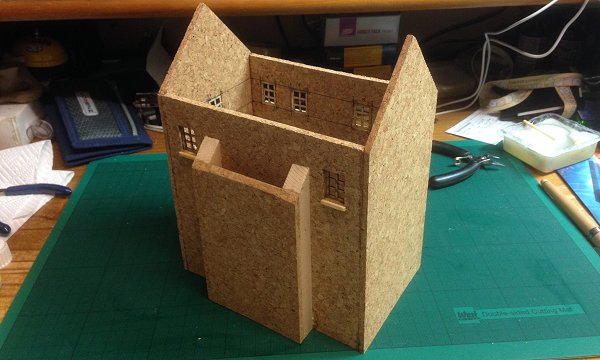
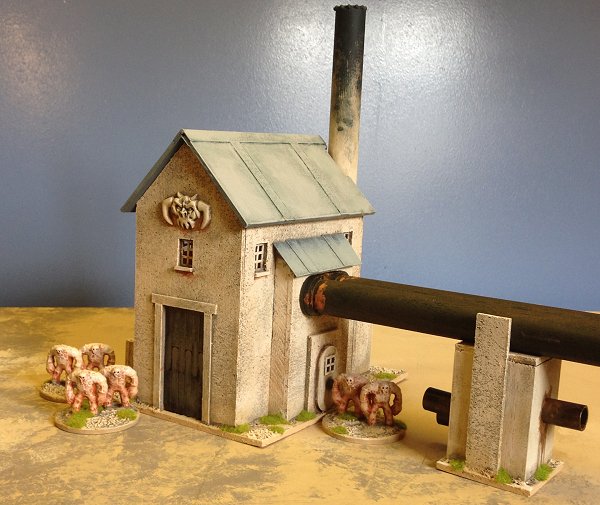
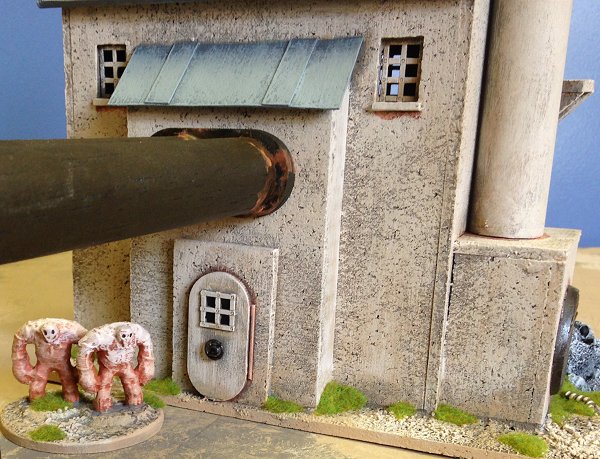
The door's 80mm x 40mm. I've kept the idea for an interlocking metal sliding door that I originally intended but I've changed to a vertical orientation so it's more like teeth. The door is card faced with coffee stirrers. This is the housing for where the Pipeway will join the Crematorium.
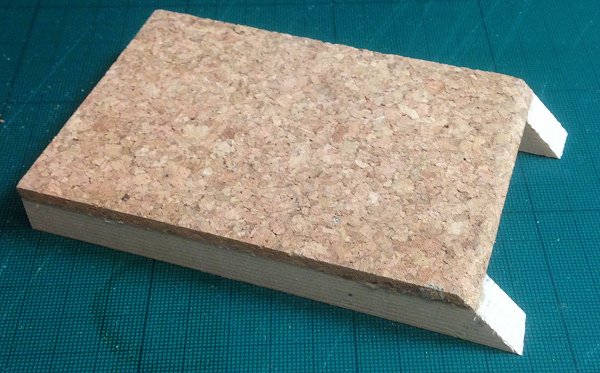
I made this from two lengths of 12mm x 12mm pine cut to 45 degrees faced with some cork. I sanded the cork to match the slope of the pine so the roof would fit flush. The whole thing is 80mm wide and 120mm tall. I glued it centrally to the Crematorium wall.
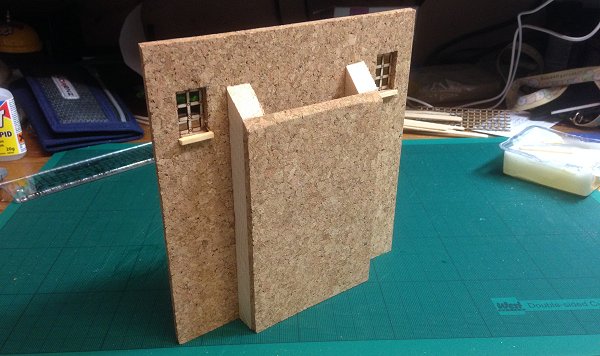
I assembled the Crematorium with the end walls outside the side walls, this way the slope of the end walls isn't interfered with by the thickness of the side walls.
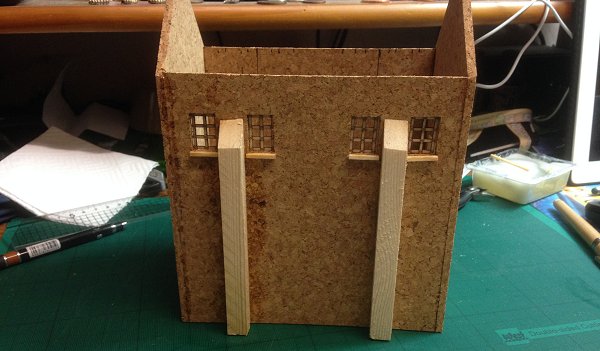
I added more lengths of 12mm x 12mm pine as buttresses to this wall. They match the other side in size but not in placement but are enough to keep a unified design look. The blood reservoir will fit between these.
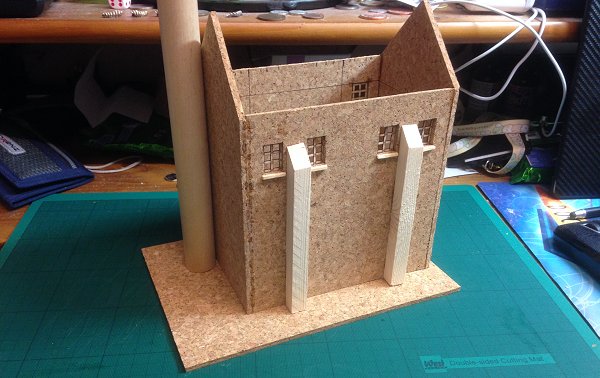
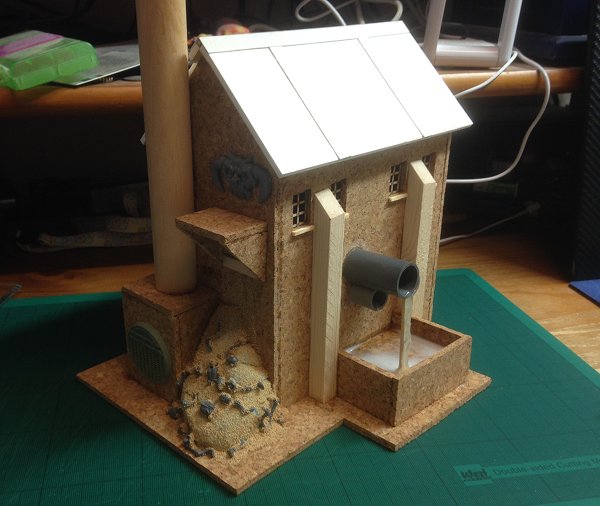
Here's the building in position on it's base (unglued as yet) with the chimney stood roughly in position. The base is 150mm x 220mm. The extra space at the back will accommodate the ash pile and the base of the chimney housing.
Now for a bit of detailing.
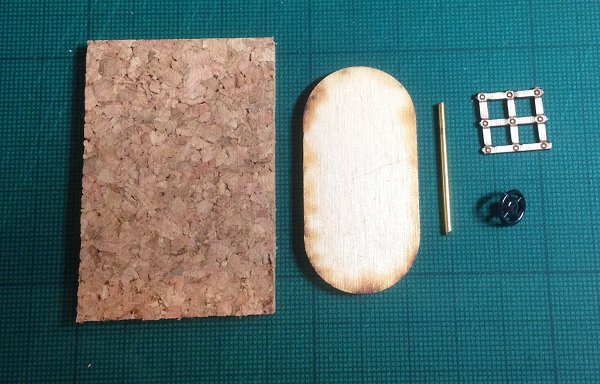
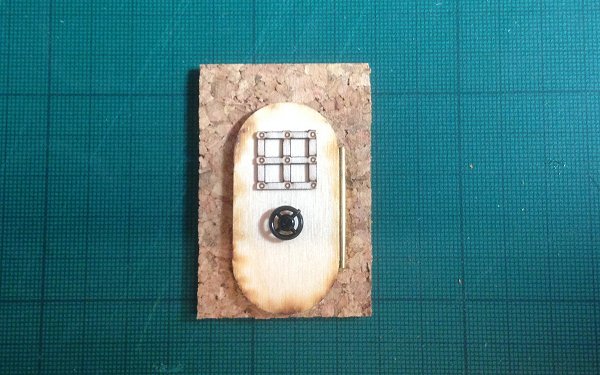
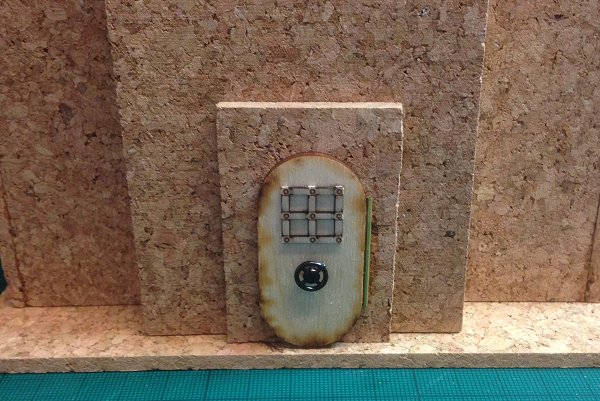
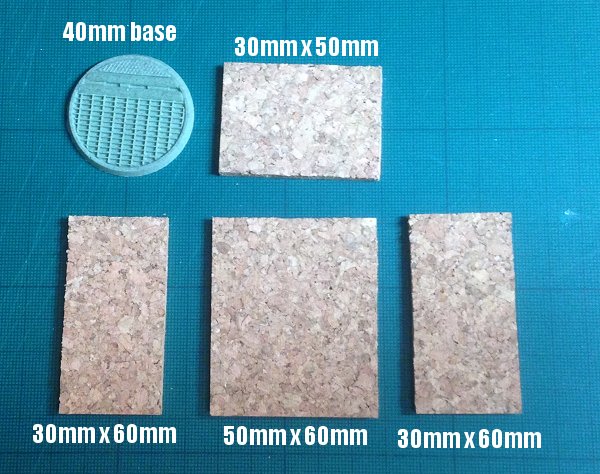
First the hatch into the Pipeway workings. A bit of cork 40mm x 60mm, a 25mm x 50mm pill base, a bit of copper rod, a press stud and a window made from Fenris grating. Stick, stick, drill, stick, stick... and I had a hatchway.
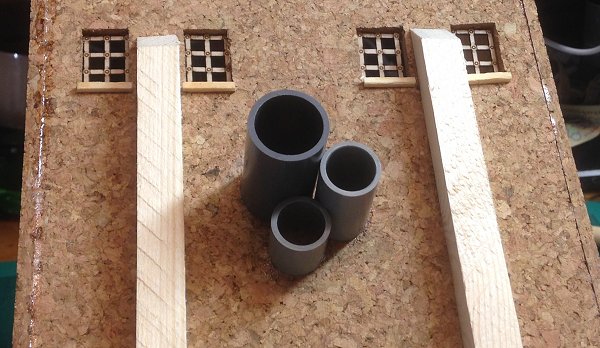
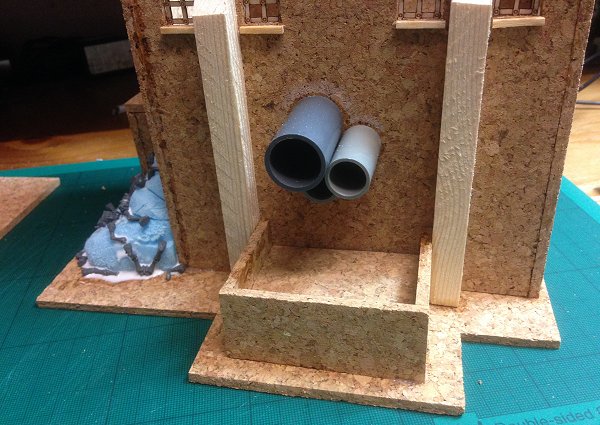
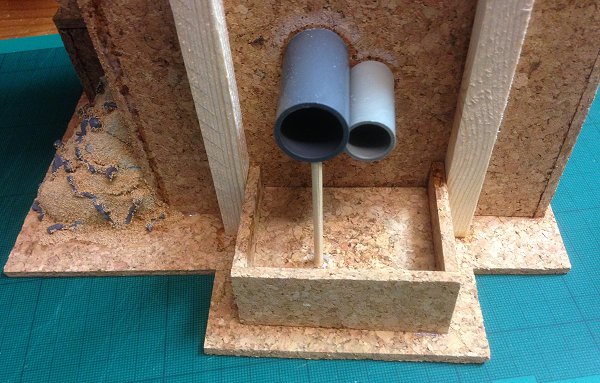
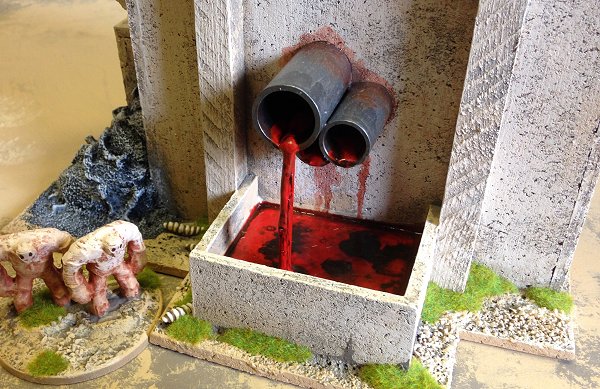
Blood drain pipes made from cash register roll centres cut to different size. I realised here that I was going to have to extend the base to accommodate the enlarged blood reservoir but, so what? You can never have too big a blood reservoir.
I used a Games Workshop thing to adorn the front wall.
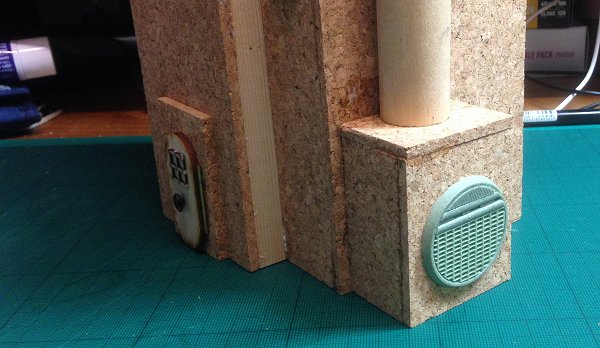
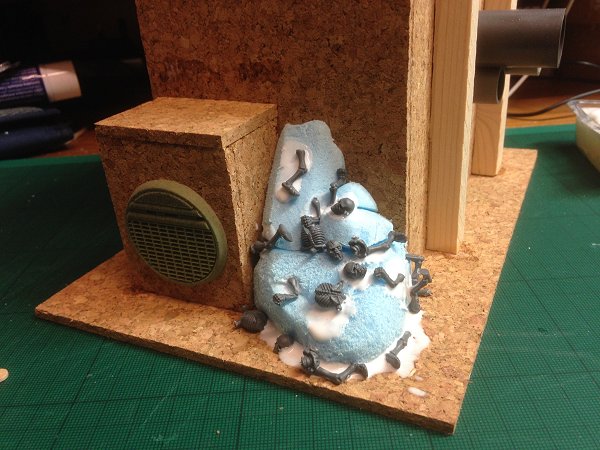
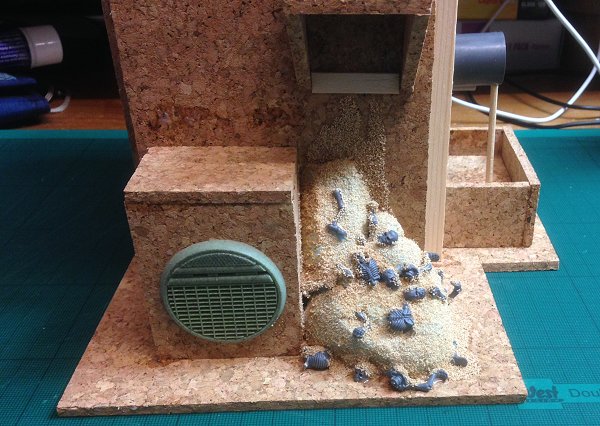
This is the furnace housing that will support the chimney. The resin base is from Fenris Games. I never use the resin bases I get with miniatures but I keep them to use in situations such as this where they are a painless way to add detail to a build. In this case a vent of some kind, nothing too specific but it looks like it does something.
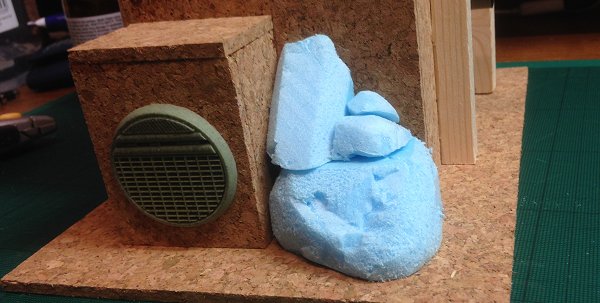
Some blocks of foam (I never use foam normally) and some skeleton bits (bought from eBay) formed the foundation of the ash pile. I used PVA glue to stick the foam and the skeleton bits together.
I extended the base to accommodate the blood reservoir which was a simple box cut to fit between the buttresses and made deep enough to allow the largest pipe to flow into it.
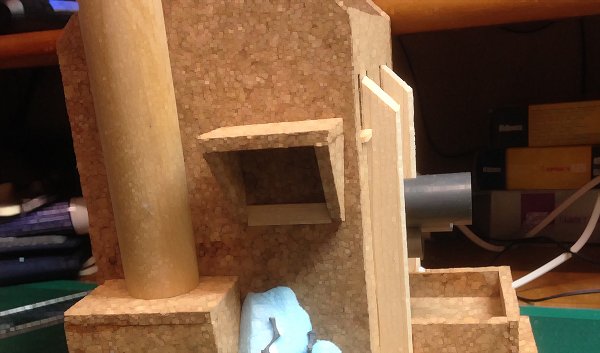
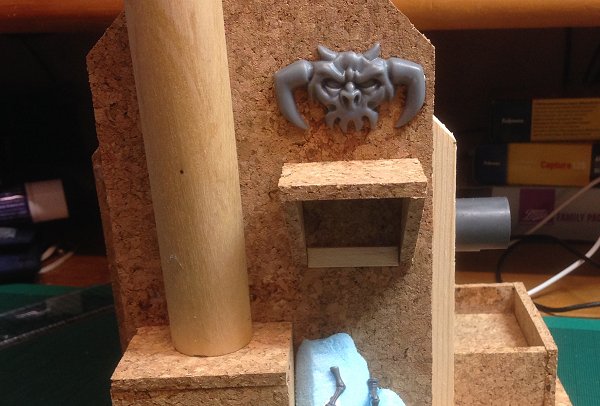
I added an inset layer of cork to support the PVA glue that was going to be the blood. Some more cork and a coffee stirrer made a housing for the ash chute.
And another Games Workshop thingie filled the gap on the wall above it.
Once the glue was dry on the ash pile I painted around the skeleton parts with diluted PVA and added fine sand to texture everything.
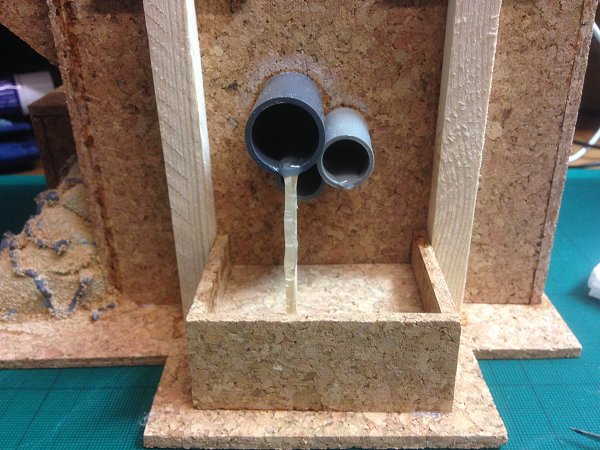
I ran some glue and sand up the wall to the chute and around the base of the pile too. I glued a cut down bamboo skewer to the underside of the largest tube, just back from the front lip of the tube to support a blood flow.
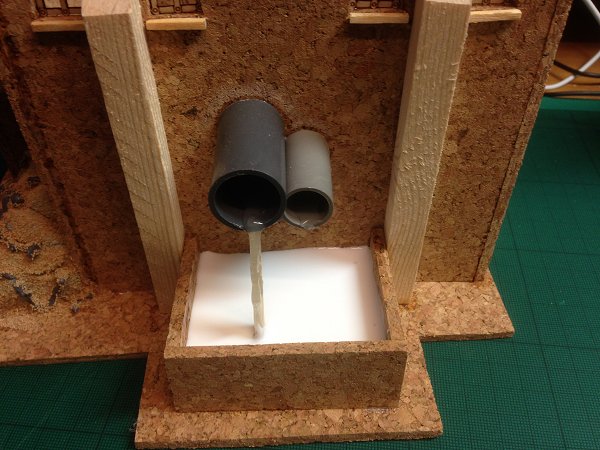
The blood flow itself was made with hot glue. I added hot glue to the other two pipes as well but didn't let it drip too far down.
Then I ran enough PVA into the pool to give it a smooth surface.
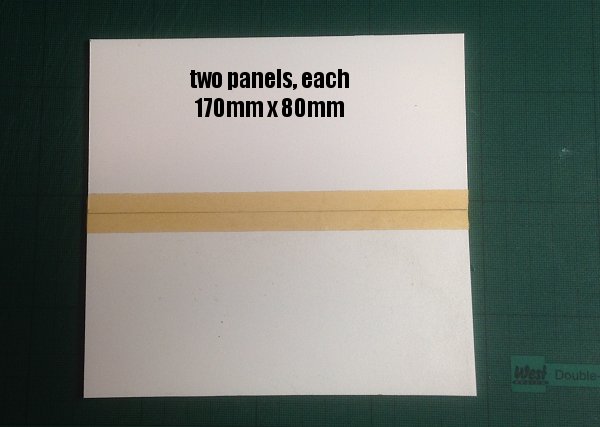
For the roof I cut two rectangles of Sintra board (foamed PVC. I could have used cork or cardboard but I had the Sintra handy.
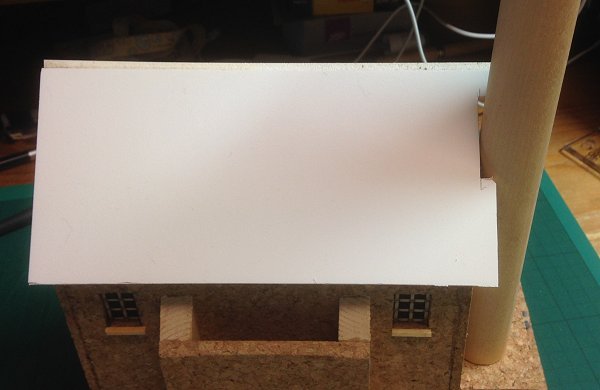
I joined the pieces with a masking tape hinge on their underside. A small cut-out for the chimney.
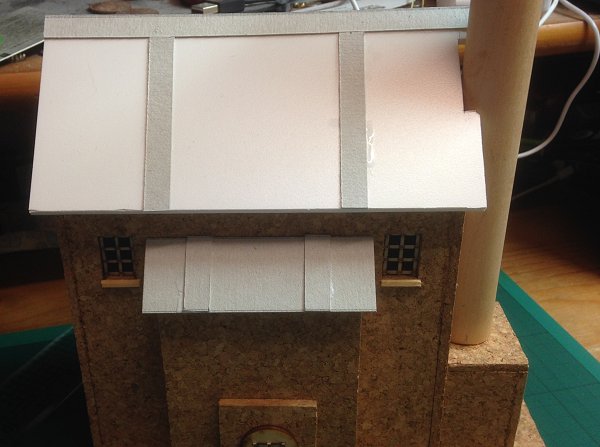
I fixed the chimney in place at this point. It's a length of broom handle I had to hand. I thought I had a narrow cardboard roll when I designed the Crematorium but I couldn't find it when I needed it (as usual) so the broom handle was a reasonable stand-in. I stuck a plastic circle from a kit to the top of the dowel to give it a chimney lip and the appearance of being hollow. If I'd used the tube I couldn't find I could have skipped this part of course. 10mm thick, thin card strips to add 'industrial' roof detail.
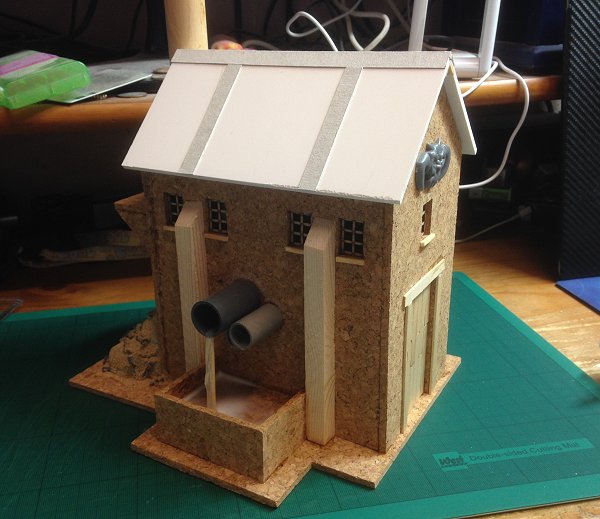
I added a card roof to the Pipeway inlet too. And finally, a couple of matchsticks glued into each end of the roof angle to fill the gaps, completes the build.
Here's a quick video with the flickering tea lights in place inside the Crematorium...spooky!
|
|

