|
Factory
Recently I saw a very nice scratch built factory on E-bay going for around £50.00. I was going to bid on it when it occurred to me that I could easily make my own. The original scratch builder had done the hard work for me by distilling all the elements that make a factory down to the simple model he had made, all I had to do was cut out some walls and stick them together. I drew up my own plans based on my preferred sizing, decided to go with a half bricked design for the walls and set to work 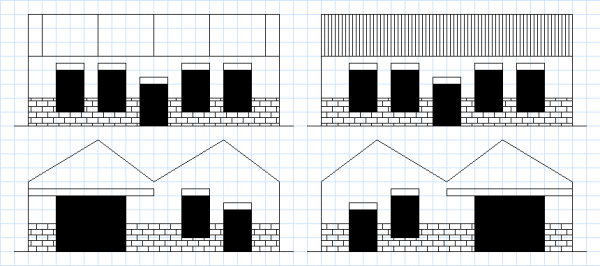
Here's the plan. Each square is 10mm. The longer roof sides have windows in them and the shorter ones are corrugated iron. Originally I was going to have a planked roof but the corrugated iron is more industrial looking.
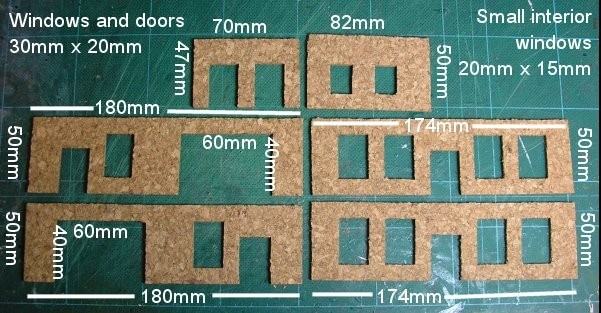
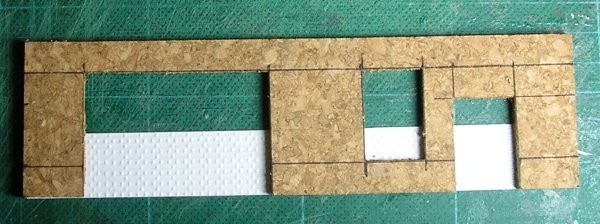
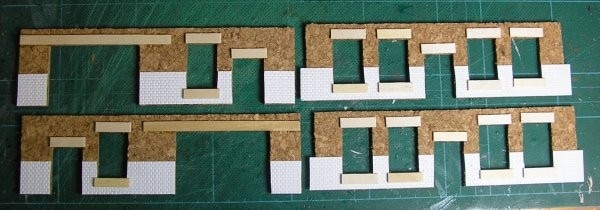
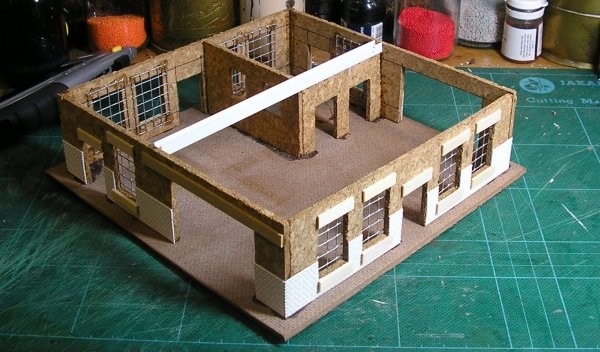
These are all the walls. The two short walls form an interior room or office which I wouldn't normally bother with but I'm following someone else's idea here and it looked 'right' on his version so I'm not going to argue.
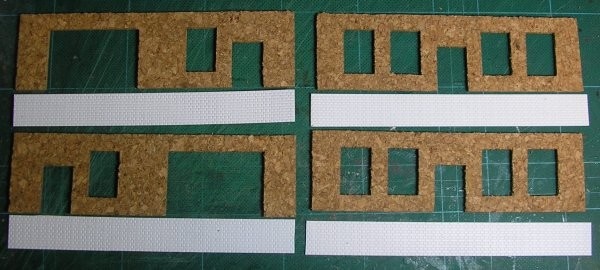
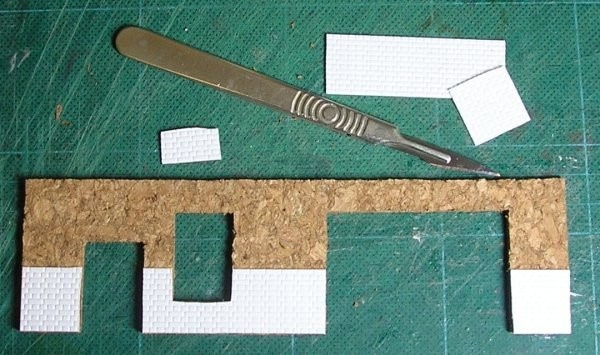
I used some textured styrene sheet for the brick work. I got given it from a friend but you can find it in most model/hobby shops.
I envisioned a 20mm tall strip of brickwork originally but, to fit in with the brick pattern, it ended up at 22mm. I cut strips to match the length of the walls allowing a 6mm overlap for the walls with four windows in as these were going to be inside the other two once they were assembled and their bricks would need to extend out to cover the edges of the end walls. 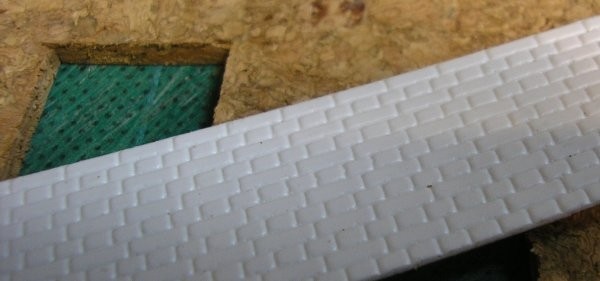
A close up of the brick pattern. The styrene sheet is very thin and cuts easily with a scalpel.
I glued a continuous strip of styrene across the walls, ignoring for now the windows and doors. 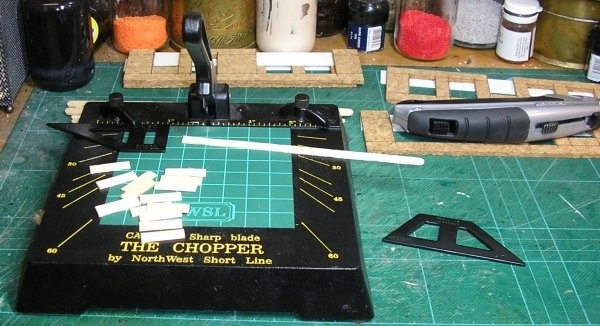
While the styrene sheet was drying I cut out the window sills and lintels from wooden coffee stirrers. I bought a box of 500 for a few pounds but you can pick them up from various well-known coffee shops for free if you only want a couple.
I used my new(ish) Chopper from Antenociti's Workshop to cut the stirrers which speeded up the process immensely. I thoroughly recommend one of these if you're planning lots of cutting. I'm hoping to use it for planking a Wild West town at some point where it will really come into its own. 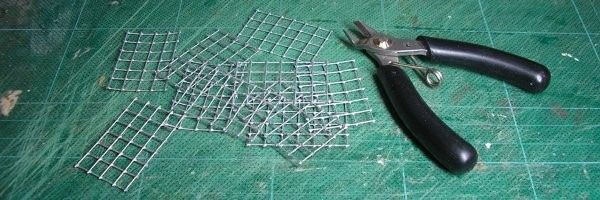
I also cut out the windows from 6mm wire mesh.
Once the glue was well and truly set it was time to cut away the unwanted styrene.
It only took a few seconds to trim each wall and was far easier than trying to pre-cut awkward shapes and stick them on.
Next the outside detailing.

And finally the inside detailing.
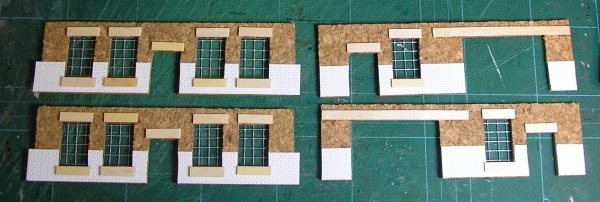
All done.
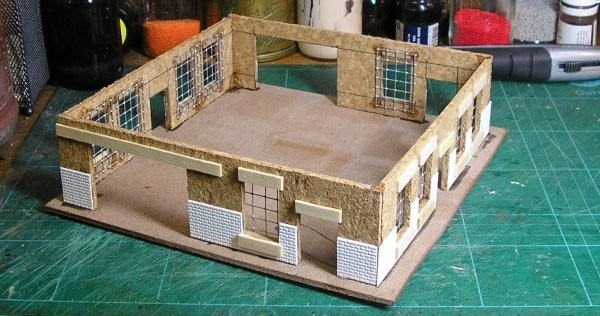
The outer walls went together easily with super glue and some accelerator. The base is a 200mm hardboard square.
Now for the interior office. The small windows are positioned towards the top of the wall and a small notch has to be cut out to accommodate the side of the girder. The girder is a Plastruct one that is glued along the top of the small wall with the doorways in it.
I think the original building had this as a strengthening feature. It isn't needed here but adds to the look of everything so I put it in anyway. 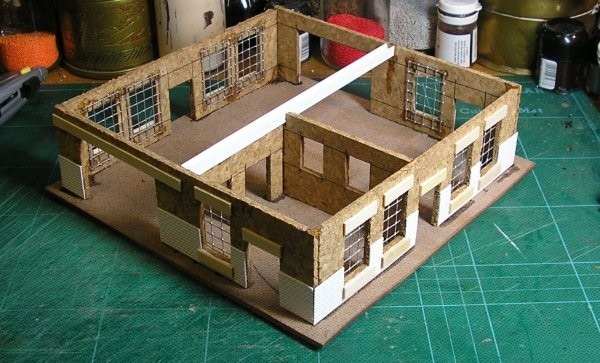
Of course, I managed to glue it in crookedly, which is really annoying but most of the time no one will see it, so, onwards to the roof.
I opted for a solid roof rather than two sections that would sit on pointed end walls. Having a solid roof makes it easier to build and stronger for the tabletop later.
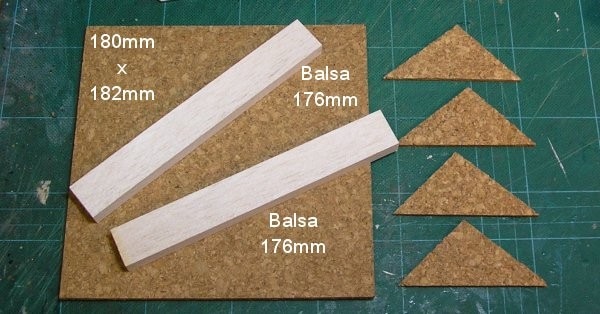
You need to cut the base and the balsa spacers so they match the dimensions of your building which will probably vary a bit from mine. 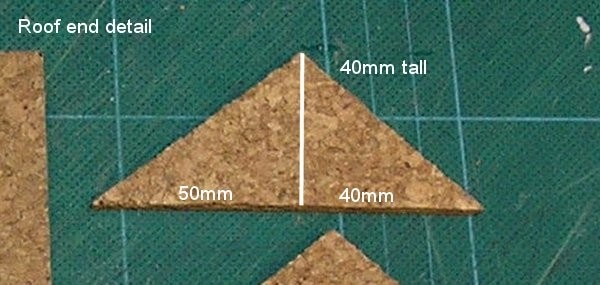
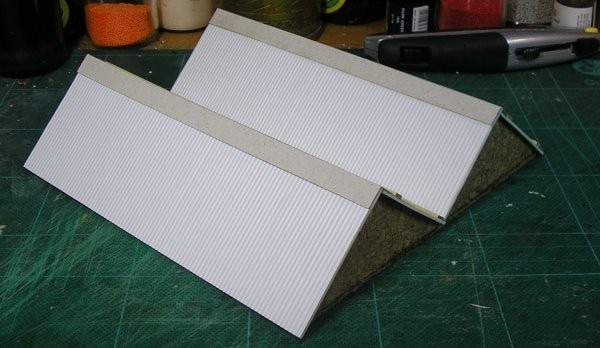
Here is a detail of the roof ends, the bottom two mirror the top two because the roof apex is off centre.
Once everything's cut it's a simple matter to assemble the basic structure.

The actual roof is made from mounting card. You'll need to measure your own roof end diagonals (allowing for overlaps) to get the exact measurements for your own building. I've shown mine above so you can at least have an idea of how much card you'll need.
The shorter roof sections get some more textured styrene sheet stuck to them. This time it's corrugated iron from Antenociti's Workshop.
The longer sides get window frames added from more coffee stirrers. I have left a 10mm gap at the top for the apex card to be added later. I took my measurements from the inside roof section, the one that doesn't hang off the building. Allowing 2mm for the edge of the other roof section that butts up against it along its bottom edge I glued the two long horizontal bits of the frame in place and then added the vertical slats. I measured half way along so that the middle one was correctly positioned and then added the rest by eye.
I then took the dimensions of the completed window strip and transferred them to the wider roof section starting 10mm down from the top again. This allows the overhanging edge to take care of itself and not get in the way of your calculations. 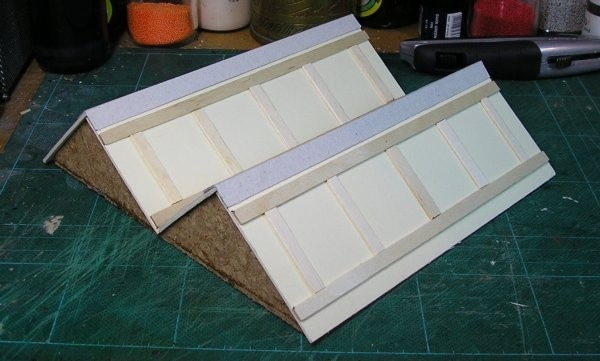
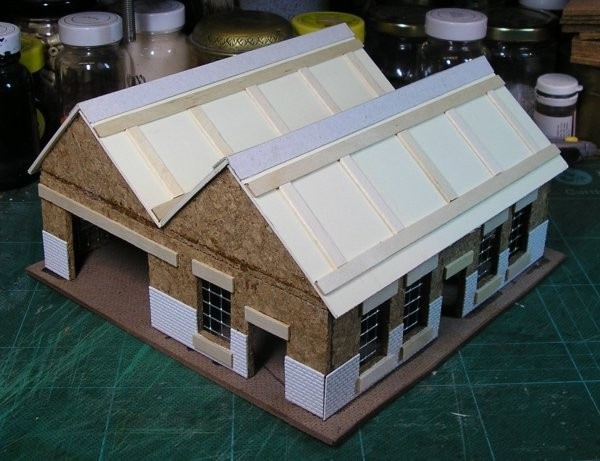
Here's everything glued in place with two 20mm wide strips of cereal packet card added to the apexes to hide the joins. The roof windows are going to be painted in later of course.
The corrugated iron sides.
Here's the finished factory waiting for its paint. 
Here's the final painted version. I decided to paint the skylights with a light blue, grey and white motif so they gave the impression of reflecting the sky. I'm fairly happy with the result.
Click on the photos for larger versions. 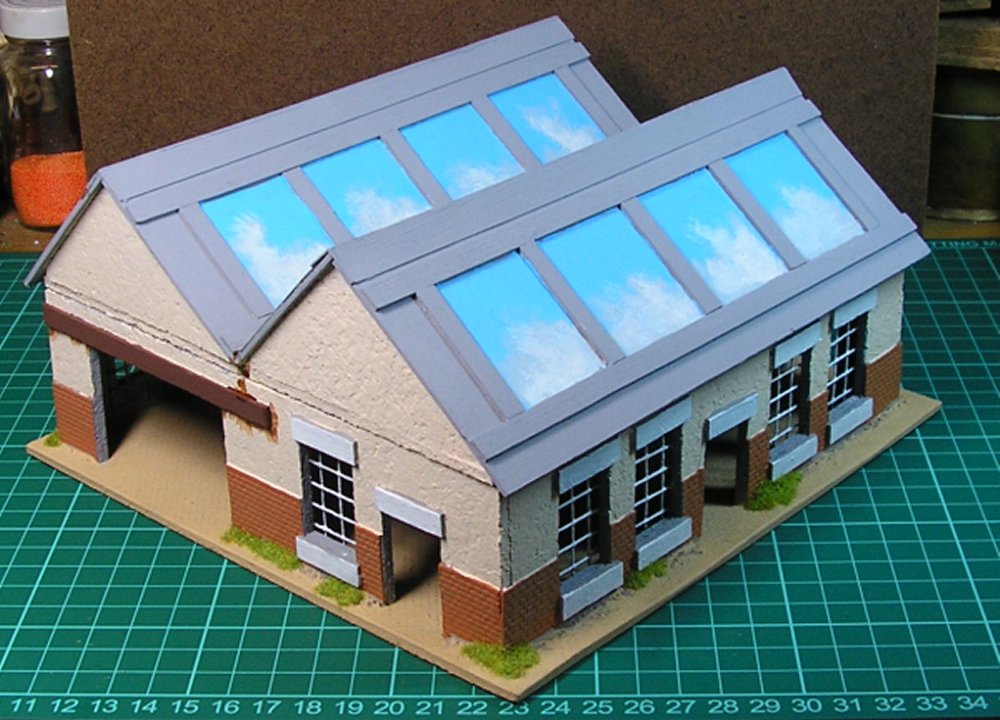

|
Incinerator/Forge
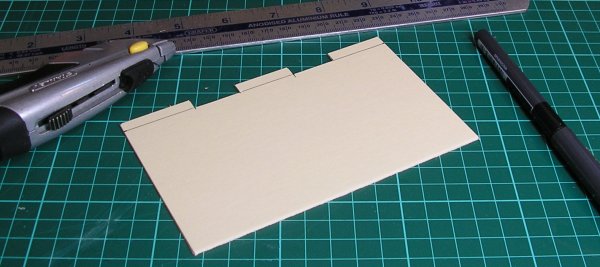
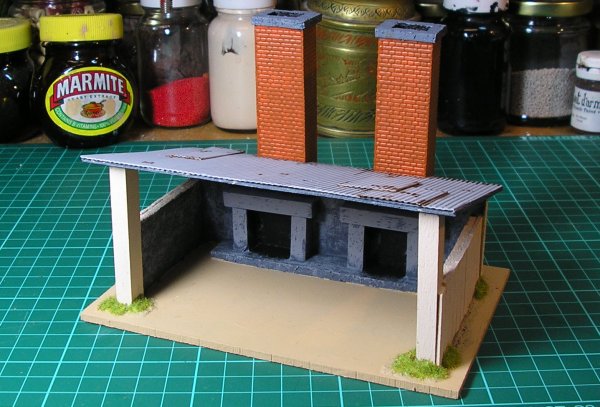
In order to make an industrial complex and put the factory in context I'll need some buildings to go with it. The first of these is an incinerator or forge building. It's basically an open fronted shed built around a couple of industrial fires and their chimneys. It's very quick to make, easily finished in an afternoon. Here's the cutting plan: 
The two 60mm pieces of wood are the front supports for the sloping roof and I sanded them at an angle (by eye) to make the final join sit better.
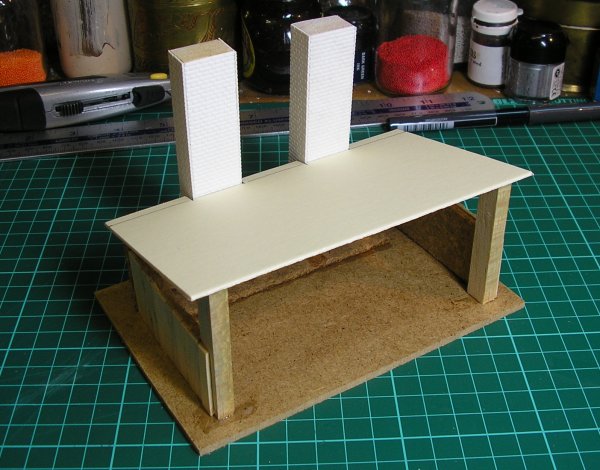
The next step is to cover the balsa chimneys with some brick-pattern styrene sheeting. I had plenty left over from the factory build and I wanted to keep the buildings looking like they belong together so this was ideal. If you need to purchase some it's available from any model shop and many online vendors. Usually I use Antenociti's Workshop for these things. I left a gap at one end of the chimneys because I was going to use some card cladding to top them off. As it turned out I didn't go with this in the end so feel free to fit the styrene to the full height when you do yours. I used wood glue for the initial placement of the styrene as it allows time to position everything properly. I finished off with some superglue along the edges with superglue accelerator so that it acted as a gap filler as well as an adhesive. 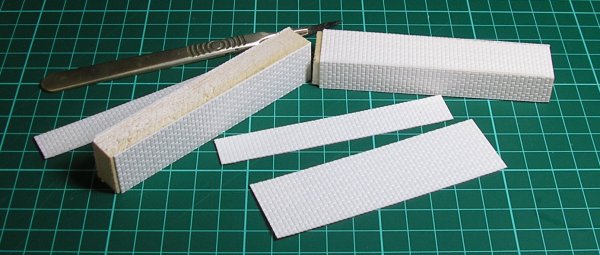
Once the chimneys were dry I assembled the rear wall of the building and the fire places using wood glue and superglue. This is essentially the whole construction part and only takes a couple of minutes.
Everything is positioned from the placement of the fireplaces so I marked the positions of the uprights with a pen. The fireplaces and the gap between them are all 20mm and you mustn't forget to allow for the thickness of the uprights themselves. The chimneys are glued on the outside to match where the fireplaces are. 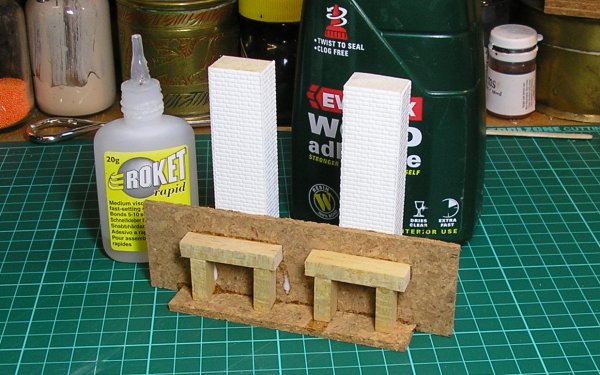
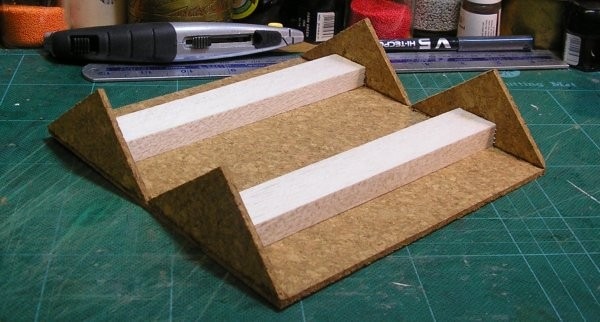
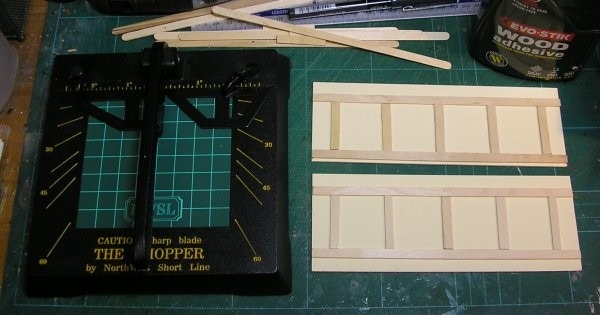
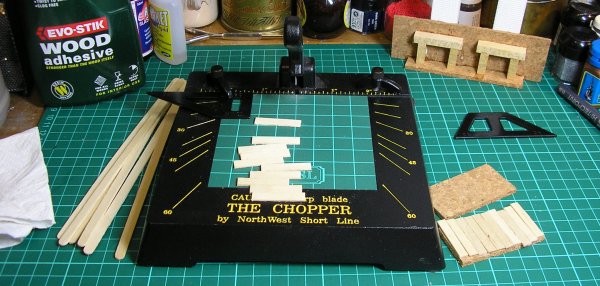
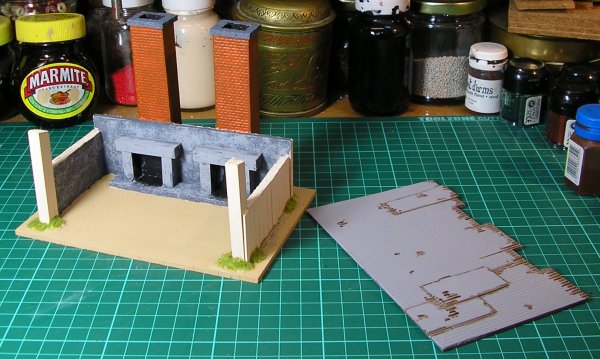
While the back wall is drying it's time to make the side walls. I wanted these to be less permanent looking than the fireplace/chimney part so I decided to use wooden planking for them. I cut ten 30mm lengths of coffee stirrers for each side using my trusty (and indispensable) Chopper
I glued the wooden planks to the cork sides with wood glue. There is an overlap of half a plank width at one end to help with the join to the front posts.
I suppose you could get a better wood effect by missing out the cork sides and just gluing the planks together by their edges but this would take longer and wouldn't be as sturdy. 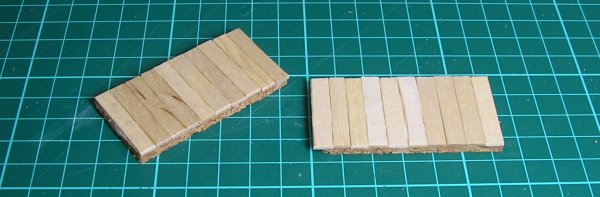
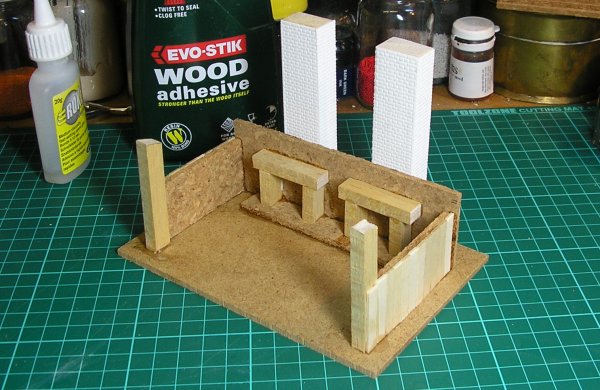
Once the planks were dry I assembled the walls and added the front posts. That's the building done, now for the roof.
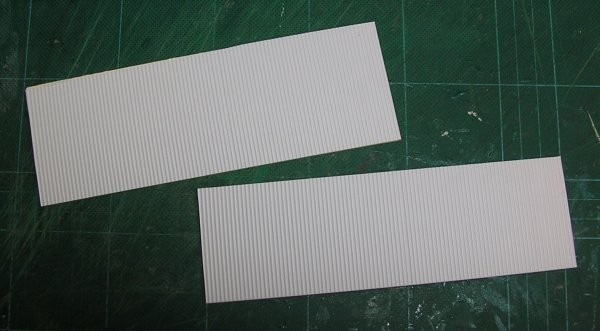
The roof is a piece of art card cut to 140mm x 86mm with a couple of 6mm cut-outs for the chimneys
I covered it with more sheet styrene, this time corrugated iron, to keep it tied into the general theme set by the factory building.
I added some smaller pieces to look like patched repairs. 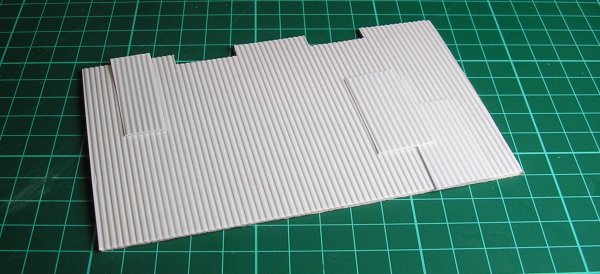
Finally I topped the chimneys with some cork to finish them off.
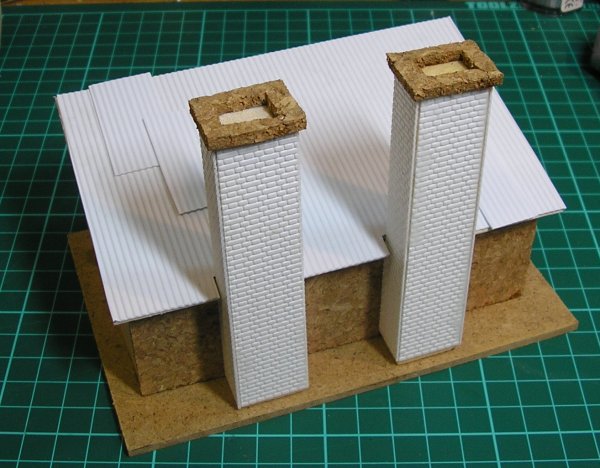

I painted it in matching colours to the factory and added some static grass and texture to the base.


|