|
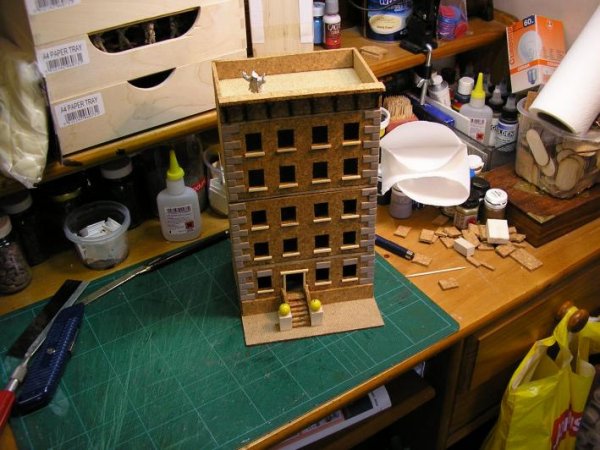
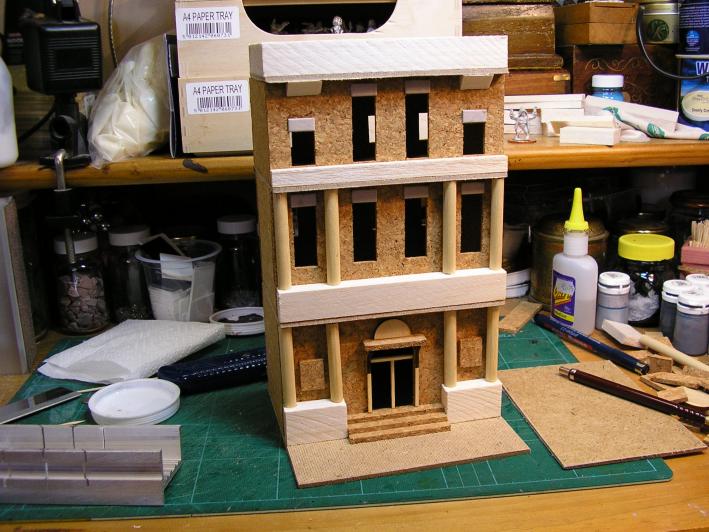
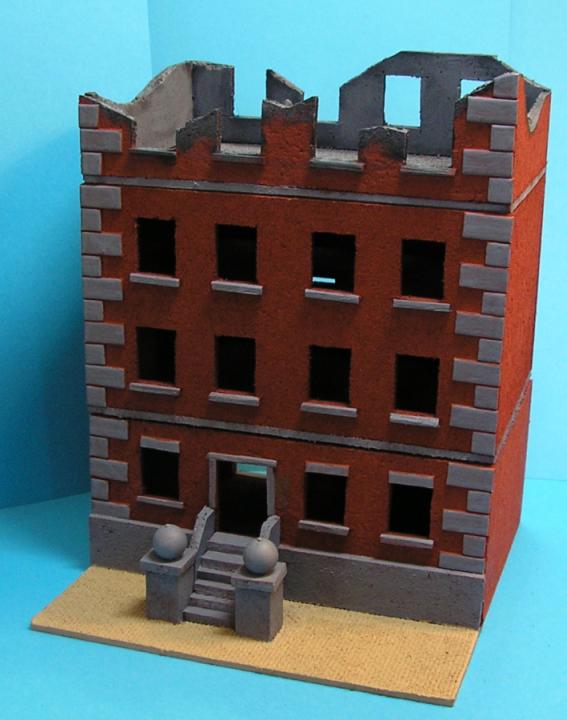
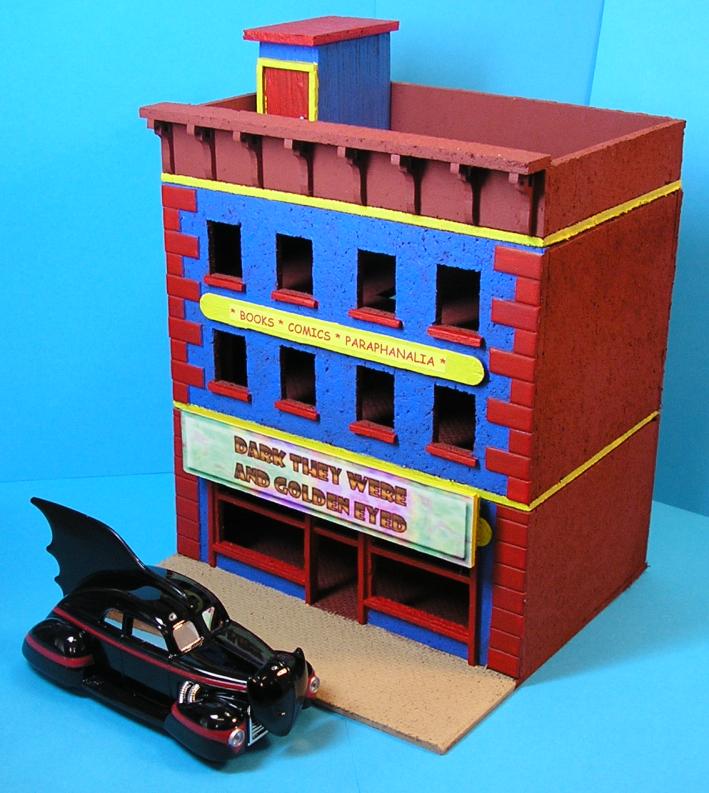
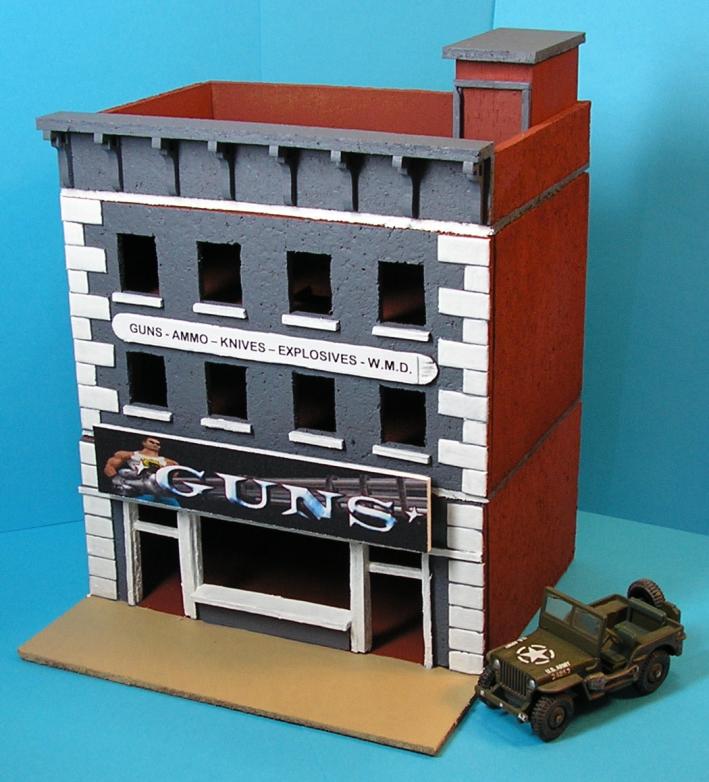
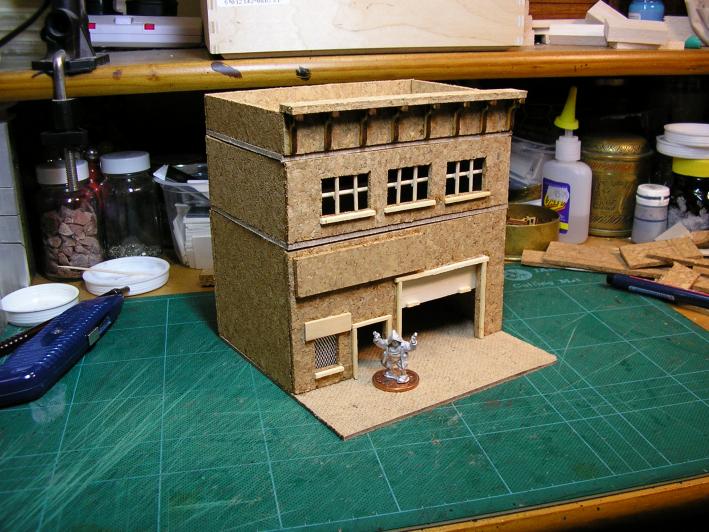
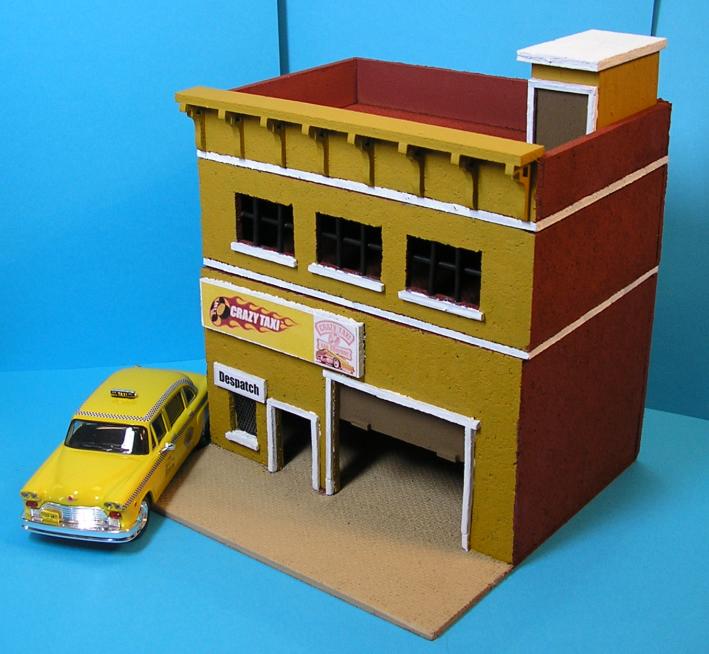
I don’t know why I decided to do this project. One day I suddenly had a clear idea of how a row of tenements would look if they were made out of cork. I knew how they’d go together and where the access points would be. Everything looked so easy.
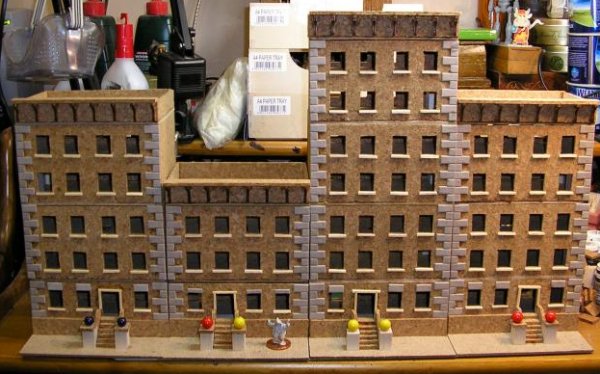
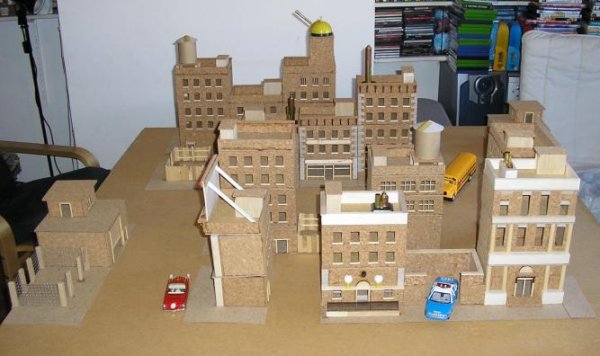
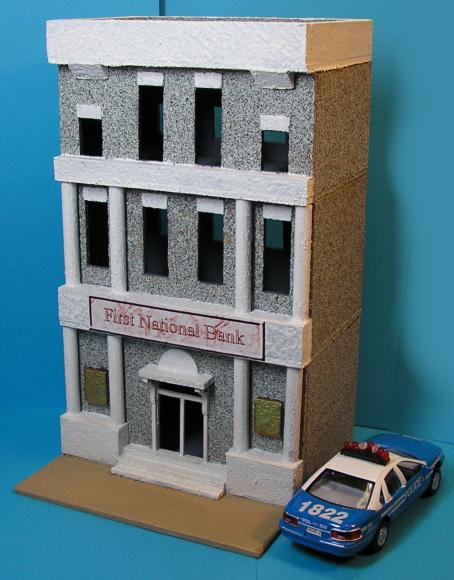
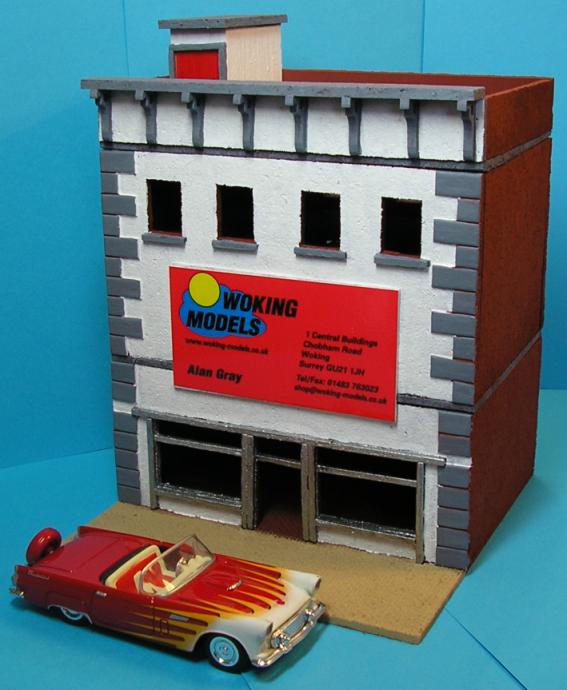
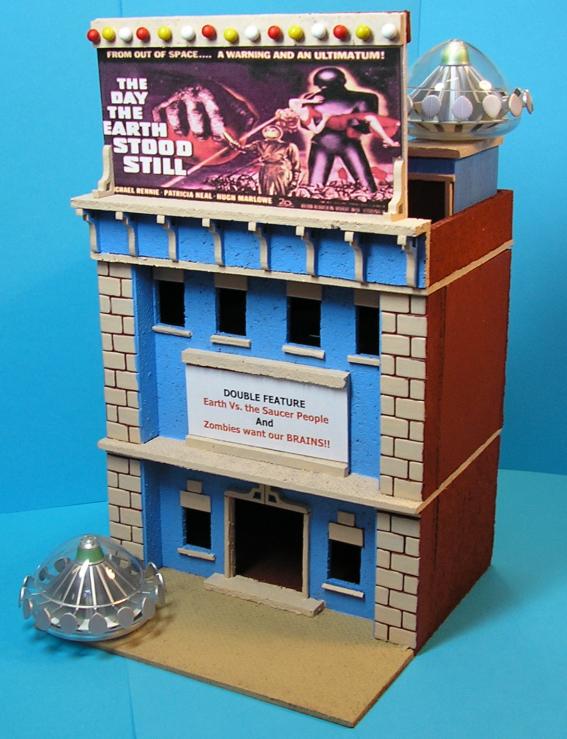
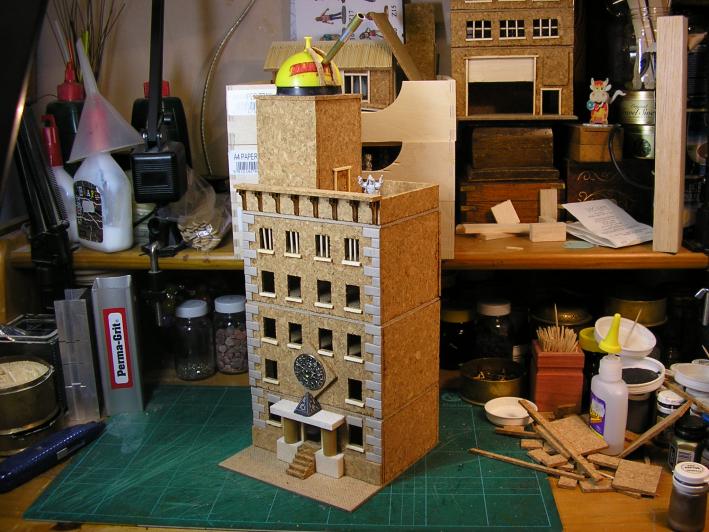
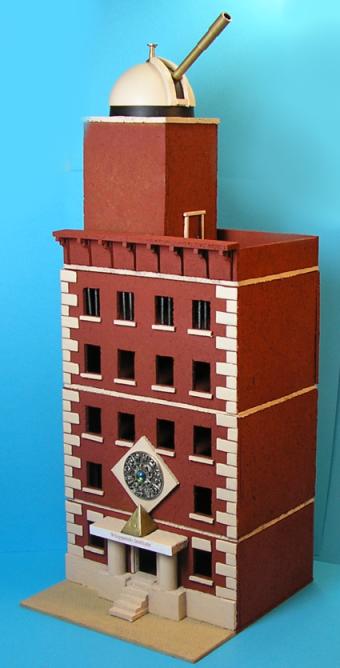
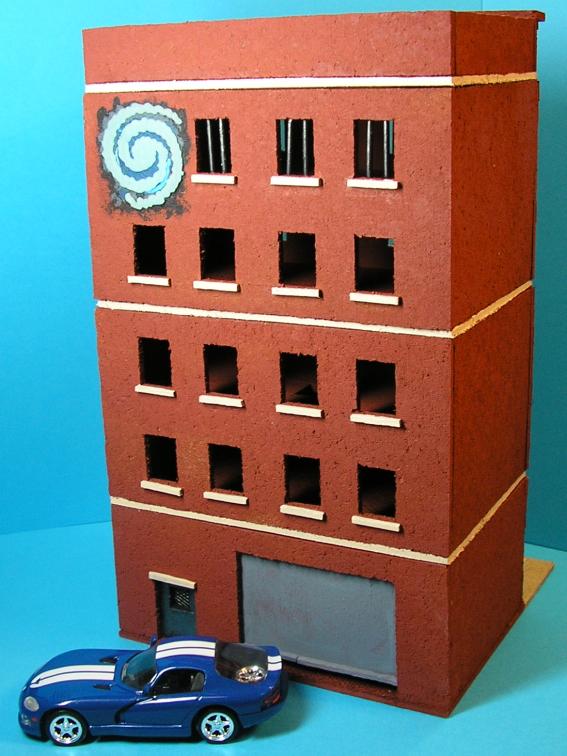
I spent a morning doing some sketches to finalise my designs and check the measurements and then it was all systems go. The only thing I wanted was a decorative bit for the front of the roof facades. Luckily for me I spotted the very things I needed on a Litko Aerosystems wooden building kit and, after a quick e-mail to Ken at Litko and a week long wait for them to cross the Atlantic, I had 100 wooden, laser cut cornice pieces in my hands. Total cost: £5.00 + P&P, a real bargain. The same day that they arrived I began building. I’d drawn up a plan of what I wanted my 4’ x 4’ city board to look like and knew I needed twenty buildings. My list looked like this: 4 Residential buildings (tenements) 4 Service buildings (Police x2, Fire Station and Taxi) 4 Commercial Buildings (Bank, Shops x3) 4 Industrial buildings (Warehouse x4) 2 Vacant lots 2 Specials (Whippendo Institute, Cinema) I also decided right at the start to have an Elevated railway to add some unusual height interest and character. I expected this bit to be a challenge. The city is designed to be an ‘everywhen’ city that I can use for any period from 1930s Pulp through modern Horror and Superhero and all the way to near future Cyberpunk gang wars. Consequently I went for a stylised comic book look to it and decided to keep it clean and clutter free. This was also necessary to allow the buildings to come apart easily for figure access. The drawback to this approach was that I couldn’t make fire escapes that were sturdy enough to survive the constant moving about that the different building sections were going to get or that were the right size to support the figures and look good without ruining the illusion of scale that the buildings have. Each building frontage is 150mm. They're 150mm deep but 50mm of this is sidewalk/pavement. So the buildings are 150mm x 100mm.
Each 2 story section is 80mm high except the ground floors which are 60mm to allow for the steps. This really isn’t very big at all but they look okay when they’re on the table which is what counts. I got everything done in less than two months but I didn’t have any figures to go with the setting. I quickly sorted out a small set of zombie hunters and then waited while BOTH my zombie orders from Fortress Figures and Zombiesmith were lost in the post. Both companies replaced the orders without any hassle
But I was still behind on time. I rearranged things and went on to start my Rezolution project which was going to have the city as its main setting too and by the end of that everything was back on schedule. Cost Making the buildings was very cheap. All the twenty buildings for this project so far have come from one sheet of hardboard (£5.00), two packs of cork tiles (£9.98), two packs of bargain balsa wood (£2.50), three sheets of pre-cut card flagstones (£5.99 for 10), and a few matchsticks, lollypop and cocktail sticks (under £1.00), and £5.00 for the cornices. That’s a grand total of £29.47, less than £1.50 a building. Elevated train
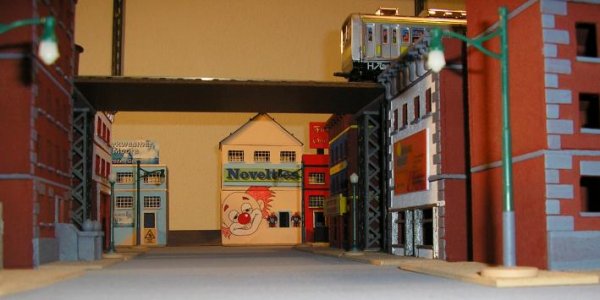
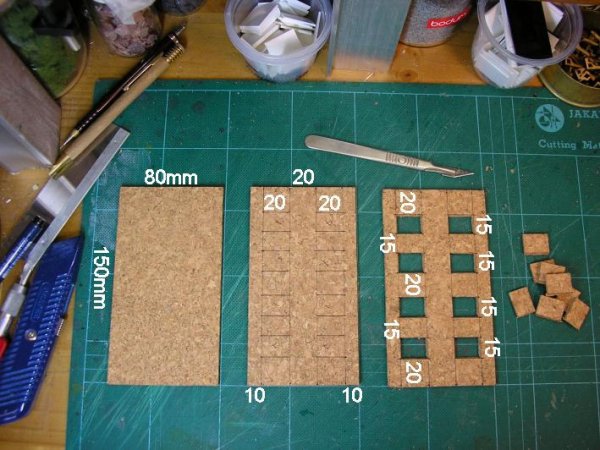
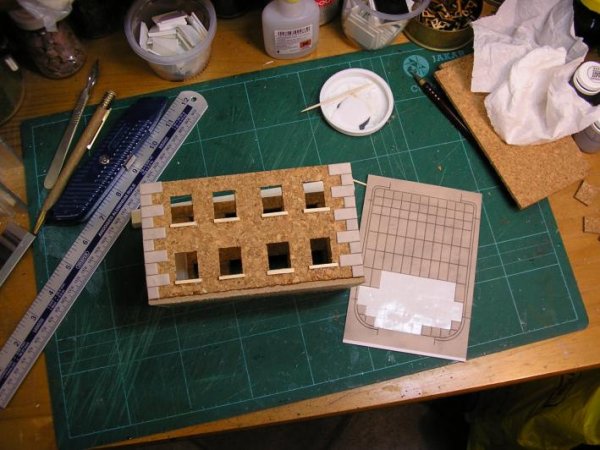
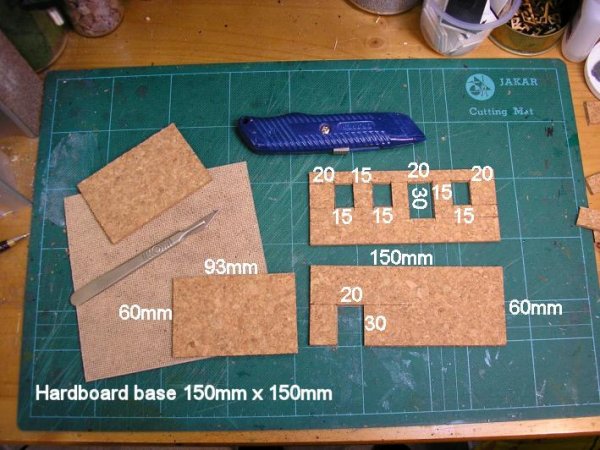
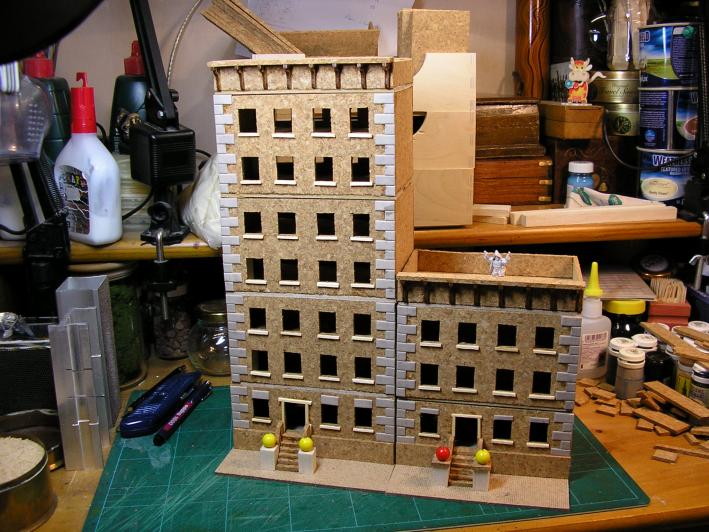
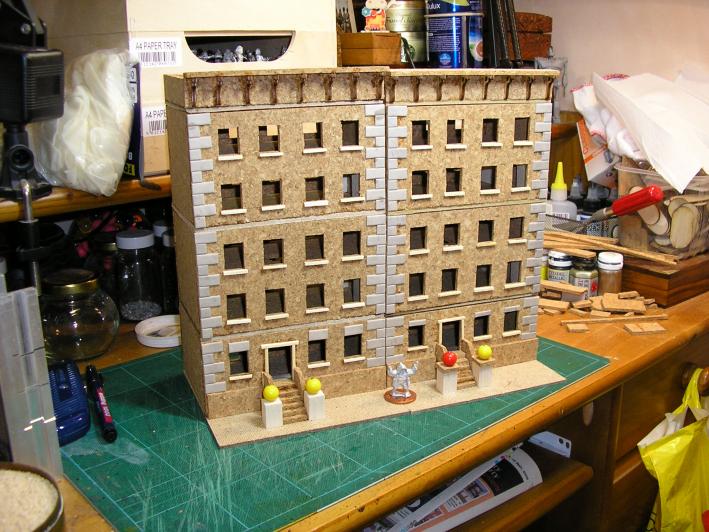
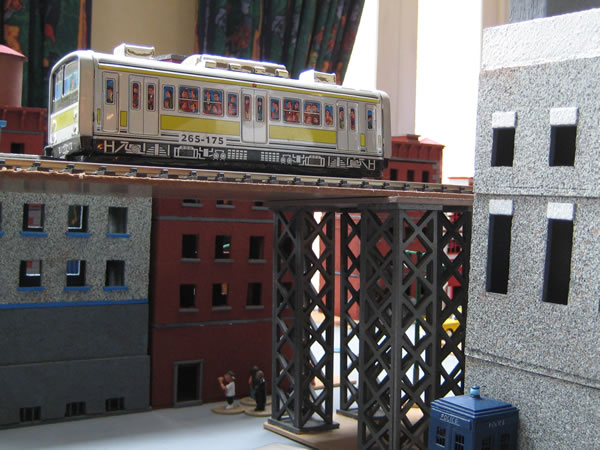
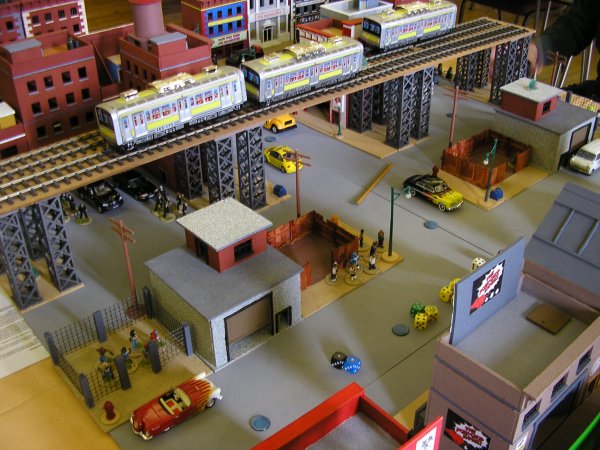
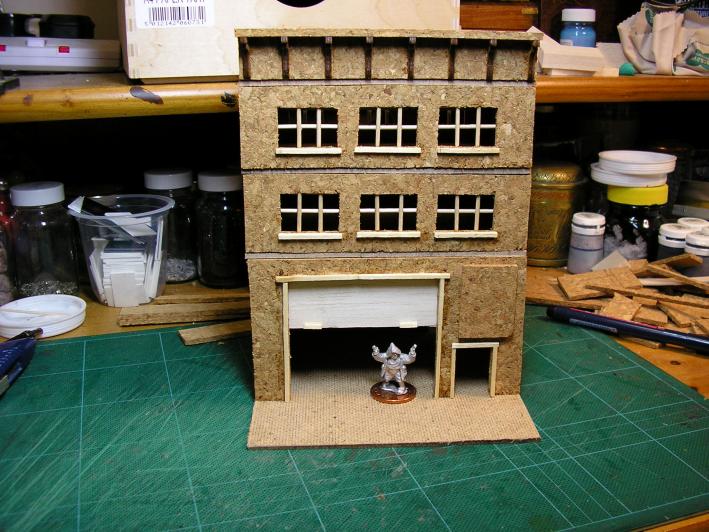
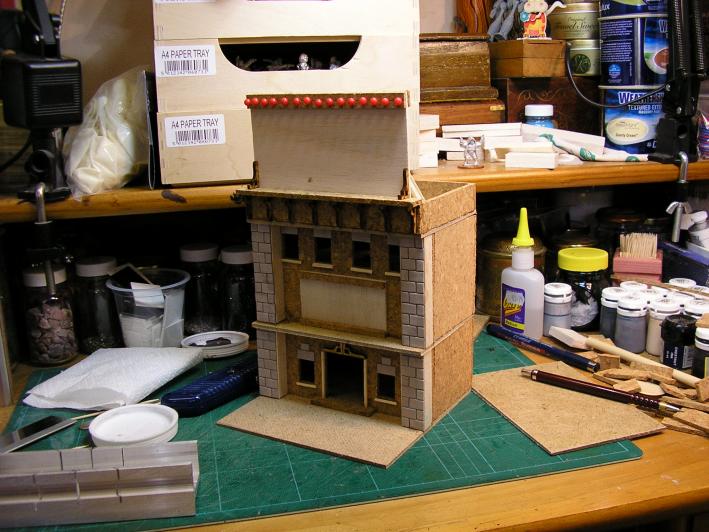
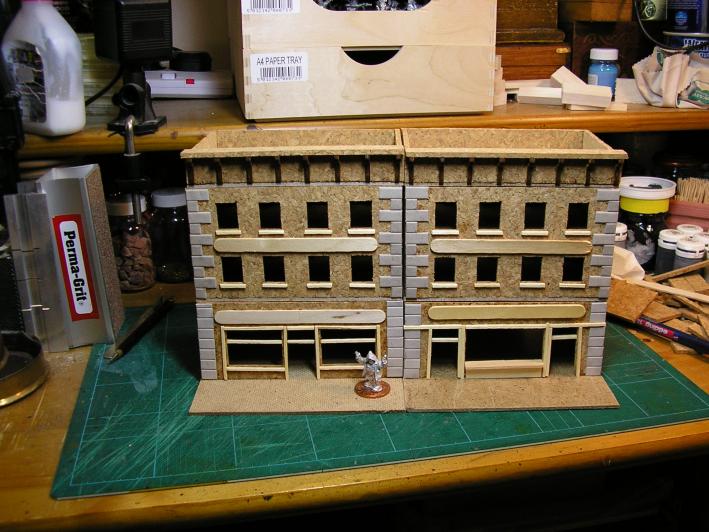
The train track is O scale track that I bought from my local Model Shop. I had to buy more than I wanted in order to get them to order it but I will use the extra pieces for WWII and other stuff. The track bed is just a piece of hardboard cut to length, it’s not even painted. The train is a Chinese tin plate toy that I got off E-bay. The real problem was the supports. Initially I was going to make them out of Plastruct girders but this proved to be expensive and weaker than I wanted. Once again a call to Ken at Litko sorted everything out. He designed some lattice work pieces to my specifications and had them delivered to me in double-quick time. These worked out at £1.00 each which is cheap for what they are but pricey compared to the rest of the city build. I’m happy though, the track was finished in a very short time. I think it really adds to the setting. This was (is) the biggest project so far, comprising twenty structures in the city part and six more plus a quayside for the waterfront board. These are the simplest buildings to make however as they’re really just boxes. They mostly follow a basic pattern with few variations and are designed to be modular with interchangeable floors should you wish. All the walls are basicly made the same way. I've left off any detail from the side walls so these tenements can be butted together to form a street.Elevated train This picture gives the measurements for the long walls, back and front of a generic upper floor unit.
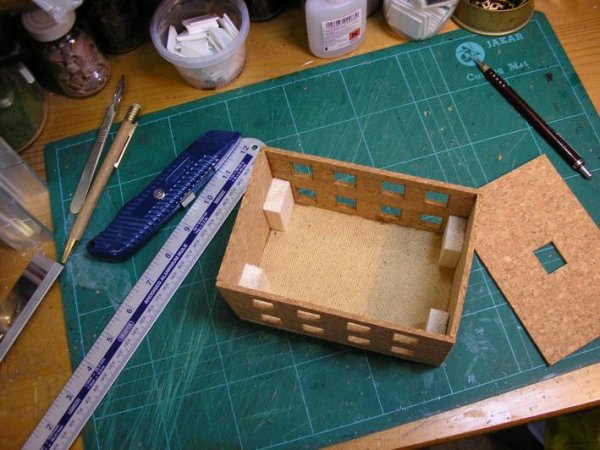
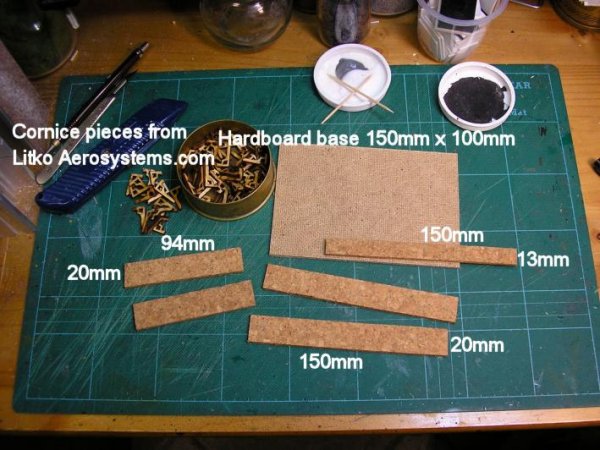
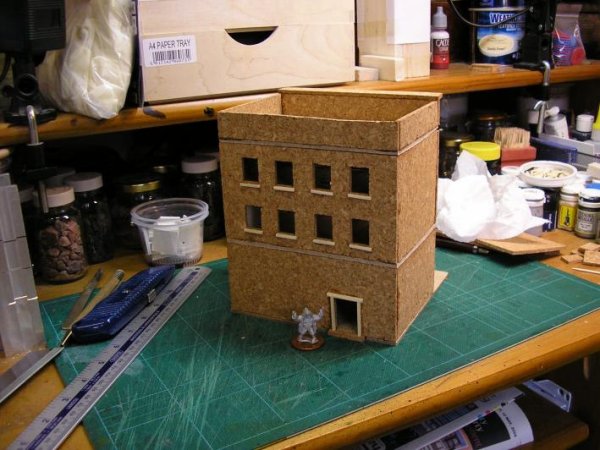
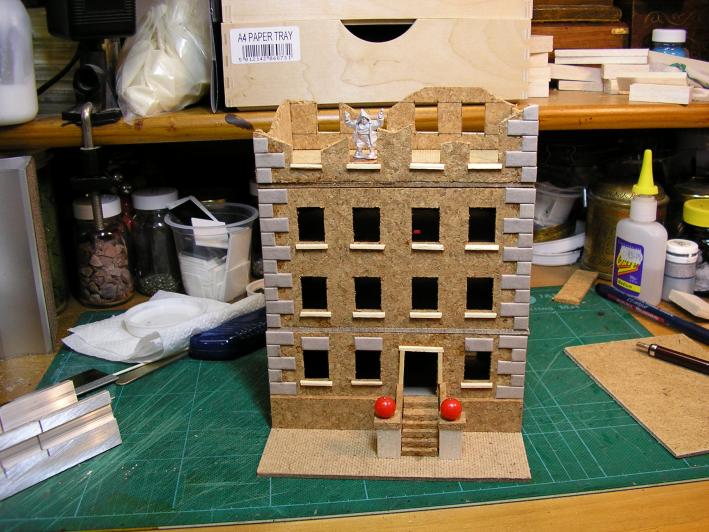
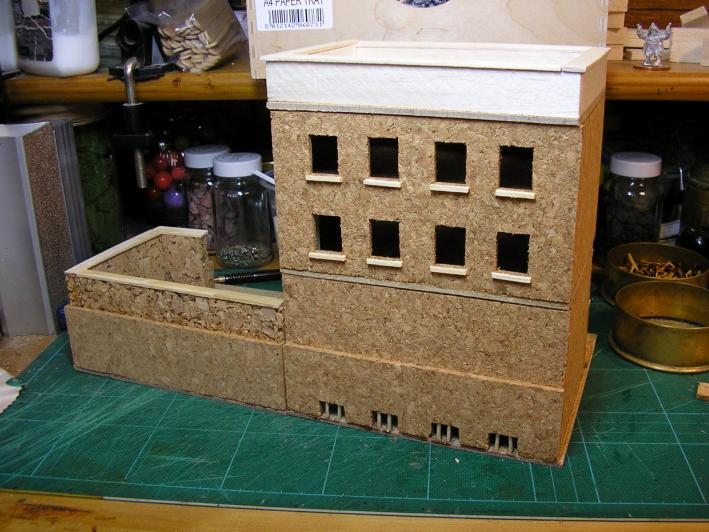
The main building measures 150mm x 100mm with a base that's 150mm square to allow for a sidewalk at the front. Once you've cut two long walls with windows, add two plain short walls and glue to the hardboard base with superglue. I've cut four lots of 40mm high balsa wood to act as supports for the inner floor and to help keep the outer walls square.
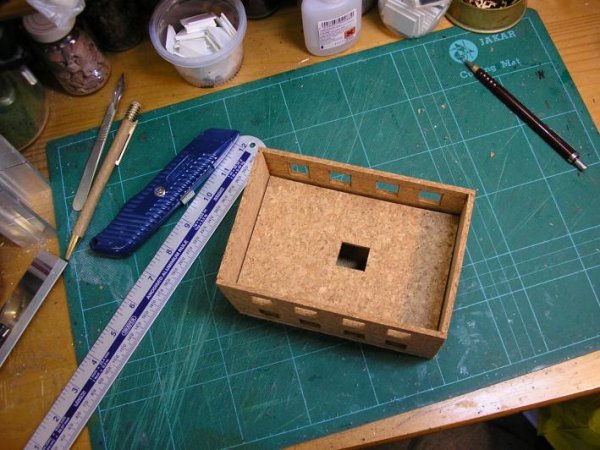
The short walls will need to be 80mm tall and 93mm long to fit inside the long walls. Drop in a floor cut to fit with a hole so you can hook it out when needed.
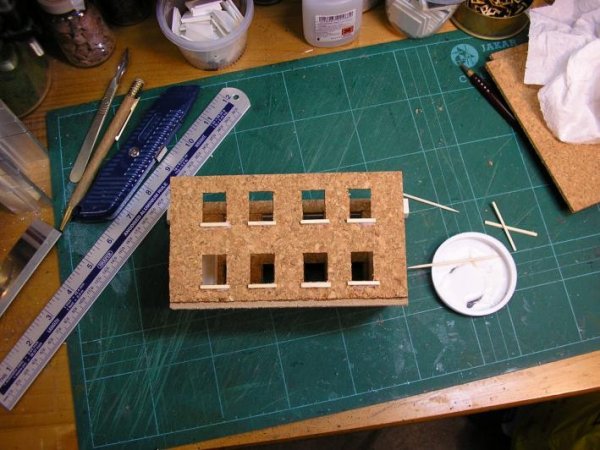
Window sills are added by gluing matchsticks cut to size under the window openings.
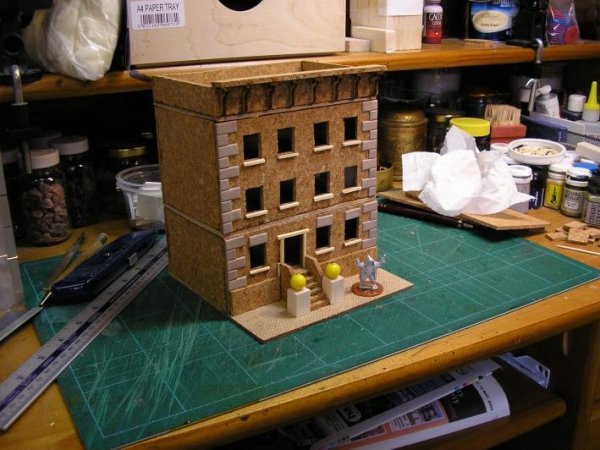
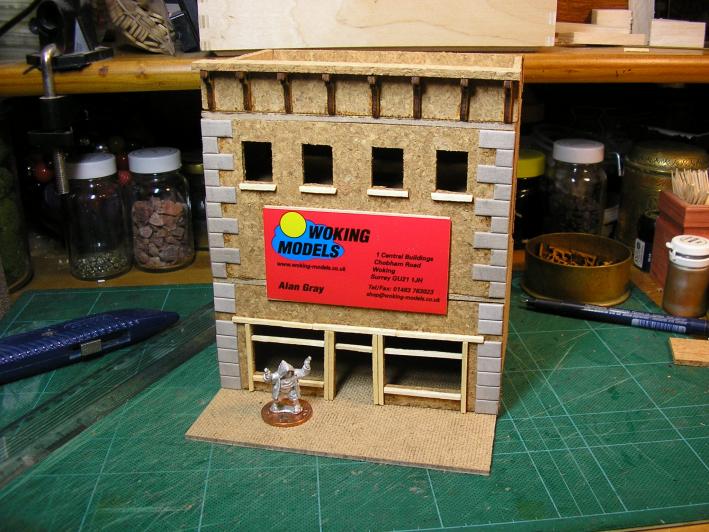
Stonework detail is added to the front wall only using pre-cut adhesive cardboard paving from a model shop. You can of course just cut your own card and glue it in place. I like this stuff because it's thick with bevelled edges and comes pre-glued. It costs under £6.00 for a big pack of 10 sheets.
These tiles are made by a company called Metcalfe, I use the 00 scale ones. Here are the measurements for the ground floor.
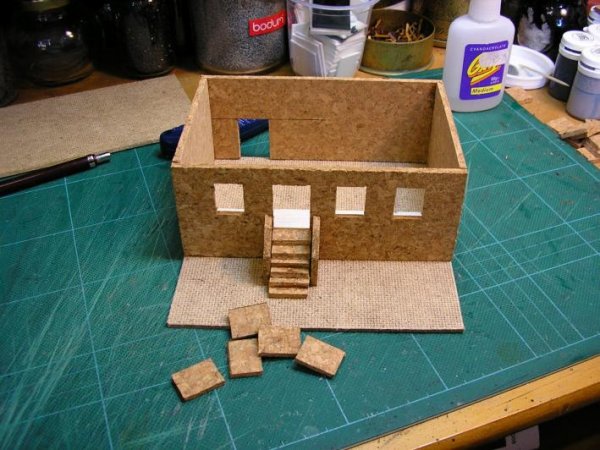
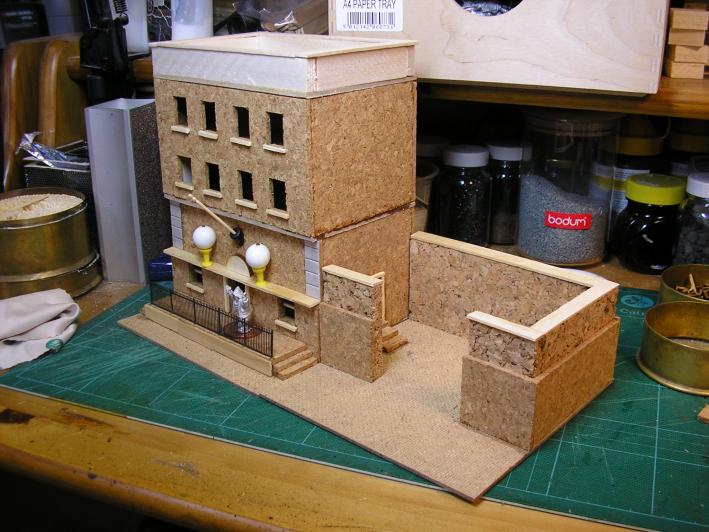
Make the front steps with the window off-cuts.
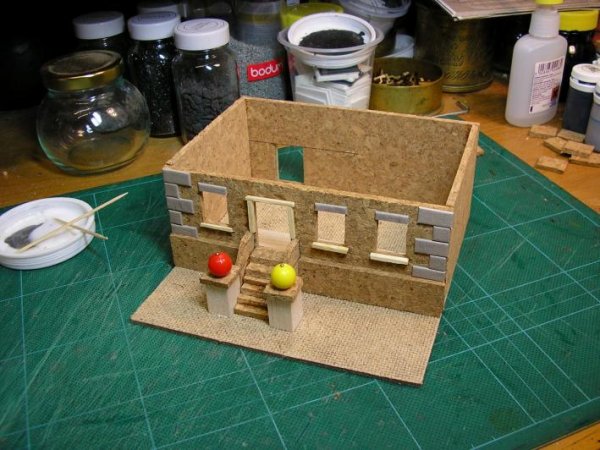
I've added a length of balsa block inside the building to bring the floor up to a usable height at the front. Add the final doorway detail with balsa and cork off-cuts or card etc. I've used beads for the post tops.
Here are the dimensions for the roof.
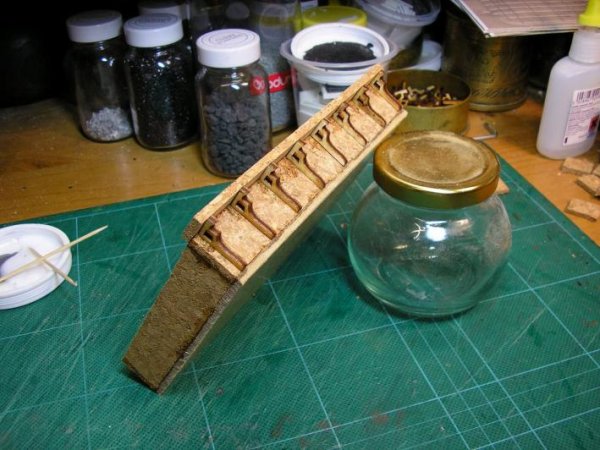
I ordered the cornice pieces from Litko Aerosystems, they cost about £5.00 for a hundred and are made from 3mm plywood. You can always use cut cork or card but that'll be a lot of effort. It takes 8 cornices to cover each roof front. Start the first one 5mm in from the side and then space them every 20mm.
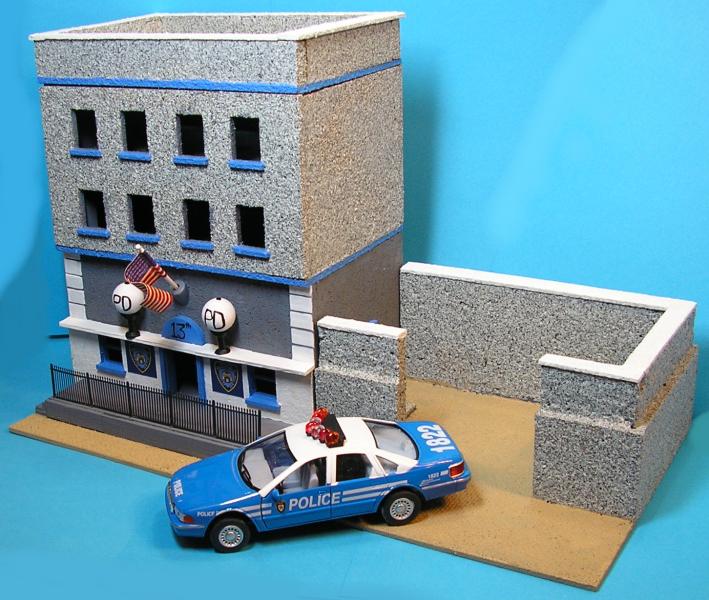
Every other building is a variation on this theme.
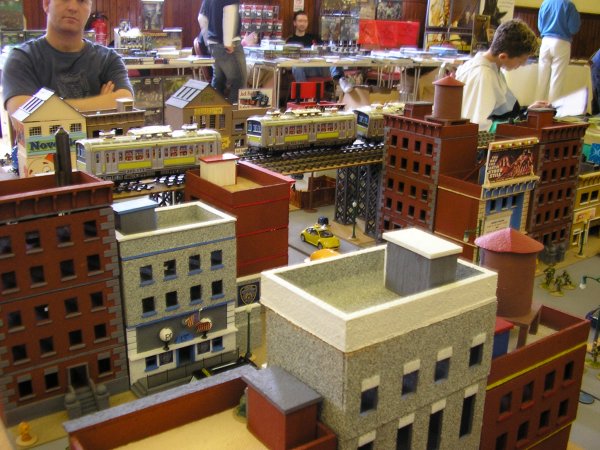
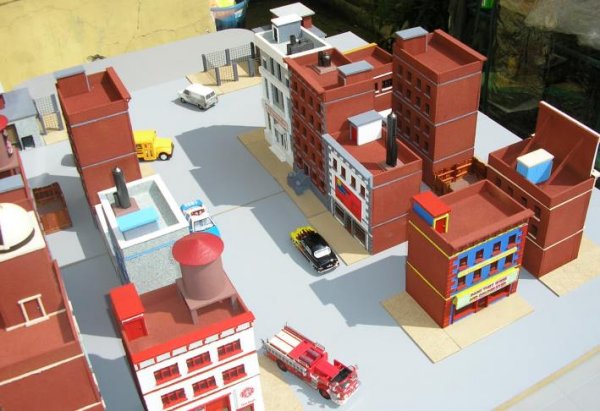
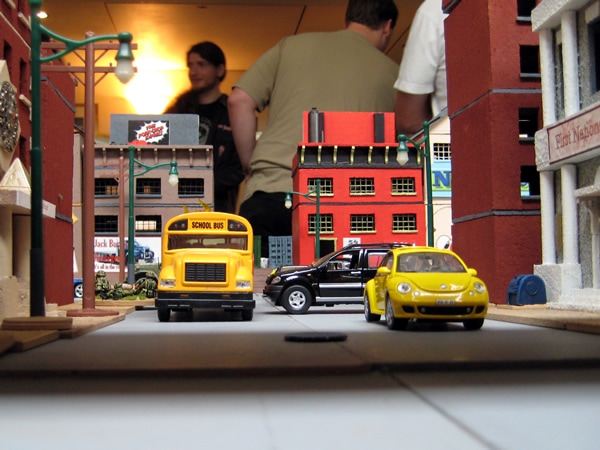
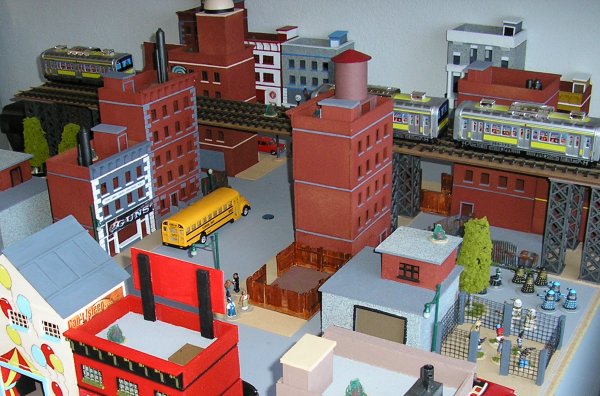
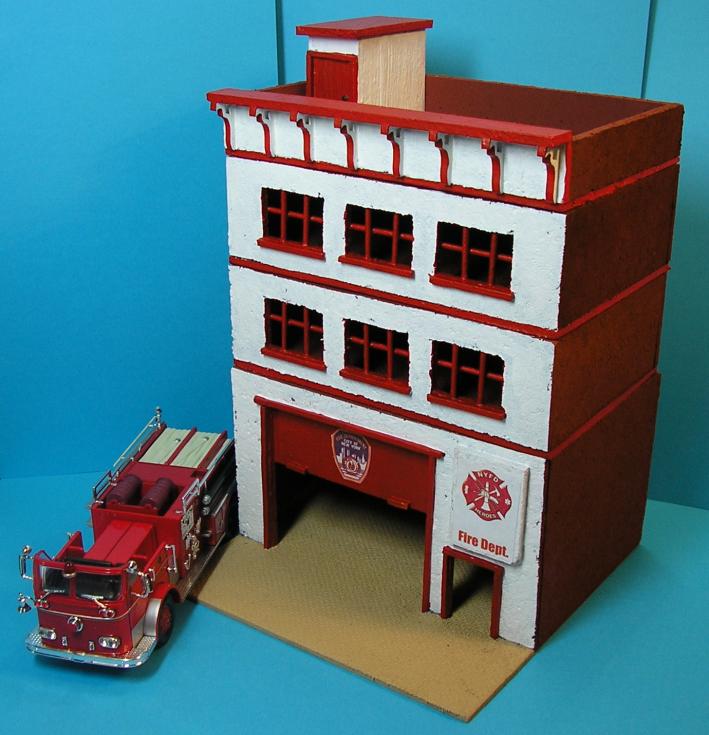
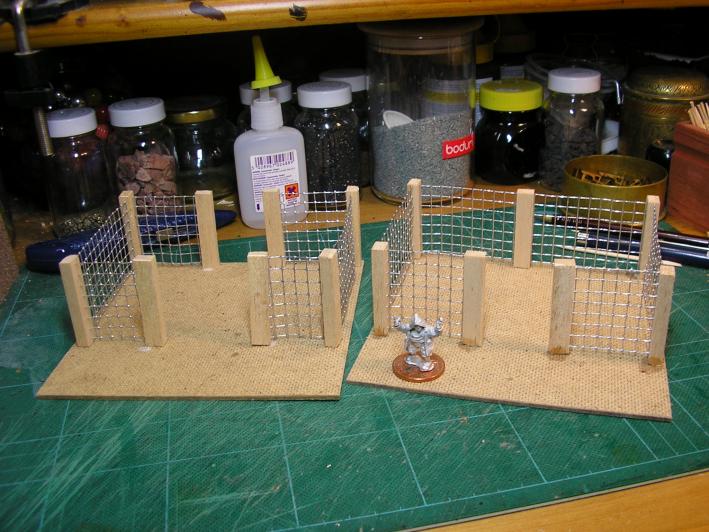
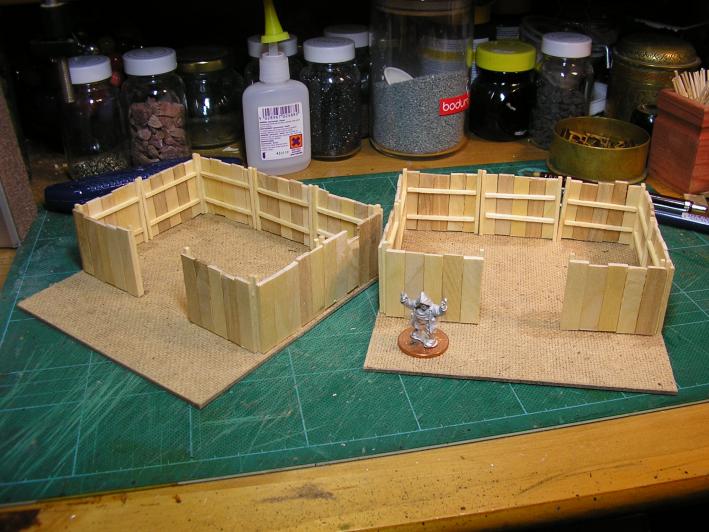
Here are some shots of Simon Hutchinson's city that he built based on the designs and techniques in my articles. I think this is a wonderful set up and I'm going to add a 'Pink Pussy' to my city as soon as I have time. Other great innovations that Simon came up with are the cables running across the streets from building tops which he plans to hang traffic lights of and the simple fences that allow for a less orderly set up by blocking off awkward gaps.
|
|

