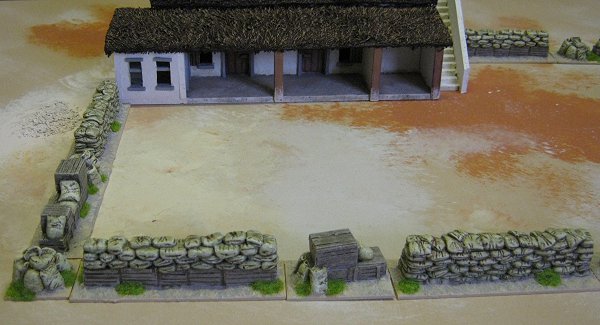
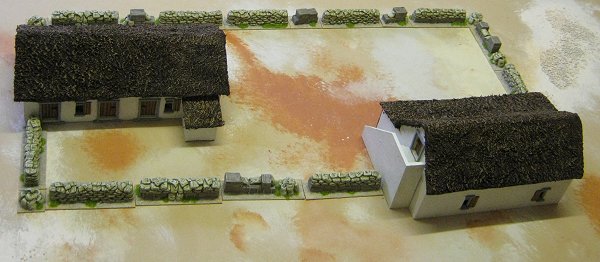
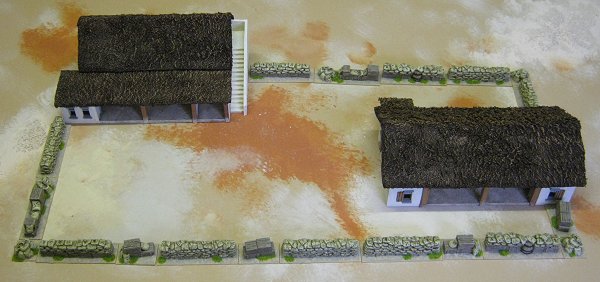
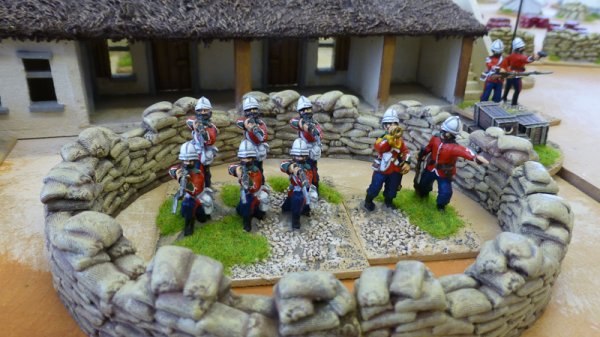
|
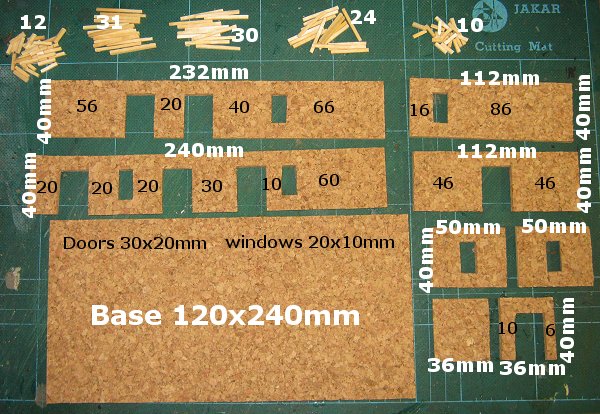
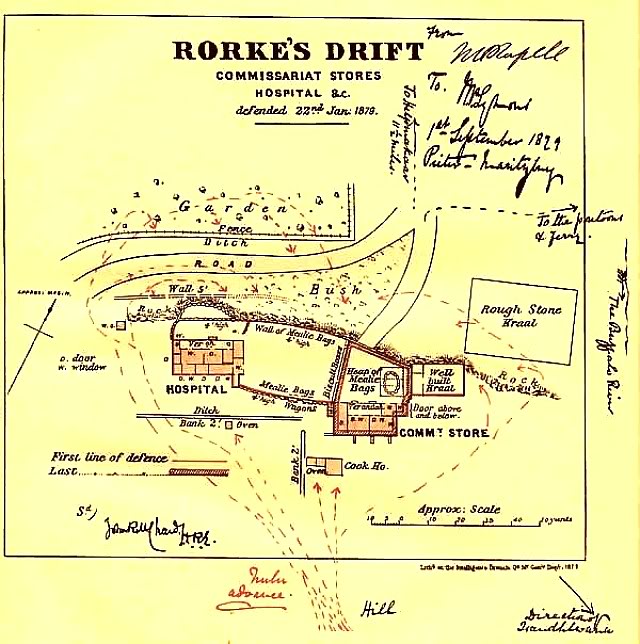
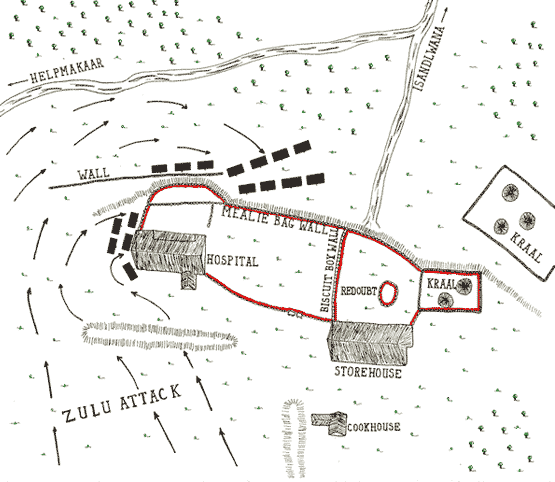
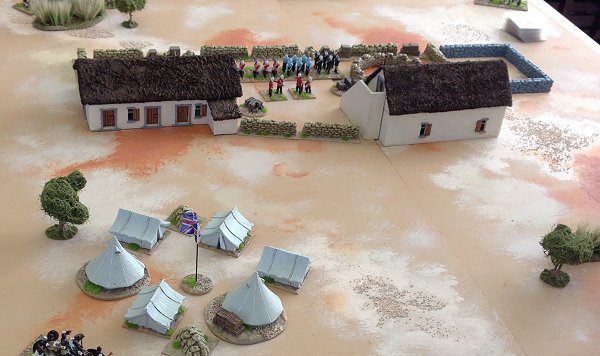
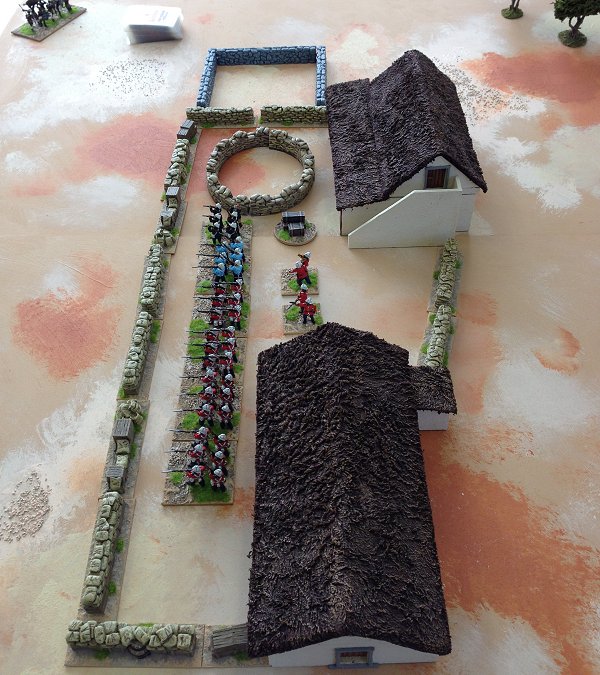
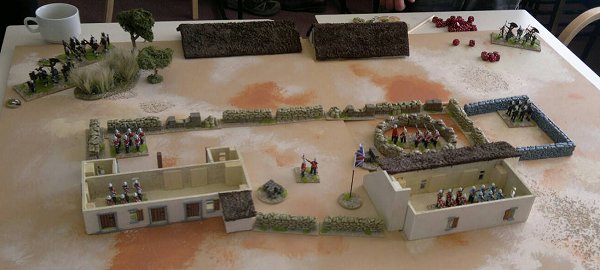
I spent some time looking at other people's models of the Rorke's Drift buildings and the maps made at the time and fiddled about with the sizes and layouts (no two models agree on the position and type of doors and windows) until I settled on something that matched both the size and the look that I required.
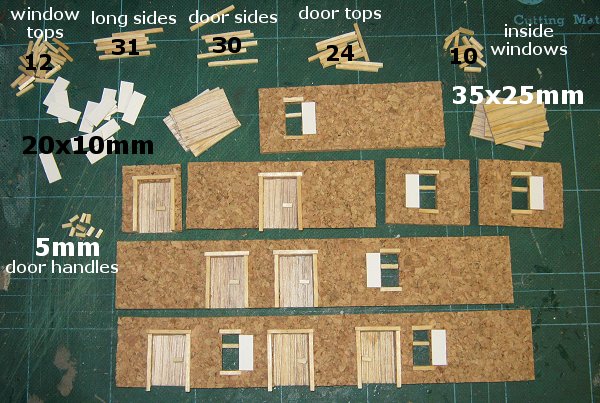
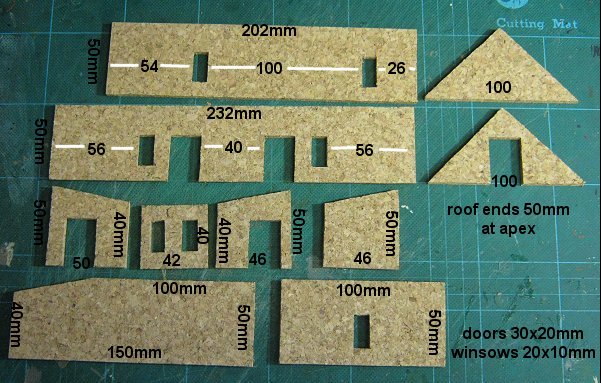
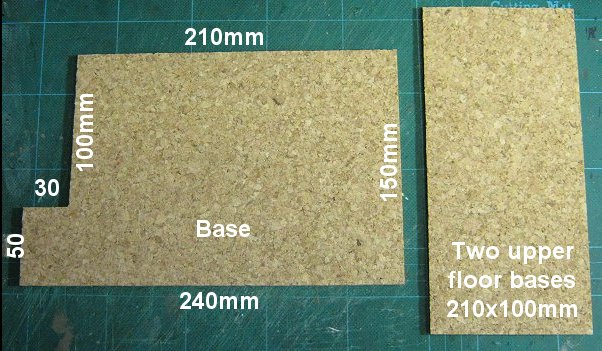
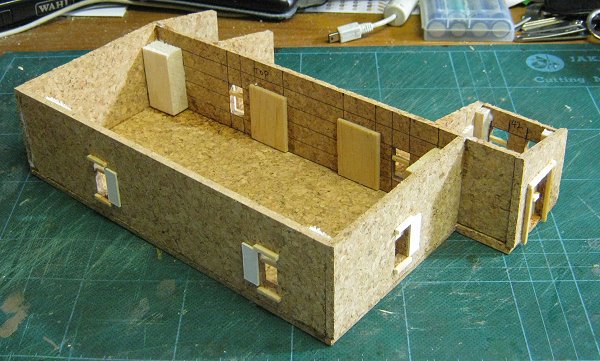
I make no claims for the accuracy of my models but I include the measurements here in case you like the look of them and fancy having a go yourself. The hospital This is a fairly simple building once it's broken down. I don't want interior rooms because I'm not planning a skirmish game and the inside just has to be large enough to accommodate a couple of 60mm square stands of troops during play. Once all the unnecessary interior stuff is done away with I'm left with a building made up from eight walls and a base. The matchsticks are for detailing the doors and windows and I've included their lengths in mm if you feel like cutting a batch ahead of time like I did.
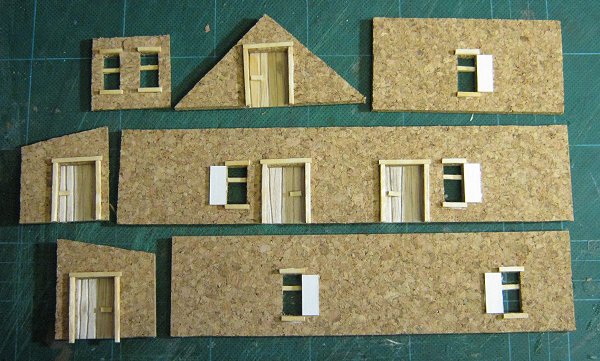
Once all the walls were cut out I cut and scribed (with a pencil) some thin balsa wood for the doors and made some simple mounting card rectangles for the window shutters.
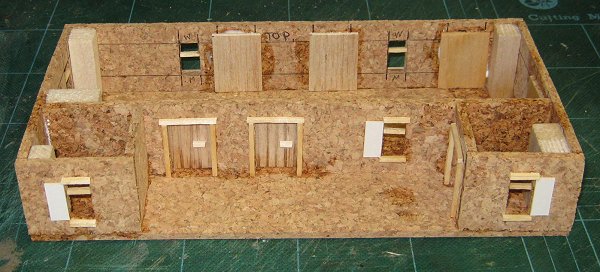
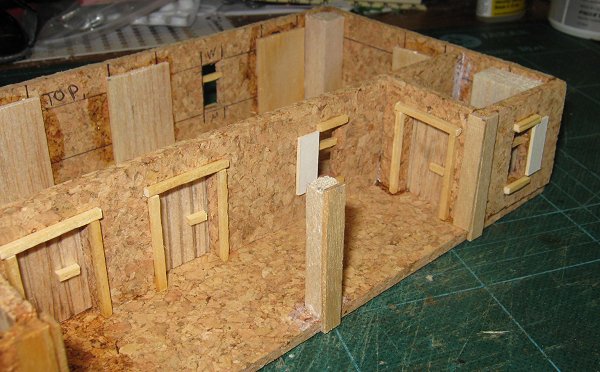
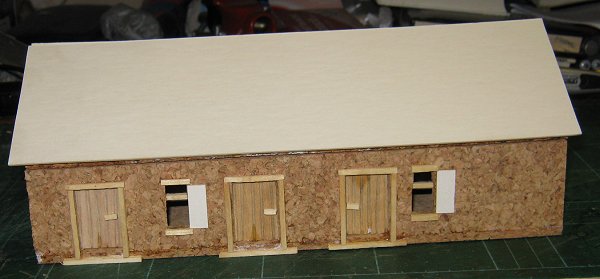
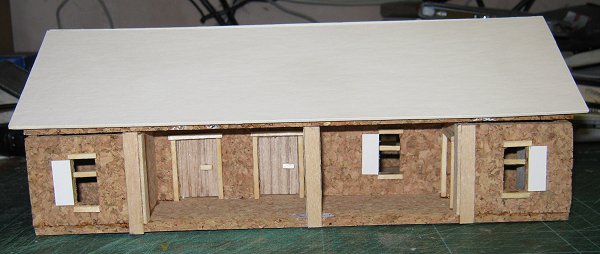
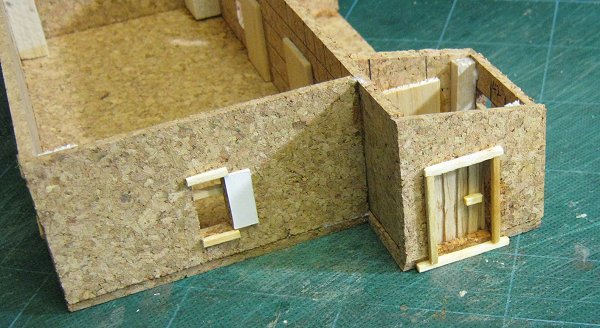
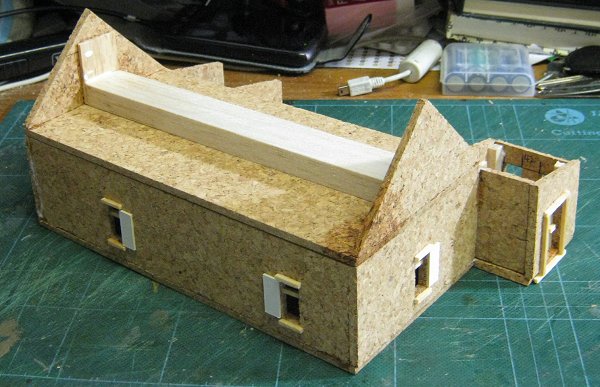
I opted for 5mm matchstick door handles instead of pin head handles for a more rustic look (and I'd run out of pins too). The door frames for doors on the rear and outer side wall need to extend below the level of the door to overlap the base by a milimetre. Everything was fixed in place with PVA glue and some lengths of balsa off cuts were cut to size for corner bracers before everything was assembled with super glue and accelerator. Above is the front view. The photos are a little poor for this build because I'm away from my lighted desk but hopefully you'll get the idea.
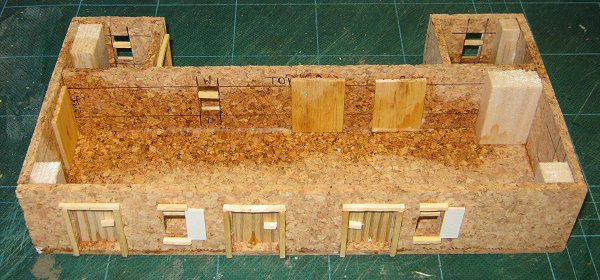
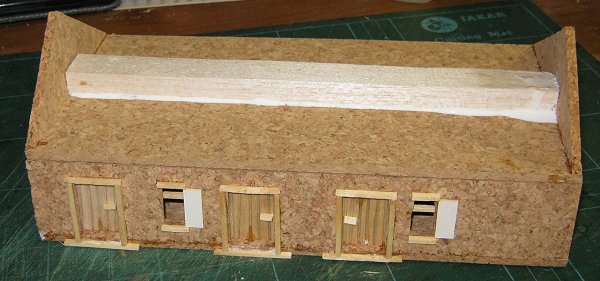
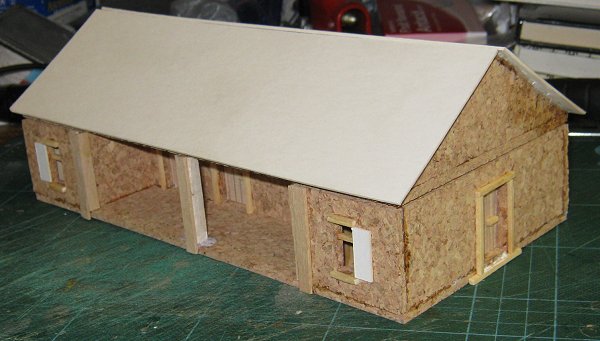
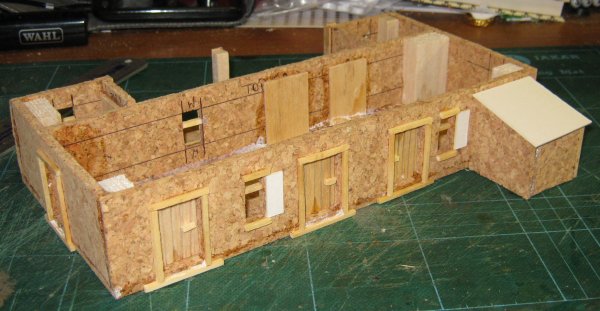
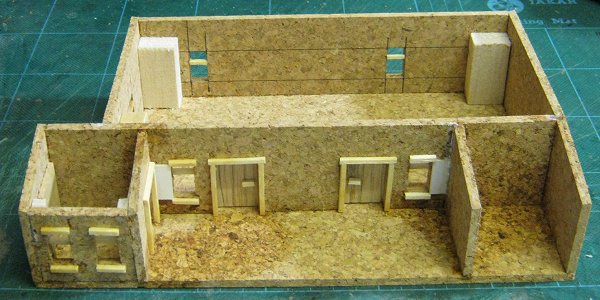
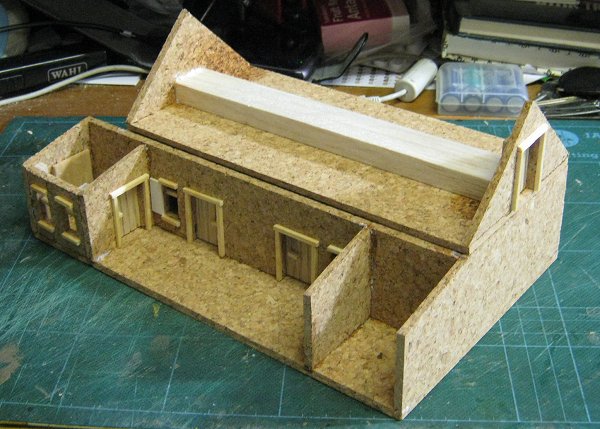
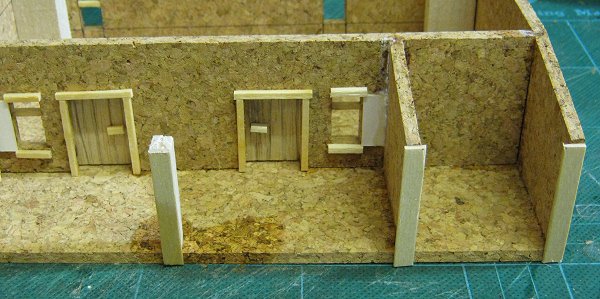
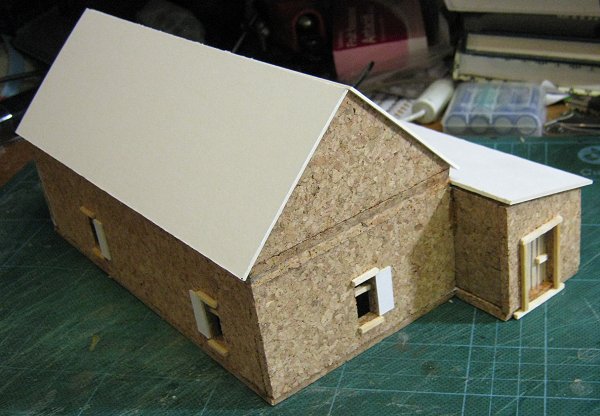
Be sure to dry fit everything before you glue so you are comfortable with which wall sits inside which. Mistakes are impossible to rectify without destroying part of the model. Below is the view of the rear of the building which shows the construction a little more clearly. I added a pillar from balsa wood faced with a coffee stirrer and some more lengths of coffee stirrer to give the impression of beams on the inner front building corners.
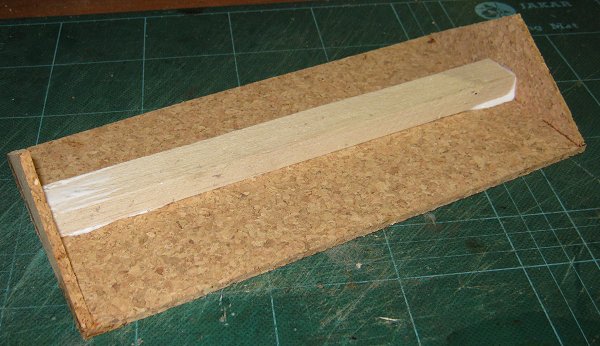
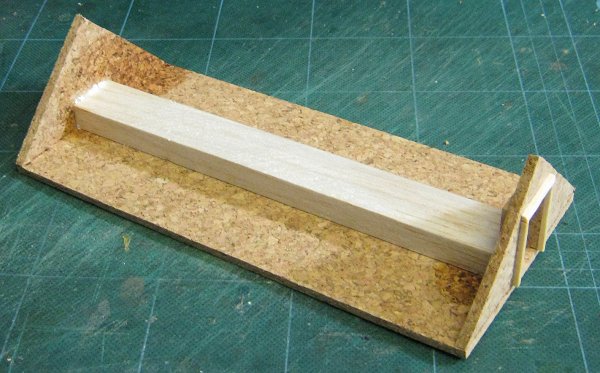
You can also see the arrangement of the window parts in more detail here. The 12mm matchsticks form top and bottom sills and the 10mm lengths are glued inside each window to from a sash. I positioned the 10mm lengths towards the top of the windows for no other reason than I liked the look of it. The base for the roof is 120mm x 240mm, the same as the building base. The ends are 120mm wide and 40mm tall at their centre apexes. I've used a thickish piece of balsa as a roof brace.
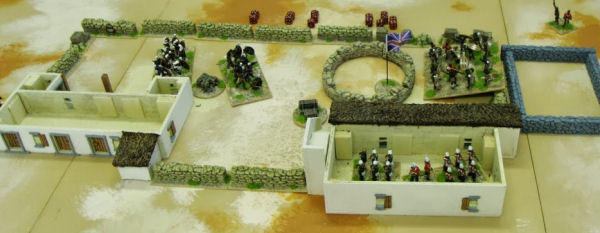
The roof just sits in position so it can be removed during play to allow figures to be placed inside the building.
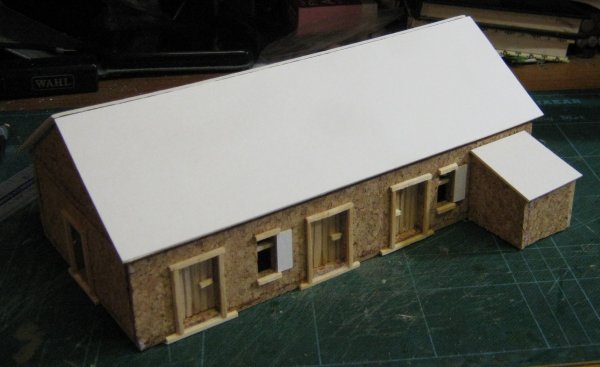
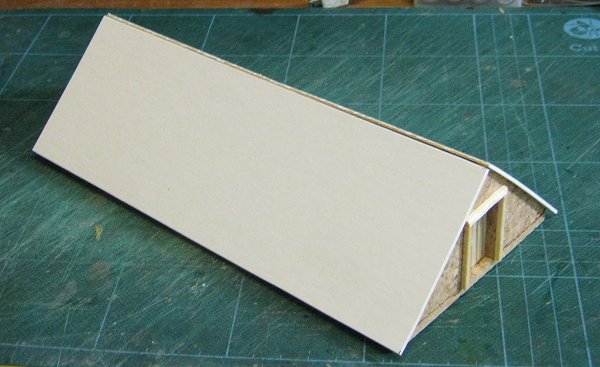
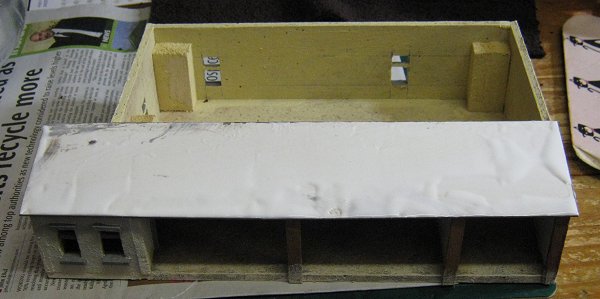
I have also added some matchstick doorsteps to the outer doors as you can see. The roof is going to be thatched with glue soaked towel and only needs a thin former for the thatch to attach to. I have used two pieces of mounting card cut to 75mm x 250mm for this.
Once the card is glued in place the roof becomes quite rigid.
That's the main construction completed.
I'm going to do all my thatching at once since it's a little messy so all that remains is to make the small annex that sticks out of the rear of the hospital. It's a simple box with a sloping card roof. The walls ate 40mm high at their highest, 30mm at their lowest. I included a back wall as well so I could glue it to the main building with the biggest surface area possible.
The little roof will also be thatched when the time comes. The Commissariat Store
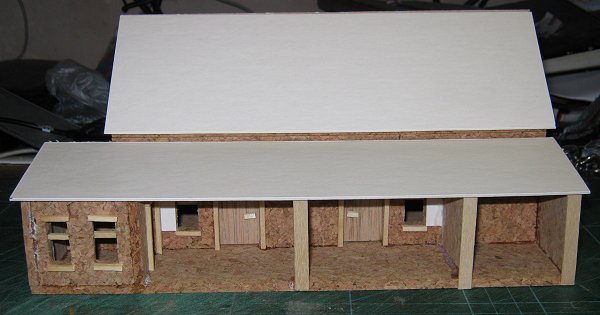
Again, nothing too complicated about this build except maybe the little extension at the front which does require some thought and planning. To get the slope of the top correct each of the little side walls to the extension and the side wall of the open bay need to be cut as 50mm squares initially. Once this is done you have to cut the diagonals by measuring from the top of the back edge to 40mm up on the front edge. This will ensure the angle matches the outside extension wall and the roof will sit flush. Once the diagonal is correct you can trim 4mm from the back edge to get the 46mm width. I've positioned my doors into the extension 20mm back from the front wall but you might want to position them 10mm back as once the frame for the door to the veranda is glued in place it fouls the window shutter next to it. I didn't bother changing mine as it was going to take a major bit of rebuilding. The problem area is all but hidden on the completed building anyway. I found I needed to space the upper floor with a second base thickness to allow for the height of the thatch on the veranda roof.
Doors and windows were finished off the same way as for the Hospital earlier. Since I cut enough matchsticks originally this part was very quick. The outside wall of the front extension needs a frame that extends below the floor level to overlap the base, all others should end flush.
Final assembly was simple once I dry fitted everything to make sure I knew which wall went inside which.
I added a final step to the overhanging extension door.
The roof was braced with a length of balsa wood as before.
It sits in position and won't be glued so it can be removed to allow access to the interior during play.
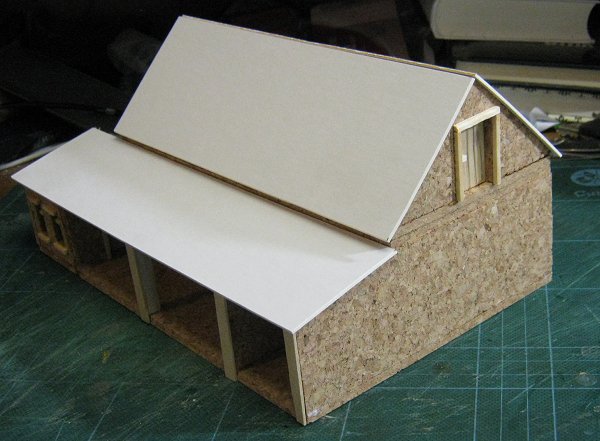
I faced the edges of the open bay's walls with lengths of coffee stirrer. I didn't bother adding side pieces this time. The pillar on the veranda is a length of balsa and another piece of coffee stirrer to face it just like the one for the Hospital.
I didn't add a facing piece to the corner of the extension because the wall join there was a little off and the added piece accentuated this rather than concealing it. If your join is perfect a facing piece would look good there. The mounting card for the roof was cut differently for each side. The front needs to be a little narrower to allow for the thickness of the veranda thatch below it.
Roof front: 215mm x 73mm, roof back: 215mm x 75mm. It still didn't leave enough room so I added the extra floor thickness at this point.
The veranda roof is 245mm x 55mm and will be glued in place eventually but not before everything underneath it has been painted otherwise this area will be very difficult to get a brush to. All done except the thatch. Each of these buildings took a couple of hours to make, not a huge time investment considering I can use them for my modern Africa games too.
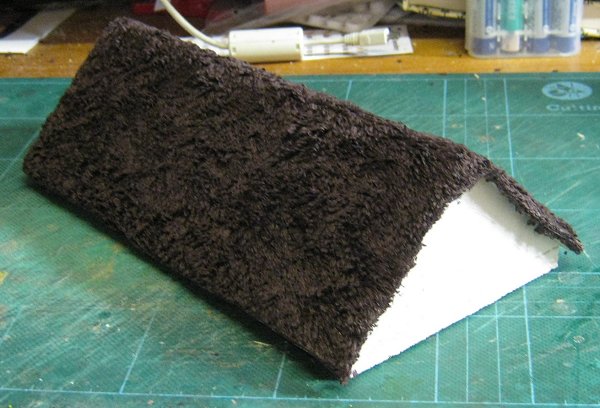
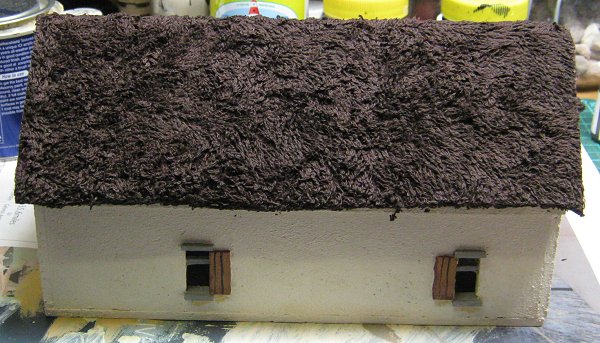
Thatching I use towel for my thatching, it makes the whole process pretty easy. One thing I learned from my first try was that painting towel is time consuming and this time I bought a cheap brown towel so it was a decent base colour to begin with. I cut out sections that were roughly the correct size. Using templates makes this a waste-free process but I couldn't be bothered this time and so more towel off-cuts than I'd like ended up in the bin.
The towel needs to overhang the roof edges all the way around. This ensures coverage and the towel is very easy to trim once it's dried later.
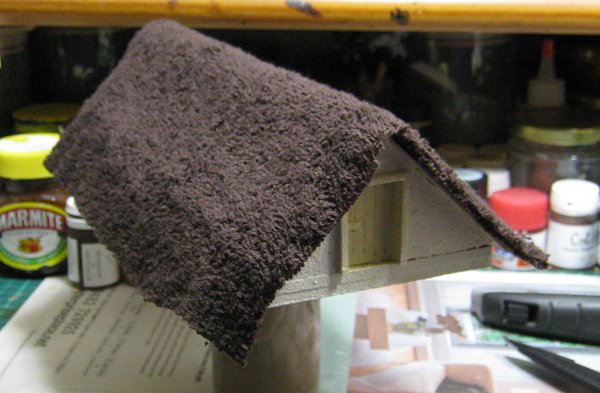
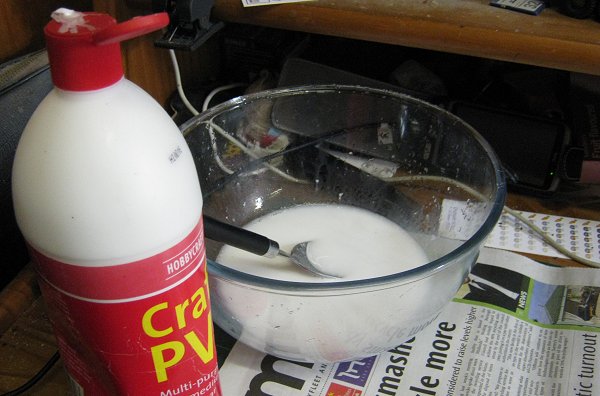
I added a little PVA glue to a cup or so of hot water and gave it a stir to mix it in. This was used to dunk the towel pieces. I let a piece soak while I applied the glue to the roof section.
I spread neat PVA over the entire roof section, especially the edges.
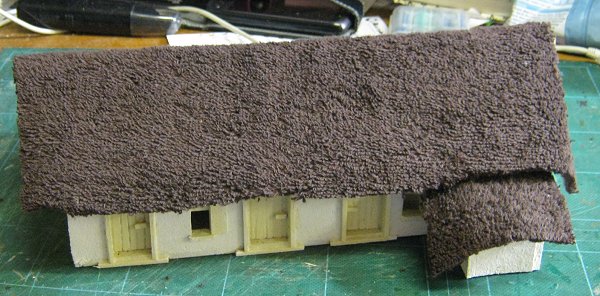
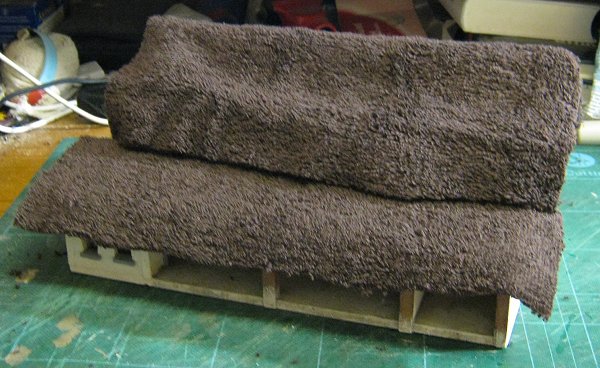
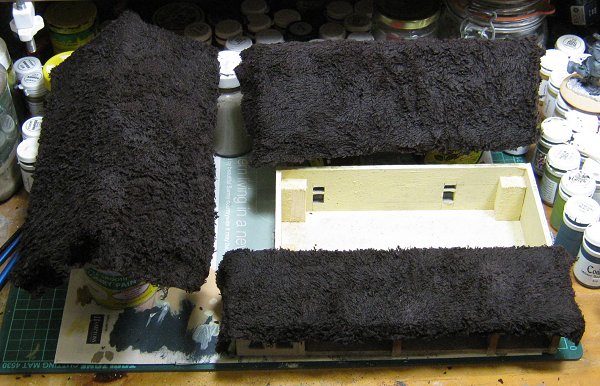
Then I squeezed out the soaked piece of towel and placed it in position. Lastly, with a large brush, I dabbed watered down PVA on to the top of the towel just to make sure. This last step isn't necessary really but it makes me feel better. Here's everything done, it took about ten minutes to do all the roofs. The next step is to wait for them to dry,overnight.
Once everything is completely dry the roofs are quite rigid and are easy to trim to size with scissors or a knife. I trimmed the edges so that they overhung the card sections by about 5mm all around.
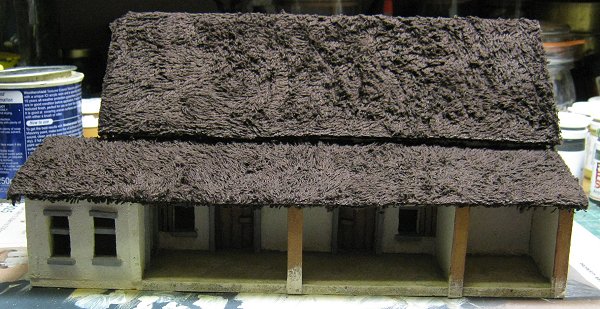
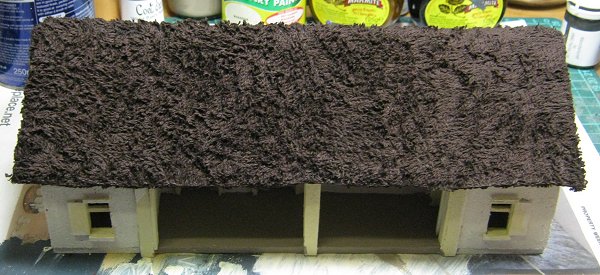
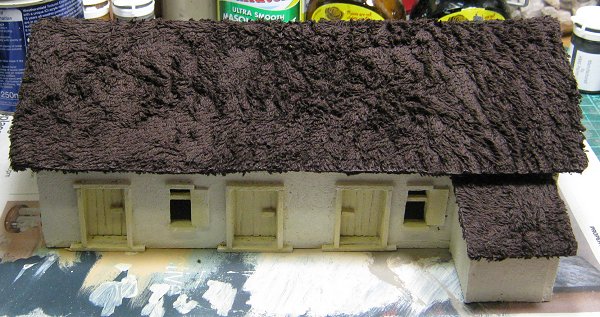
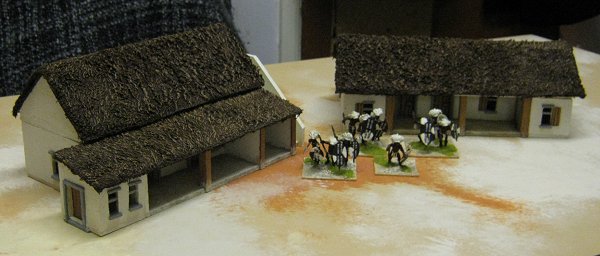
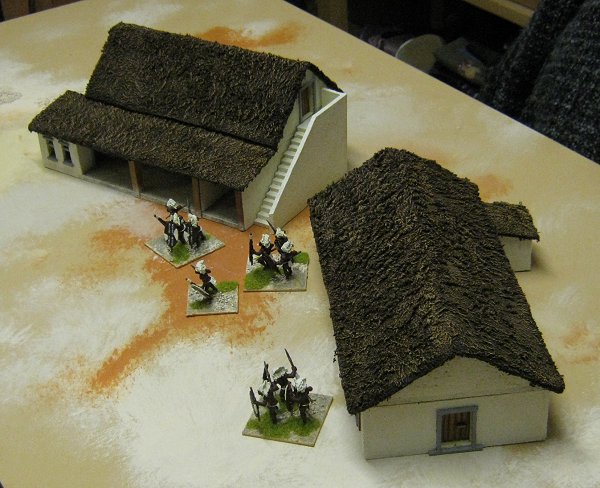
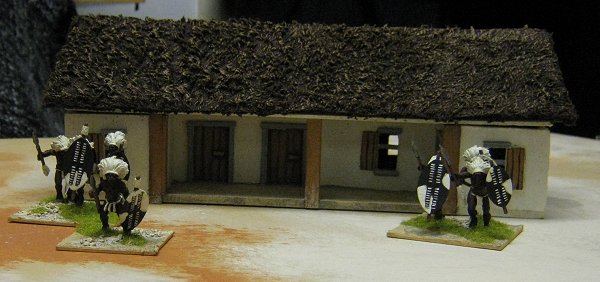
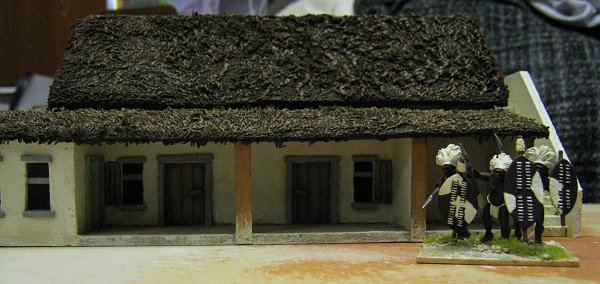
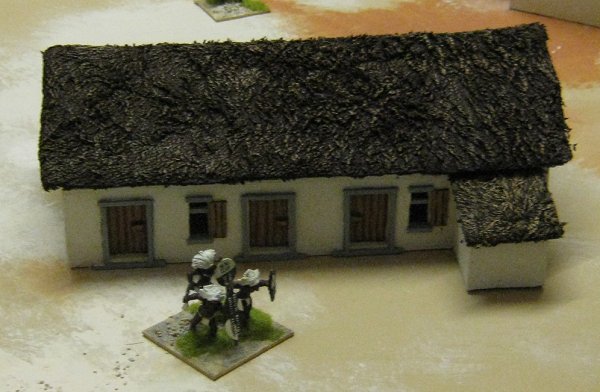
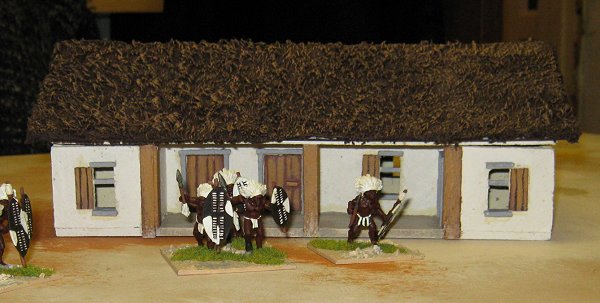
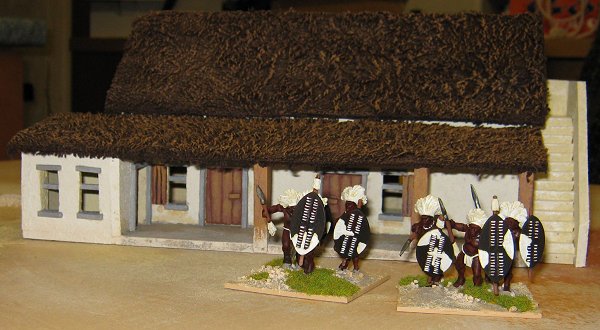
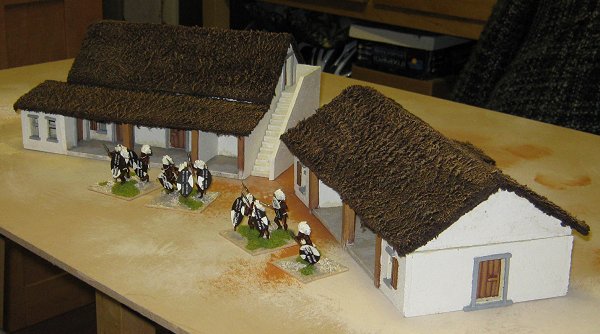
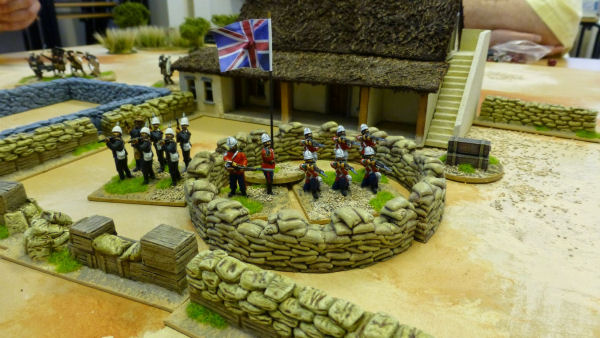
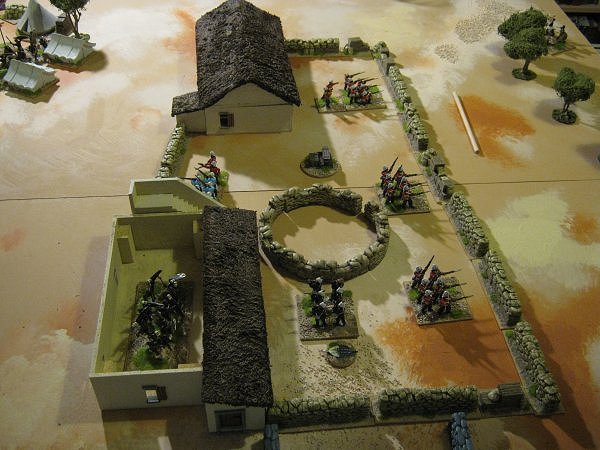
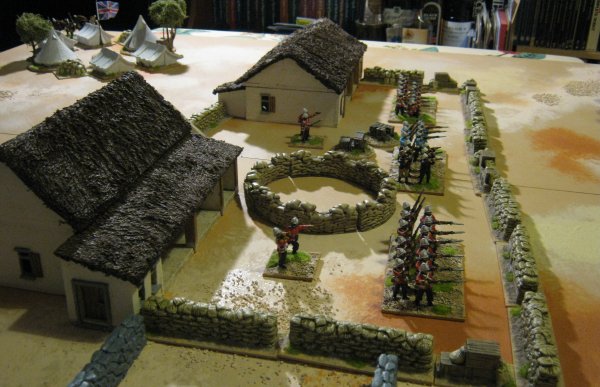
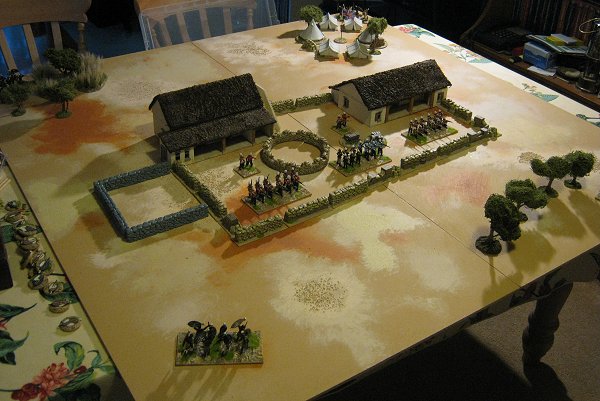
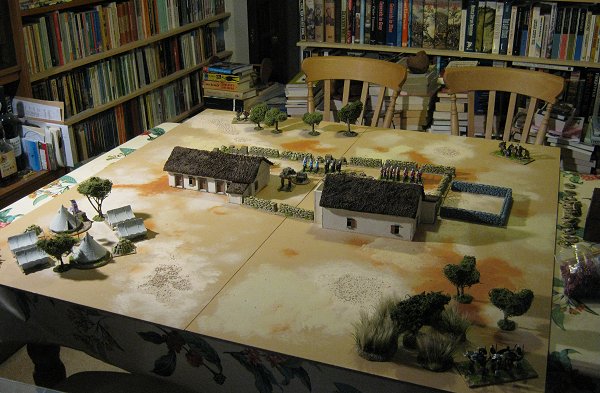
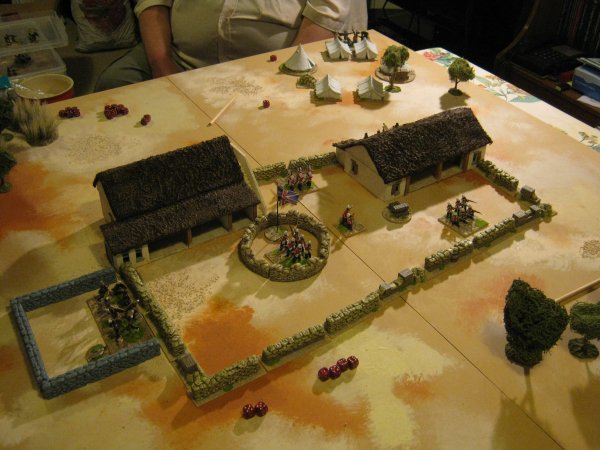
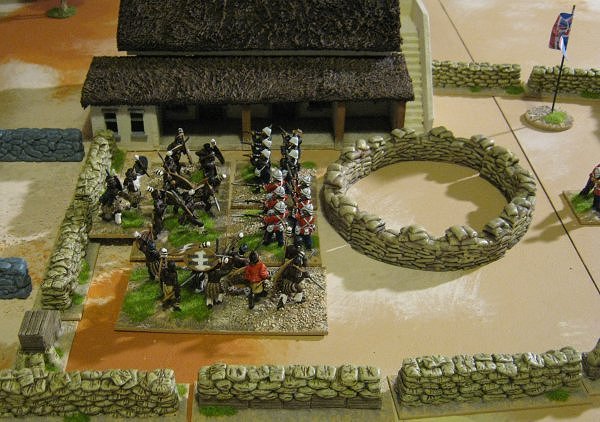
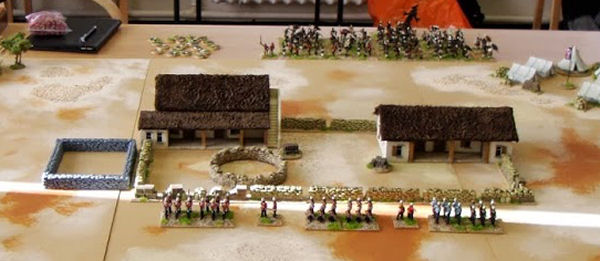
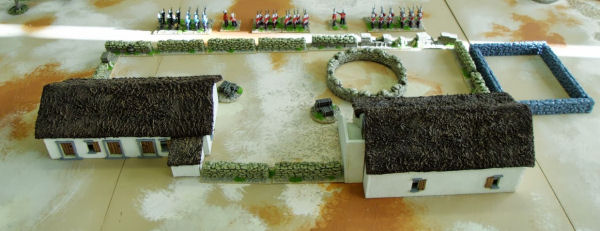
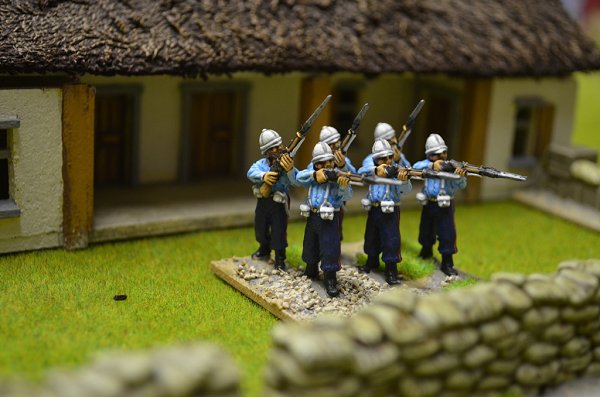
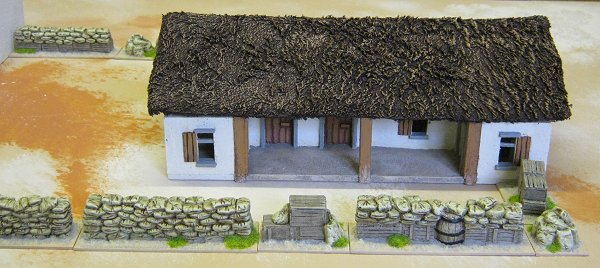
Here are both buildings with their roofs trimmed, all that's left is the painting.
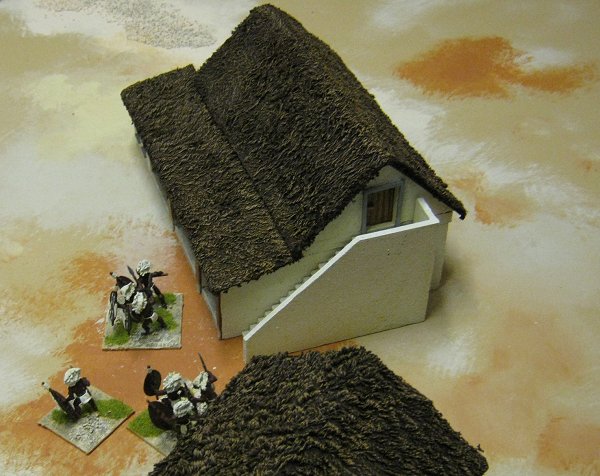
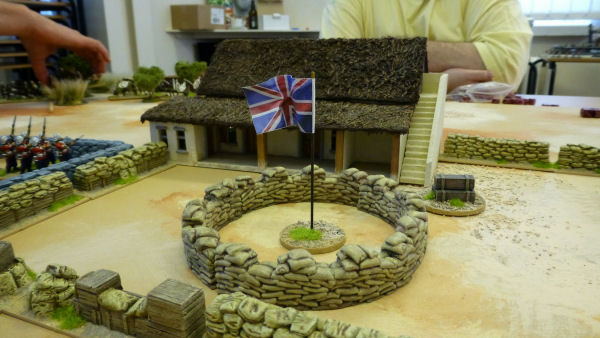
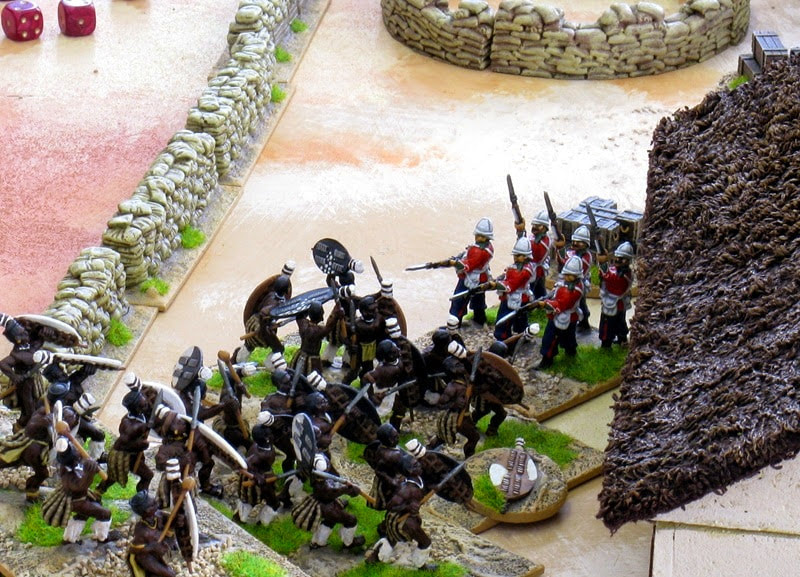
I was informed by one who knows that South African thatch is very dark and grey. I didn't want grey but I stuck with dark and drybrushed in browns rather than the more yellowy colours that I originally intended to use. The final addition is a staircase to allow access to the top floor door of the Store building.
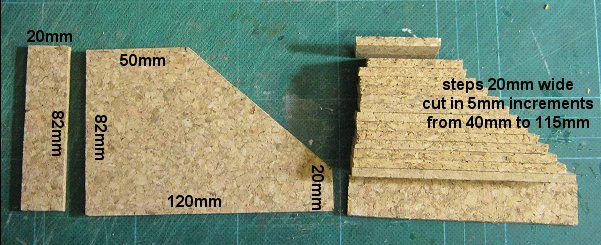
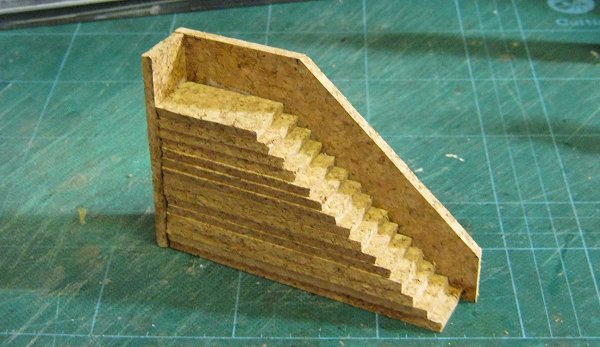
I made this out of layered strips of cork 20mm wide cut in 5mm increments from 40mm to 115mm. Once it was all glued together I gave the exposed face a light sand to smooth it a little (not too much as it will be hidden) and then painted it to match the buildings.
|
|

