|
Crossing the Nyezane River
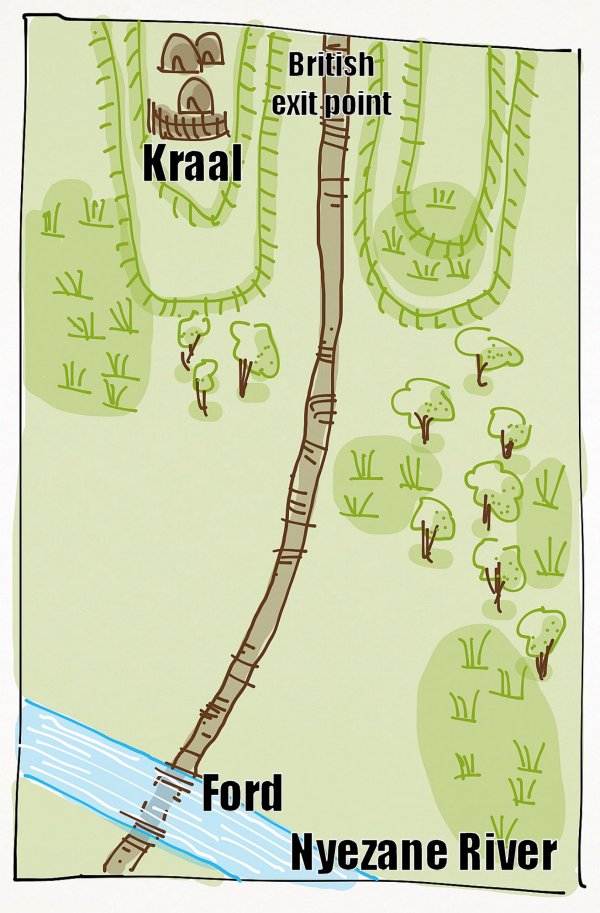
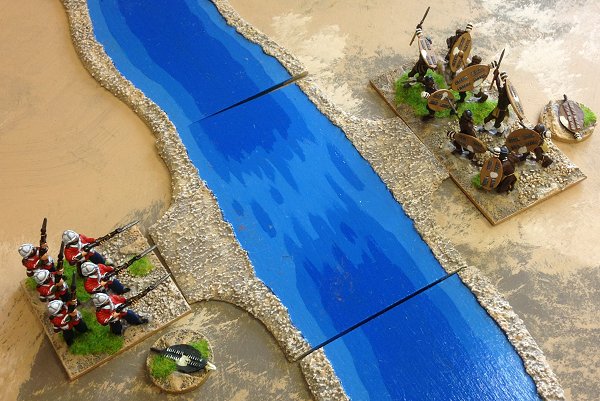
This is a play through of one of the scenarios from my Impondo Zankhomo, the horns of the bull, rule book. The British need to get their column across the Nyzane River and exit the north edge of the board with their supplies. The Zulus need to stop them. Killing the four units of British infantry will secure a Zulu win. Here's the map. The Zulus begin with three iziMpis at each northern corner of the table and get constant reinforcements during the game until their kraal is destroyed.
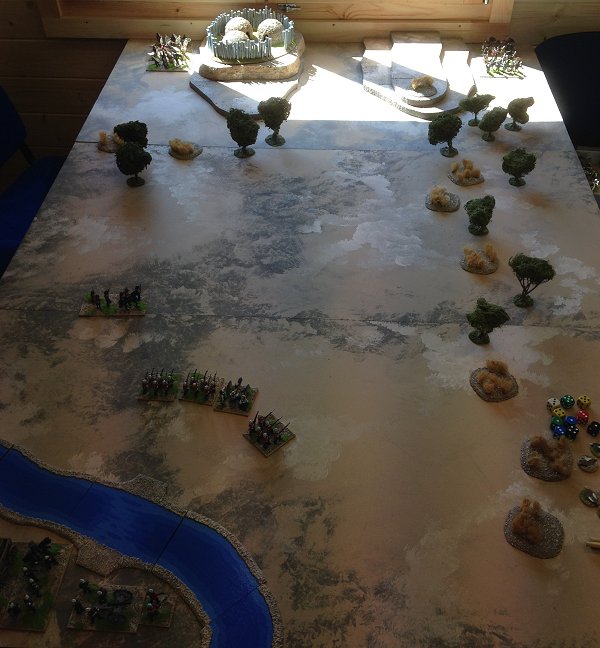
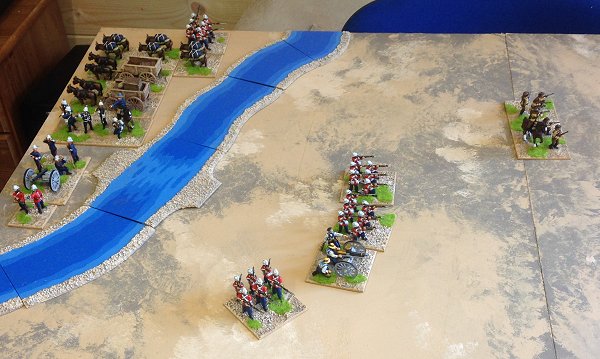
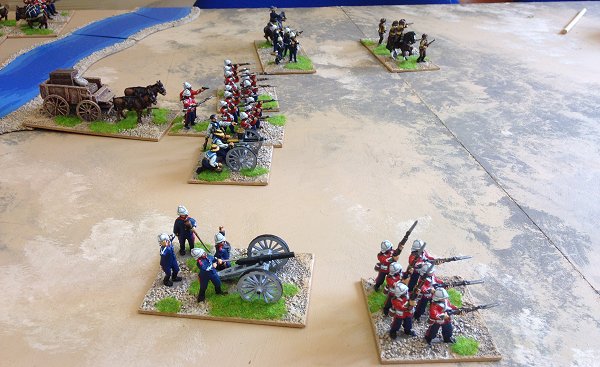
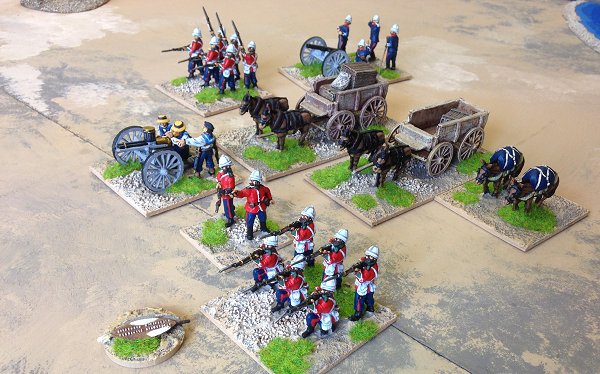
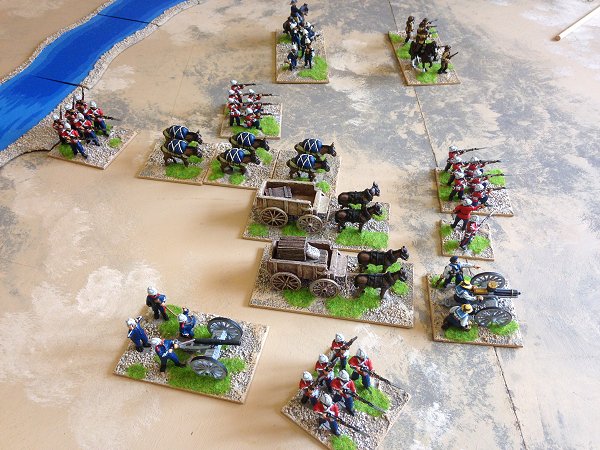
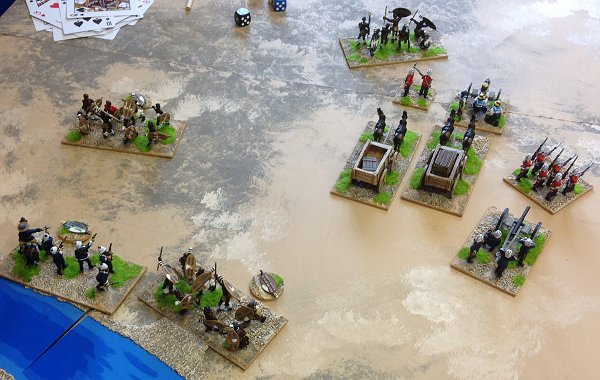
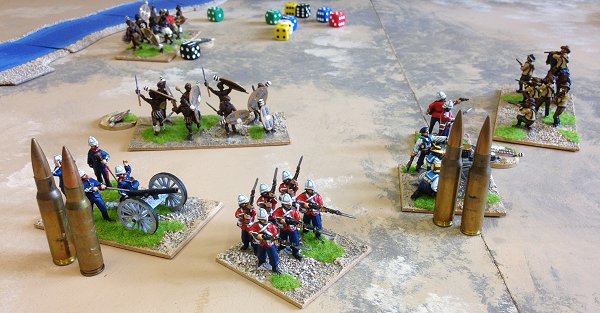
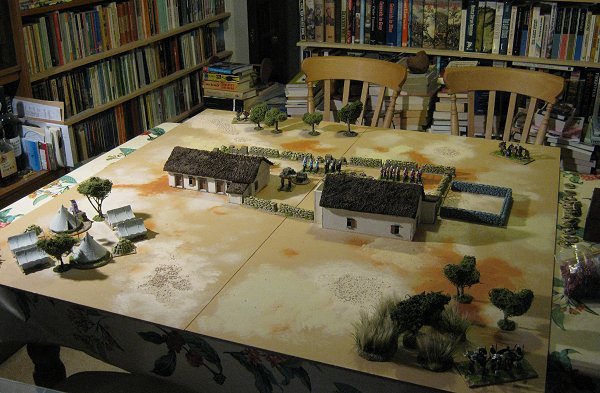
The British start with some of the column north of the river, three infantry units, one mounted infantry unit and a Gatling gun, and the rest of the column including the wagons and mules yet to cross. The British player makes an order of march before the game and the units will arrive and cross the river in that order. The remainder of the column is made up of: Two wagons, three mules, one officer, one infantry, one mounted infantry and a field gun. The only stipulation is that the final infantry unit must cross after the supplies. Here's the table: The British starting position with the column in march order south of the river.
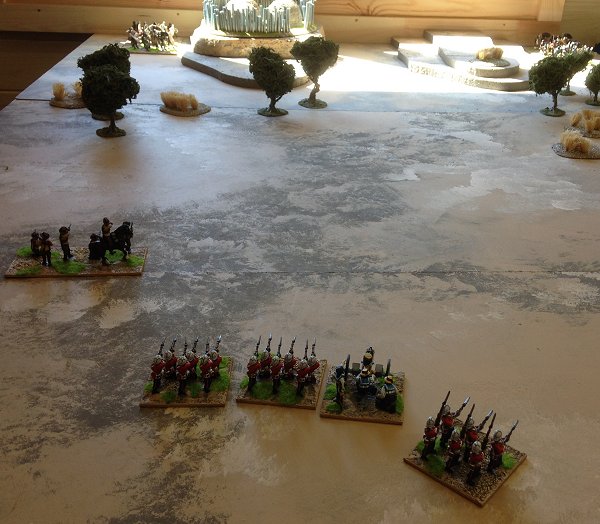
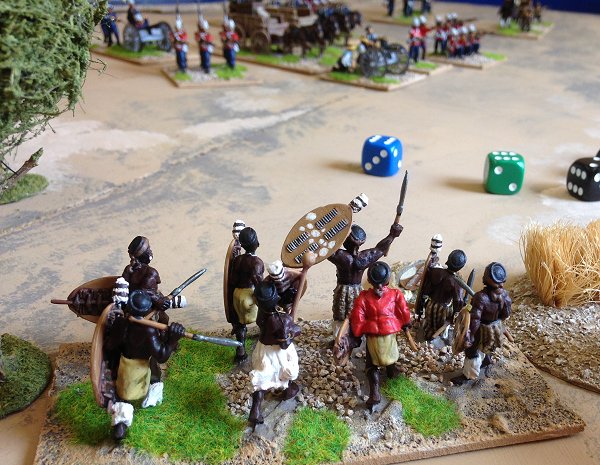
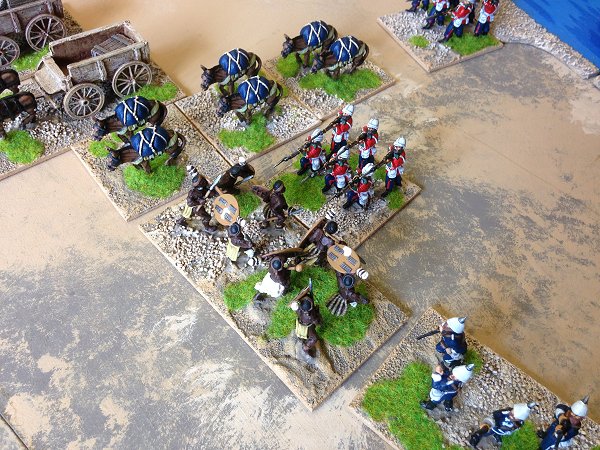
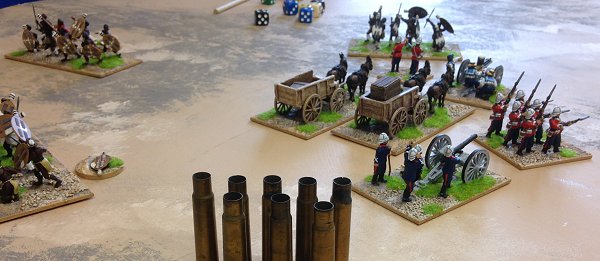
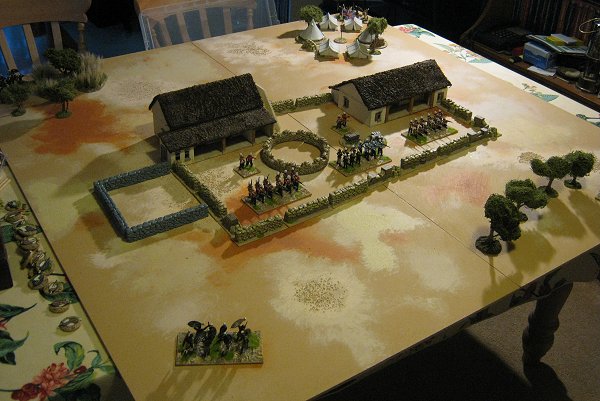
And their view of the Zulus.
The British had a run of activations at the start and steadily moved their column across the ford. The Zulus were content to build up their forces as regular reinforcements arrived courtesy of the British picture card draws.
Eventually all the Zulus were on the table and rifle armed Zulus began to make their way forward. One opened fire from cover and scored some hits on a British infantry unit leaving it shaken.
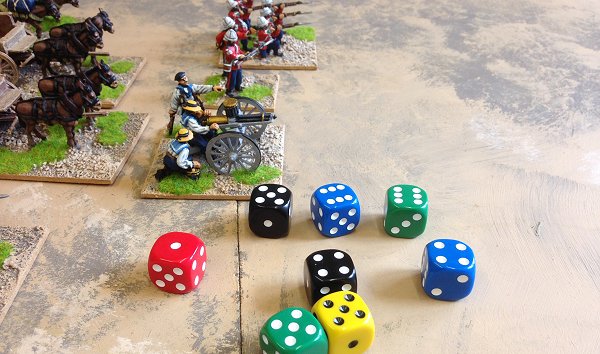
The Gatling gun replied immediately and with seven hits from 8 dice wiped out the offending Zulu rifles. The British were feeling confident.
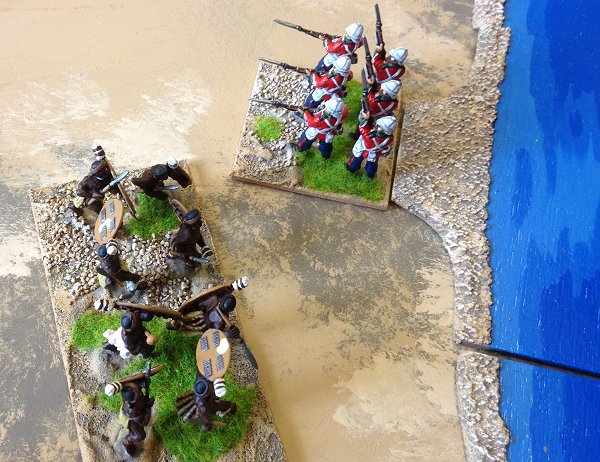
Next the Zulus pushed some warriors down their left flank, keeping to the cover of the long grass and trees, in an attempt to get close enough for a charge home.
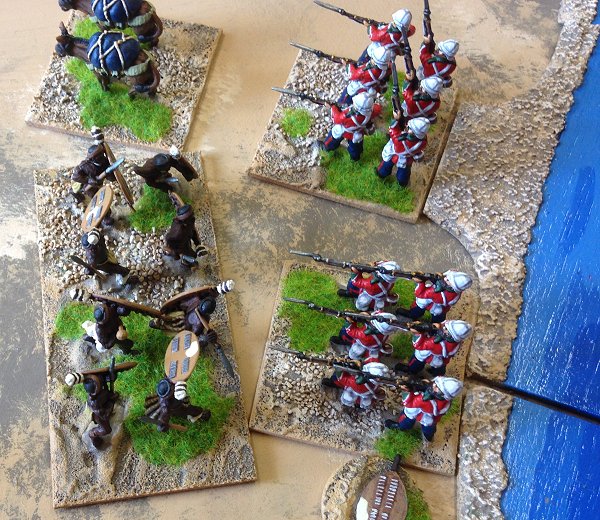
The Gatling gun hosed them down with a couple of bursts and the Zulus broke and ran. So far the Gatling gun was proving its worth, much as it did in the actual battle. The British moved the remainder of their column across the ford and began to form up for the move north.
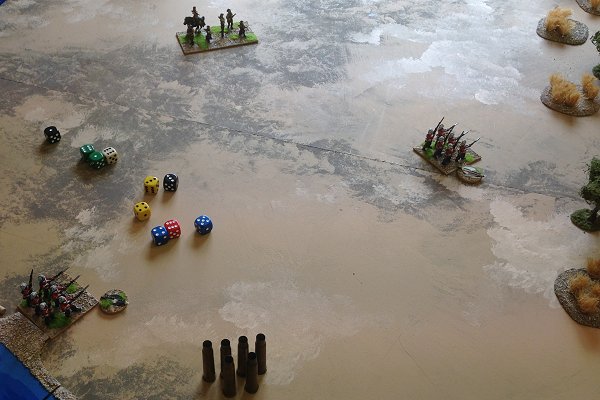
Deciding to chance their arm a little the Zulus took advantage of a double activation to send an iMpi forward from their right flank. This was a gamble as there was much more open ground to cover on this side before the warriors would get to grips with the British.
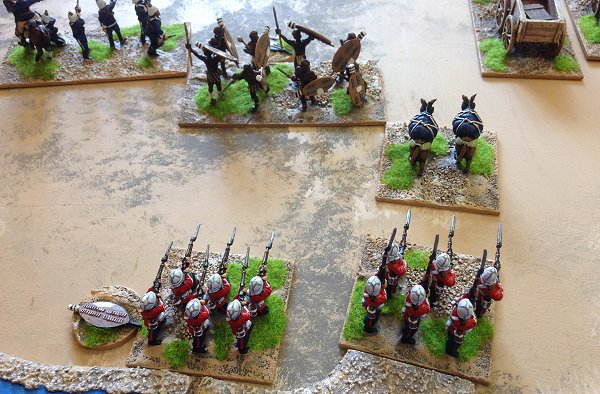
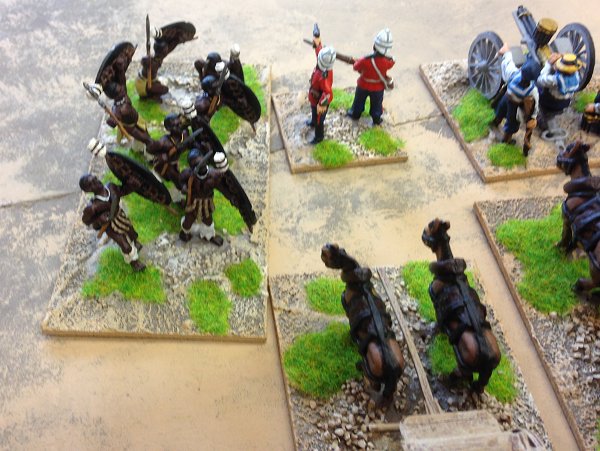
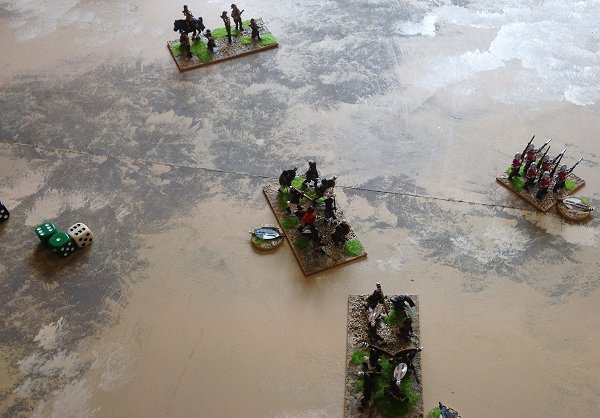
The double activation was followed by another and the iMpi picked up speed before ending its go by crashing into, and over, the foremost British infantry unit leaving nothing but dead Englishmen in its wake. More Zulu activations followed and the iMpi, buoyed on by the rallying chants of the inDuna on the hills behind it surged forward again to test its mettle against another British infantry line. More victory for the warriors as the British were pushed back and the Zulus could destroy two of the ammunition mules.
To make matters worse for the British more iziMpi were following the first and emerging from the tree line at a run towards them. At this point it was looking good for the Zulus. Even if they lost their forward units, which seemed very likely anytime now, the British had taken a beating and lost units they couldn't replace.
With more activations and ineffective British shooting (maybe panic was setting in?) the iMpi rallied and attacked again. They destroyed another group of infantry and killed the last of the mules.
And with a final surge drove the third British unit back across the ford.
Things were looking very bad for the British who'd been extremely confident only a short time ago. More Zulus were arriving- more than could be killed quickly and, with the mules gone, the British were down to limited rifle ammunition. They had a total of 8 volleys remaining.
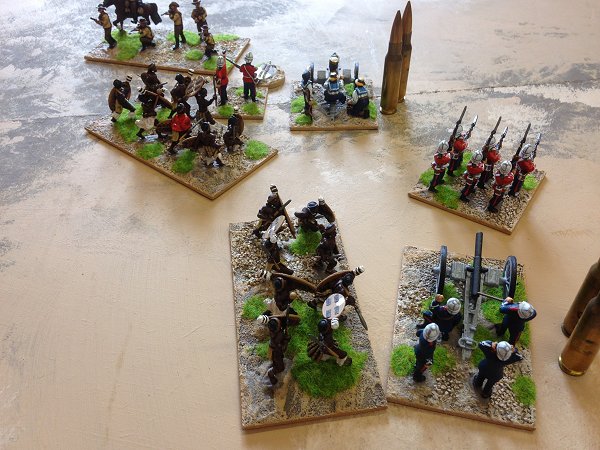
Masked from most of the British fire by the wagons the Zulus attacked Colonel Pearson.
Although his life was saved by the timely intervention of the Border Horse both wagons were destroyed before the Zulus were killed. Now the big guns had limited ammunition too.
As the British showed signs of gaining a breathing space their hopes were dashed as yet more Zulus arrived and attacked again.
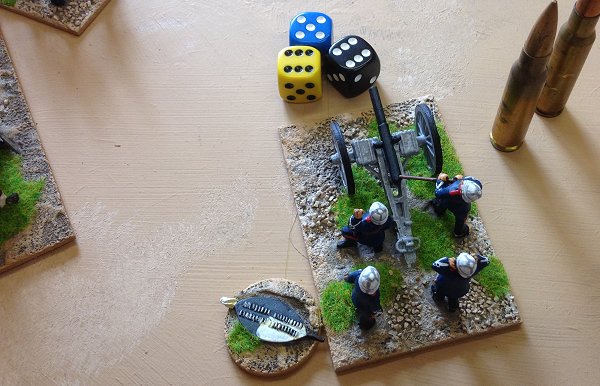
The field gun crew survived the onslaught but were killed by Zulu riflemen in the hills.
(The Zulus didn't have enough actions to rally and charge again so they took a chance with a shot. Five hits from three dice just rubbed salt into the British wounds.) After killing Colonel Pearson on their second try the Zulus were pretty much spent and the Border Horse finished off the remaining iziMpi with some disciplined shooting.
However, the British were left with two shaken infantry stands and the Border Horse. With Pearson gone there was no way to rally the shaken men and they only had ammunition for six shots.
The British retired back across the Nyezane in defeat leaving the Zulus to celebrate a great victory. |
Rorke's Drift
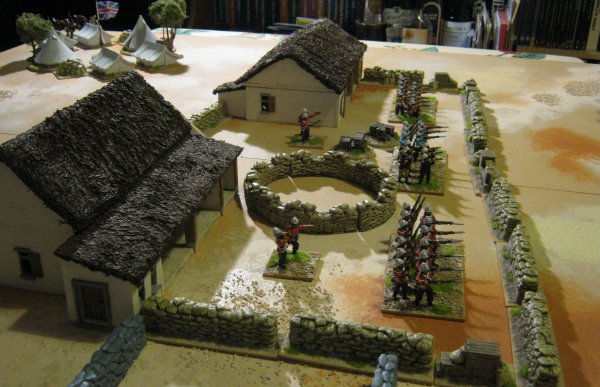
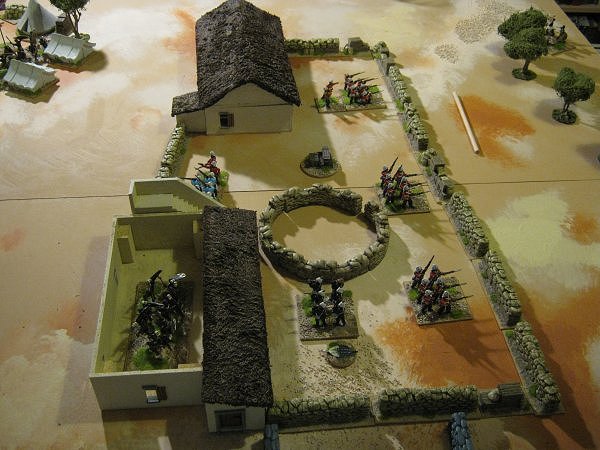
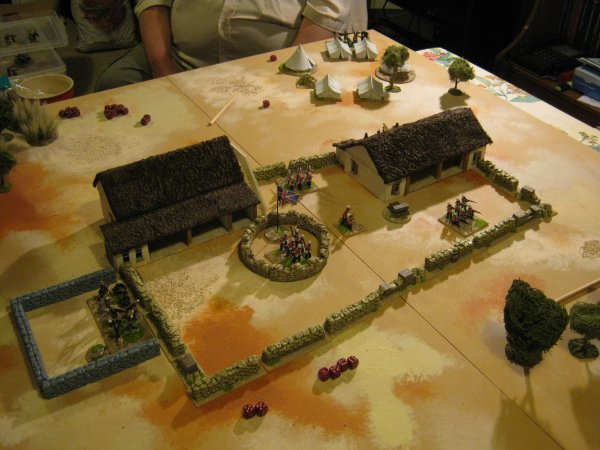
This is a report about a couple of games we had to tweak the final rules for my Zulu War project. This isn't a blow-by-blow account of the action but rather a general overview of the games and some explanations of the thoughts that went into the design of the rules and the changes that were made. Here's the set up for Rorke's Drift on a 4ft/120cm square table The British player has six units of infantry and two command stands and can start anywhere inside the compound. The figures are just lined up here, not in their start positions, so the British player could see what he had at his disposal while I went through the rules.
The Zulus start with a melee unit on each corner with the possibility of a second unit at each corner based on a die roll. these extra units can be any kind, melee, shooting or command depending on the player's choice. The deserted British camp and some trees and scrub add a little bit of cover to some of the Zulu start areas. I like to think the game encapsulates the essence of colonial gaming pitting the small but tough British garrison with its superior firepower against the horde of deadly hand to hand Zulu warriors. Both sides have strengths and weaknesses that became apparent to the players as the games played out and the contest is quite balanced if players are on the ball.
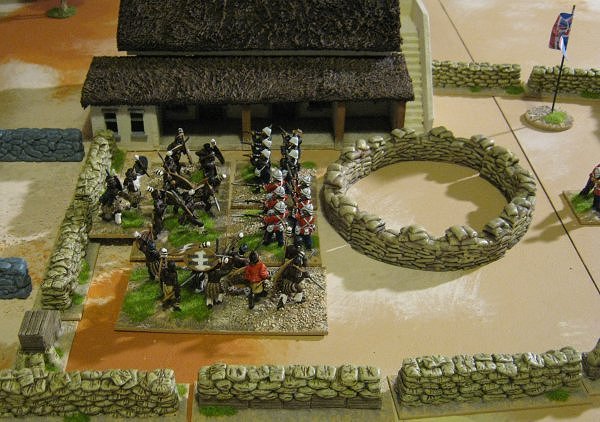
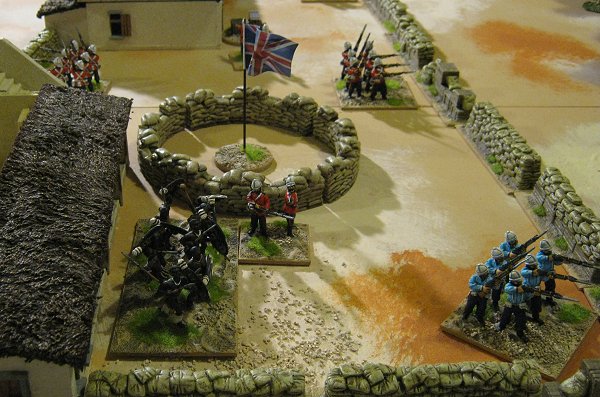
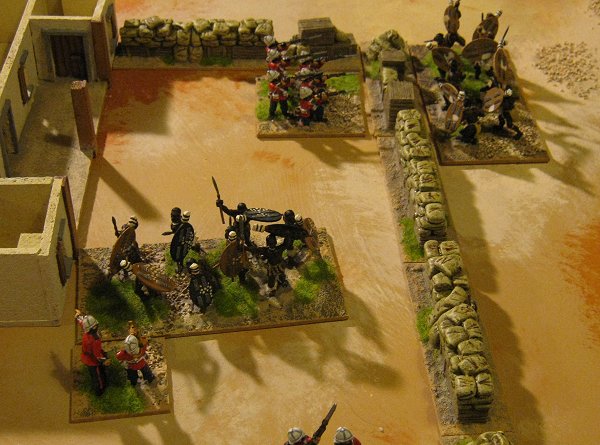
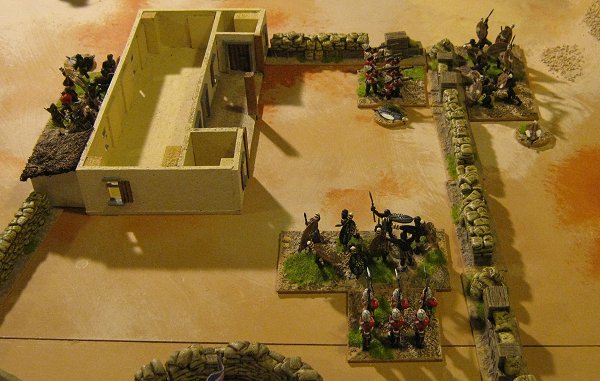
The first game began with the Zulus advancing to make a probing attack against the store house. Good dice scores saw the defenders forced to retreat and the Zulus, although shaken themselves, took possession of the building. This allowed them to loot the supplies as their next action and the British player heard the disconcerting sound of some of his precious ammunition counters being discarded.
The British player starts with 24 ammunition counters and loses one every time one of his units shoots. As an incentive for the Zulu player, there is a stores token (you can see them above on the round bases) allocated to each of the two buildings which he may use an action to destroy if he gains control of the building. each destroyed stores token costs the British player four ammunition counters so, if he loses both of them, a third of his ammunition is lost. For the rest of the game the Zulus found it difficult to mount an effective attack although they did have some small successes including killing one of the British officers.
Losing an officer is a serious set back for the British as it takes away his ability to remove shaken counters from his units. Having both officers allows the British to keep everyone at full strength unless he has an unlucky run of the cards. Being reduced to a single officer means some units can be out of the officer's line of sight so he has to move to rally them. This takes more actions of course and the delay can be fatal. Losing both officers is the prelude to a British defeat. Despite having a larger pool of forces to draw from and a never-ending recycling supply of units the Zulu player usually starts with less units on the table than the British.
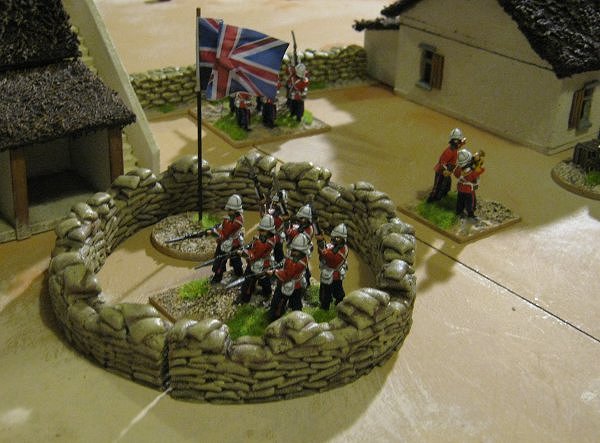
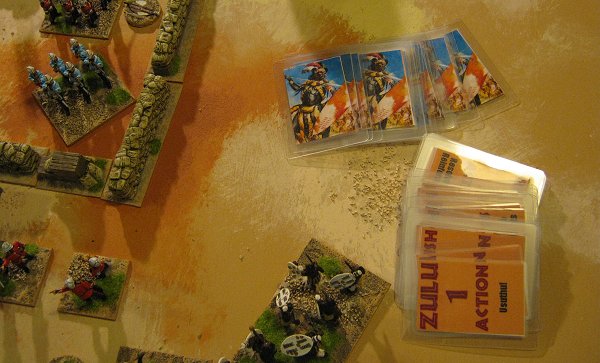
The usual Zulu opening gambit is to launch an attack and then find, when they really need to follow up an early success, that there's no one around to use. The attack peters out and the British player can run the action deck out as the Zulus slowly rebuild their forces using his superior British firepower to break up any Zulu concentrations that begin to develop. Once the relief column is sighted (signified by the British running up the Union flag in the compound when the appropriate card turns up in the action deck) the British player knows that time is on his side (usually, bad luck on the shuffle can counter this, but it's rare.) Sure enough the British won the first game fairly comfortably. The canny Zulu player begins by biding his time. The Zulu reinforcement mechanic allows the Zulus to roll for new units only if they are not engaged in any melees when the reinforcement cards come up. So, while he's pressuring the British by hurling warriors at their defences, the Zulu player is unable to bolster his forces. If his initial attack is underpowered and doesn't succeed (which is almost guaranteed at the start) he finds he has few options and hands the initiative over to the British while he attempts to build up another attacking force.
Although the Zulus are better at hand to hand than the British because of their numbers the mealie bags and buildings redress the balance in favour of the defenders unless they are outnumbered by about two to one. The Zulus' less favourable morale rolls also means that they are most likely to lose an inconclusive encounter. A slight tweak to the reinforcement roll allowed the Zulus to mass for an attack in a timely manner. Now, instead of having a possibility of getting no reinforcements, they are guaranteed to get them so long as they are not in combat when the cards are turned up.
This alone isn't enough though. The Zulu player must ensure he has enough well placed Induna to keep his attacking units fresh and needs a smattering of rifle units so that he can keep pressure on the British and divert their fire away from his melee units as they advance and as he waits for more reinforcements. Our second game using the new reinforcement mechanic proved much more successful for the Zulus. Their initial attacks were reinforced properly and they managed to take both buildings, severely limiting the British firepower.
The British were saved by phenomenal card luck with the relief column appearing as the first draw from the reshuffled deck. However, we played on regardless since this was such an unusual occurrence to see what the outcome would be if the relief card was further down in the pack. It wasn't good for the British, both buildings were taken and both of their officers were cut down inside the compound. Eventually the ammunition ran out and the shaken, reduced strength defenders were overwhelmed by the time we were a third of the way through the action deck.
Both games were enjoyable and tense. The quick nature of the games means it's easy to have another go if you want to try a different strategy and there's enough choices to be made by both sides during the course of play to make each encounter interesting.
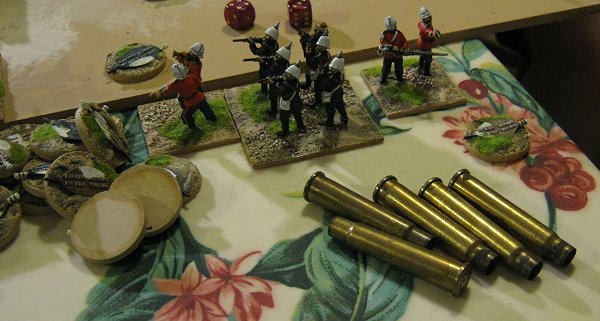
The British player is always conscious of his dwindling ammunition and must make difficult choices sometimes of when and what to shoot. (Below you can see he only has five shots left.) The Zulu player needs to cover the ground to reach the defenders and must choose between doing so with single actions, hoping for a run of moves in his favour do he isn't left hanging at the mercy of the British guns. Waiting for double and triple actions to ensure he gets in precipitates an immediate melee which, in turn, removes his chance for fresh troops. Finally, a note about shooting and movement rates.
Both Zulu and British infantry cover the same amount of ground per move increment which is not strictly accurate from a purely distance point of view as the Zulu are generally considered to be faster if they were running. However the priority for the Zulu player is to move into contact and the British are never more than three move increments away which means he can avoid a lot of enemy fire by picking his moment which would not be possible in an IGOUGO game. Also, each Zulu melee unit is actually a double unit, so the Zulu player is getting a double move each time, just in troop quantity not distance. Better for him at the end of the day. The shooting mechanic is based on weight of firepower. It is very difficult to have no effect because even the low rolls add to the total, unlike rolling for a target number with each dice. The reward for a 'good' roll is the extra hit for a 6 which allows more variety in the totals but only to the shooter's advantage; you can get an especially good shot but never an especially bad one. The probability can be easily estimated before you shoot so the British player is making a more informed decision about his ammunition use rather than trusting to luck and sometimes he can get a pleasant surprise as well. I hope that covers everything, I'm happy to answer any questions you might have though so please get in touch if you want to.
|

