
|
The Project
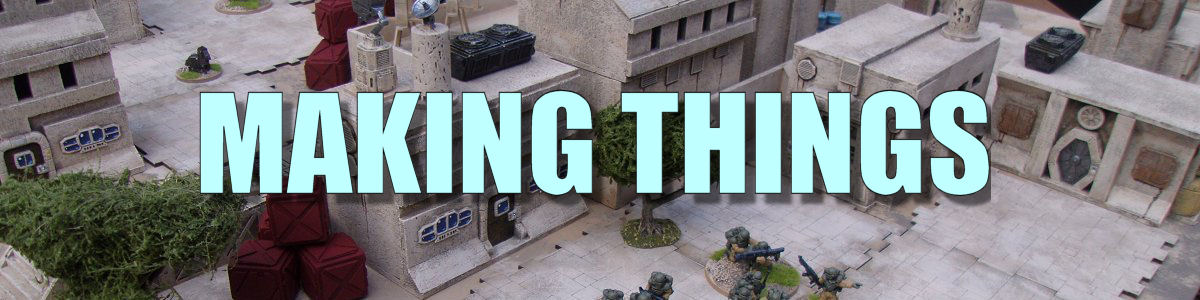
I wanted some modern buildings for my 1980's Horror Role Playing Games and I didn't want to make my own this time so I went looking to see what was on offer. Everything I found was made out of MDF and looked very flat. Then I remembered that SLUG Industries had done a Kickstarter that consisted of an innovative set of buildings that combined the precision and lightness of MDF with the texture and three dimensional details of resin. Just what I needed. I went for a big set of four small, two medium and two large buildings. I don't need to map out a town, just a small area as a backdrop for the role playing encounters. Eight buildings would be fine as a basic set. I got to choose the facades I wanted and then add roofs, chimneys, dormer windows and skylights to personalise them even more. In a very short time a big box arrived and I started the daunting task of sorting everything out and deciding which facades would go on each building. I decided to dip my toe in the water by doing the small buildings first. 
Once I'd paired everything up it was on to the painting.
The resin required minimal sanding along the edges of a few bits and no washing before I could slap on the undercoat and then start layering up the colours. 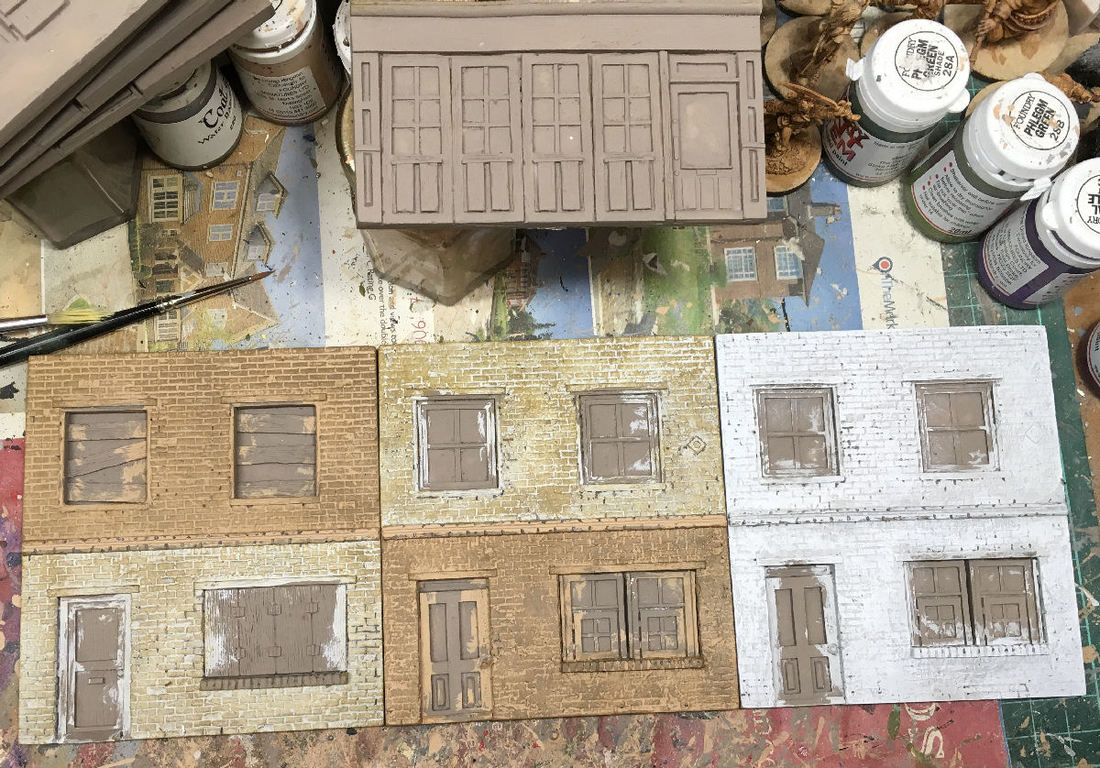
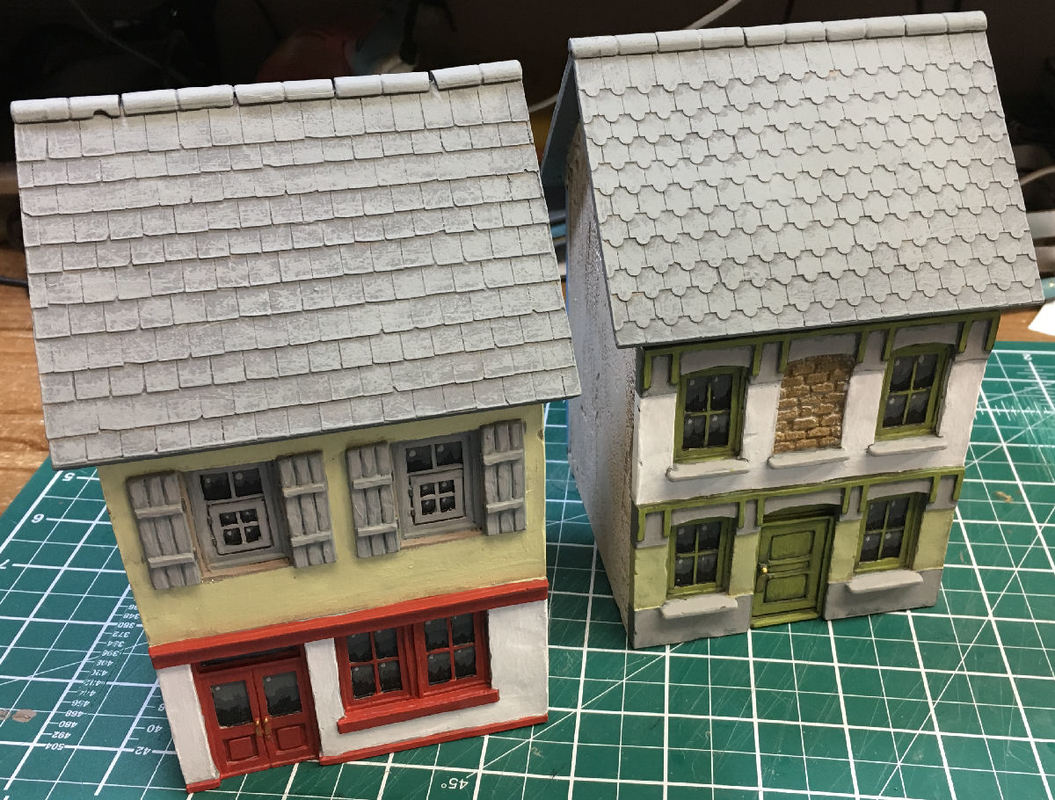
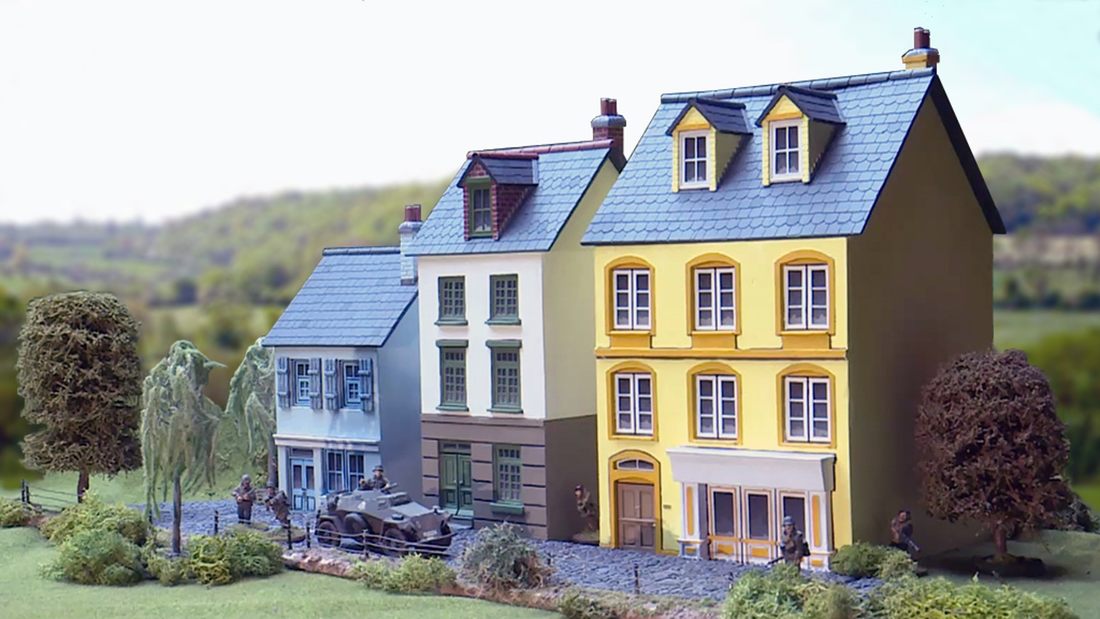
The buildings are designed to represent Normandy houses for WWII but mine are going to be generic British houses of the 1980s so I'm not going to go for the lovely bright colours of the examples illustrated on the Kickstarter page and have instead opted for a more subdued palette.
Day one:
Base coating, window glass and blocking in the basic colours. 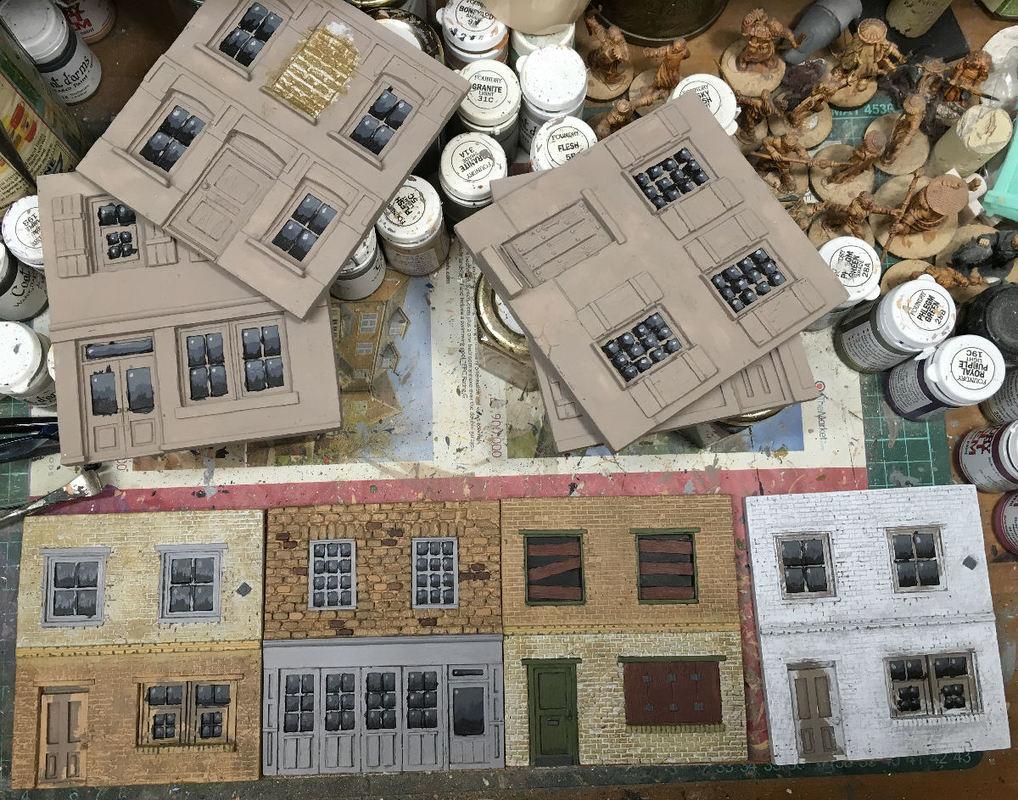
Day two:
Four completed facades and more work on the rest. 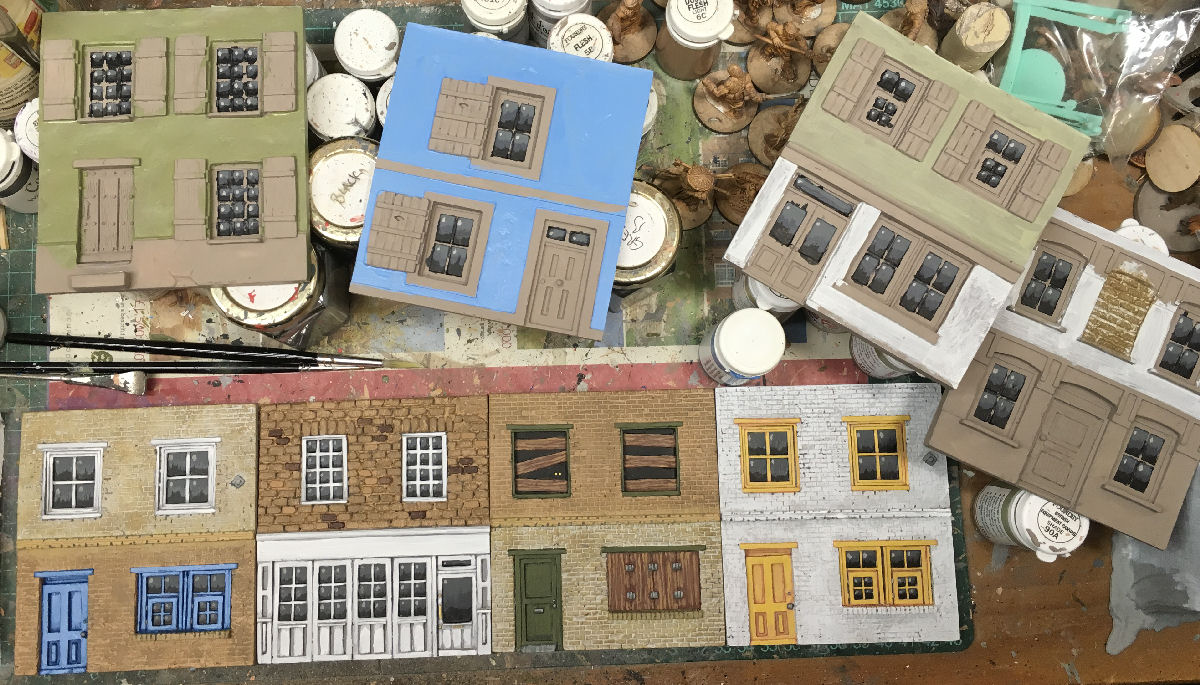
Day three:
Six completed, just the window frames and doors left on the remaining two. 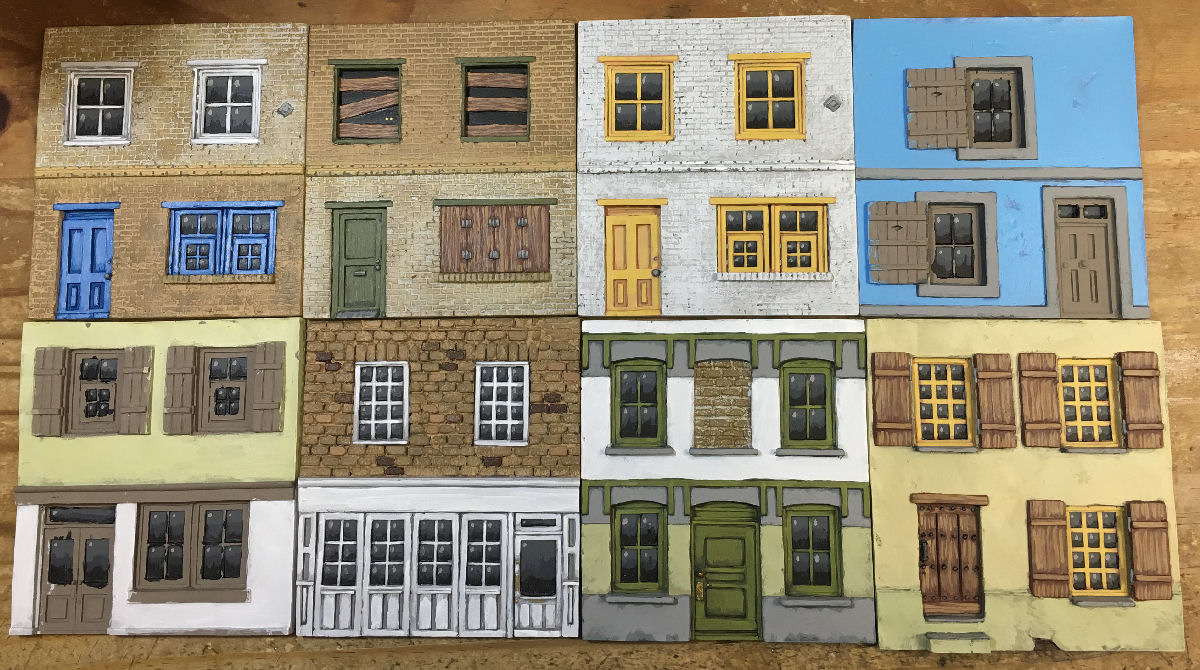
Day four:
All the fascias for the small buildings are complete. 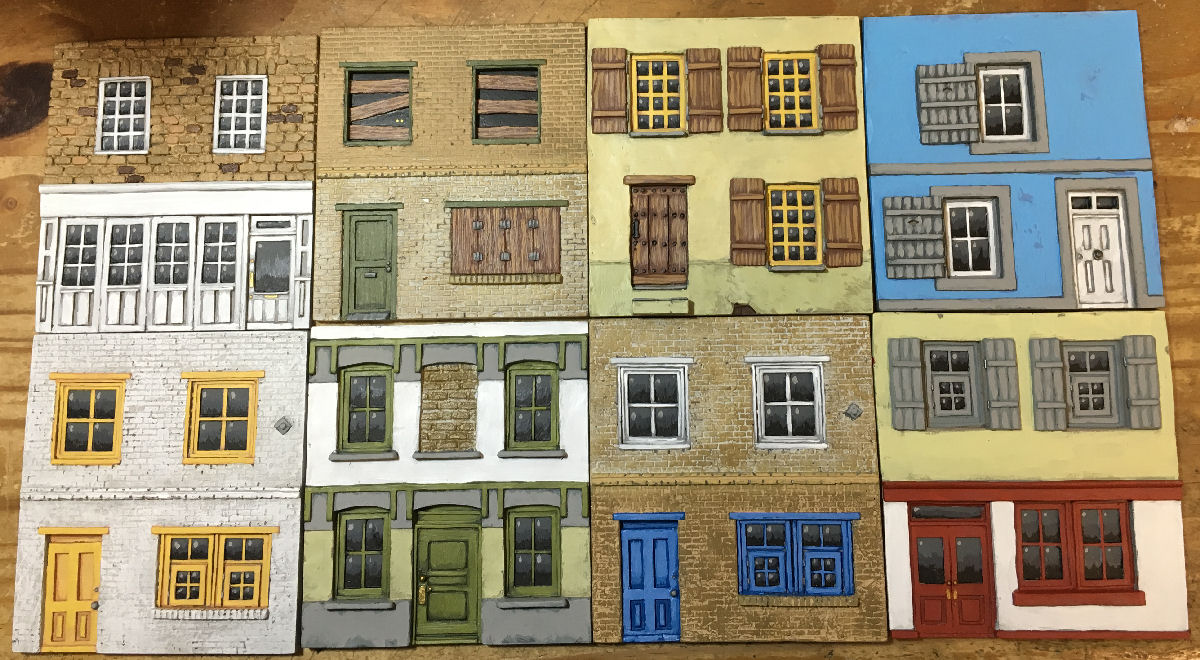
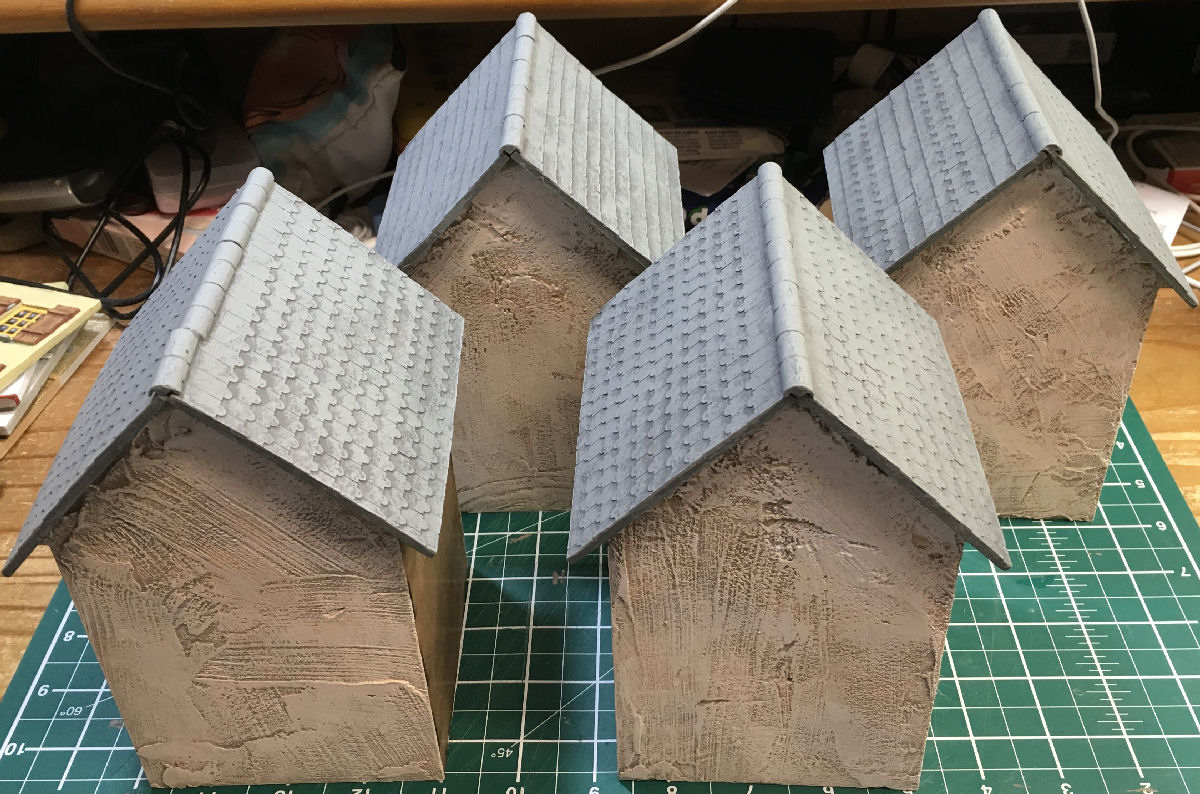
Time to assemble one of the MDF shells and see how it goes.
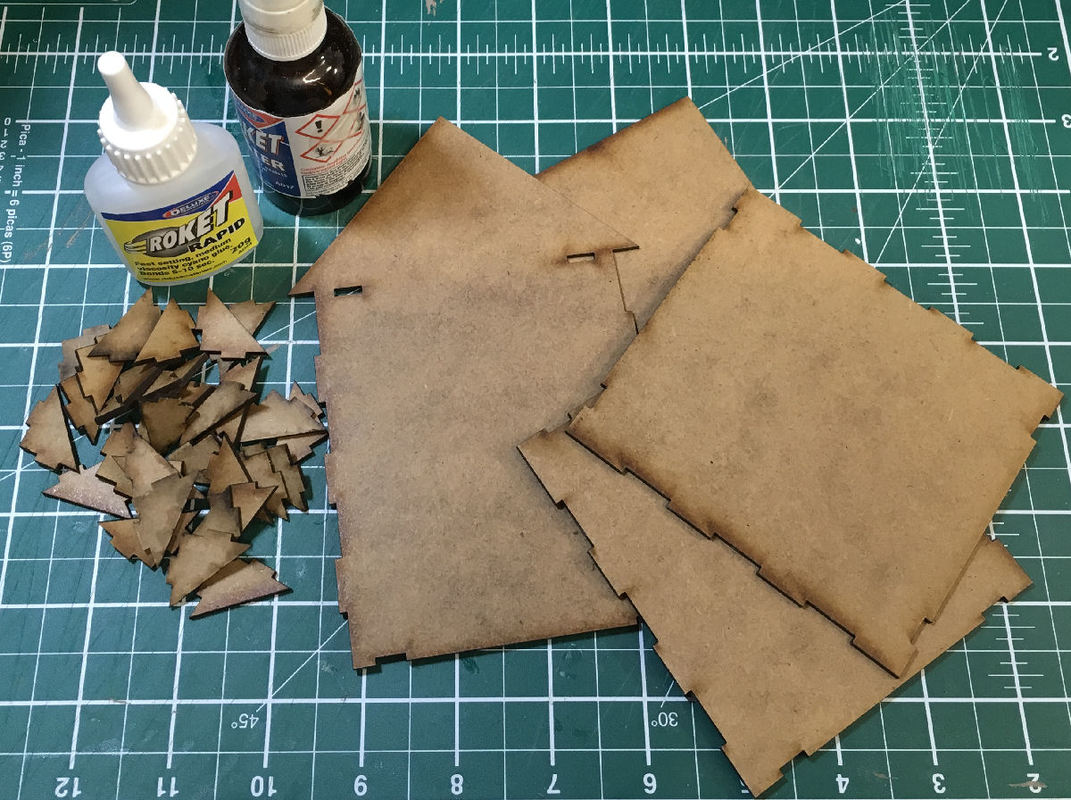
Even after being sent some replacement corner braces (the triangular pieces shown here) because my originals were way too big they still refused to match the dimensions of the walls.
I used them anyway so that at least dome of the cut out holes would be filled in by their tabs. 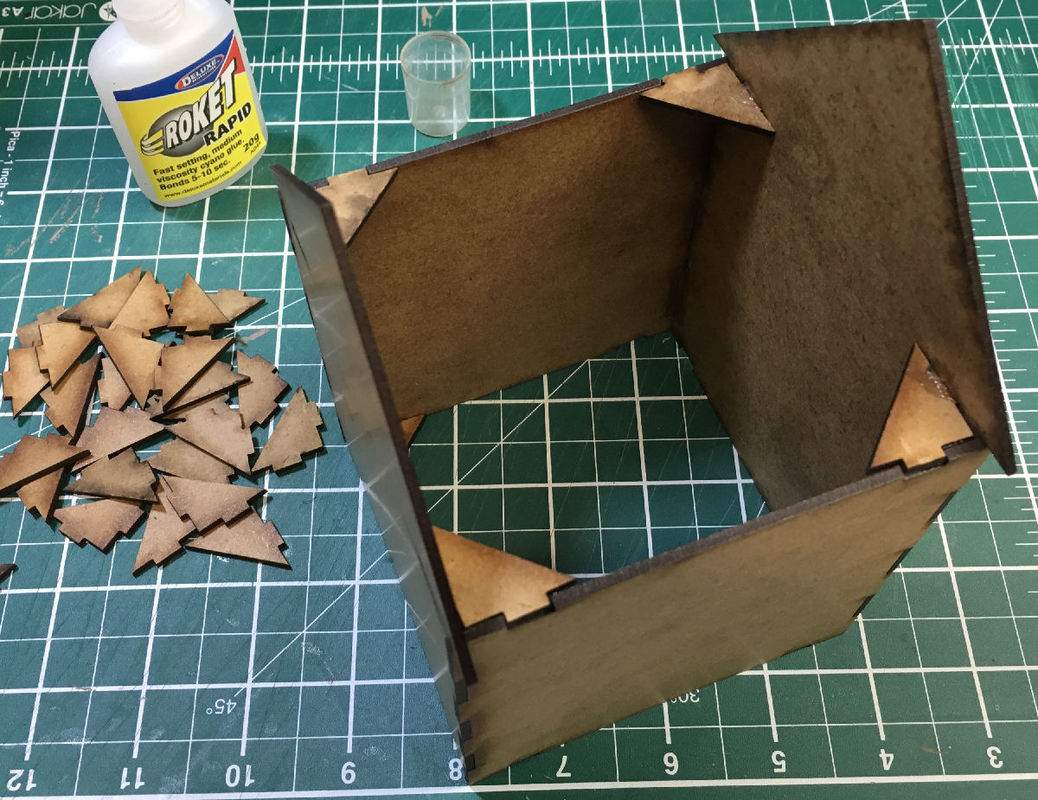
Once the MDF was glued together I attached a matching set of roof sections. The fit here was very good.
I chose to attach the roof before painting it as I wanted the best possible join between the resin and the MDF with no paint in the way. I used the gluing process to flatten out a very slight warping in the thin resin sheets of the roof sides. 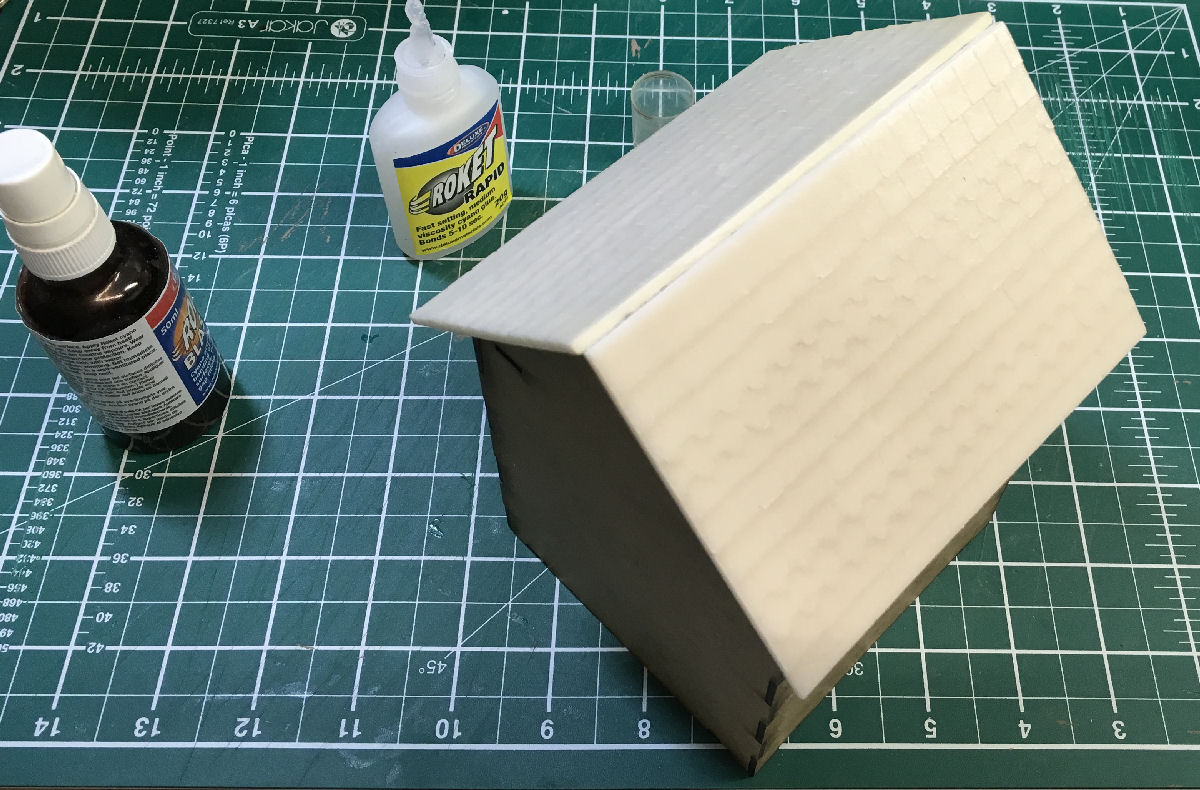
Metal capping tiles come with the kits and their fit was excellent too. All the gluing for this stage was done with superglue and accelerator.
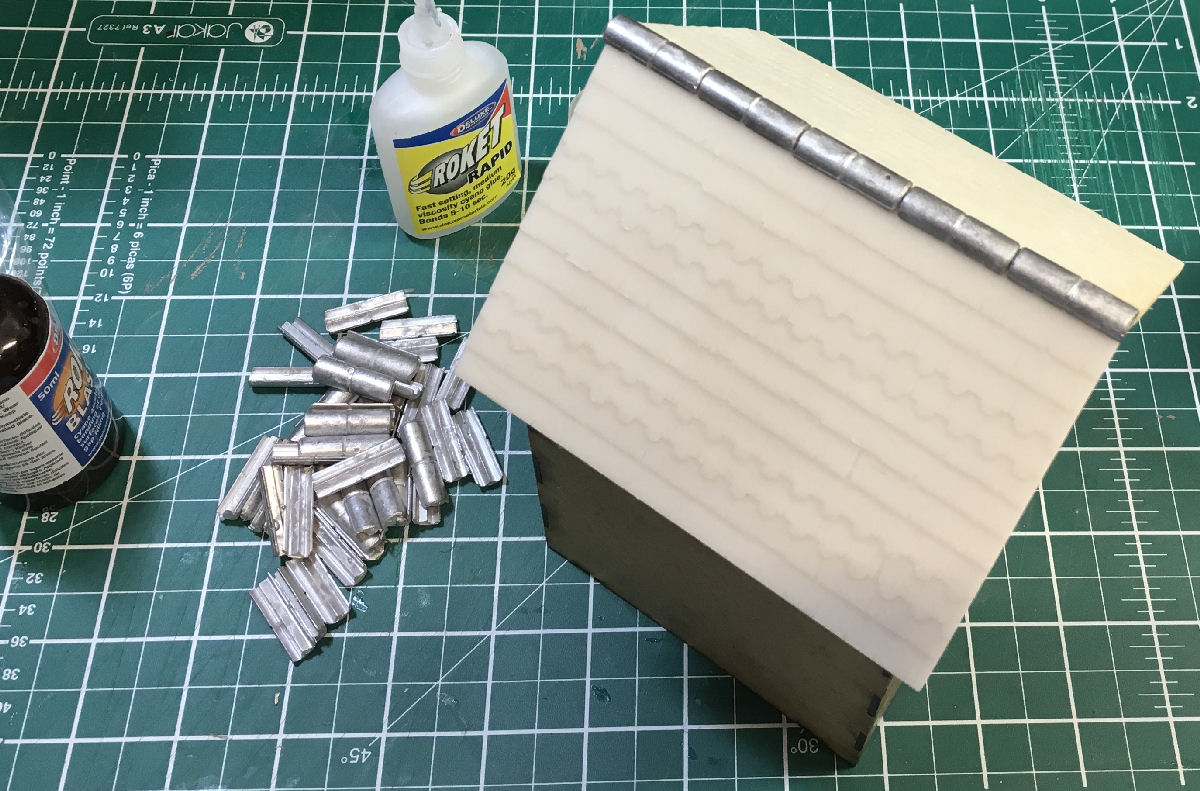
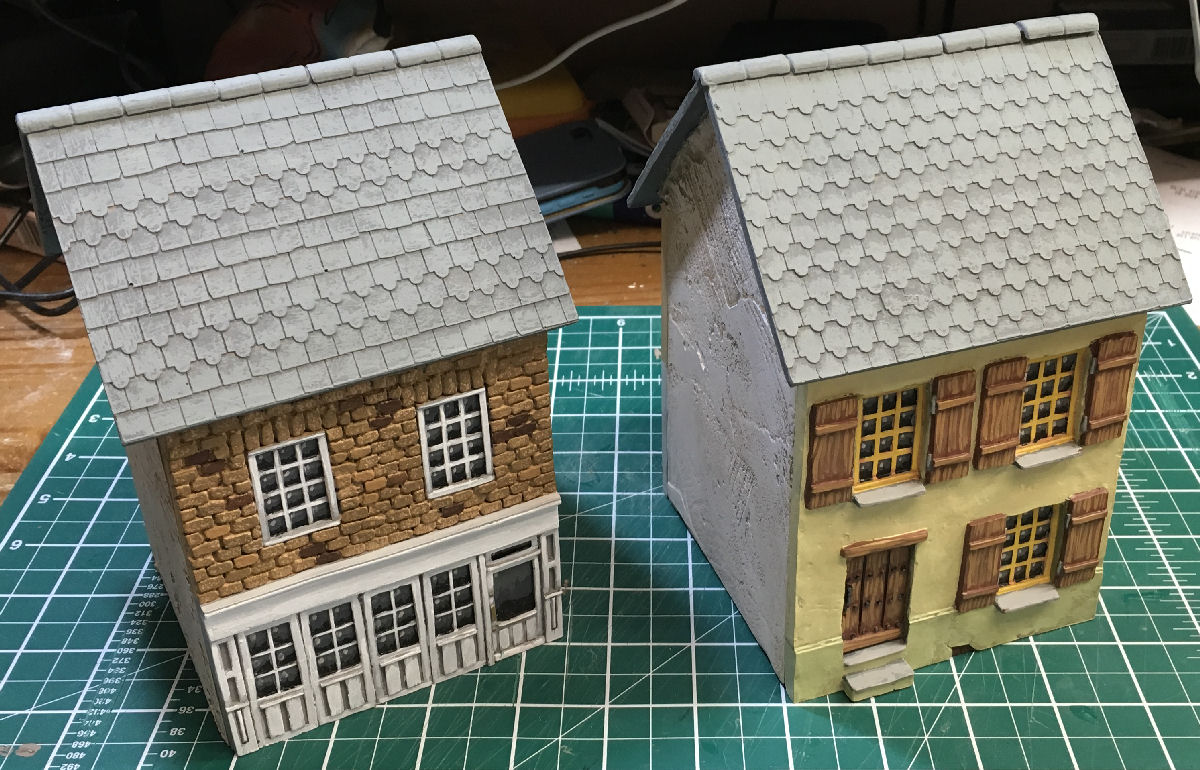
Finally I slathered on some filler to cover the visible MDF joins on the end walls and to add some texture for later painting. This will be sanded back once it's dried.

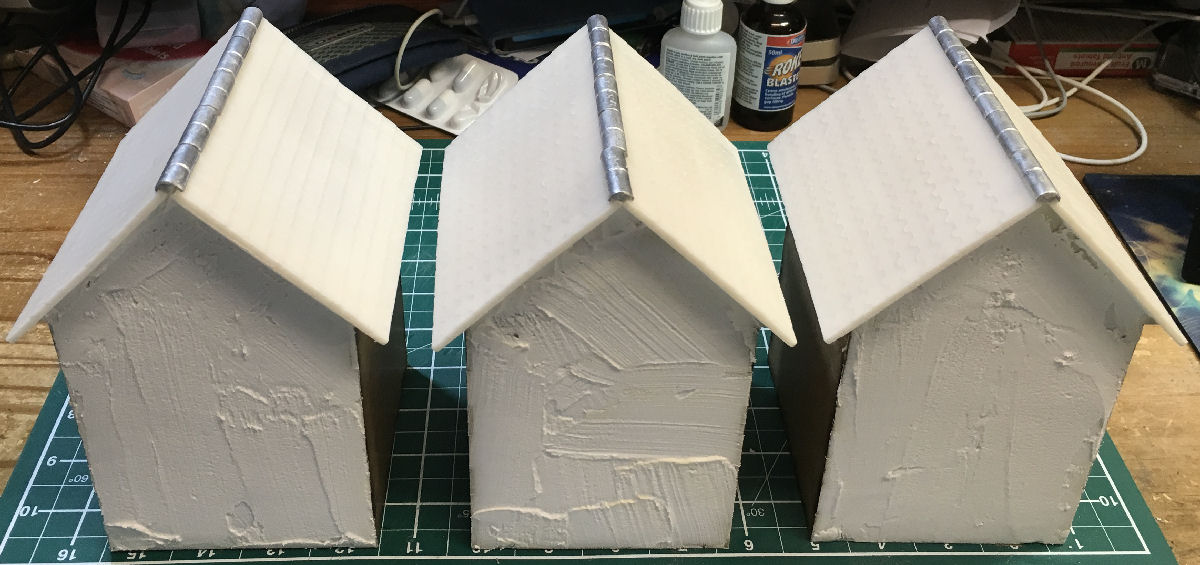
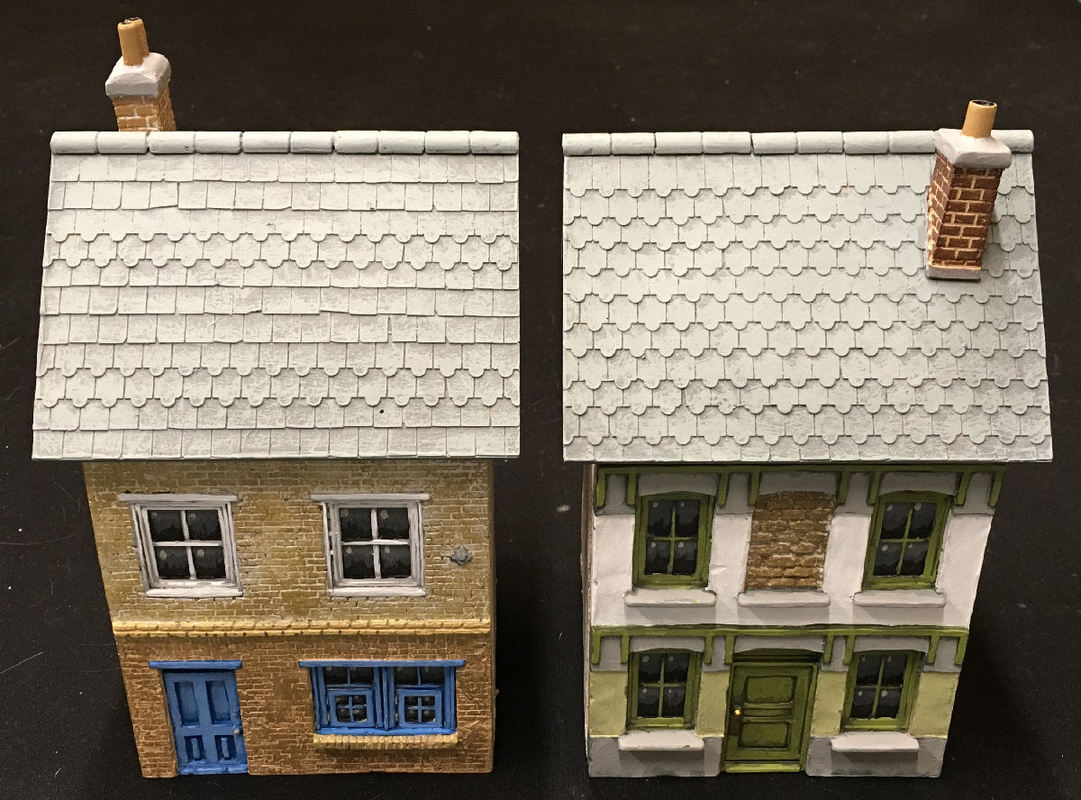
I painted the ends of the buildings with my usual three tone sand that I use for basing and added a final drybrush of white over the top.
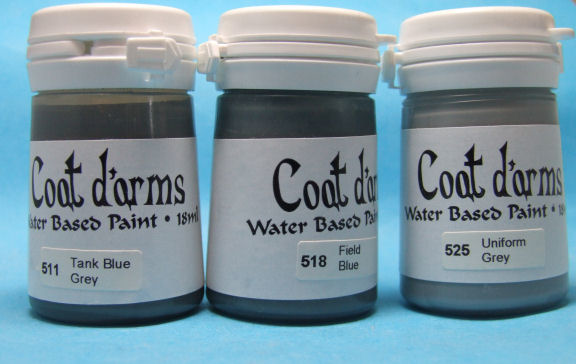
The roofs were painted in my standard grey with a mid tone highlight. I didn't bother with the final highlight colour (Uniform Grey) because the roofs were already light enough. 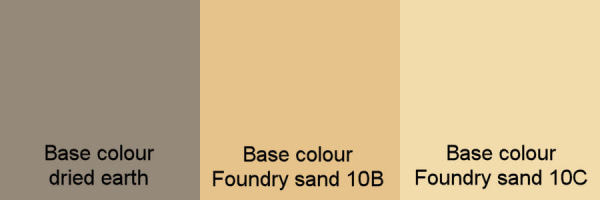
I still need to add the chimneys but here's the first pair of small buildings:

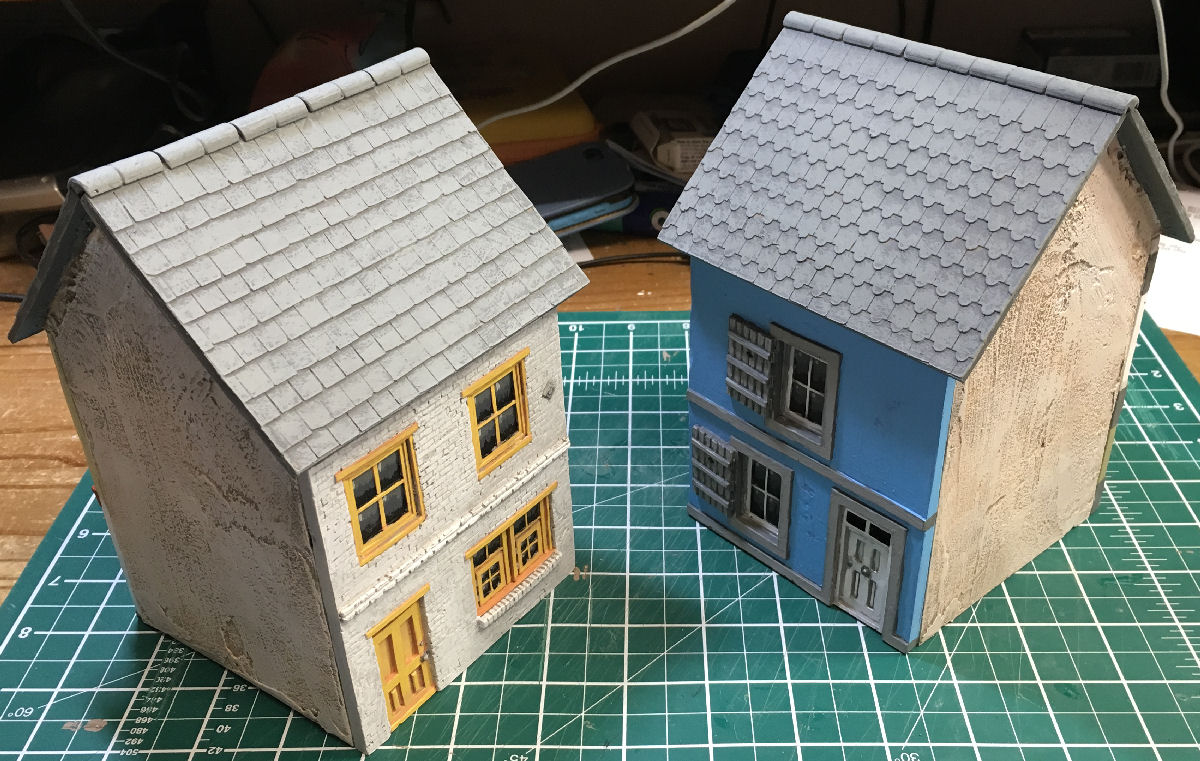
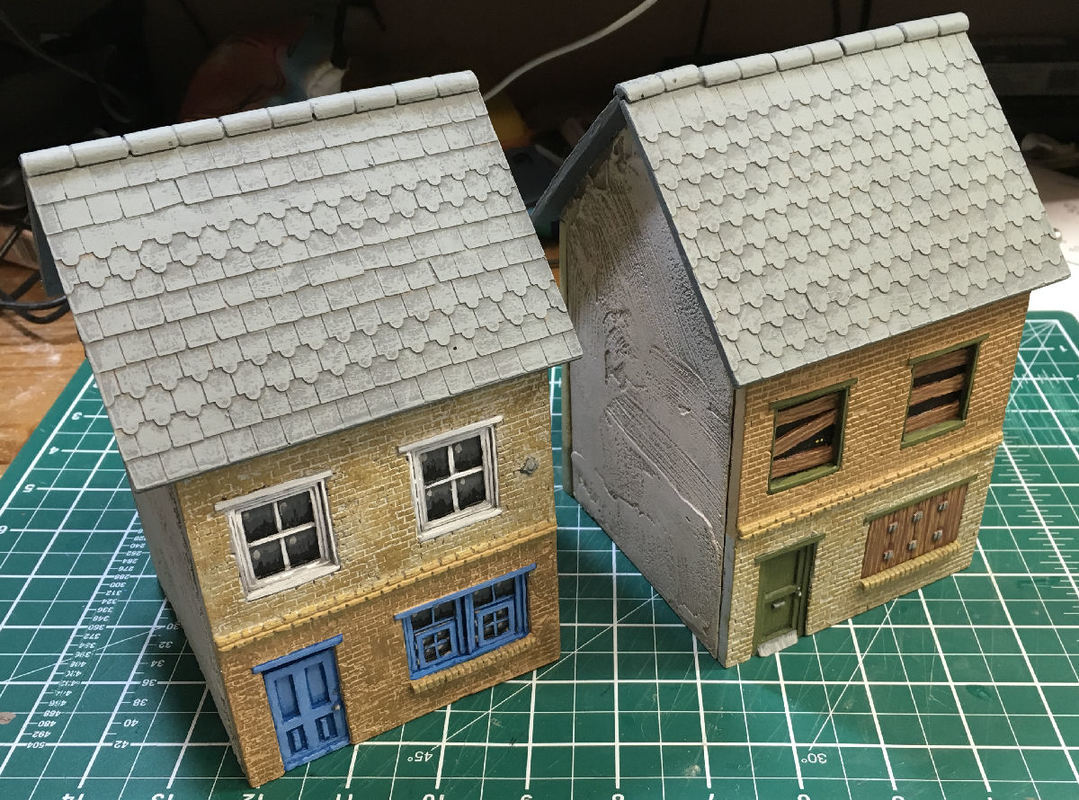
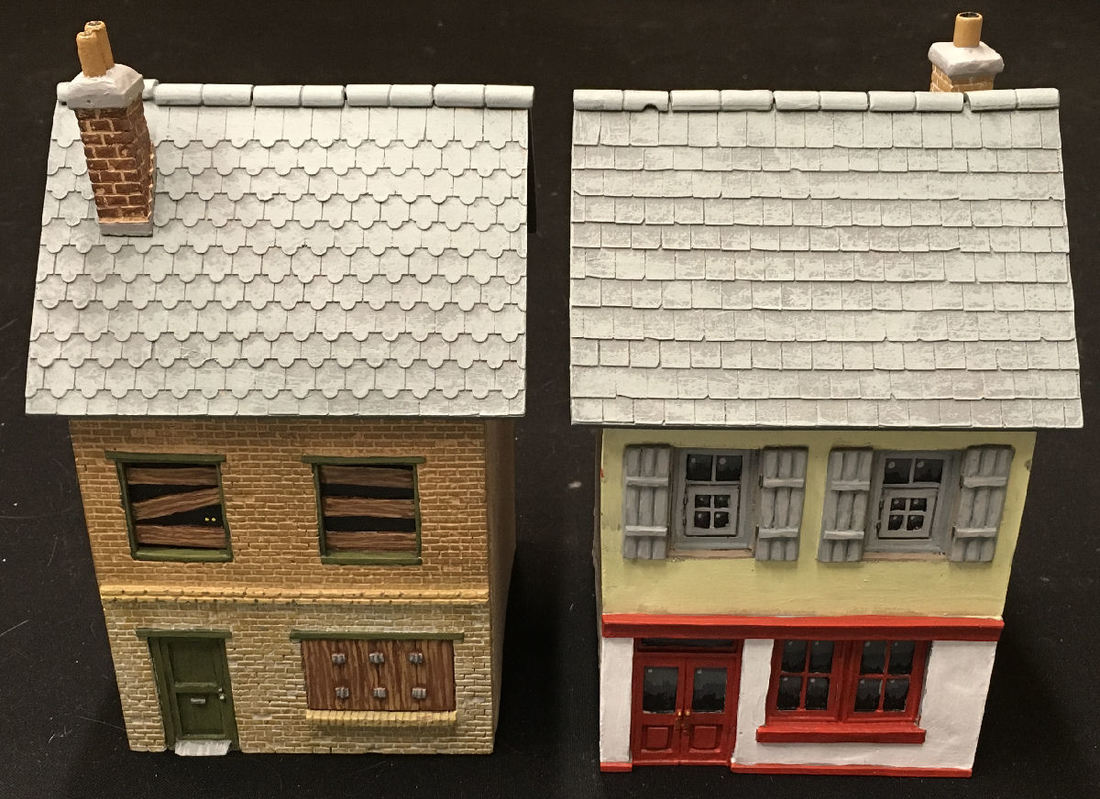
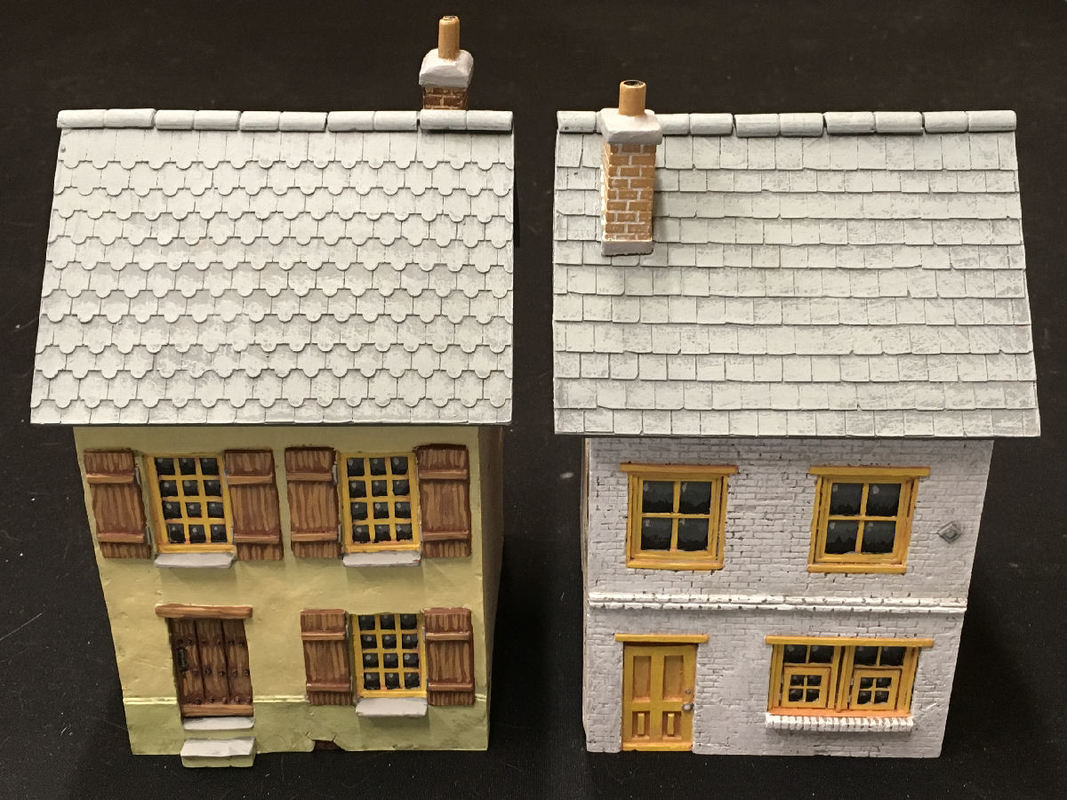
And here's the final pair:

|


|