|
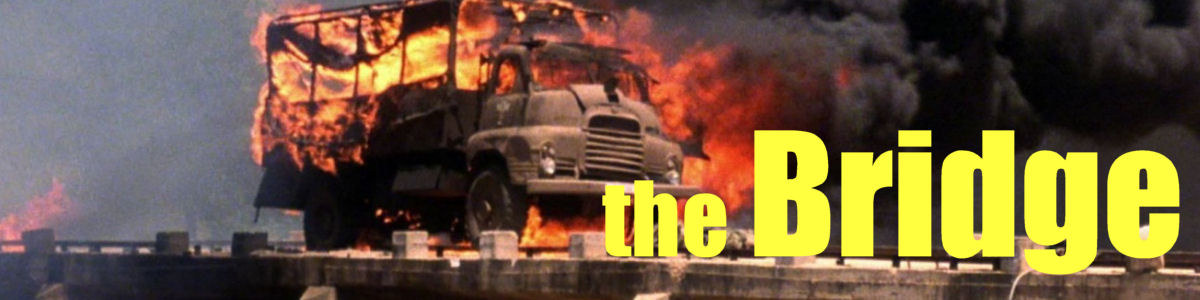
The Bridge
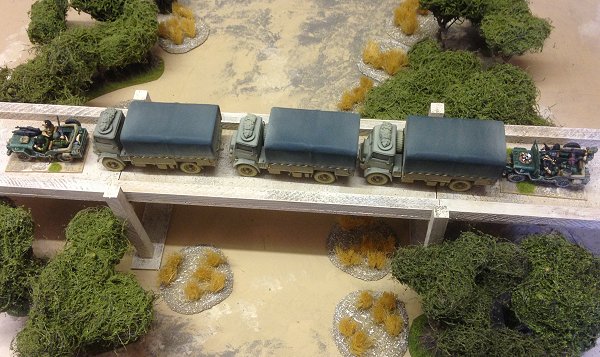
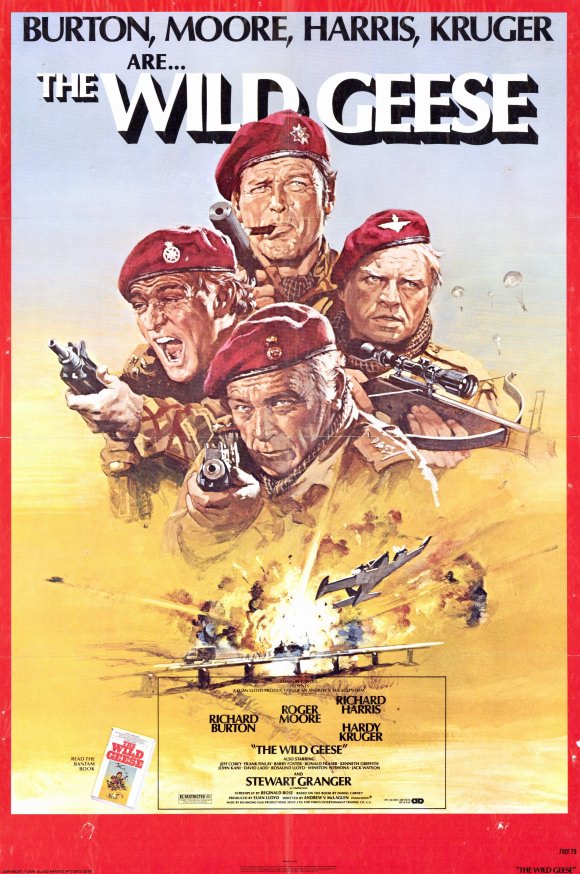
The good people at Wargames Illustrated contacted me and asked if I could use my Congo collection to photograph scenes from the film The Wild Geese to go with an article they were planning to run. The first scene from the film they wanted illustrating was the convoy crossing the bridge where one of the trucks breaks down and the mercenaries get attacked by a plane whilst they're exposed in the open. 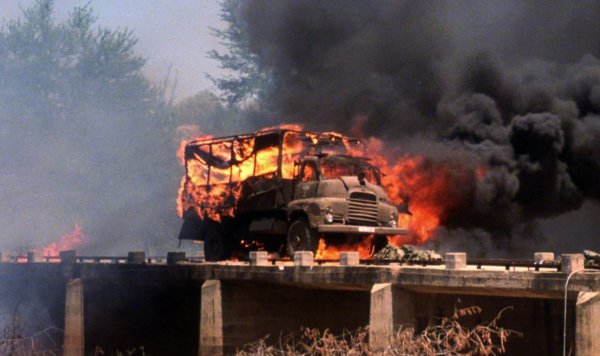
All well and good, except I'd need a bridge.
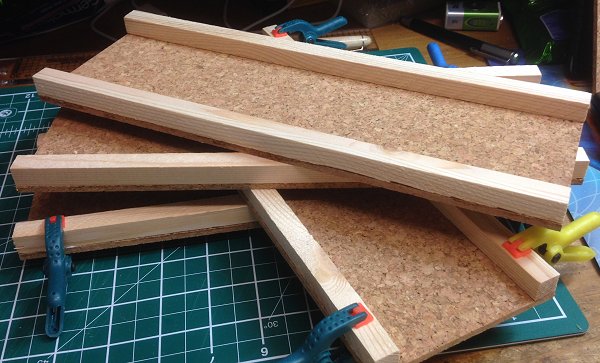
Since the bridge in the film is a very simple design I decided to build a similar bridge that I could use for several settings. This bridge would do for the needed photographs and also be useful in my Anarchy Offline setting and my Juju Man games. OK, let's begin. My table is usually 4ft x 4ft (120cm x 120cm) sometimes I can manage the space for something larger but I tend to build to a 4ft width these days. To this end I decided on four 30cm/1ft sections with separate supports that would be placed at the joins and at each end. I cut the base sections from 4mm cork tile and used 12mm pine dowel for the edges. I buy my dowel off eBay ready cut to 300mm. Gluing the dowel to the cork with PVA was a simple matter. 
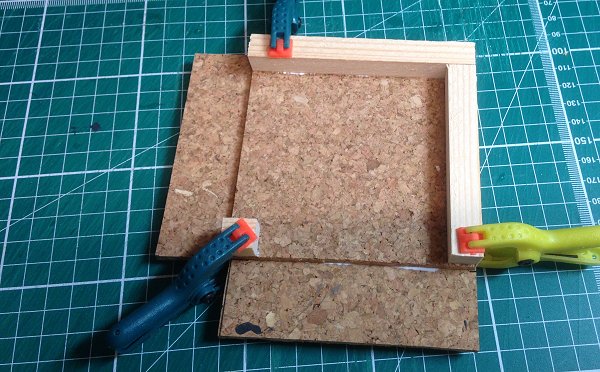
The PVA glue doesn't take long to dry but I used some small clamps anyway to prevent any movement. Once the wood is stuck to both sides of the cork the pieces are completely rigid.
I wanted something equally simple for the supports and settled on a plain 'H' configuration. To add some interest for no extra effort I allowed for the uprights to extend above the level of the bridge sides by a further 12mm.
Four bridge sections require five supports. The uprights were cut to 128mm and the cross beams to 102mm so the bridge sections will be a comparatively loose fit in the finished items. 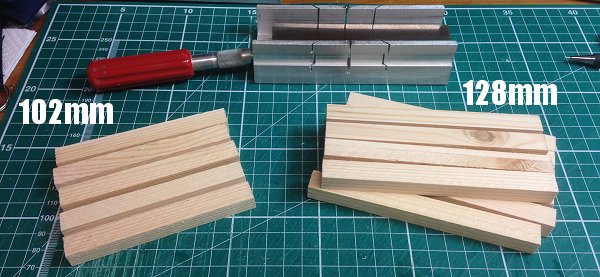
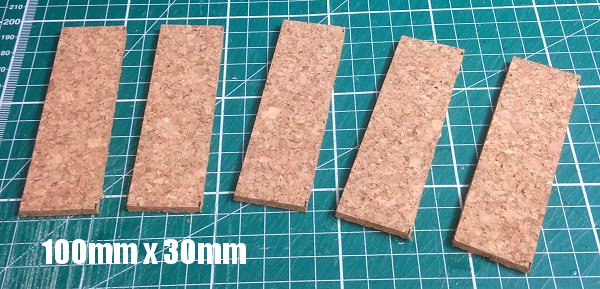
To support the joins in the bridge sections I needed to add a platform to each set of legs. I cut five 100mm x 30mm cork sections for these.
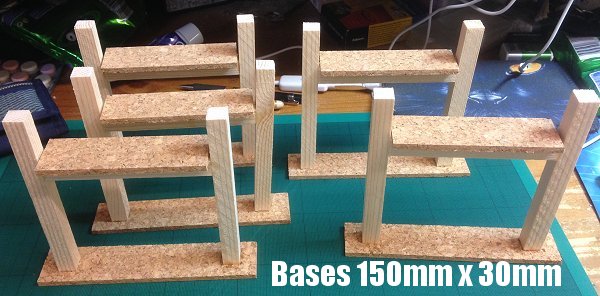
Finally, for stability, I cut five 150mm x 30mm bases and glued everything together with superglue. I Marked where the cross sections had to go first, 32mm from the tops of the uprights.I used super glue to stick everything together.
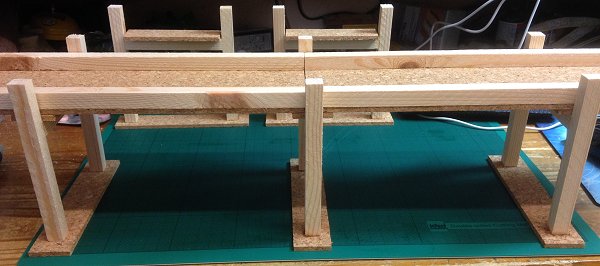
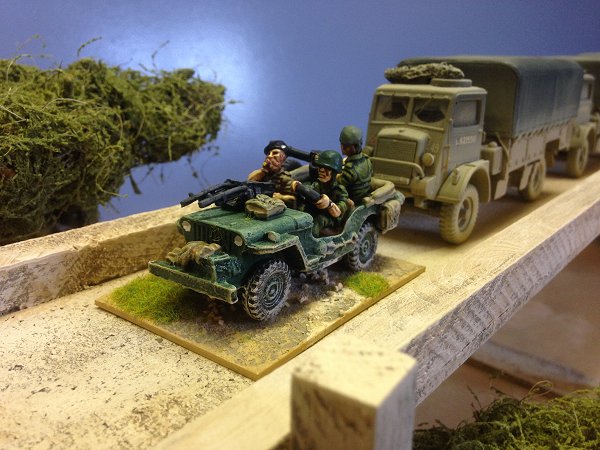
Everything worked.
Even with a truck.
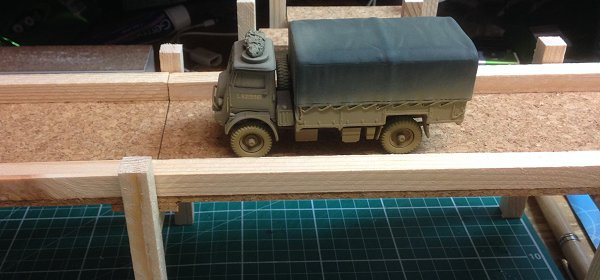
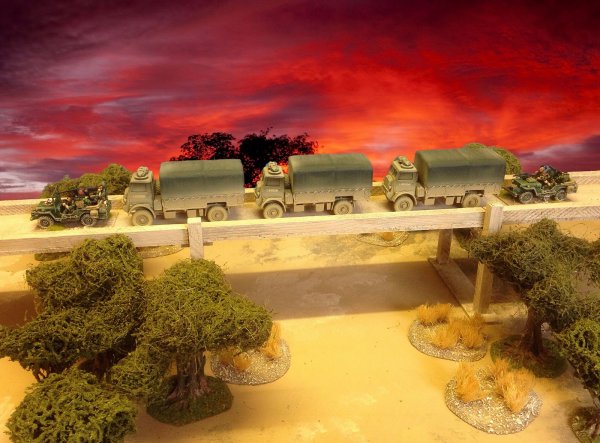
Here's the finished bridge and the convoy.
|
The next step
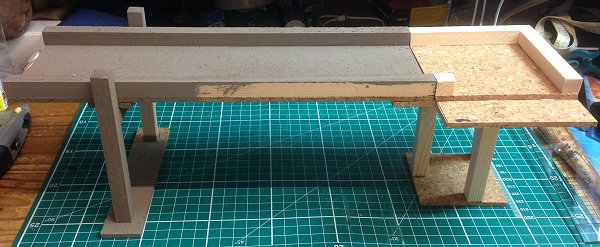
That was it for the photographs but, for general use, I wanted just a little more versatility. I decided to add a corner piece. This is no good for vehicles of course but fine if I want a pedestrian walk way (which I do). the bridge corner was a 100mm x 100mm square edged with the 12mm pine and a 130mm x 130mm square with a 30mm cut out to go under it to act as a support for the joining straight sections. 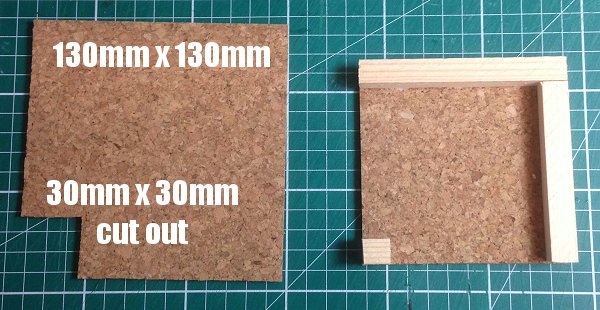
With the larger section glued underneath the corner supports the bridge sections adjoining it and saves me having to make more upright supports.
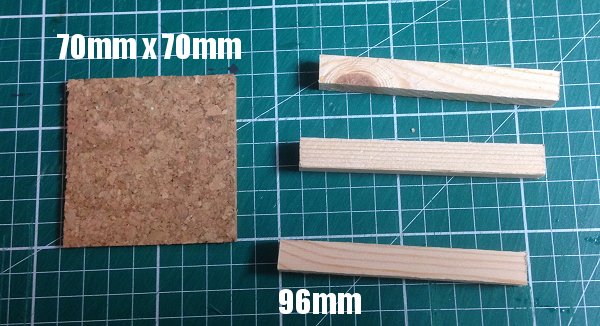
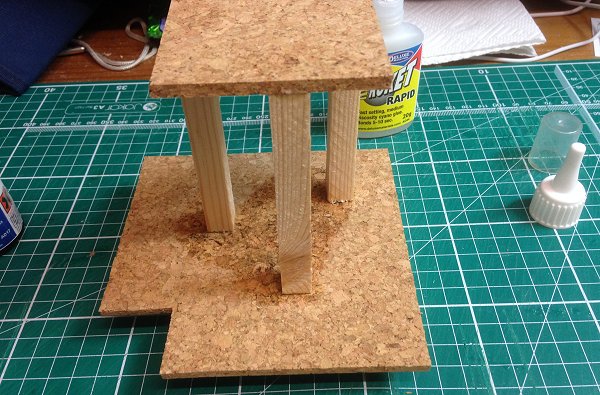
To support the corner section itself I cut three 96mm legs from the pine and an arbitrarily sized 70mm square to base them on.
One leg was glued in a corner (this will support the corner of the bridge section) and the other two were glued just off centre on the sides corresponding to where the support ledges were. I didn't measure anything, just placed them by eye and glued them with super glue.
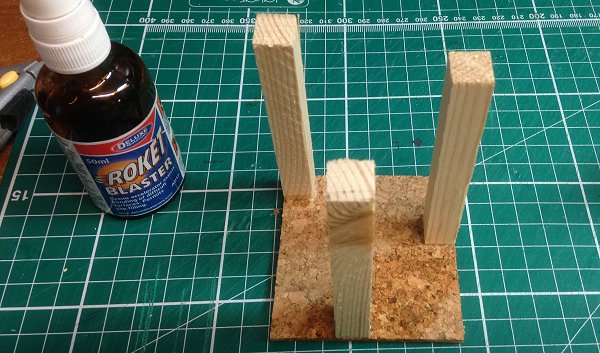
The whole assembly was glued centrally to the bridge section with super glue. Again, I didn't measure the position because the placement wasn't crucial.
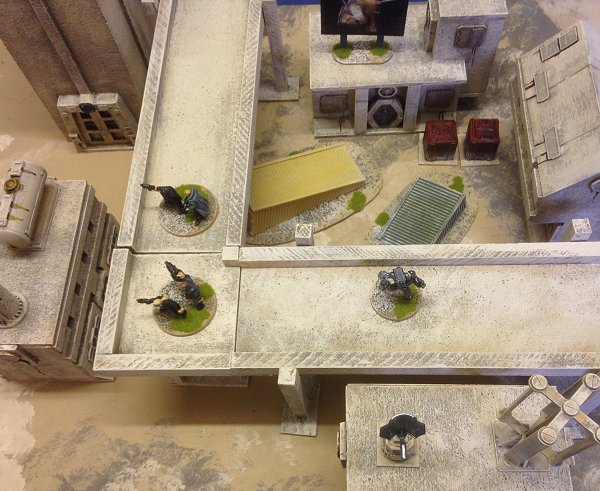
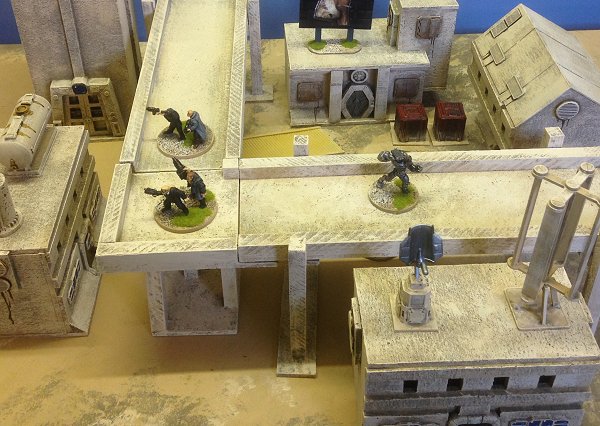
Here it is with some of my Anarchy Offline buildings and miniatures as a raised pedestrian walkway.
As a straight walkway I can add a train track or vehicles. For my Juju Man games I aim to add some red inserts and use it as a raised blood canal. 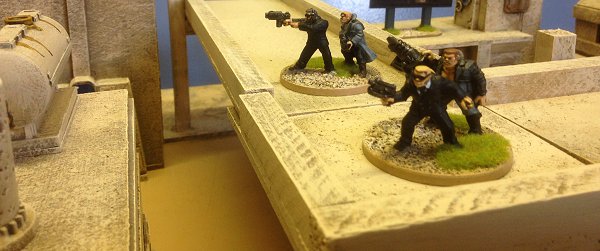
|