|
Adventure 1: The Wizard's Request
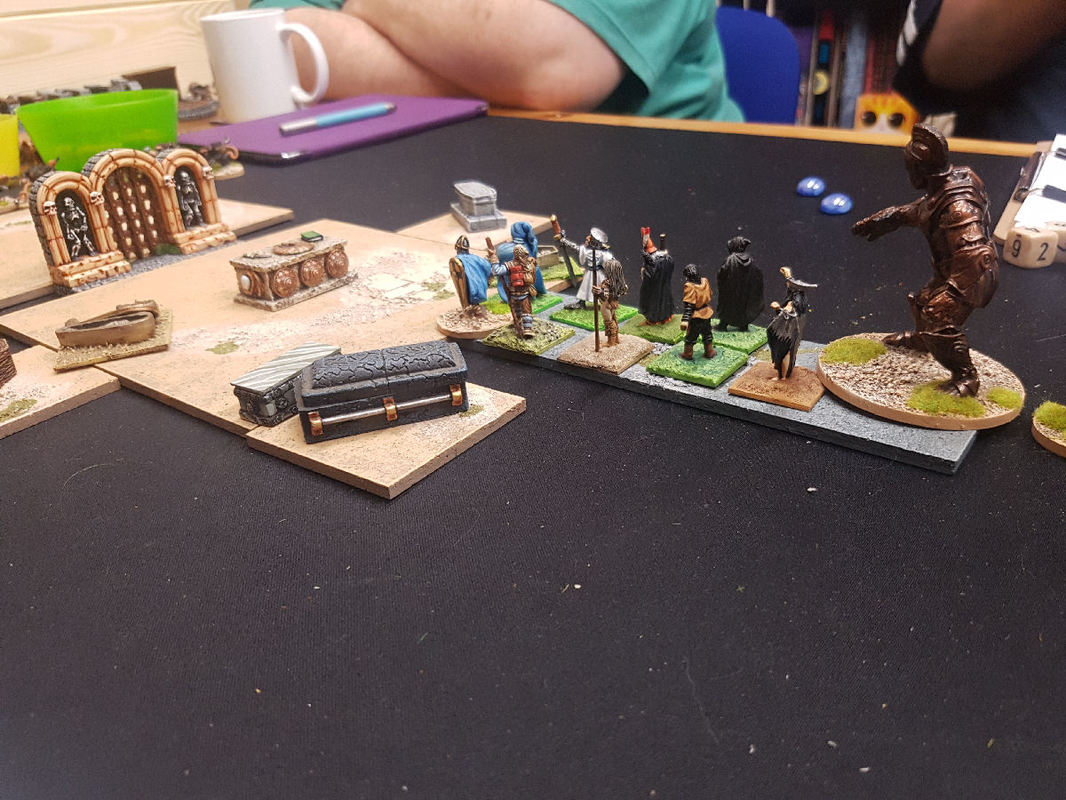
A summary: Broxar Thralk of the Yellow Eyes assembles our heroes into a group and sends them, against their will, through a portal to some far corner of time and space to locate and bring back a mysterious suit of armour. The party of new adventurers make their way through a confusing and deadly series of vaults guarded by fearsome clockwork monsters. At every turn they are stepping over the bodies of those that preceded them. They find the body of Rufflod, a rogue from their distant past and in another chamber they find his head, along with many others, kept alive by machines. Rufflod joins the party by having his head transplanted onto the shoulder of one of the heroes- just until he can find a permanent home. He whispers sage advice to his new host in times of need. Eventually the band of tired and bleeding travellers locate the armour only to find that it is the life-support suit of an alien space traveller. They revive this traveller and he joins them. They name him Clank and together resolve not to return to Broxar Thralk but to journey to the city of Kor and find Xixthur, a legendary god in a bottle that confers immortality since Rufflod holds the long lost key to his hiding place. Adventure 2: The Ruins of Kor
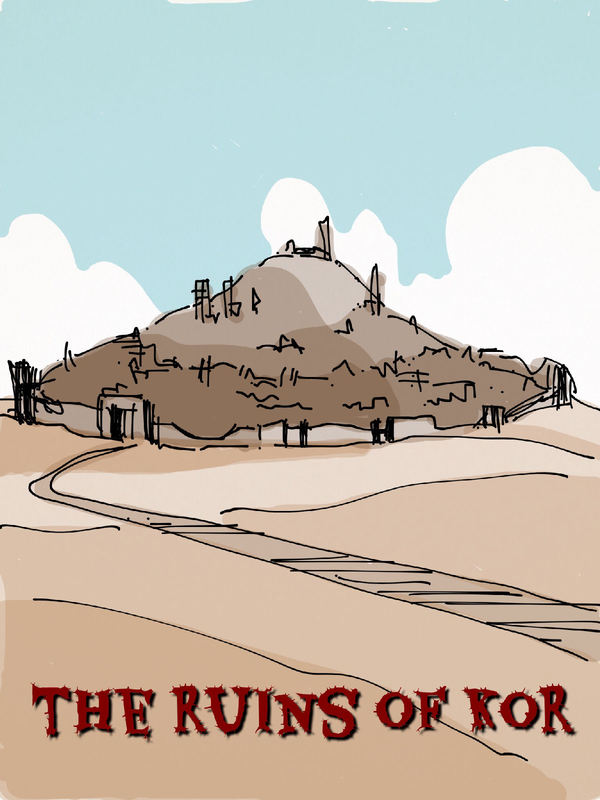
A summary: Arriving at Kor the party finds it a ruin inhabited by feral swarms of starving, ghoul like scavengers who in turn are preyed upon by bands of cannibalistic brigands. The whole place is also overrun with rats and rat men. The heroes' attempts to reach the remains of the royal palace are thwarted time and again until they find the werck of an ancient Radimorian flying car which they manage to coax back to life. It's final flight takes them to the remaining part of the palace that is not in ruins, a single tower surrounded by a strange magical barrier. Adventure 3: The Palace Tower
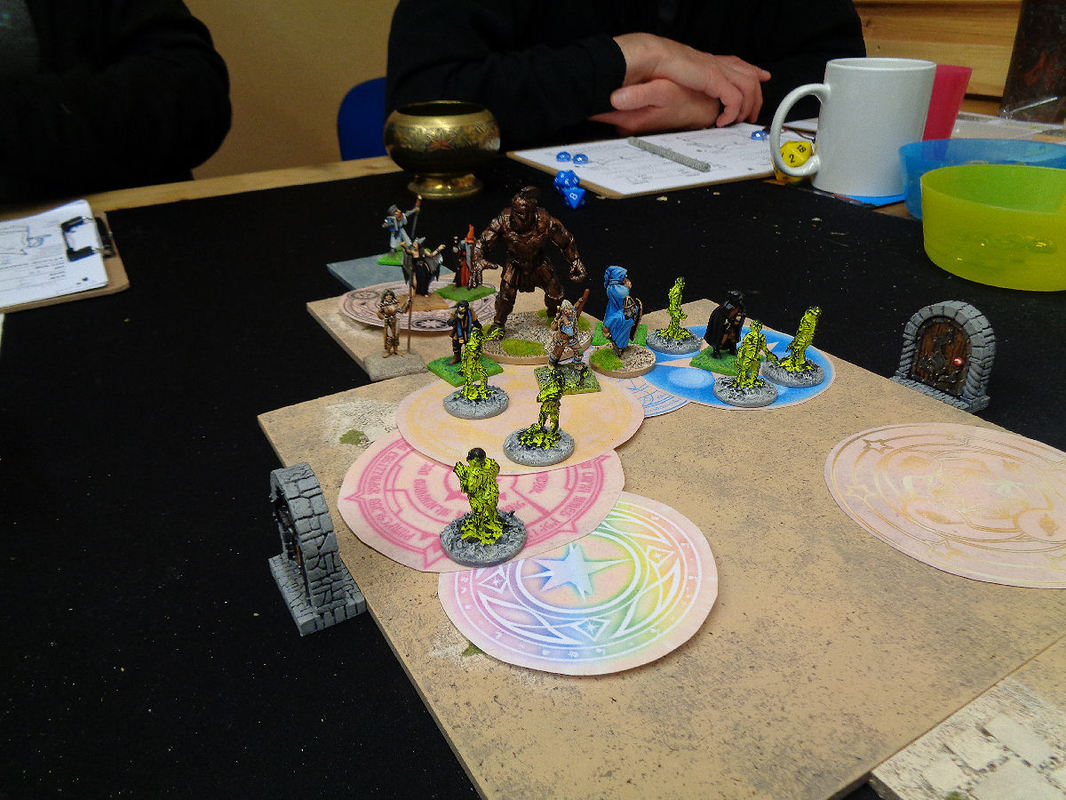
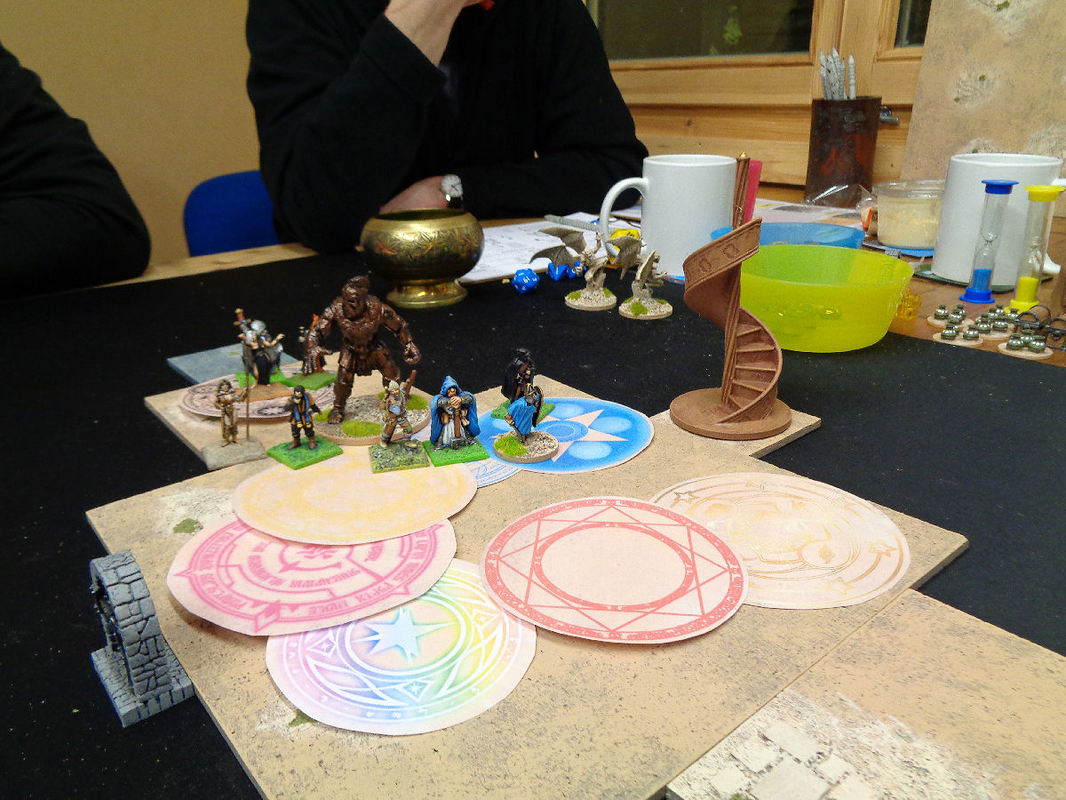
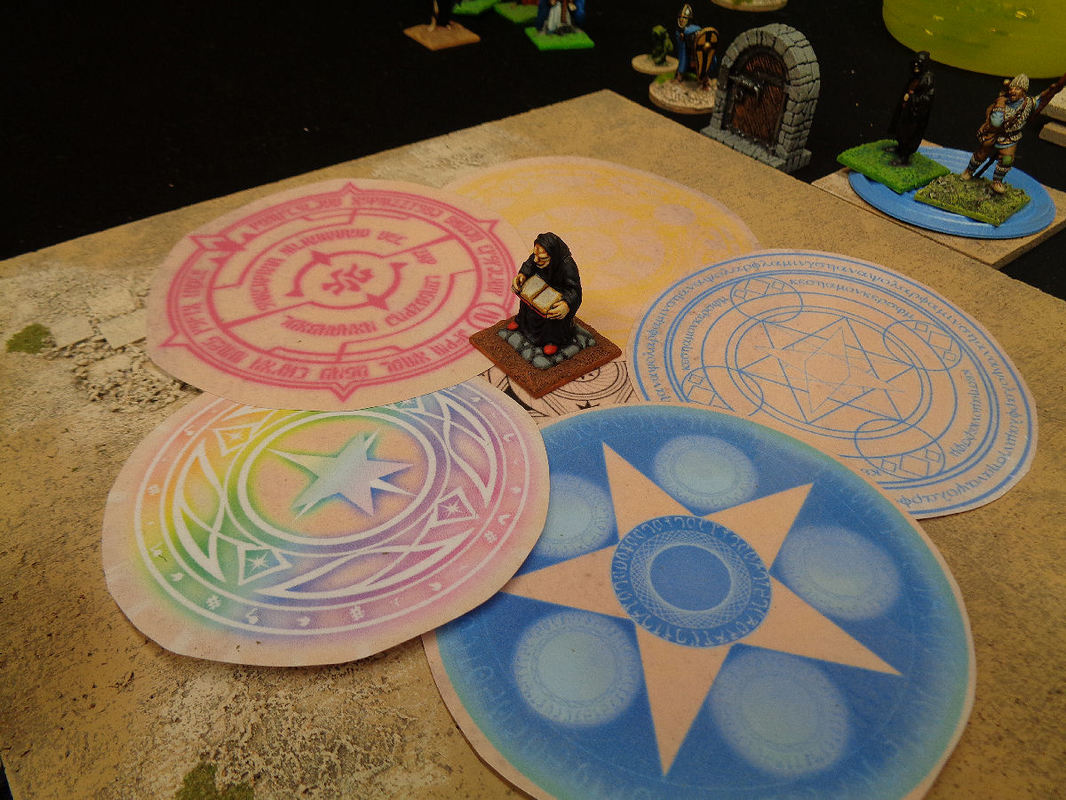
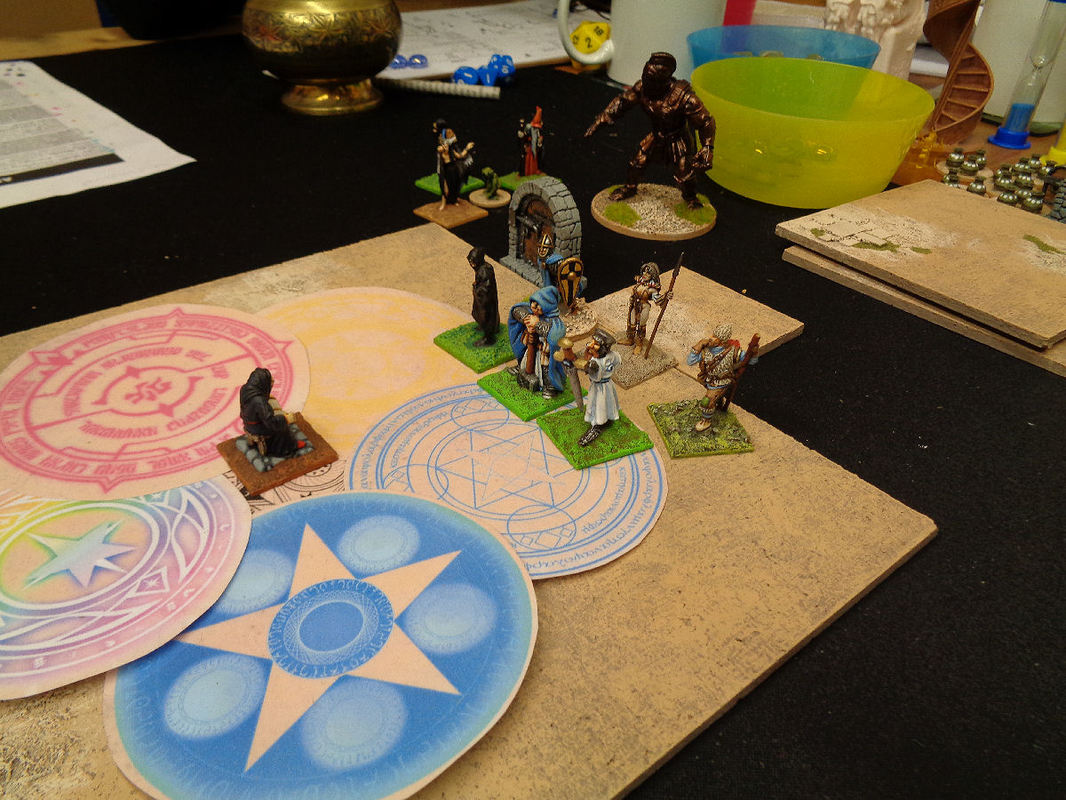
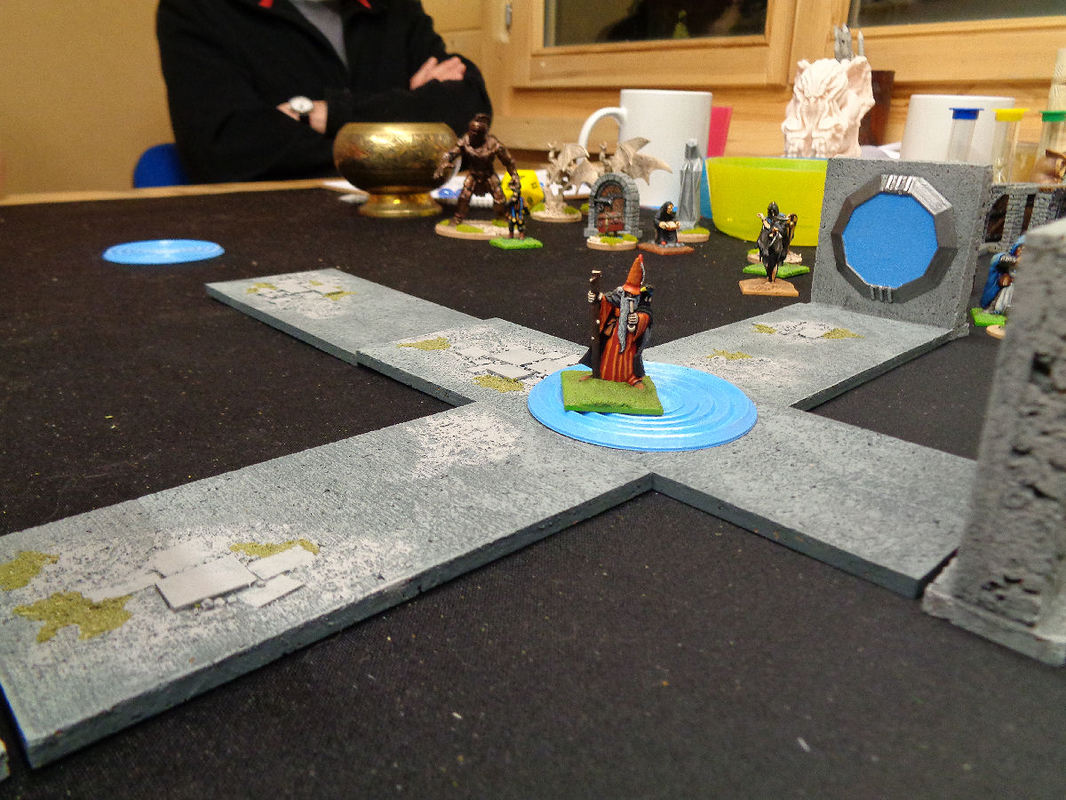
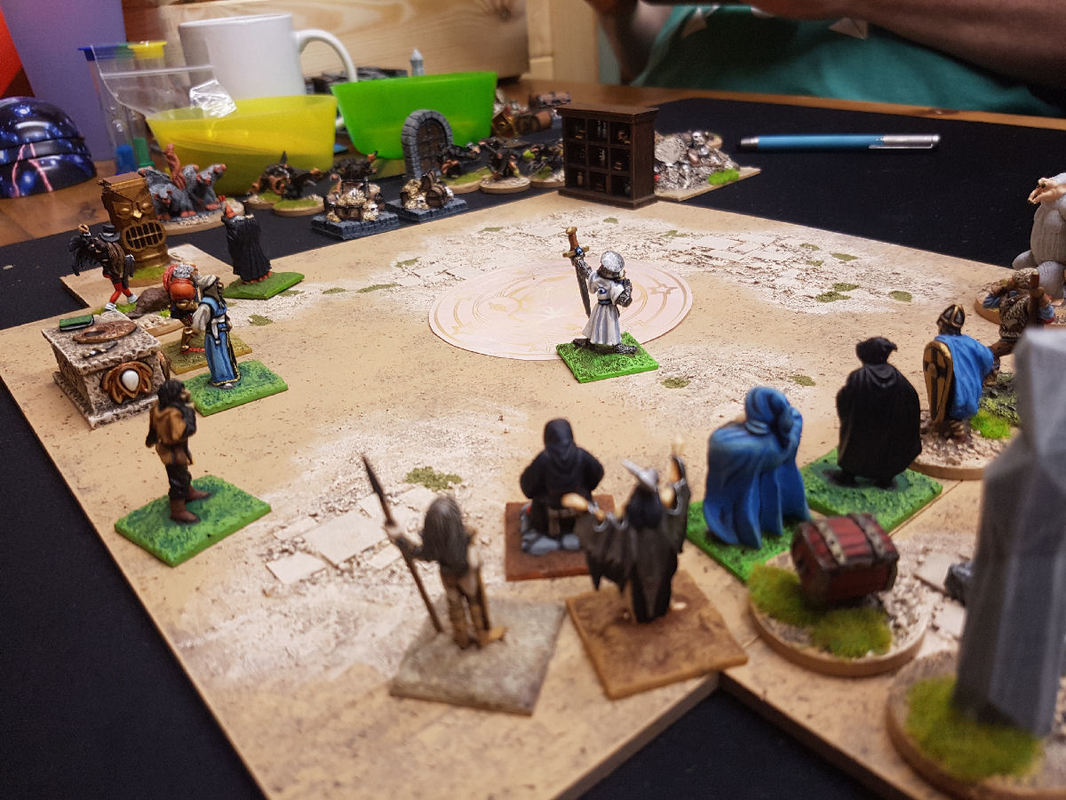
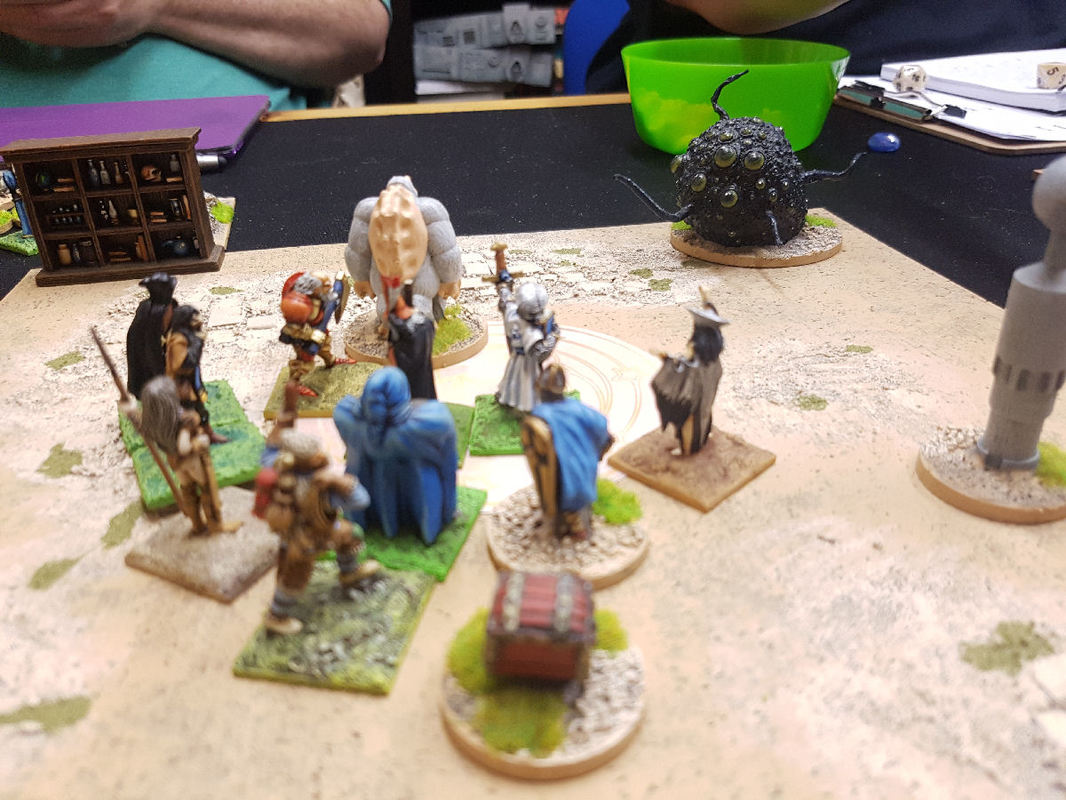
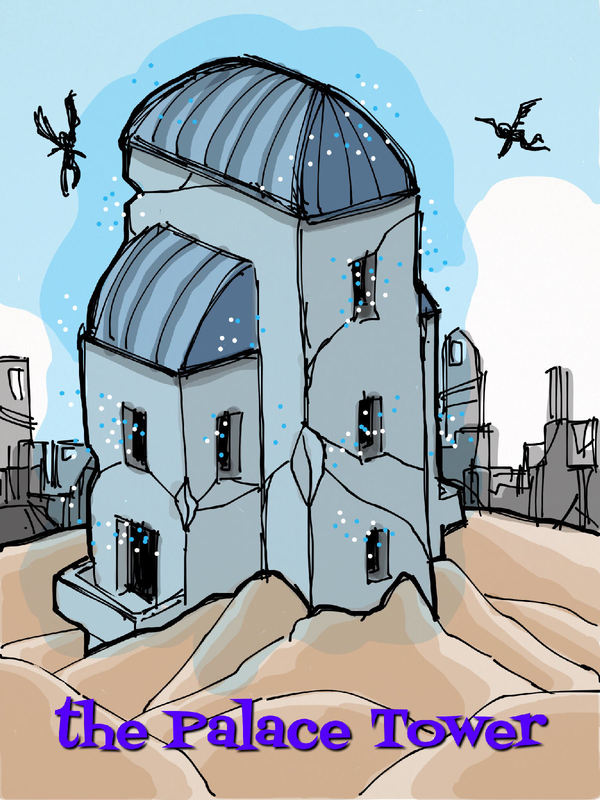
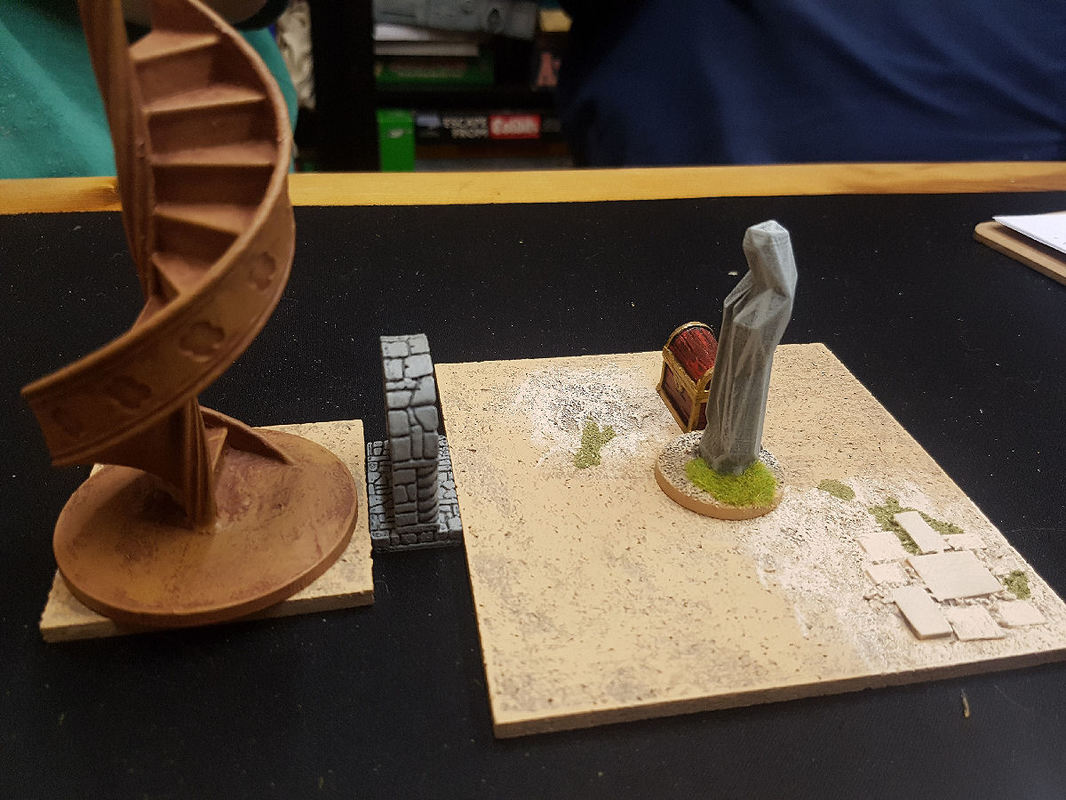
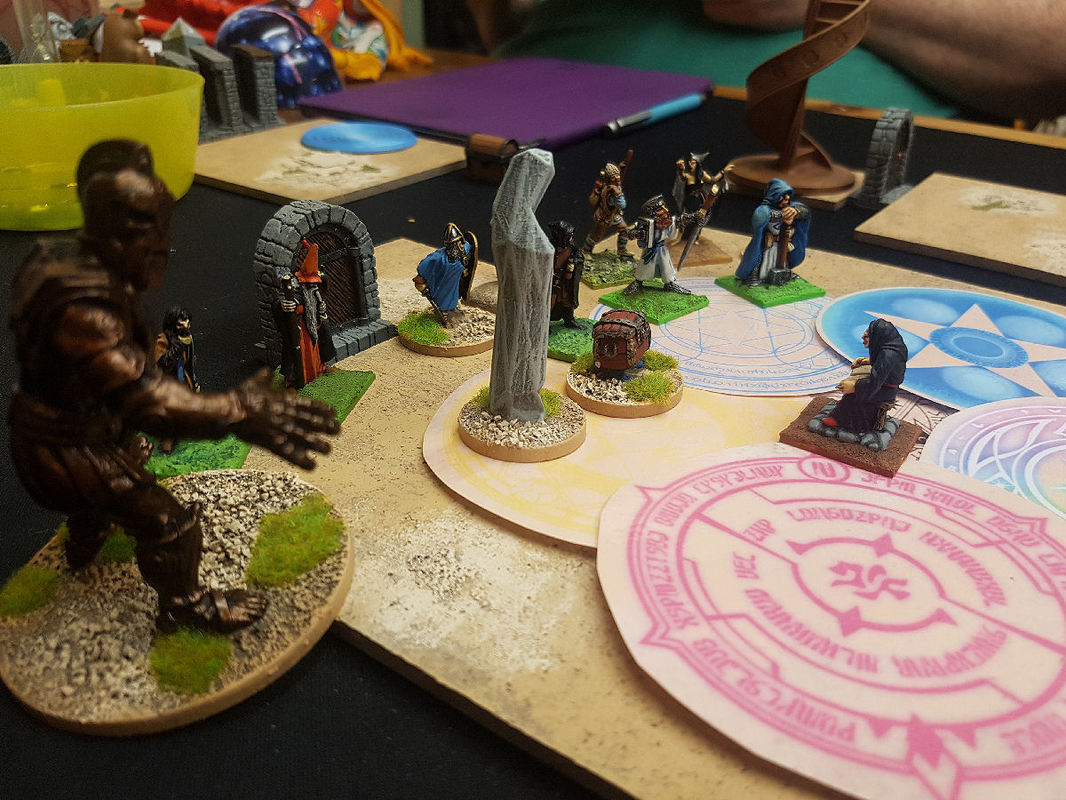
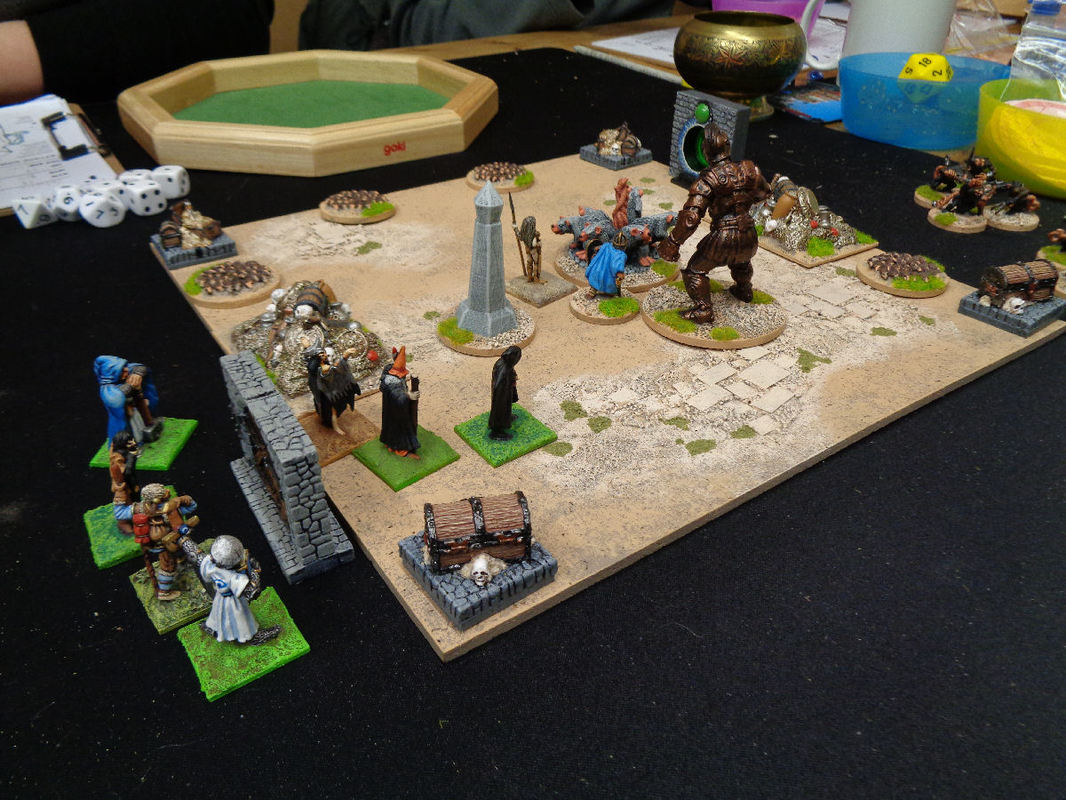
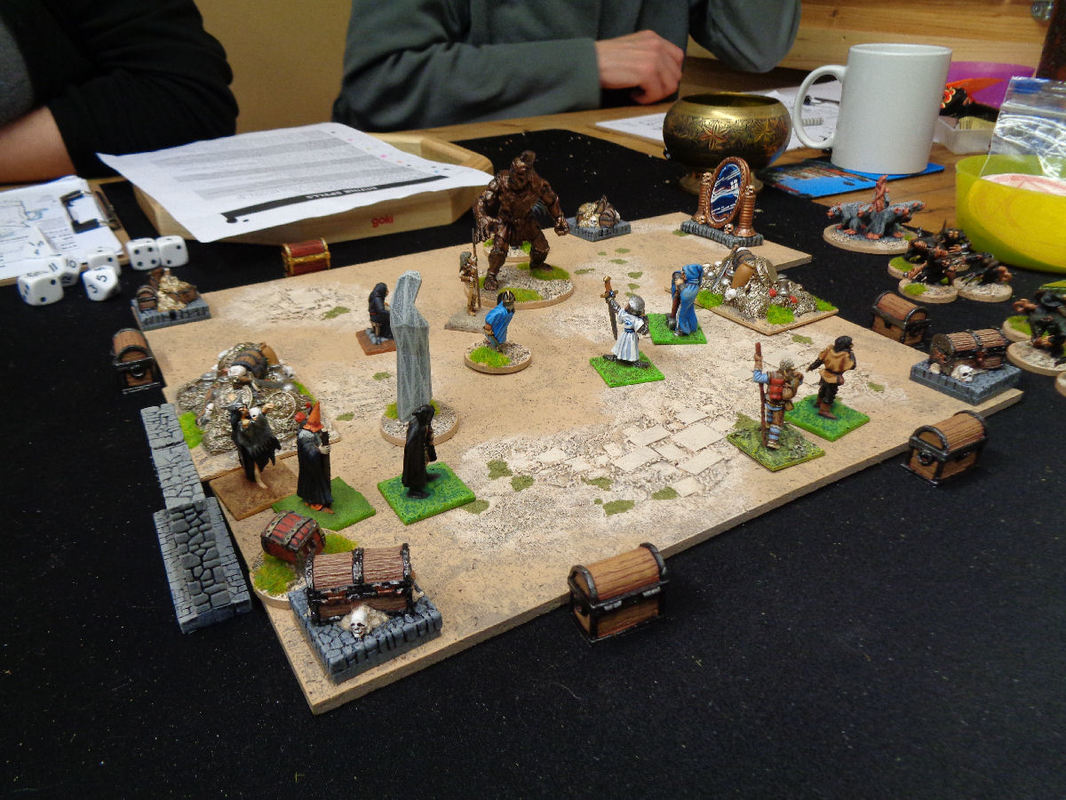
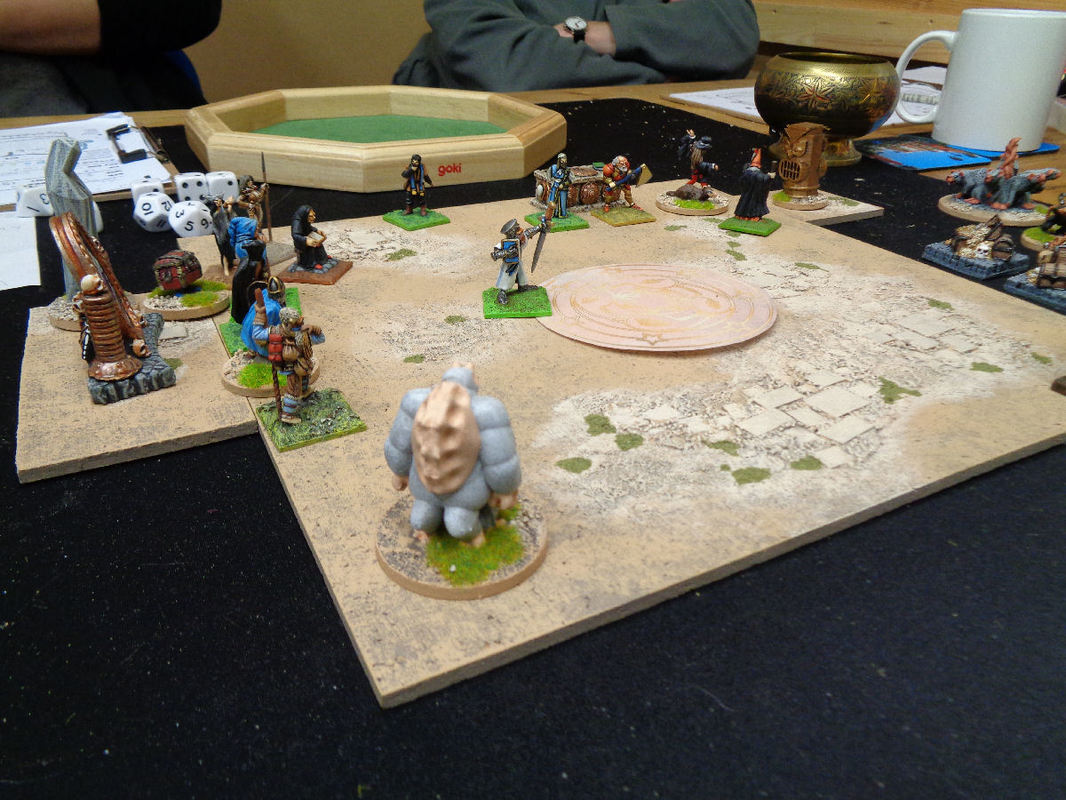
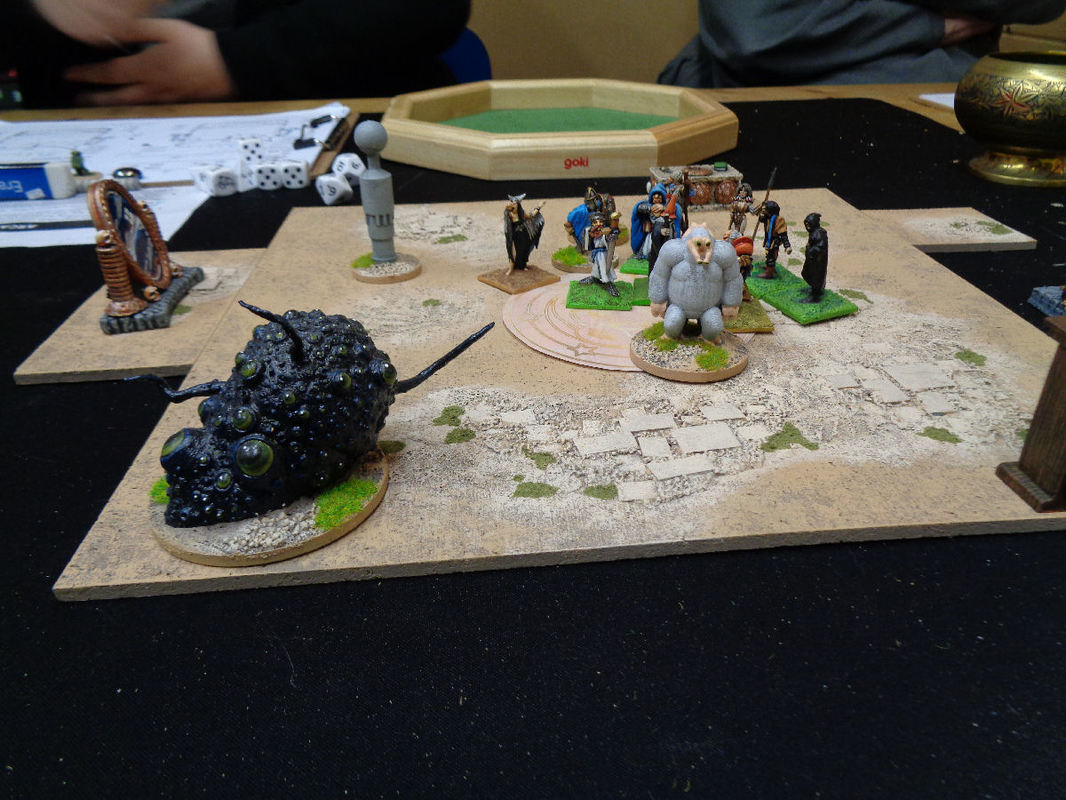
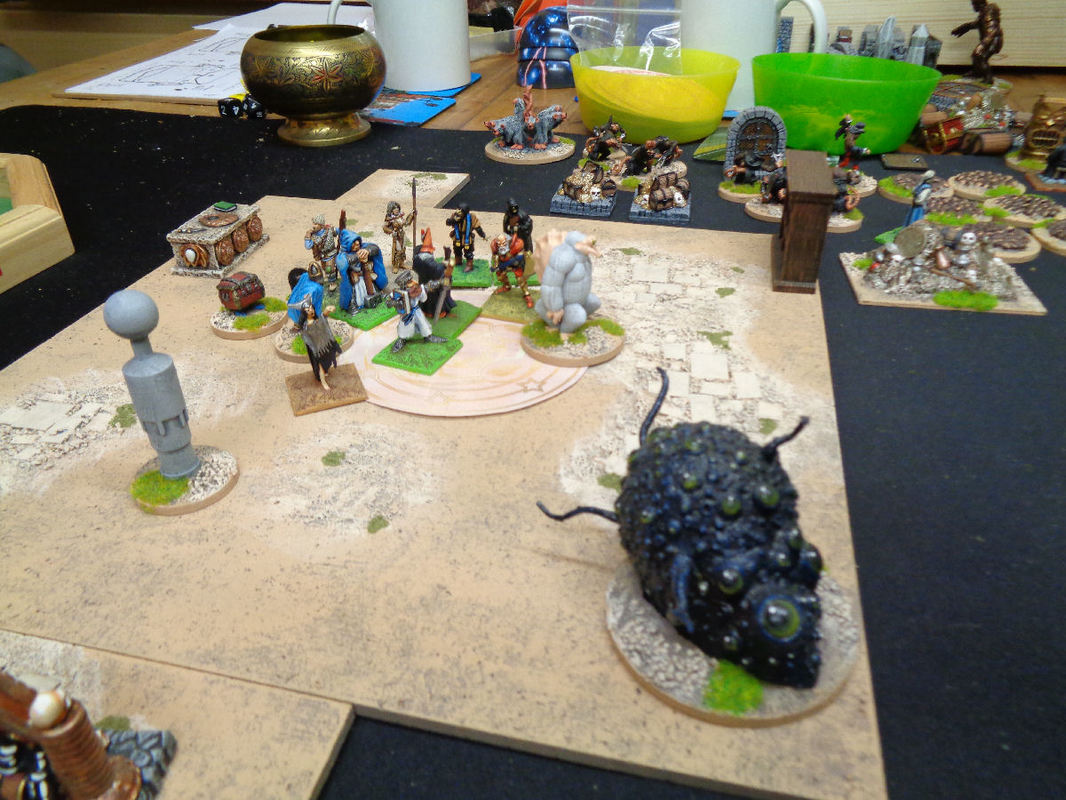
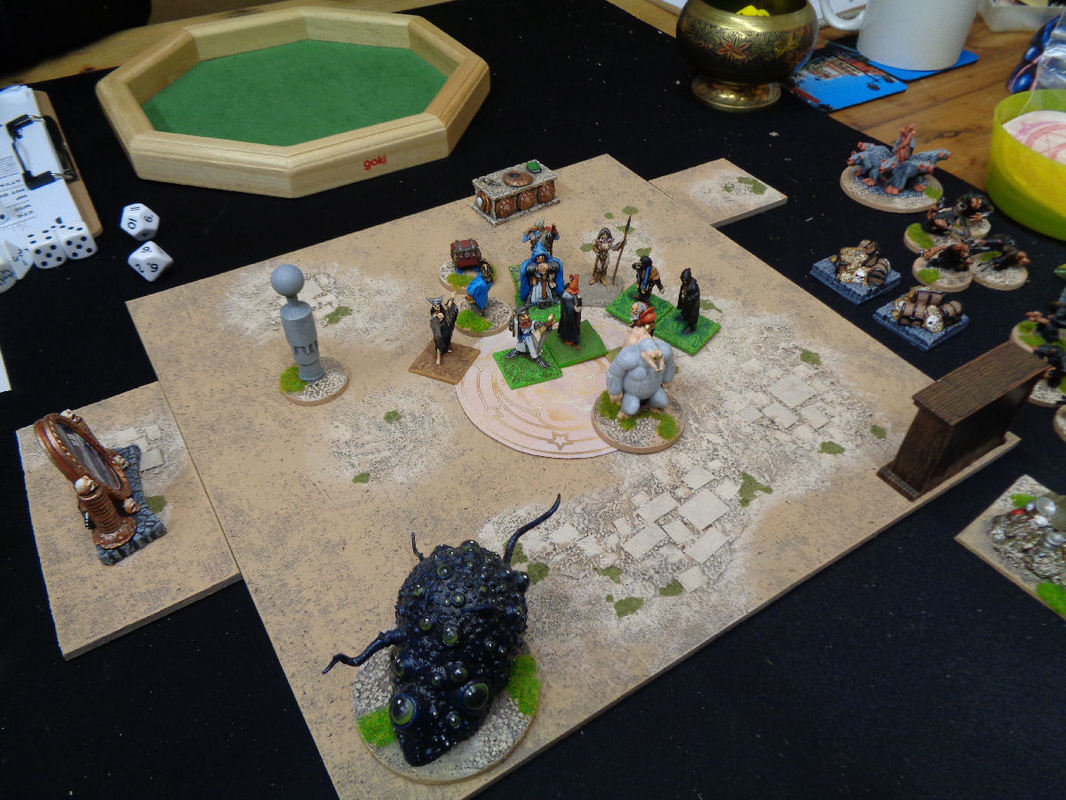
Armed with the Diadem of Candara, Immortal Queen of Kor, the party makes its way through the rat and cannibal infested ruins of the city of Kor to the single tower of the palace that still remains standing in an attempt to find the magical door that the diadem unlocks, They believe that the door leads to Xixthur, Candara's legendary god in a bottle that kept her young and alive for thousands of years (before an unfortunate run in with a demon ended all that). Breaking through the magical barrier that surrounds the tower by exploding the failing power core of their salvaged Radimorian flying car they make their way into the tower via a balcony. The rooms that greet them are covered in deep dust and show the effects of a fierce magical battle. Moving forward the party trigger dormant but still powerful circles of protection and summoning that cover the floor in a haphazard overlapping pattern bearing witness to the frantic struggle that happened here millennia ago. Fiery guardians appear and attack them. After a fierce battle the summoned guardians are extinguished.
There is the sound of thundering hooves and the braying bellows of some creature echoing from the depths of the tower so, after careful and studious deliberation, the heroes decide to see what's upstairs. Making their way up the tower and circumventing more magical barriers by climbing the outer wall in places the characters reach the top floor where a mummified figure sits in rotting robes surrounded by many (very active) circles of protection.
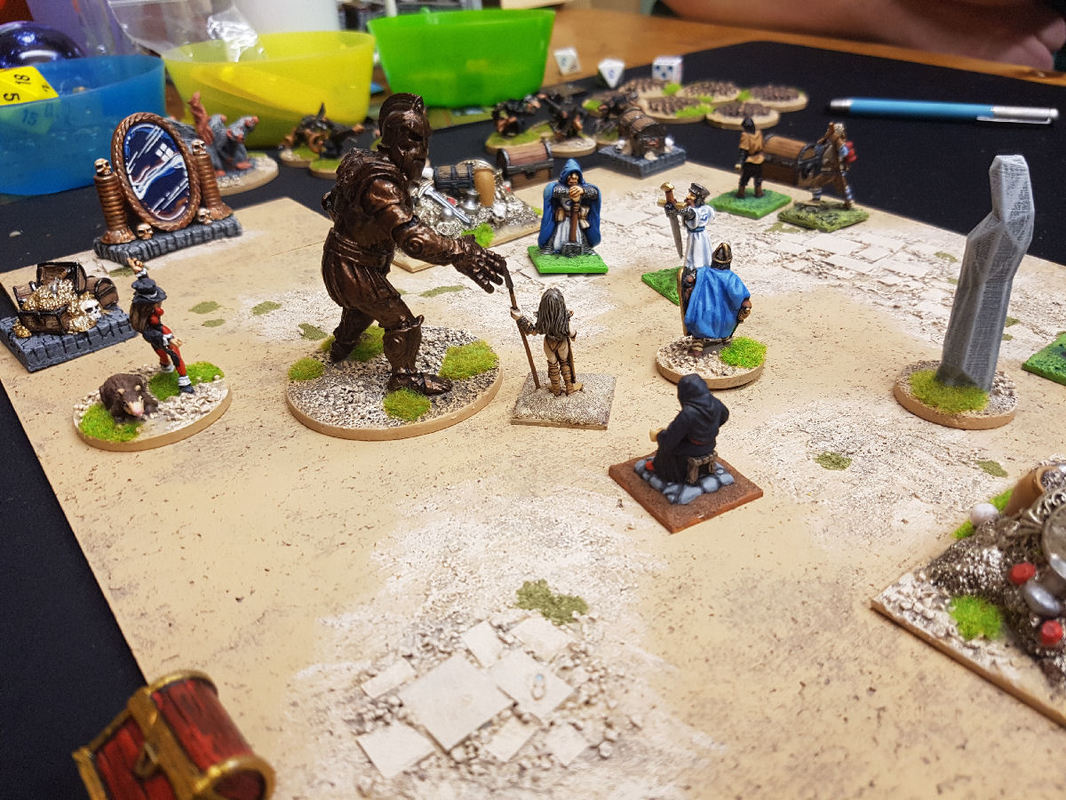
To their astonishment the figure is alive. They find themselves conversing with the ages old Merdoramon the magician, slayer of the Eberteen Shackleminds, a sorcerer from fabled Radimore in Tharia.
Years ago Merdoramon travelled to Kor from the distant past to try and obtain Xixthur when it was last seen- at the point when Candara died. He was not alone in this quest however and he found himself battling Kylwyrrwn a rival wizard who unleashed a terrible demon which stalked and battled Merdoramon through the palace wreaking havoc and destruction in its wake. Unable to kill the demon Merdoramon trapped it in a magical labyrinth he conjoured beneath the palace where it still rages while Merdoramon spends what little energy he has left keeping the magical barriers in place. Both have existed in this state for thousands of years. The heroes agree to enter the labyrinth in order to learn the true name of the demon. With this information Merdoramon can finally banish it from the world.
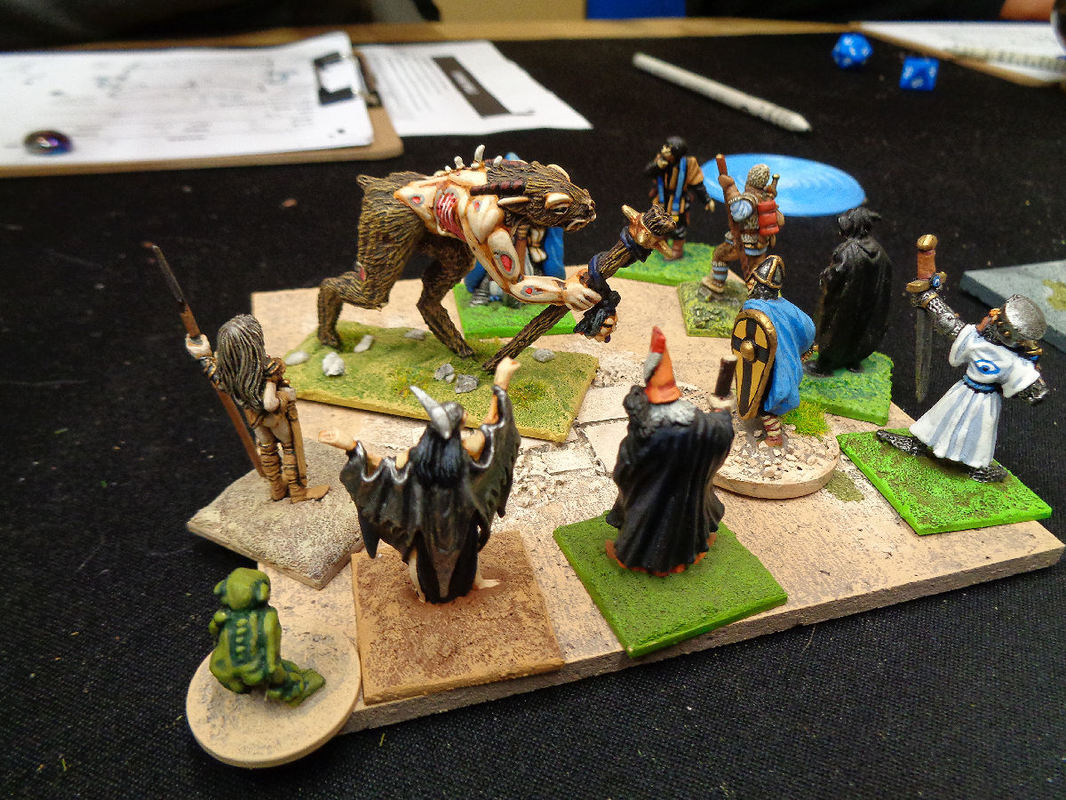
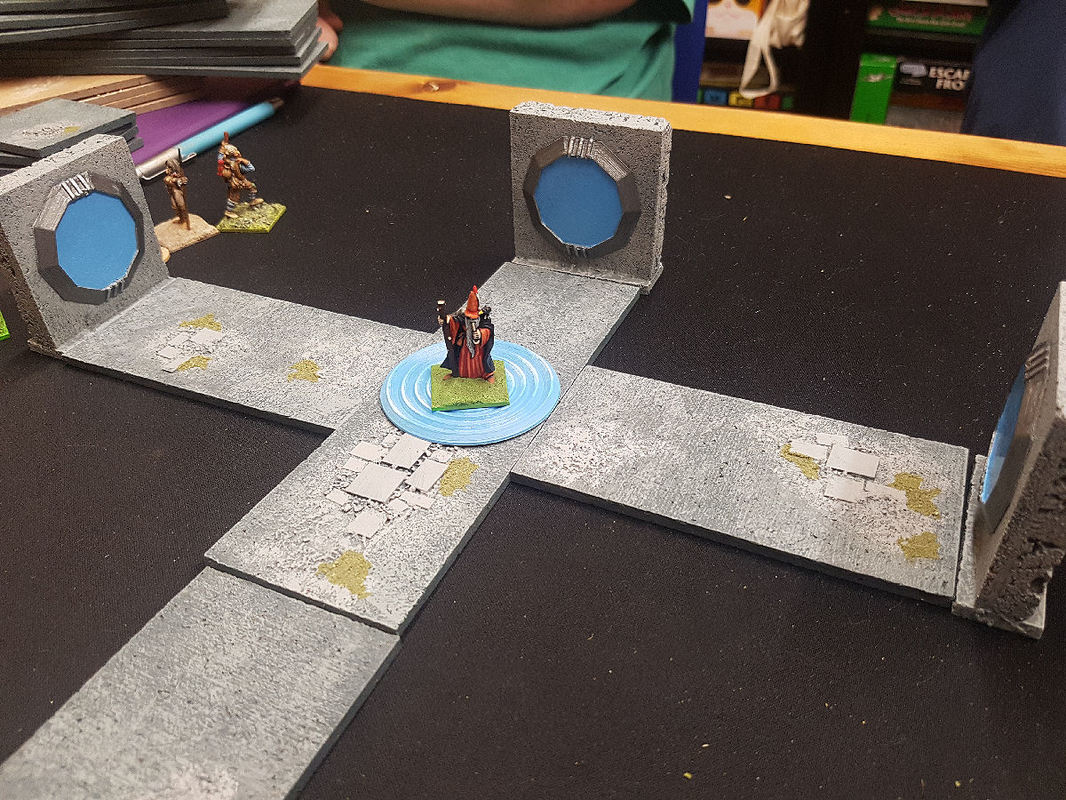
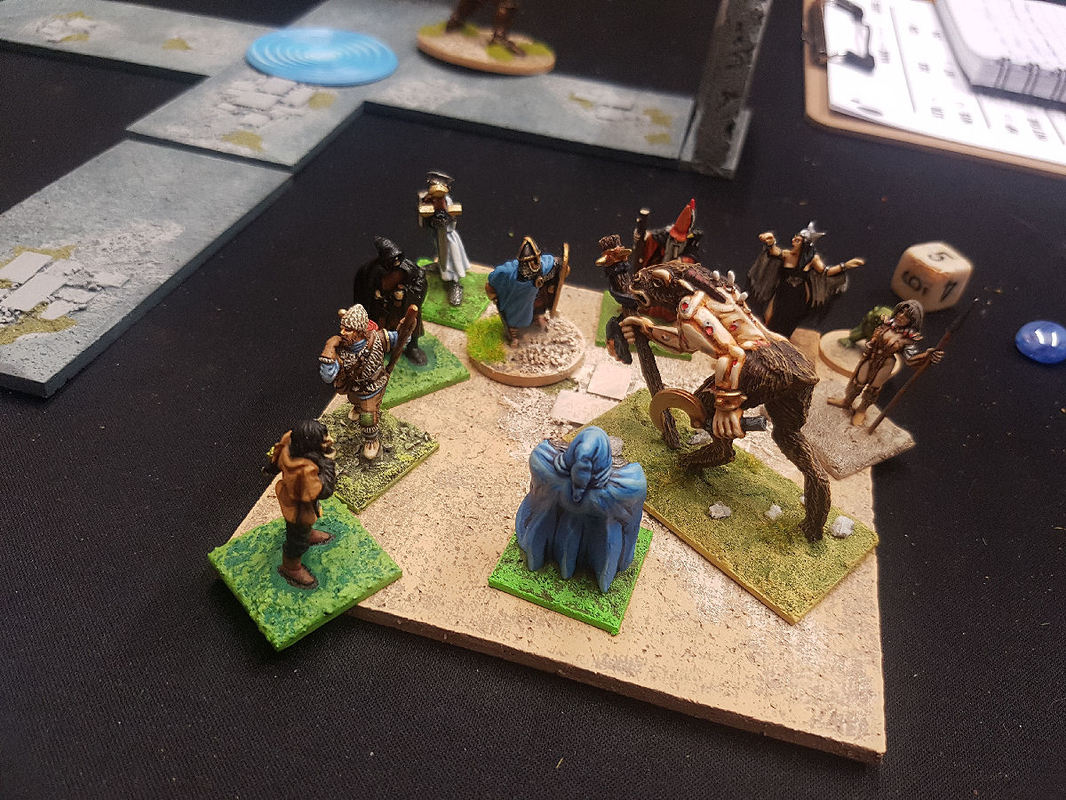
The labyrinth is a confusing maze of passages and small rooms linked by portals. The horrifying sound of the demon can be heard echoing here constantly. The labyrinth is cloaked in darkness and the party expects the demon to rush upon them at any time. It isn't long before the characters find themselves in a room and the demon appears through another portal. The demon hasn't seen anything or anybody in millennia and the heroes look new and interesting. It decides to eat them.
A titanic battle ensues with the fighters struggling to contain the demon long enough for one of the wizards to determine its name with the old and not-too-reliable wand of Identifying the Infernal Hosts that Merdoramon provided them with.
Eventually the demon is floored (but not killed, it cannot die) long enough for the wand to work and, armed with the name Azthamur, the heroes flee back to the top of the tower with the demon in pursuit. What a shame Merdoramon had to drop his barriers to allow the players access to the labyrinth, now there's nothing keeping the demon in. Merdoramon successfully summons Eldrak, fiery lord of the Seven Hells who admits his responsibility for Azthamur and returns with the demon to his home.
Now the heroes are free, with the help of Merdoramon, to finally locate the door they seek. Wait a minute, who's this woman and why is she surrounded by hordes of big rats? Adventure 4: The Court of the Rat King
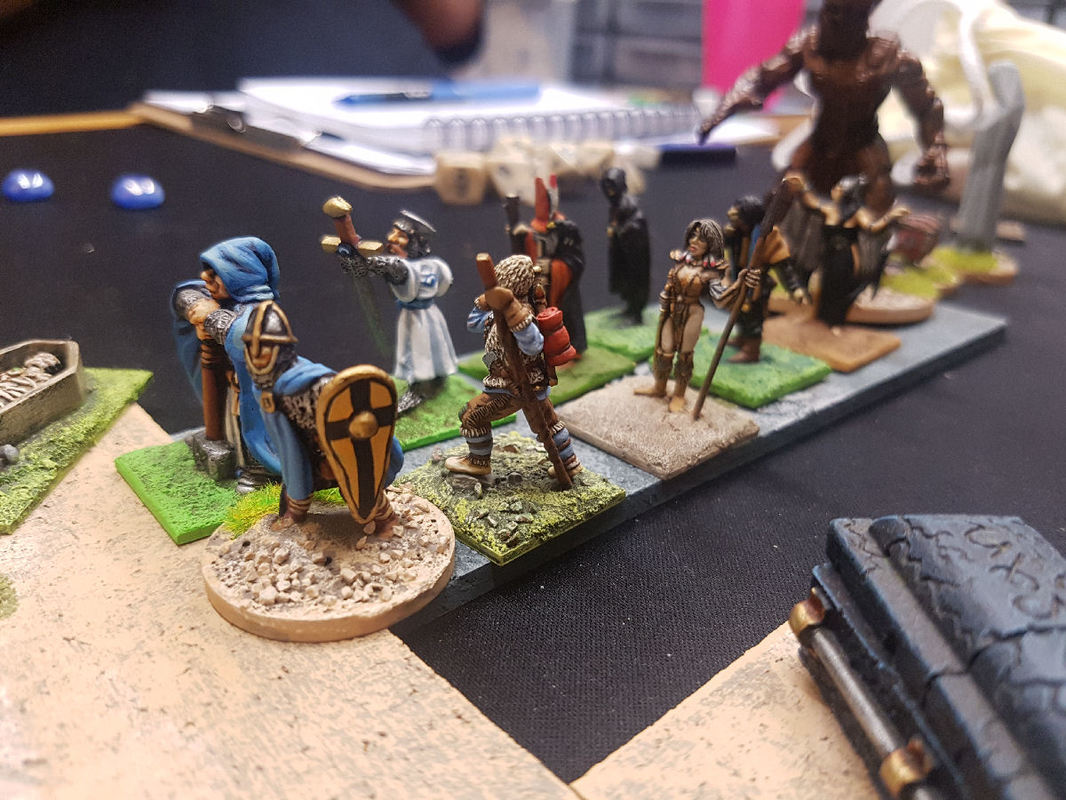
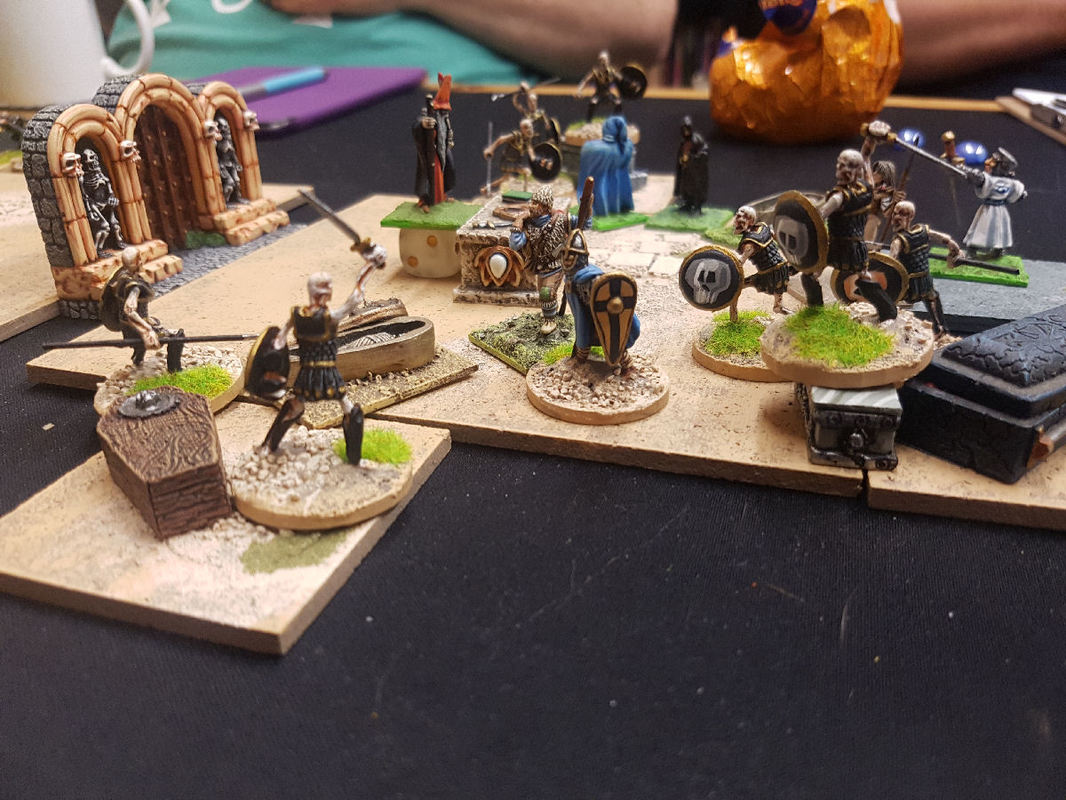
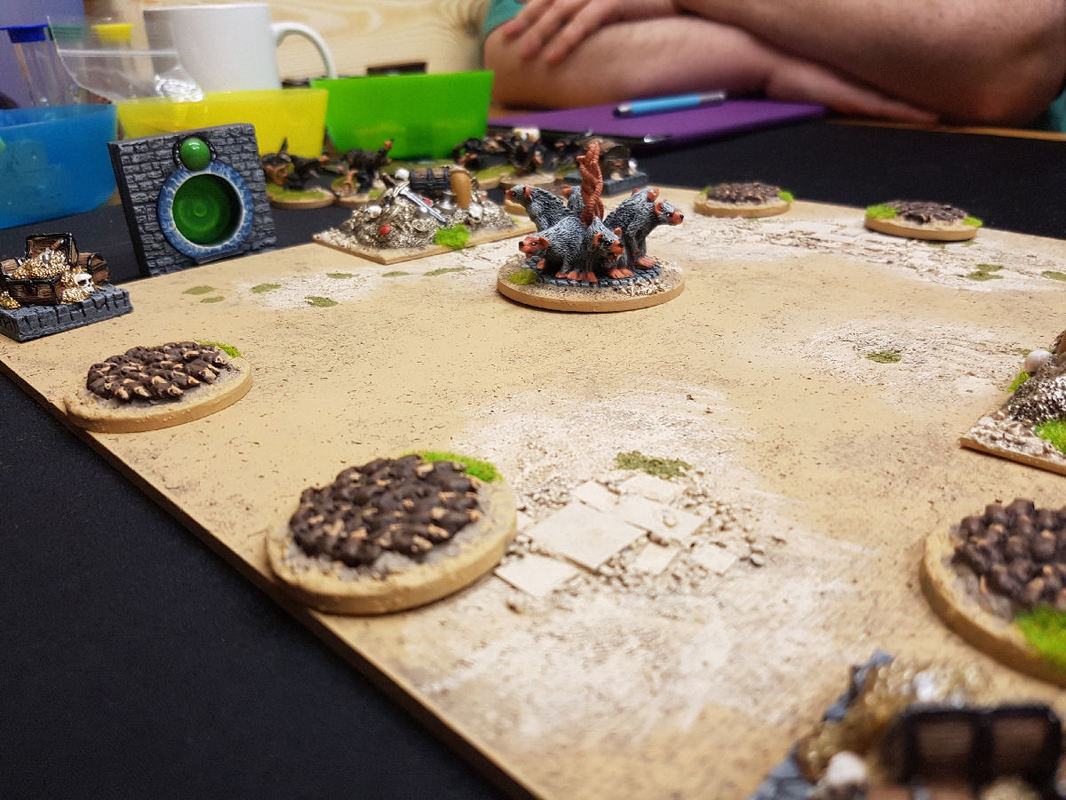
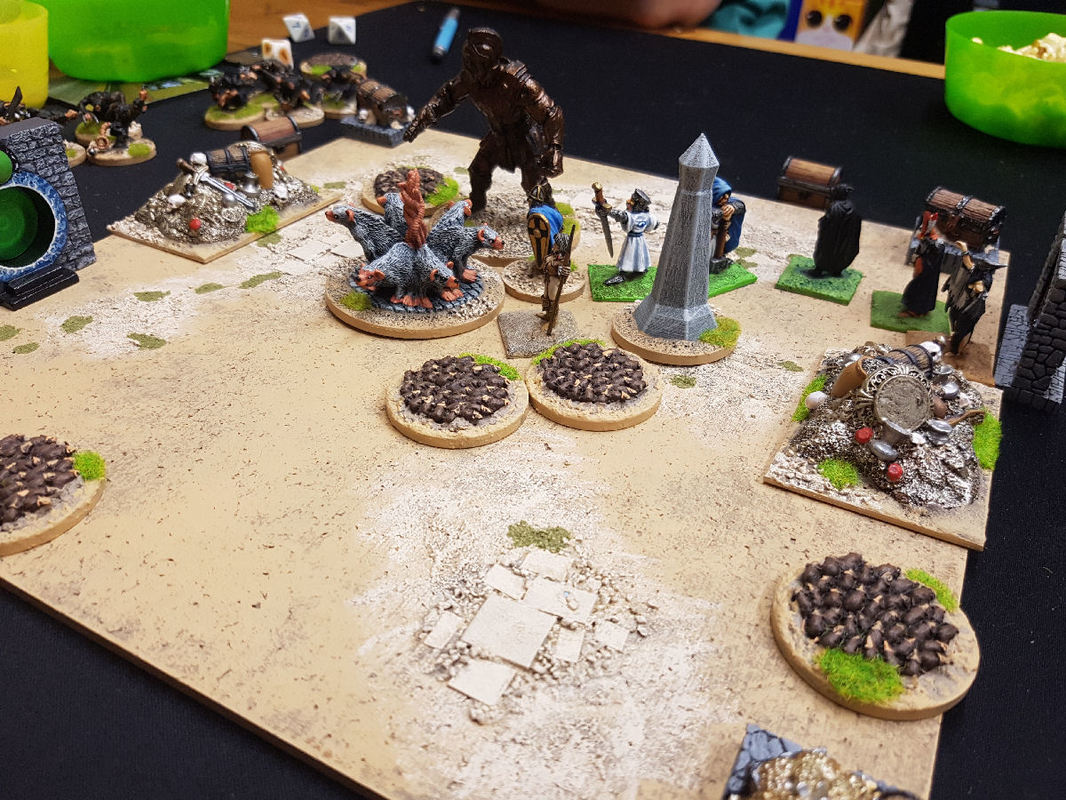
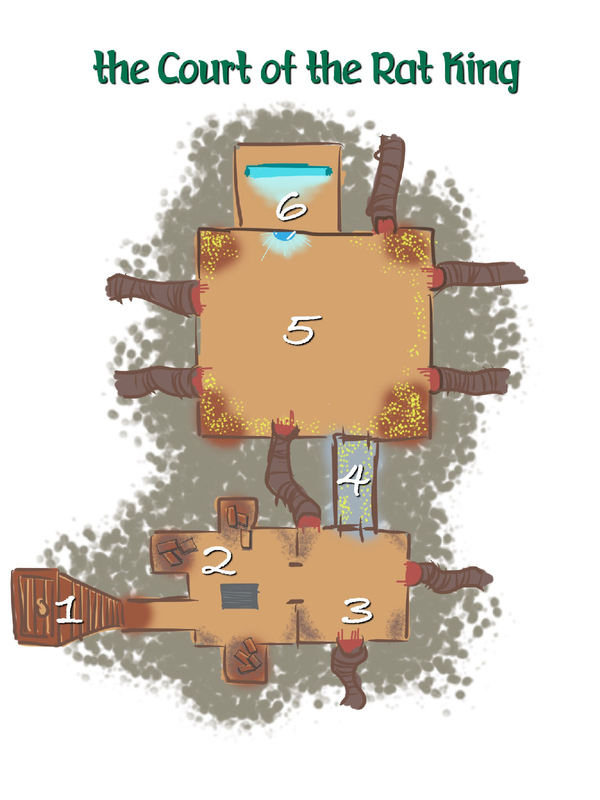
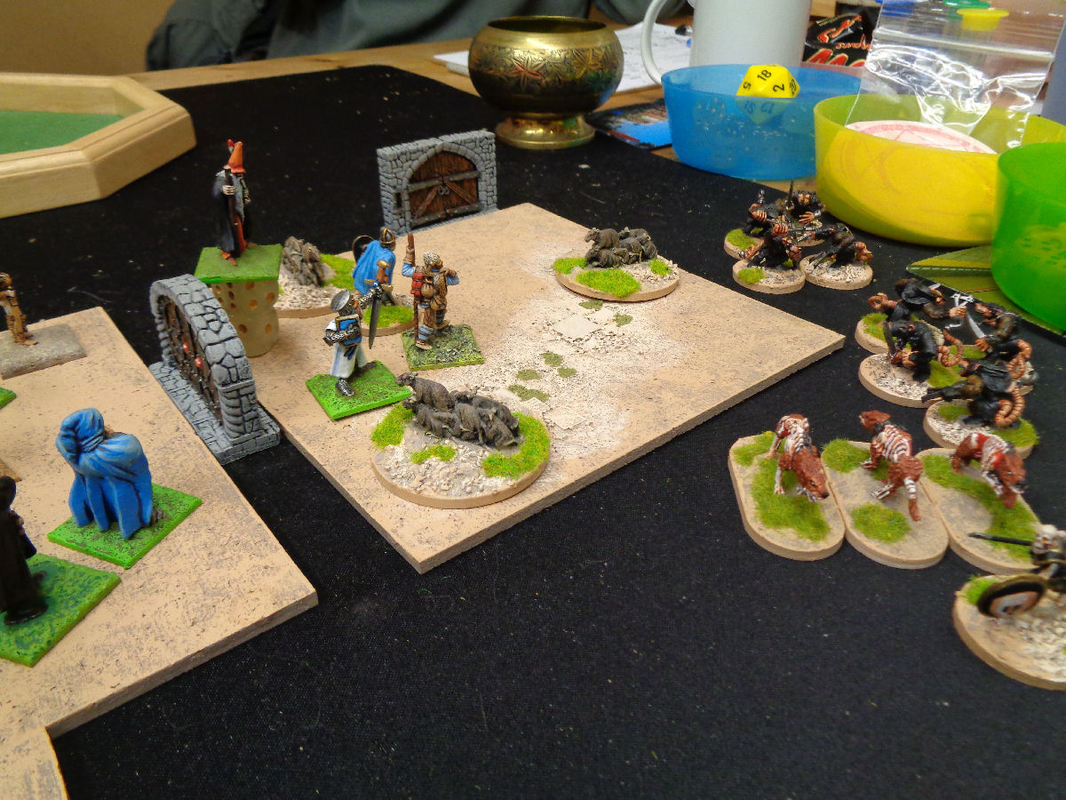
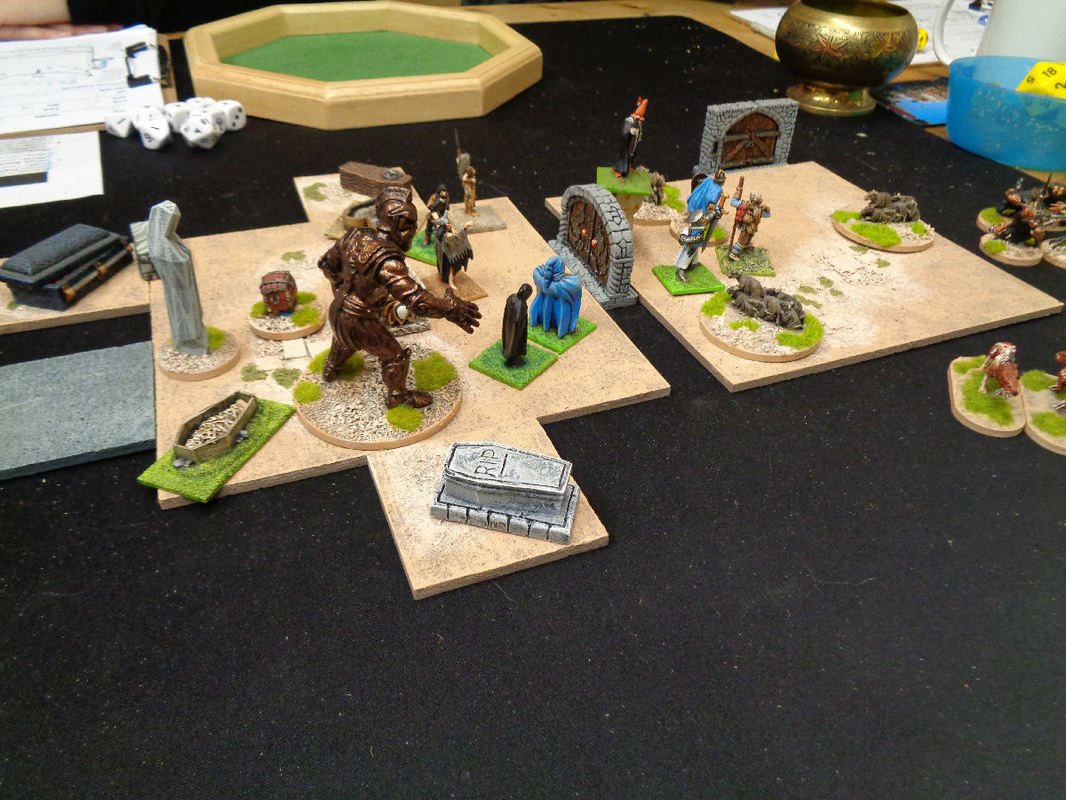
The woman accompanied by the big rats turned out to be the Rat Queen. She, like the heroes, has part of the key that will unlock the mysterious door, and she knows where the door is. The door is in the Court of the Rat King, her sworn enemy and rival for control of the rats in Kor. The party agrees to clear out the Rat King and his cronies and meet up with the Rat Queen when the Rat King is dead, together they will combine their keys and open the door to Xixthur. The Rat Queen leads them safely through the ruins of Kor to the entrance to the Rat King's Court. After a quick scuffle with some human followers of the Rat King in a cellar the heroes descend a ladder into a reeking, filth-ridden passage leading to an ancient crypt. Despite the ominously green glowing altar the party boldly enter the crypt and slaughter some undead rats that are feeding on the remains of the ancient bodies piled in alcoves.
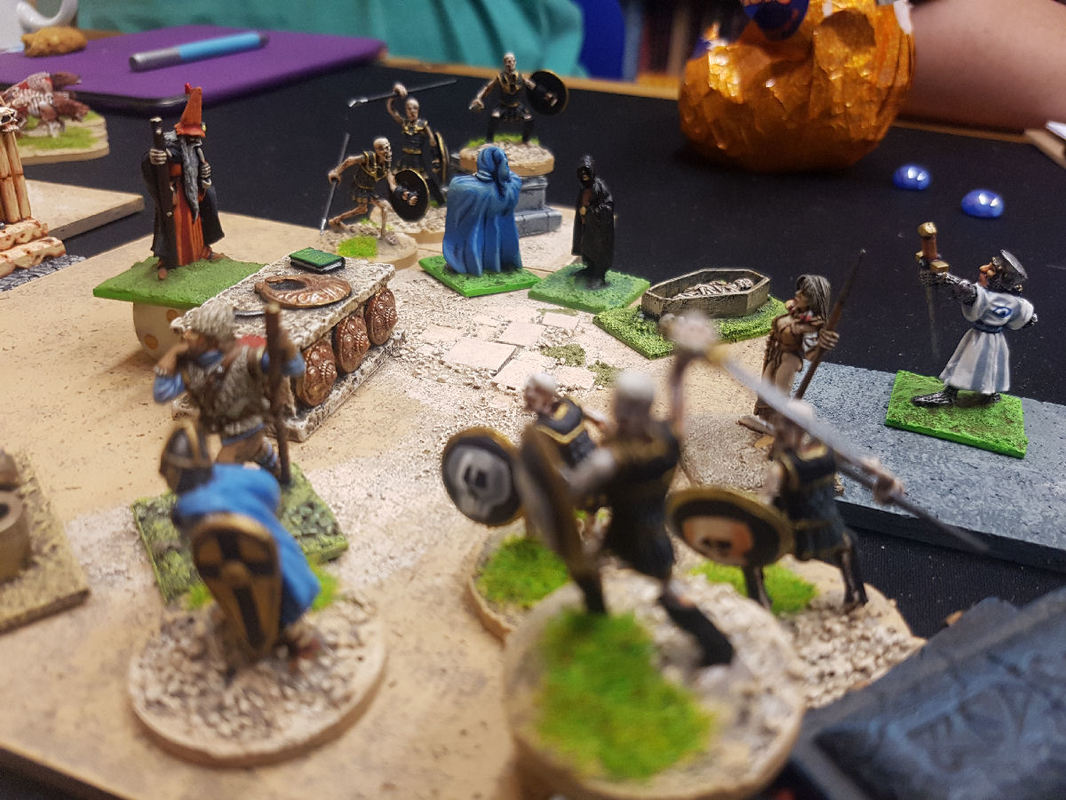
Then one of the wizards, levitating to avoid the filth, examines the altar. Finding several knobs adorning it he "twiddles them like nipples" and the green light from the altar pulses brightly. In response the ancient bodies filling the crypt begin to arise. The skeletons keep coming despite the efforts of the fighters who are soon knee deep in bones.
Eventually one of the priests in the party neutralises the altar and the threat is over.
In the next crypt more giant (but at least not undead) rats lurk but web spells seal their crawl ways blocking the arrival of reinforcements and the ones in the room are soon killed. At the far end of a short passage (where the heroes find a treasure map to the long lost Tomb of Kandakore) lies an entrance to the Rat King's Court.
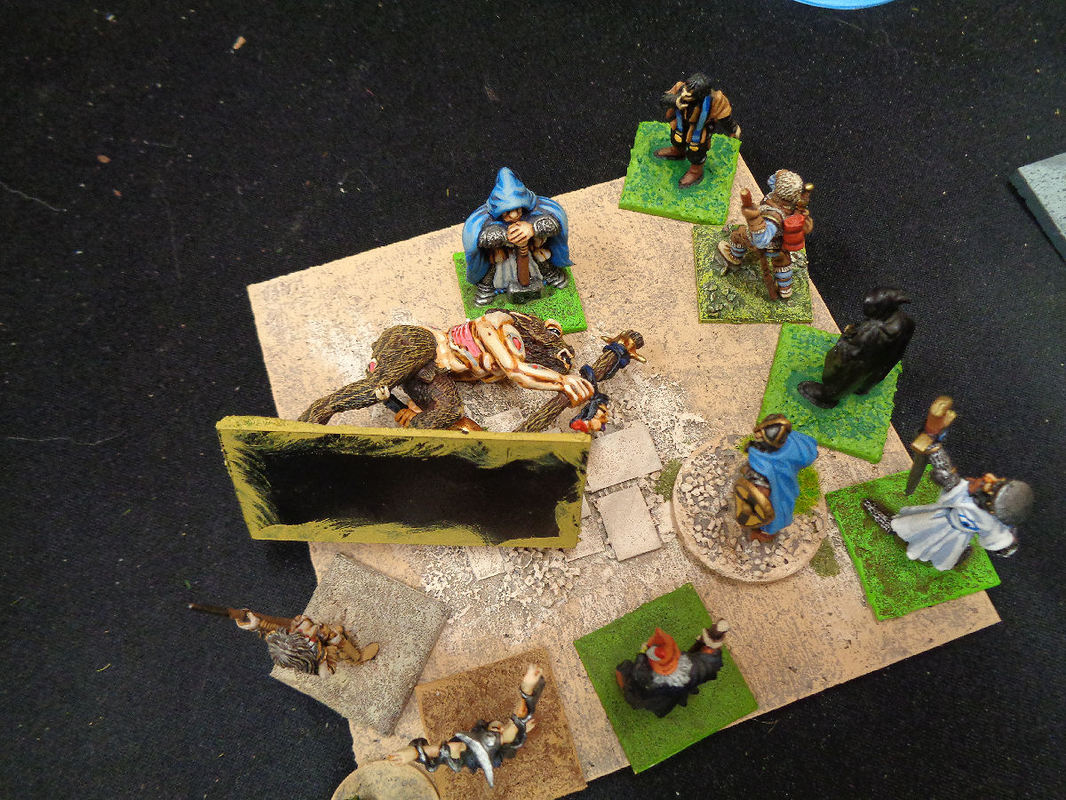
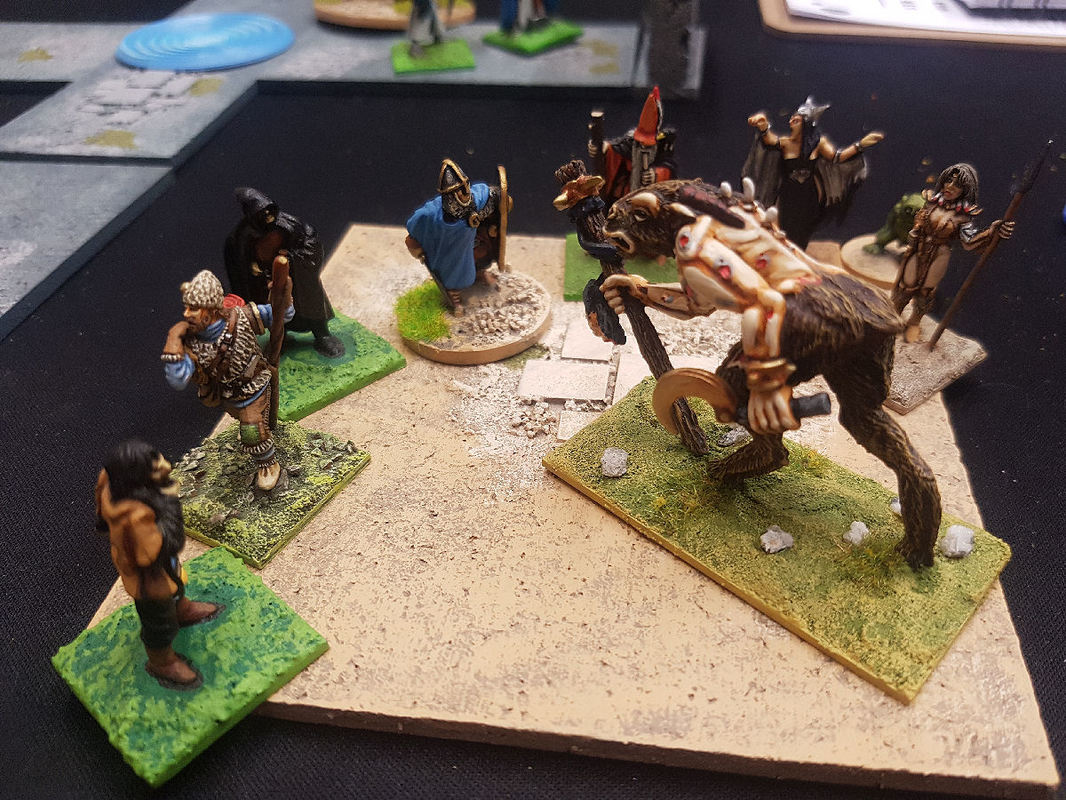
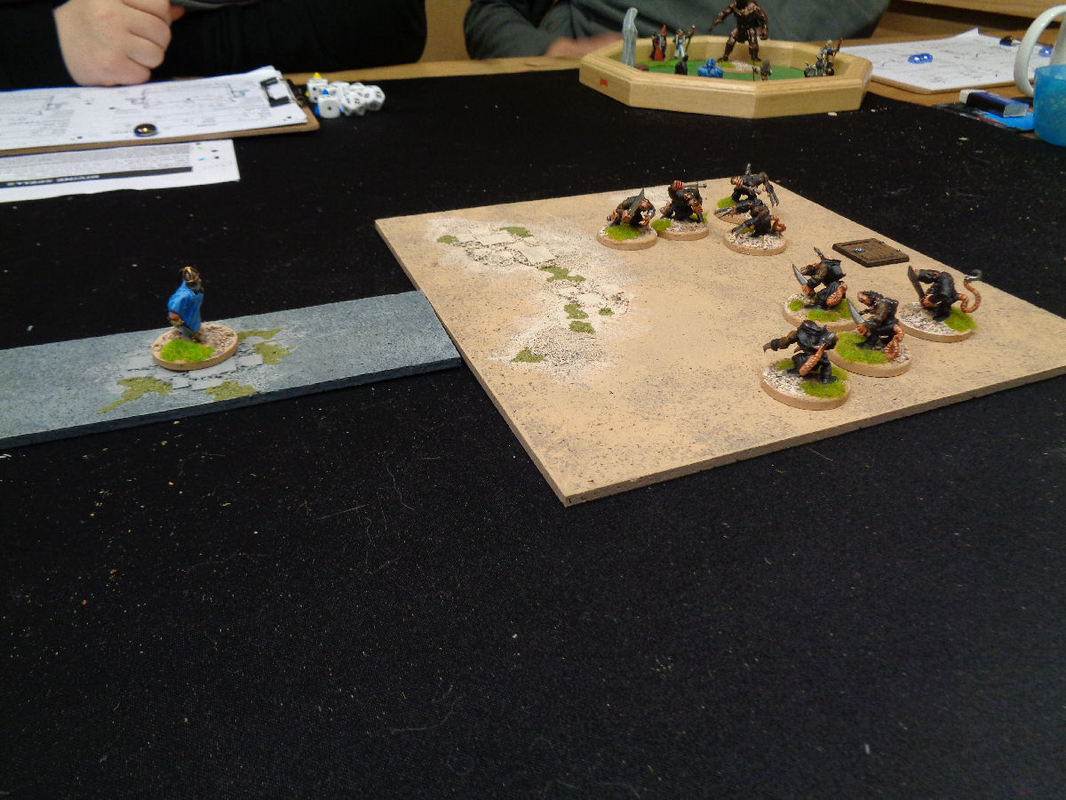
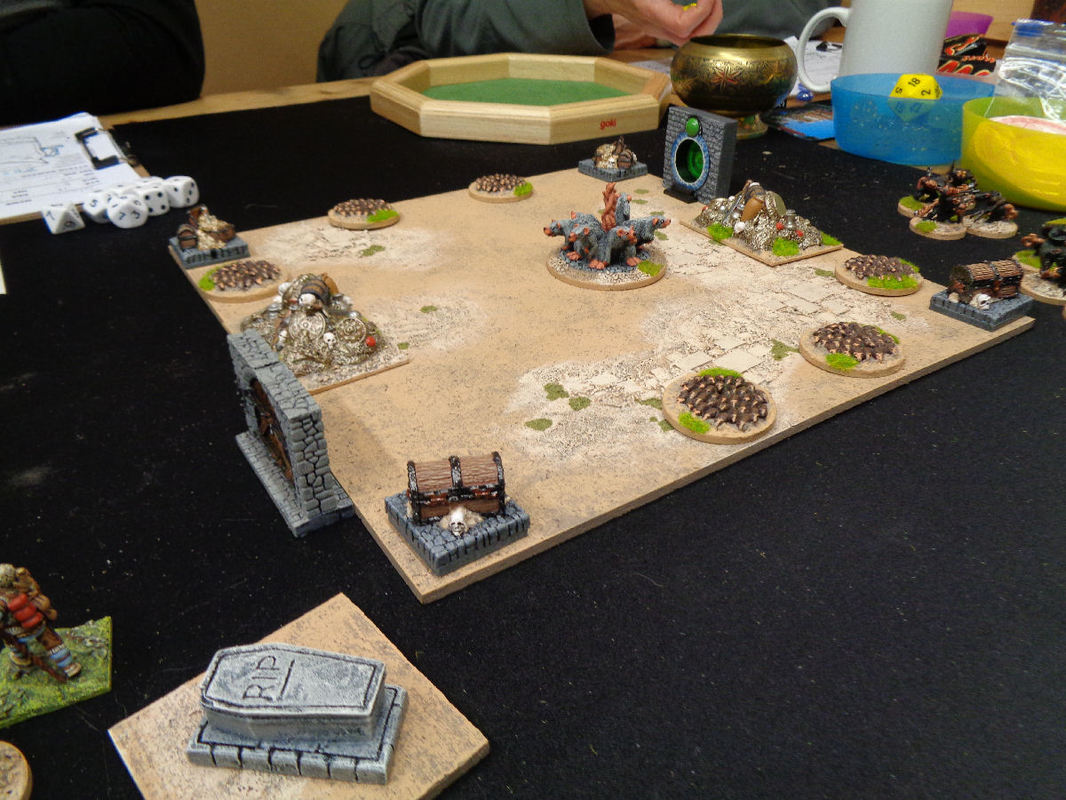
The Rat King bites and scratches at the party and uses his putrescent gaze to floor some of them with virulent disease. His rat swarms cover the heroes in a seething mat of stinking fur and sharp teeth. More and more rat swarms flood into the room in answer to the Rat King's calls.
Some of these new swarms attack the characters and some join with the rat King adding to his mass and replacing his losses. The Rat King doesn't seem to get any weaker no matter how many times he's struck with swords and arrows. Eventually more web spells seal the rat tunnels and the reinforcements stop arriving. Finally the Rat King starts to succumb to the damage it's taking and weakens.
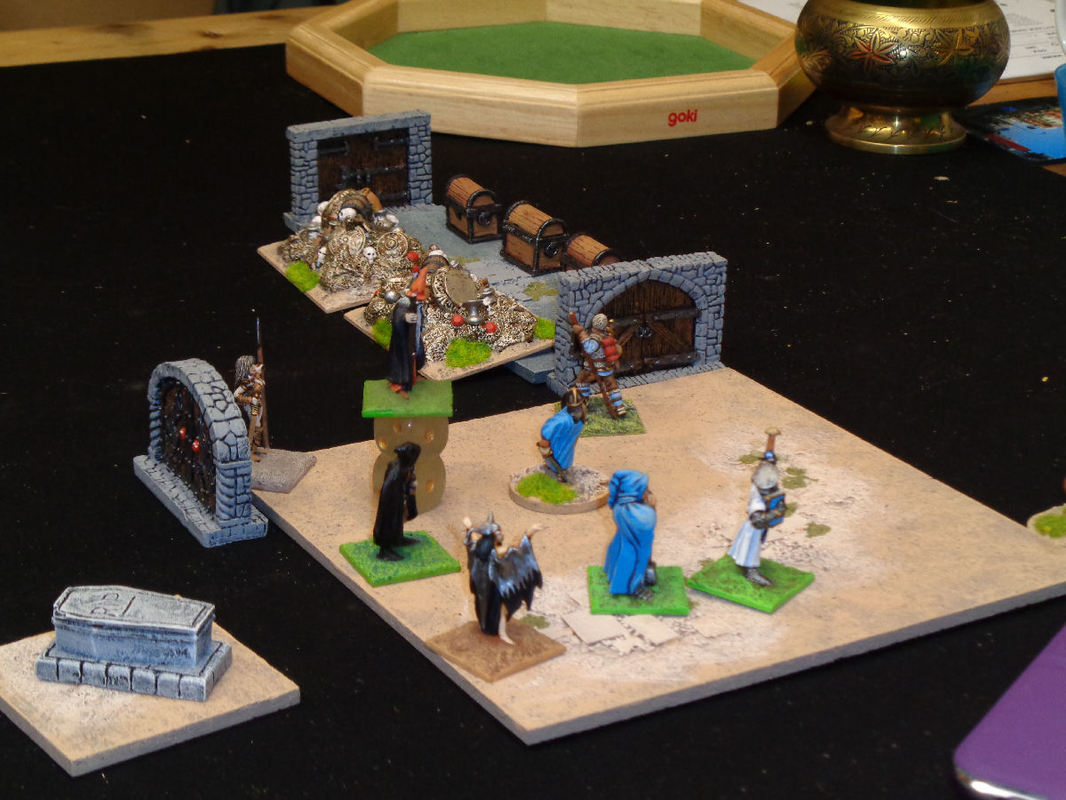
With a final scream it dies and the remaining rats break and scatter attempting to hide from the characters. With the danger past both the Rat Queen and Merdoramon arrive on the scene. The secret door yields to the gems in the party's diadem and the Rat Queen's ring and reveals a small alcove containing a portal that leads to Candara's summoning room.
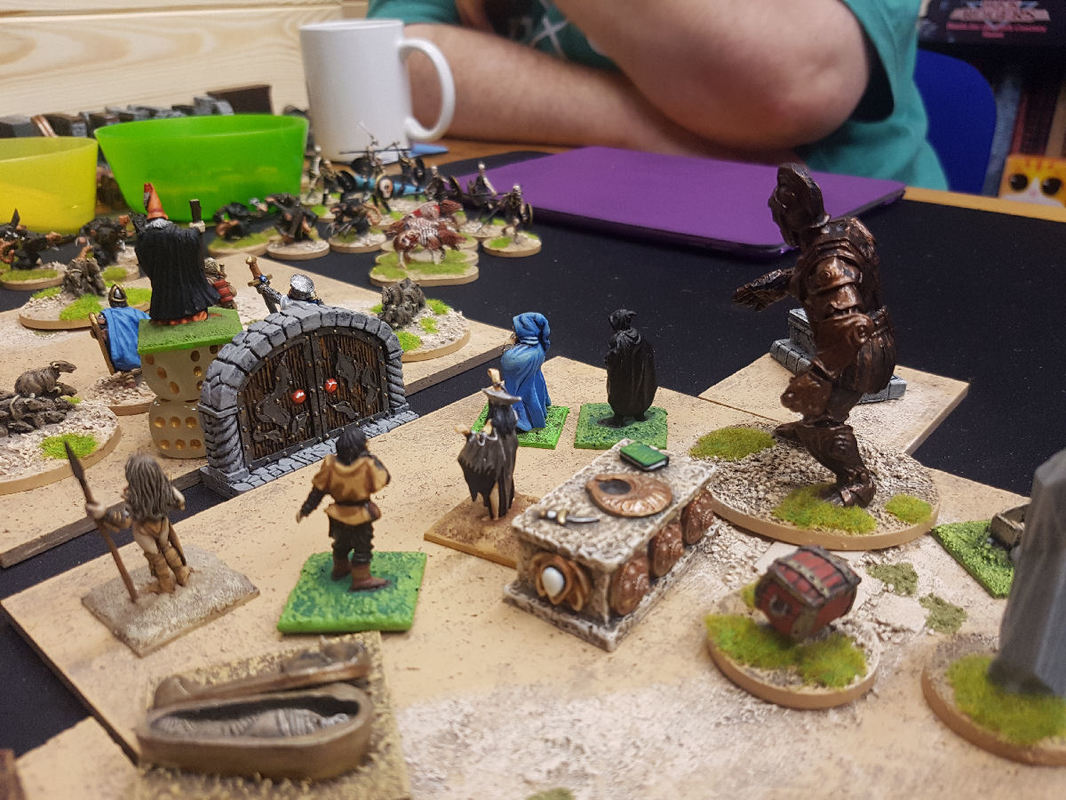
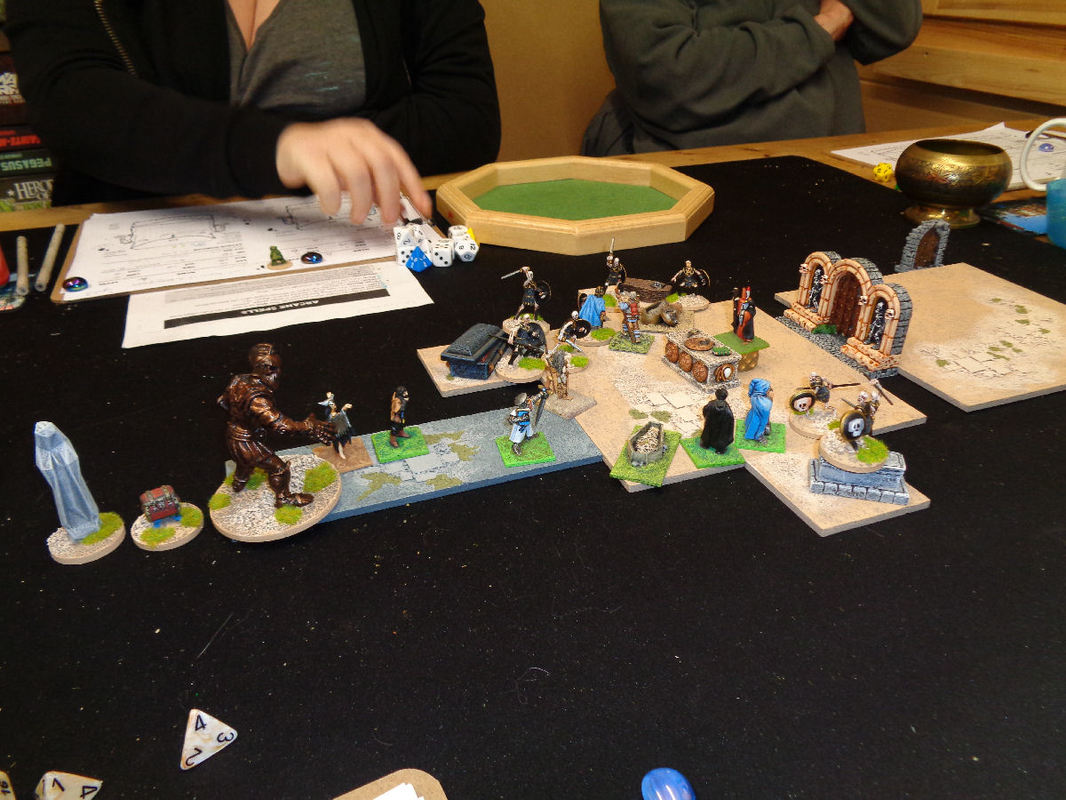
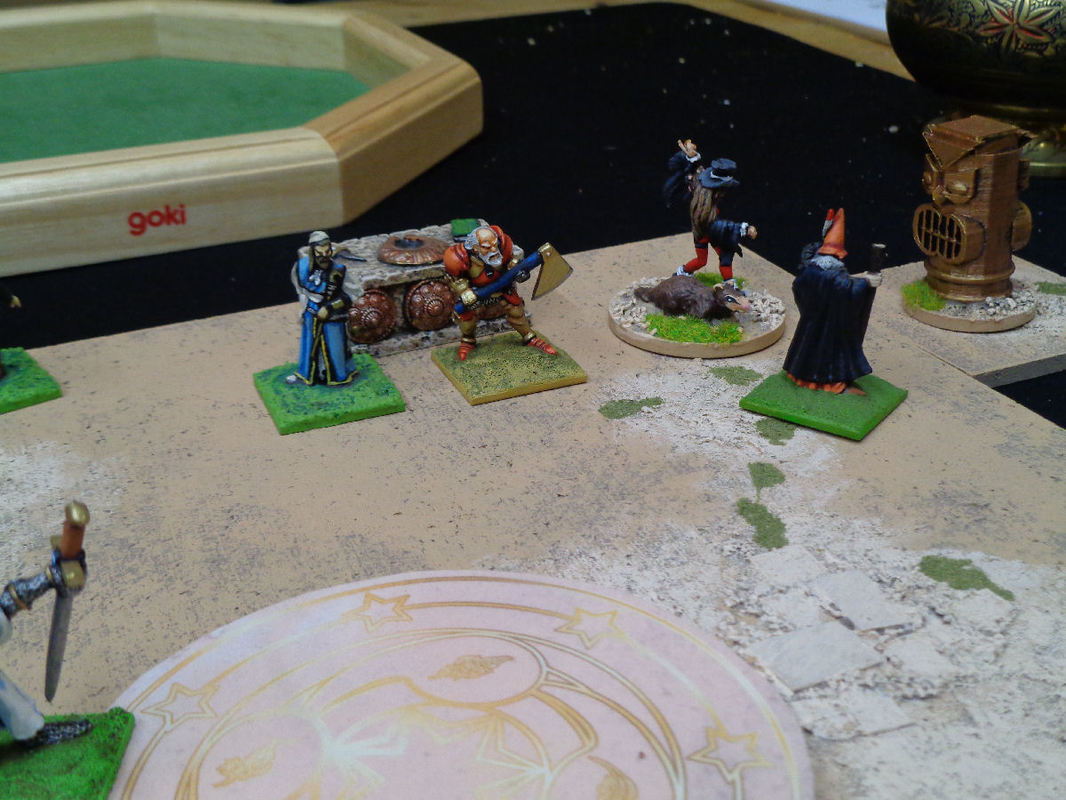
The room is full of her spell books and magical artefacts but there is no sign of Xixthur, the god in a bottle that kept Candara alive and young for 10,000 years. Two clay human figures on a table give the heroes pause for thought but they are concentrating on finding the whereabouts of Xixthur so they don't bother with them too much. This will prove to be a mistake. Eventually the hiding place of Xixthur is revealed and the god in a bottle is found in a secret cupboard. Its healing rays instantly mend the heroes' wounds and fatigue and even Clank is made whole again so he can shed his life-giving armour for the first time in eons. There's no denying that Xixthur is everything that was claimed. The two clay figures take on the appearance of Tor Domnus, king of Urgal and his sorcerer Kylwyrren who have been secreted beyond time and space in a pocket dimension waiting for Xixthur to be found. The powerful duo immediately launch a ferocious attack on the party. During this fight the Rat Queen and Merdoramon vie for possession of Xixthur with Merdoramon triumphing. As Tor Domnus and Kylwyrren finally fall to the heroes a blackness gathers in a corner of the room.
Abathon is here, Sensibly the party scuttle into the protection of Candara's ancient summoning circle to avoid the wrath of the demon while the Rat Queen and Merdoramon attempt to flee. Merdoramon doesn't get far and is 'convinced' by Abathon to hand over Xixthur. With the god in a bottle in his possession the demon leaves. Well, the heroes didn't get their god in a bottle but, weighed down with artefacts and treasure, they head off to their next adventure happily enough.
NEXT:
|
|


