eBay pic.
Alien Plants
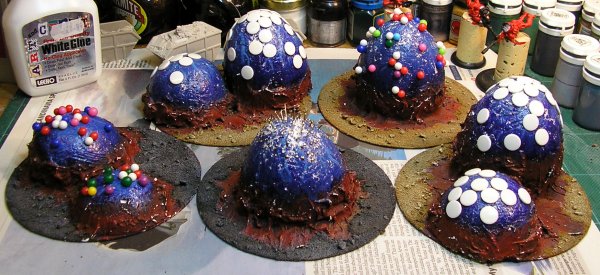
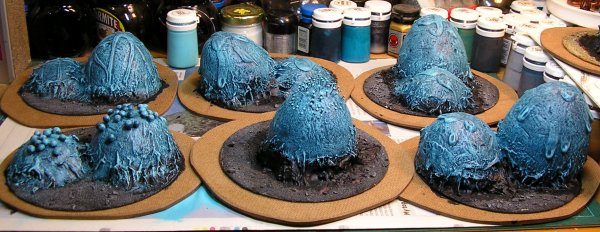
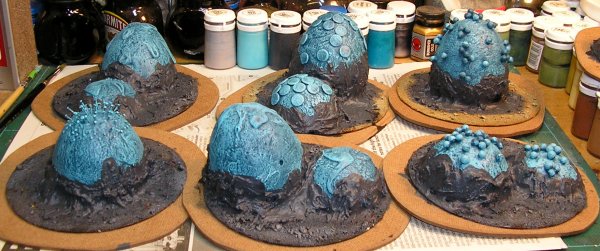
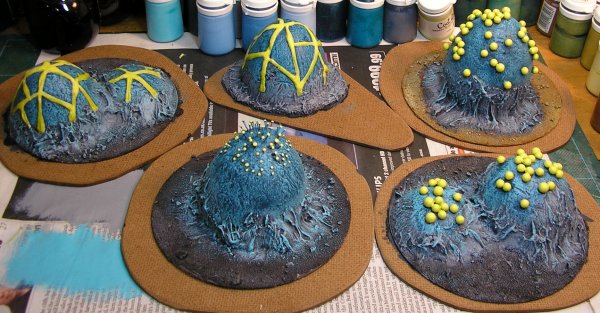
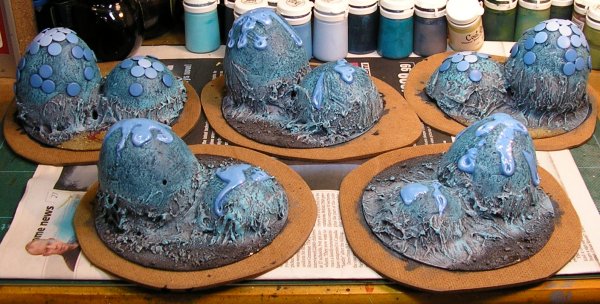
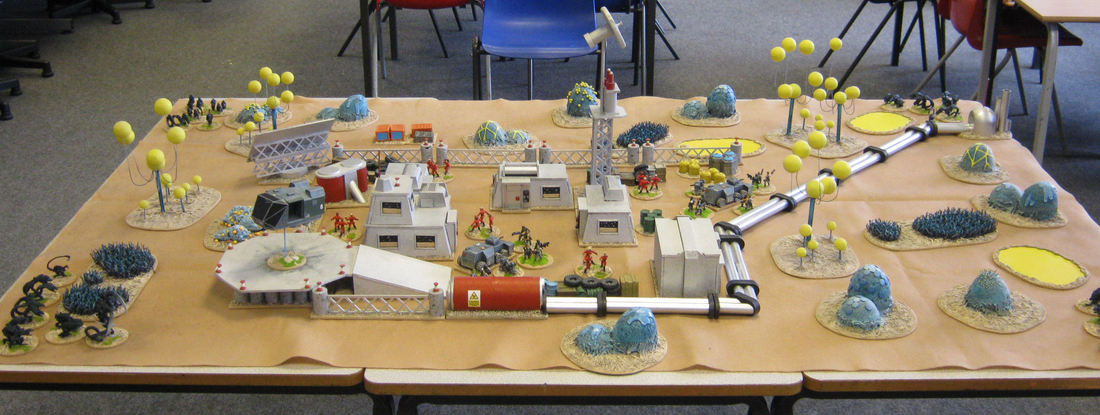
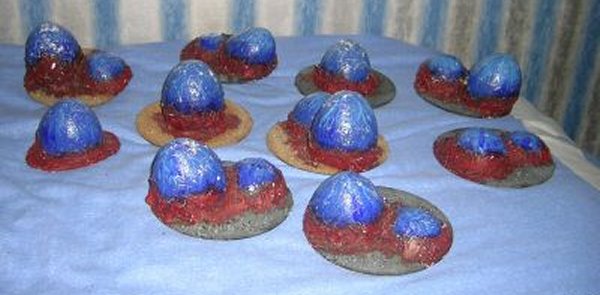
I found these on E-bay and thought they’d be a good start to a set of alien terrain. They cost me £1.70 + £2.00 P&P which works out at 37p per base, much cheaper than buying the polystyrene eggs that they’re made from. They were being sold by Lee Roper who'd made them. Lee said that they’d need paint and indeed, there was quite a lot of the blue rubbed off; more than the initial photo showed. However, the basic construction work had been done, the eggs were already cut up and attached to their bases with filler, so I set about personalising them. I had a good idea of what I wanted for these from the start. I envisioned them as the basic plant type for my planet. They convert geothermic energy into chemical energy to start the food chain. Removing photosynthesis from the equation means I wouldn’t need chlorophyll so they didn’t have to be green. I liked the original blue colour and decided to stick with it. They would still need spoors and fruit to allow for reproduction, preferably brightly coloured to attract whatever alien insects or animals were around. This left me with a lovely blue and yellow colour scheme which I hope to carry through all the different terrain elements. The first thing I did was to stick various types of pins into half the eggs to make the spores. I used mapping pins, drawing pins and dressmaking pins for variety but kept to one type per base. I didn’t glue any of the pins in trusting to the layers of paint that were to follow to keep them in place.
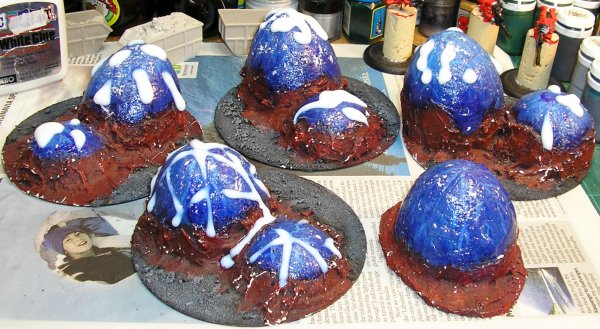
Secondly I daubed PVA glue over the remaining bases. I did gloopy drips on some and trails on others to represent sap or something similar. Having the plants looking a little menacing is a good thing for an alien world; it should keep the players wary and off balance.
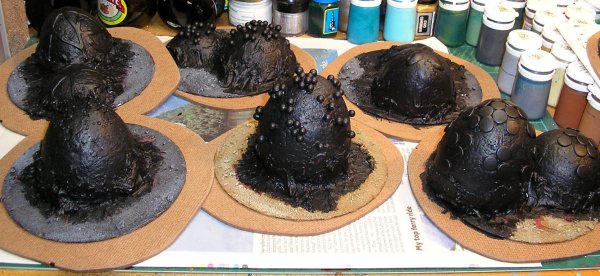
Once the glue was dry I mounted everything on some hardboard bases because I’m not a fan of cds and undercoated with two coats of black.
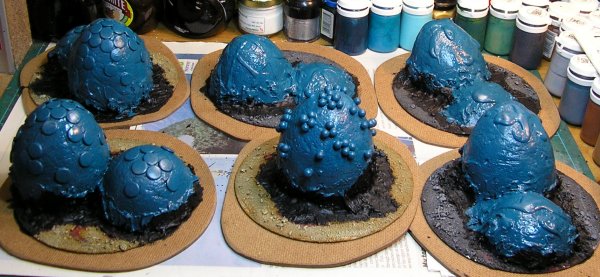
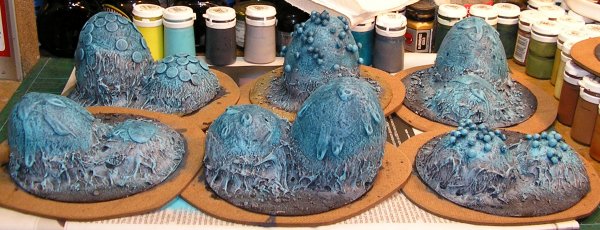
Next came the blue. I decided to use Foundry Teal Blue 24 as the basic colour because it was an unusual blue and I wasn’t likely to ever use it for anything else. I painted the eggs down to where they met the filler with 24A and then drybrushed with 24B and 24C the two highlight tones.
I needed the filler part to blend in with the Dried Earth Basetex that I will be using for the ground cover so I chose Foundry Slate Grey 32 and painted a basecoat of 32A over all the filler and parts of the eggs. This was drybrushed with 32B and 32C and finally a light covering of 24C to continue the blue downwards. Once this stage was completed the eggplants had a pleasing night time look to them. I decided my planet would be a long way from its star, another reason why photosynthesis would be redundant.
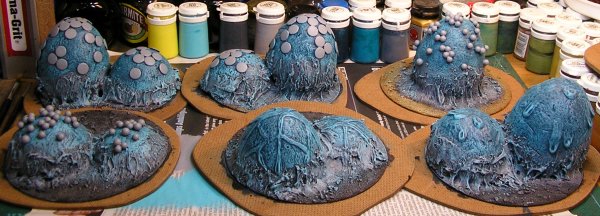
Now for the spores and goo. I painted all the pins except the dressmaking ones in Foundry Slate Grey 32C, the lightest shade of the grey, as a preparation for the lighter colours to follow.
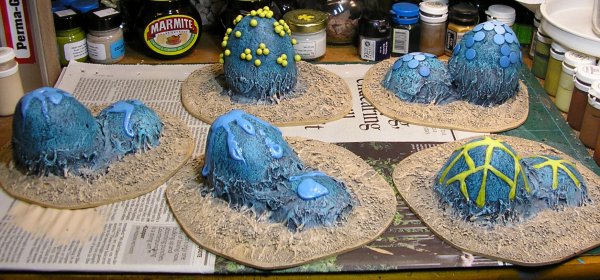
The mapping pins and the glue trails were painted in Foundry Yellow 2 and finished with a final highlight of Foundry Lemon 1C.
The dressmaking pin heads were so small they were picked out with just Foundry Lemon 1C. The drawing pins and glooped glue were painted with three shades of Foundry Tomb Blue 23, another colour I’m unlikely to use for anything else.
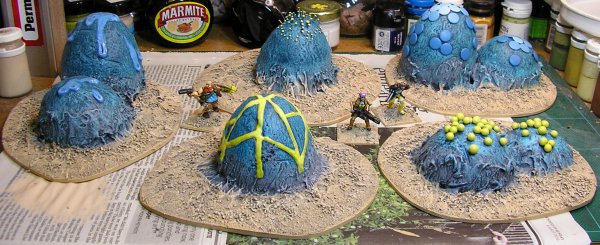
The glue was highlighted as normal and given a coat of gloss varnish and the drawing pins were painted in flat colours starting with 23C the lightest at the top of the plant and moving to darker shades as the pins got lower down. finally the bases were coated with Dried Earth Basetex and had grey railway grit sprinkled over them. Once this was dry they were drybrushed with Foundry Base Sand 10B and then 10C. Here are the rest with some of my Alpha Forge 28mm Salvage crew to show the scale
Alien Rocks
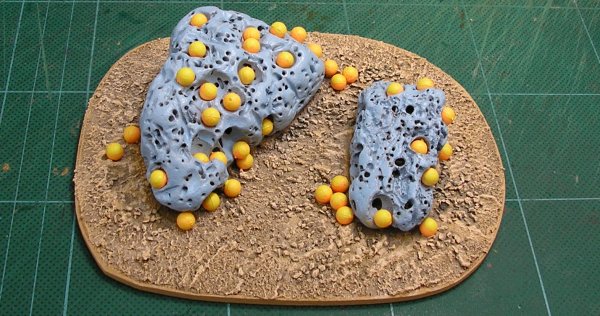
These are a pair of stones I found years ago on a beach. They have been drilled through with a myriad of holes by some creature or erosion or something. I've sprayed them blue and glued some BB pellets into some of the recesses so they resemble some of the eggplants. Perhaps they're not alien rocks but a dried up eggplant husk? Who knows? If I can find more of these stones I'll do more bases like this, if not, then this'll be a lone example Alien Water
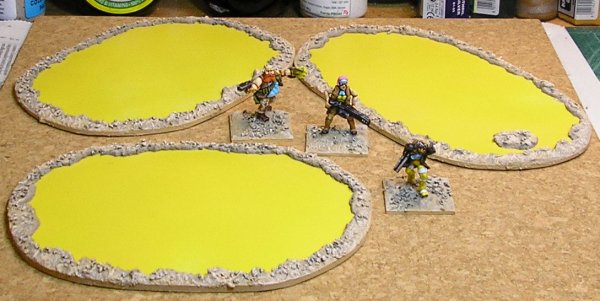
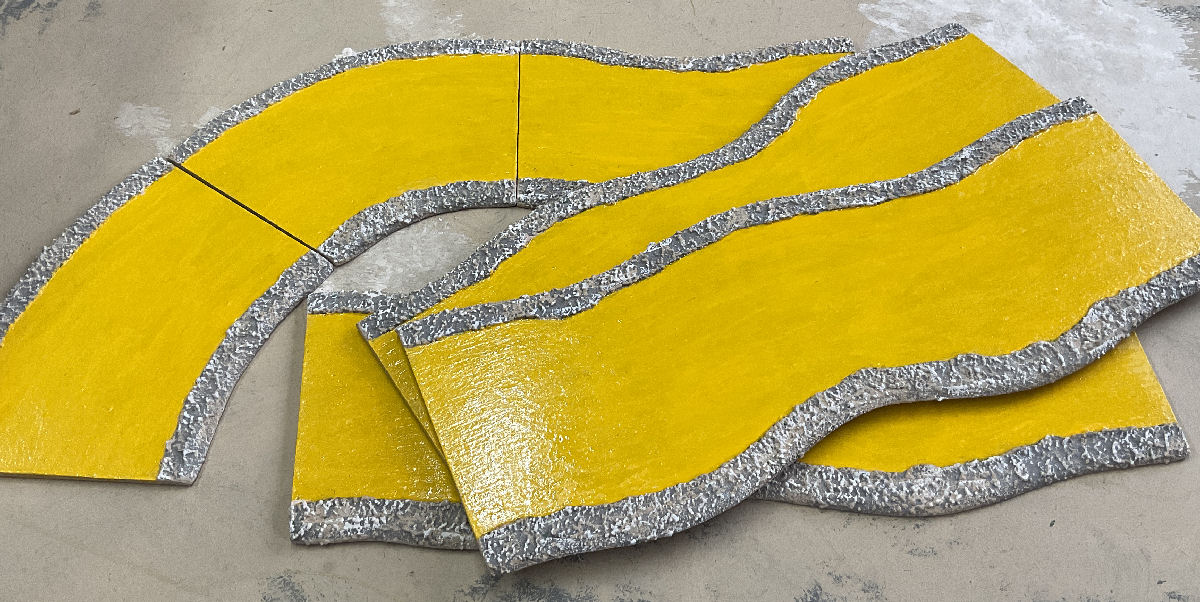
Well, not actually water, but liquid sulphur; smelly and poisonous. These are very simple scenery items to make, they are just pieces of hardboard with the smooth side painted yellow. The edgings are just Dried Earth Basetex with grit added and then painted with the same Foundry Base Sand 10 colours to match the other bases. 28mm Alpha Forge figures for scale. Alien Grass
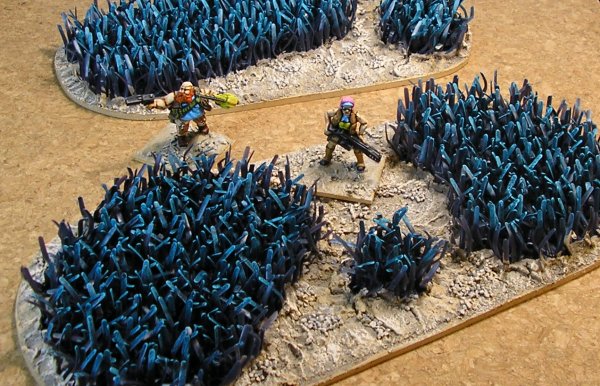
I've made three areas of this alien grass so far but I may well make more as I have plenty of the raw materials left. I found a blue/green Astroturf mat at a local garden centre for under £10.00 and just cut bits out of it and glued them to some hardboard bases. The bases were textured with Basetex and grit as usual and I drybrushed the Astroturf with the three shades of Foundry 24 Teal Blue so it matched the egg plants and the tree trunks. The Face of Boo
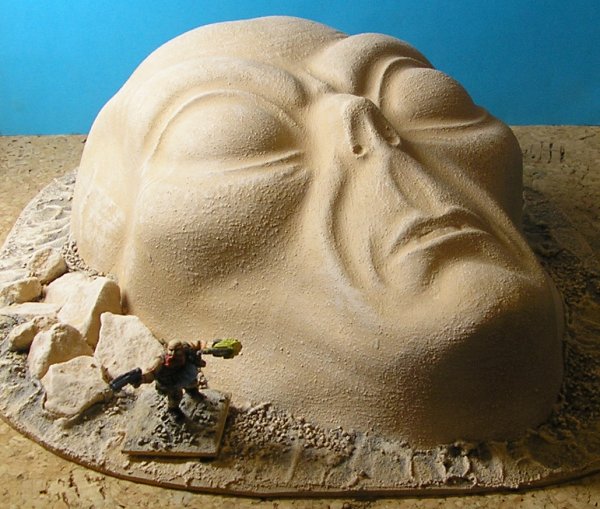
I saw this done by the Staines Wargamers at Warfare 2008 and decided it was too good not to copy. Construction was easy, I bought a 99p 'alien' mask and stuck it to a bit of hardboard. There were some breathing holes in the nose, mouth and at the sides where the elastic originally went which I covered with masking tape on the inside. Once the glue was dry I painted it in textured paint and added basetex and rocks as usual. I was going to add some foliage too but decided that either blue alien grass or green Earth grass would limit its versatility so left it barren. 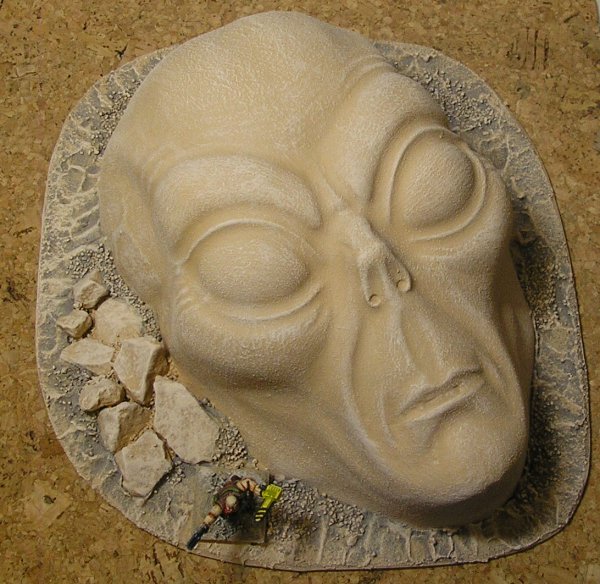
I should have filled the nose holes.
|
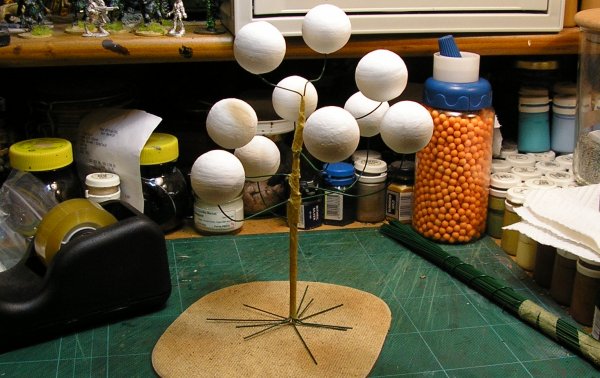
The original trial tree that I didn't like
Alien Trees
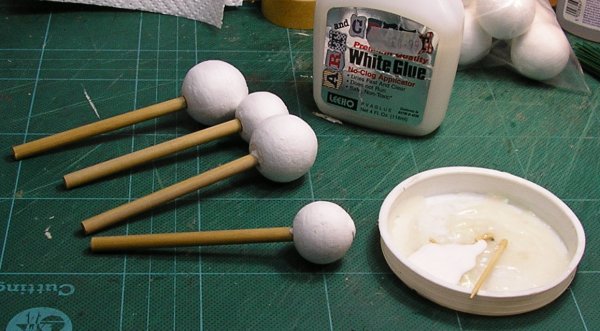
I knew what I wanted from my trees right from the start, the problem was making it in 3D. I envisioned a stem made from lots of small trunks that would split off at various points and grow out and then up much like a giant cactus. On the tip of each of these branches would be a globe. The finished item would look a bit like a candelabra. I found that to get the thickness of trunk I needed I required over ten individual wires and therefore the finished tree had over ten globes which meant each tree was becoming too expensive, too time consuming and taking up too much room. Aesthetically the design fell short of my expectations too because I had to tape the individual stems together and then cover them all with masking tape in an atempt to hide the original holding tape which resulted in a trunk that resembled an Earth tree too much. However, after a couple of abortive attempts I settled on this way as a good compromise: The first step is to cut some lengths of dowel. I chose 100mm lengths for no other reason than they looked about right. Once cut they need to have their points sharpened.
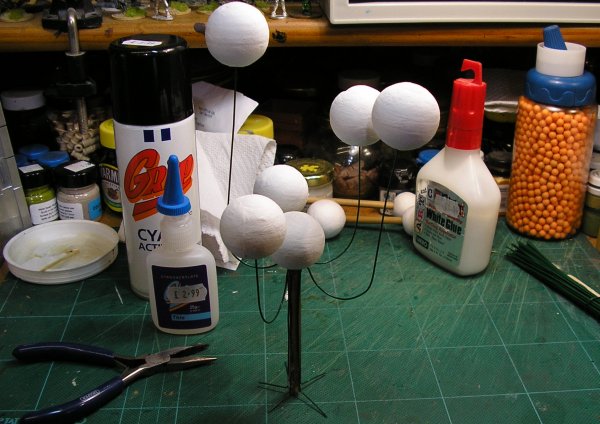
The sharpened trunks are pushed into paper balls and held in place with wood glue or PVA. I found these paper balls on E-bay when I was searching for polystyrene ones. They are made from compacted paper and are solid and hard-wearing. Their advantage over polystyrene is that they can be spray painted. Each ball has a small hole in it that the sharpened trunks can be pushed into so no drilling or cutting is required. I have used two 30mm balls and two 25mm balls in the picture.
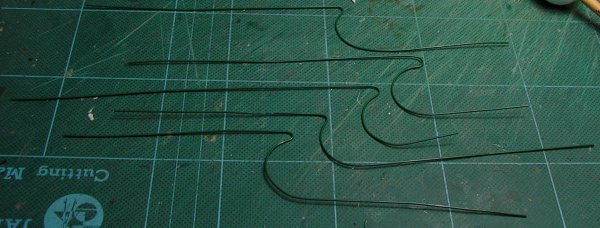
The branches are prepared from florists' wire. I like florists' wire because it bends easily and some of it, as in this case, comes plastic coated. I prepared five branches per tree. The wire comes in pre-cut lengths of about 250mm. I chose a random point along each wire, making sure I had left more than the 100mm trunk length, and bent the wire out and round using one of the paper balls as a former.
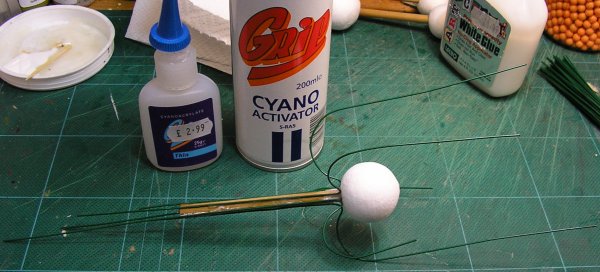
The branches are then glued longitudinally around the trunk at roughly equal intervals. This is a fiddly job. I found the easiest way is to dab some superglue at the top and bottom of the trunk and hold the branch in place in the middle so you don't glue your fingers to everything. Superglue accelerator helps this process along admirably and I consider it an indispensible addition to the toolbox. Once the branches are attached you can hold the tree by the ball and run more superglue over the trunk to attach the full lengths of the branches firmly.
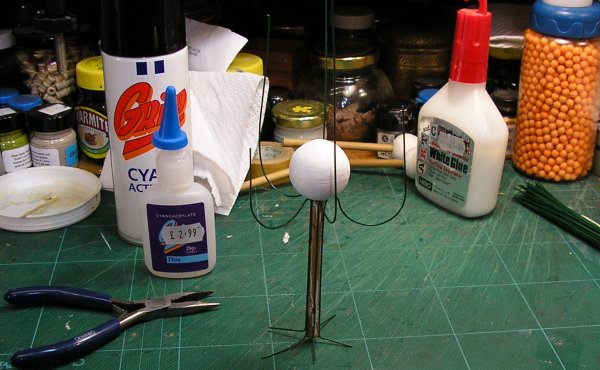
The overhanging wires at the bottom of the trunk can now be bent outwards to form a stable base. Excess wire can be clipped off. I don't want these to be visible as roots in the finished trees but this is always an option if you prefer.
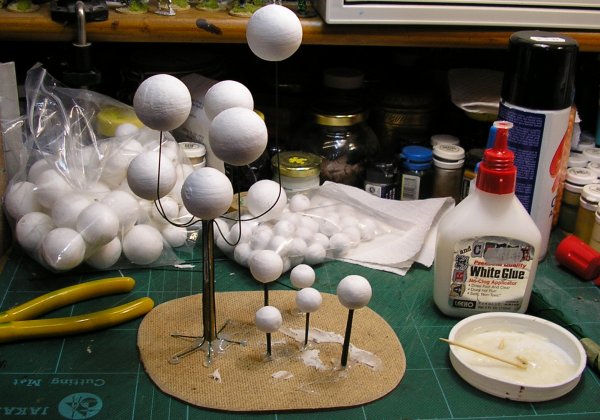
Finally more paper balls are stuck on the branches. I haven't glued these yet as I want to paint them separately.
Here's the finished tree (actually it's a different one) based with some smaller shoots around it. The shoots are 20mm and 15mm paper balls with strands of florists' wire glued into them; five strands for the 20mm and three strands for the 15mm ones. They are held in place with hot glue. I will be taking this set apart to paint them and have only based them up to give an idea of what the finished ones will look like.
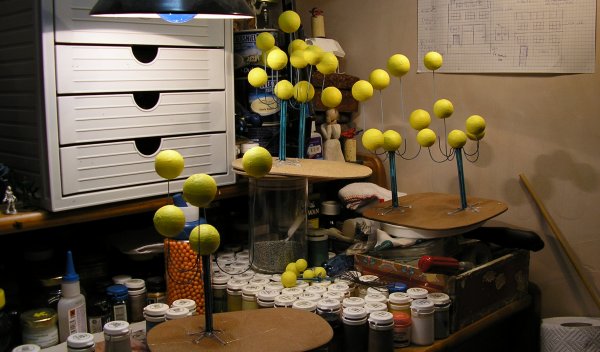
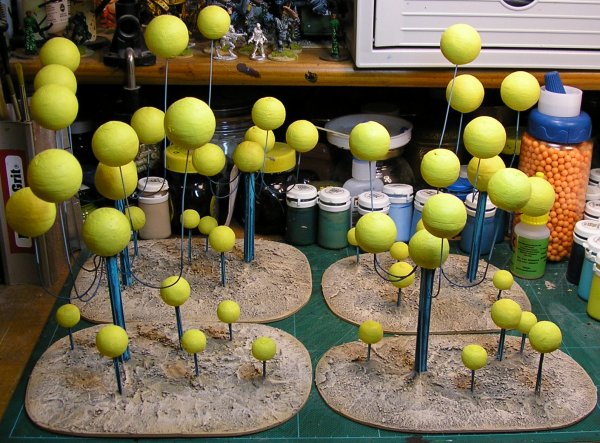
Now, on with the painting... And here they are, waiting to have their bases textured. They've been painted in identical colours to the 'egg plants' above, Foundry 24 Teal Blue and Foundry 1 Lemon.
Alien Pyramid
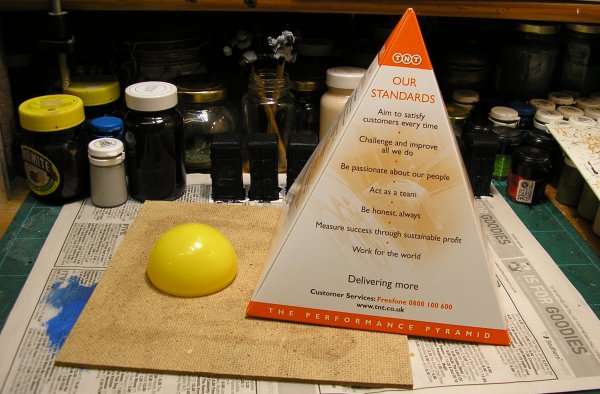
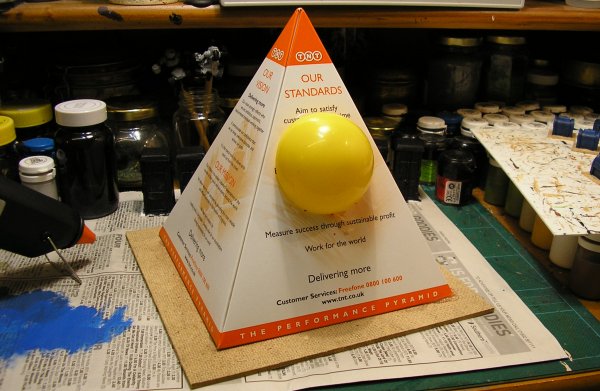
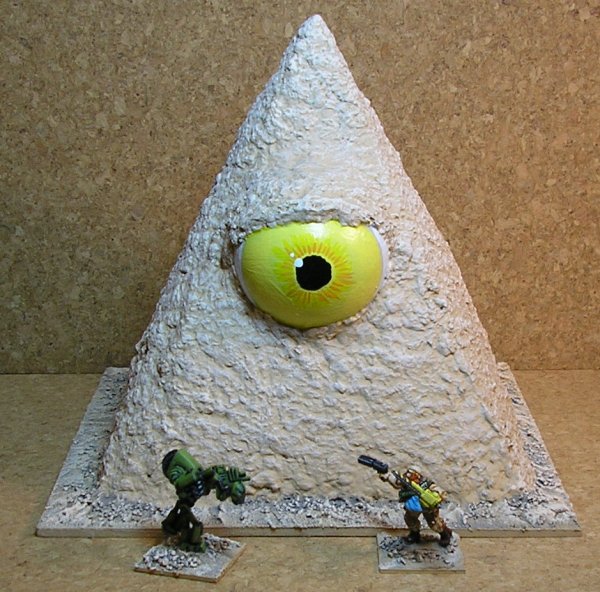
A friend of mine gave me a load of cardboard pyramids from where he worked. They're a bit too steep for Egyptian pyramids, pretty good for Nubian ones and, of course, exactly right for Alien Pyramids. I decided to try a simple project to see how I would manage with some new papier mache material I'd bought. A simple pyramid wouldn't do so I decided to give it an eye, it seemed appropriate. I wanted a big eye so I used a half globe left over from the Whippendo Observatory that I built for my city project. I cut a 200mm square hardboard base and I was ready to go... A minute's work with the hot glue gun and the building stage was complete.
Now for the papier mache covering. This was a new venture for me, I haven't used papier mache since my school days. I bought a bag of Claycrete, ready mixed papier mache that you just add water to. The mixing was very straight forward and mess-free.
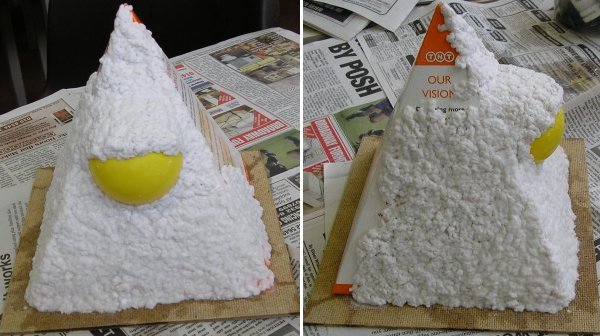
Applying the papier mache was also easy, it went on with a bobbly effect which was unexpected but quite pleasing. It remains to be seen if this effect disappears once the papier mache dries out. Here's the pyramid half covered. And here it is completely covered.
If you'd like to try Claycrete, it's available from Craft Wise (edit: Not any more) and probably many other places too. The whole bag cost £4.25 and covering the pyramid used less than a quarter of it (much less).
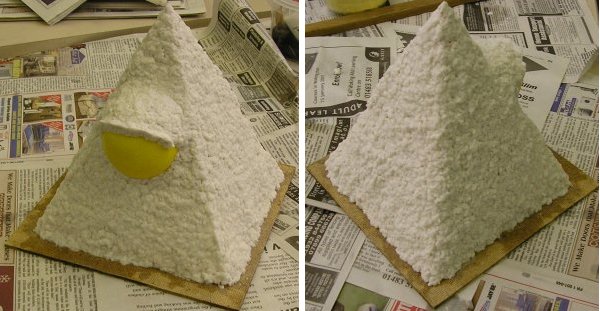
The Pyramid took a couple of days to dry out completely by which time the papier mache covering was rock hard. It maintained its bobbly look which was strange but I like this effect so I'm happy. This does mean that Claycrete is good for rough scenery and not much good for covering buildings or other items where you need a relatively smooth finish. However, it gives a lightweight and hard protective covering to whatever it's applied to and paints up easily. A quick paint job later plus a further day for the Basetex to dry and my strange living structure is complete and ready for the table. I deliberated for some time on what colour the eye should be before settling on yellow to match the other alien scenery. I'm pretty happy with the result. I found an incomplete S&A river on eBay and repainted it to be an alien world river.
|

