|
Basic Dwellings
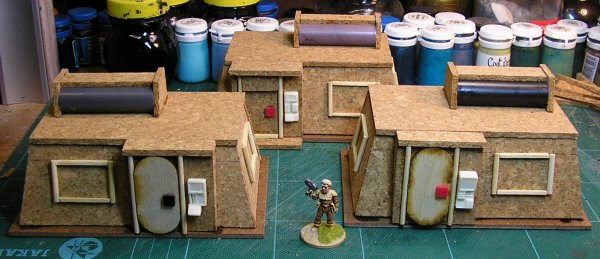
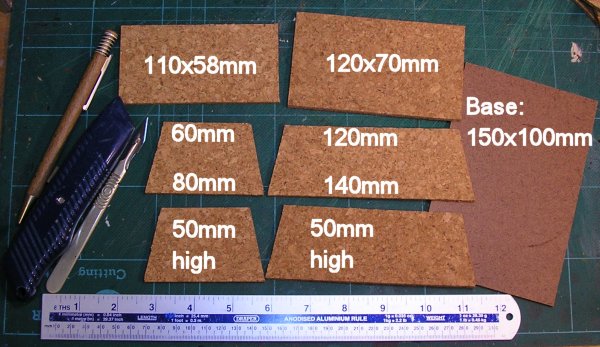
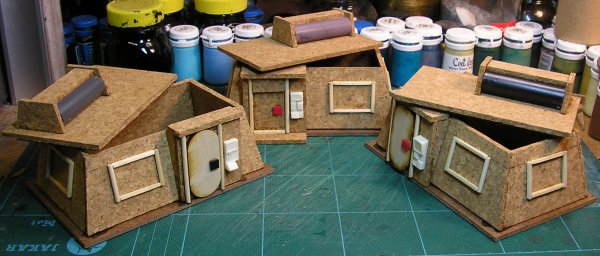
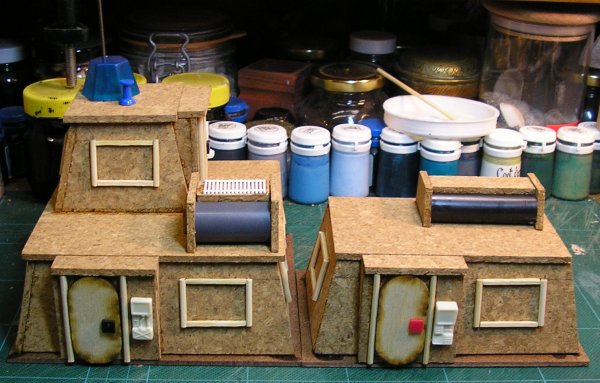
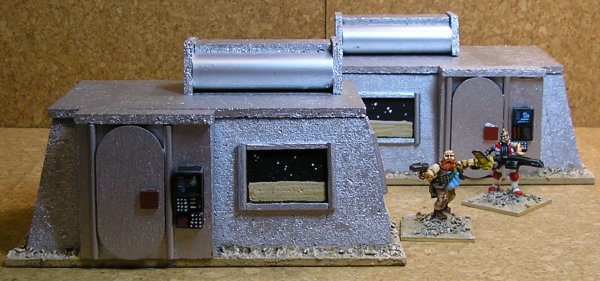
Every colony needs houses for people to live in. I've made three to begin with, there's a prototype at the back and then a couple more following the same design but tweaked a bit based on what the prototype told me. These are designed to be simple buildings and are therefore simple to make. Here are the basic components, four walls a base and two roof parts. The easiest way to cut the walls is to cut out rectangles and then measure 10mm in from each top corner. Mark this and then cut diagonally to the bottom corner. Keep the off-cuts you'll need them later. The base is hardboard but doesn't need to be, I just prefer it.
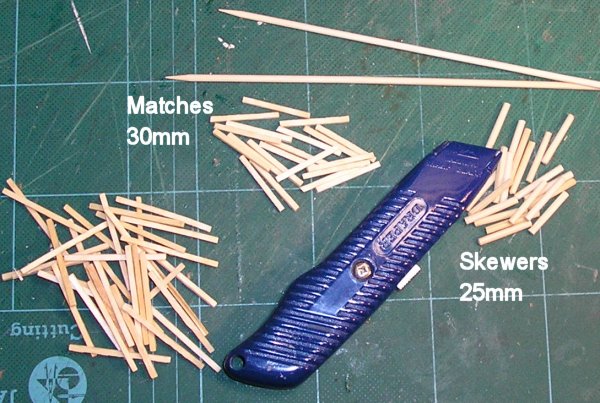
The windows aren't going to be cut out on these buildings so it's easier to stick the frames on before the walls are glued together because there are no window holes to guide you later. The frames are made from matchsticks and bamboo skewers. The matches form the top and bottom and the bamboo forms the sides of the frames. Cut the matches into 30mm lengths and the skewers into 25mm lengths.
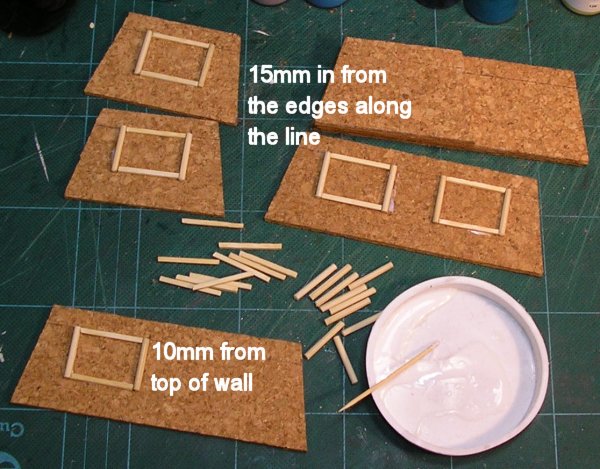
To position the windows measure 10mm down from the top of each wall and draw a horizontal guide line. Each widow starts 15mm in from the wall edge along this line. The skewers forming the uprights should go outside the matches which will result in a 35mm x 25mm widow. The front wall only needs a single window to leave space for the door. Stick everything in place with wood glue or PVA both of which give you time to fiddle with the placement of the frames so you can adjust things to your liking.
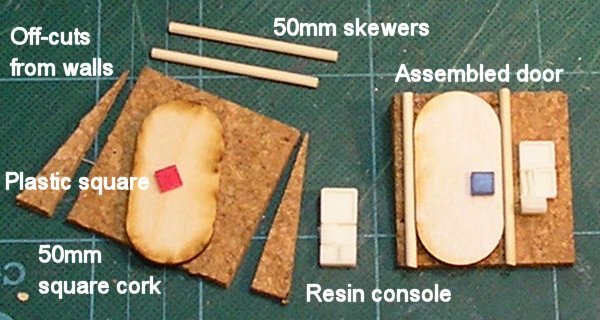
The doors are very straight forward. I have used some special items that I happen to have available, you may need to substitute something else or come up with your own alternative door design. The door needs to be upright and not sloped like the walls. This is achieved by making a flat front from a 50mm square of cork and wedge shaped sides from two of the wall off-cuts. This ensures the angle matches the wall and that the door stands vertical.
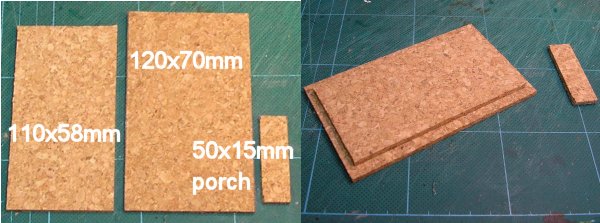
The door itself is a 3mm plywood base from Litko Aerosystems. I have lots of these and they're just right for the job but there's no reason not to cut a door shape from card or cork and use that. The door is framed with two 50mm lengths of bamboo skewer to look like seals and/or hinges. I've added a resin control panel from Antenociti's Workshop which again is something you may need to make yourself. I've stuck a small square of plastic onto the door to act as a manual handle. A small wheel would be better but I couldn't find any. Lastly before putting everything together the two roof pieces need to be stuck together. The smaller rectangle needs to be placed in the centre of the larger one where it will serve to hold the roof in place once it's on the building. The small 'porch' is glued to the top of the doorway once that has been attached to the wall. Be sure to have the main roof in place before you glue the porch to the door or you may find you haven't allowed for the main roof's overhang and it won't fit.
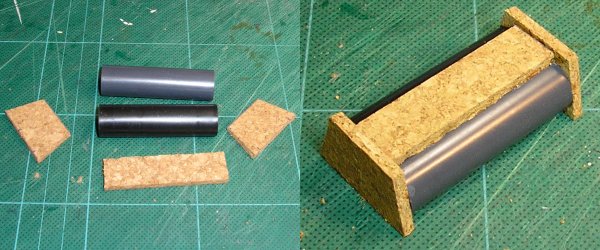
The roof is topped with an air purifying plant made from two till roll centres and some small pieces of cork. You can add anything you want to your roofs; vents, air conditioning units, gun turrets etc. I wanted something civilian looking and easy to make. Once it's glued in place it makes a good handle to lift the roof off with.
Finally everything is glued together. The long walls are designed to go outside the short walls. Everything sticks well with superglue and the sloping walls actually support each other making these buildings much easier to assemble than the others I've made with vertical walls. Once everything is fixed in place the completed buildings can be glued to the bases making sure you position them so the doors don't overhang.
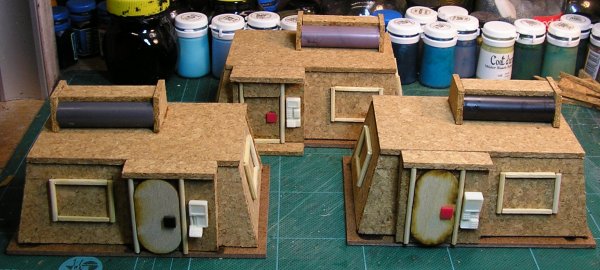
The building at the back is my prototype and so differs slightly from the two in front. Colony Control Centre
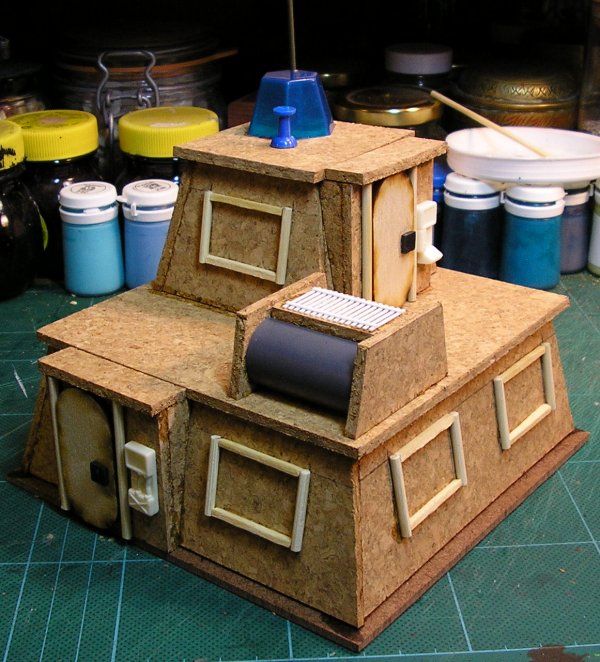
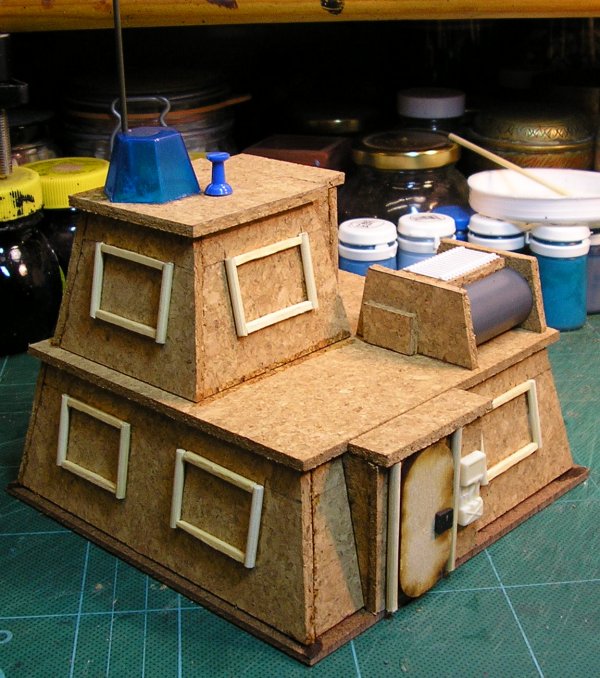
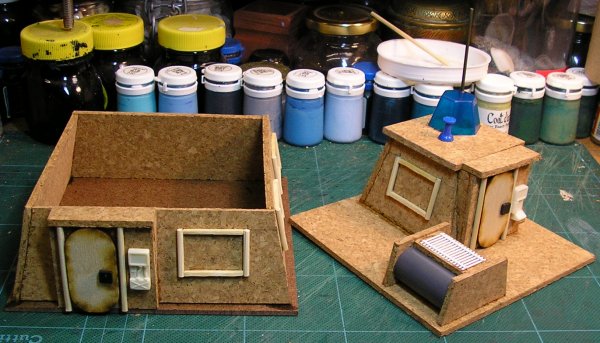
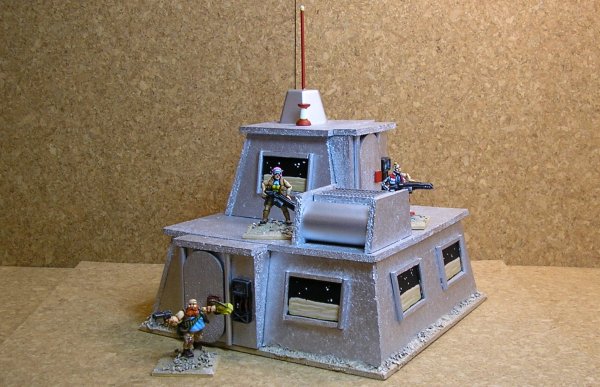
Here's the administration building for the colony. It's based on a 150mm x 150mm square of hardboard and constructed in exactly the same way as the dwellings but using four of the long walls. Because the walls are all the same length they have to be glued in sequence with one end being inside the previous wall and the other end being outside the next wall so as to keep the building square. The large roof comes off and has the top level glued to it to act as a handle. Originally the small roof was seperate but I glued it down since there's only enough room for a couple of figures to actually be placed in the top floor and having it fixed in place greatly adds to the sturdiness of the piece.
I've kept the detailing simple as with the dwellings, I don't want things to get fiddly or have lots of fragile bits on them. I prefer my buildings to be sturdy gaming pieces that evoke the right atmosphere for what they're trying to represent rather than super detailed works of art. This way the figures can take centre stage and have the players' attention focused on them while the background and scenery stays in the background where it belongs. Finally, before the painted pictures appear, here's a picture showing the control centre next to one of the dwellings so you can compare the size. Completed Colony
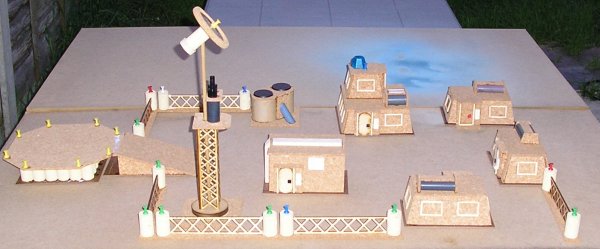
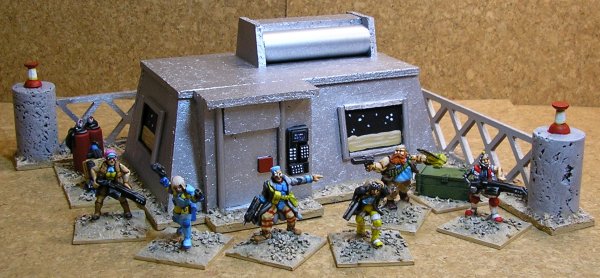
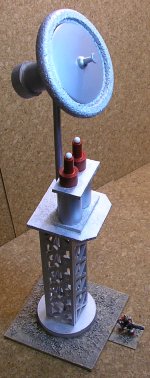
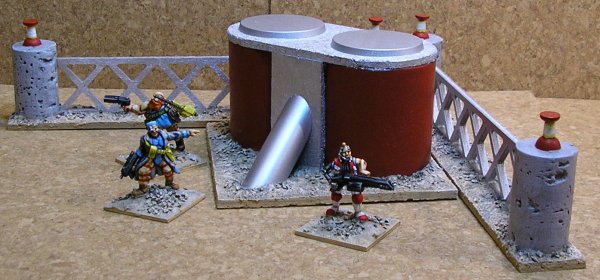
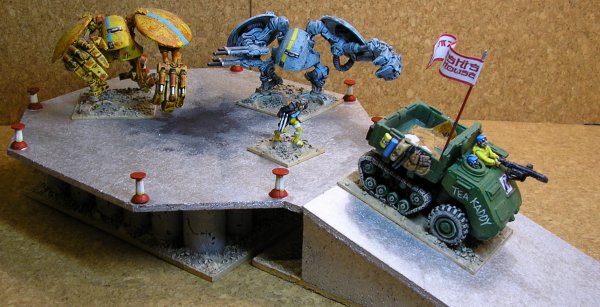
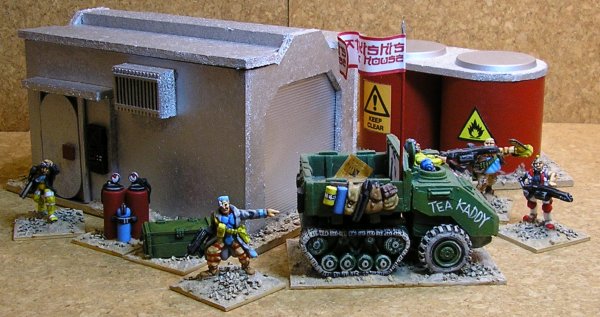
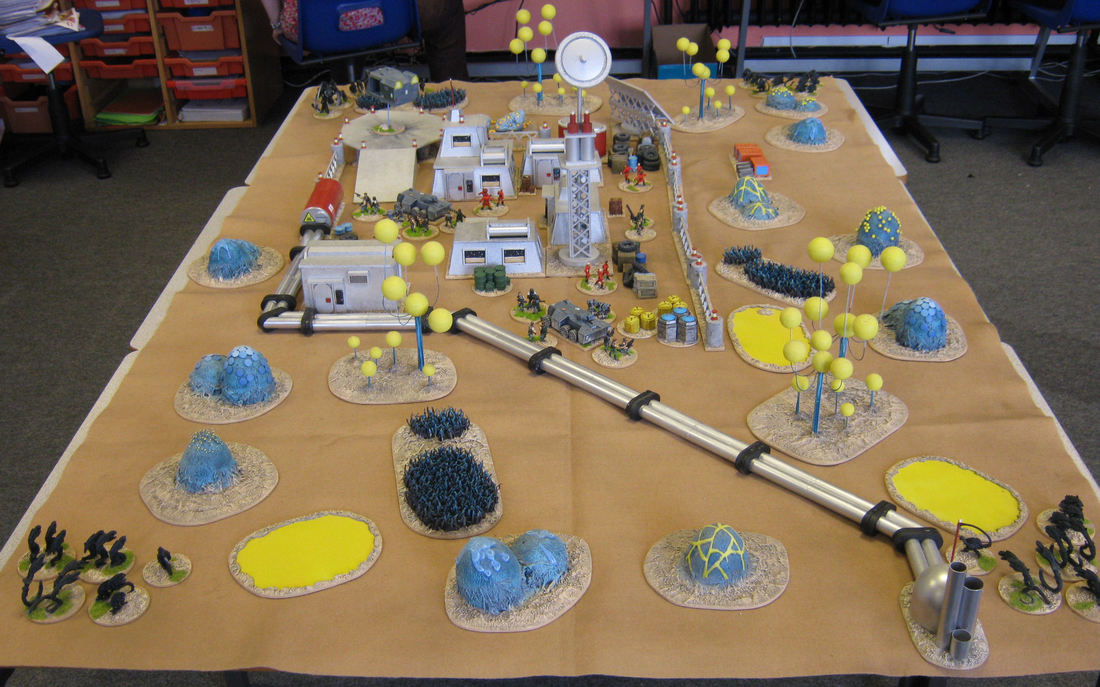
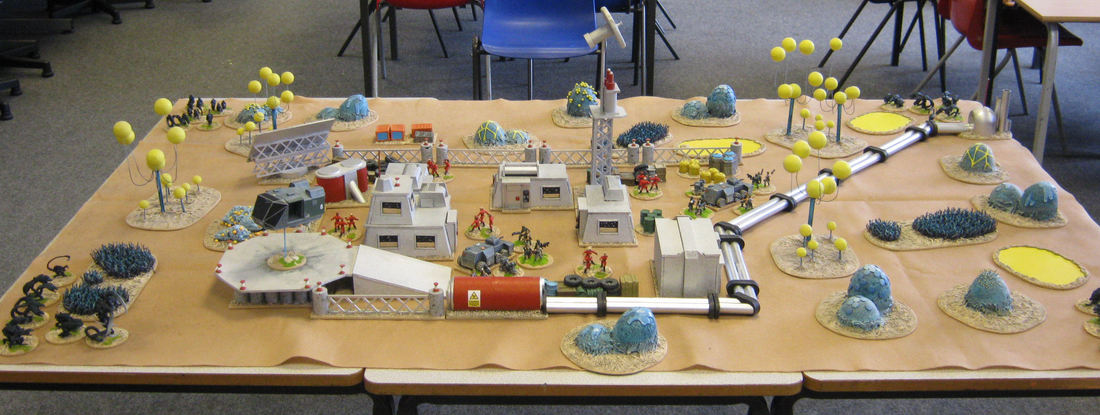
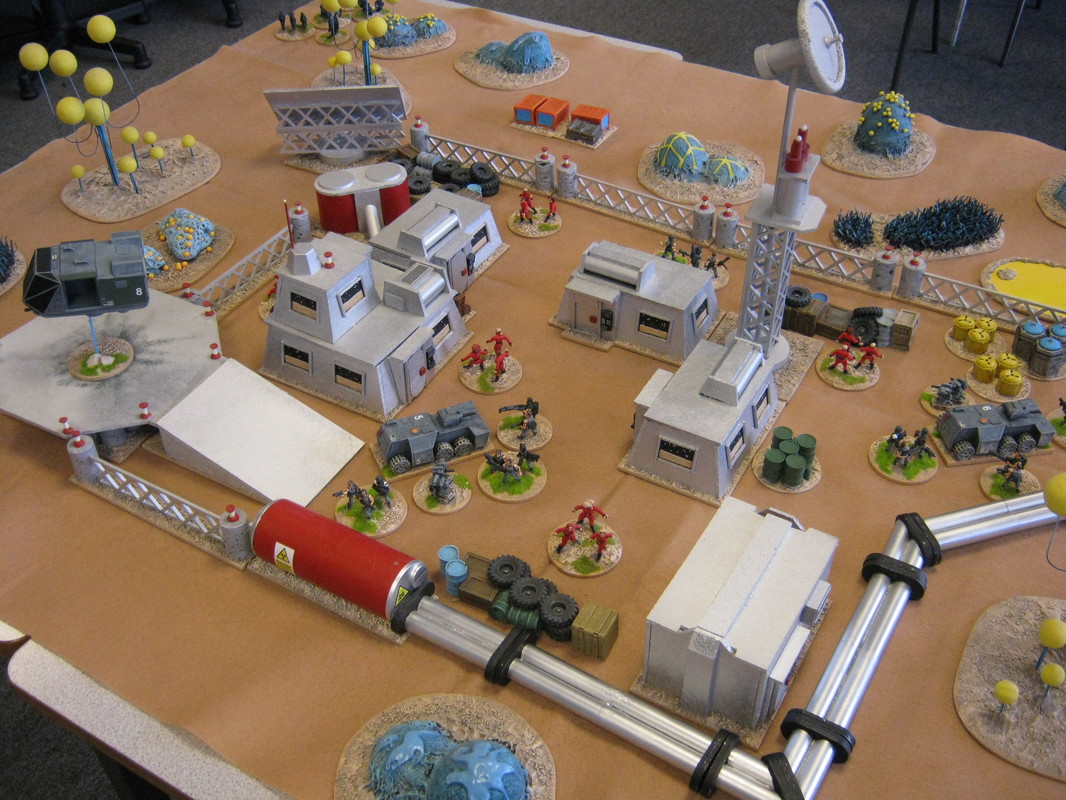
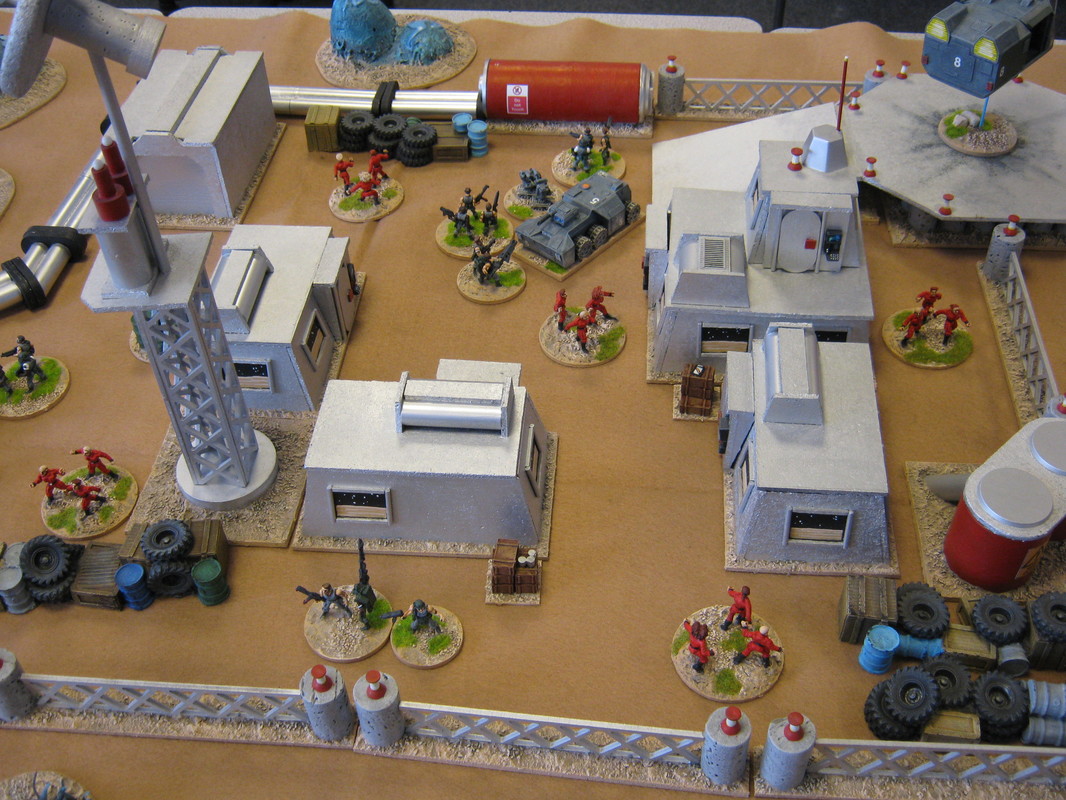
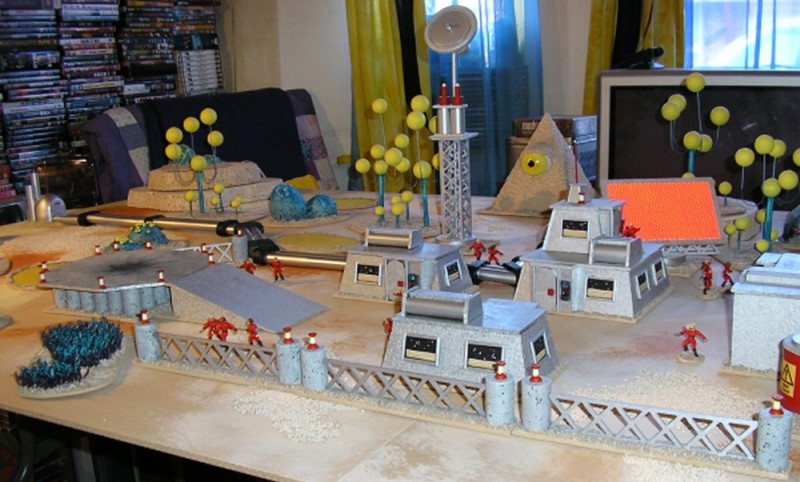
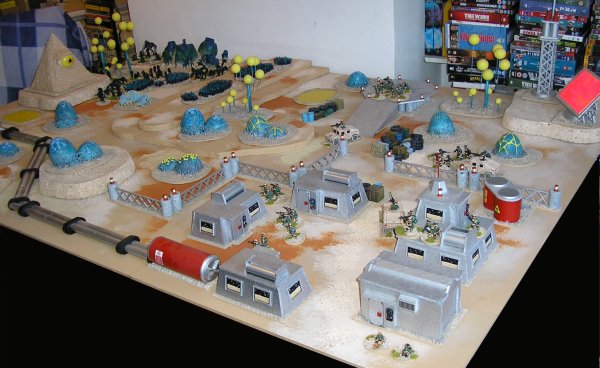
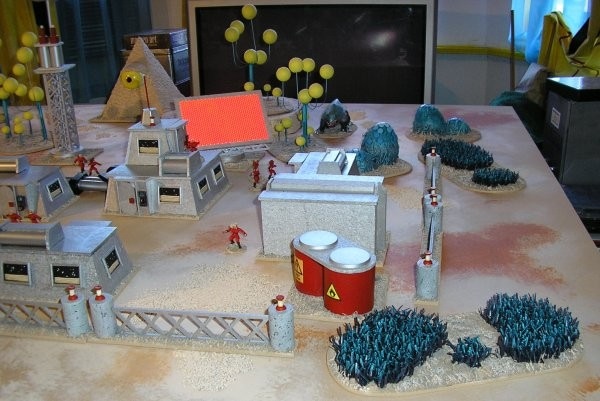
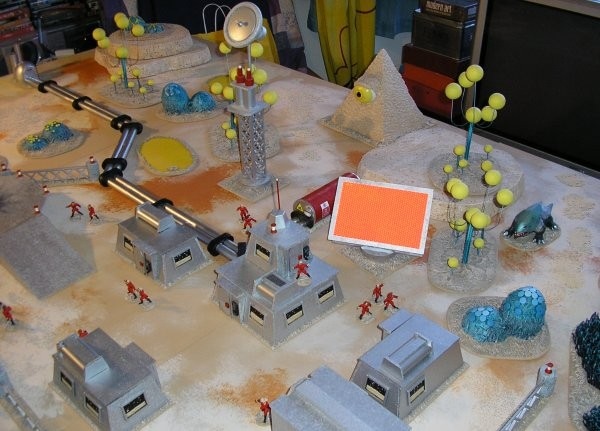
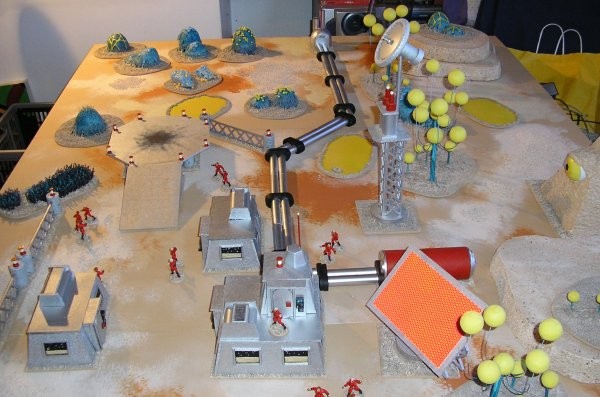
Well, everything on my original list is done. It took me Thursday afternoon, Friday evening and Saturday morning to construct everything which, if you put them all together only makes a single day. Quite a quick little project. As you can see in the rather poor photo (better ones will follow as things are painted. The flash has bleached out a lot of the details), I have made a vehicle garage which is the building in the centre of the picture. It needs a front door which I want to use textured plasticard for so I've ordered some and it should be here on Monday or Tuesday. Once the garage is properly finished I should get some photos of it before it's painted. I've also made a landing pad and ramp for the resupply ships and six lengths of perimeter fencing. The fencing and landing pad have pins stuck into them which I'm going to paint as warning lights. The fences are made from lengths of laser cut plywood that I had made for my Elevated Railway in my city project by Litko Aerosystems. It's easy to make wire fences from car body filler mesh as an alternative though. The fence sections are capped with corks which will be painted to look like concrete. I've used the same corks to support the landing pad. To finish everything off I made a pair of fuel tanks from some cardboard rolls and a comms uplink tower from various bits and pieces I had lying around. The total materials cost for all this was under £5.00. The Pipeline
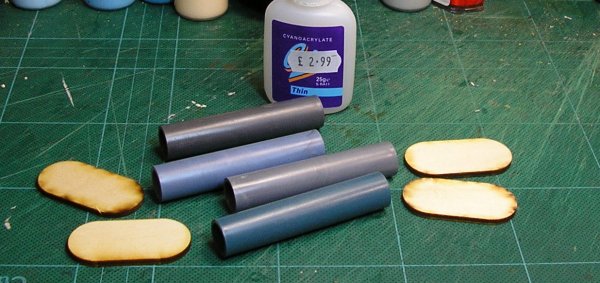
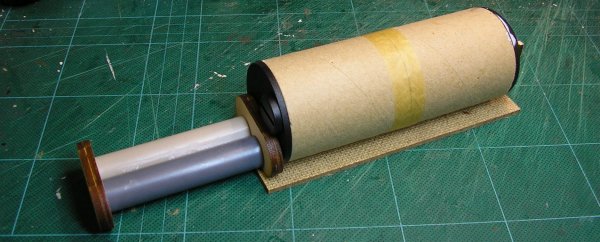
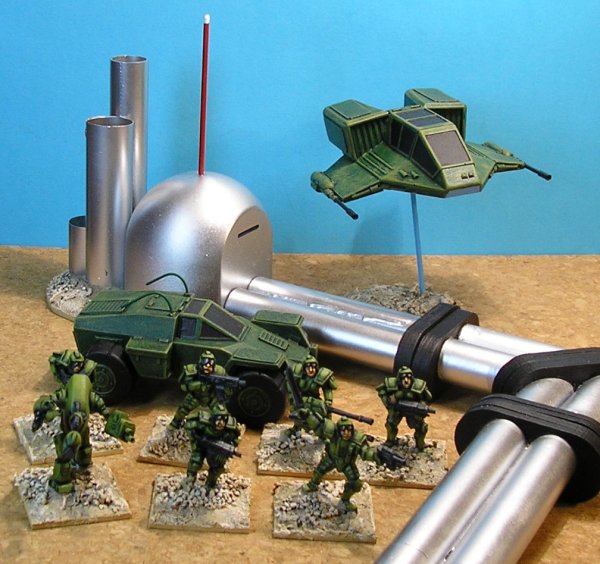
I wanted some linear obstacles for my off-world setting. I have the fences which will affect movement but won't affect shooting but I wanted something that would give a bit of concealment as well. Someone on Terragenesis suggested some pipes, I like the idea of pipes because they give a reason for the colony to be on the planet and they're easy to make, so here they are. Each section is made from four plastic cash register roll centres and four 'pill' bases from Litko Aerosystems. I have a massive bag of cash register roll centres of all sizes from my time in retail, short plastic tubes are always needed in terrain making. You could use dowel with the same results though.
I originally got the Litko bases as a special order for some mounted troops but they sell them as a standard item now; these are the 25mm x 50mm bases. I used these bases because they're the right shape and I have loads left over but there is no reason why something else couldn't be substituted instead. Rectangles of plasticard, card or cork would work. Everything is stuck together with superglue. The discolouration is from the accelerator I used.
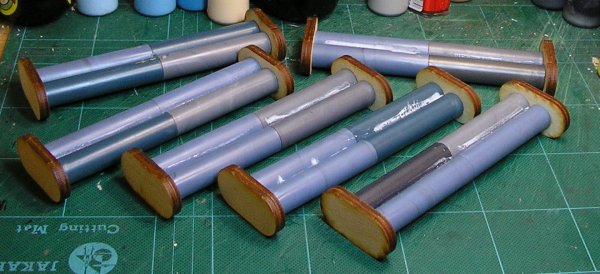
Each section of pipe is just over 150mm/6 inches long. I made roughly 3ft of piping for my 6ft x 4ft playing area. This lot took about fifteen minutes.
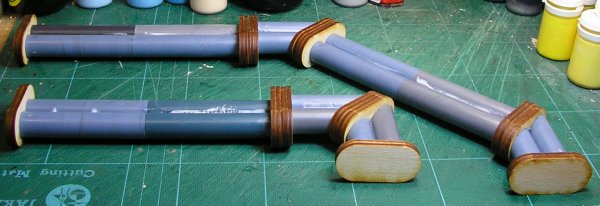
By gluing two tubes together and cutting them at a 45 degree angle I made some corners. I made two 45 degree bends and one 90 degree one so that the pipes can go around terrain etc.
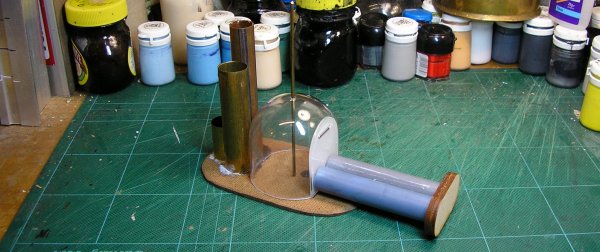
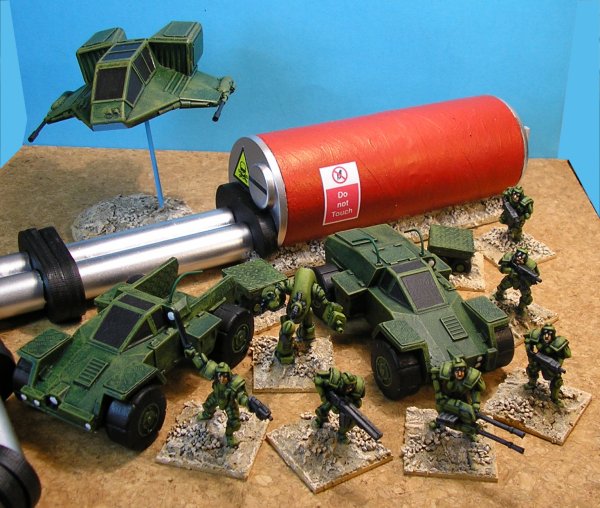
At the colony end of the pipeline is a holding tank to collect whatever it is that's being piped out of the planet.
There will be some support struts on the sides of this added once the actual tank is painted. At the far end, out on the planet surface, is the pumping station.
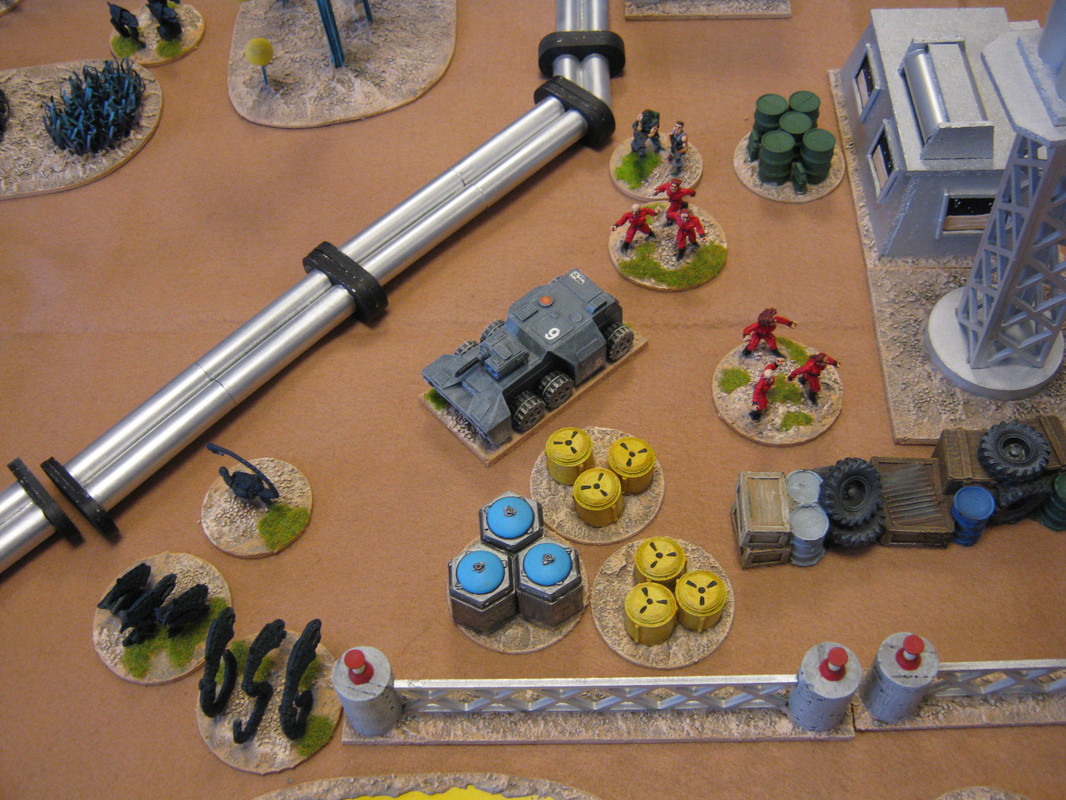
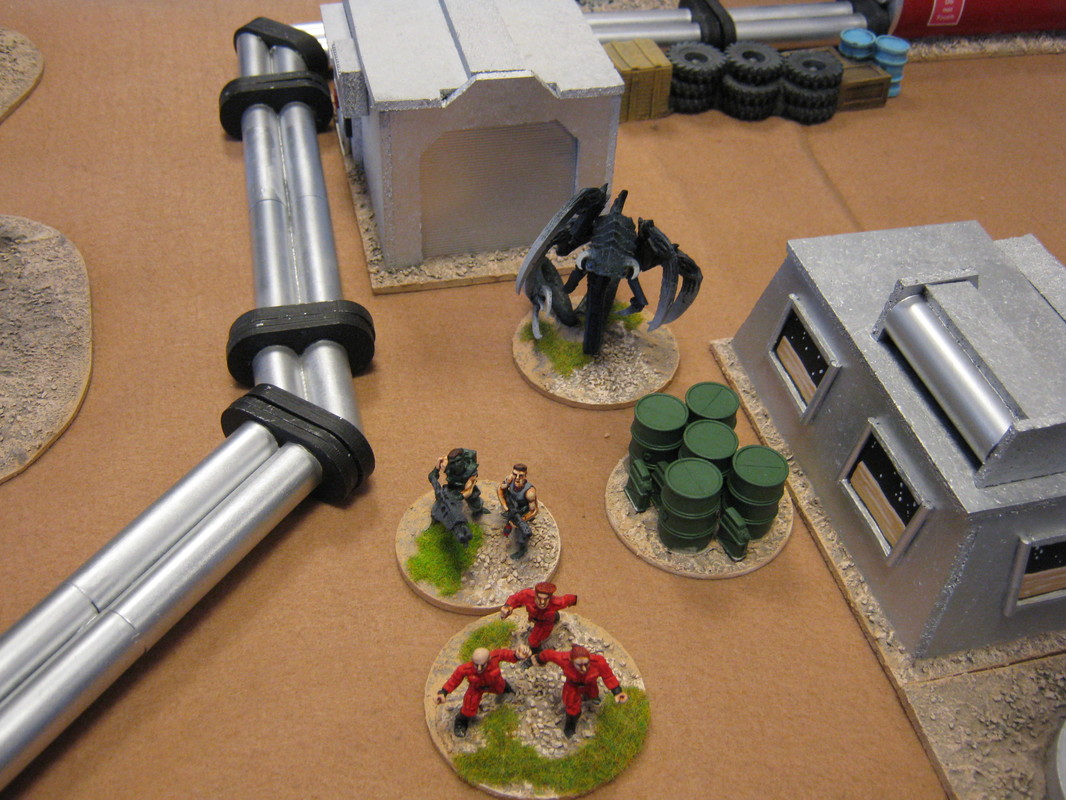
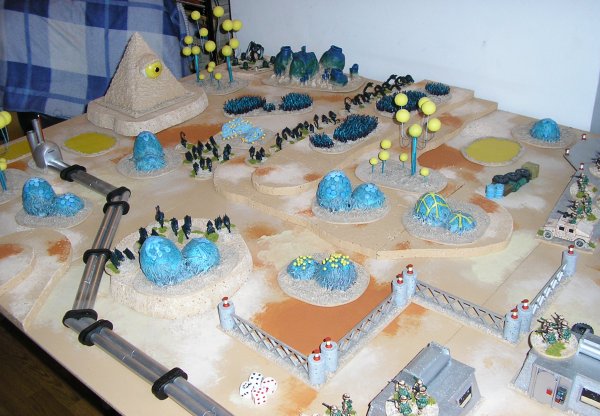
As you can see, the pipeline can be arranged however you like. It forms a barrier to movement as well as an objective to be destroyed or protected.
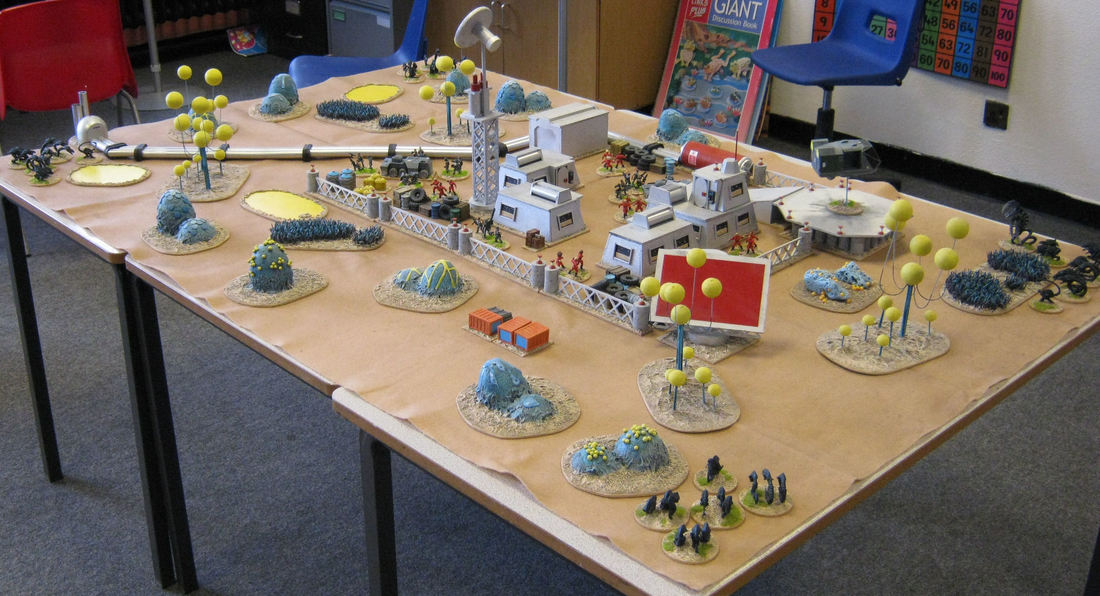
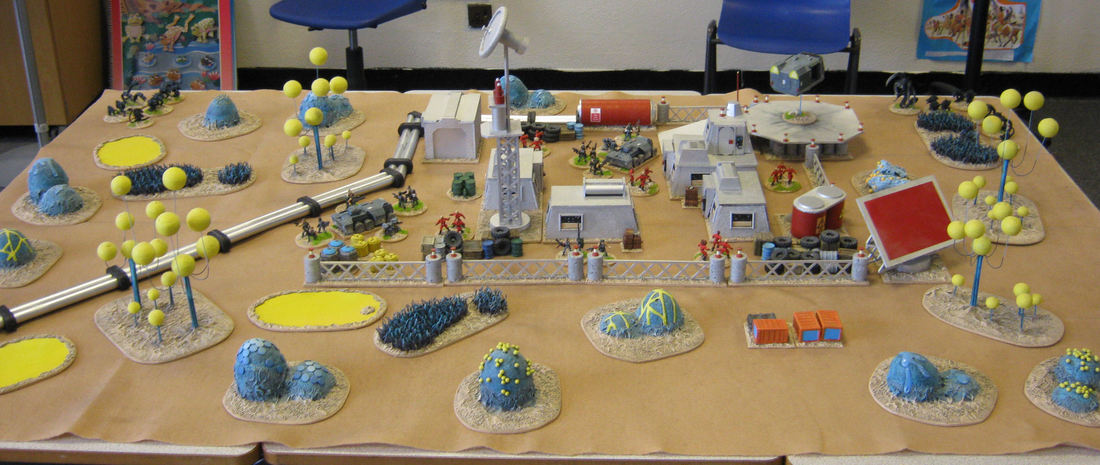
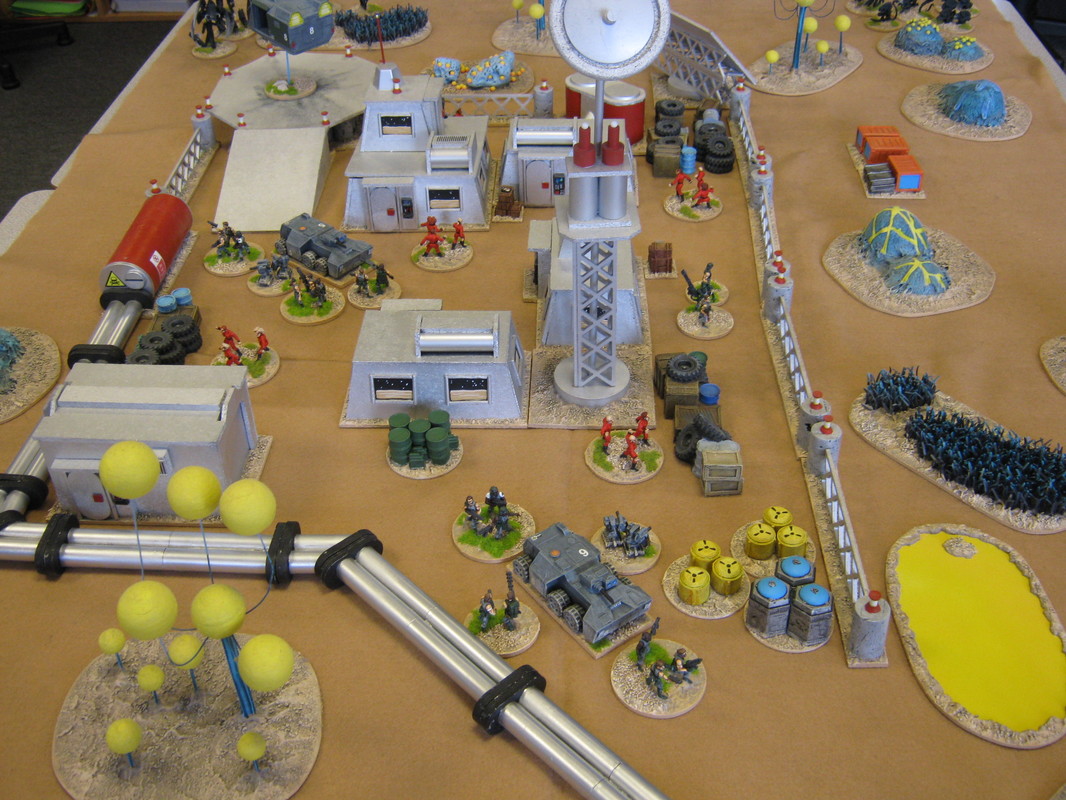
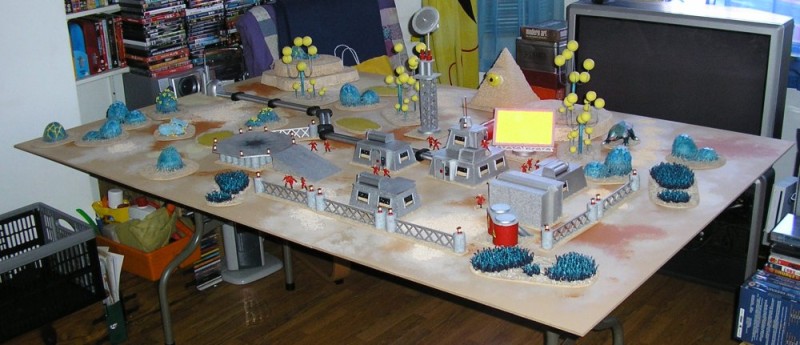
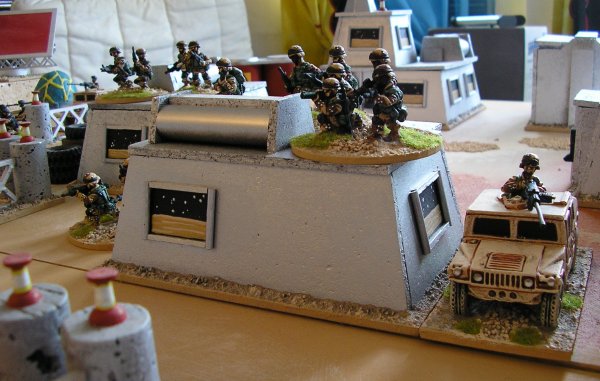
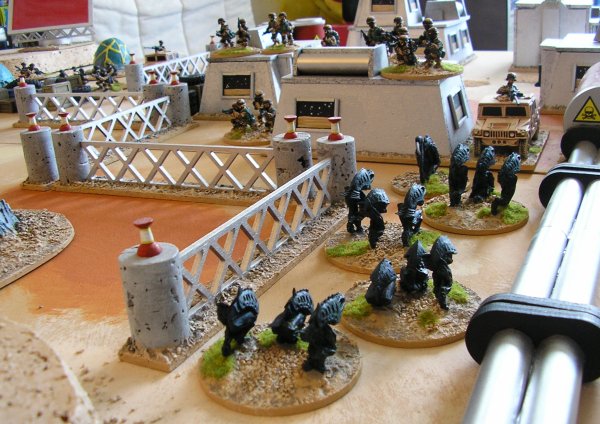
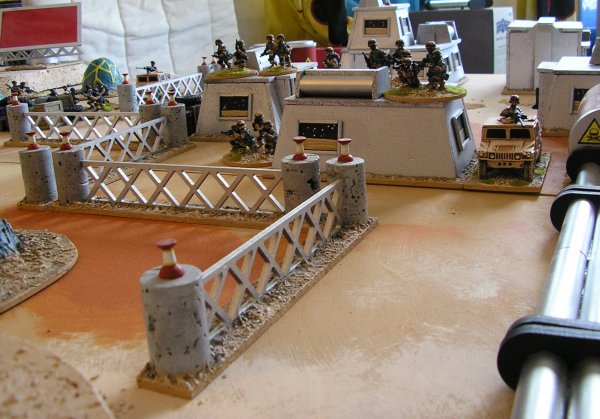
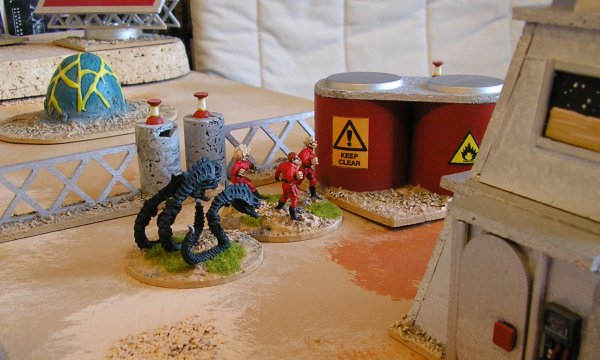
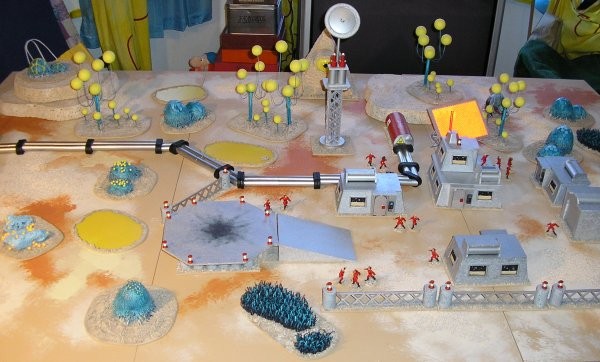
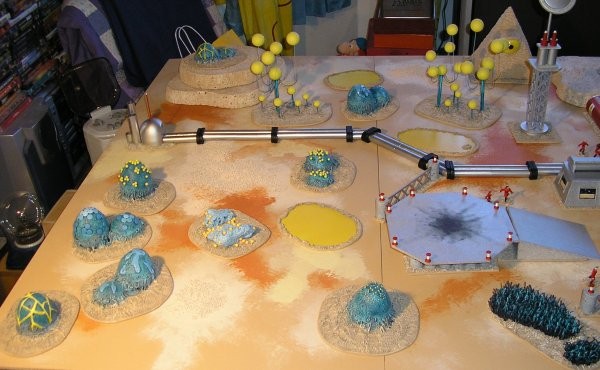
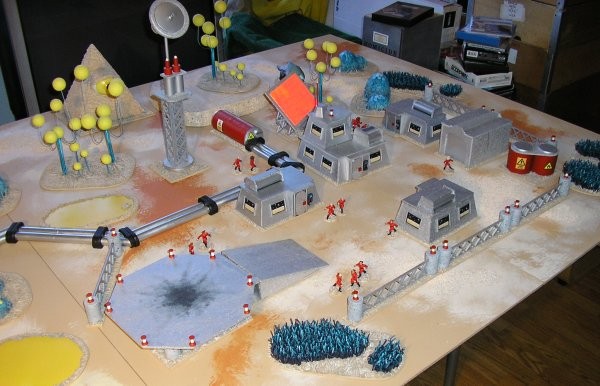
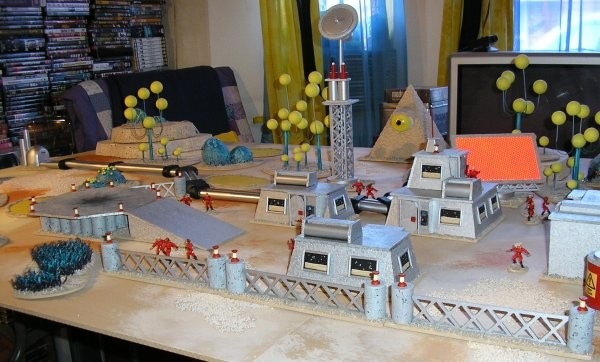
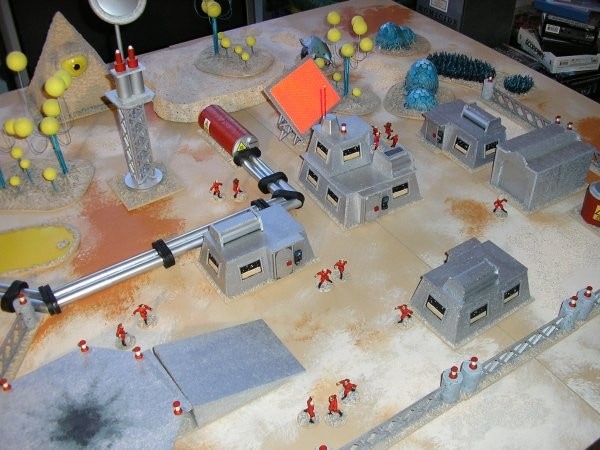
Here's an off-world colony built by Robert Provan (Toaster).
|
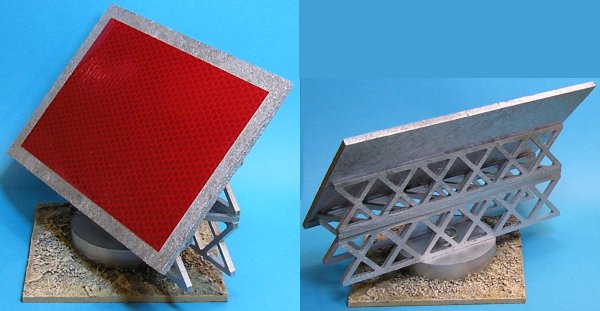
A late addition is the Solar Panel array which is fronted with some ultra reflective film that I was given by a friend. I had several colours to choose from but went for red as it continues the existing theme.
|

