|
Dungeon tiles
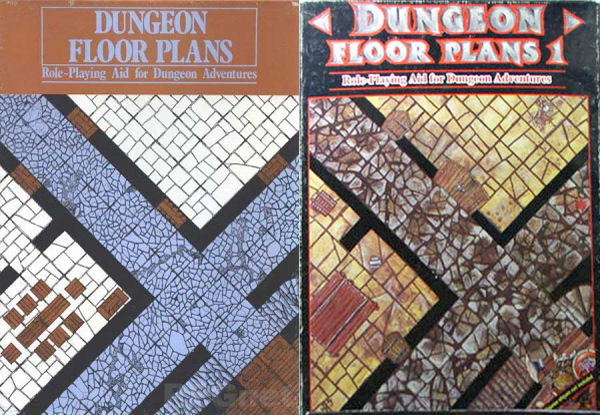
I'm writing an old school fantasy campaign for my games group, returning to fantasy role playing after a long eighteen year gap where we've played Cthulhu, sci fi, pulp, historical and other RPGs but no fantasy. It came as a bit of a surprise but that's inspiration for you, no telling where it will take you. Looking through my fantasy collection I decided it was time to update my floor plans. I've always used the basic floor plans sets put out by Games Workshop in the eighties and nineties. I started with the flat colour version and then moved to the painted set once it became available. The decision whether to go with modern printed floorplans or to make a set of 2.5D floor plans like DM Scotty was quite an involved choice as both types have their advantages but eventually I decided to make some 2.5D ones.
I further refined the design to not include walls as they make placing doors too complicated. In the end I plumped for a thicker, textured copy of my existing printed floorplans but with increased dimensions and no grid pattern. I also decided to update my dungeon blocks. Once the basic set of corridors and rooms is done I can add specialist rooms at my leisure- one of the major benefits of making my own set of floor plans. Construction
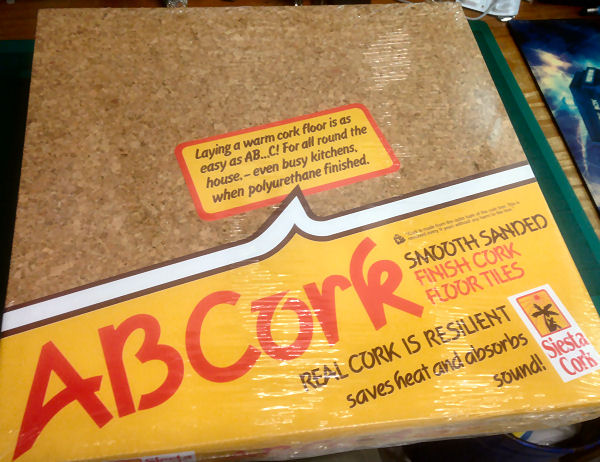
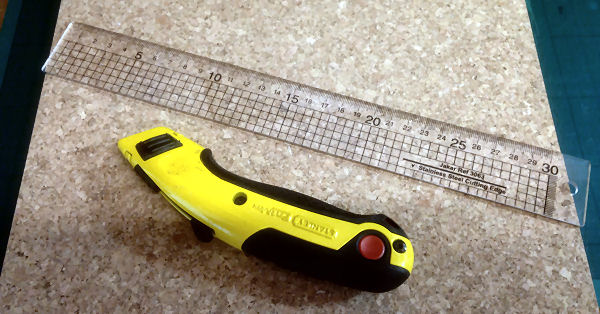
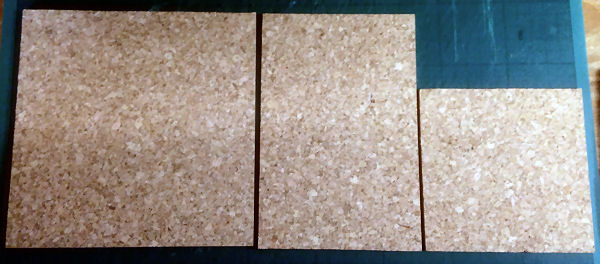
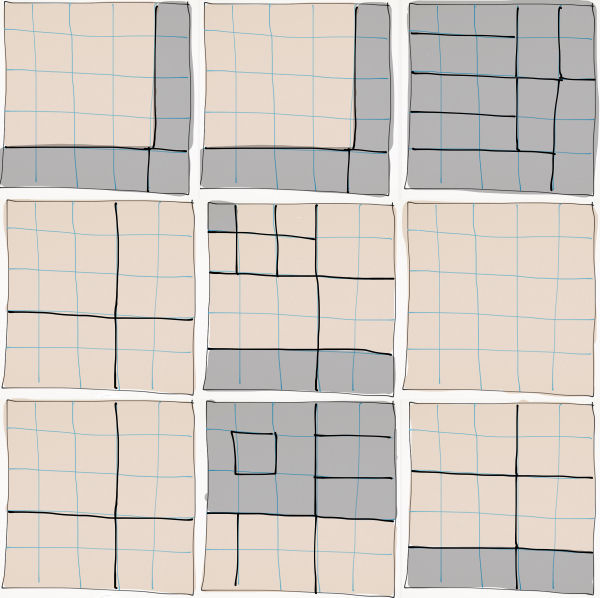
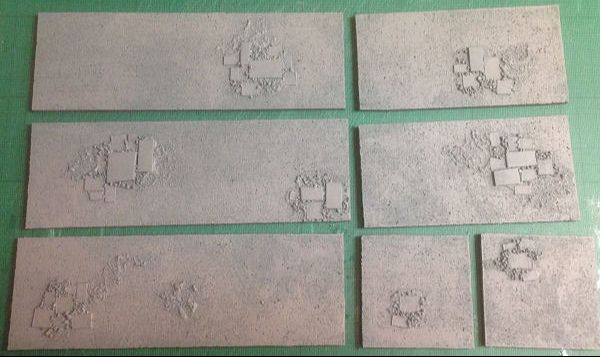
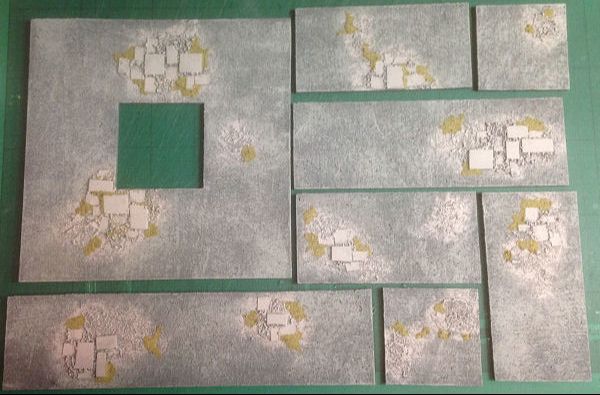
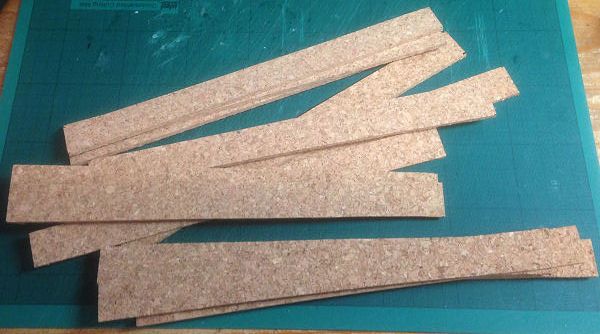
Obviously I decided to use 4mm cork as my building material. I cut out corridor and room sections based on a cutting plan I'd prepared with a scale of 30mm representing 5ft to accommodate today's bigger miniatures and the 30mm bases I use for individual figures. The cork tiles are easy to cut with a box cutter and metal sided ruler. They have a rough side and a smooth side. I mark out on the smooth side with a black pen as this will be underneath when the tiles are finished and use the rough side as my textured top side.
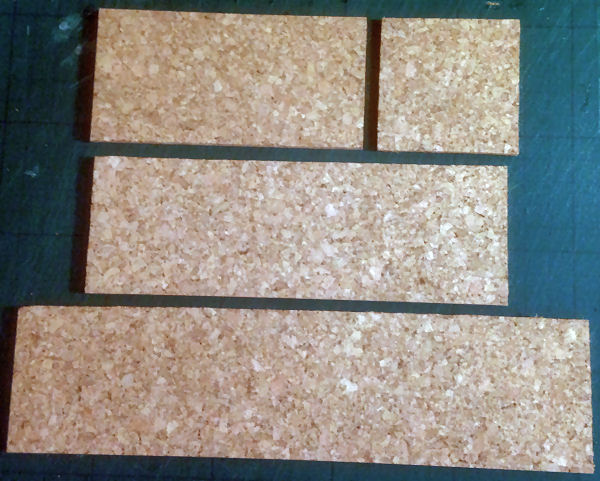
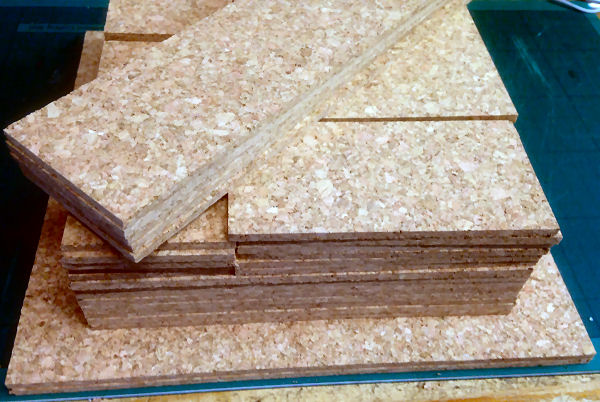
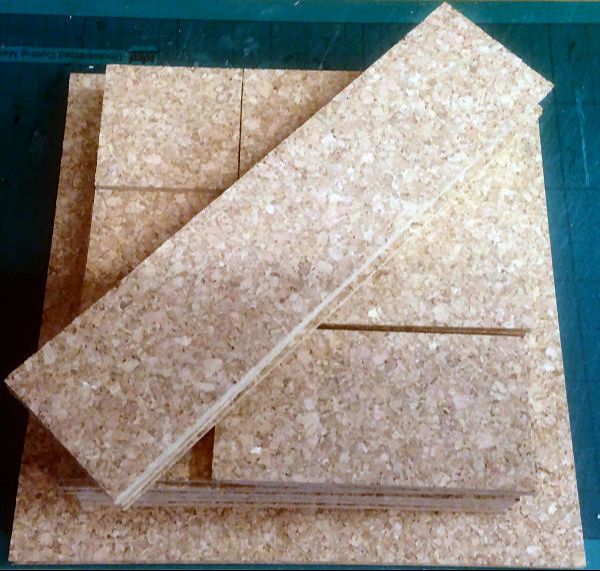
It's best to cut lots of smaller rooms and corridors rather than large or long ones. This gives more versatility and minimises the storage space needed.
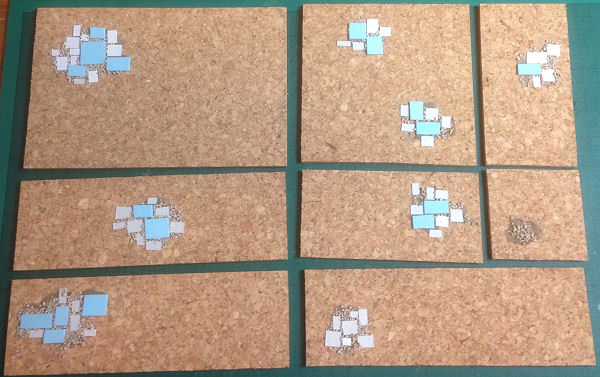
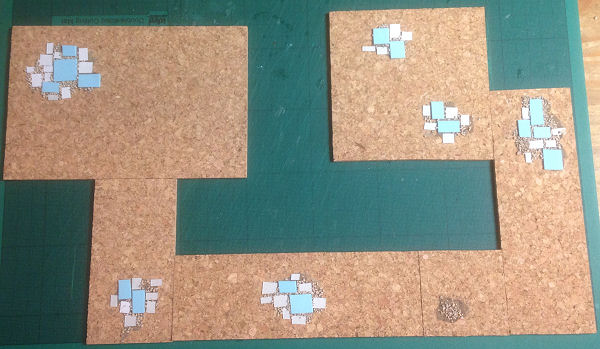
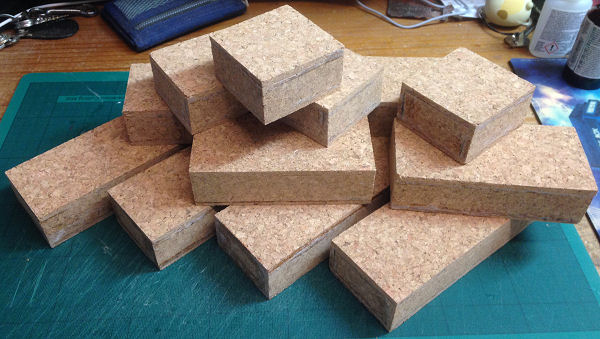
I ended up with the following which used nine tiles.
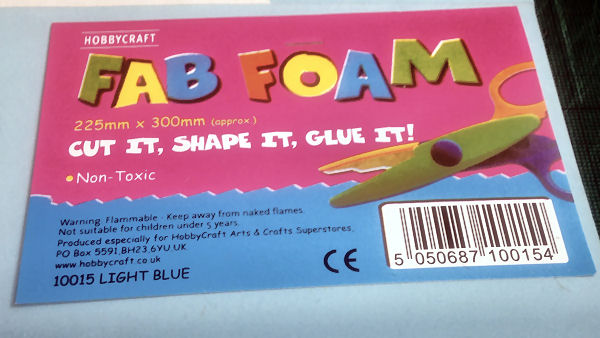
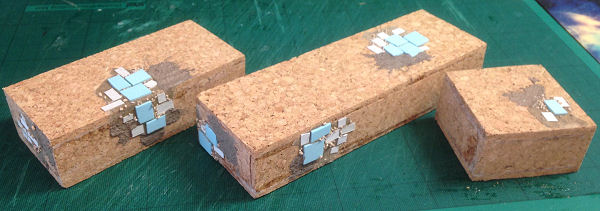
I cut rough rectangles from thin card and some thicker craft foam to represent paving stones. I cut the foam into larger pieces than the card so that the foam paving stones would be both thicker and bigger.
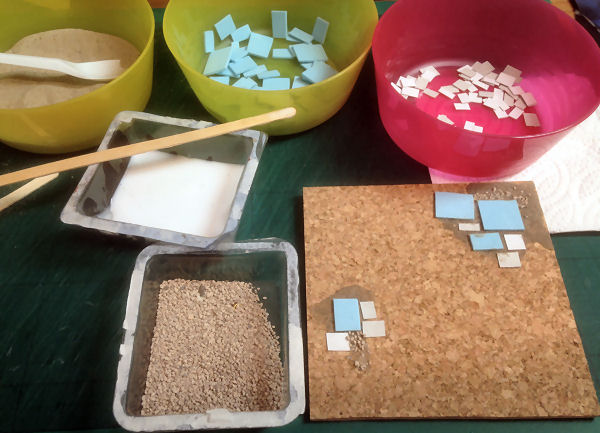
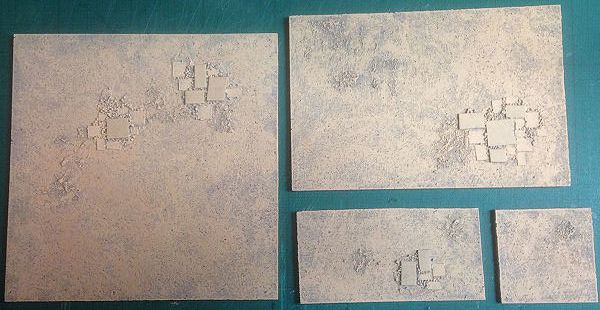
I made sure that the rougher side of the cork tile was uppermost then arranged the paving stones in small patches to each floor plan section. I stuck them down with PVA glue and added some railway ballast, fine sand and some of my usual basing mix for extra texture. Painting
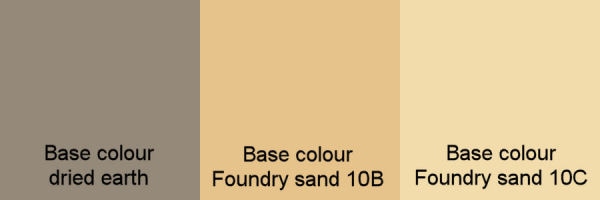
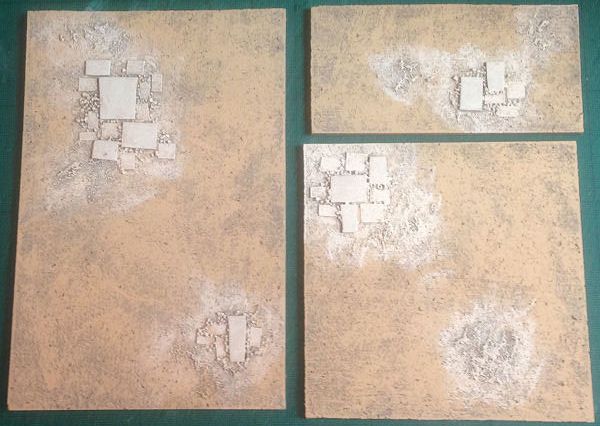
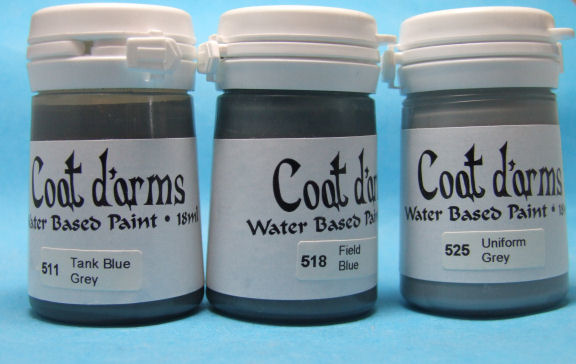
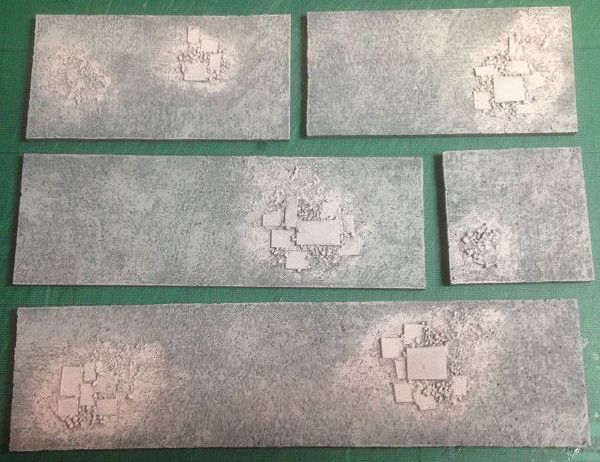
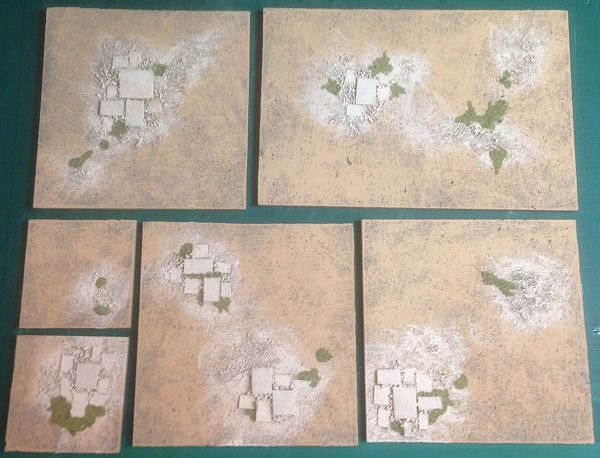
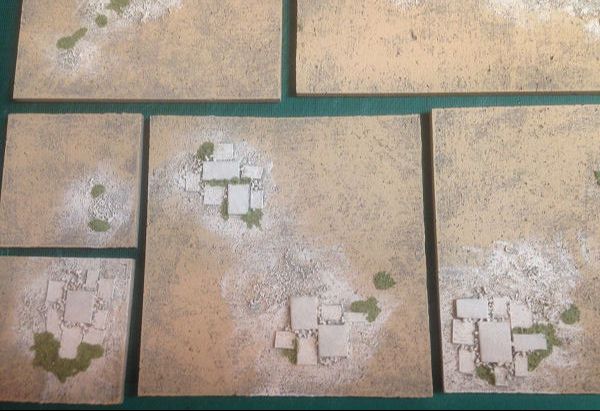
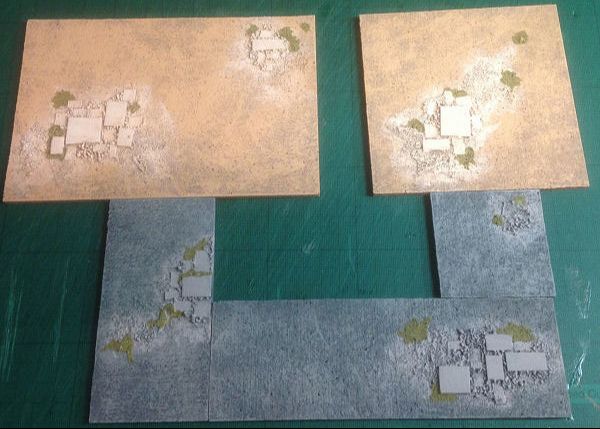
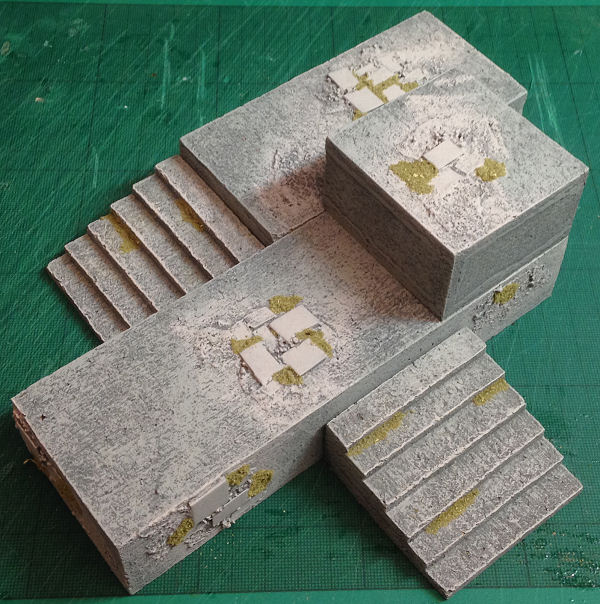
I couldn't decide originally whether to paint my floorplans grey or sand. I wanted them to be usable for other settings such as Egyptian tombs and I'm not really a fan of grey, I find it too dark. In the end I decided to continue the sandy rooms and grey corridors of the cardboard sets I was replacing. For the rooms I used my standard basing colours: Dried Earth, Foundry Sand 10B and Foundry Sand 10C. For the corridors I used three grey tones colour matched to a Coat d'arms blue grey triad 511 Tank Blue Grey, 518 Field Blue, 525 Uniform Grey. This quite a light grey set but mixes well tonally with the sand colours.
As a final touch I added small patches of green flock to represent moss.
Dungeon blocks
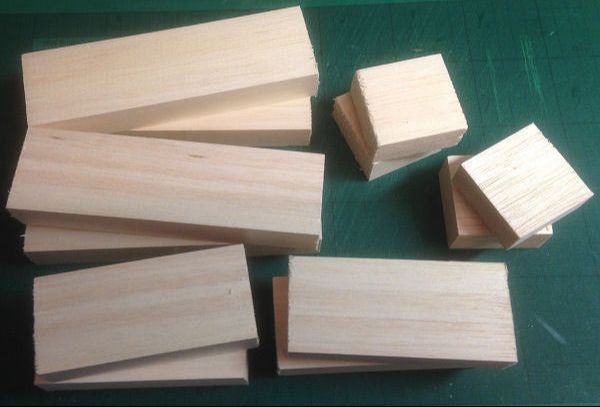
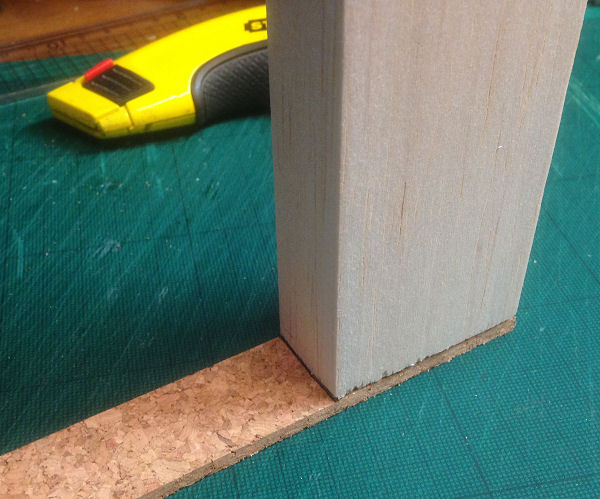
My original dungeon blocks have given good service for many years so I decided to make a new set to match my new floor plans. I bought some lengths of balsa wood block 25mm x 50mm x 450mm from eBay. These are a standard size but too small for my new 30mm:5ft scale. However I planned to clad them in 4mm cork which would bring the dimensions up to 33mm x 58mm x whatever length I want. Not a perfect match but close enough. I cut the balsa wood into four lots of three lengths. 172mm (+8mm cork thickness for a total of 180mm), 30 scale feet. 112mm (+8mm cork thickness for a total of 120mm), 20 scale feet. 52mm (+8mm cork thickness for a total of 60mm), 10 scale feet. The finished blocks are each 5 scale feet tall, 10 scale feet wide and either 30, 20 or 10 scale feet long. Each can be rotated to be 10ft high and 5ft wide and they can be stacked to give different heights and widths as needed. For the cork cladding I cut 25mm lengths of cork tile and then used the balsa blocks themselves to measure the lengths of the individual pieces.
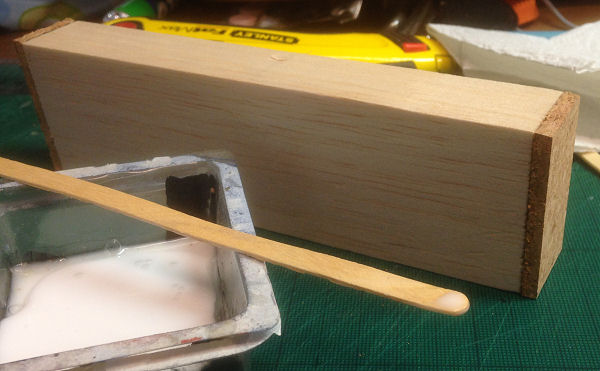
I started by covering the short ends first. Gluing the cork with PVA to allow time for precise positioning.
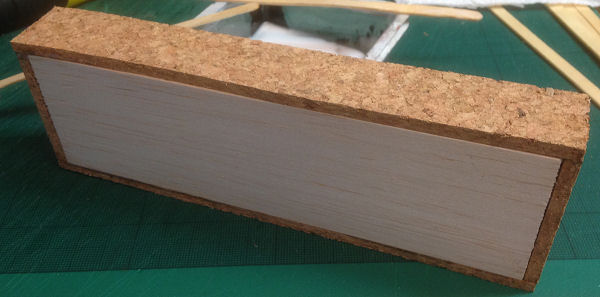
Next I covered the long edges, overlapping the cork on the short edges.
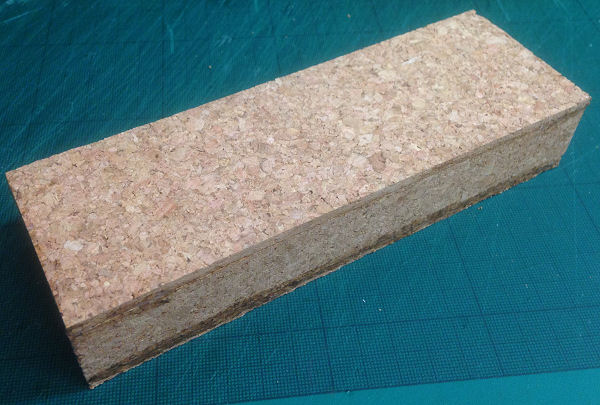
Finally I covered the tops and bottoms and secured everything with super glue.
I gave everything a light going over with a sanding block to knock back any dried glue and overhanging edges and everything was ready for texturing.
I textured 3 adjacent sides of each block with foam and cardboard squares, grit, sand and basing compound the same as I did with the floor plans. I only textured one side of the 10ft x 10ft blocks because they're so small.
This ensures I have three plain, flat sides to use as bottoms or joining faces if I stack blocks together. I painted half the set grey and half sand.
Stairs
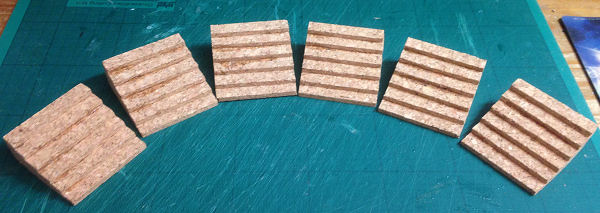
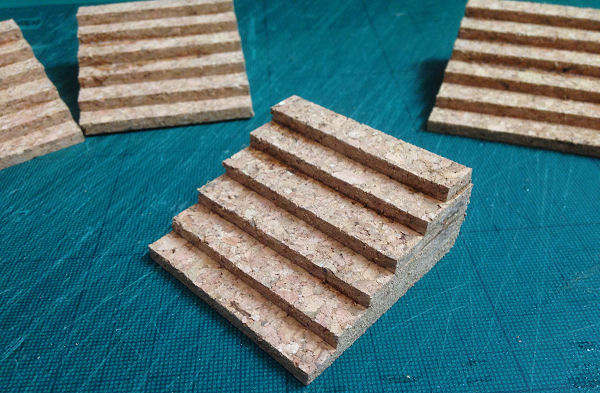
I decided to go with full width 60mm/10ft stairs instead of my original 5ft stairs to keep everything robust. I also didn't want the stairs to extend past a 60mm x 60mm footprint so they could fit in the corridors and on the blocks. This gave me six steps per flight for a total height of 24mm. This makes the top step onto a block a bit high but is acceptable when weighed against ease of construction. I could have had the steps in multiples of 8mm instead of 10 if I was bothered. I layered the steps and stuck them with superglue.
Like the blocks they were given a light sanding to smooth their edges.
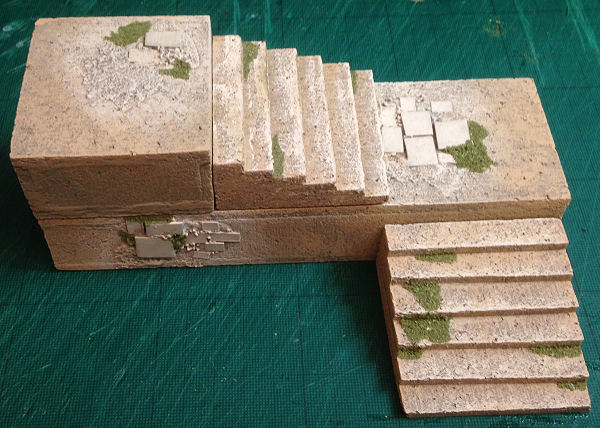
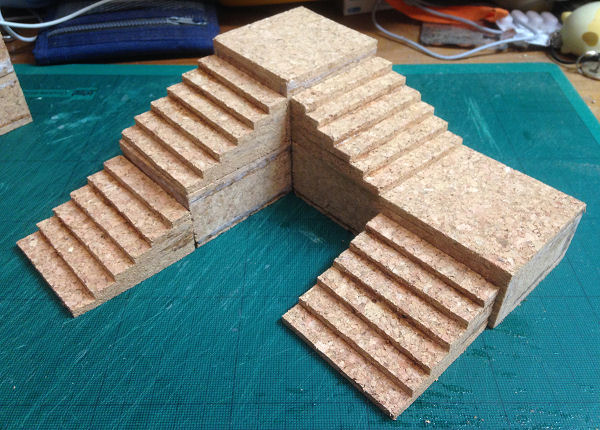
As you can see on the left here the step up to a block with another flight of stairs on it is quite large. However this doesn't happen often and the game's all about imagination so I'm sure everyone will cope.
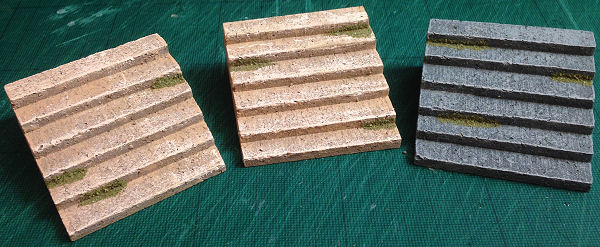
I painted two sets of stairs grey and the rest sand. I added a little moss flock for colour and texture.
Pillars
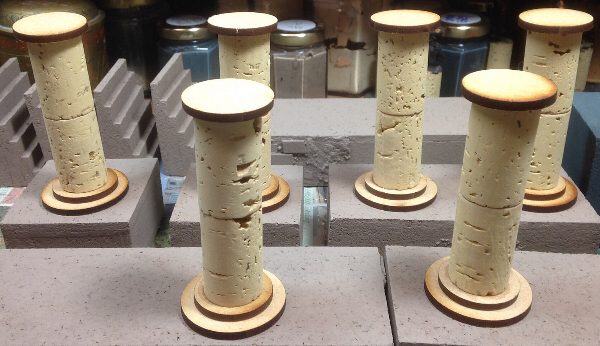
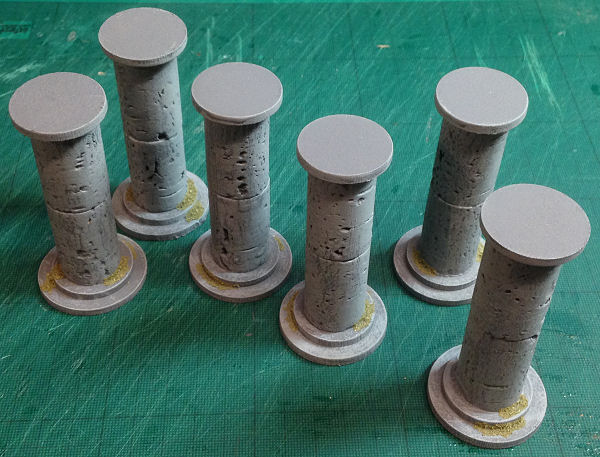
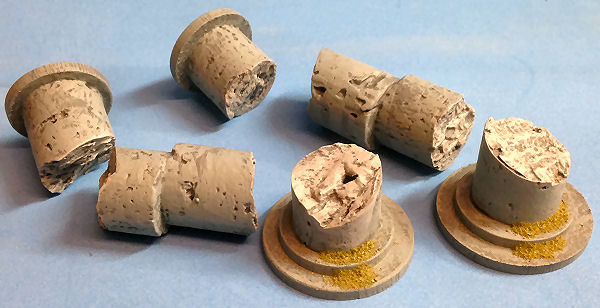
I made some pillars from wine corks and some MDF bases. The bases are a 40mm and a 30mm base and the tops are a 30mm base. Two corks gives enough height and keeps things stable. I painted them in the first two shades of my greys and added just a little moss flock to tie them in with the rest of the tiles and blocks.
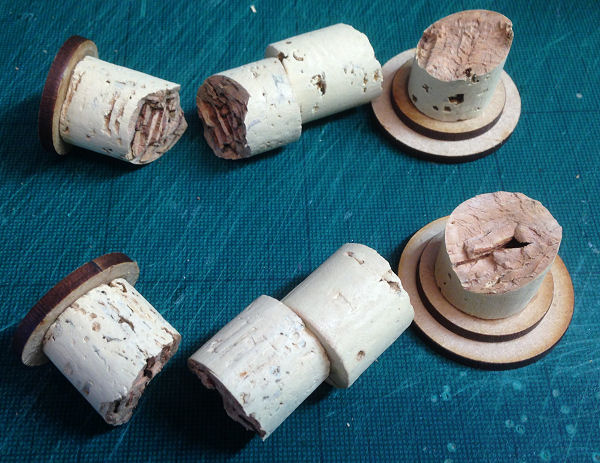
On a recommendation I made a pair of broken pillars too. I broke the corks (with pliers, they're tough) and then glued two bits together with an offset join to form the middle section. The other cork halves were glued to round bases as before to make the tops and bottoms.
Spikes
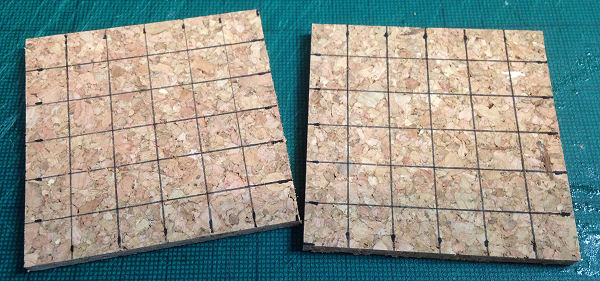
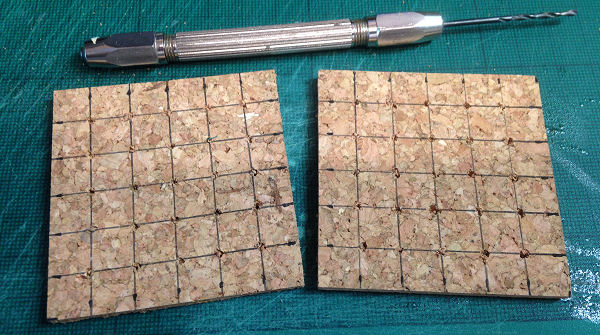
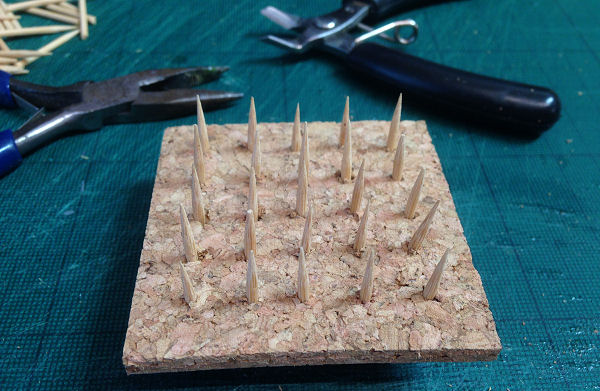
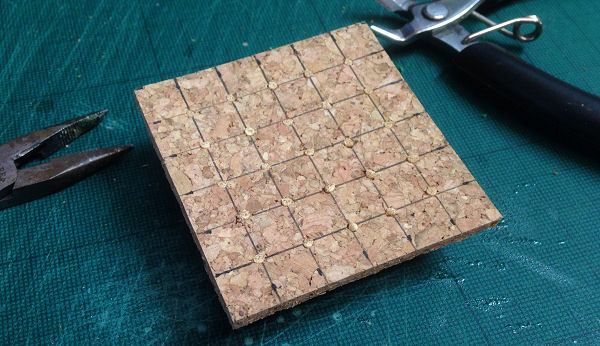
I thought some spikes would be a good idea, they make effective traps in a dungeon and they're very visual. I cut two 60mm squares and marked the backs with a 10mm grid. I drilled through at the intersection points.
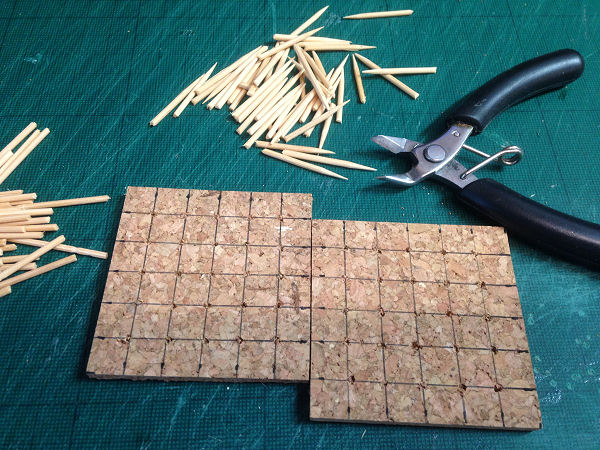
I used toothpicks/cocktail sticks for the spikes.
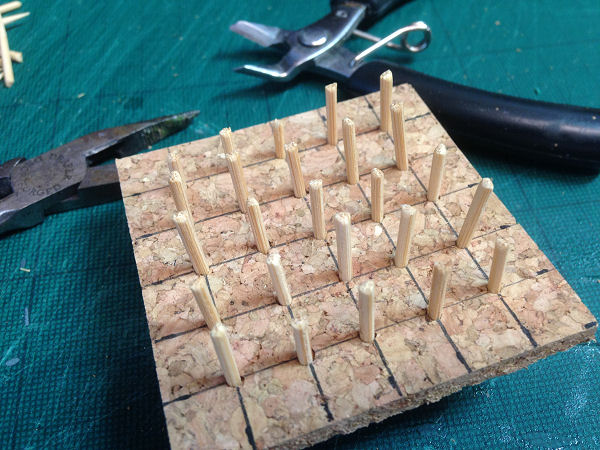
Because the drilled holes were small the cocktail sticks were gripped tightly once they were inserted.
I'd left plenty of extra so I had something to work with. These were easy to clip away.
A final light sanding smoothed everything off.
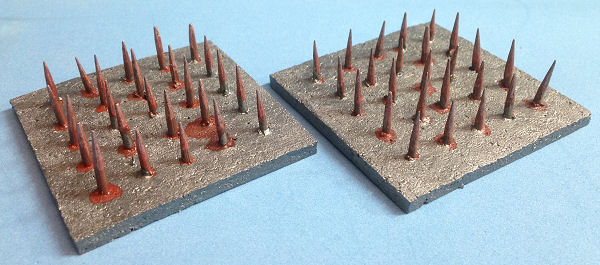
A quick paint job: Gunmetal, silver points and a brown ink wash over each spike.
These can now be used in place of a flooring square to show where a spiked pit is or thrown at an unruly player (they're quite sharp, be careful if you make some). Torches
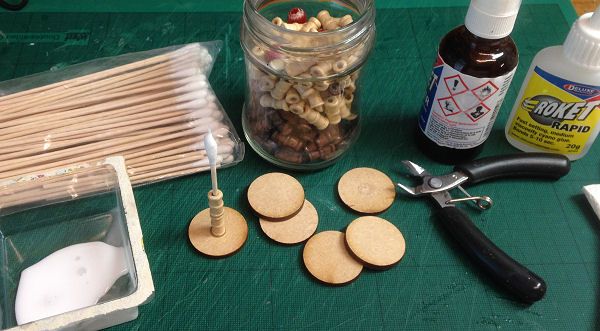
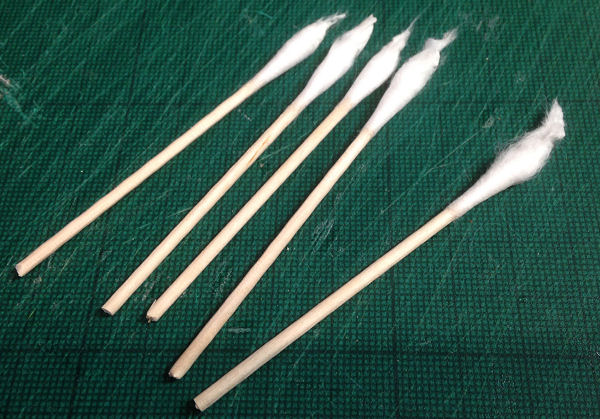
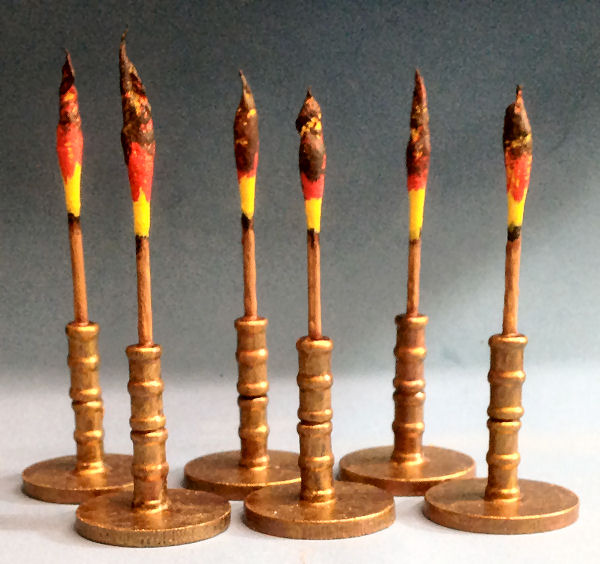
Torches are a very useful resource to have lying around in a dungeon. Players love setting things on fire and it saves a lot of time if they cans see where sources of fire are without having to ask. I made my torches from cotton buds, 30mm round MDF bases and some wooden beads. I cut the cotton buds so there was a 50mm length of stick below the start of the cotton and then teased out the ends.
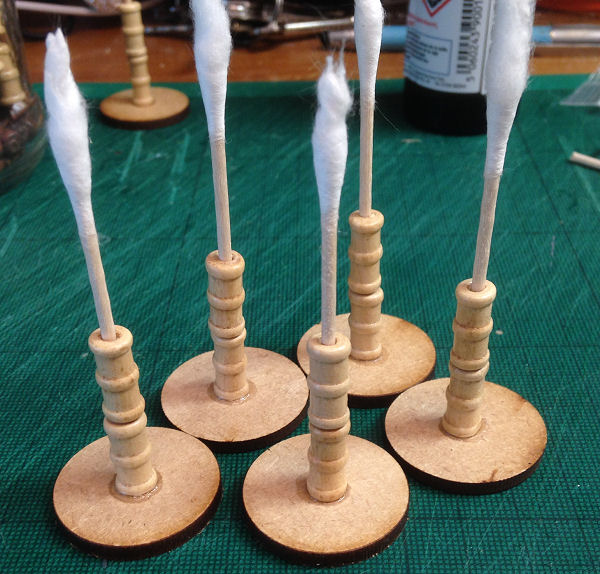
Two beads and some super glue later and they're assembled.
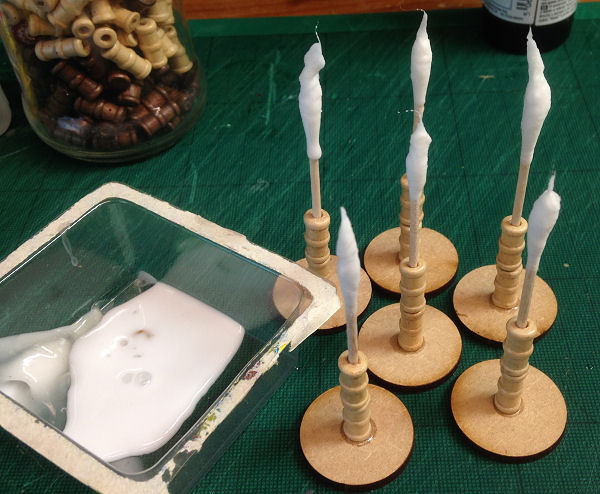
I soaked the cotton in PVA so that they'd harden when it dried. Once dry the very wispy ends can be trimmed before painting.
A quick, impressionistic coat of paint and they're done.
Focal point
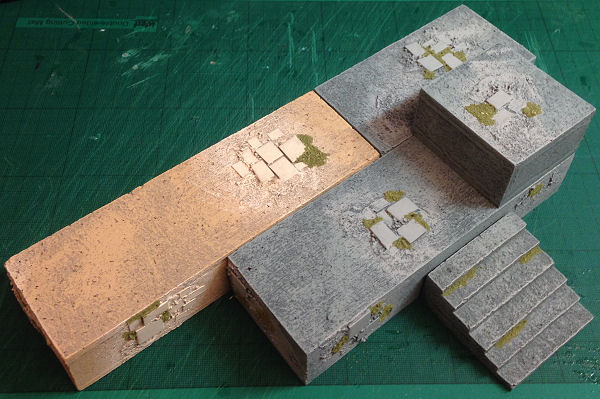
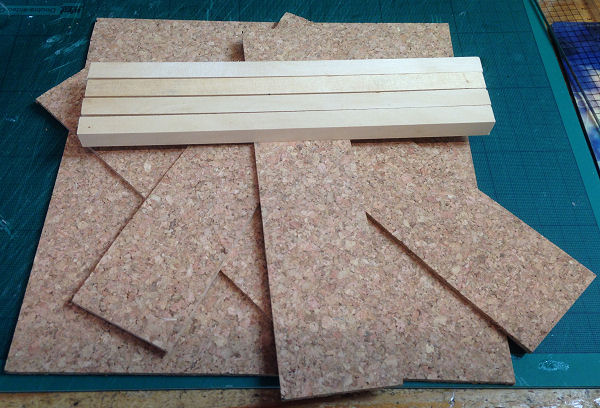
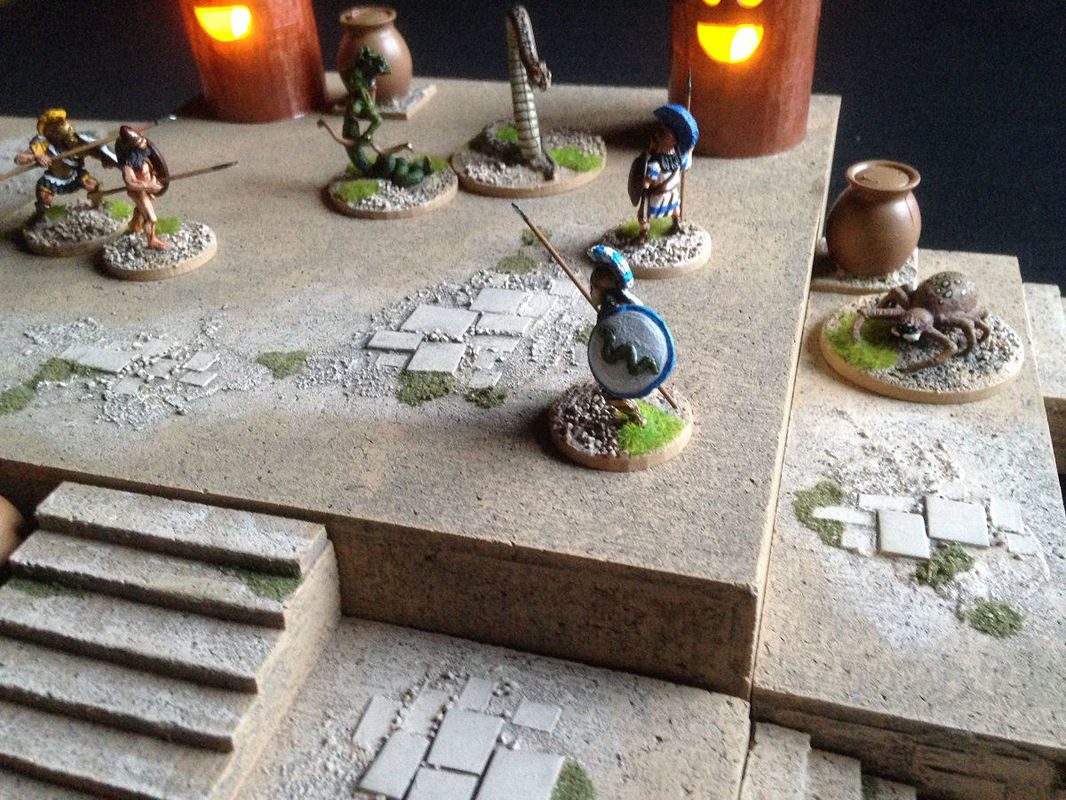
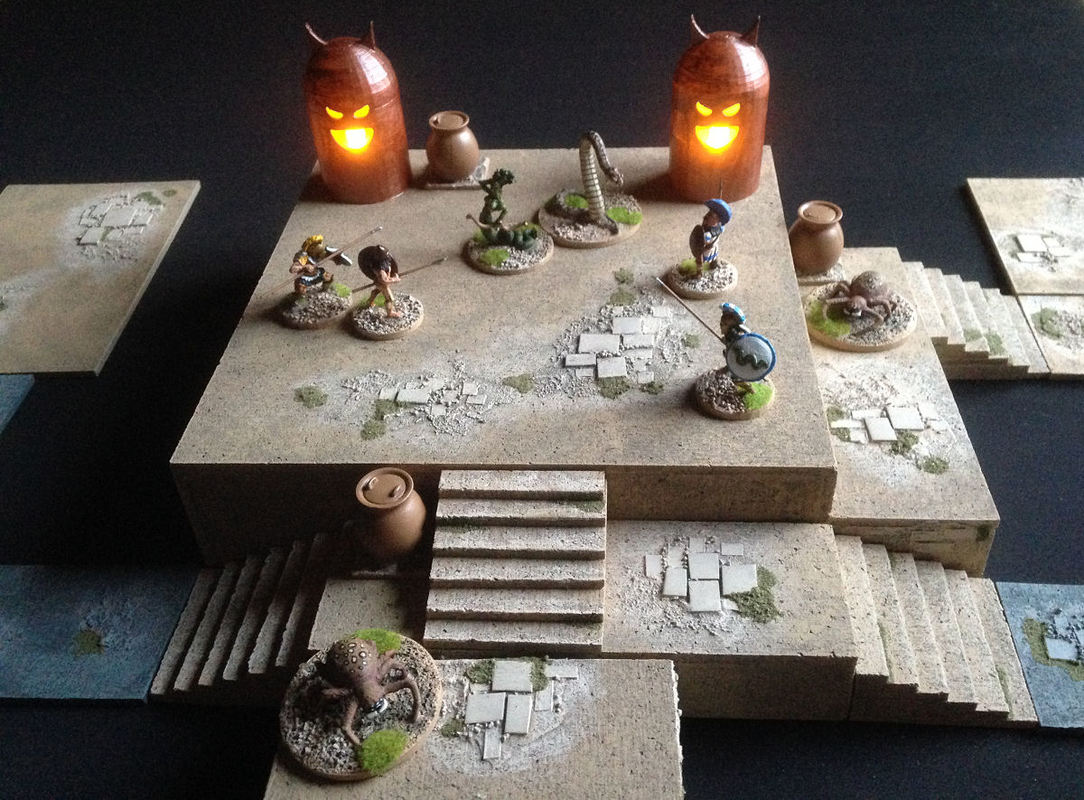
The final basic part of my dungeon is a large, raised room to act as a focal point for big boss encounters. I decided on a 40ft square room and cut out a square of cork 240mm x 240mm. I cut the sides 56mm tall so that I had a 60mm (scale 10ft) height for the room including the thickness of the top and also cut some 12mm square dowel to reinforce the floor from underneath.
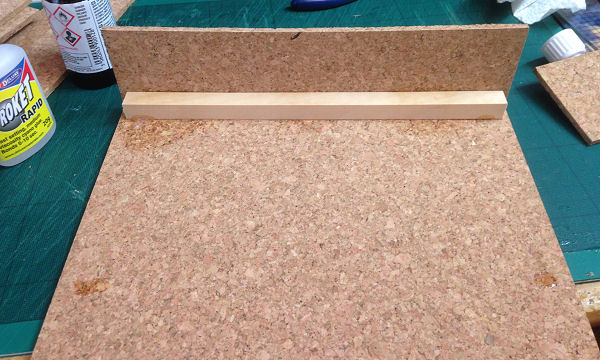
Then it was just a matter of gluing everything together.
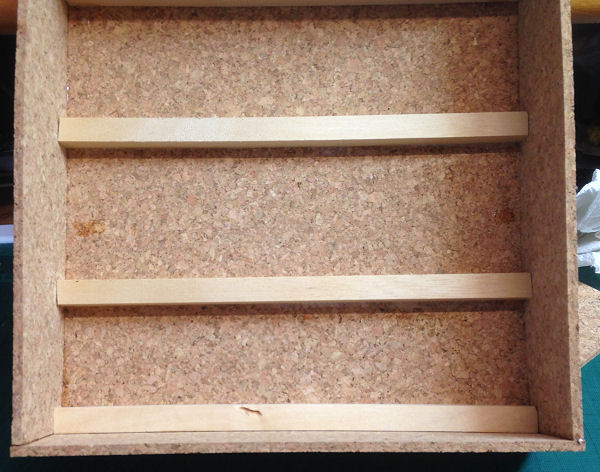
Two of the sides were cut to the full 240mm width of the top and the remaining two were cut to 232mm so they'd fit inside the long sides. The dowel was also cut to 232 to fit between the walls. The two end pieces of dowel were positioned carefully so they supported the walls and the floor above but the remaining two pieces were just glued down by eye.
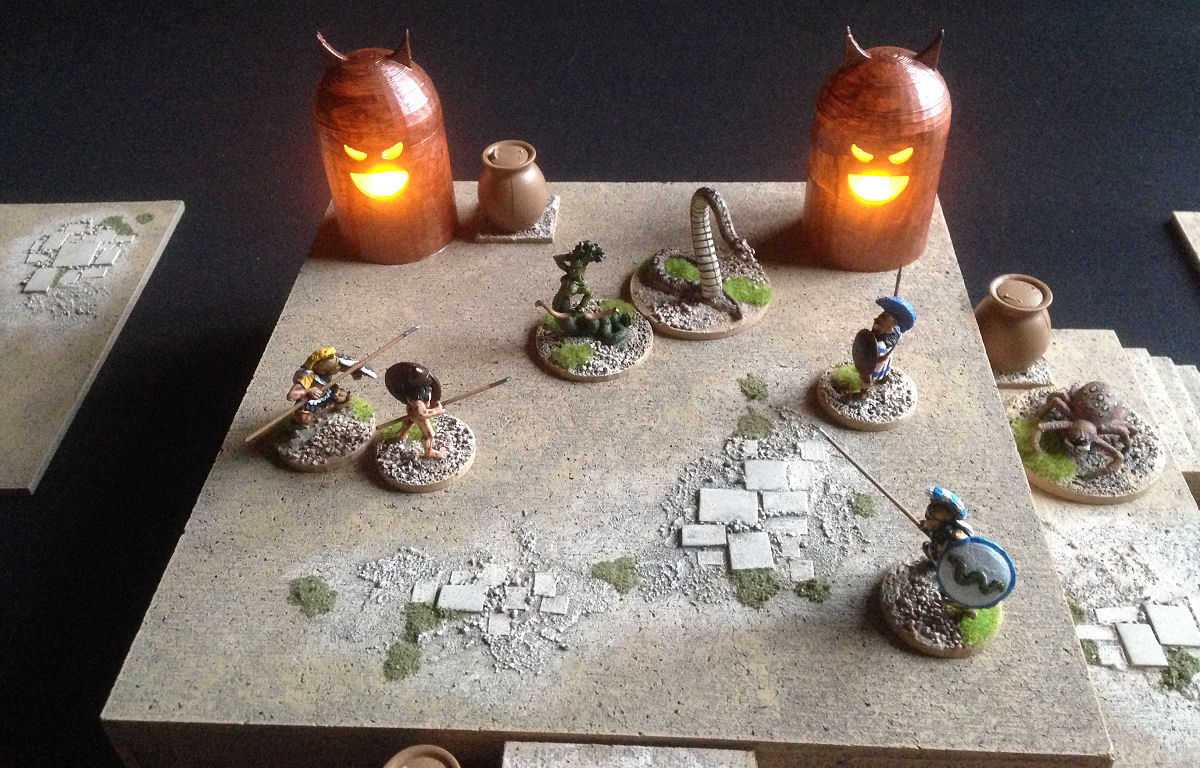
A light sanding along the edges and it's finished apart from the flagstone texturing.
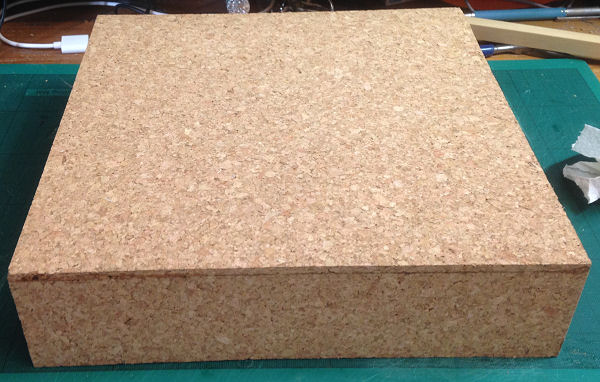
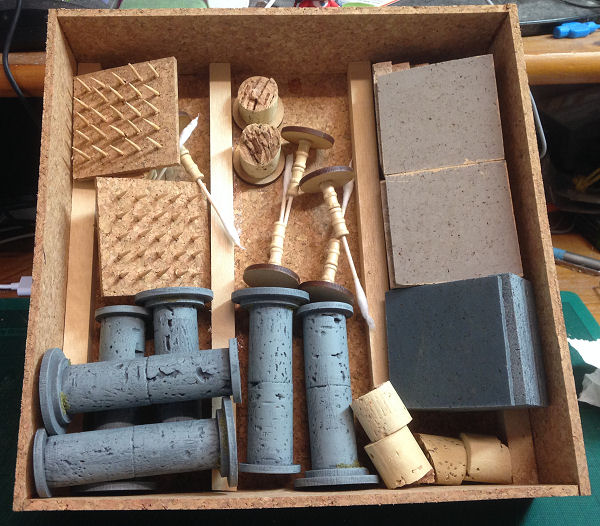
As an added bonus it makes a good storage box for the smaller bits of the set.
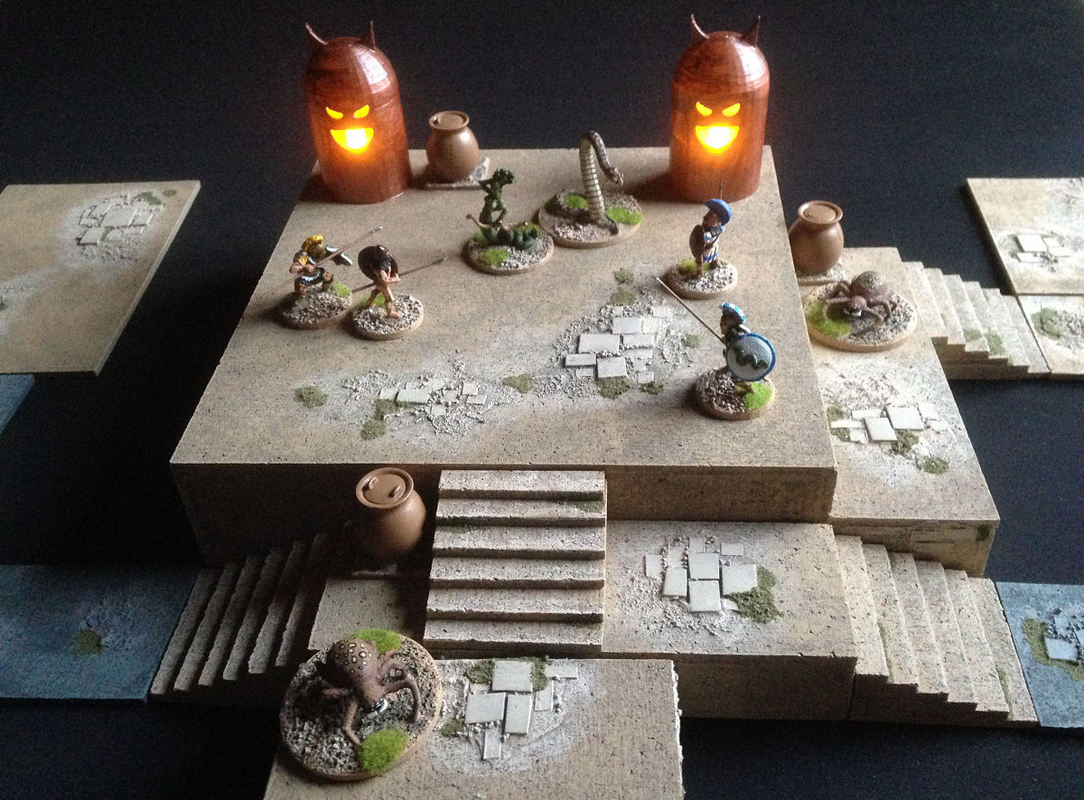
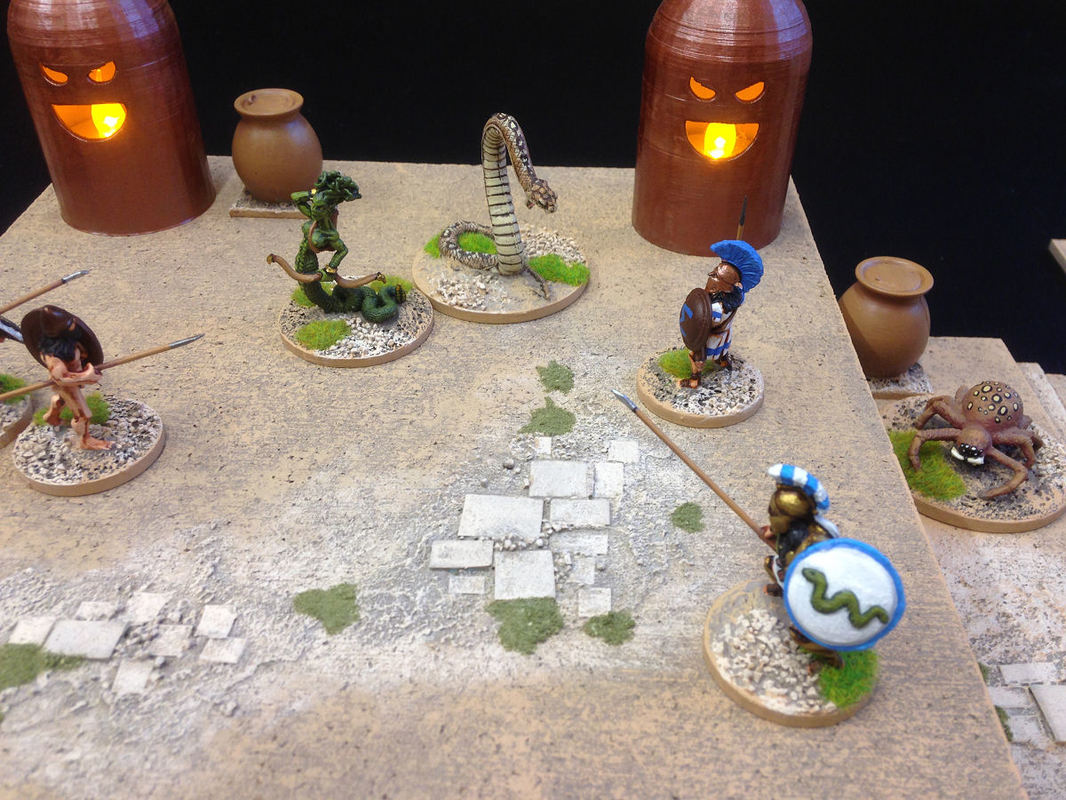
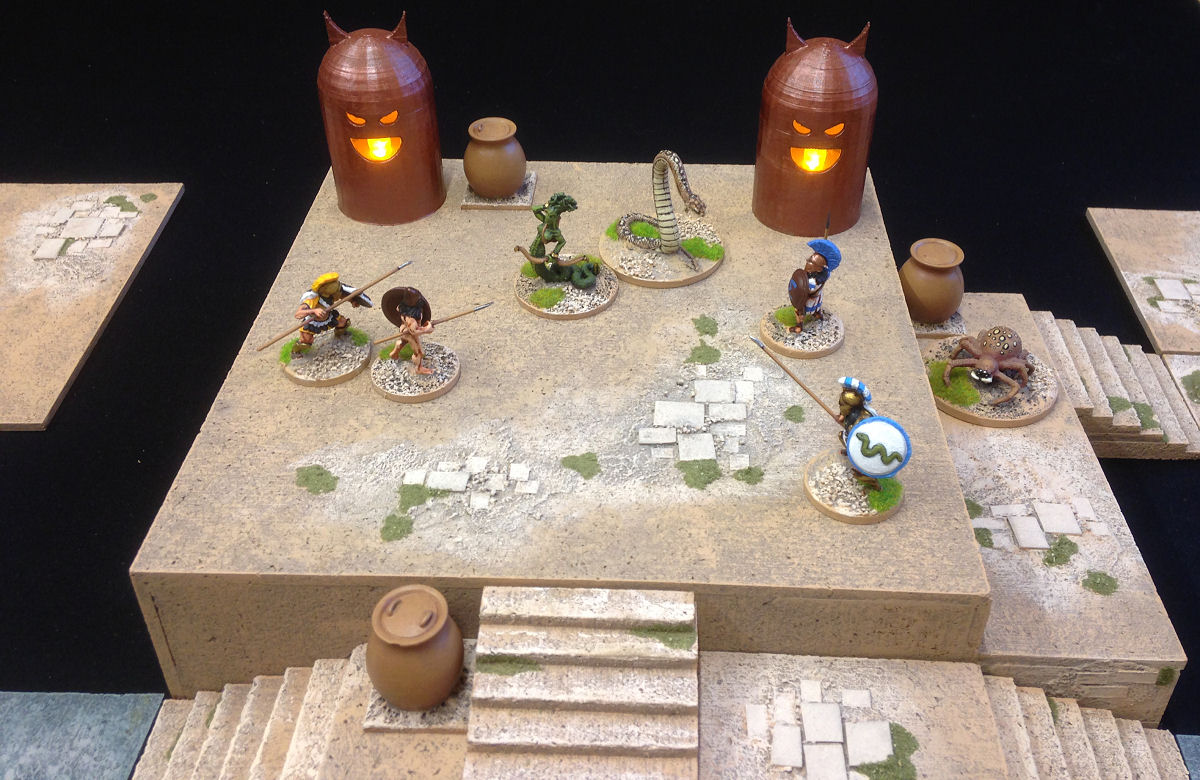
Here it is with its texturing and some miniatures for scale.
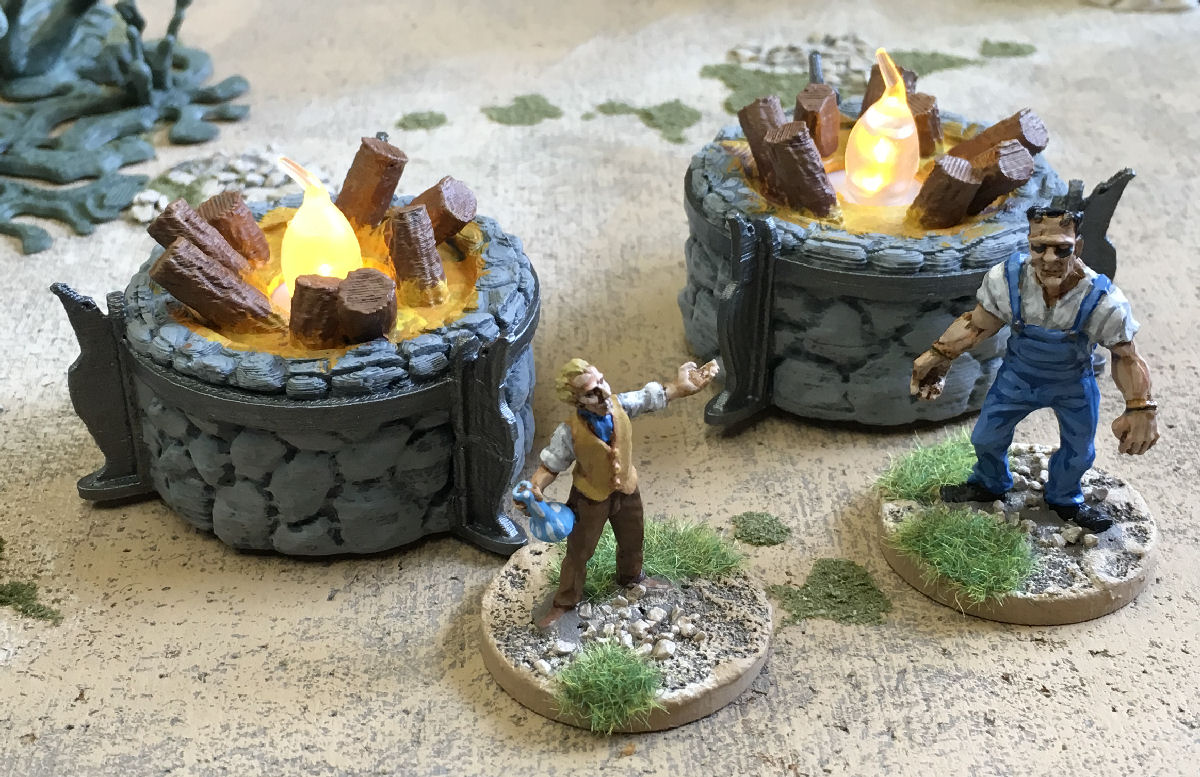
Some lovely little 3D printed braziers that take electric tea lights.
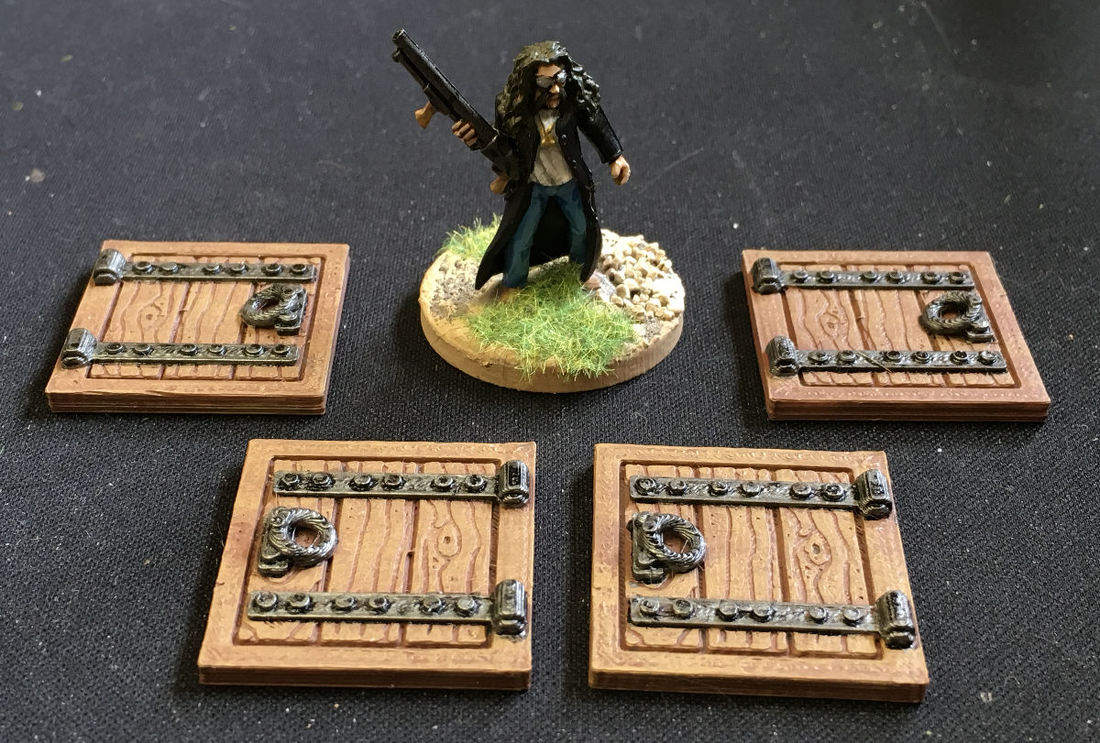
3D printed trap doors.
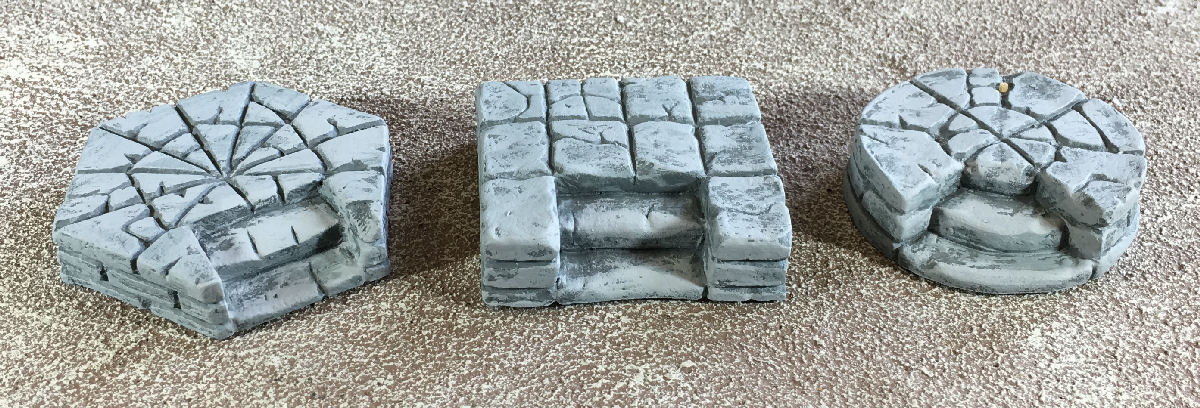
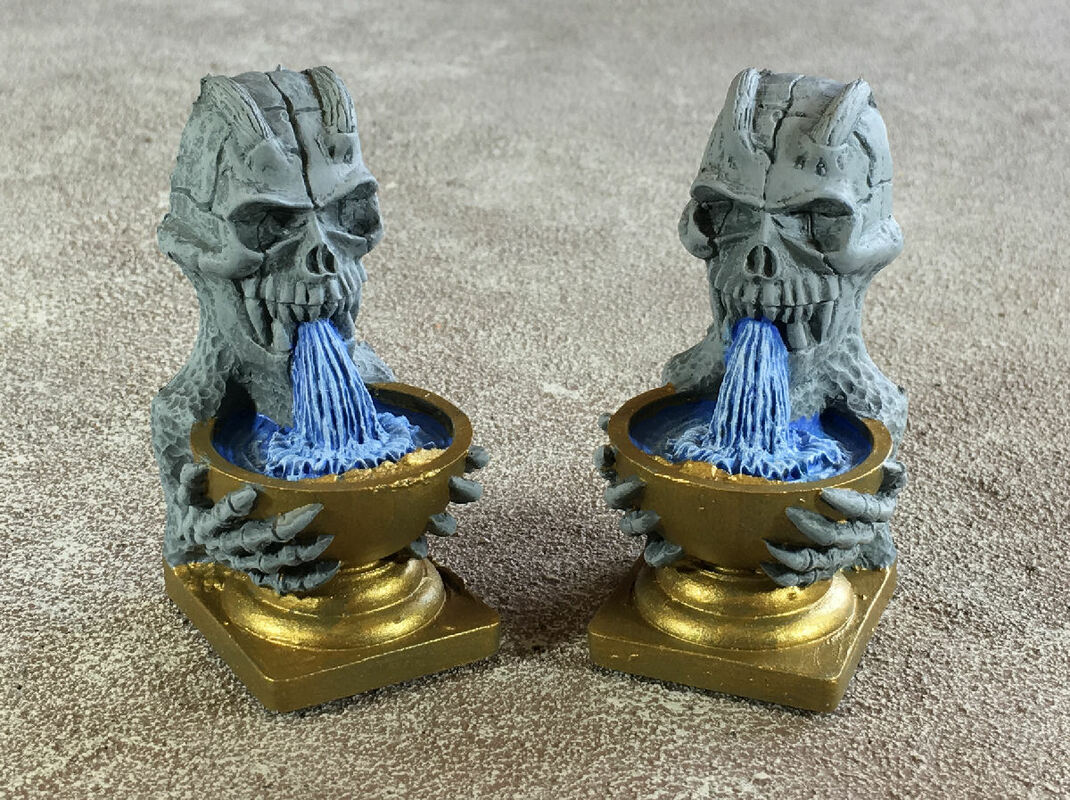
Some Scotia Grendel plinths/dais and a pair of skull fountains.
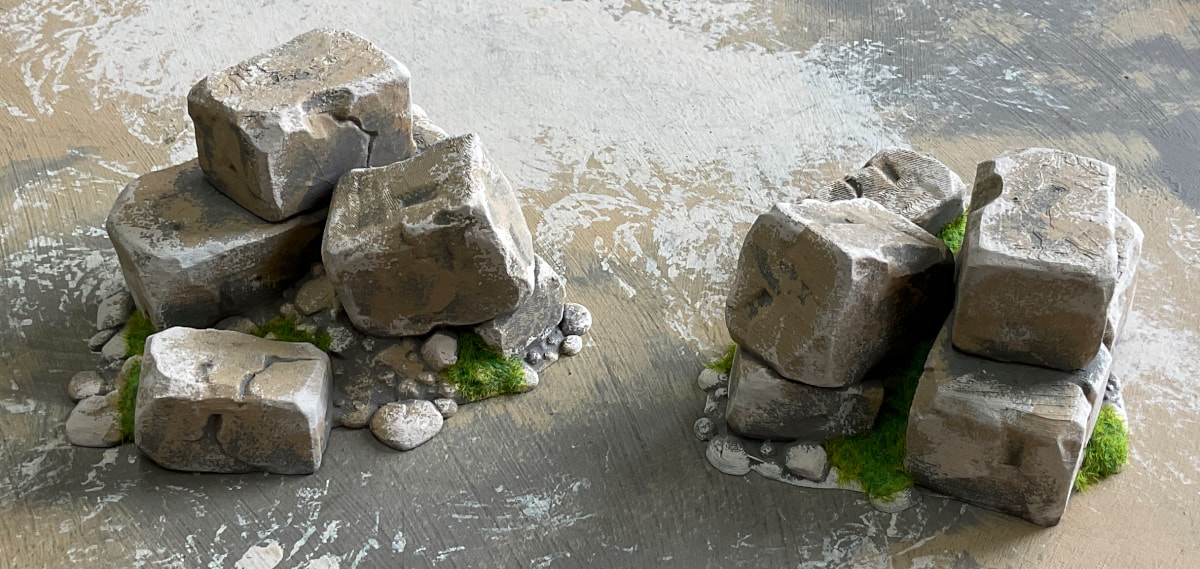
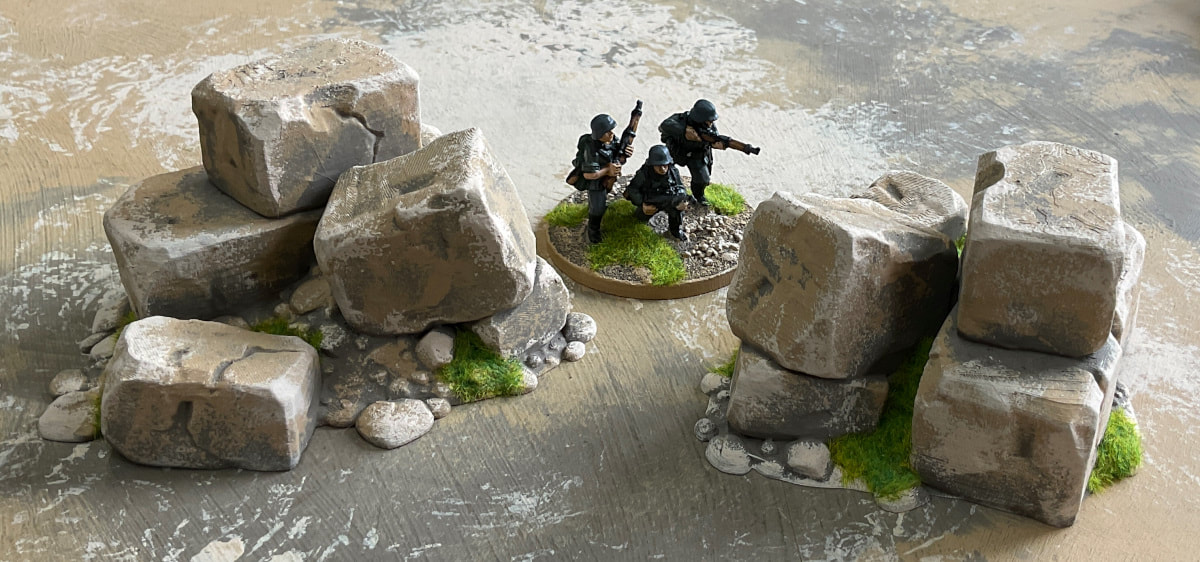
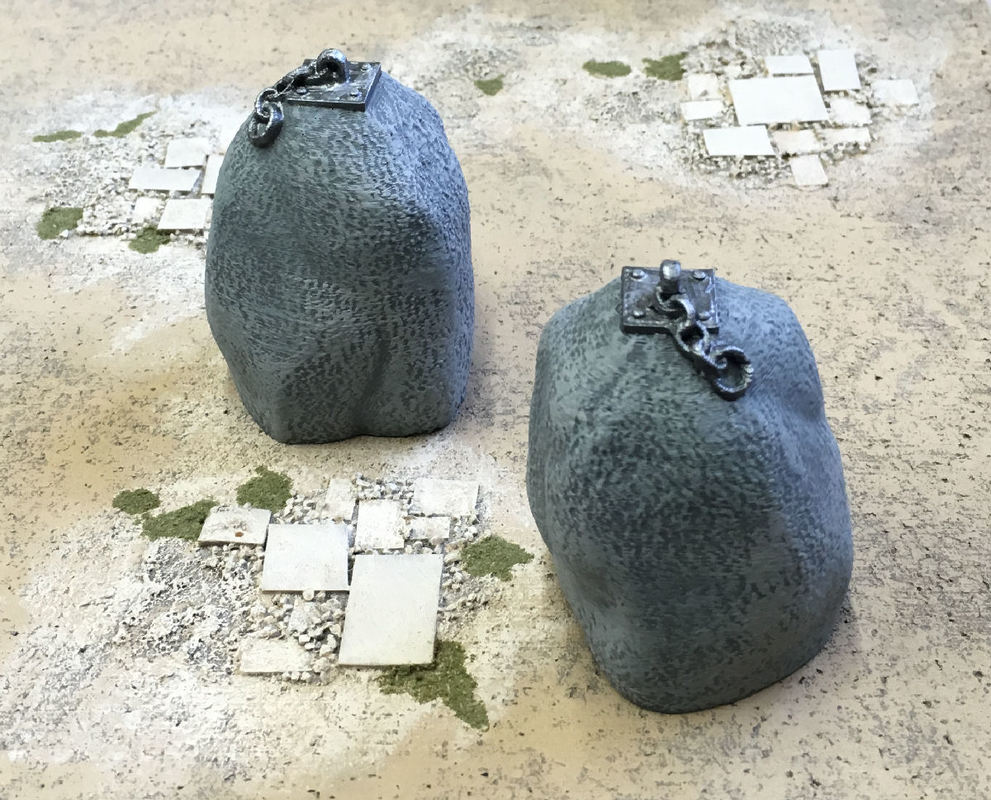
These tumbled rocks are 3D prints from Dark Fantastic Mills.
|
My original Dungeon Building Blocks
I have lots and lots of painted resin scenery for dungeons. I was around when it first started being produced and I’ve kind of kept up with it ever since. Consequently I have amassed a sizable collection of the stuff. For a long while I was happy to lay out my rooms with the second generation Games Workshop floorplans and plonk my scenery items on top. This is a fast and convenient way to show the players where they are and I prefer it to drawing on a playing mat. It wasn’t long though before I started designing settings that weren’t as two dimensional as my playing area. I started putting ledges and platforms into my rooms to make them more challenging and interesting. I wanted to start using the third dimension more but it was fairly difficult to represent it during play. Characters on ledges would end up standing on upturned cups, stacks of dice or similar. I never liked this, what’s the point of having painted miniatures and scenery if the effect is ruined by makeshift items having to be continually used? I don’t like having walls in play, they get in the way too much so I wasn’t about to start building a set of 3D rooms and corridors either. I don’t believe these things ever offer enough flexibility and they’re not at all convenient to transport. I decided to make some ‘Dungeon Blocks’. These would be fairly plain blocks that could be arranged to make whatever raised areas I needed. They would be easy to put out and dismantle and light enough so they wouldn’t damage themselves too easily during transport. 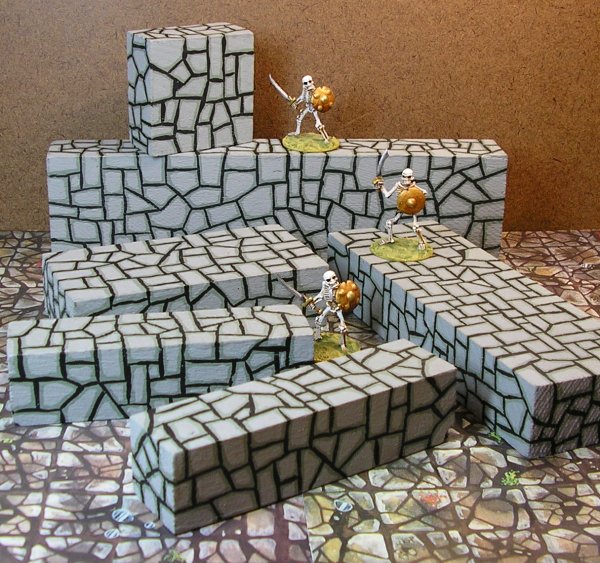
Some Ral Partha Skeletons give an idea of the scale of these 25mm x 50mm blocks
With these criteria in mind I investigated several material options and settled on balsa wood as my final choice. Balsa wood is easy to cut, easy to glue and paint, cheap and surprisingly hard wearing. An added bonus was that it came in 50mm x 50mm and 50mm x 25mm planks, both perfect sizes for what I envisioned.
Since this was in my early days of making things I didn’t posses a mitre box so all my cutting was done by following pencil lines. Mostly everything turned out alright, the odd peculiar angle is allowable because we’re building a dungeon after all, not a modern structure. I began with some 50mm x 25mm lengths of balsa. These measurements give a 10ft x 5ft x whatever length you cut to block in game terms. I cut a couple of scale 10ft, 20ft and 30ft lengths to begin with and, since this was my first try, I also cut some 50ft and 60ft lengths. This was a mistake, three 20ft lengths are much more usable than one 60ft one. Oh well, live and learn. I painted the blocks black to seal them, the balsa soaks up paint and black craft paint was cheap. Then I painted them all over with Games Workshop Ghoul Grey. This was the old Ghoul Grey which will have changed by now but any mid to dark grey will do. I then painted on black lines to represent the irregular bricks and stones that the blocks were constructed from. I made my initial bricks too small, another mistake due to not planning properly. Lastly I painted inside the lines with Games Workshop Elf Grey, again any light grey will do, as a highlight making sure that some Ghoul Grey was left showing around each brick’s edge. Small bricks meant lots, really lots, of light grey painting. Never mind, they were done eventually and looked the part. I painted all the faces of the balsa wood so that the blocks could be used in any orientation and would thus be as versatile as possible. The balsa wood comes with some dents and imperfections in it, such is its nature, and I painted these as if they were damaged sections of stonework rather than trying to hide them. 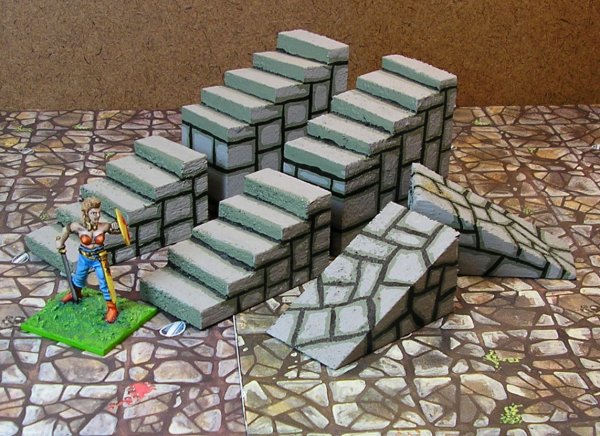
A Mithril figure surveys some examples of the steps and a couple of ramps made from off-cuts
Lastly, I needed a way for characters to access my new levels and walkways so I cut out some steps. The little steps are cut from 25mm x 25mm x 50mm blocks and the ‘upper’ steps are cut from 50mm x 50mm x 25mm blocks and then everything is painted accordingly.
Having the steps like this means you can climb 5ft or 10ft at a time in game terms. Any higher requires an intermediate platform of some sort. The steps can be placed end-to-end or side-by-side depending on the space you have available. 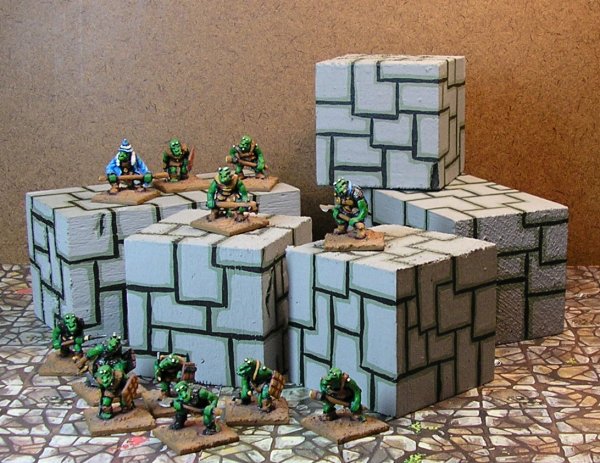
Some Chronicle kobolds lurk amongst the 50mm x 50mm blocks
With my lessons learned I turned my attention to the 50mm x 50mm planks. I cut four scale 20ft lengths and four scale 10ft lengths for maximum versatility and painted them as before. However, I didn’t paint all the sides because, having regular cross sections, one side could always be the base. Also, I made the bricks much bigger which cut down the painting time considerably. You can see the difference in the pictures.
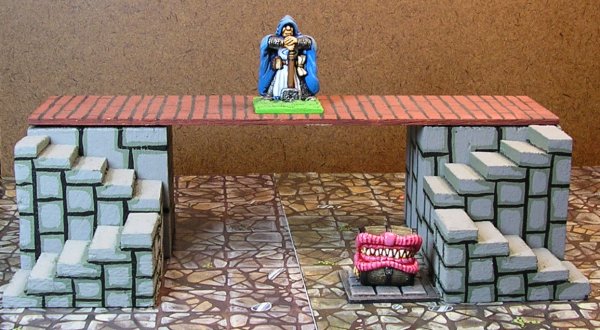
A Knight Questor guards the wooden bridge while a Ral Partha mimic waits below
As a bit of an after thought I made two stone bridge lengths from thinner balsa wood so I could span a gap and a wooden bridge from a very thin piece so I could span a gap with something that looked more flimsy. I also turned some short lengths of 25mm x 25mm balsa into some 5ft square by 20ft long blocks for added variety.
It took me about a week to make everything, discovering as I went. Today I could make the whole lot in a day or two I suppose, but these dungeon blocks have seen hard service for over 15 years now and don’t need replacing yet. 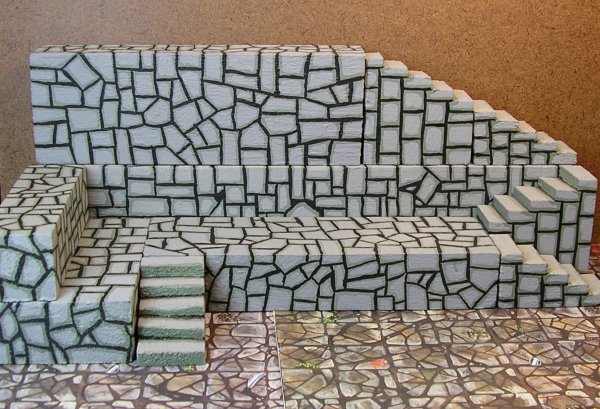
The bare bones of a setting using several blocks...
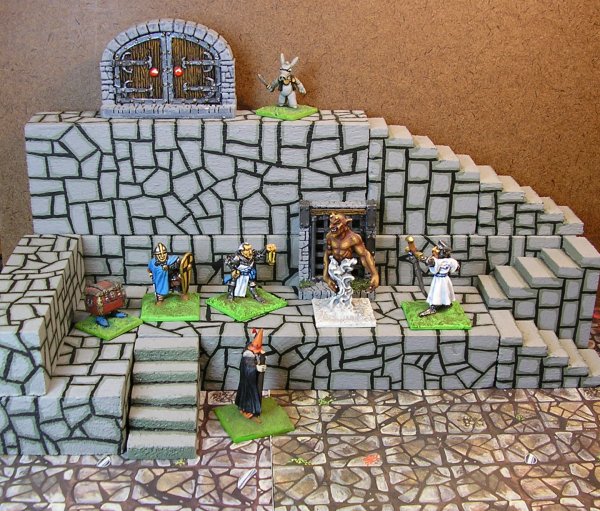
....comes alive with the addition of some resin doors and a party of Adventurers
Egyptian blocks
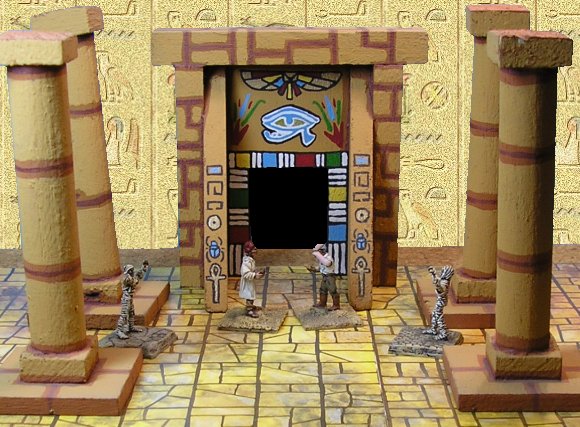
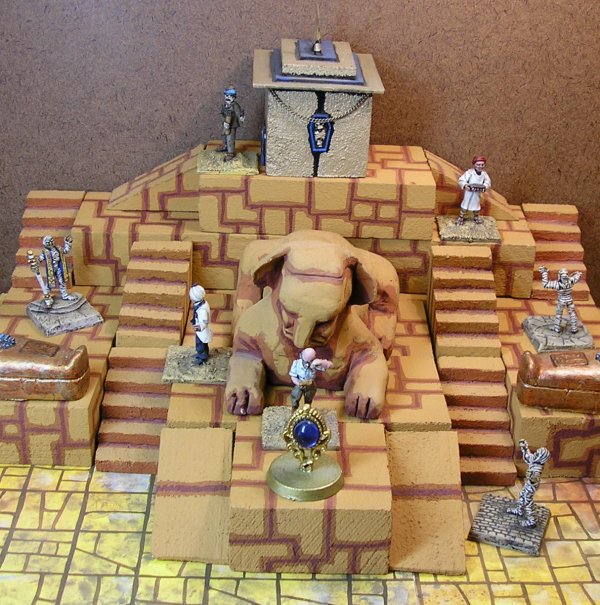
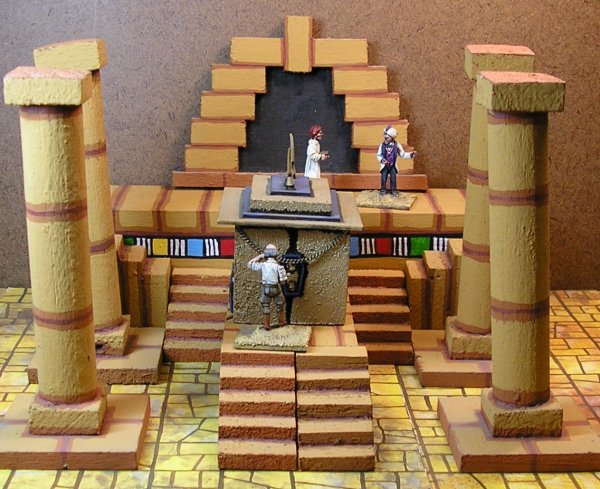
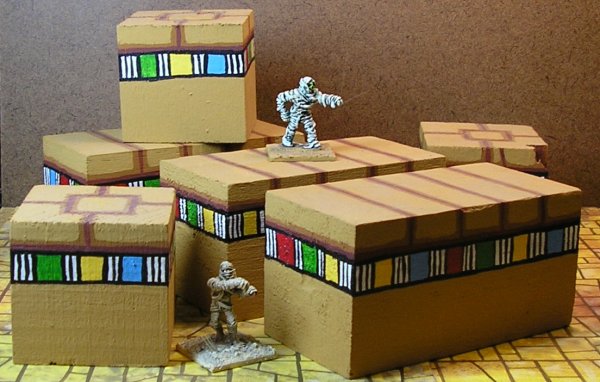
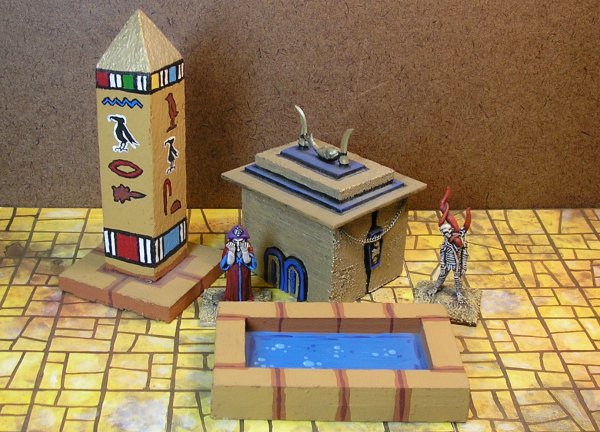
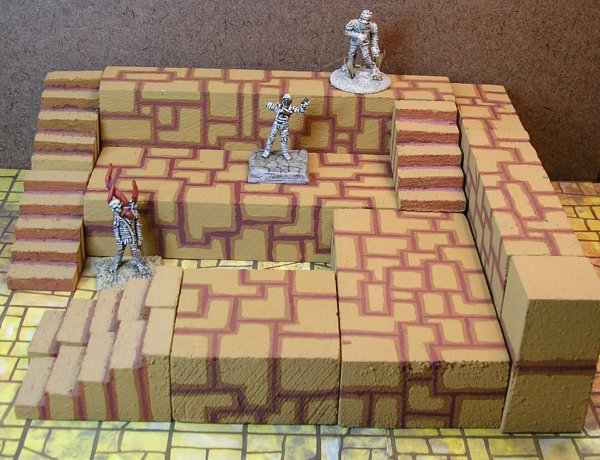
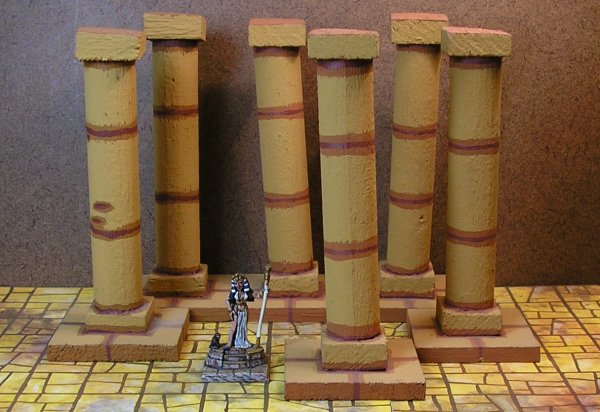
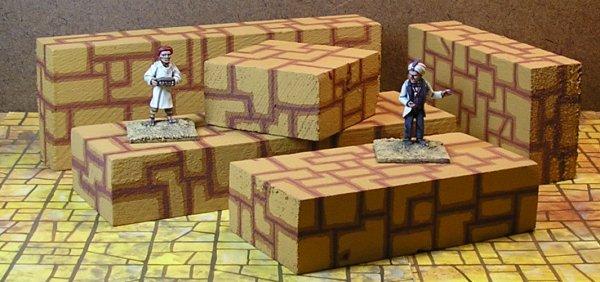
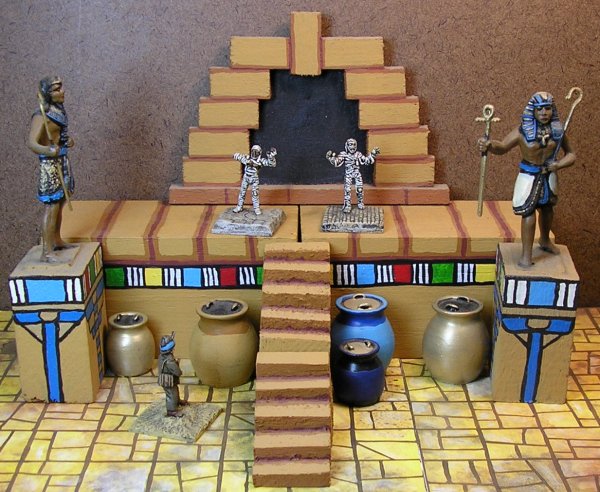
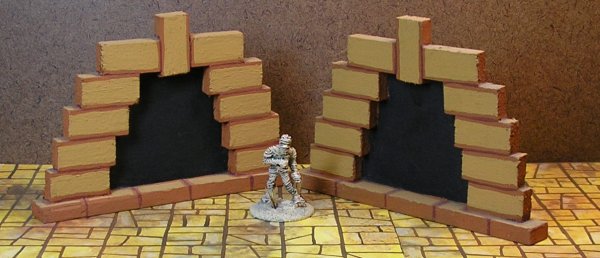
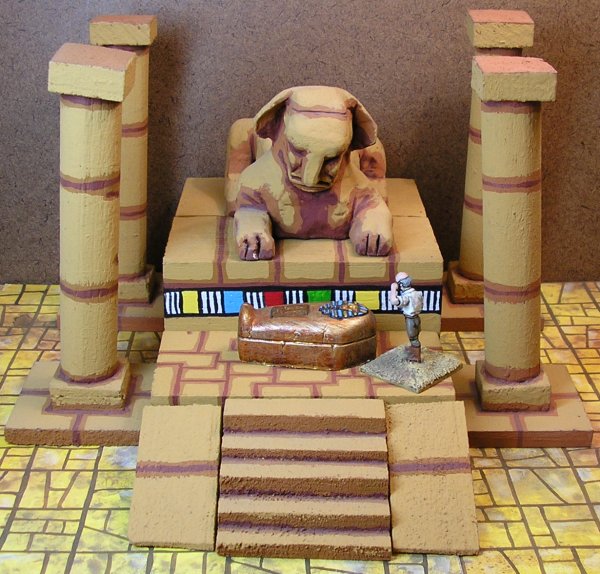
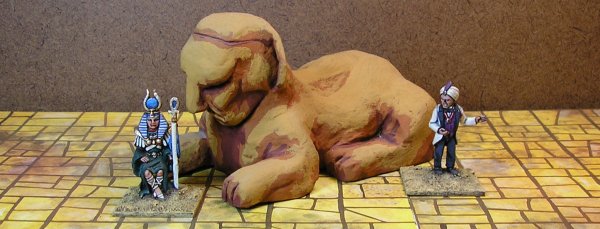
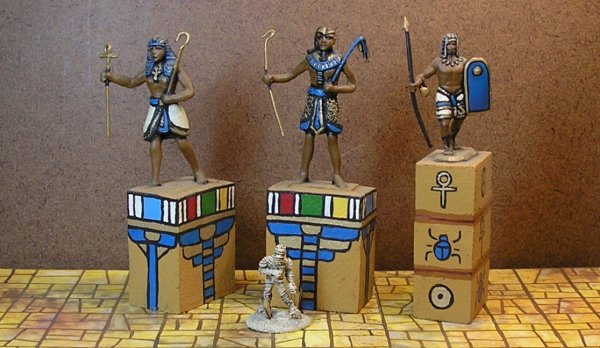
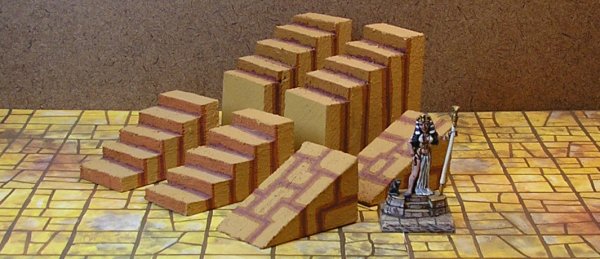
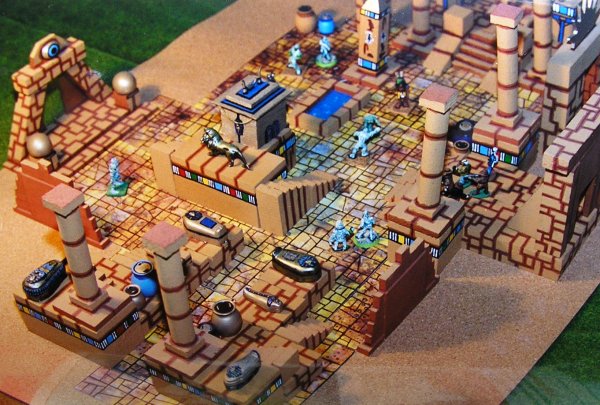
Flushed with the success of my Dungeon blocks I set about building an Egyptian version for my Ars Magica campaign. I went for the same size balsa wood but this time I cut smaller sections, none are longer than 30scale feet, and I made lots of special items that weren’t available in resin. To preserve my sanity I made the individual bricks a lot bigger too and painted them on in a regular pattern rather than the dungeon’s crazy paving style. The colours I used were a base coat of Humbrol 5062 leather then the lines were painted with Games Workshop Swamp Brown, Humbrol 5063 sand was used as the highlight colour. I painted an Egyptian style border on the big blocks and decorated the special items with a mixture of different manufacturers’ paints. This lot took me about a month to do all together; it was a lot of fun and I kept thinking of new things to do. Again, everything’s lasted about 15 years with lots of use in that time. In the following photos all the different components are shown and some of them are used to give an idea of the virtually limitless layouts you can make. Most of the figures in the pictures were painted by my good friend Simon Webb. Demon Lights
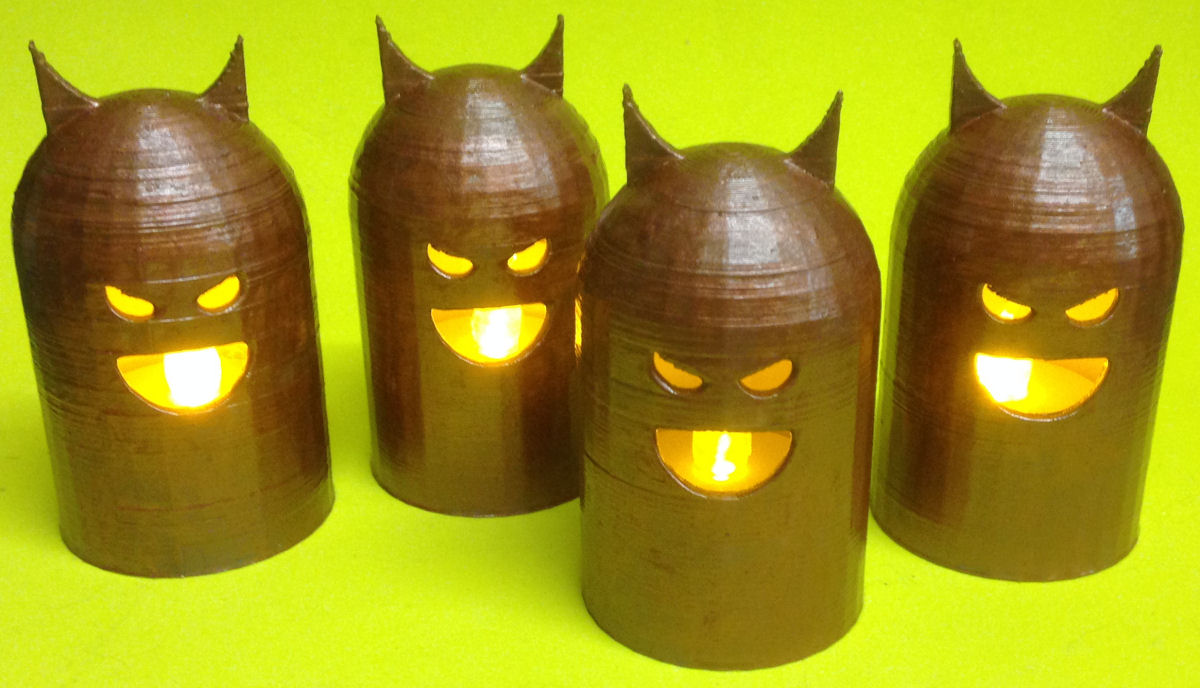
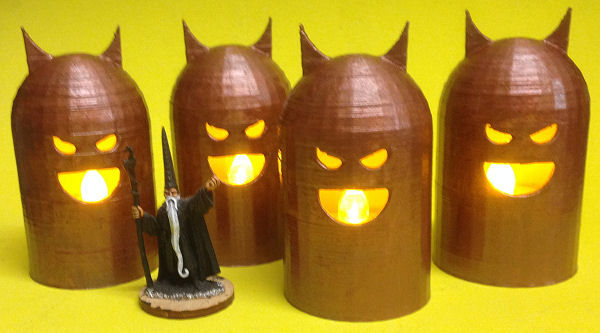
I didn't make these, I printed them on my 3D printer. Because they're a low polygon dome and have printing lines on them I just coated them in Foundry burnished copper and didn't attempt any highlighting or weathering. They take LED tea lights and glow menacingly. They'll look great flanking a throne or lighting a demonic summoning room. Half painted Reaper wizard for scale.
Portals
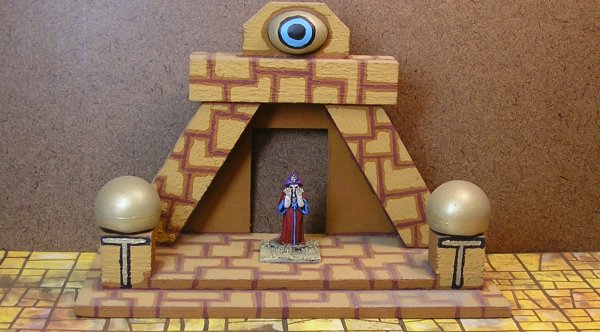
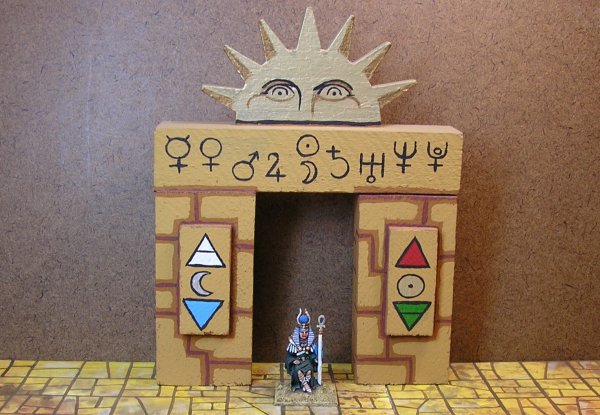
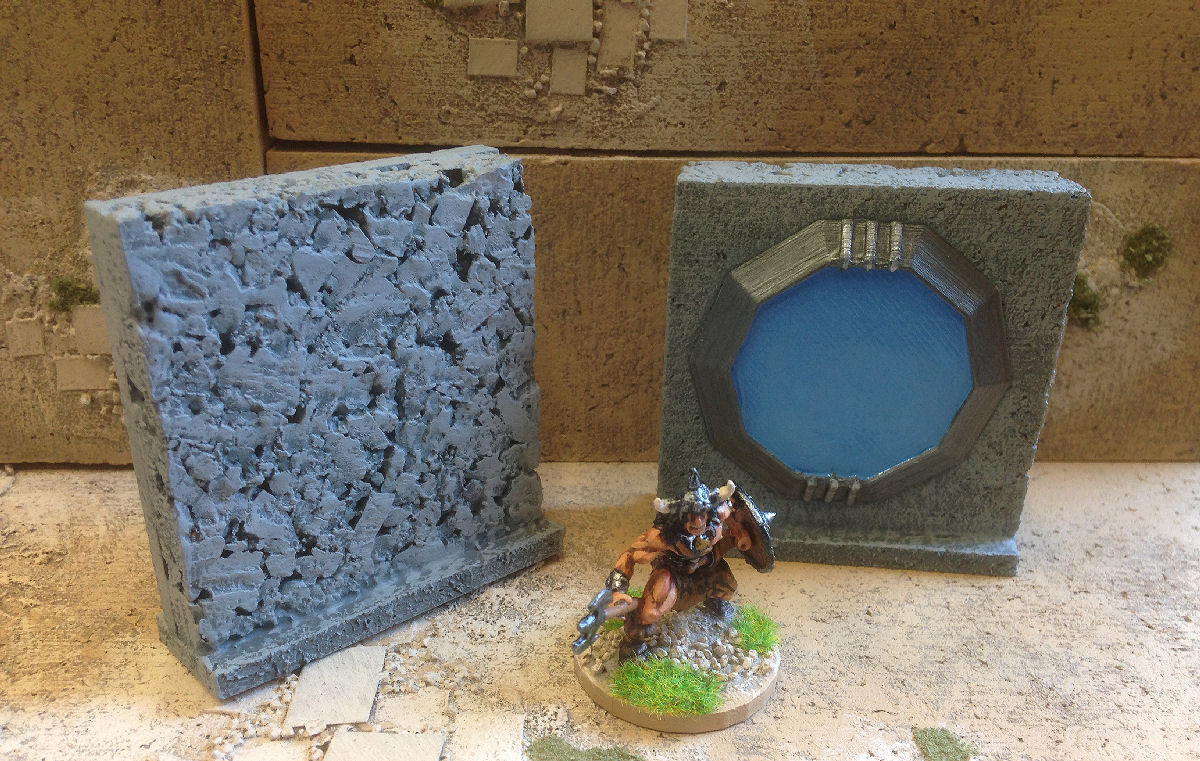
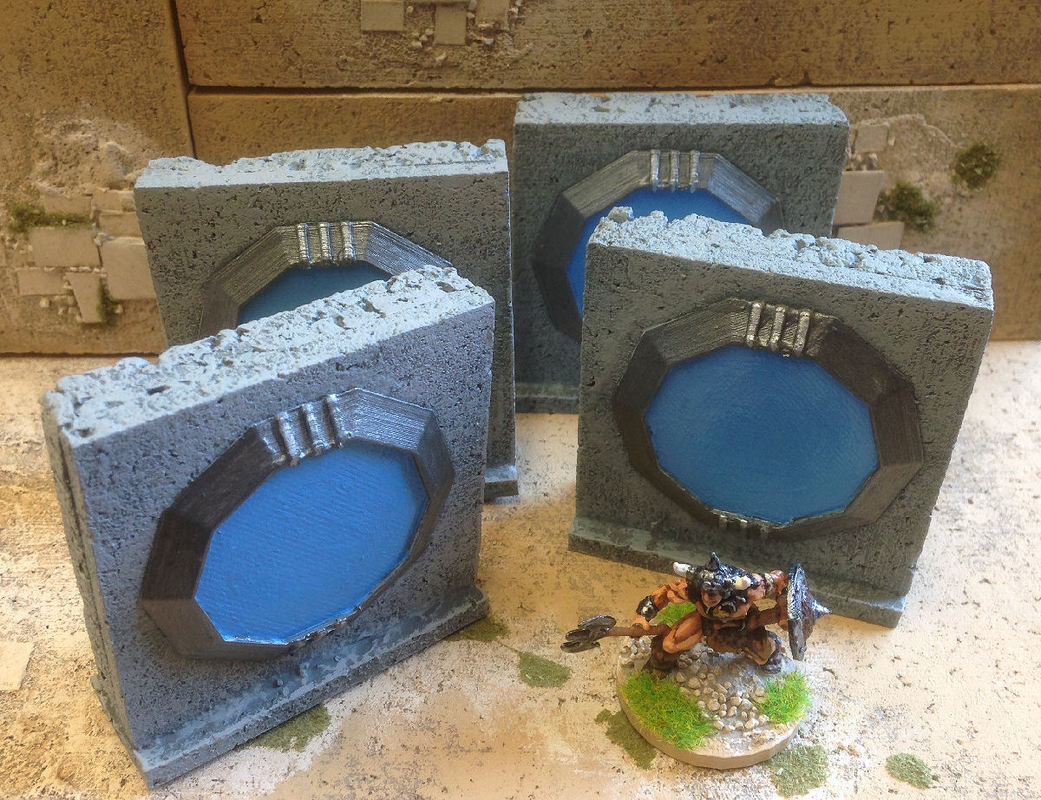
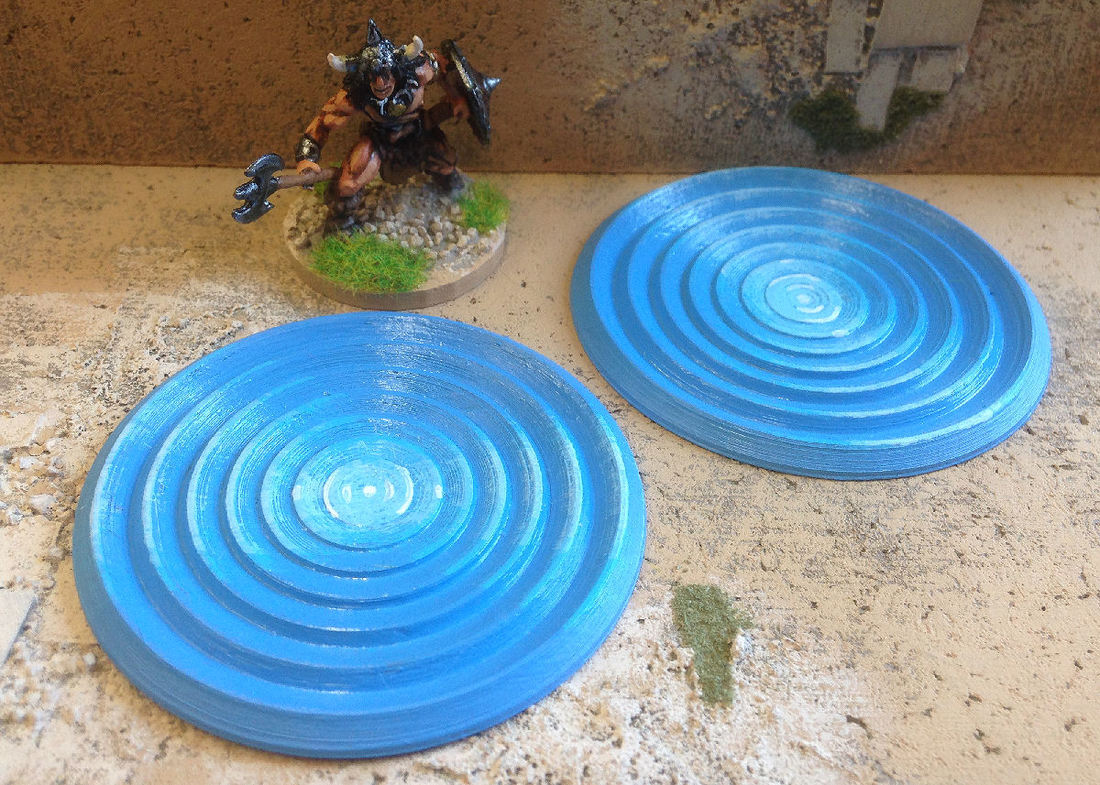
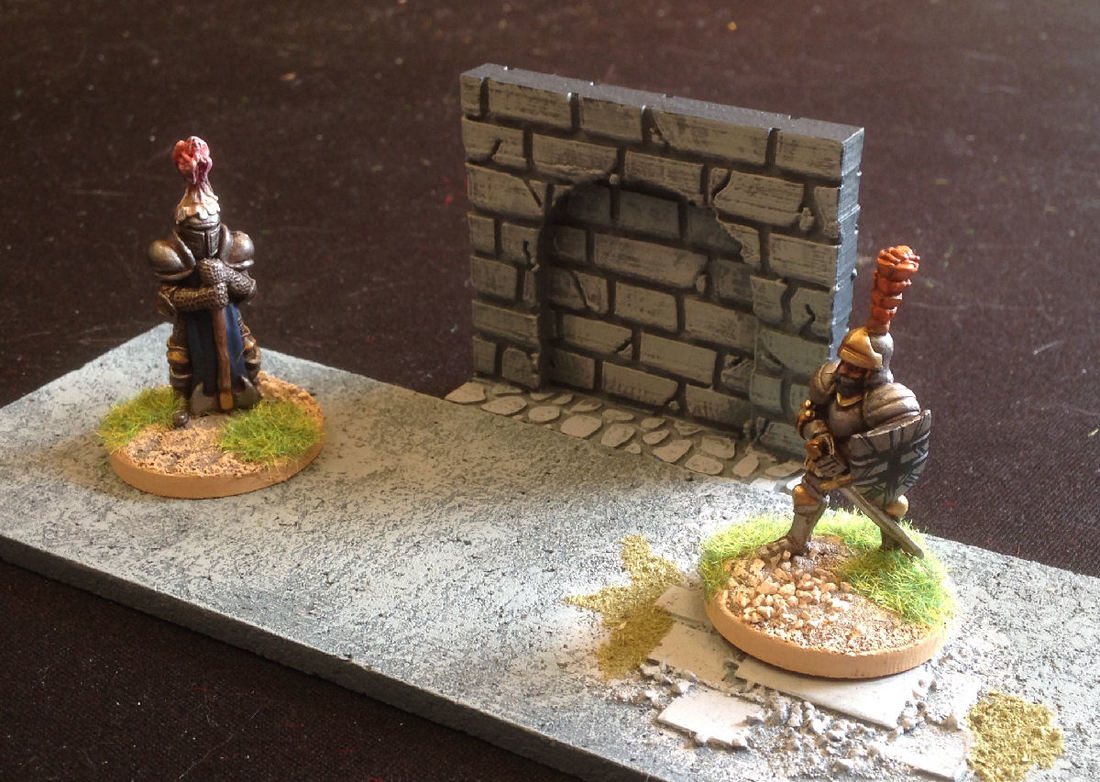
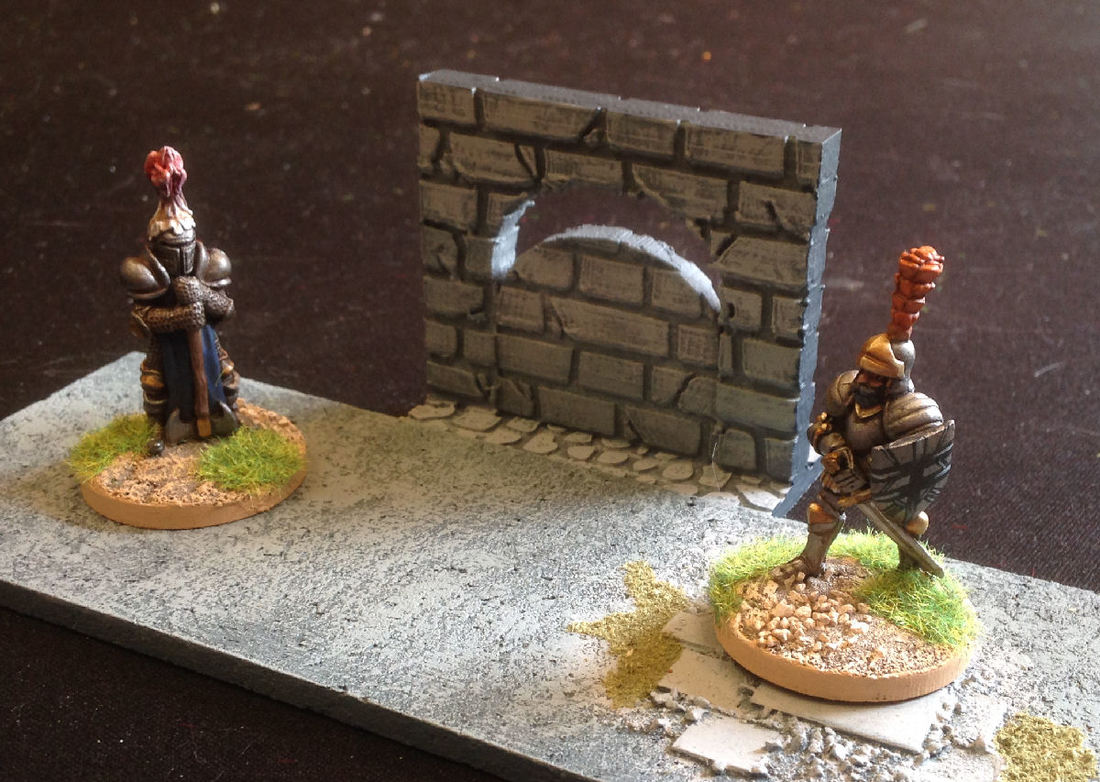
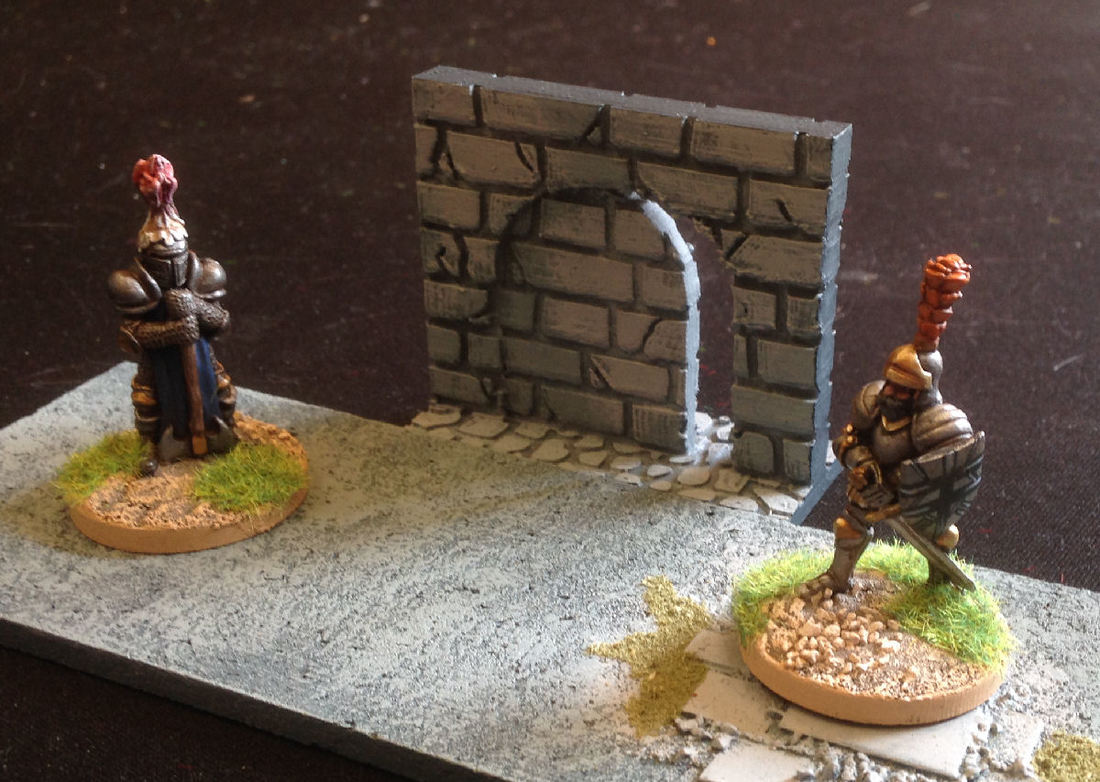
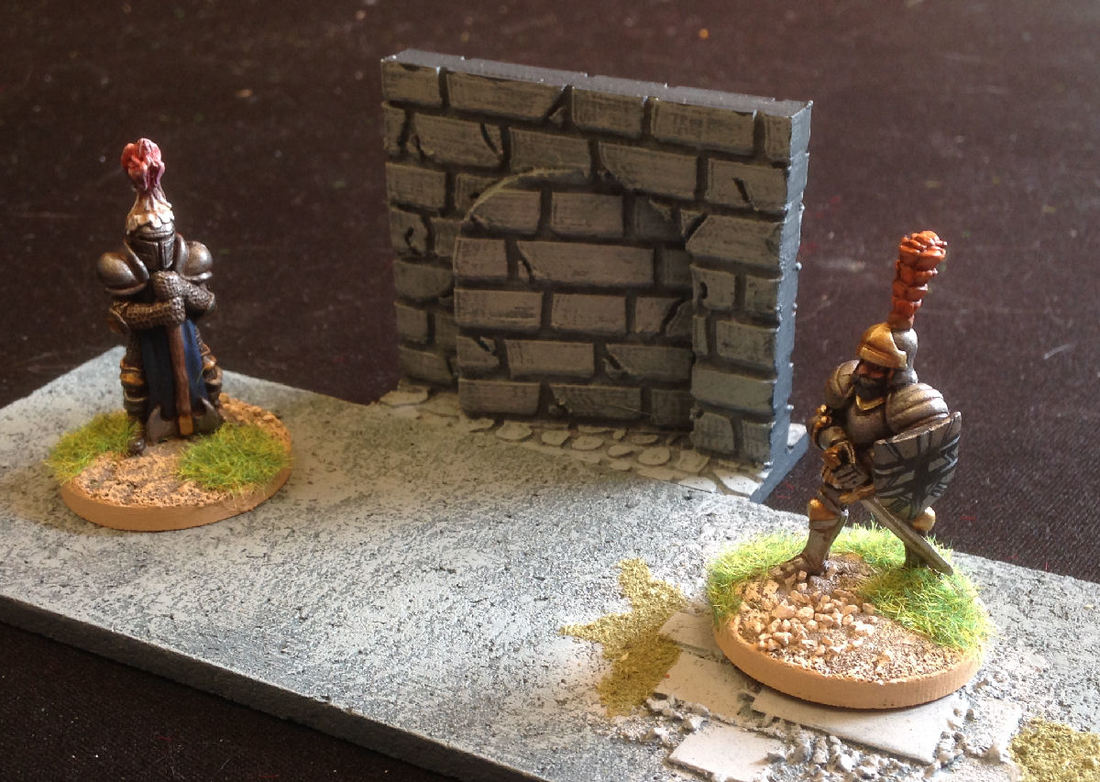
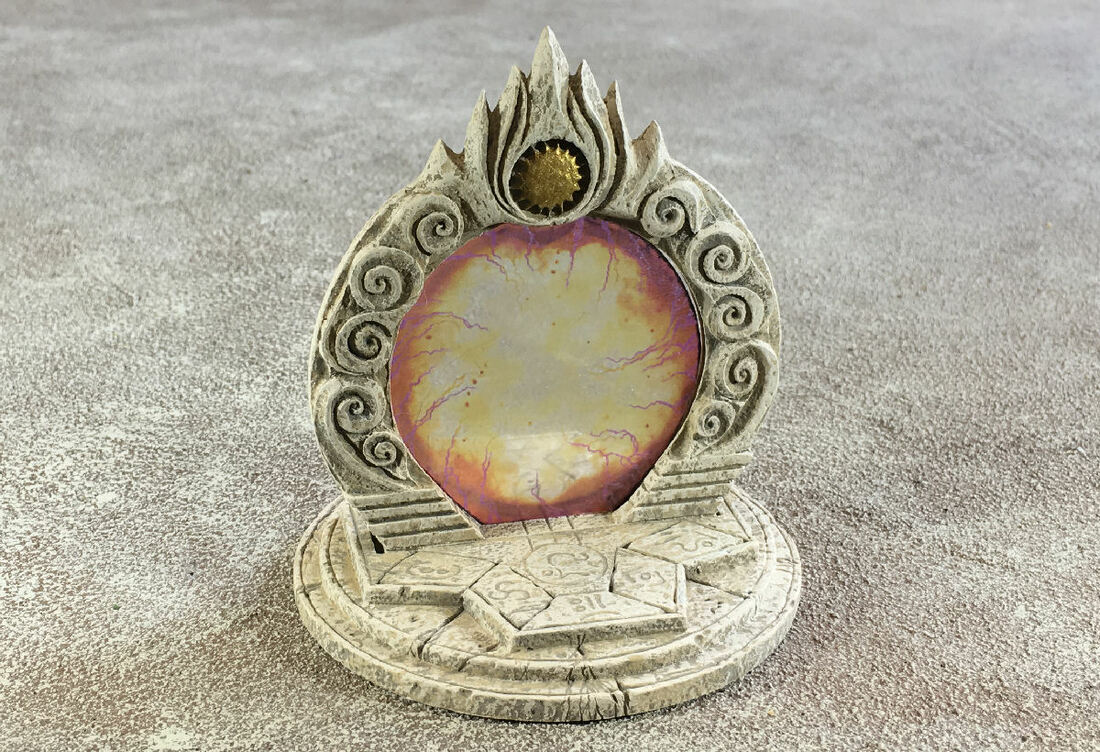
I made some general purpose wall portals from 60mm cork squares and some 3D printed pieces. I used 9mm notice board cork to give the backs more of a stony texture. I also made some floor portals with a design I found on line and 3D printed.
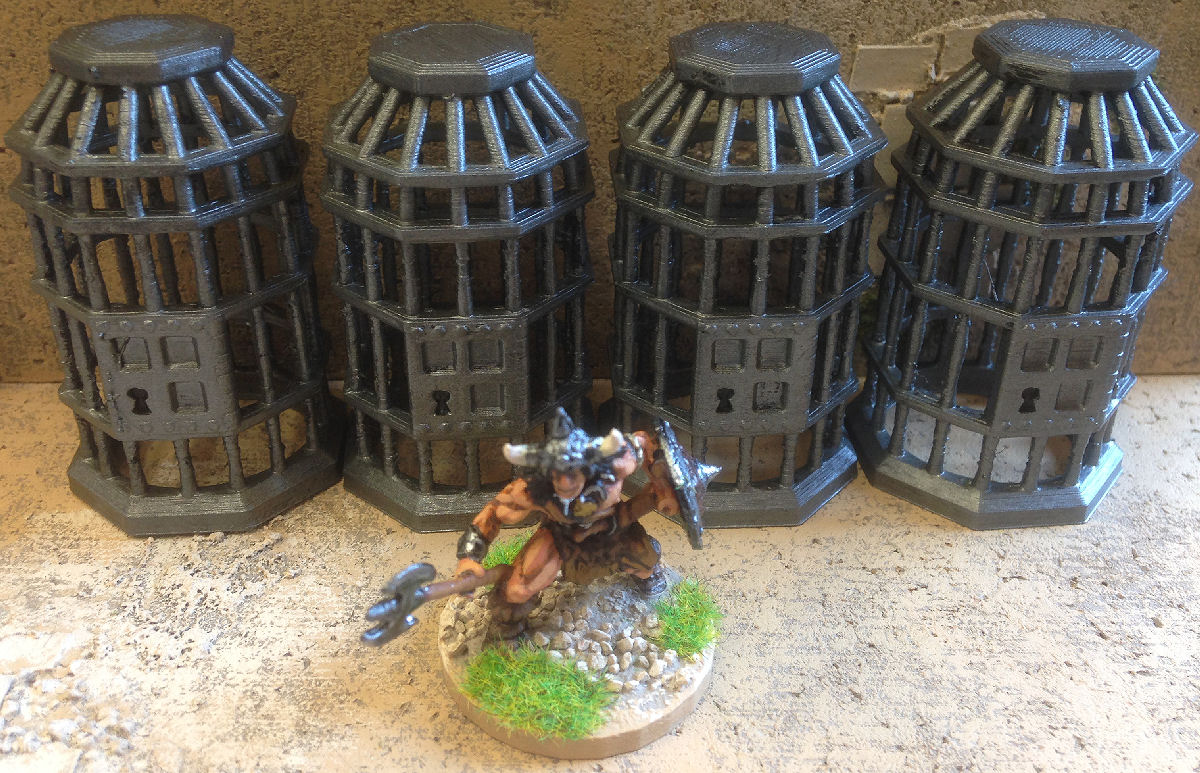
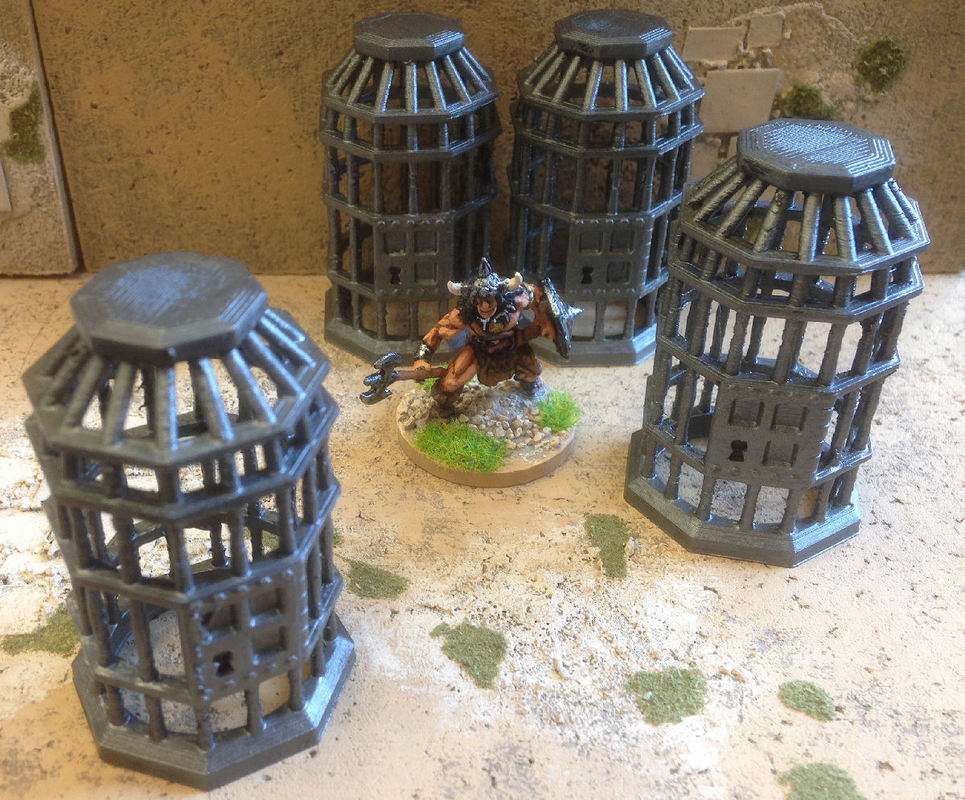
Cages
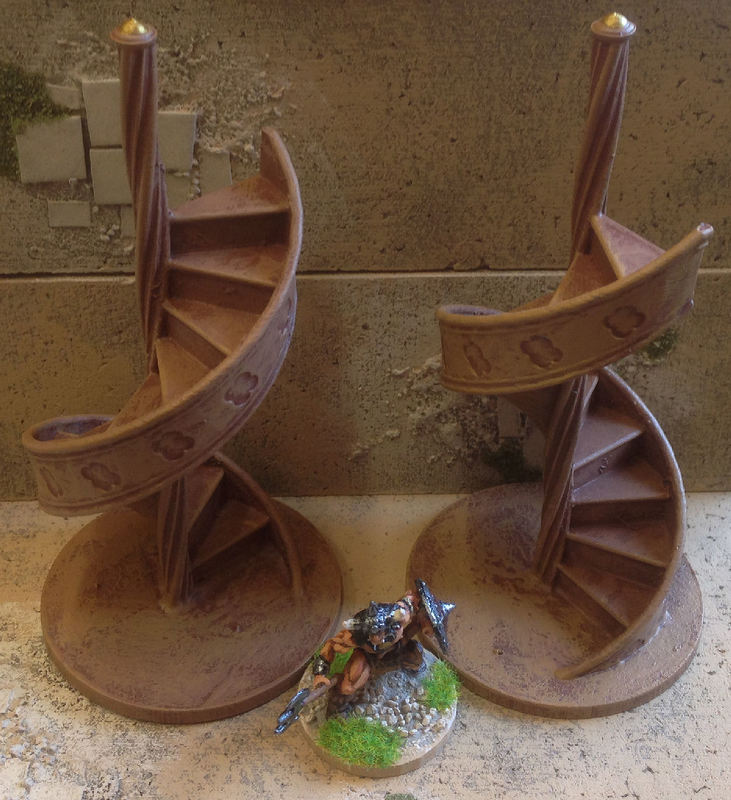
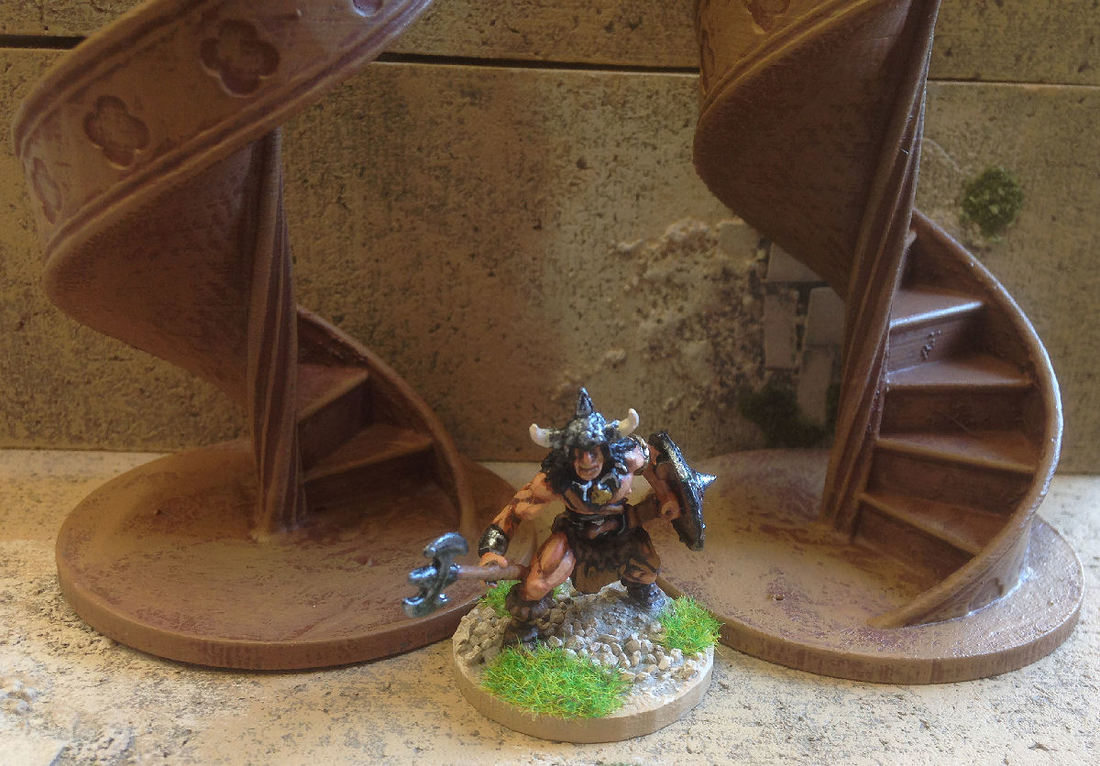
Very useful items. 3D printed from a design by Delving Decor. Spiral stairs
I reduced a 1/18th scale design from PrettySmallThings so it fitted 28mm sized miniatures and 3D printed a pair. More traps
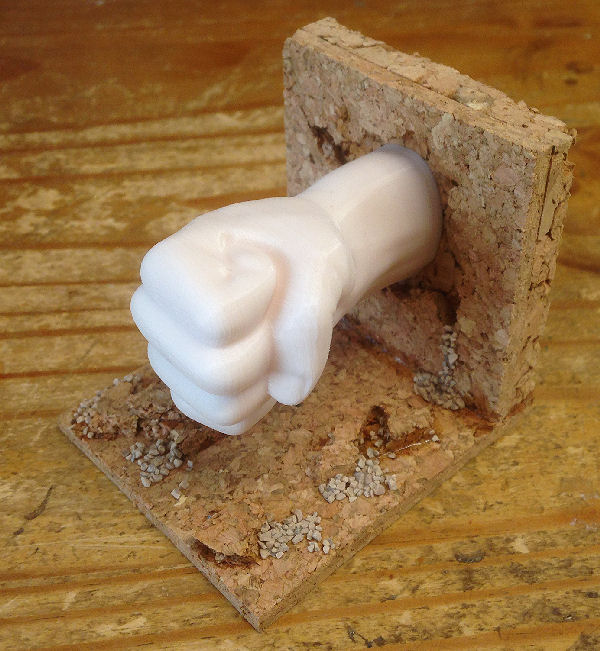
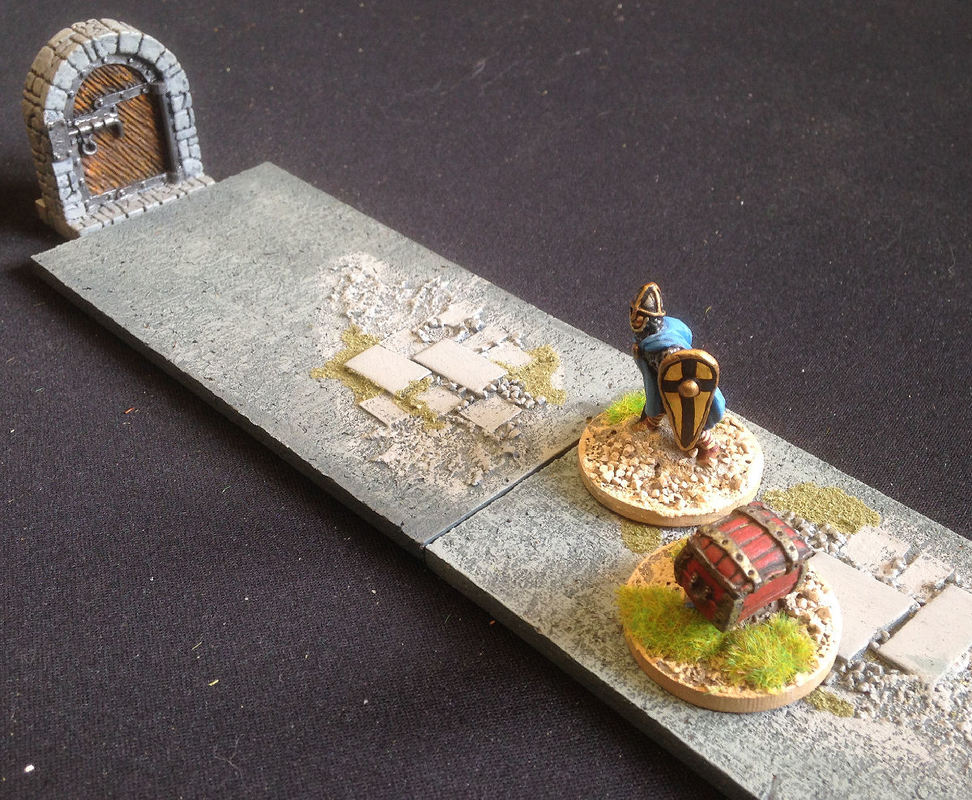
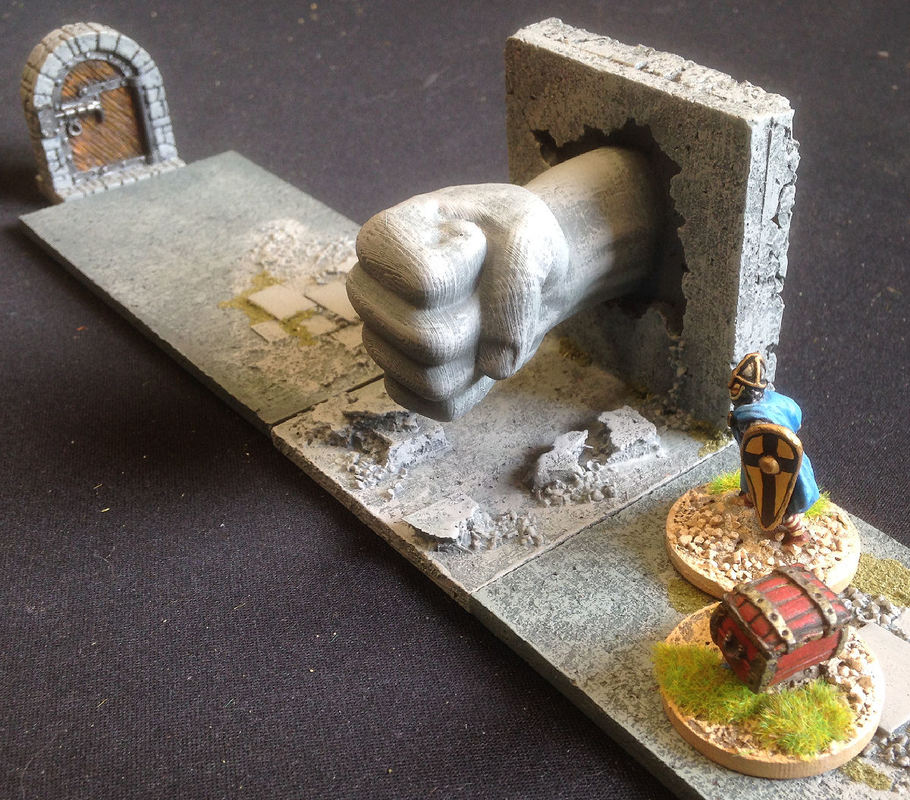
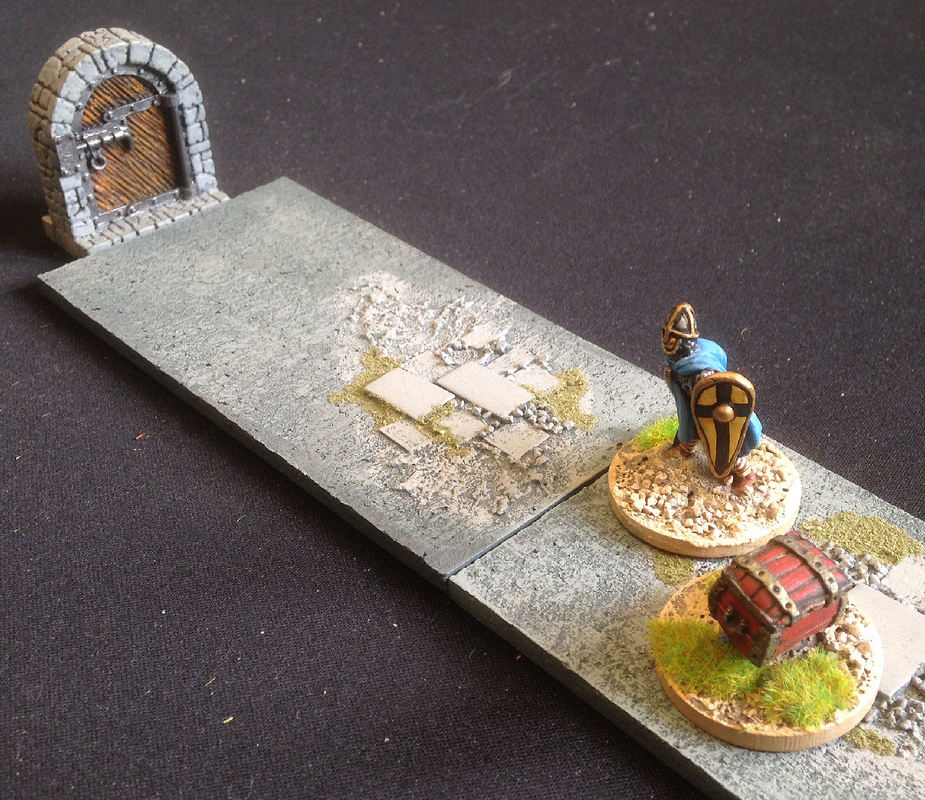
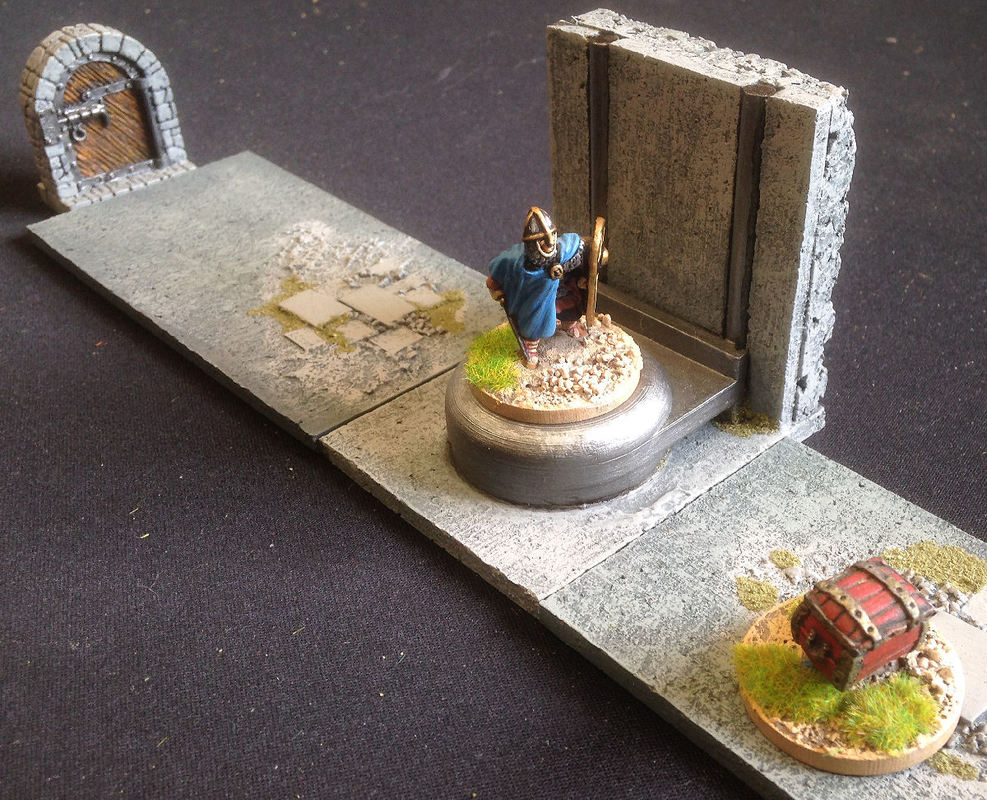
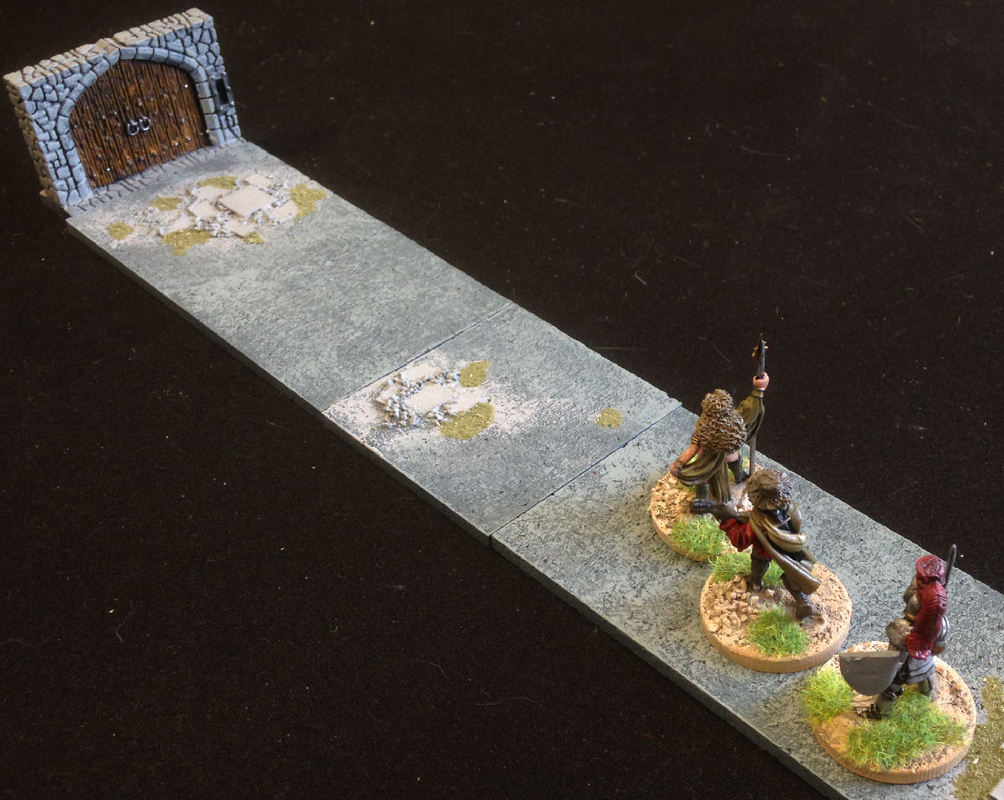
Not content with my spike traps I decided to throw some variety into the mix. First up was a fist trap. An unsuspecting adventurer triggers the trap and a giant stone fist smashes through the wall and squishes them. Hilarious! I 3D printed the fist and mounted it on a cork dungeon base. The wall was made with a standard cork tile backed by a thicker, rougher, noticeboard cork tile, "Click?..did you hear a click?"
POW!
Luckily George here made his avoidance check or it could have been very messy. Falling block trap
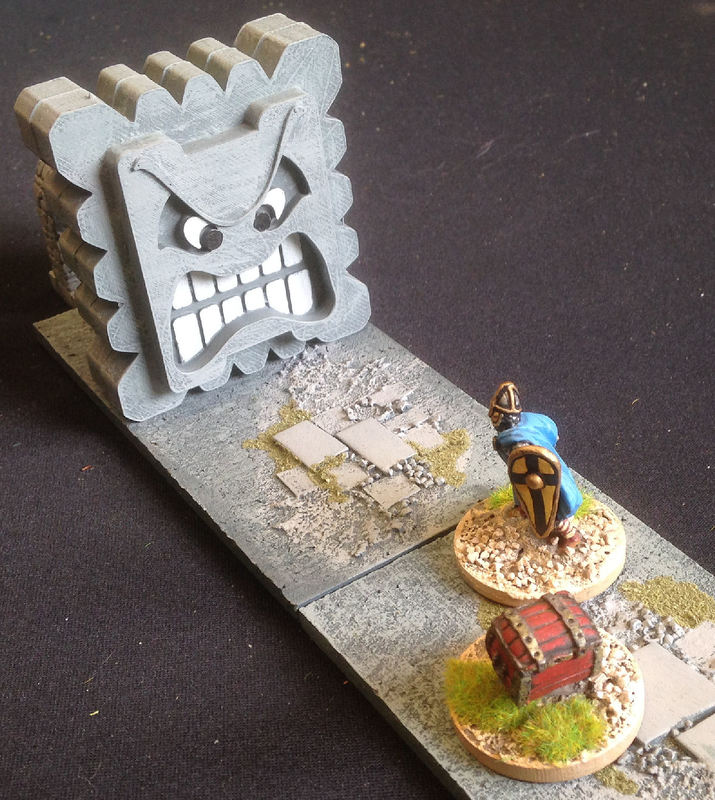
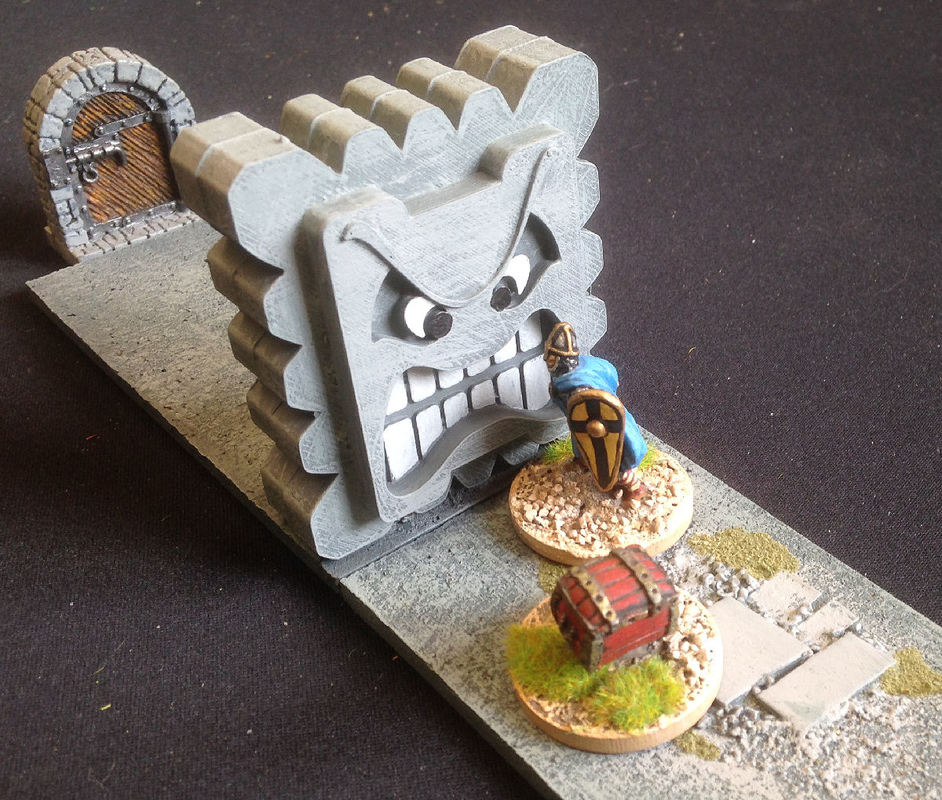
This one's a classic. I printed a TWOMP from the Mario games for my block because I like a trap that looks like it enjoys its work. Also, for extra fun, I can have him sliding along the passage too. "Oh look a door, let's go check it out."
TWOMP!
"Eek!" etc. Grrriiind...
"oh no!" See, comedy gold! Dungeon lift (or elevator if you prefer)
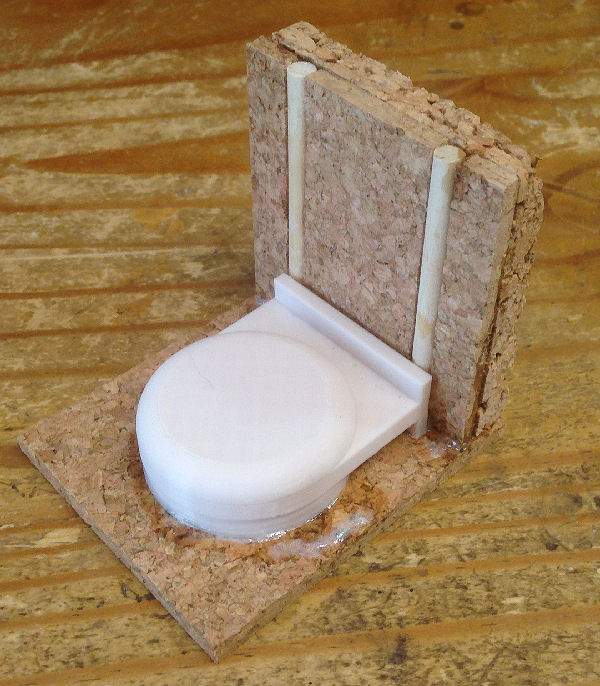
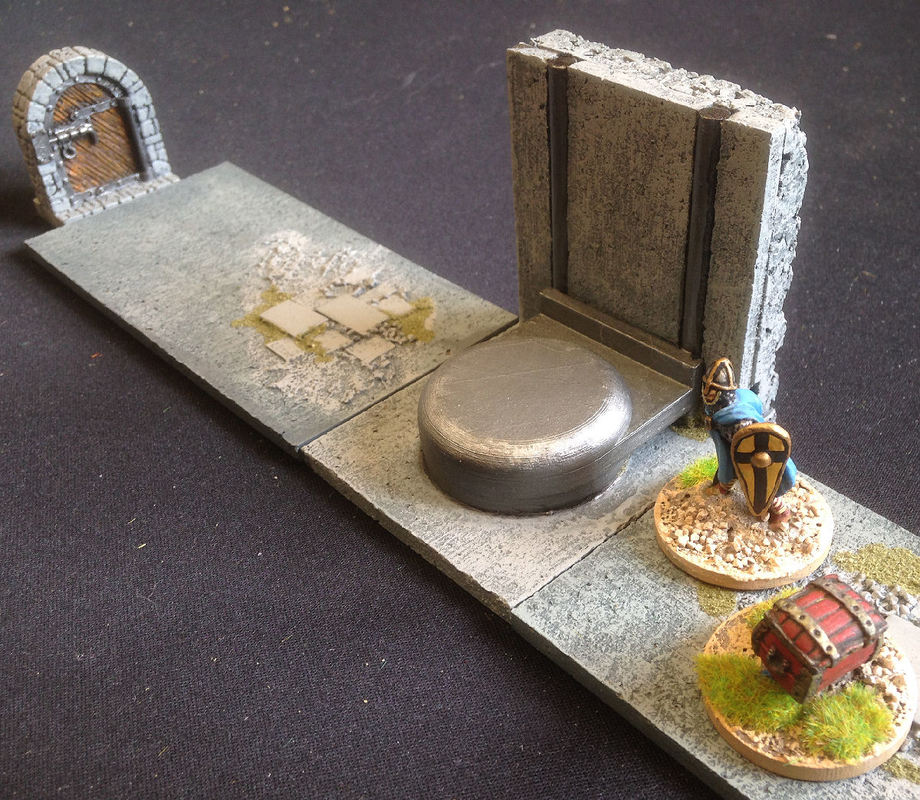
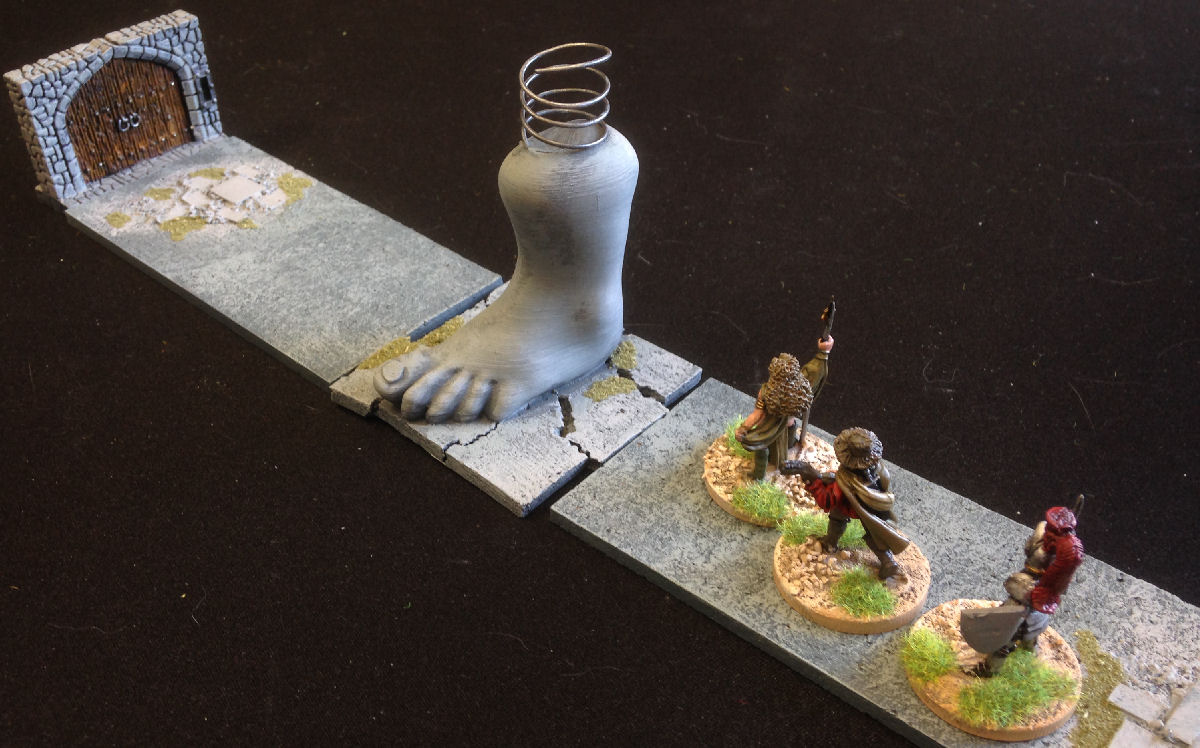
I found this little thing online and printed it out. It's meant to allow you to cap toilet paper tubes and make them into fuel tanks. With the addition of a couple of dowel runners it makes a passable lift. The hilarious Python Foot Trap. A spring loaded foot slams down from above to squash the unwary. Once again a 3D printed Monty Python foot with an added spring made from twisted wire and a standard piece of cork broken up to form the smashed floor beneath.
Another dungeon staple is the secret door. This set of five different secret doors was designed by Jim Pacek for 3D printing. They're available free on Thingiverse.
Some falling block traps by Curufin. He provides a set with squashed bodies which I'll probably print as well.
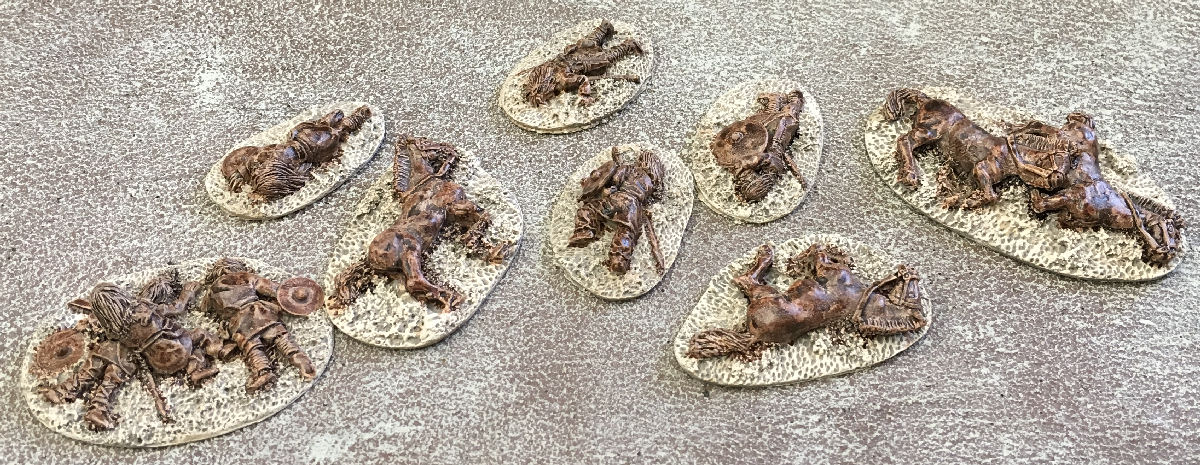
Some generic casualty markers. These are resin castings from 1st Corps which I've painted a nondescript brown to represent all kinds of dead bodies that can be found in a dungeon.
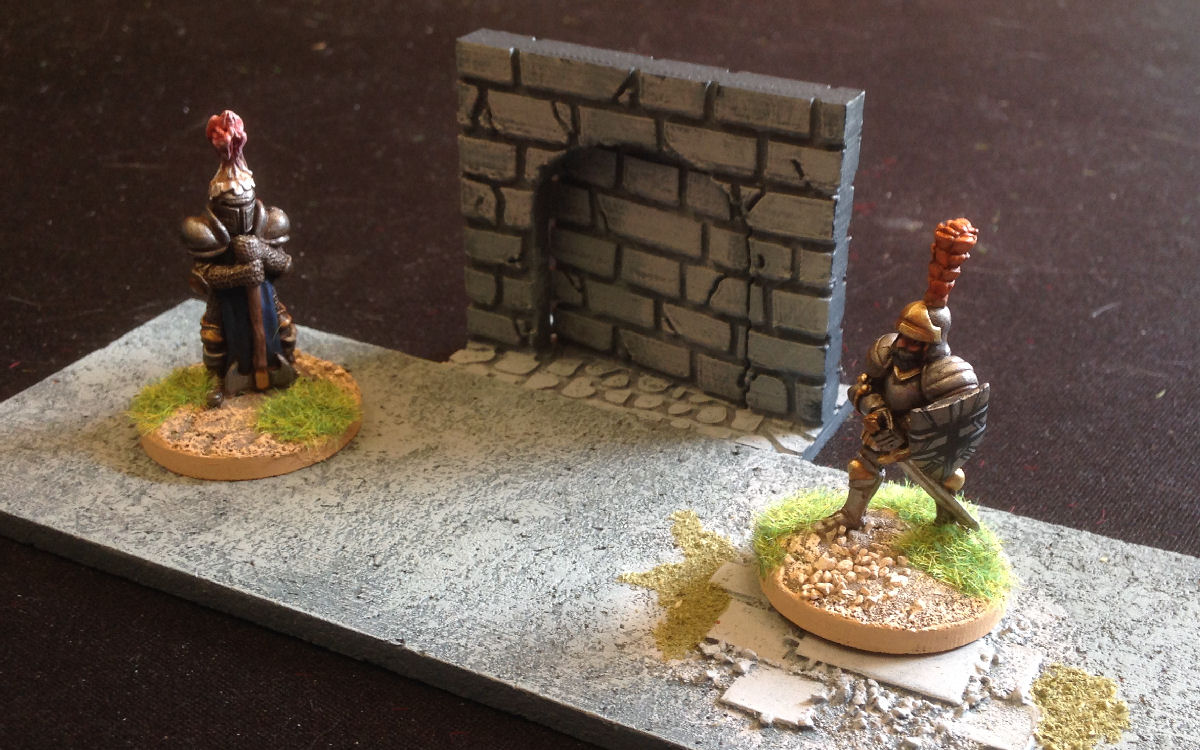
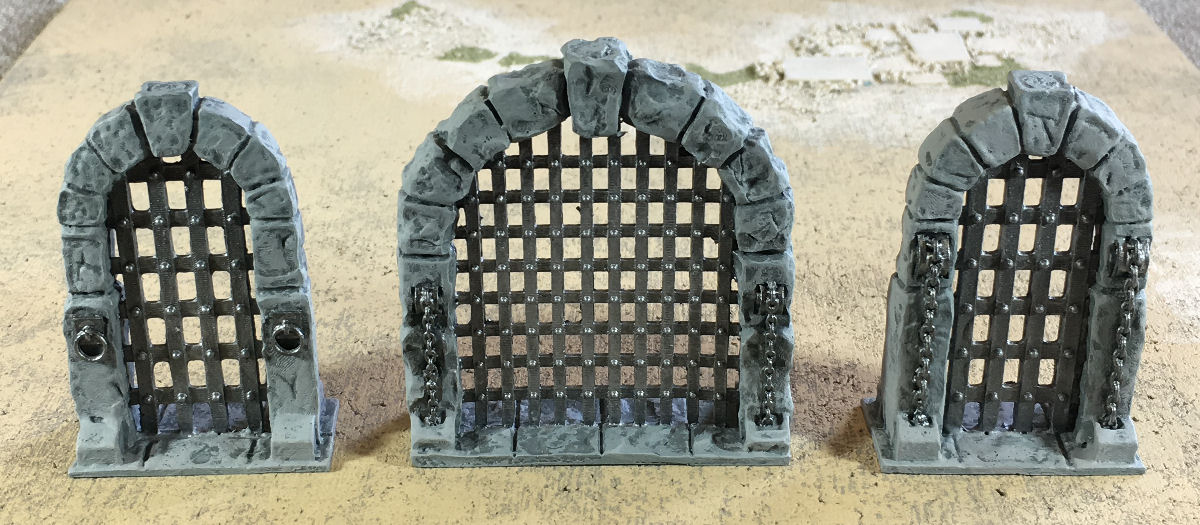
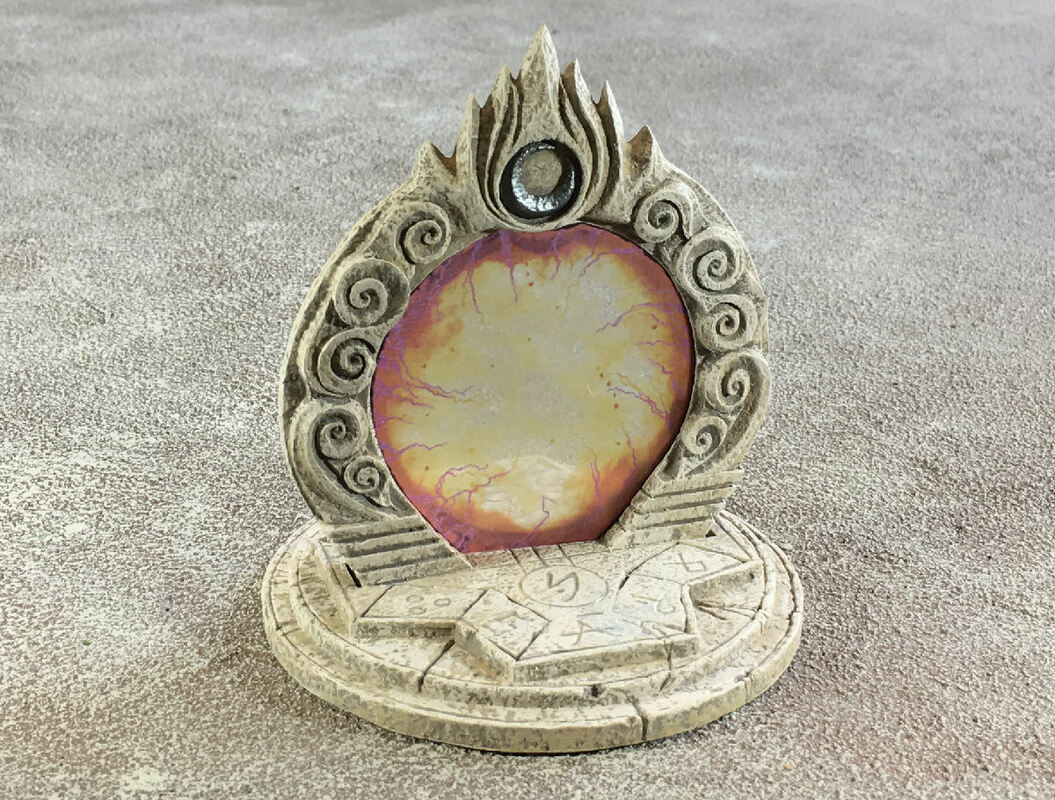
Some portcullises and a portal from Zealot Miniatures.
|


