|
The Plan
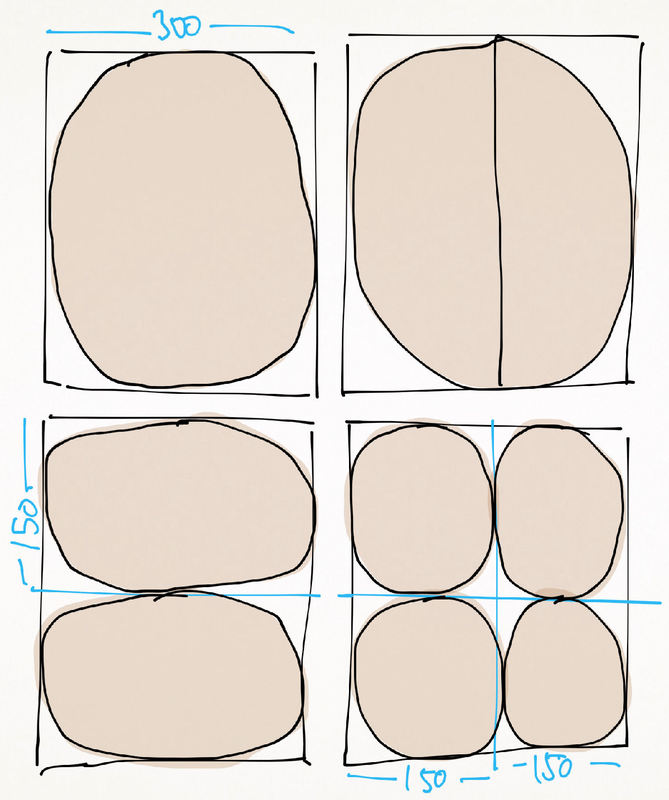
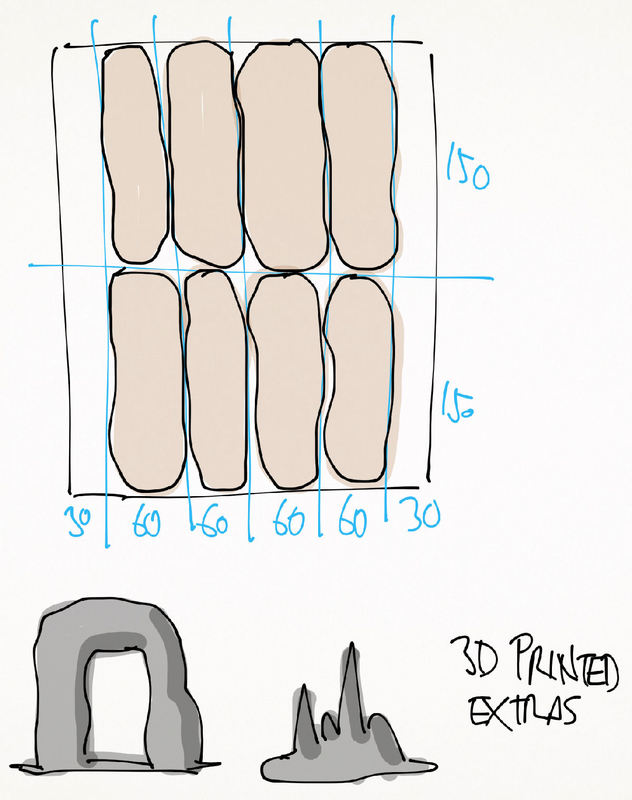
I've decided to do a small set of cavern floor plans to add to my Dungeon set. These will allow me to have 'natural' caves for my non fantasy/dungeon RPGs such as my Pirates game. The caverns set doesn't need to be as extensive as the dungeon set so I'm only going to make the bare minimum to begin with. There's always the possibility that inspiration will strike as I go along and so I may end up adding special pieces later. As usual the basic components will be made from 4mm flooring cork tiles. I plan to make a single large cave roughly 300mm x 300mm, another large cave but split into two with a straight edge so the two parts can merge into dungeon rooms if necessary or just be used as a second big cave, two 300mm x 150mm caves and four 150mm x 150mm small caves. These will be connected by a set of eight 150mm x 60mm tunnels/passages. I'll print a small set of stalagmites and cave entrances to add variety. These will primarily be from here and here. I already have plenty of rocks and a river that can be combined with the floor plans if needed. The Build
There's only one straight cut for this set so I'm going to cut almost everything with shears. Be warned, I started with scissors and got some nasty blisters. Shears are better. 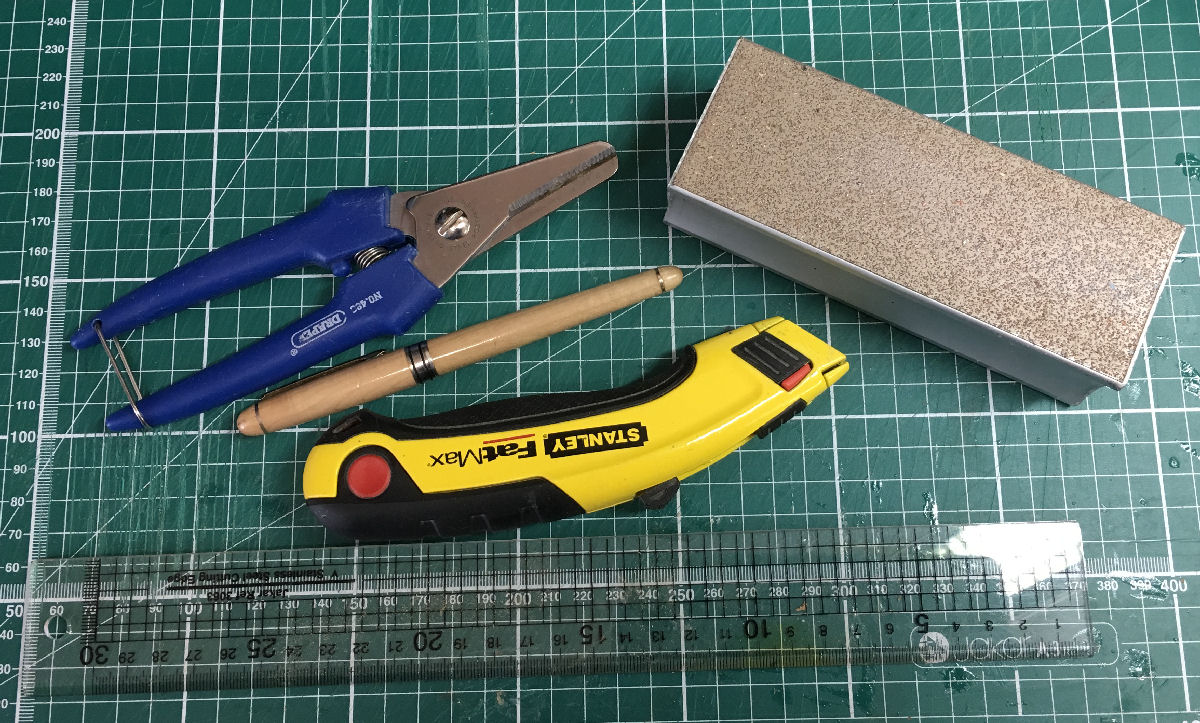
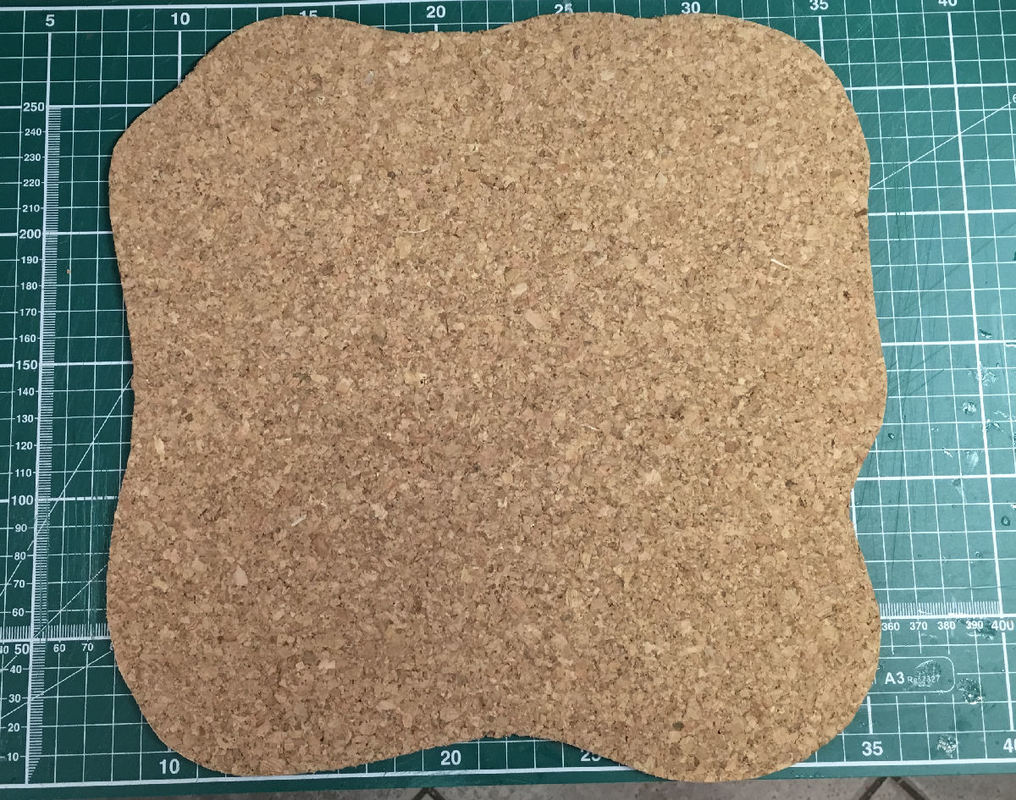
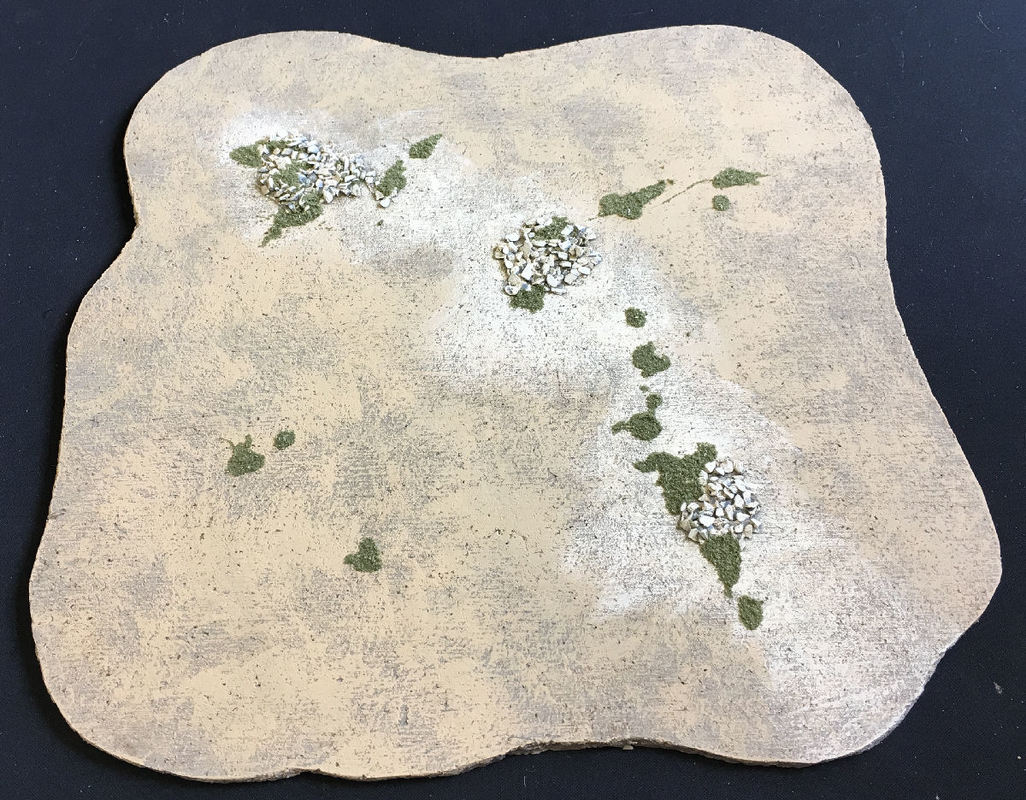
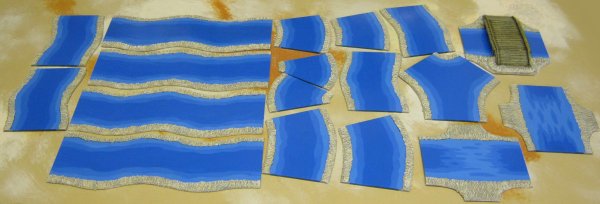
This is the single big cavern, the easiest of the set to cut.
For the rest I marked the reverse of the cork tile with guide lines.
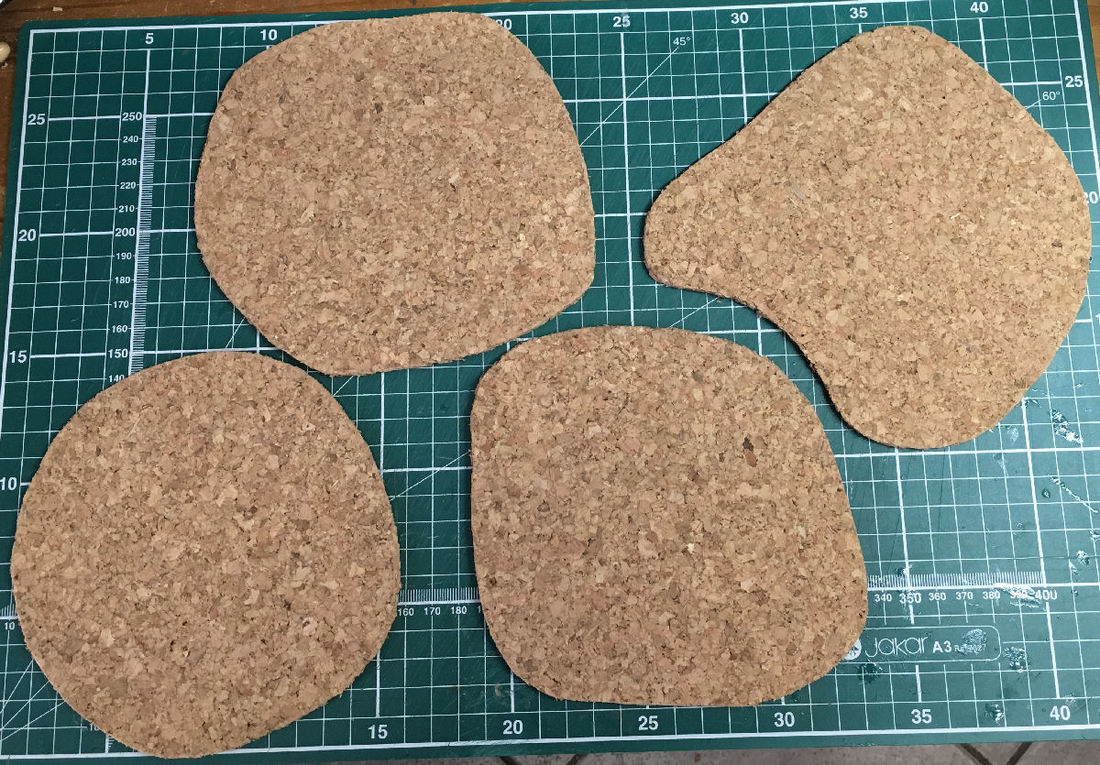
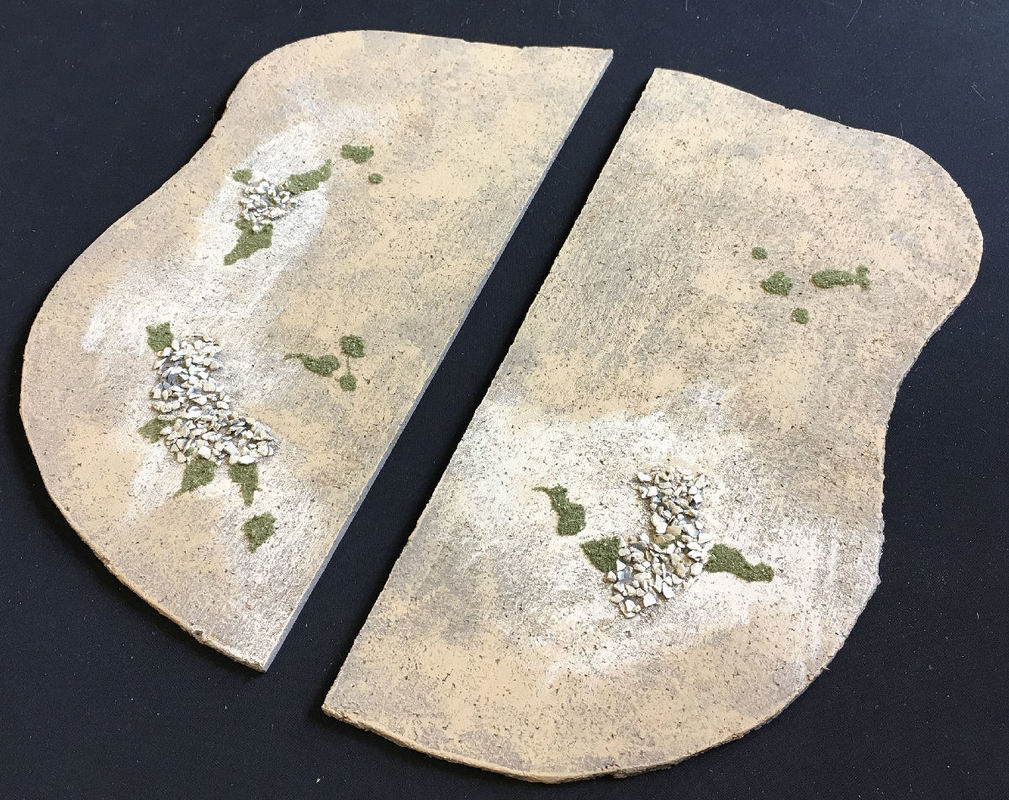
After I cut out the irregular shape for the second big cave I used the guide line to cut it in two with a knife and ruler. 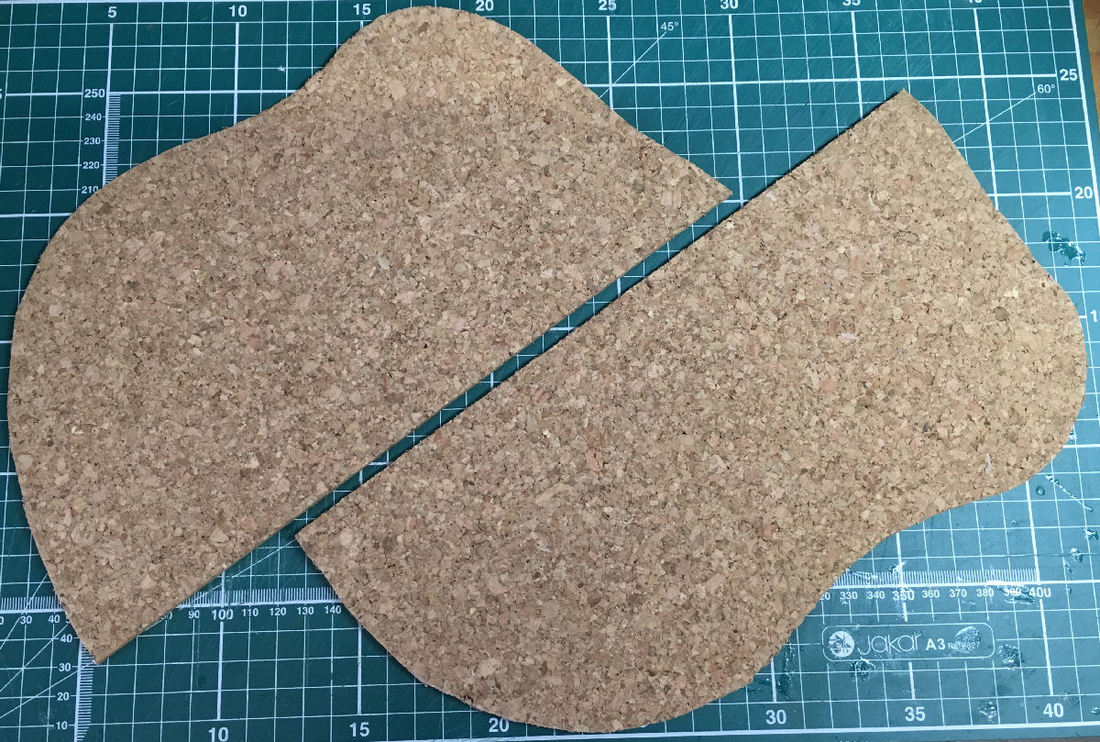
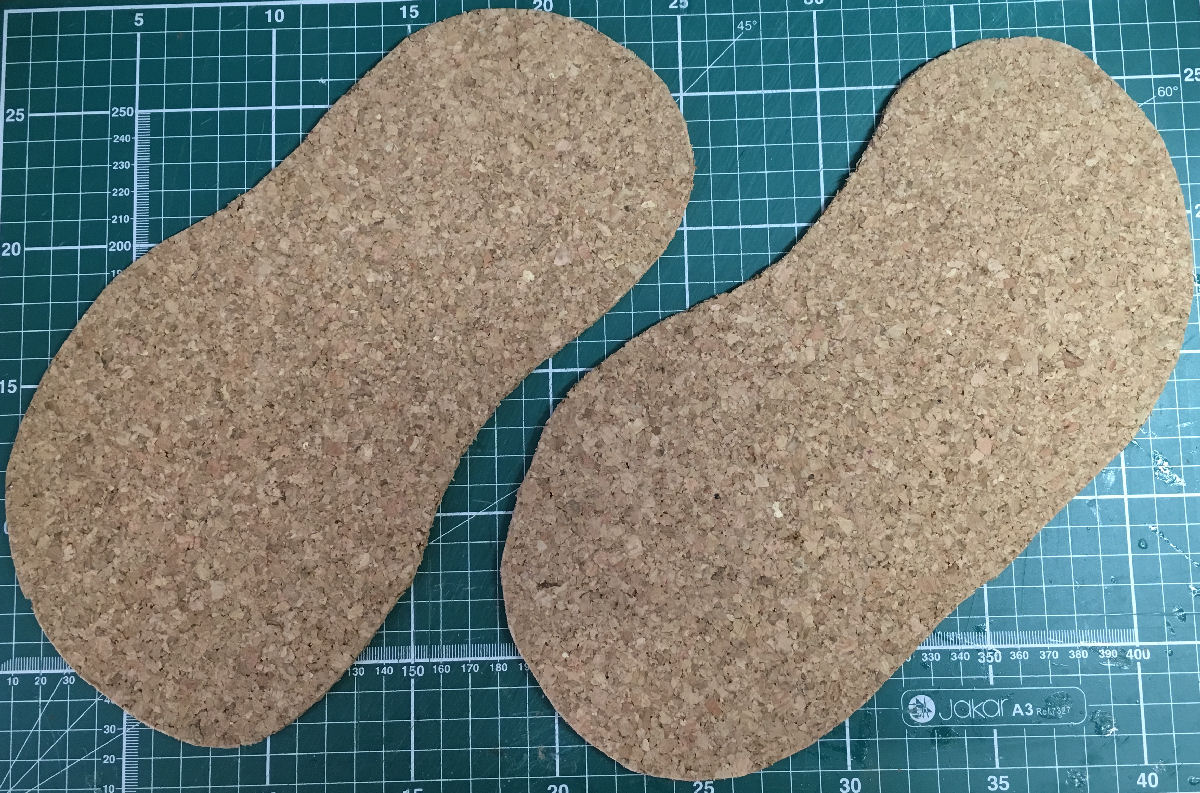
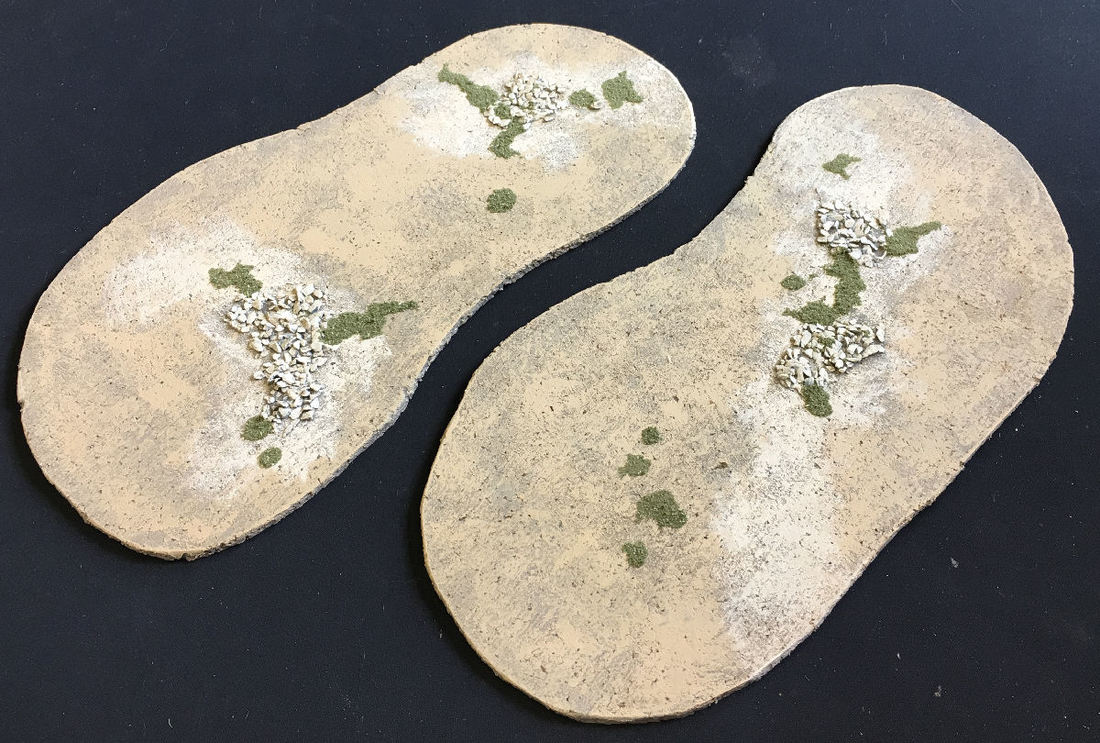
Two 300mm x 150mm caves.
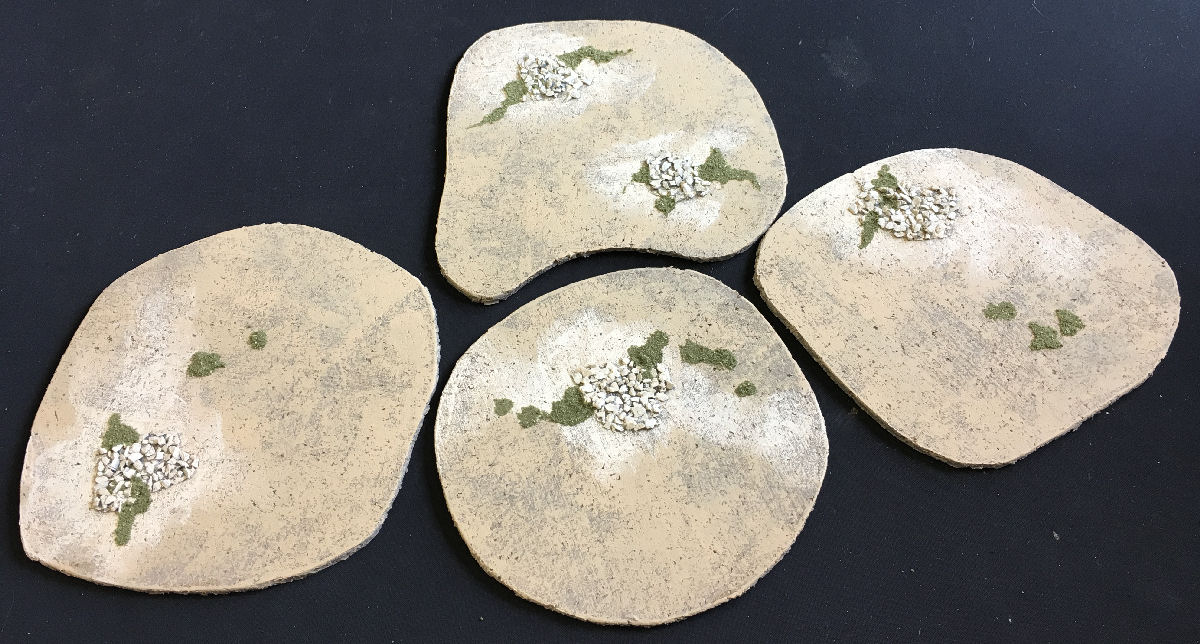
Four 150mm x 150mm caves.
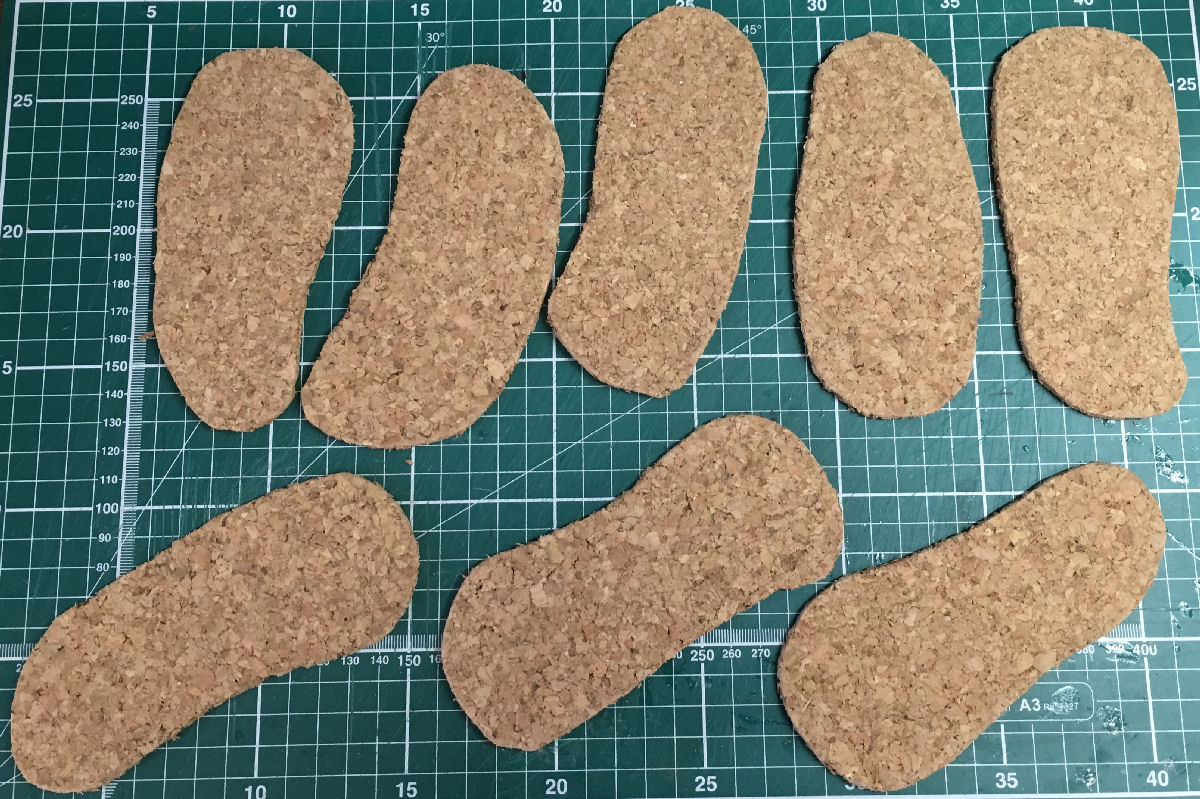
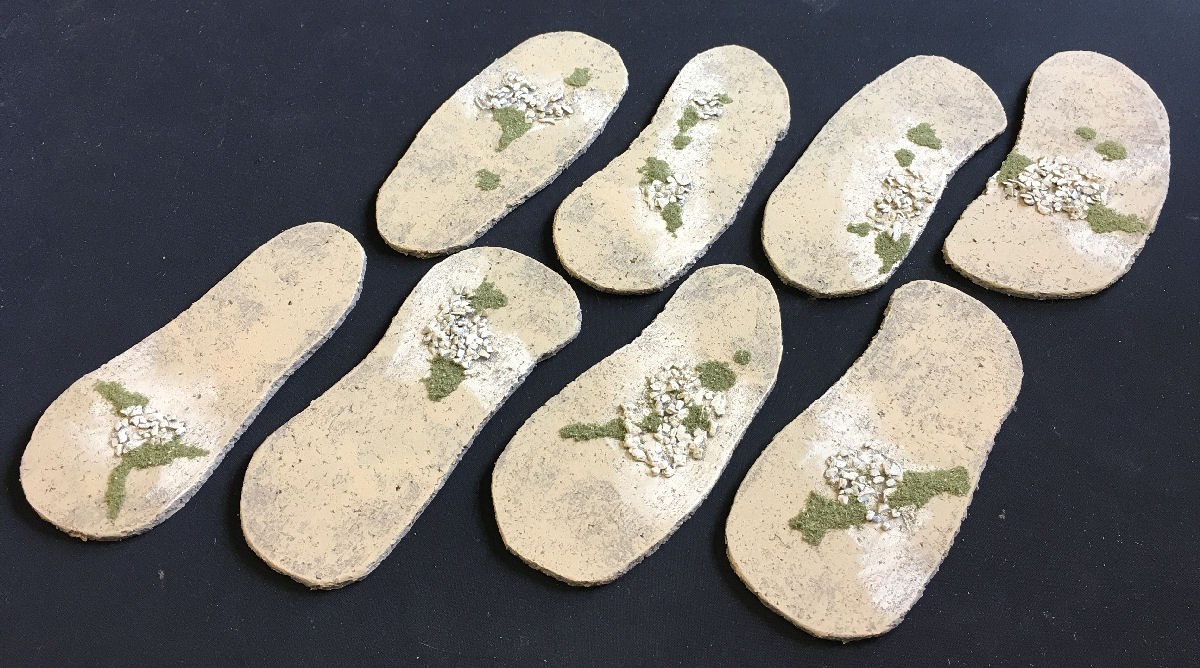
The eight 150mm x 60mm passages. These can be chained like sausages to make any sort of winding path I may require.
And that completed the basics. Next, the fun part.
Painting
I painted the caves in my sand colours like the dungeon rooms. 
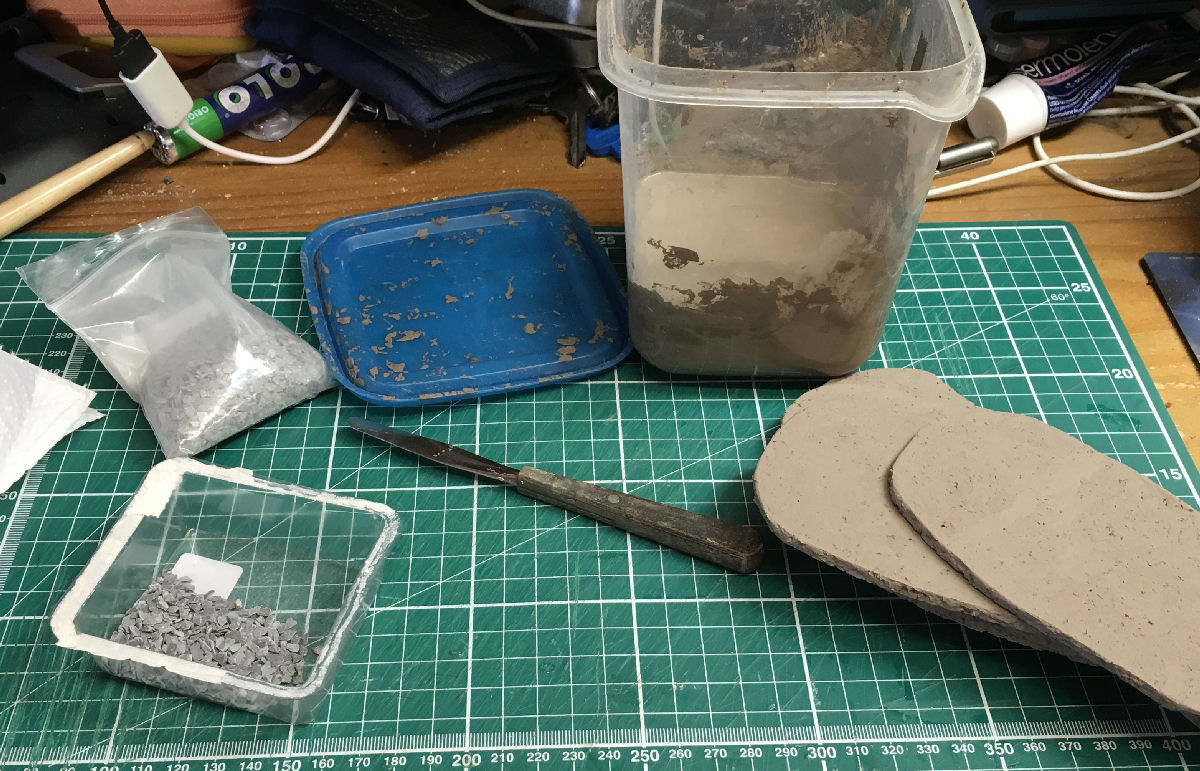
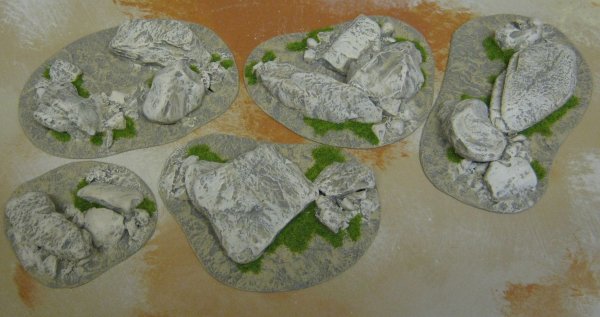
Once everything had been given a coat of the base colour I added some texture with my basing compound (base paint, PVA and sand) and some slate fragments. The basing compound holds the slate pieces firmly in place.
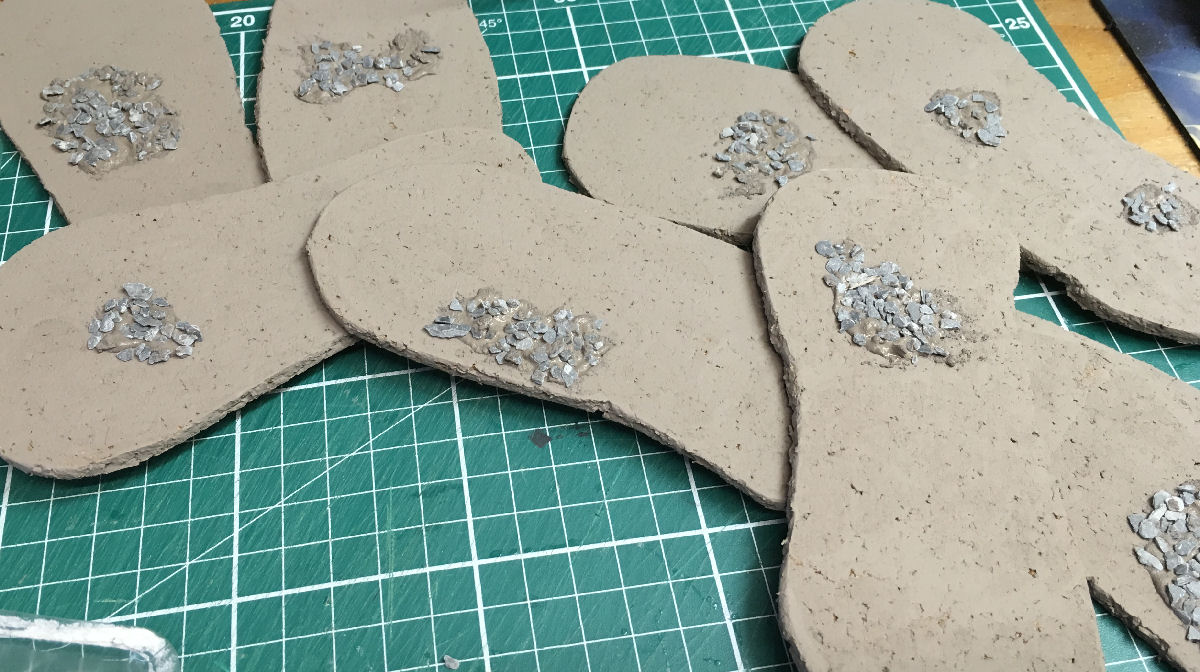
Then I dry brushed with the two highlight colours and added some mossy areas with PVA and flock.
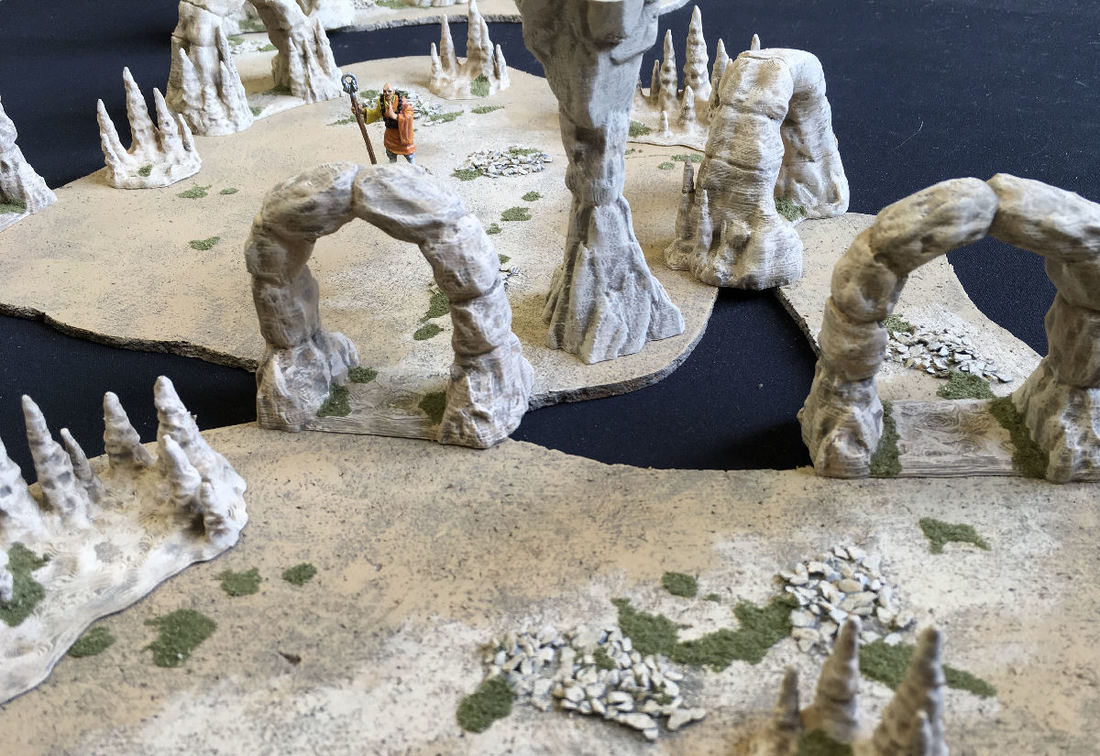
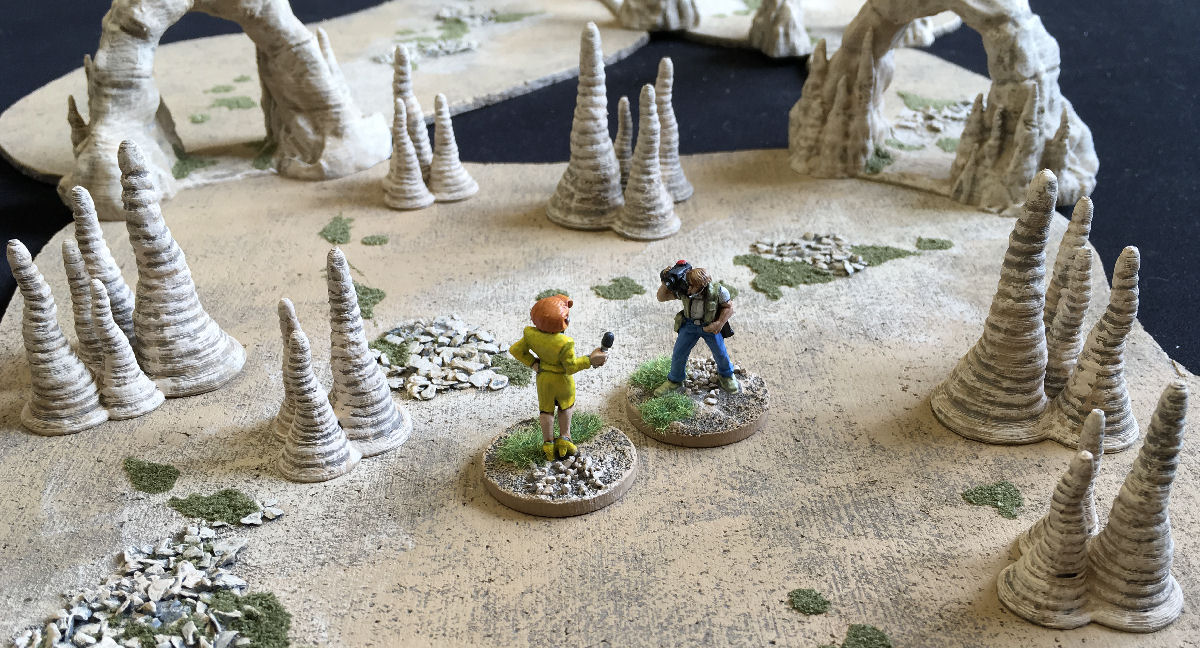
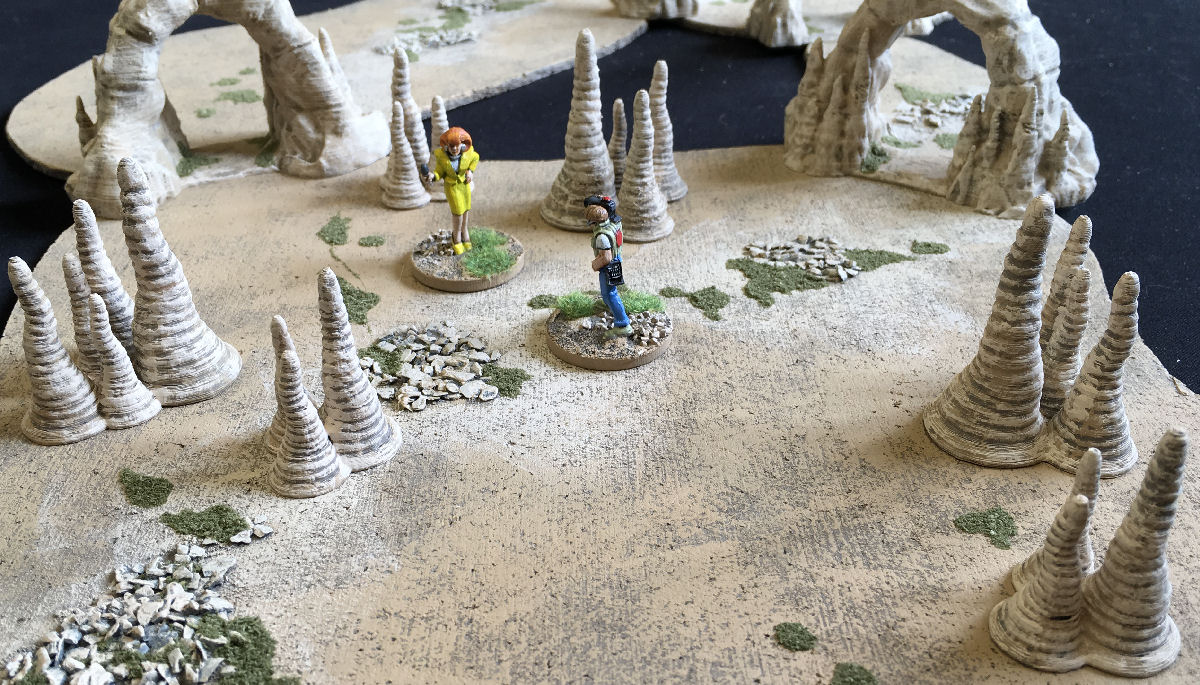
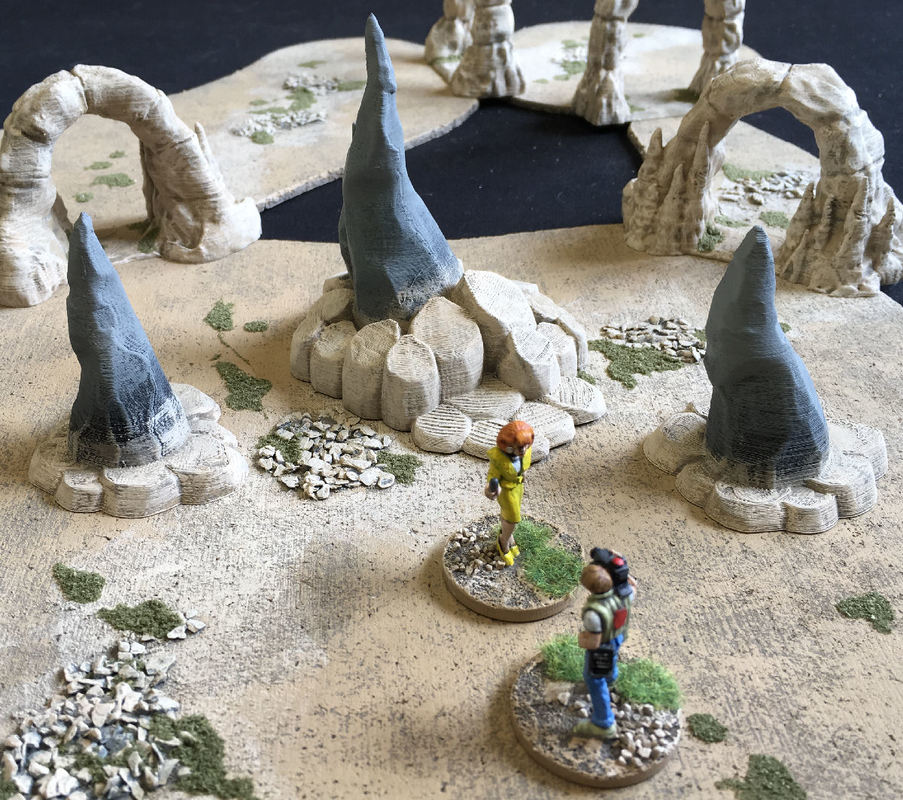
Here's a sample layout to show how it fits together. 28mm miniature for scale.
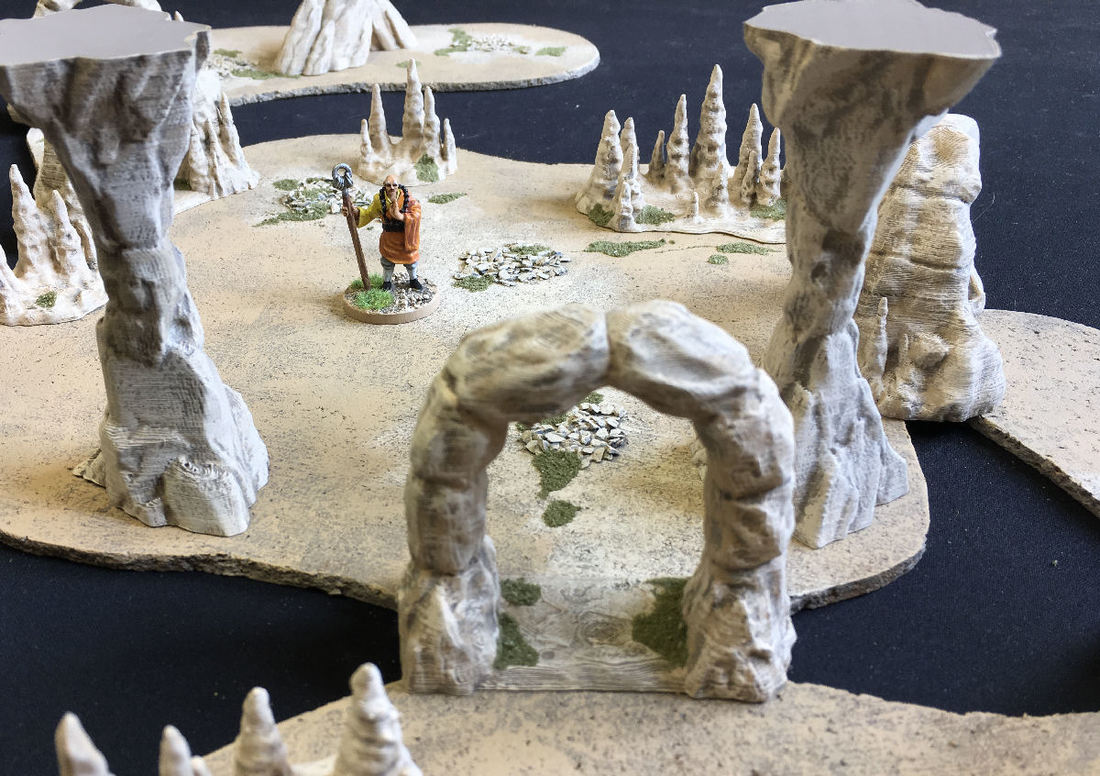
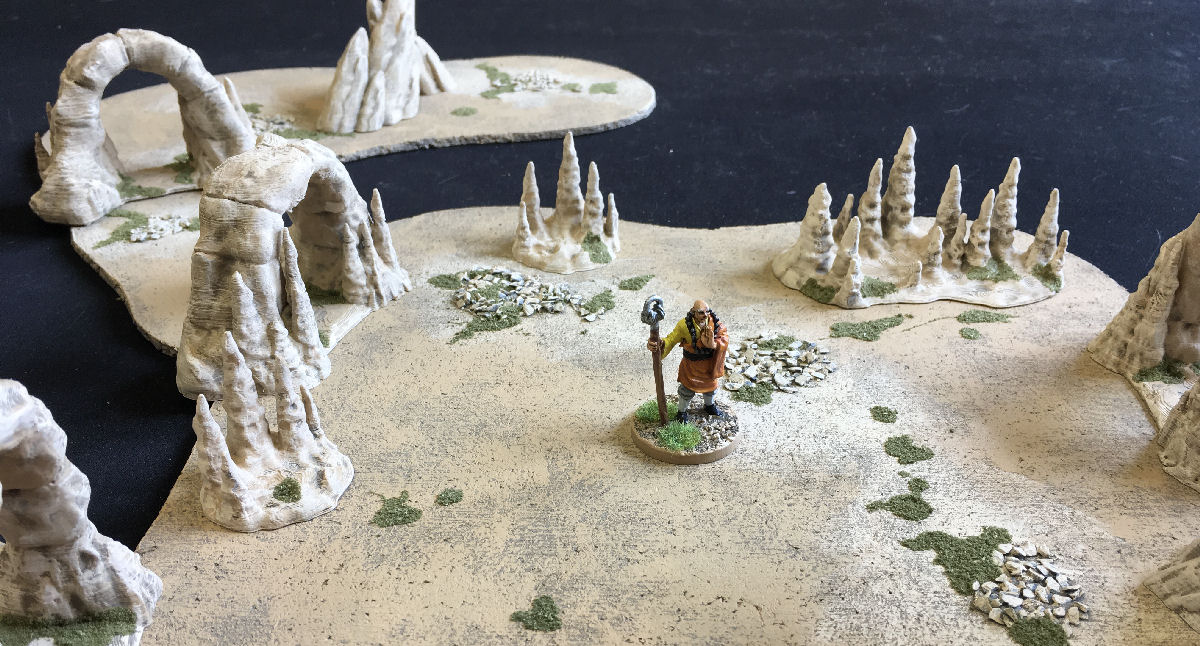

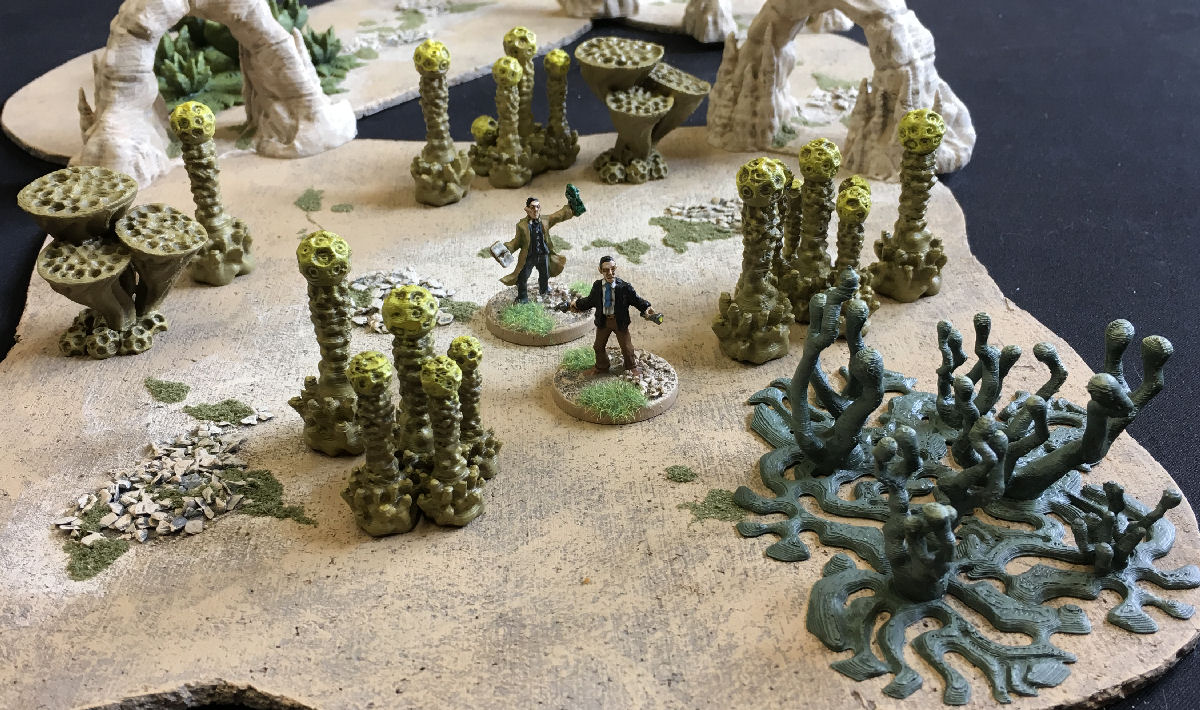
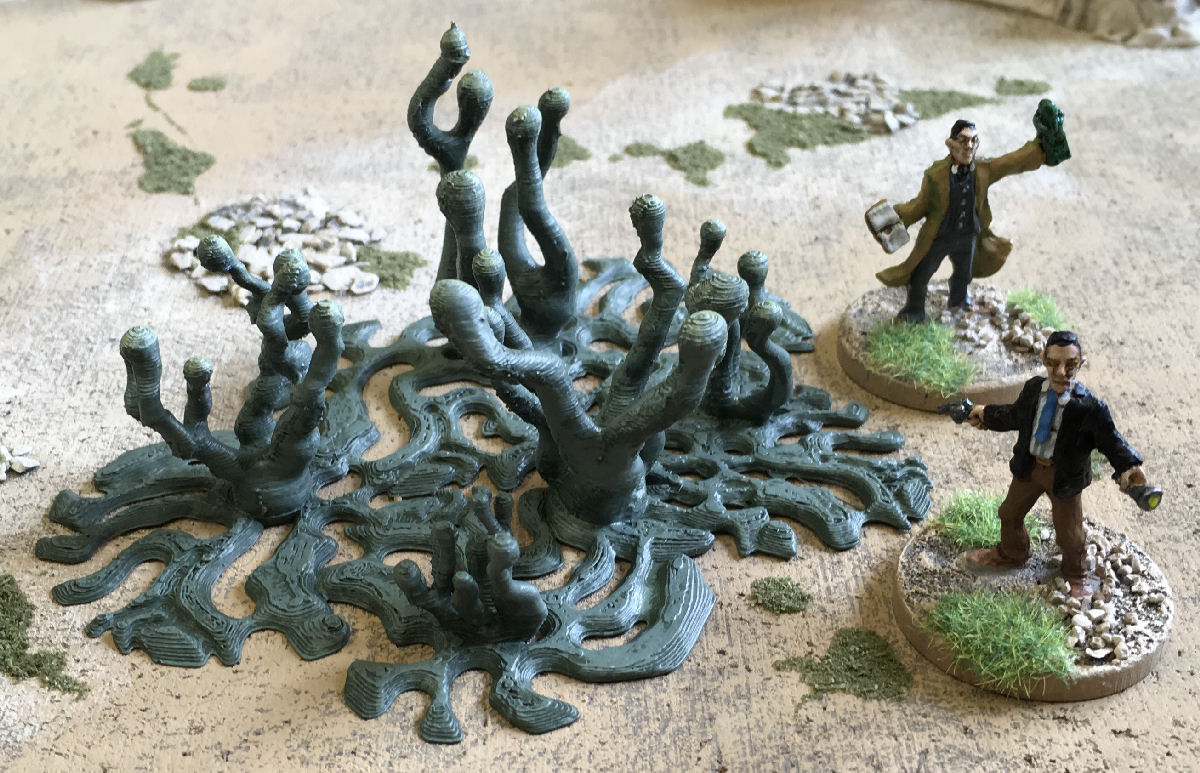
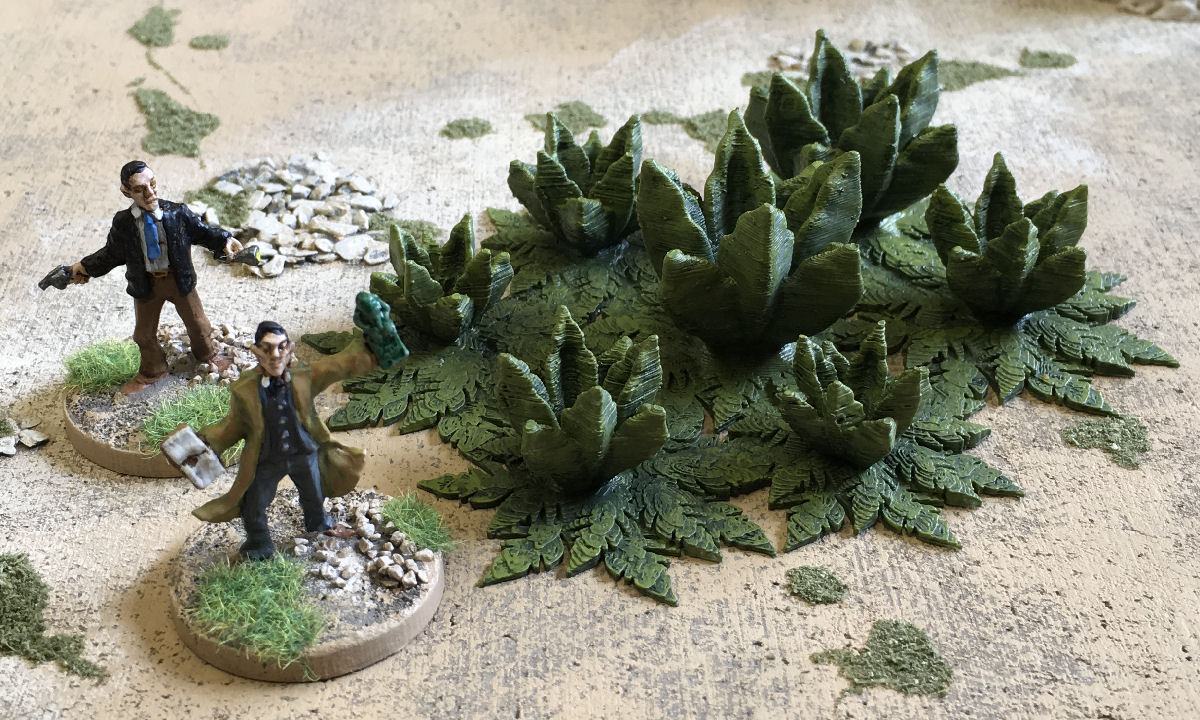
Here are the Lovecraft brothers exploring a cavern filled with 3D printed vegetation. These pieces are all by Dutchmogul.
The ground vegetation is available here and here. 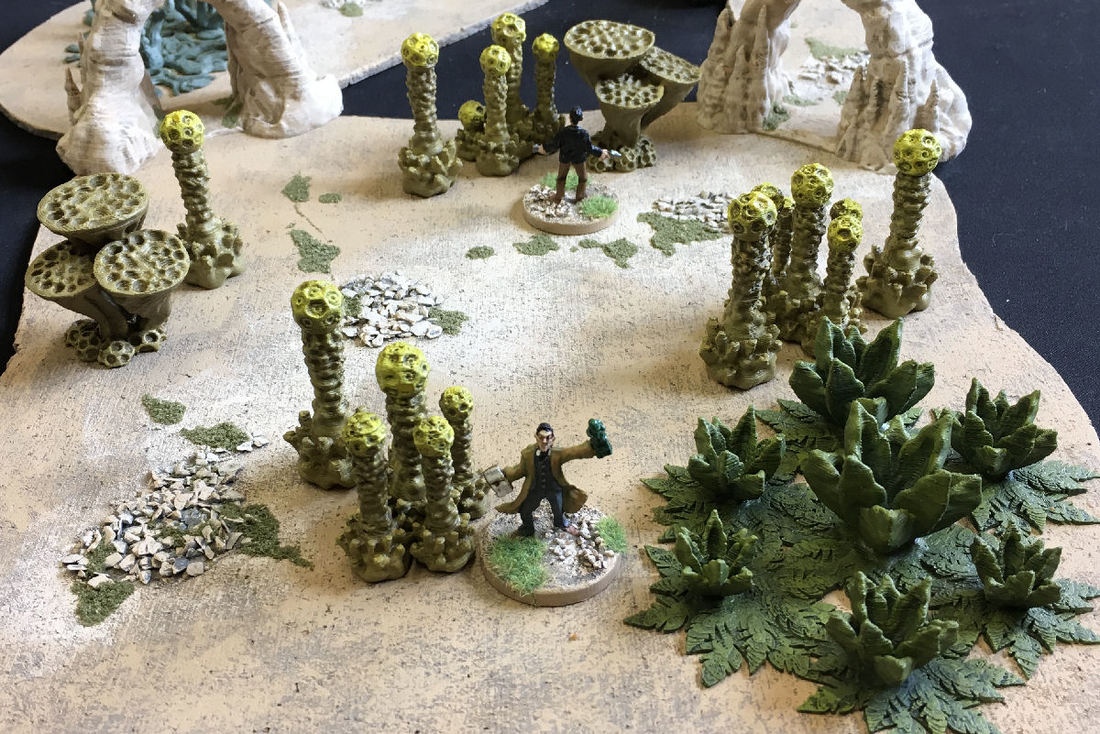
|
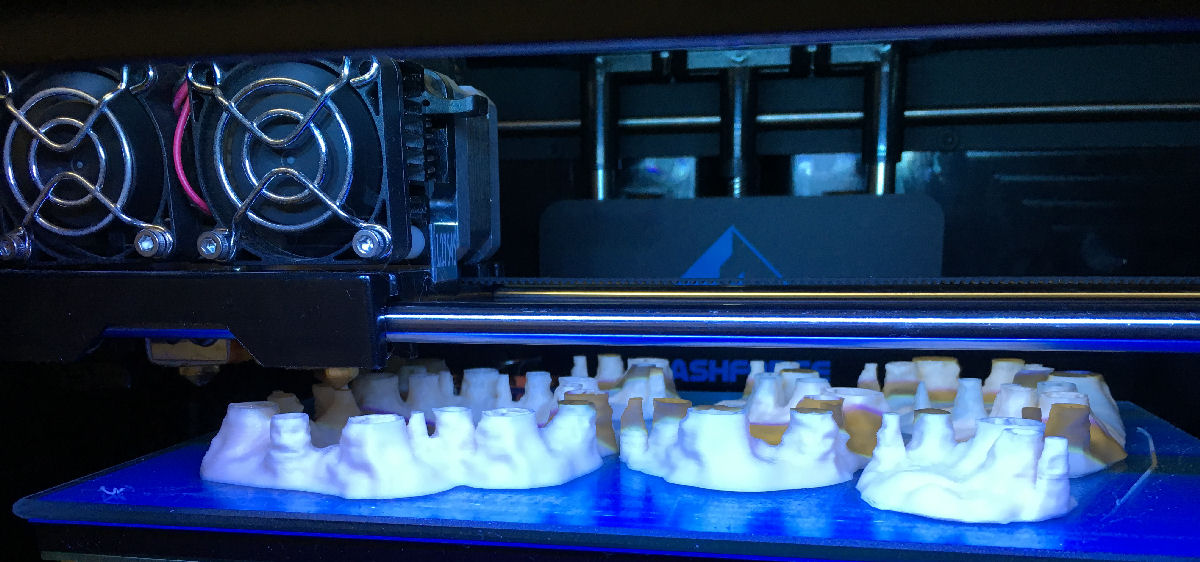
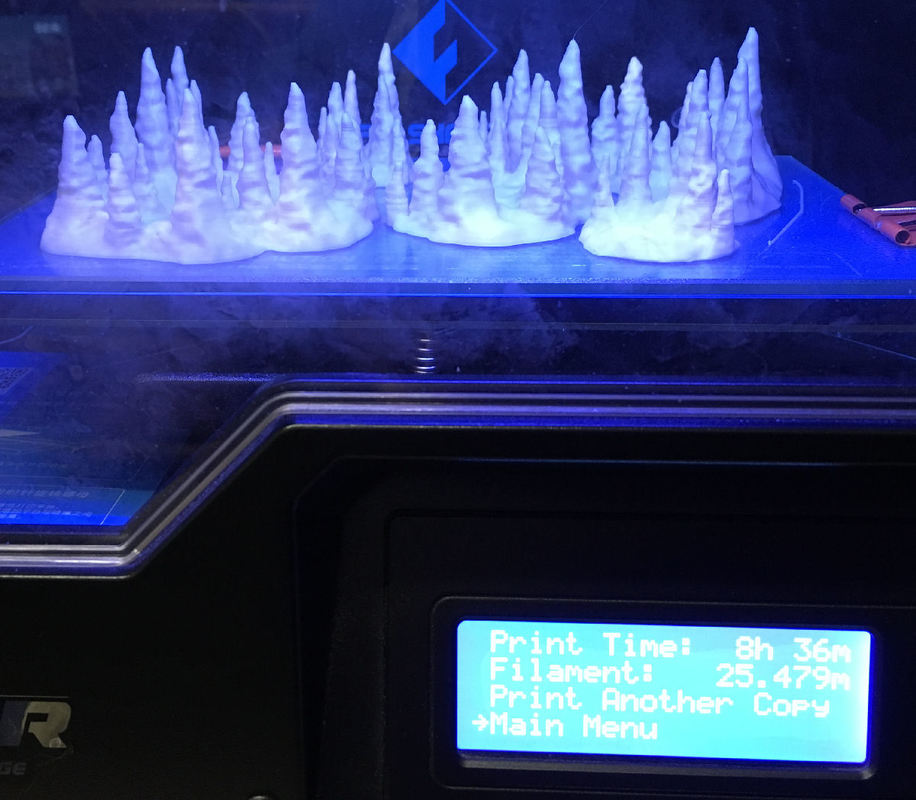
A set of stalagmites. Eight hours and thirty-six minutes to print, total cost £1.55.

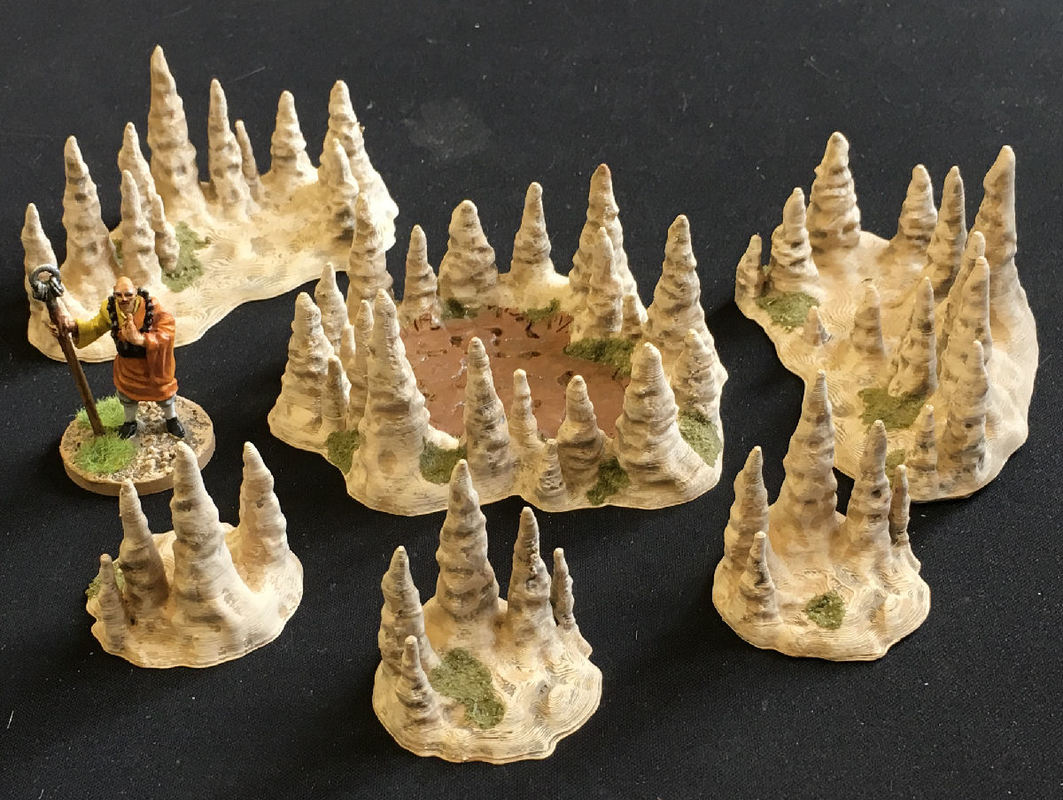
Here they are painted and flocked to match the floor sections. I added some water effect resin to the pool but it went wrong and cracked so I painted it as mud for the time being. I may reprint the pool and try again.
28mm miniature for scale. 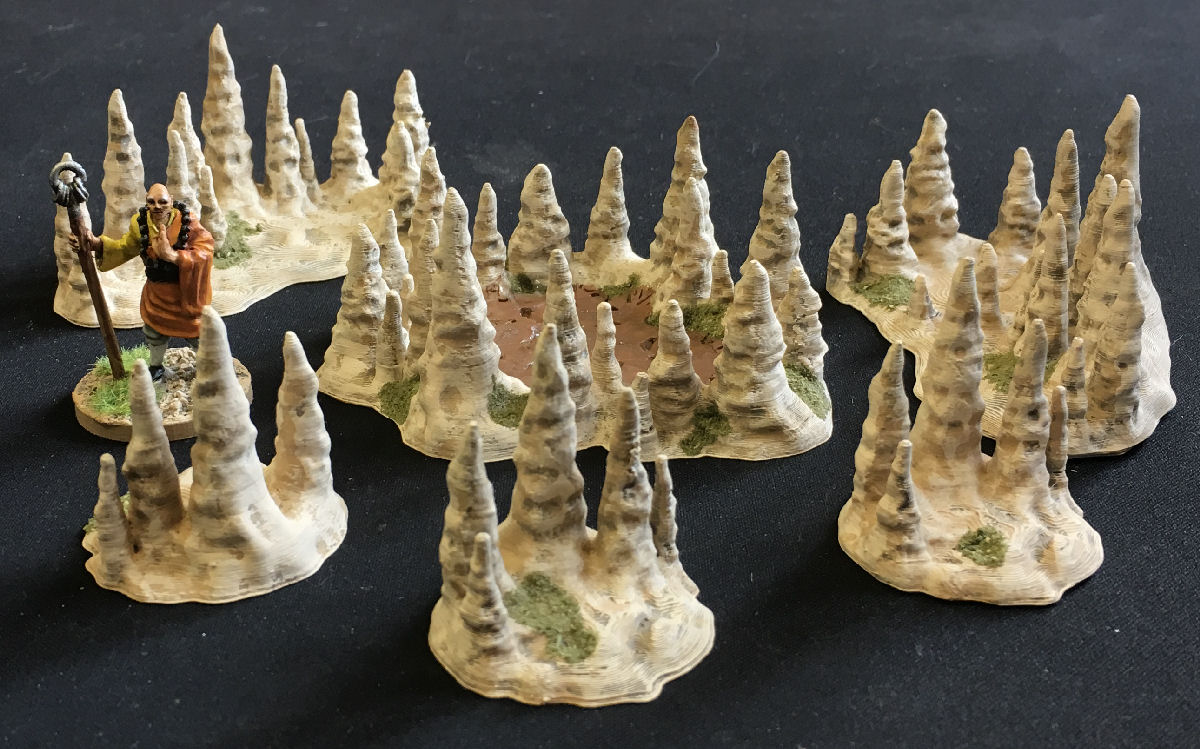
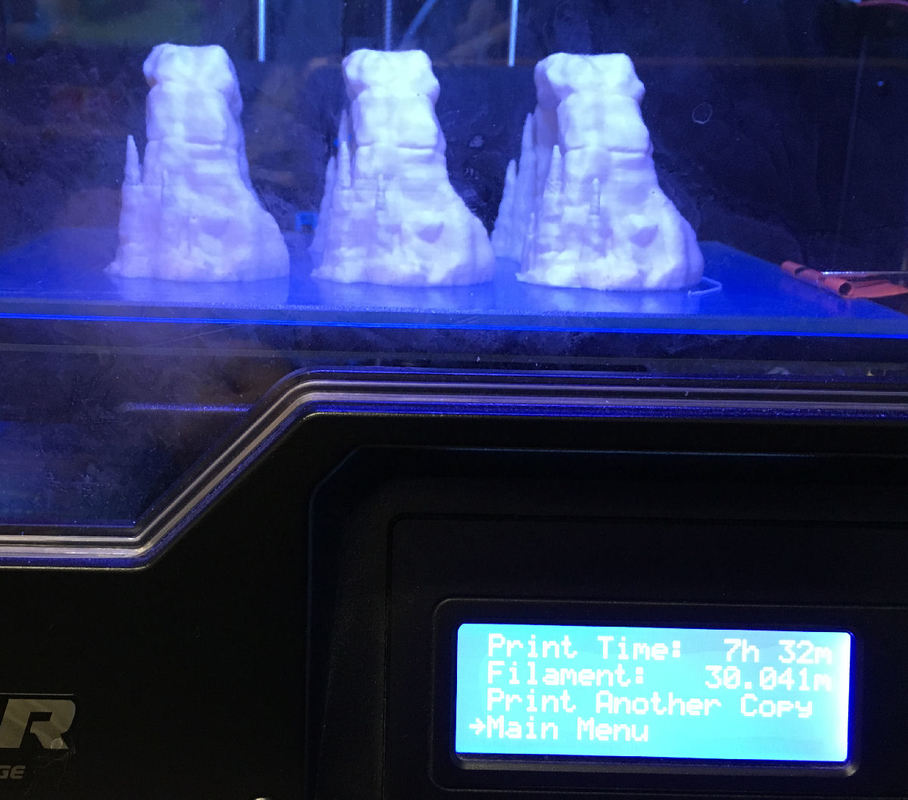
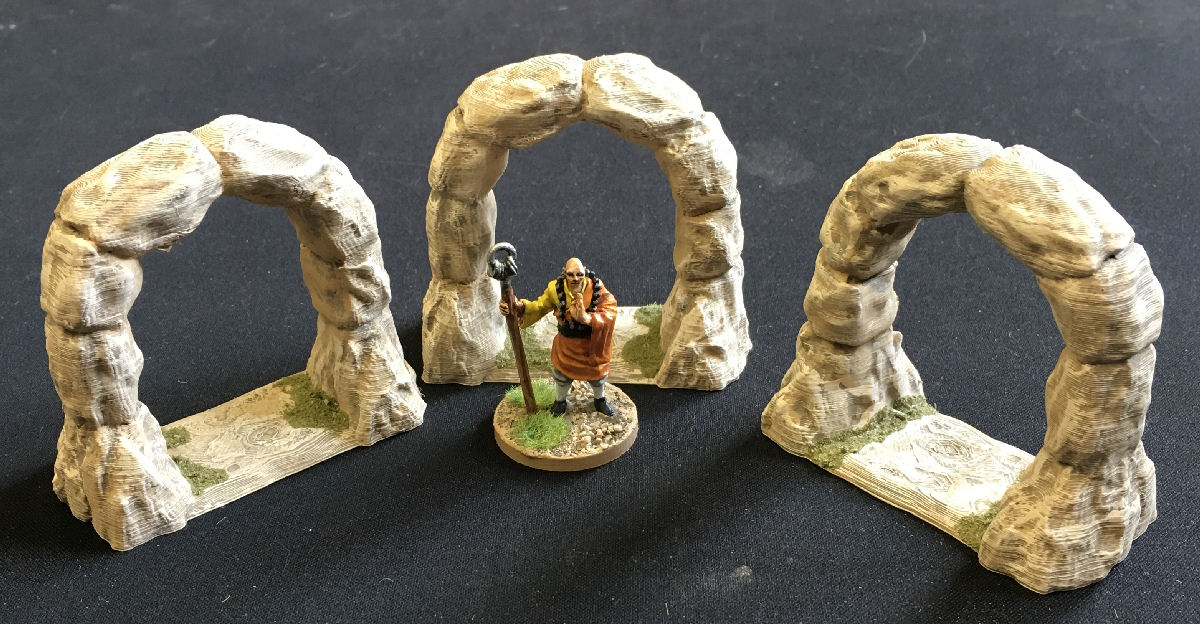
Three large cave entrances. Seven hours and thirty-two minutes to print with a cost of £1.80.
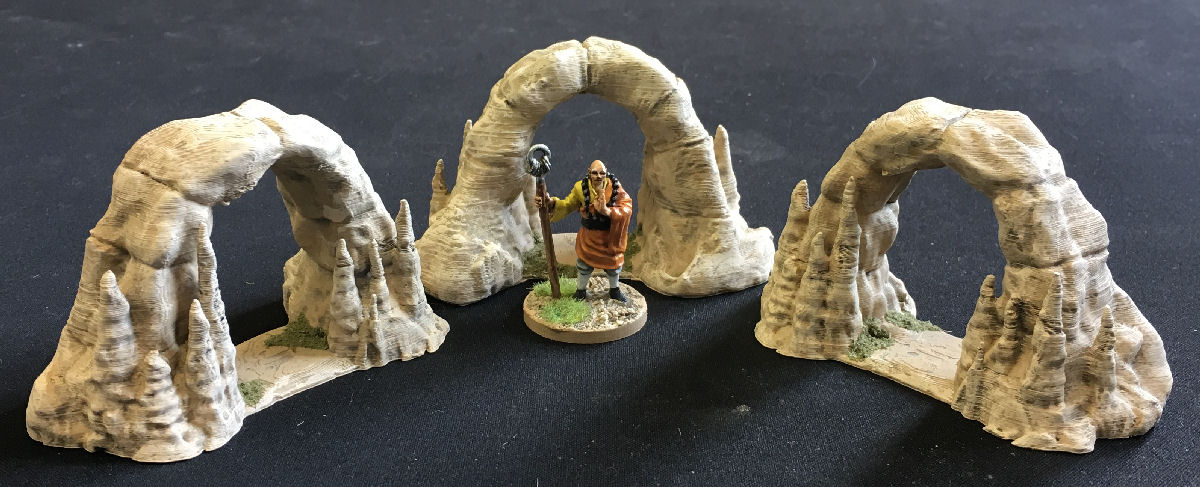
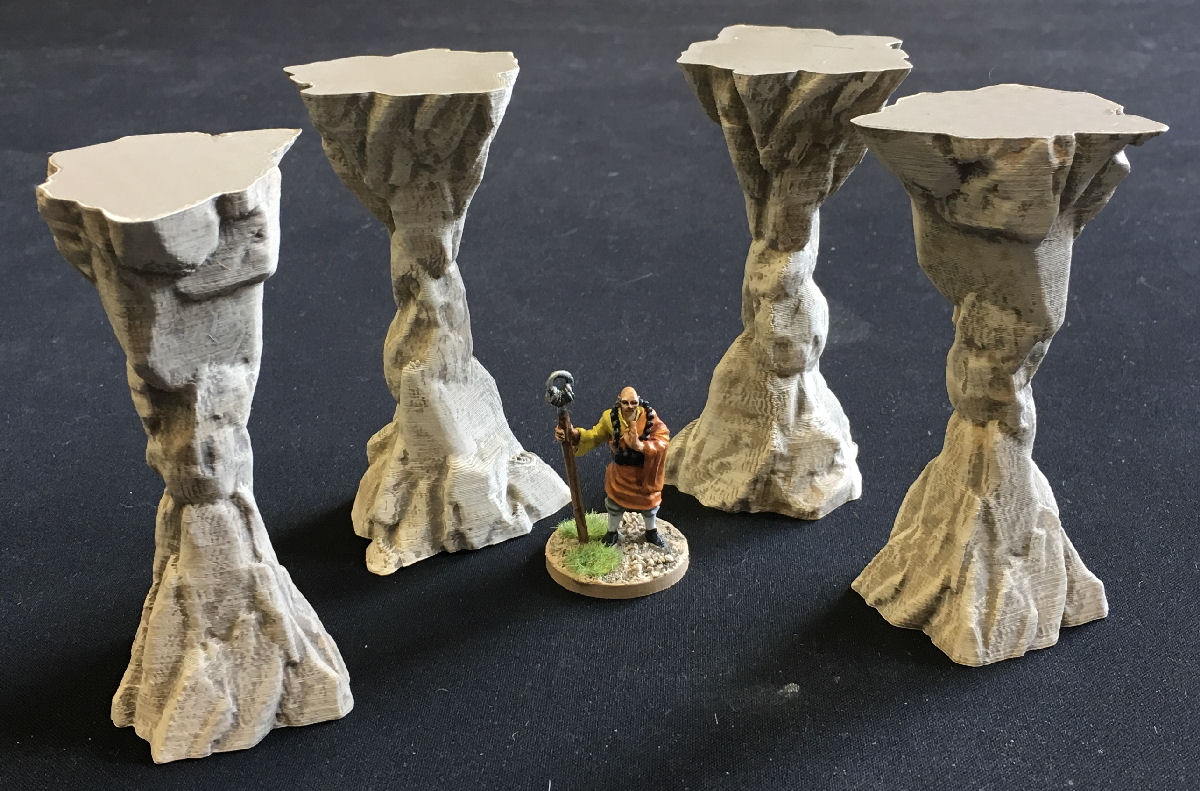
I also found these rather nice natural rock pillars here.
Six hours and forty-four minutes to print a set of four costing £1.90 in total. 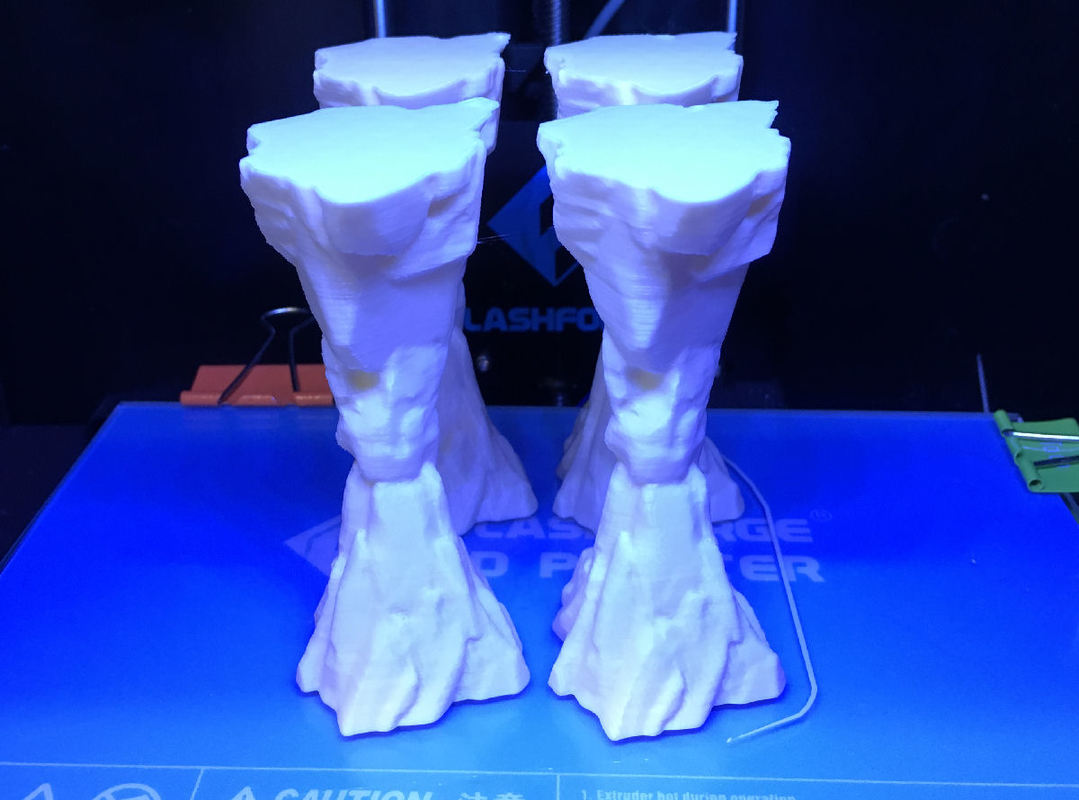

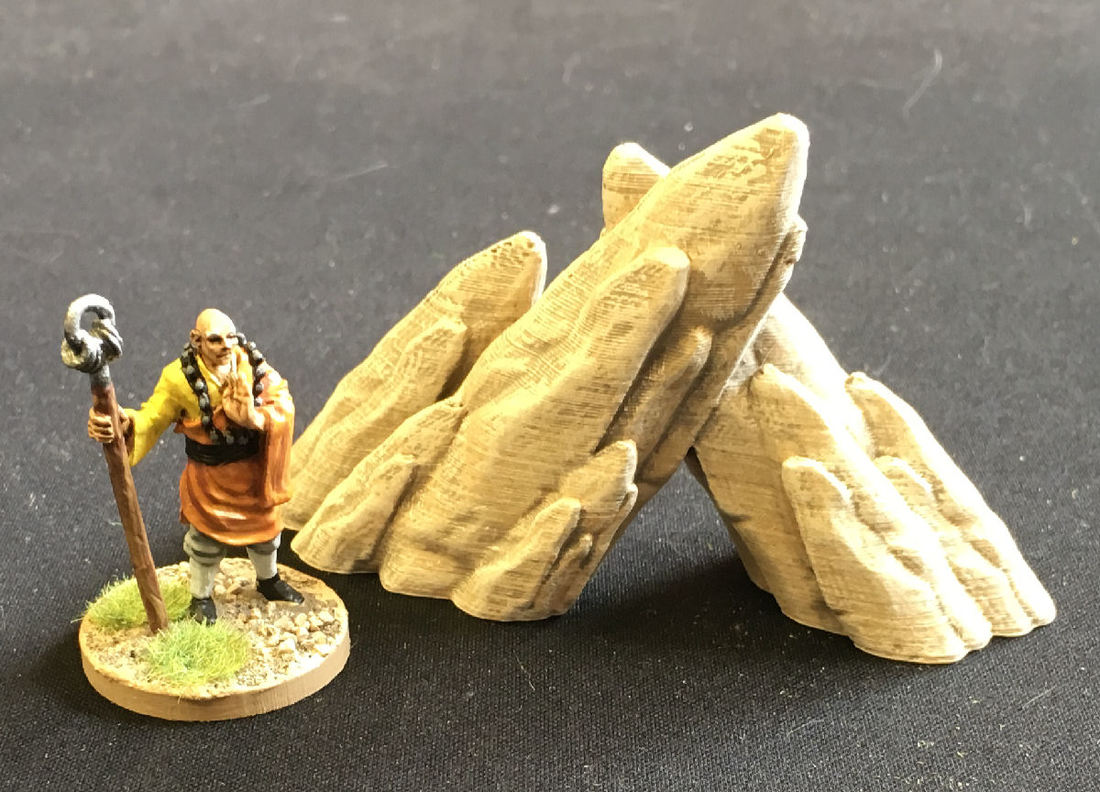
I also printed some of my other, less extravagant, cave entrances and a rock formation from earlier files.
My existing river sections and rocks will also match if they're needed.
Some different stalagmites. These are available here.
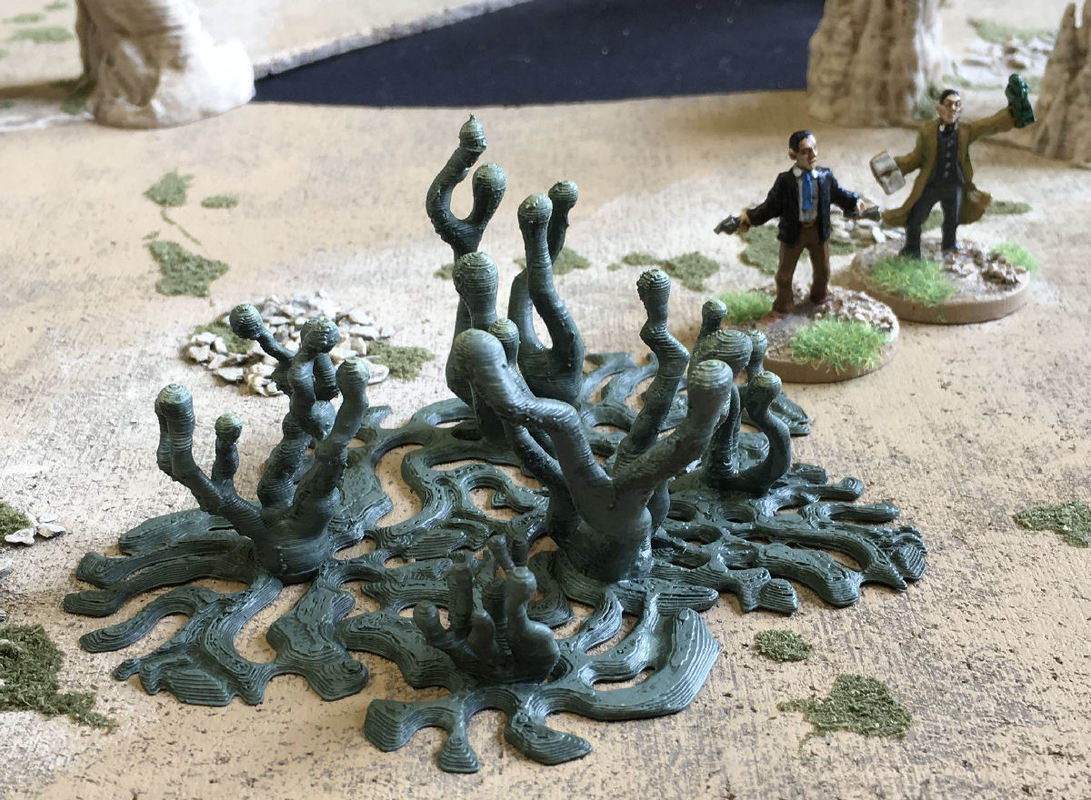
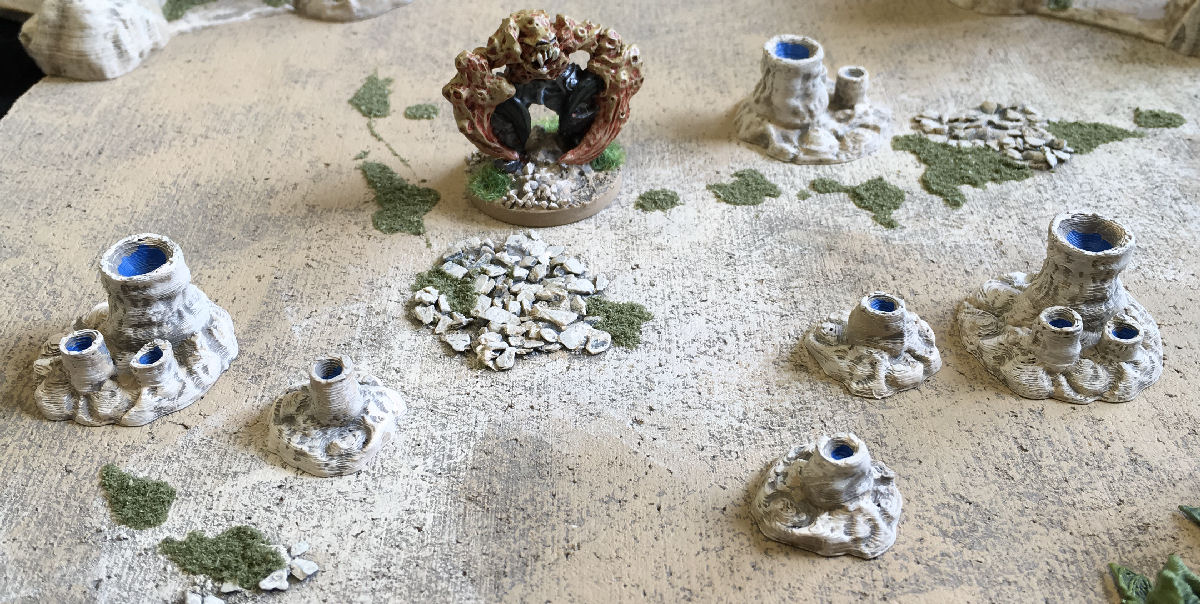
Some Hellspurs by Dutchmogul.

These are bubble pools by JenniferG, available on Thingiverse.


|