|
The Barn
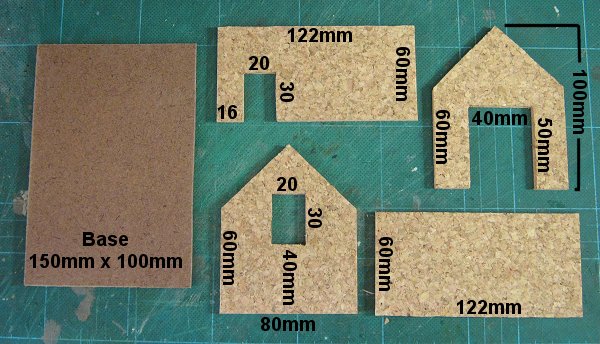
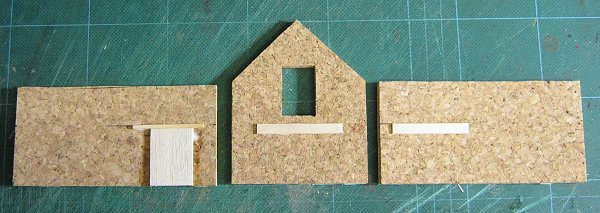
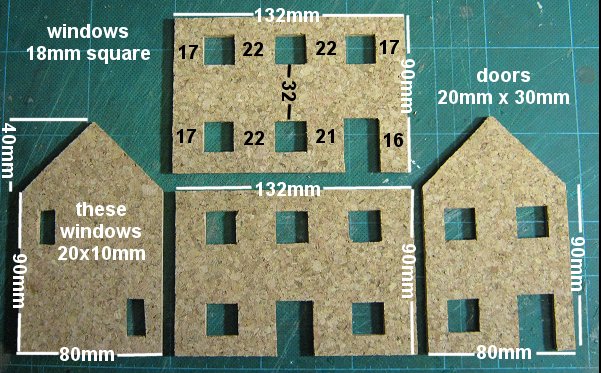
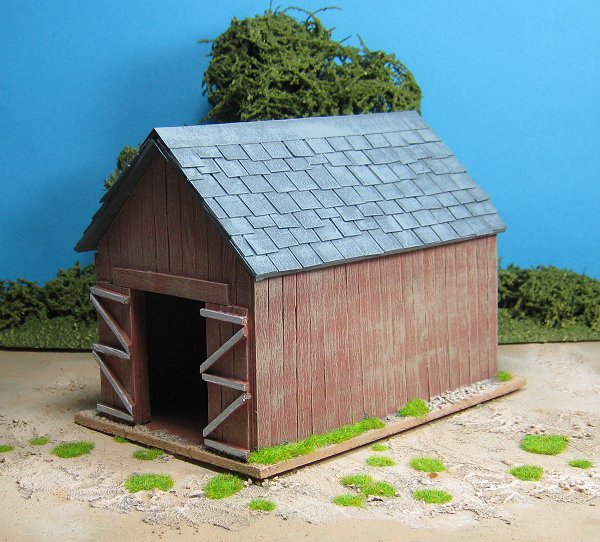
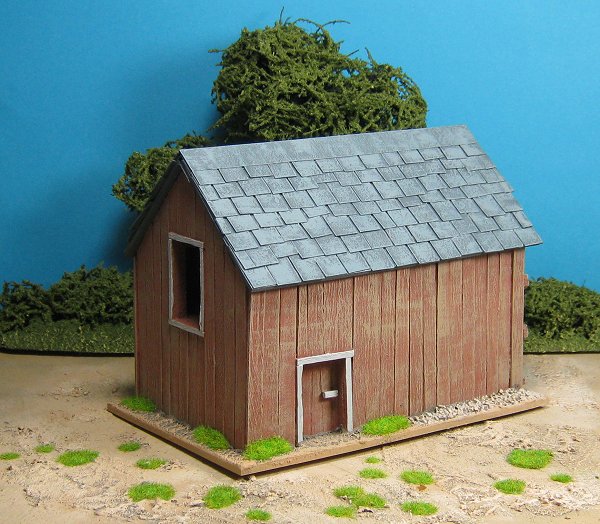
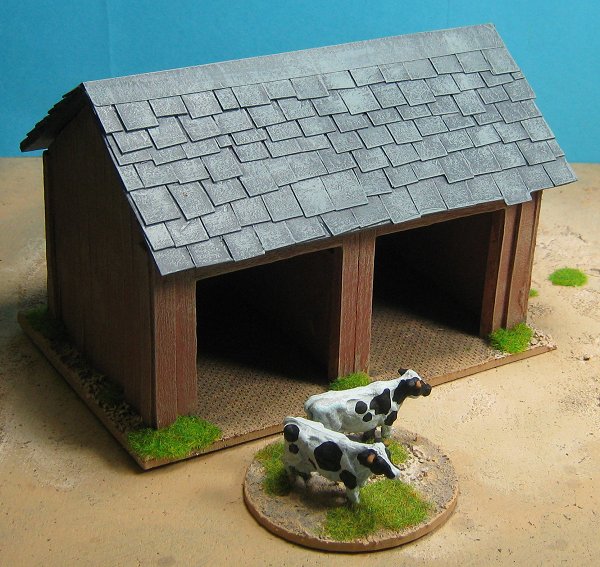
I'm starting with the barn because it's a simple building to make and should be completed in no time at all which will hopefully kick start this project that's been waiting for nearly three years. There are only four walls to cut out and a base, dead simple. The blank pieces of cork make this look like a tiny structure but the finished barn is a nice size and looks the part. You could go with straight cork of course but I wanted something different and decided to clad everything in planks. I used coffee stirrers fort he planking which are oversize if you worry about such things but look ok to me.
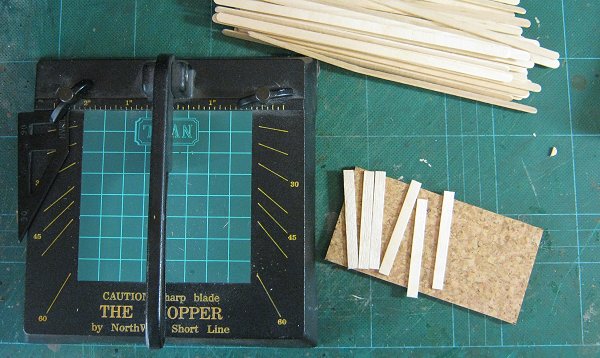
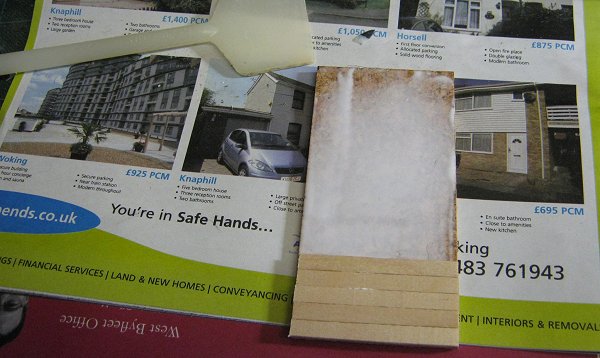
I cut all of my planks to size with my trusty Chopper which saves a huge amount of measuring and marking up time. I got mine from Antenociti's Workshop. The planks have to match the sides of the walls of course so I cut a set to 60mm length for the side walls first as these are the straight forward ones (no angles). Once I had enough planks cut I spread PVA glue onto the wall and stuck them down.
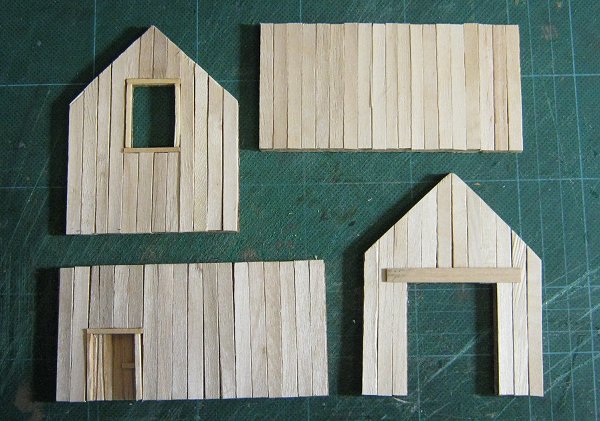
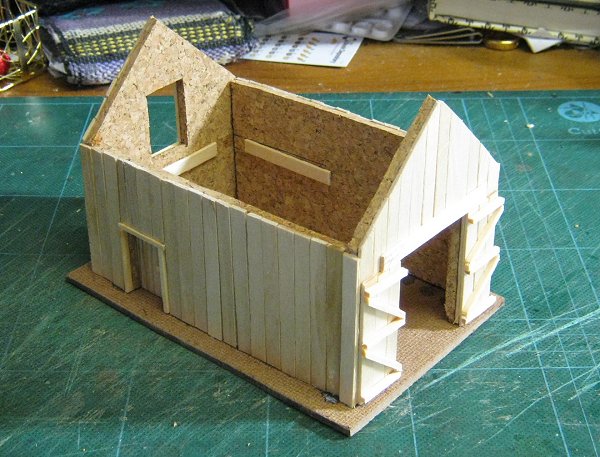
Some planks had to be cut to fit around doors. I added the matchstick surrounds first and then just measured the gap. The side door is a small section of balsa wood scribed with a pencil to simulate planking as usual.
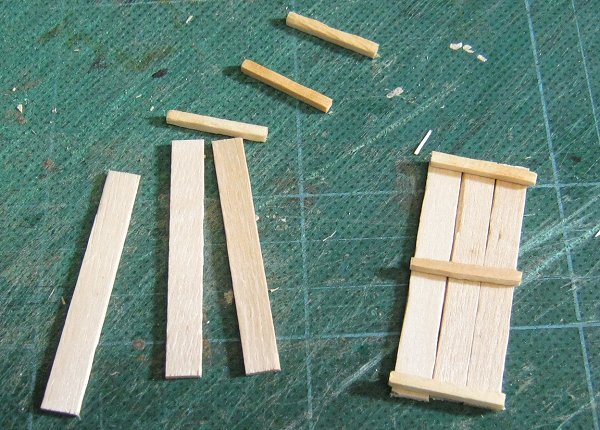
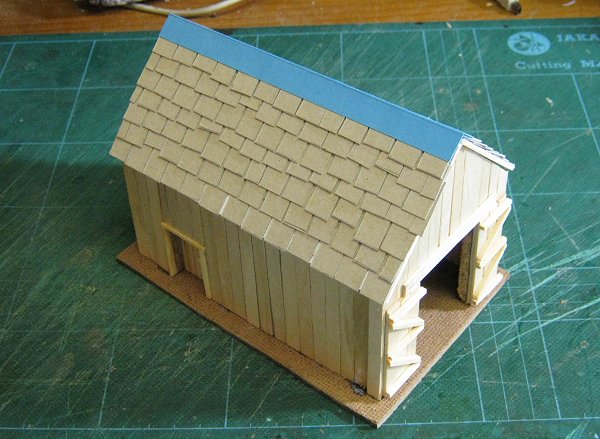
The angled tops of the end walls look more complicated but aren't really. I cut the planks longer than needed so they overhung and then just sawed off the excess after the glue was dry. The top beam of the front opening was just glued on top of the planks at the end. Next came the doors. Each was made from three 50mm planks and some matchsticks cut to 20mm to fit the width.
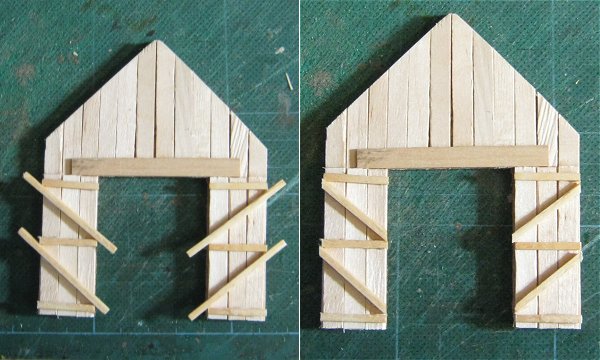
The doors were assembled on the building so I didn't have to fiddle about lining up little bits of wood and hoping everything would stay together. I stuck the planks forming each door onto the front wall either side of the opening and then glued on the matchsticks.
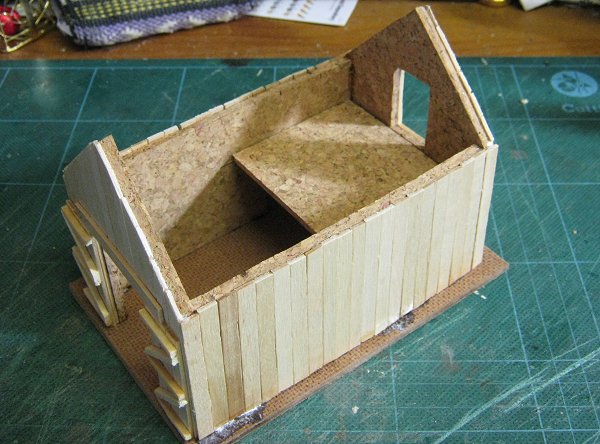
Then I glued more matchsticks diagonally and trimmed them to size once the glue was dry. This saved all sorts of complicated measuring and gave a good effect, the doors look like barn doors to me (but what do I know?) Before everything could finally be assembled I needed to add some supports for the interior platform. These were positioned 36mm from the ground so that the platform would be flush with the bottom of the rear doorway.
Finally I glued the walls into their final positions with superglue and some accelerator.
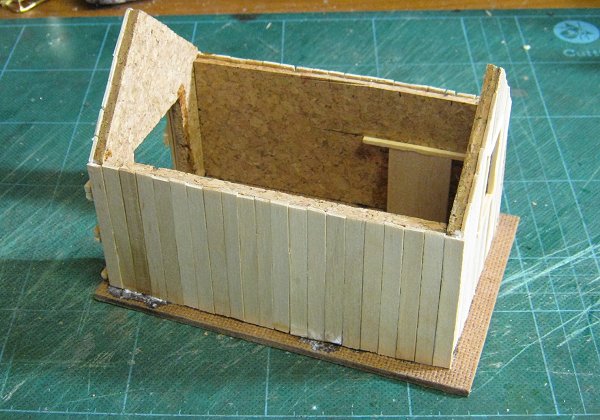
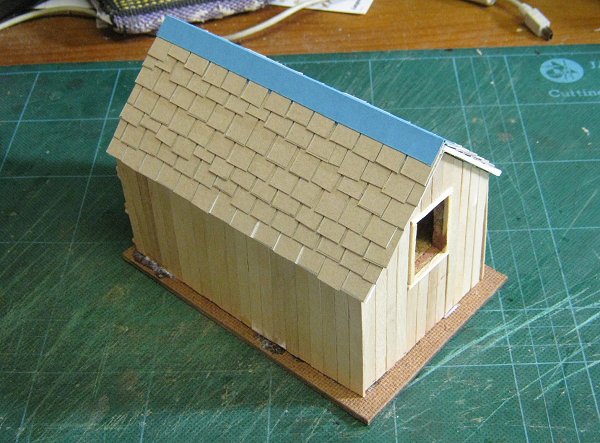
For some reason the side walls bowed outwards. This was obviously to do with sticking the planking on but I would have expected them to bend the other way. Once all four walls were glued together I added a 60mm plank to each corner to cover the exposed cork edges of the end walls.
I could have had a charmingly wonky barn but I decided to glue the interior platform in place rather than have it loose and used this to bring the walls in to line again.
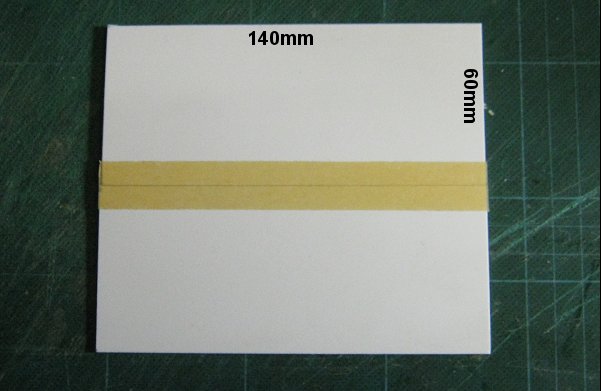
I did have to paint the inside of the barn underneath the platform before hand because I wasn't going to get a brush in there after everything was stuck. Lastly I did the roof. The basic shape is two rectangles of card or similar (I used Sintra because I had some handy) each 140mm by 60mm. I joined these together with some masking tape on the underside.
The tape acts as a hinge and allows the roof to sit neatly over the walls.
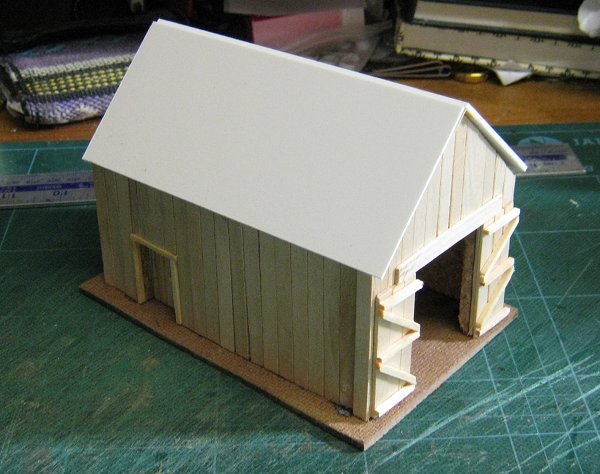
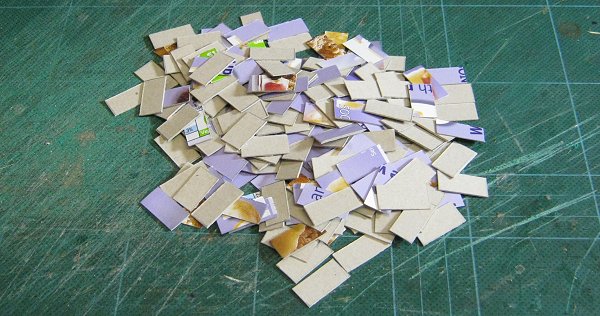
I cut some cereal packet card into 20mm by 10mm rectangles for the roof tiles. Again these are oversize but it saves a lot of time with the gluing and still looks okay to me.
I used PVA to stick the tiles in rows and it didn't take very long at all.
I capped the roof with a strip of thin card, 140mm by 20mm scored along the middle, to neaten up the centre join and the barn was finished. The Farm House
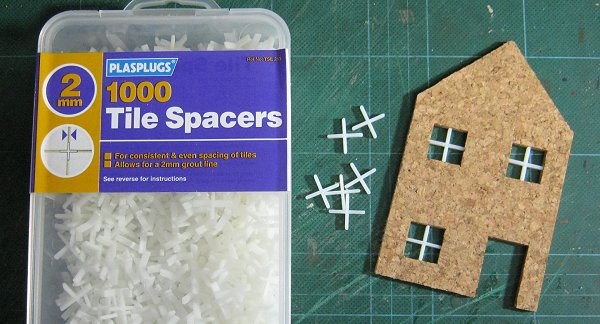
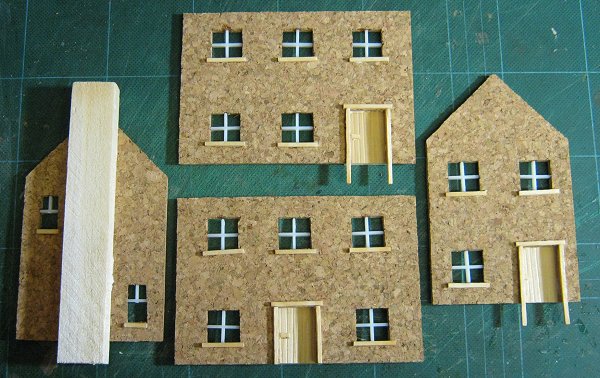
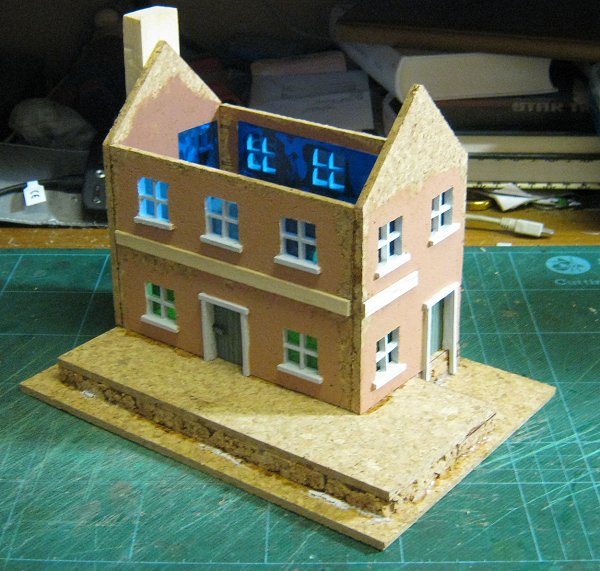
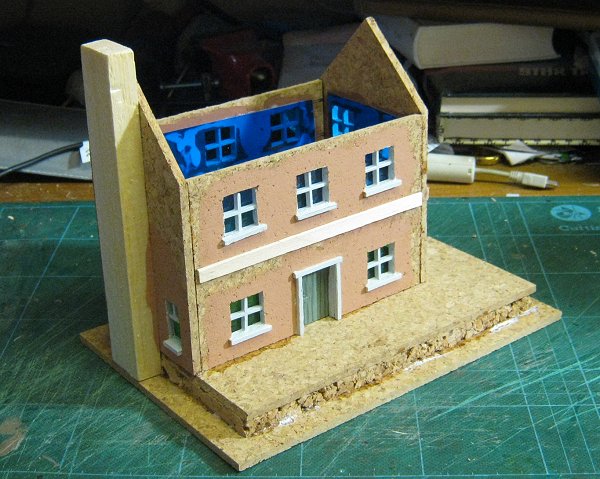
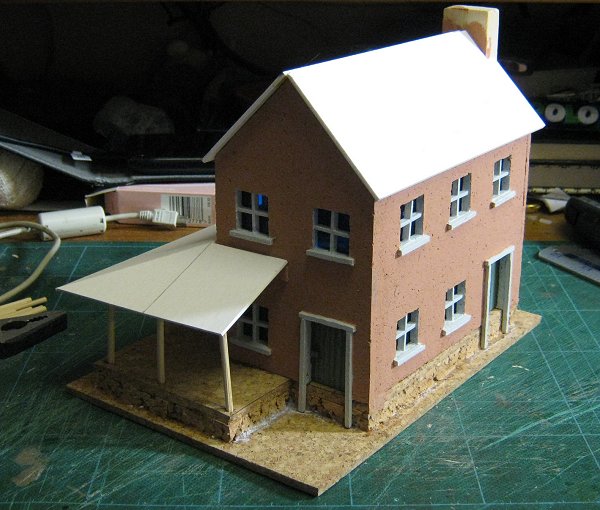
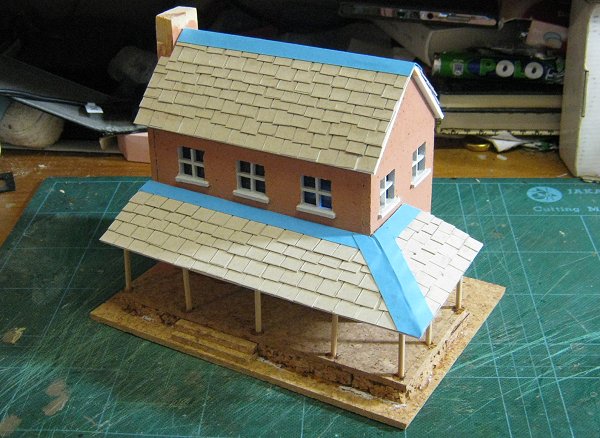
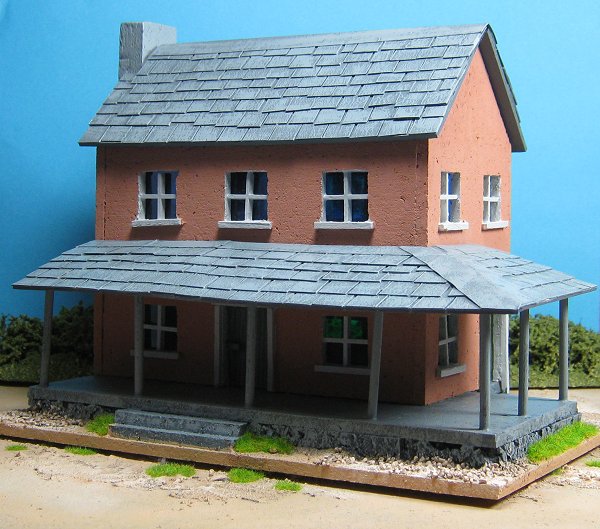
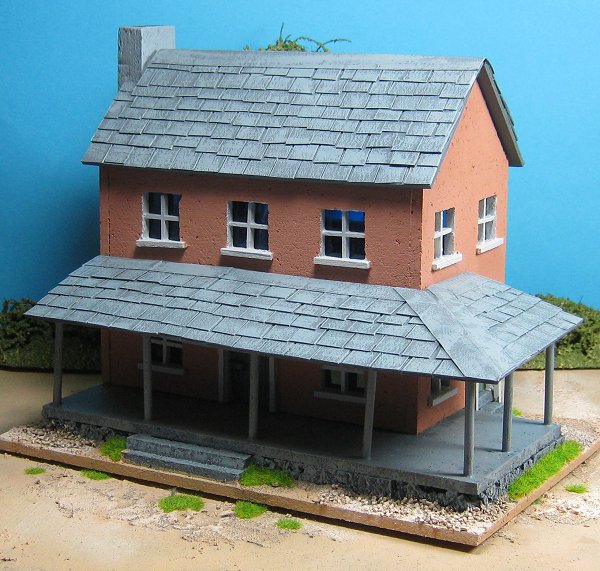
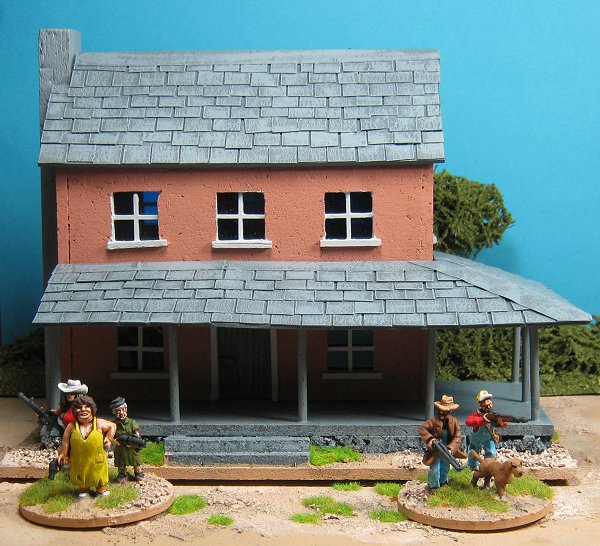
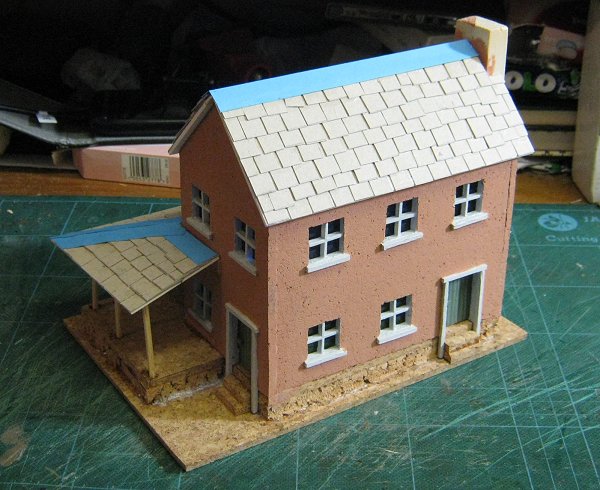
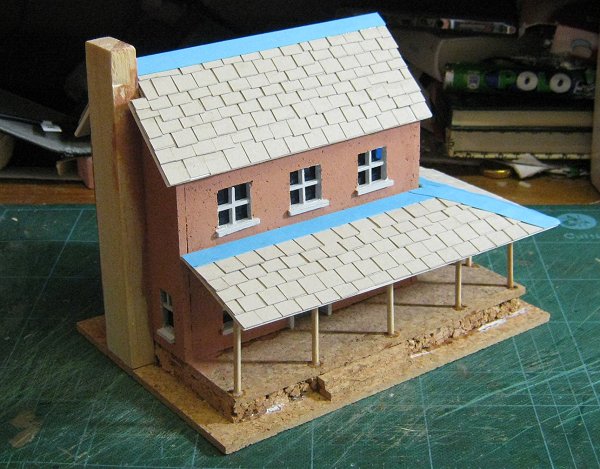
The farm house should end up looking like quite a complicated building with its front and side veranda/porch but it begins life as a simple box with four walls like most buildings. Initially the windows were going to be 20mm square with interior wood work cut to size from matchsticks but I found a box of tile spacers I bought many years ago to make a gridded floor with (never did that, opened them for this build six years on). The spacers make perfect windows but they are 18mm across so I re-cut my four walls which took about half an hour, much less time than it was going to take to make individual frames for thirteen windows. I measured initially for 20mm windows then marked up again 1mm inside each line. The doors remained 20mm x 30mm as usual. These are the tile spacers, the whole box was about £5.00. They push fit into the window cut outs snugly. Using a flat surface and pushing from the outside of the walls meant the spacers could easily be set flush with the inner edge of each window and a drop of superglue on the back at each joining point ensured they stayed put.
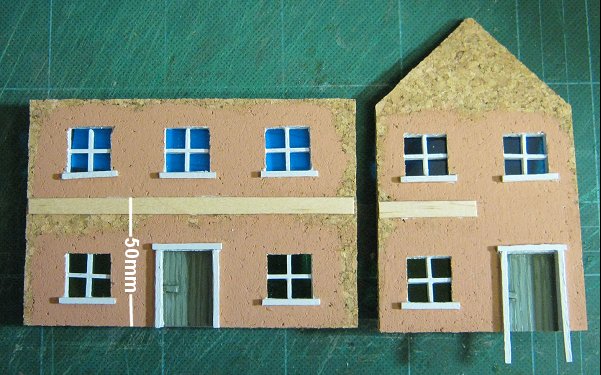
The windows were finished off with 22mm sills from matchsticks.
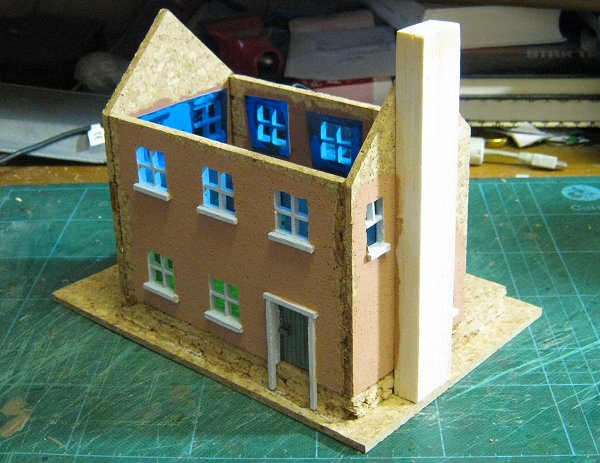
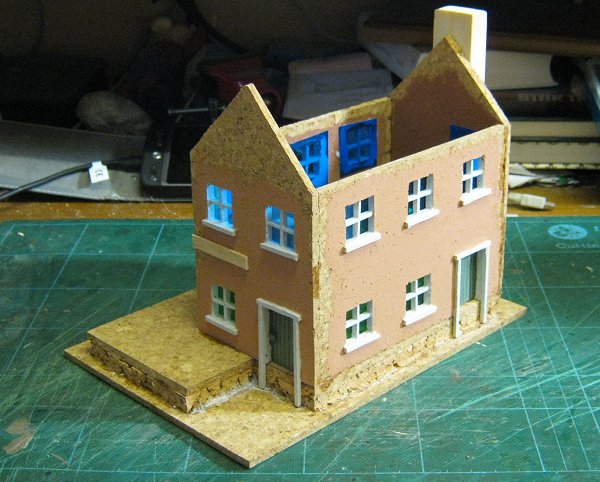
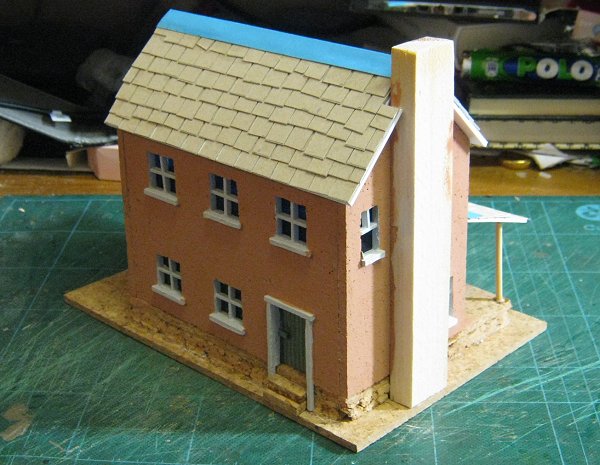
Doors were inscribed sections of balsa wood with matchstick frames and handles. The side and rear door frames needed to extend 13mm below the foot of the door to overlap the raised base of the building. I cut down a couple of tile spacers for the small side windows. The chimney is just a length of balsa wood roughly 20mm x 10mm x 155mm. I wanted to glaze the windows so I painted the frames and surrounding walls as I went so as not to get paint on the glass later.
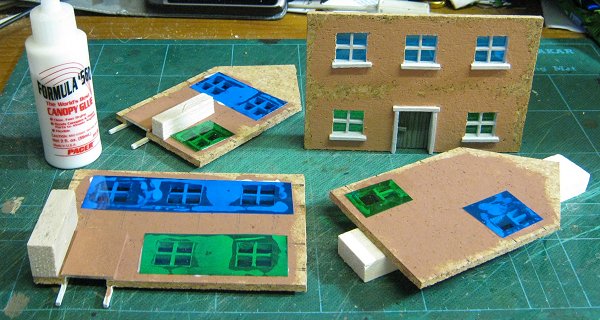
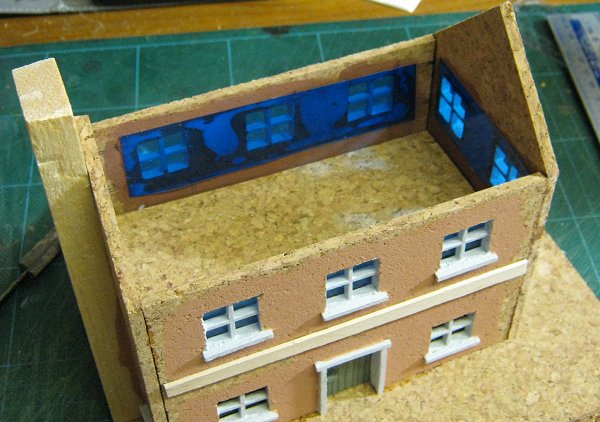
For the actual glazing I stuck rectangles of coloured acetate behind each window. I used blue acetate for upstairs windows and green for downstairs ones. I bought this acetate for my Entebbe project off eBay a couple of years ago, it wasn't expensive. I used canopy glue to stick the acetate because it dries quickly and clearly and doesn't mist. PVA would do though. The last things that needed adding were supports for the interior floor. I cut them to 46mm to allow a 4mm floor thickness and still have the floor sitting 40mm down from the 'roof'. On the outside I added supports for the veranda roof from coffee stirrers.
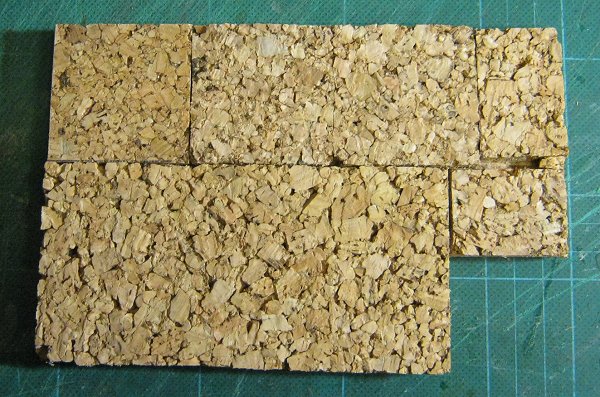
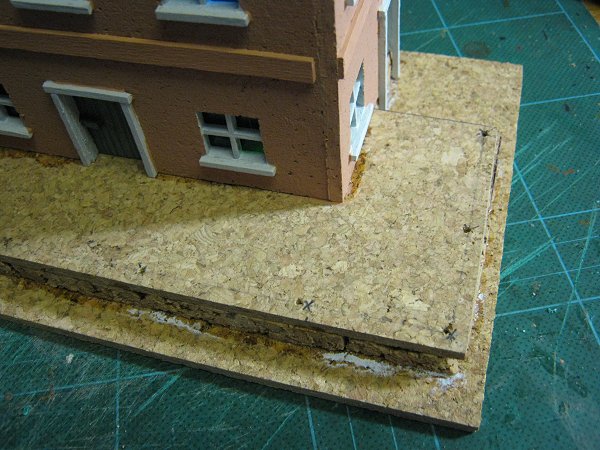
The building sits on a raised base. I added the height with some 9mm thick cork tile glued to a standard cork tile for the actual floor. A single large piece would have been nice but I used up some off-cuts. Only the edge will show and it's meant to represent stone foundations so it doesn't matter if there's some irregularity.
This floor was then glued to the actual base of the model. Although there is space for a 10mm gap all around I offset it towards the right and the rear to allow more room for the chimney and the front steps.
Assembling the building was very simple. The chimney, floor supports and overlapping door frames at the side and rear helped keep the walls in position for gluing. I was sparing with the glue so as to minimise the chance of misting the windows with superglue fumes.
Finally I cut an interior floor to size and glued it on top of the supports with PVA (again to avoid misting the windows). I didn't want the bottom floor of the building to be accessible as it's quite a reach down to place figures and big hands can easily break small buildings. An open upper floor allows enough figure placement for games.
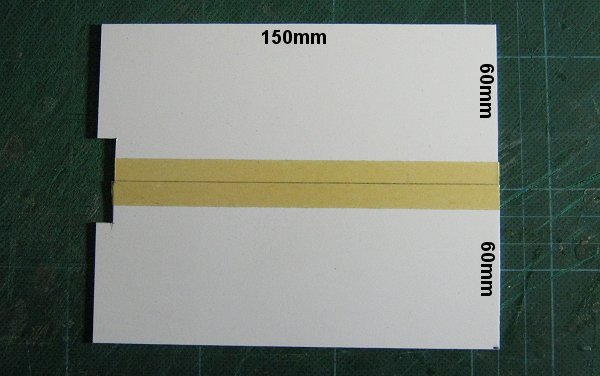
The roof was another simple component. I cut two rectangles of Sintra board (mounting card will work just as well) and joined them with a strip of masking tape which formed a hinge. The indent for the chimney was marked up with the roof in place and then cut out.
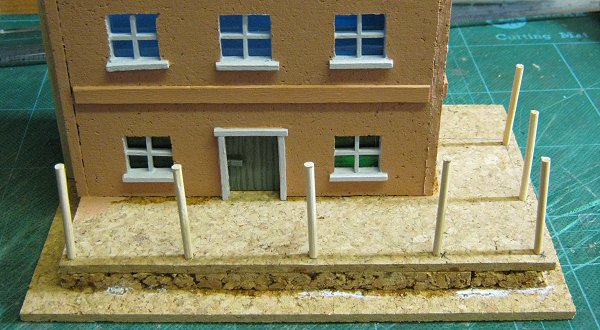
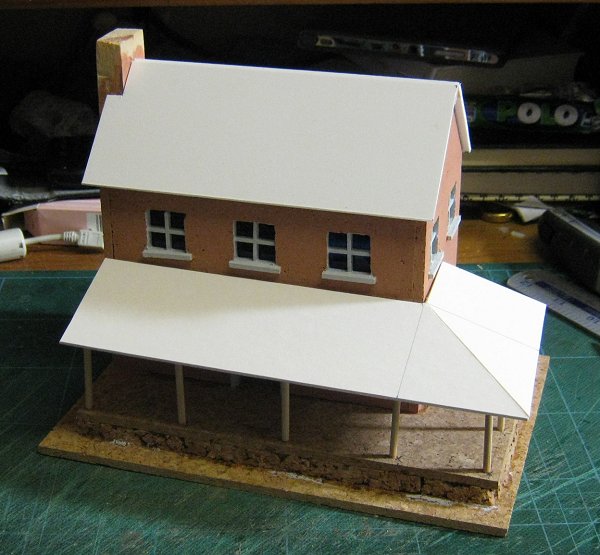
Before I could check the veranda/porch roof was going to fit correctly I had to make the supporting posts.
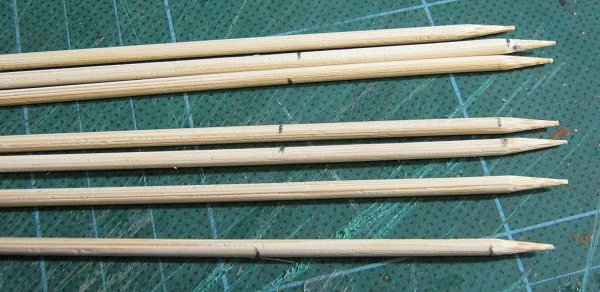
I marked the positions by eye and pre-drilled the holes with a pin vice. I used bamboo skewers for the posts, they're strong and cheap and available from most supermarkets. I marked them just above their points to give me a ground level and then measured 40mm further along for the cutting marks.
Once they were trimmed to size I inserted the pointed ends into the pilot holes and hammered the posts in to the correct depth. I secured them with a dab of superglue.
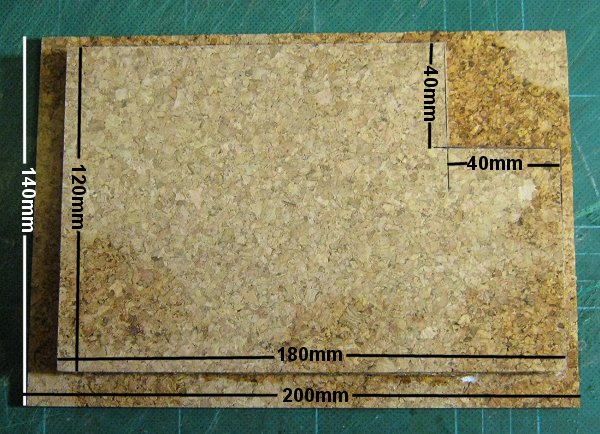
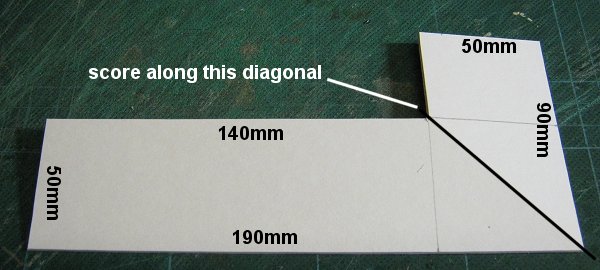
The porch roof was made from a rectangle of sturdy card 90mm x 190mm with a 40mm x 140mm section removed. The roof angle was achieved by scoring the diagonal as indicated below.
At this point everything looked good and I moved on to the tiling.
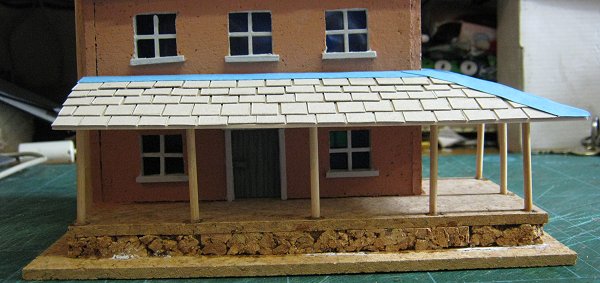
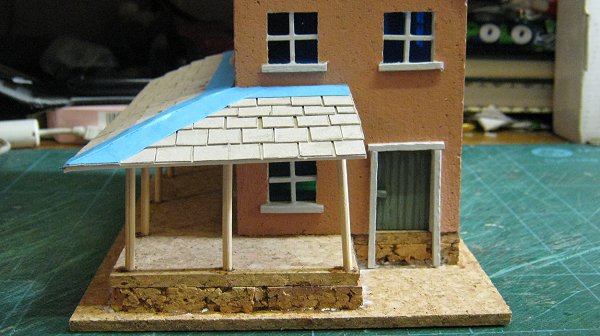
I cut the tiles/shingles from cereal packet card. I made them 20mm x 10mm to reduce the time it would take to make and stick them. The individual tiles were stuck with PVA and the edges were finished with strips of thin card. Finally I added some steps by each door and at the front of the veranda from thin strips of cork and the farm house was complete.
After everything is painted the porch roof will be glued in position but the main roof will be left to lift off to allow access to the top floor of the house for figure placement. |
Smaller Buildings
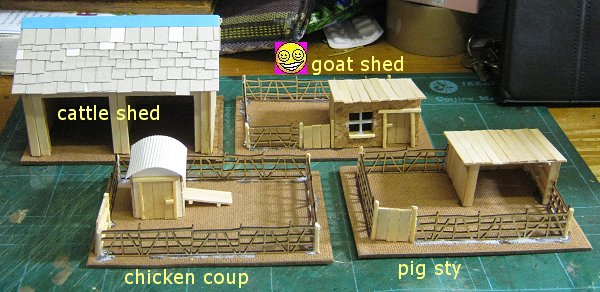
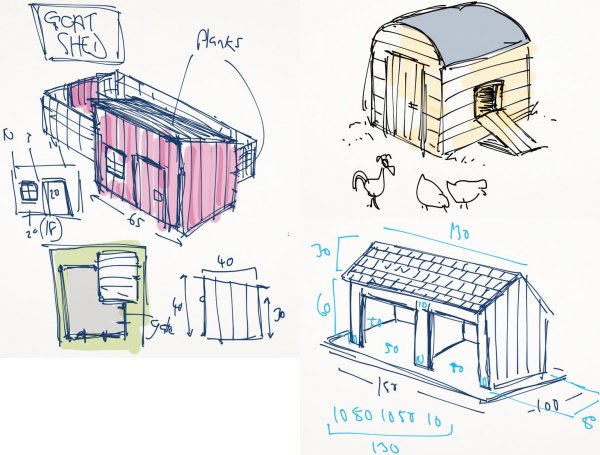
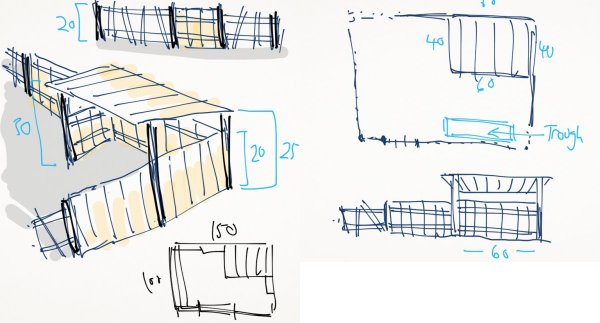
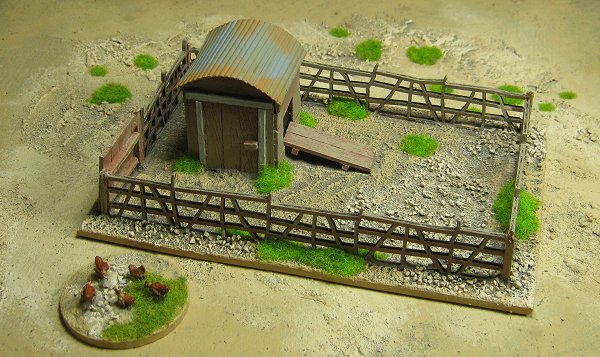
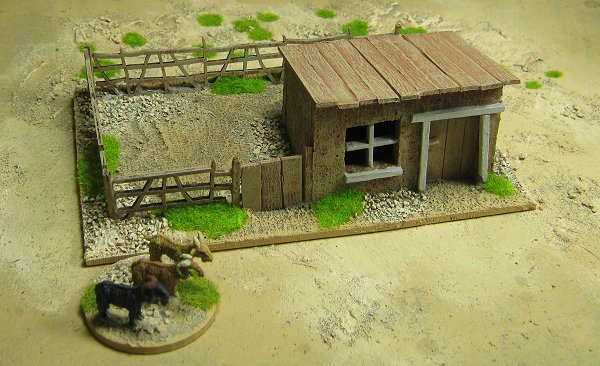
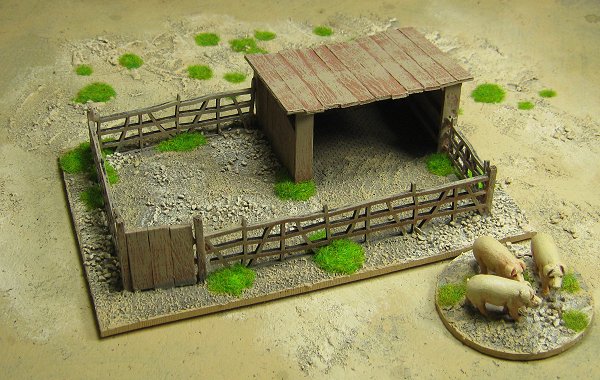
I haven't provided plans for these as I didn't do any other than making a sketch or two. Everything is straight forward, all the buildings are made form cork, coffee stirrers and matchsticks. The rickety fencing is from Fenris and I thought it made a nice change from standard planked fencing which I would have used if this wasn't available. The boathouse and a jetty
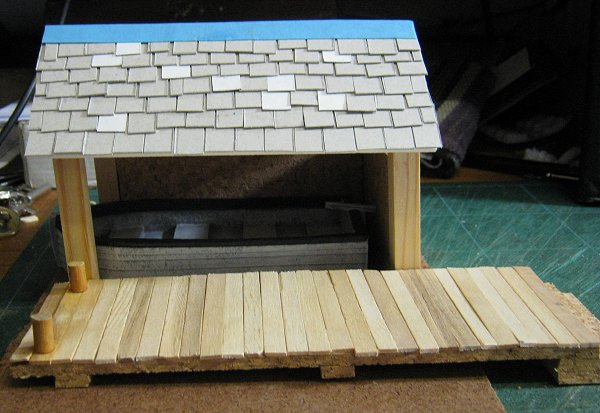
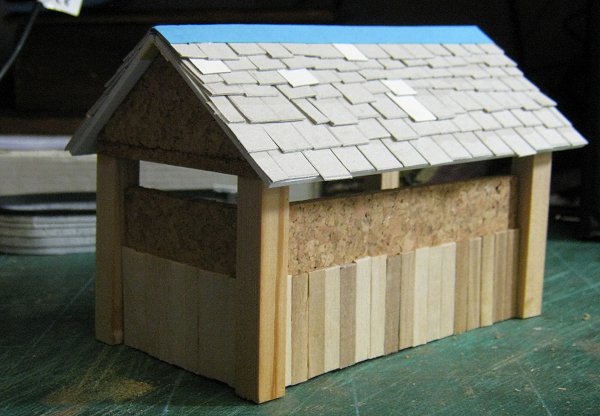
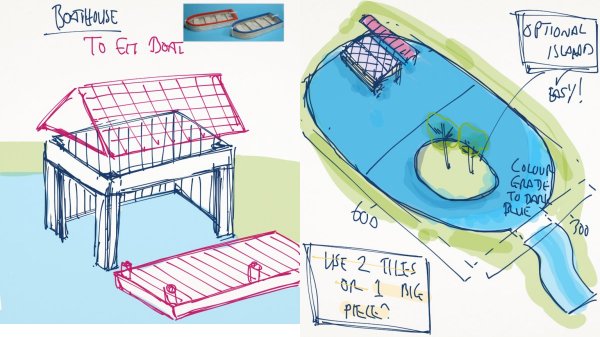
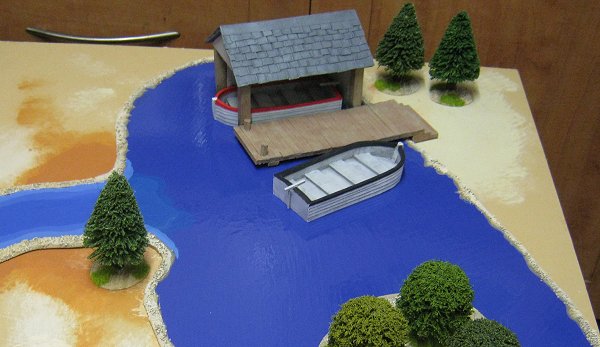
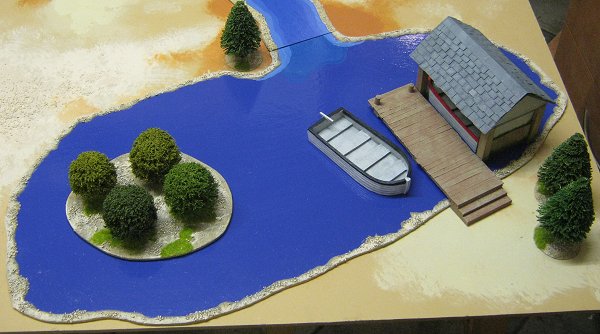
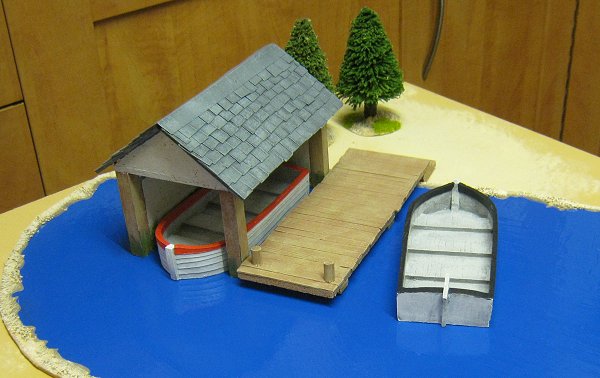
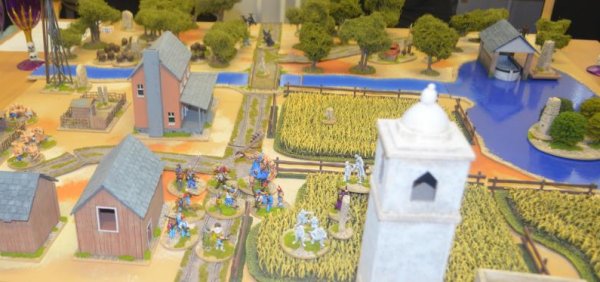
I'm making a small lake for this to go on. The boathouse itself stands entirely on the water surface and the jetty makes the transition over the edge of the lake and down to the table surface which is why it has an extra step at the back end. I've stood the model on a piece of hardboard to simulate the height of the lake terrain so the jetty doesn't slope in the photo. It will all become clearer once the finished, painted photos are up. The lake is just a piece of hardboard with an edging of my basing compound. The transition to my river isn't exact yet as I'm out of the paint I originally used but some is on order. I've added a stand of trees as an optional island.
|

