
|
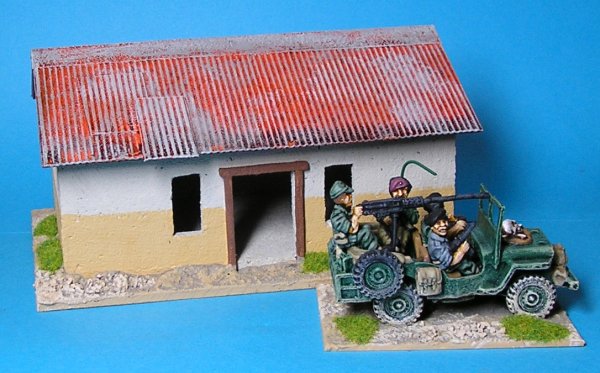
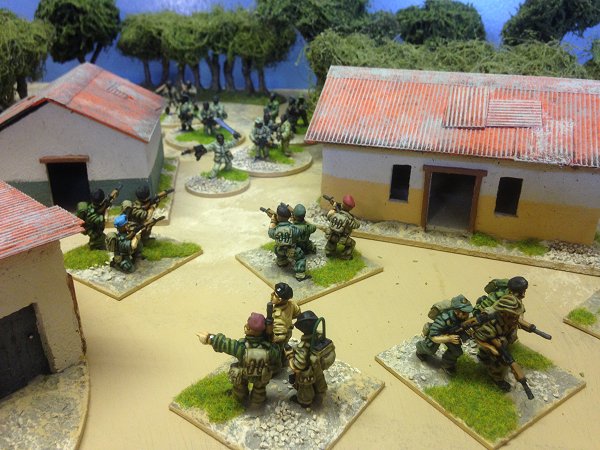
These buildings are designed to compliment the Middle East buildings and add a more African flavour to the setting. Both sets are designed to be used together for a generic modern Third World setting. Since most of the larger structures have already been built as part of the Middle East set this collection will be quite small and quick to do. As usual there will be a mix of one and two story buildings in two of the three sizes I normally make, medium and small.
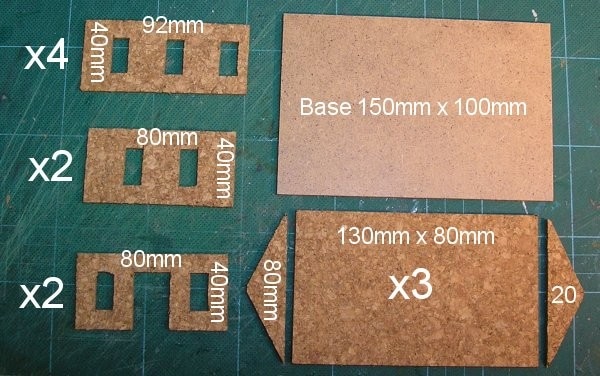
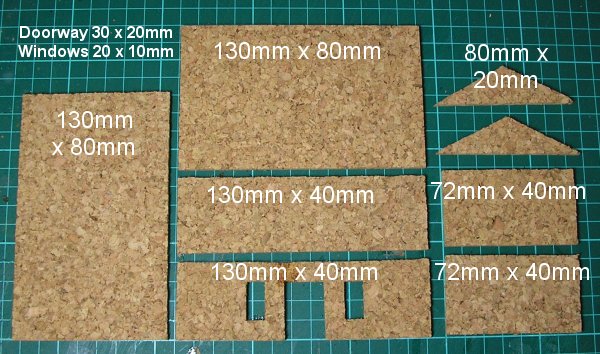
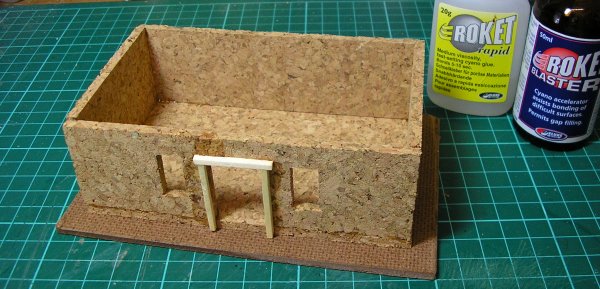
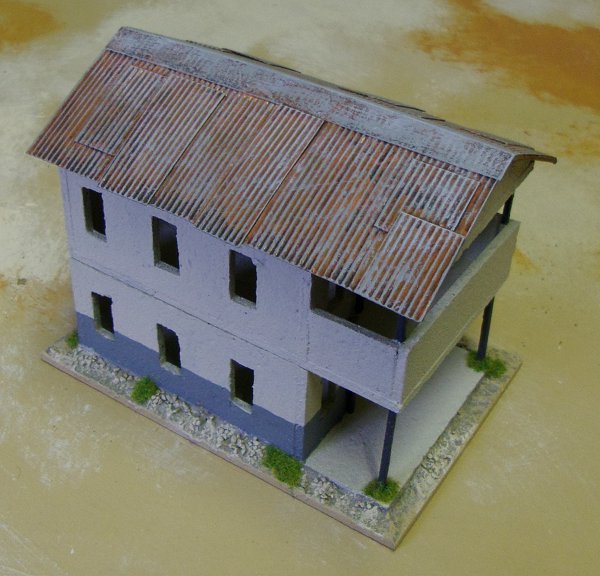
Here is the cutting plan for the biggest building, a two story medium structure. All the other buildings use components from this one so it's a good place to start to see if everything works according to plan. The doors are 30mm x 20mm and the windows are 20mm x 10mm. I have allowed for a 4mm wall thickness in the plans which is more than needed but only by half a mm which is about the limit of the cork tolerance.
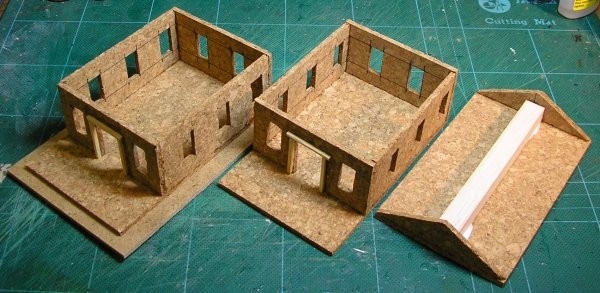
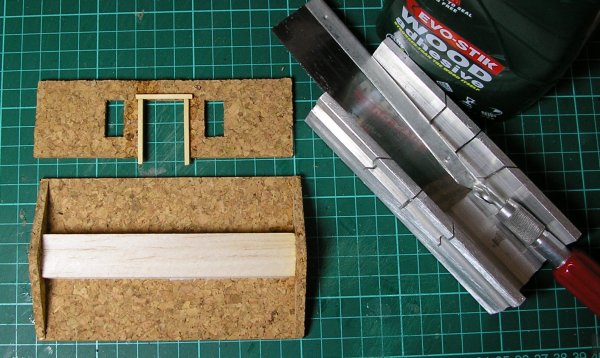
Assembly is very quick. The only guesswork is positioning the floor on to the base which has a 10mm clearance all round but isn't critical so doesn't really need to be measured. The long walls go inside the short walls and it's easier to start the assembly from the rear wall as this will then give you all your positioning without any further need to measure.
I have added a balsa wood bracer to the roof and made door frames from matchsticks. 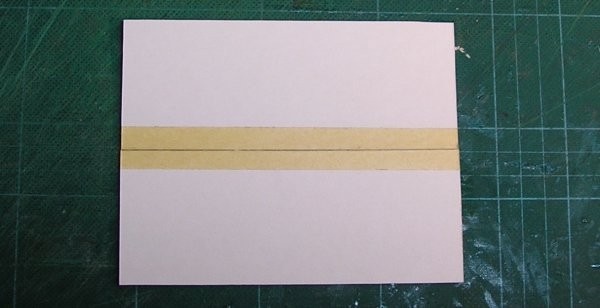
The actual roof is cut from thick card. Each half measures 140mm x 55mm. I have secured the two halves together with a strip of masking tape on the underside which will form a hinge.
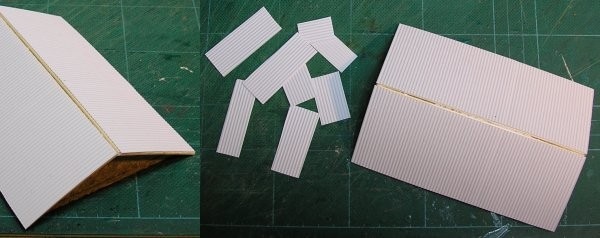
I have used some sheet styrene card with a corrugated iron pattern to make a corrugated iron roof. I considered using corrugated card but the ribs are too large and this styrene is very cheap. It cost me £1.65 per sheet from Antenociti's Workshop and you can get seven large roof panels from a sheet with some extra left over for the loose patchwork pieces.
Cut two pieces of styrene to match the size of the card and glue them down with wood glue or PVA; this allows you time to position them correctly. Once they were positioned I ran some super glue along all the edges to secure everything. The card can then be glued to the roof support section. Again I used wood glue and finished with super glue. There is a 10mm roof overhang all the way around. 
The roof is finished with a strip of thin card to mask the join and some randomly placed pieces of corrugated styrene to add a patched and mended look to the proceedings.
Originally I planned to cut scale sheets of corrugated iron from each styrene sheet and overlap them to make an authentic looking roof. However, whilst this may give a better look to the finished building, it involves a lot more styrene sheeting to do and a lot of work to get it right. Ultimately I went with this easier compromise. You might like to try both to see if the difference is worth the effort. 
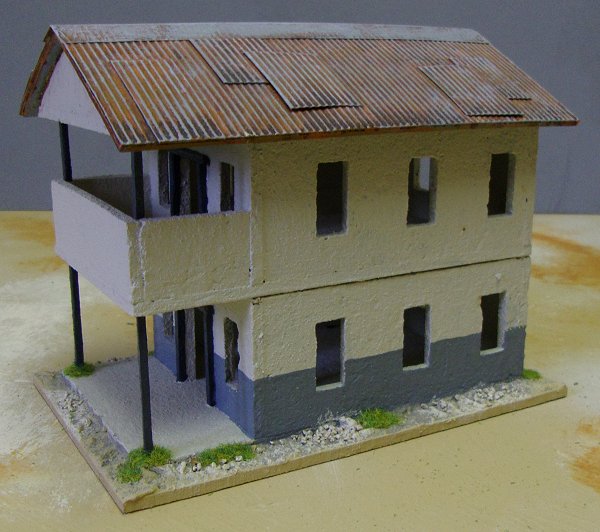
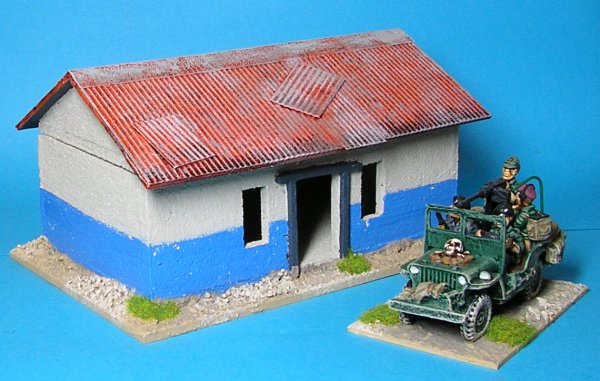
Here are the three component sections completed. The second story balcony is 20mm high and made from cork off-cuts. The supports are matchsticks. The top ones have been cut to size (40mm) and glued against the balcony corners; the lower ones have been left their full length and glued into holes drilled into the cork. These three sections aren't glued together, they remain separate so figures can be placed on each floor of the building during play. Here's the finished building. 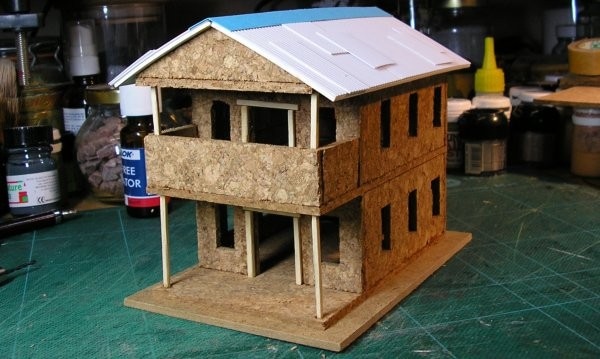
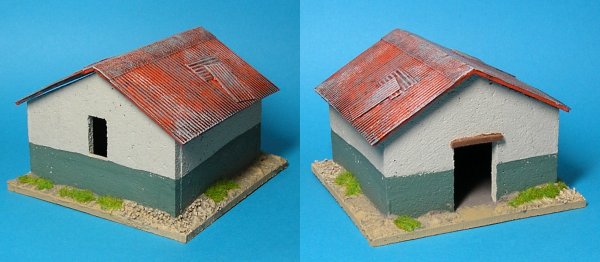
Next up is the basic medium sized building, most of this set will resemble this one.
Very easy to cut out because of the minimal windows and doors. A matchstick door frame and a 122mm balsa wood brace (cut with a razor saw and mitre box) for the roof are the only extras. I have allowed a 4mm overlap to the door frame so the posts will extend past the floor to the ground.
The short walls are glued inside the long walls. Once the building is assembled it needs to be glued to a 150mm x 100mm hardboard base.
The roof is the same as for the larger building above; two pieces of 140mm x 50mm mounting board joined with a strip of masking tape then faced with corrugated sheet styrene and finished with a strip of 140mm x 20mm thin card.

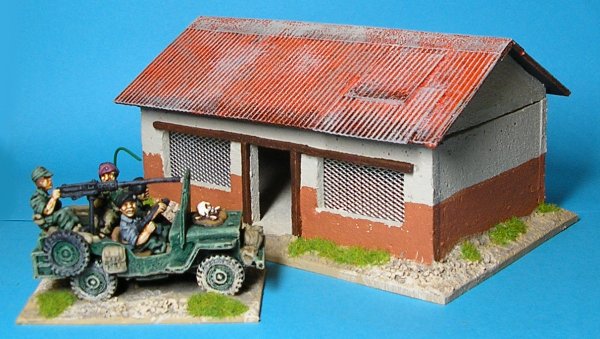
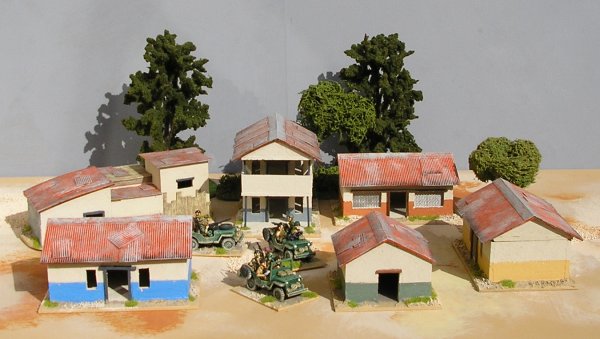
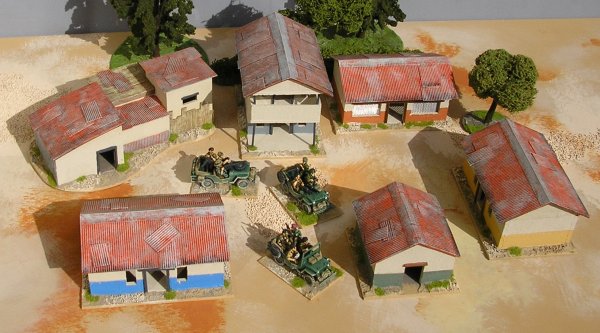
I've kept to the same pattern for the building on the right but changed the front to be a shop. The shop windows will have aluminium car body mesh glued inside them once the painting has been done. 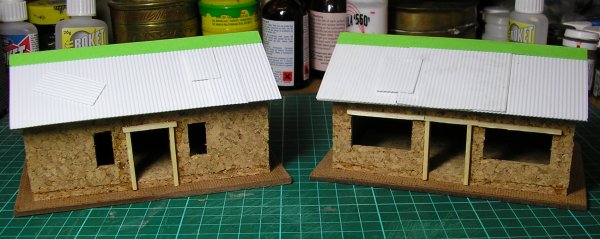
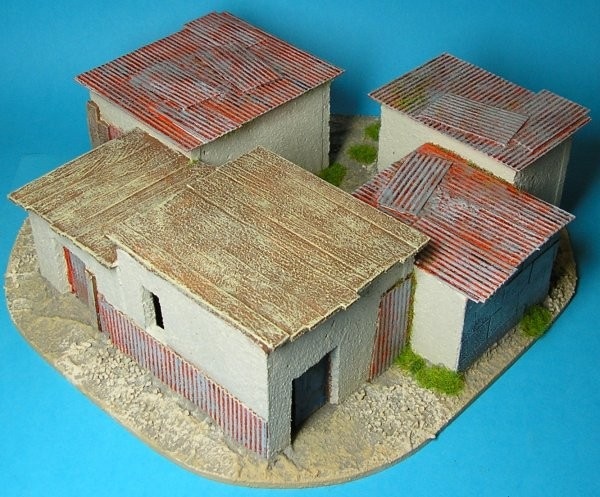
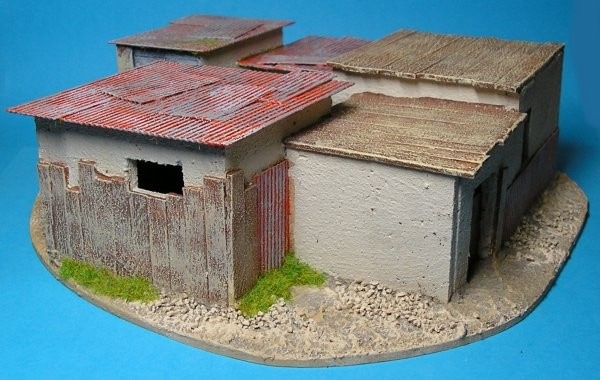
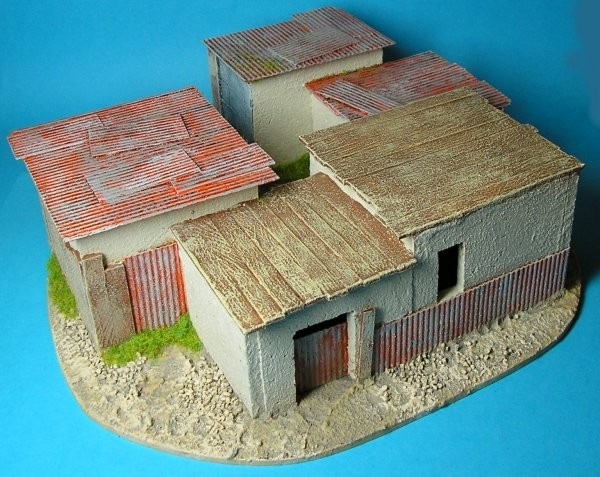
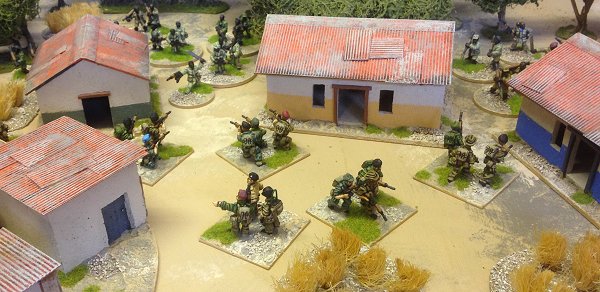
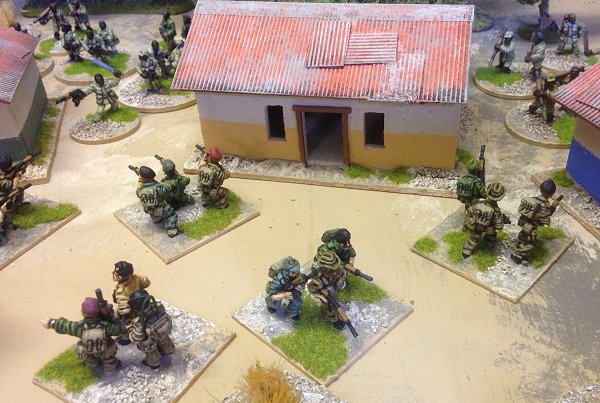
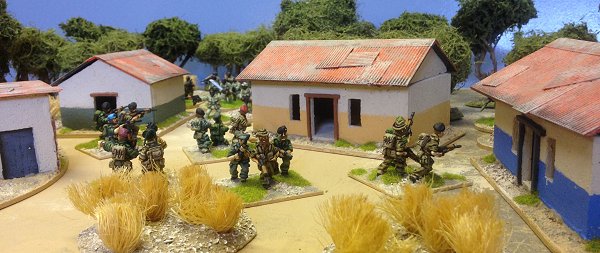
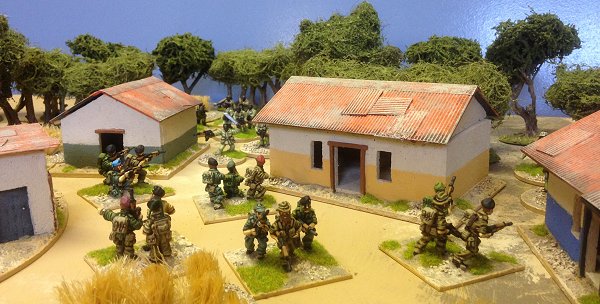
Here they are painted:
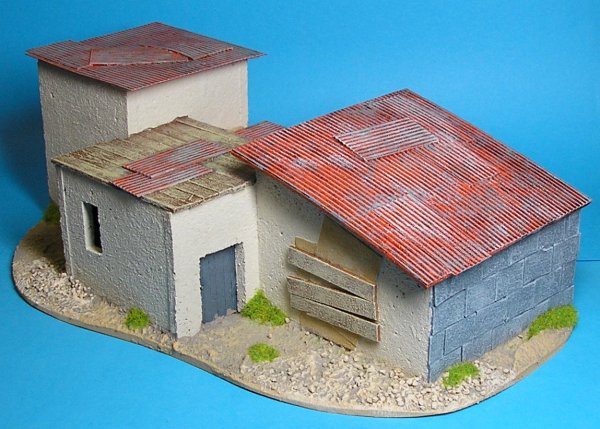
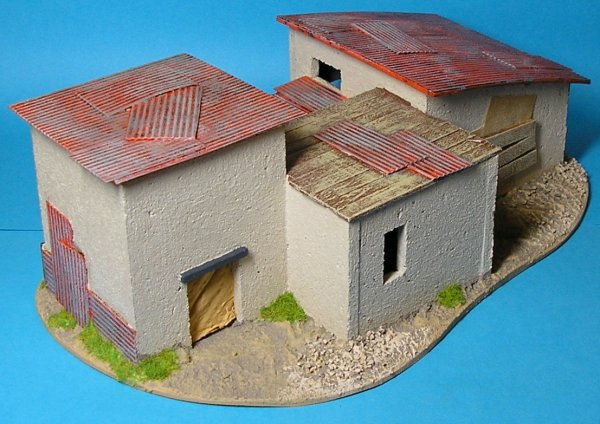
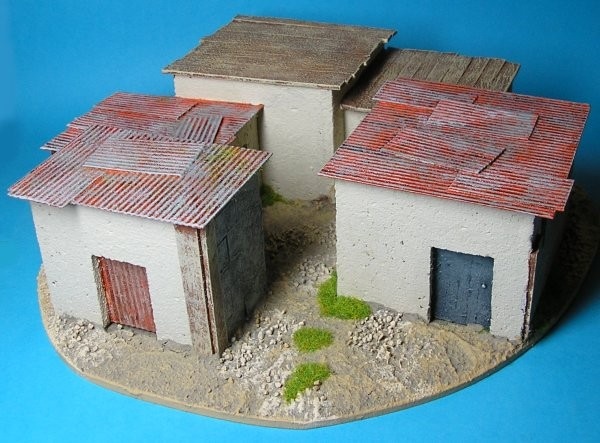
Here's a small building for some variety:
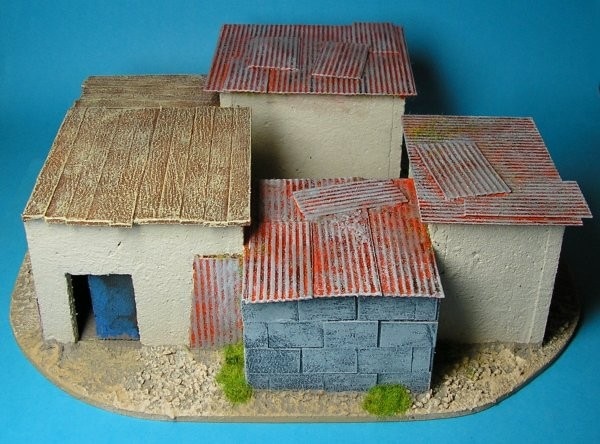
And the first of a base of 'shanties'. Only the largest structure with the sloping roof and open door can hold troops, its roof lifts off, the other buildings are sealed.
The breeze blocks and cardboard sheets are card rectangles, the wooden planks are coffee stirrers and the curtain is a piece of pva soaked tissue. 
|


|